
DIY: wooden shift knob


Thread Starter
Driver
Joined: Jul 2008
Posts: 185
Likes: 1
From: ma
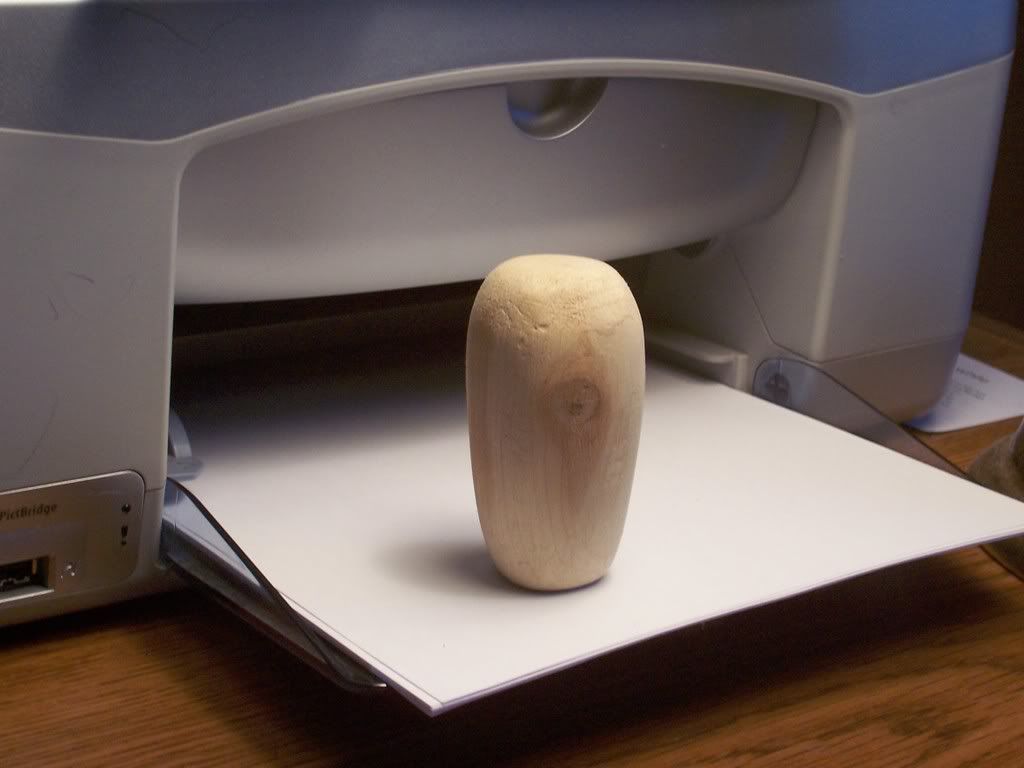
while i was thinking about shift ***** today, i stumbled upon full wooden shift *****. i always wanted one and i thought id give it a try. i decided to make my own shift ****.
the next steps are to get the proper wood stain, then a polyuretane clear coating will finish it off.
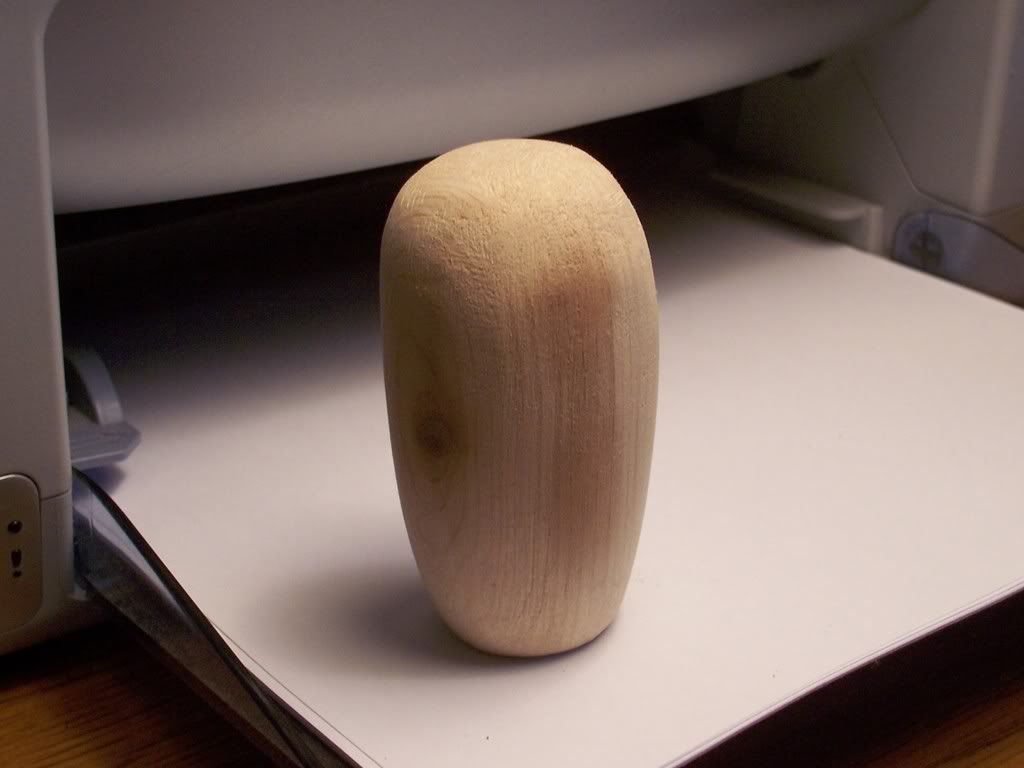
i used a heavy grit, followed by a wood file, then a medium grit. then a fine grit to even everything out. this thing started off as a rectangular piece of wood!
the next steps are to get the proper wood stain, then a polyuretane clear coating will finish it off.
i used a heavy grit, followed by a wood file, then a medium grit. then a fine grit to even everything out. this thing started off as a rectangular piece of wood!


Thread Starter
Driver
Joined: Jul 2008
Posts: 185
Likes: 1
From: ma
nah but i figure that wouldve been the easiest way to do it. i just used a heavy grit, followed by a wood file, medium grit. then a fine grit to even everything out.
it was basically all by hand.
it was basically all by hand.

Thread Starter
Driver
Joined: Jul 2008
Posts: 185
Likes: 1
From: ma
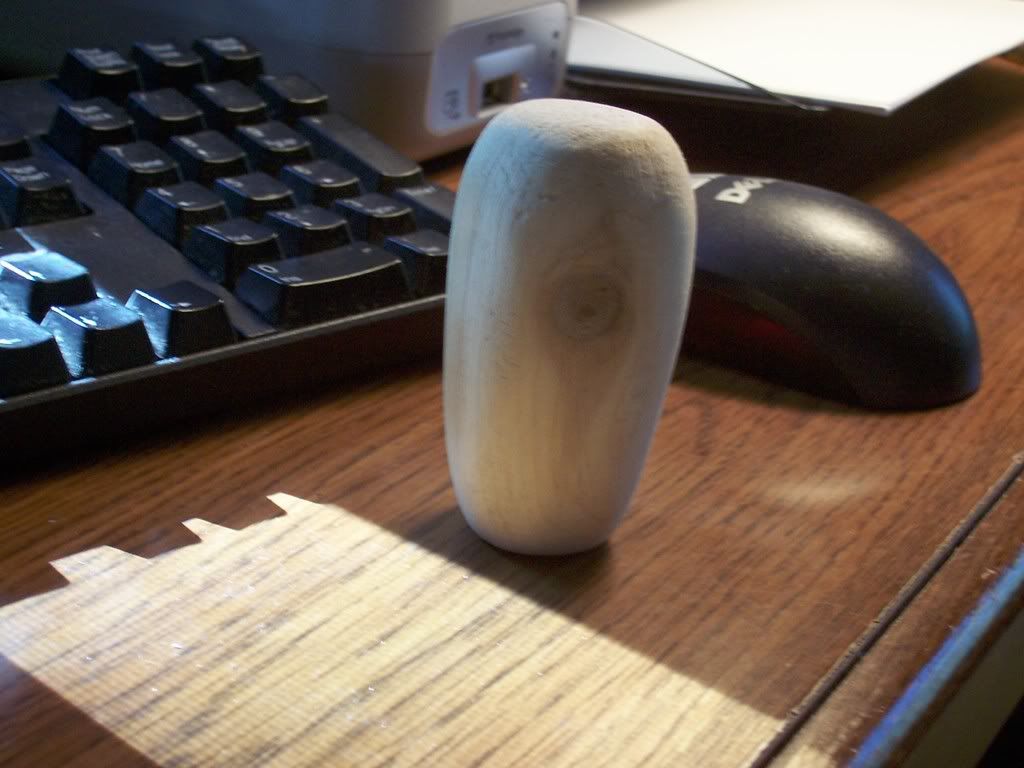
i have no clue. i just had a scrap piece of wood lying around. thought id put it to good use. its going to be color matched to my wood grain and very glossy like the original sc woodgrain is. its going to be sick!
definitely beats 90 bucks for a similar ****!
definitely beats 90 bucks for a similar ****!
Trending Topics
Thread Starter
Driver
Joined: Jul 2008
Posts: 185
Likes: 1
From: ma
yeah i was suprized myself. i thought i was going to have to chuck it in the beginning because there was a crack in it. i just took off the broken wood, and sanded it all down into it. came out perfect!


Only thing I'm worried about is the way the stain will soak. Wood is super porous, and the fact that you have open grain on the top makes me wonder if that area will be darker than the sides. Maybe not though since you seem to have sanded off all the top layers around it. But yea a belt-sander would have been the best. Looks good though 
Thread Starter
Driver
Joined: Jul 2008
Posts: 185
Likes: 1
From: ma
i made sure i sanded all the top down because if i hadnt, id probably have a couple green spots here and there (was slightly painted on.)
it is getting stained tomorrow so ill post pics when it happens!
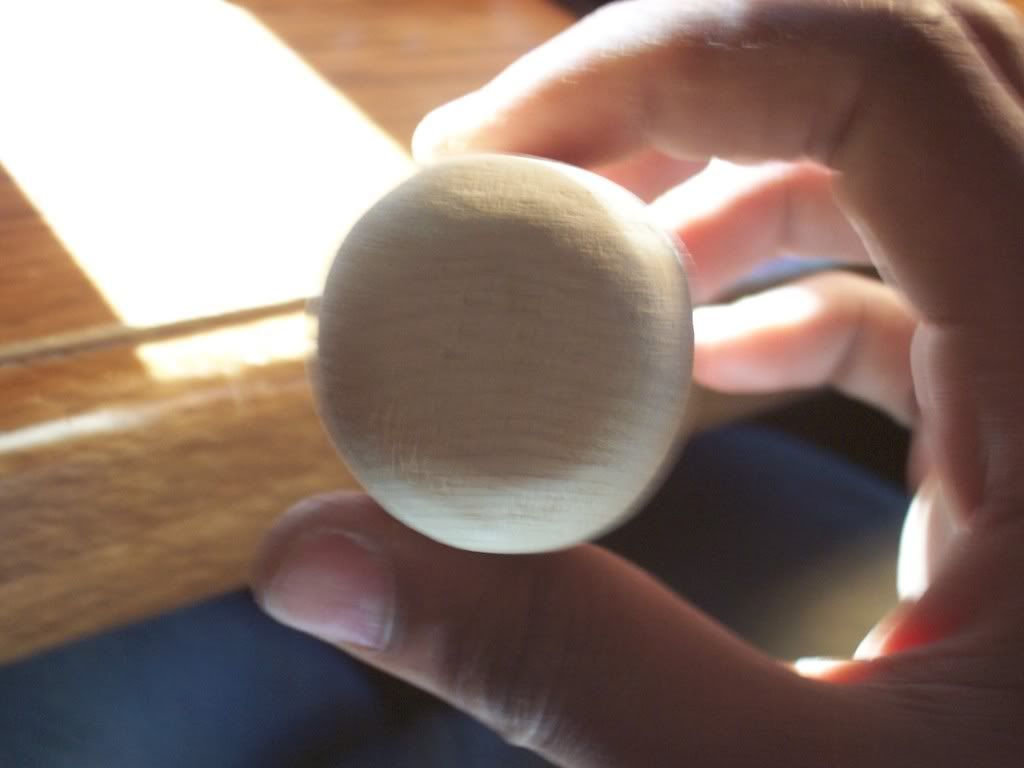
oh and i started a thread by just the wood itself. it seems to be pretty hard to get in so i should have no worries about it slipping. theres visible thread in there too! im happy.
i probably could use a nut with the same thread and glue it to the bottom of it. that way it can also be a place where my shift boot can grip on !
it is getting stained tomorrow so ill post pics when it happens!
oh and i started a thread by just the wood itself. it seems to be pretty hard to get in so i should have no worries about it slipping. theres visible thread in there too! im happy.
i probably could use a nut with the same thread and glue it to the bottom of it. that way it can also be a place where my shift boot can grip on !

Thread Starter
Driver
Joined: Jul 2008
Posts: 185
Likes: 1
From: ma
kinda double posted here..
ill make them for 25 bucks shipped 20 picked up! any style at all! i got more wood in my shop too! if u give me a pic of a style im sure i can do it.
and im getting a maple/walnut stain on it for further info...
ill make them for 25 bucks shipped 20 picked up! any style at all! i got more wood in my shop too! if u give me a pic of a style im sure i can do it.
and im getting a maple/walnut stain on it for further info...