
DIY Clear corner marker lights

Thread Starter
Lexus Test Driver
iTrader: (33)
Joined: Jul 2004
Posts: 5,827
Likes: 4
From: Sideways on the Yellow Brick Road! < Thats KS!
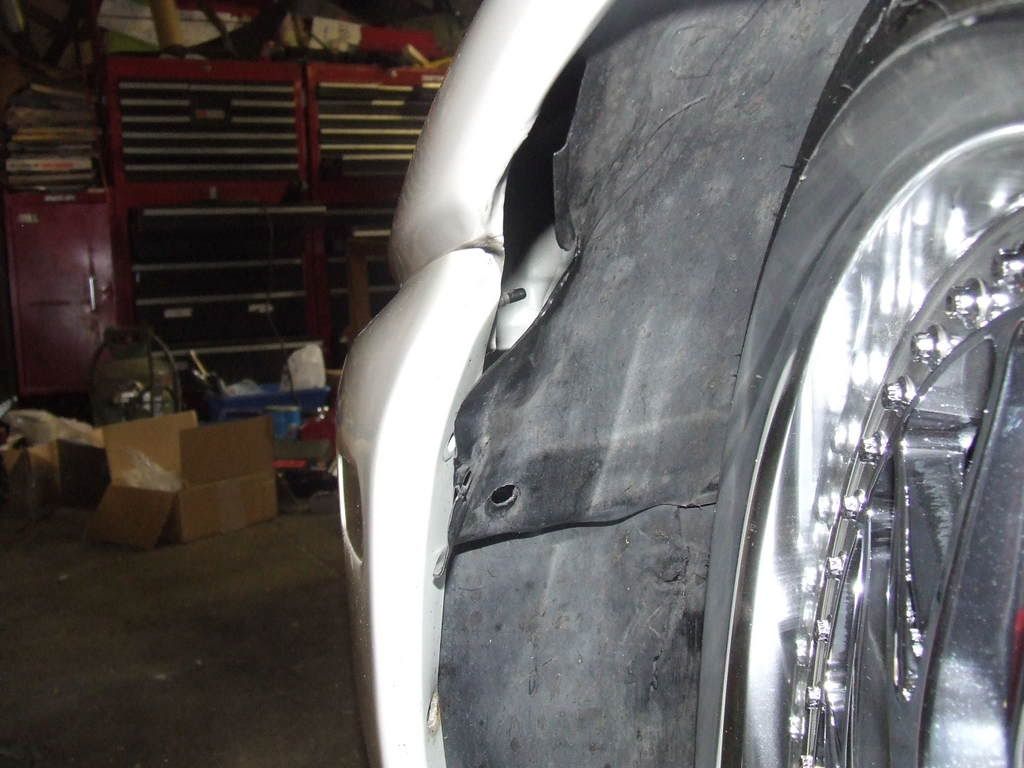
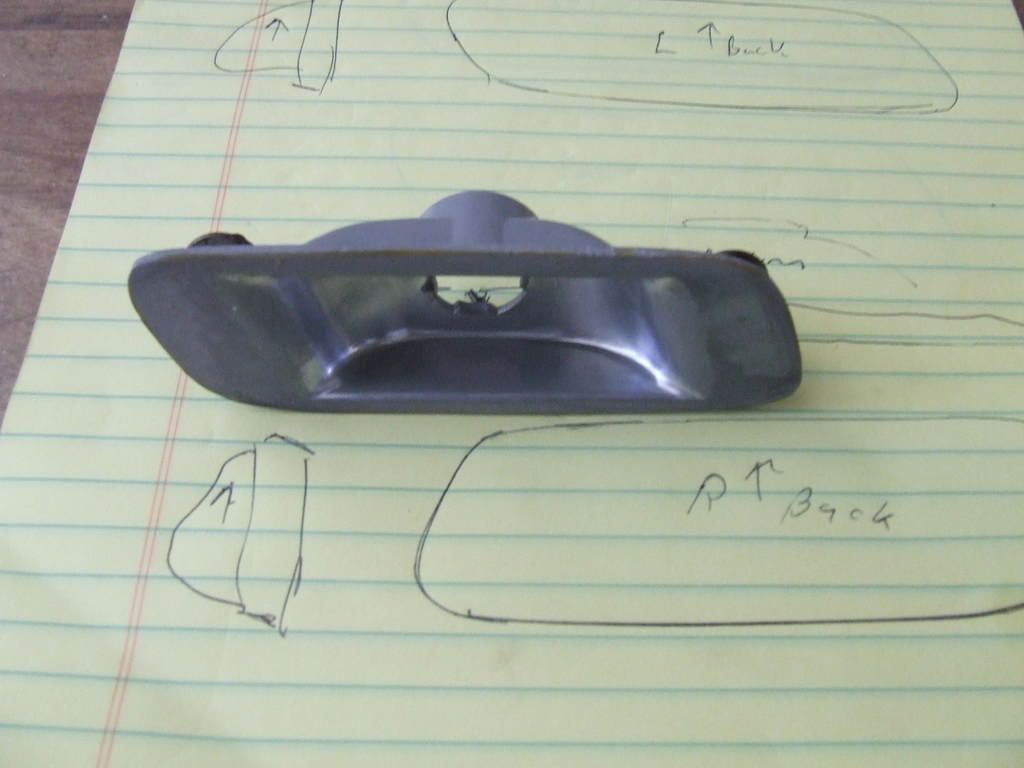
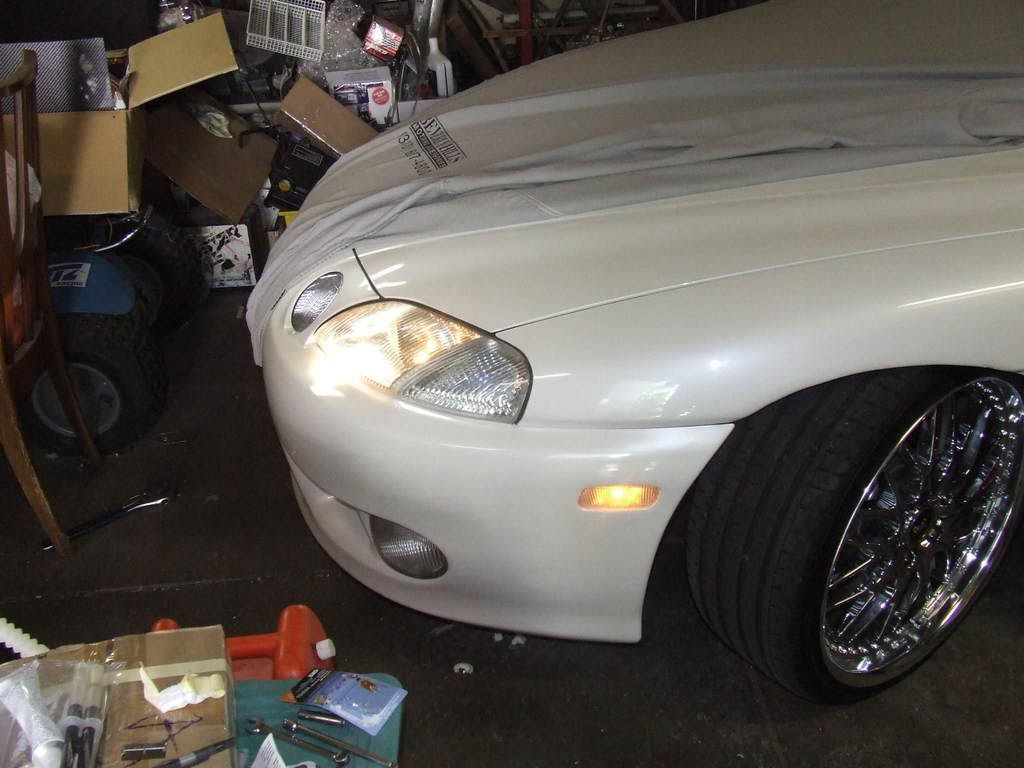
Remove the Lights by cranking the wheels left or right to access the fender liner. Remove three bolts and pull the splashguard out. You can now reach in with a socket/ratchet and remove the two nuts securing the lights. It might be a little tough to get to but it can be done. I did it.
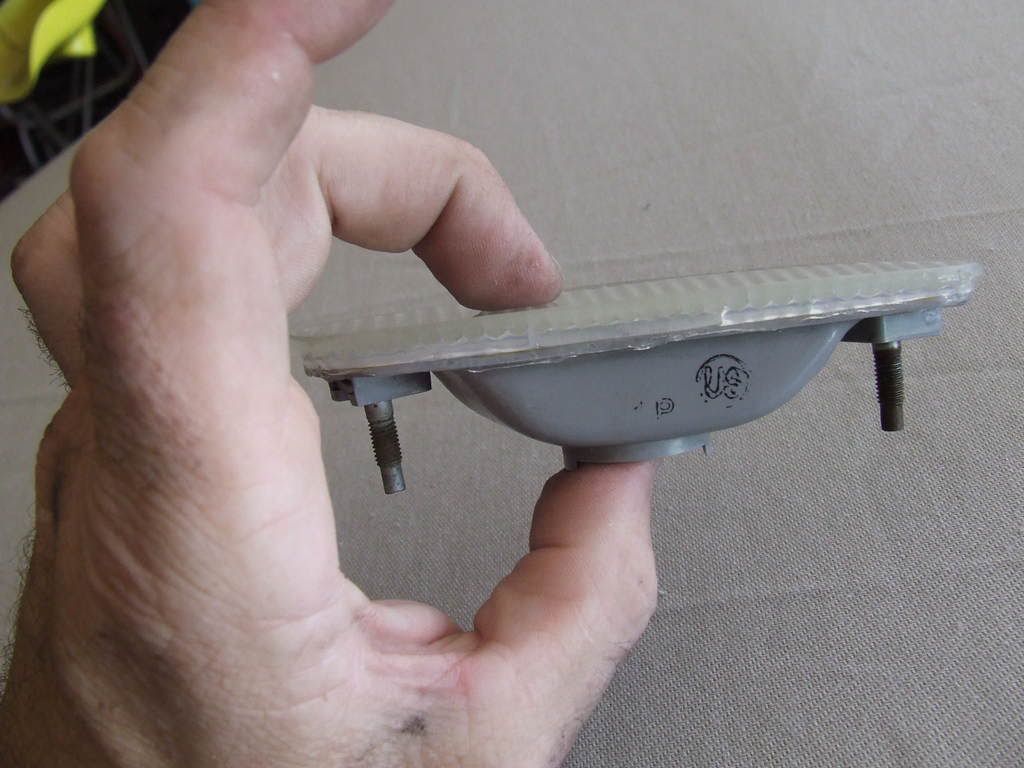
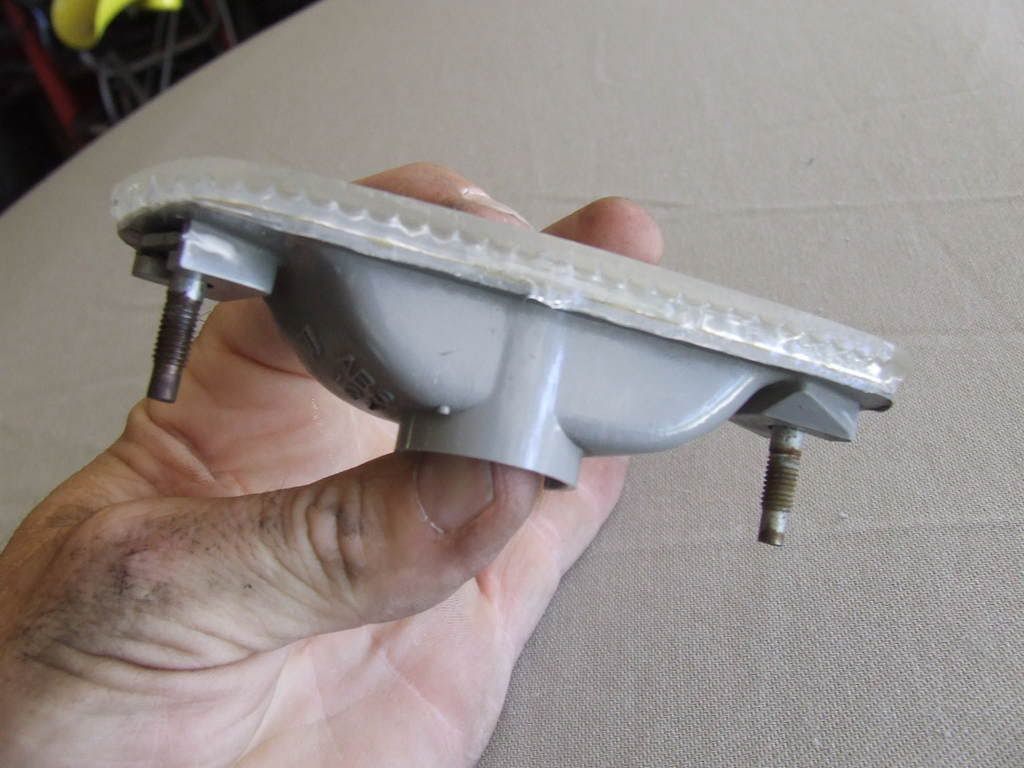
Here it is removed
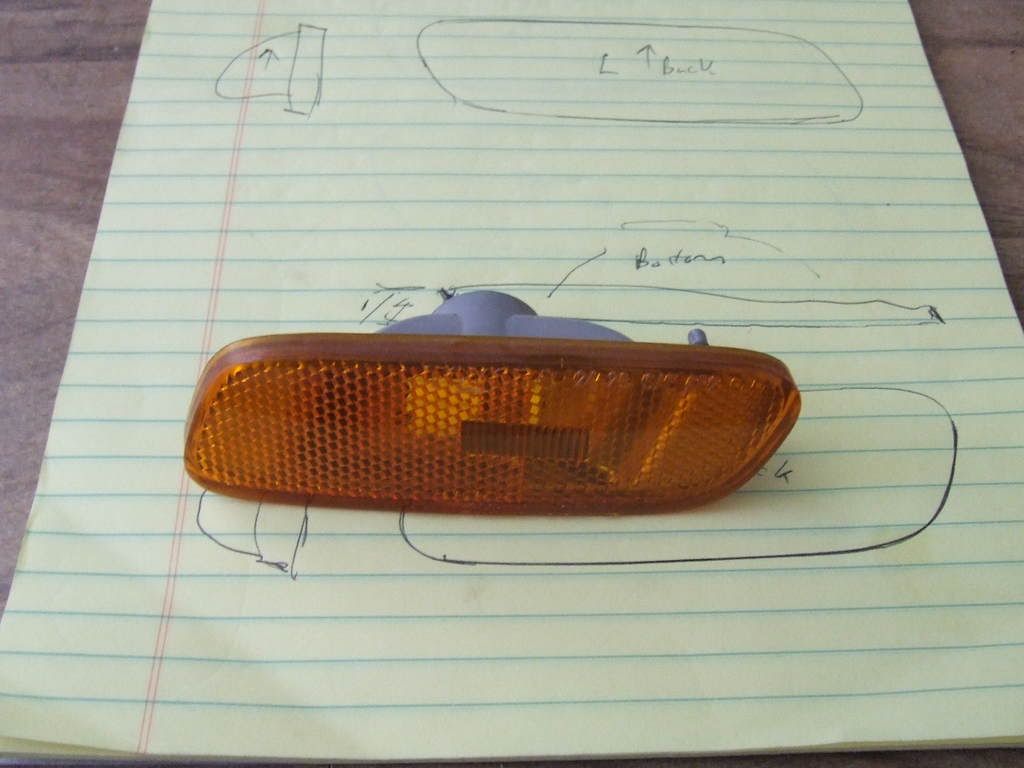
Trace around it on paper or poster board to make a template for match up later.
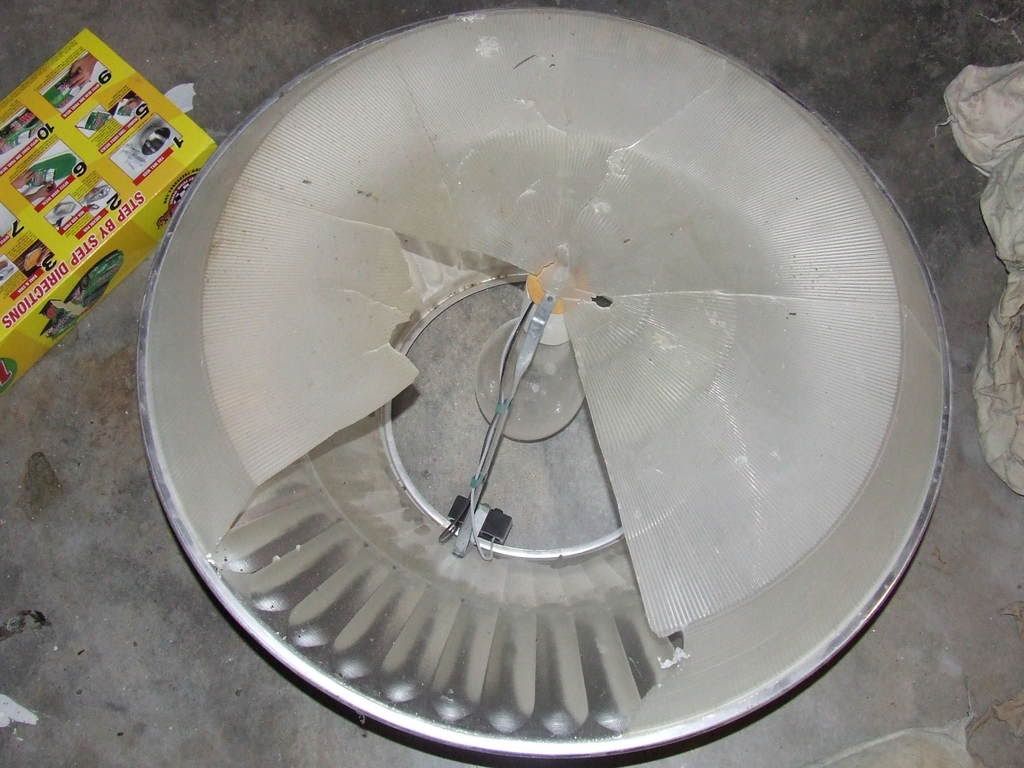
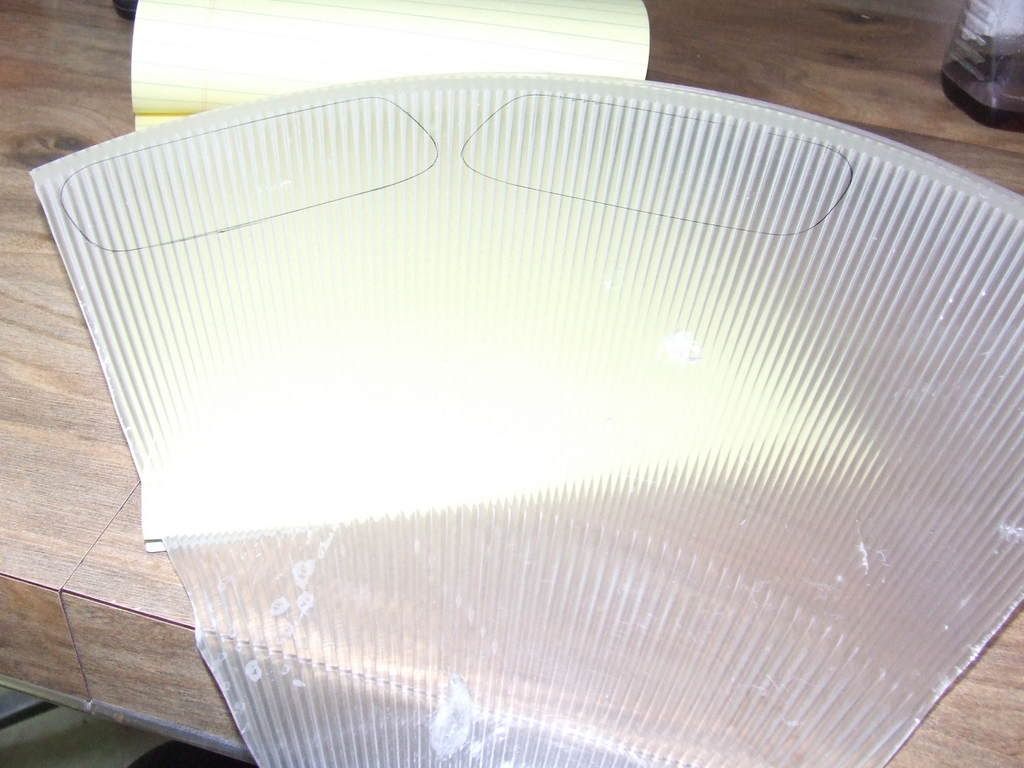
Here is the hard part, selecting a plastic. I wanted lines in mine to match the headlights and fog lights so I went in search of plastic with lines. I also didn’t want lines that were all parallel because I thought it would look to boxy. What I found was a old industrial light, it was perfect for what I wanted.
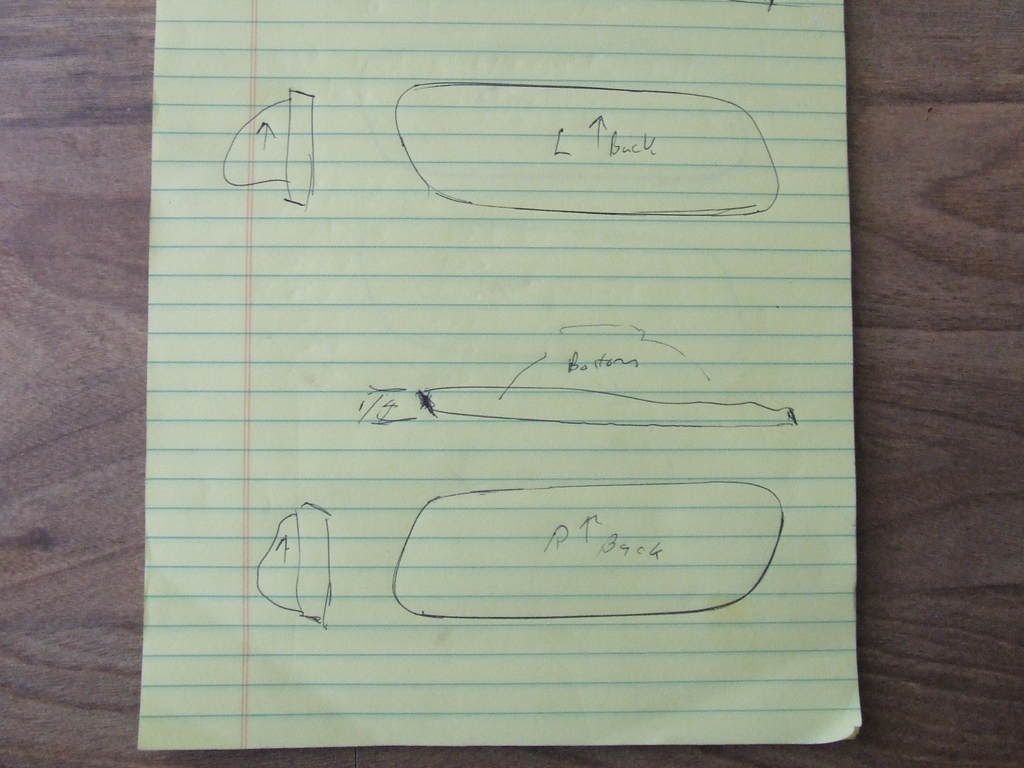
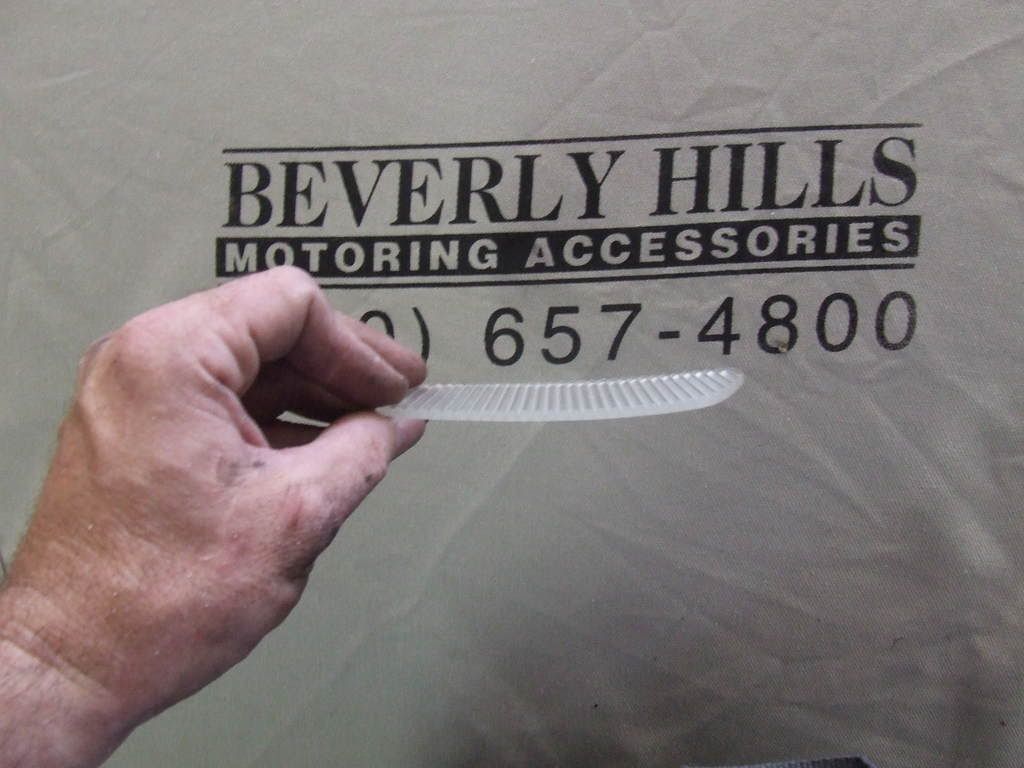
Trace the left and right light onto the plastic.
Here it is removed
Trace around it on paper or poster board to make a template for match up later.
Here is the hard part, selecting a plastic. I wanted lines in mine to match the headlights and fog lights so I went in search of plastic with lines. I also didn’t want lines that were all parallel because I thought it would look to boxy. What I found was a old industrial light, it was perfect for what I wanted.
Trace the left and right light onto the plastic.
Thread Starter
Lexus Test Driver
iTrader: (33)
Joined: Jul 2004
Posts: 5,827
Likes: 4
From: Sideways on the Yellow Brick Road! < Thats KS!
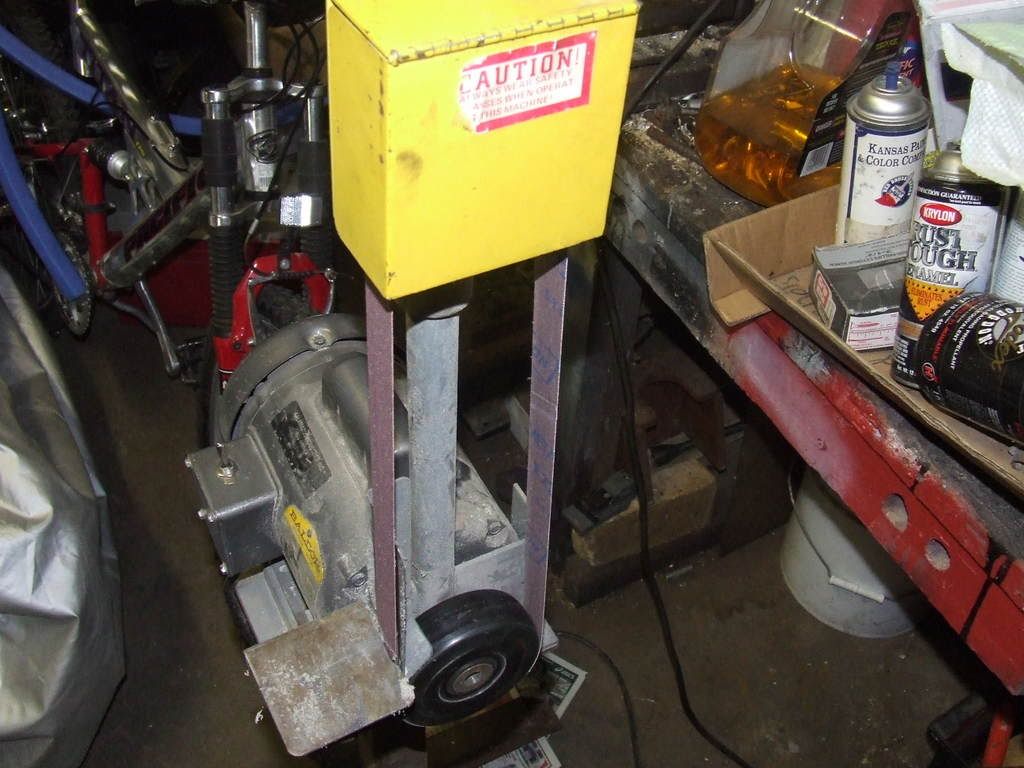
Using a belt sander or disc sander sand all the orange lens off the marker. This takes some time and patience. Here is my sander and here is a marker sanded down.
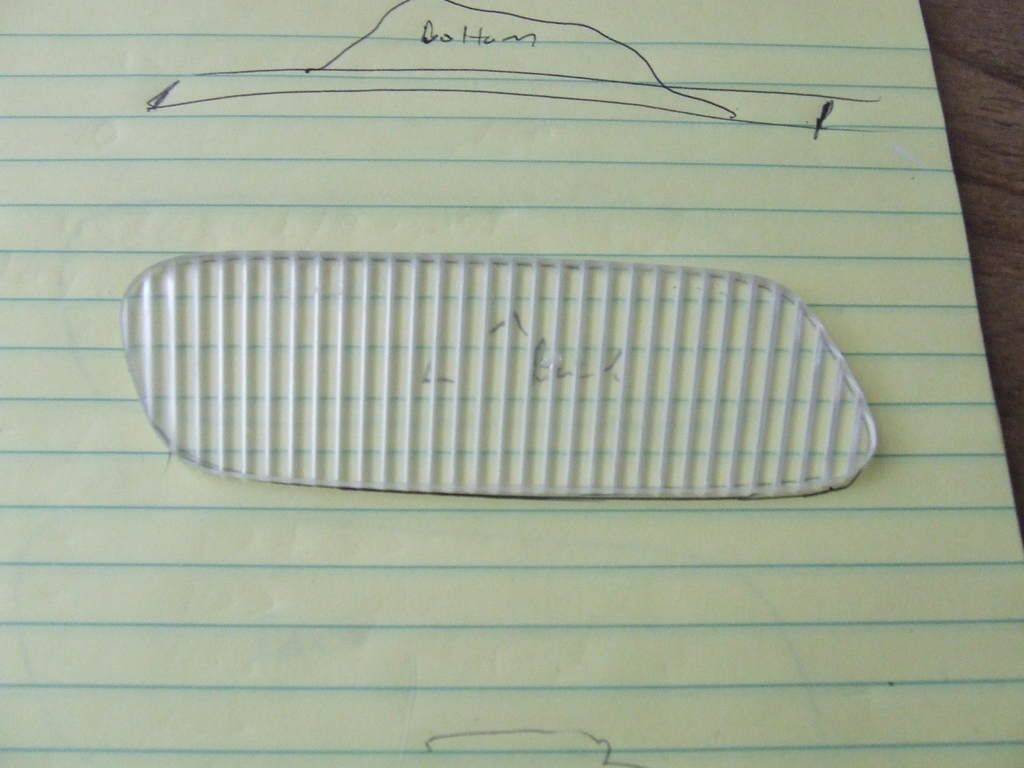
Now using a reciprocating saw, rough cut out the lenses. Use the belt sander to shape it then a bodywork file to finish shaping it. Finally sand the edges with 800 grit paper. It should look like this. Use the tracing on the paper to verify the outline as you shape it.

Next take a heat gun and put a slight curve in the lenses
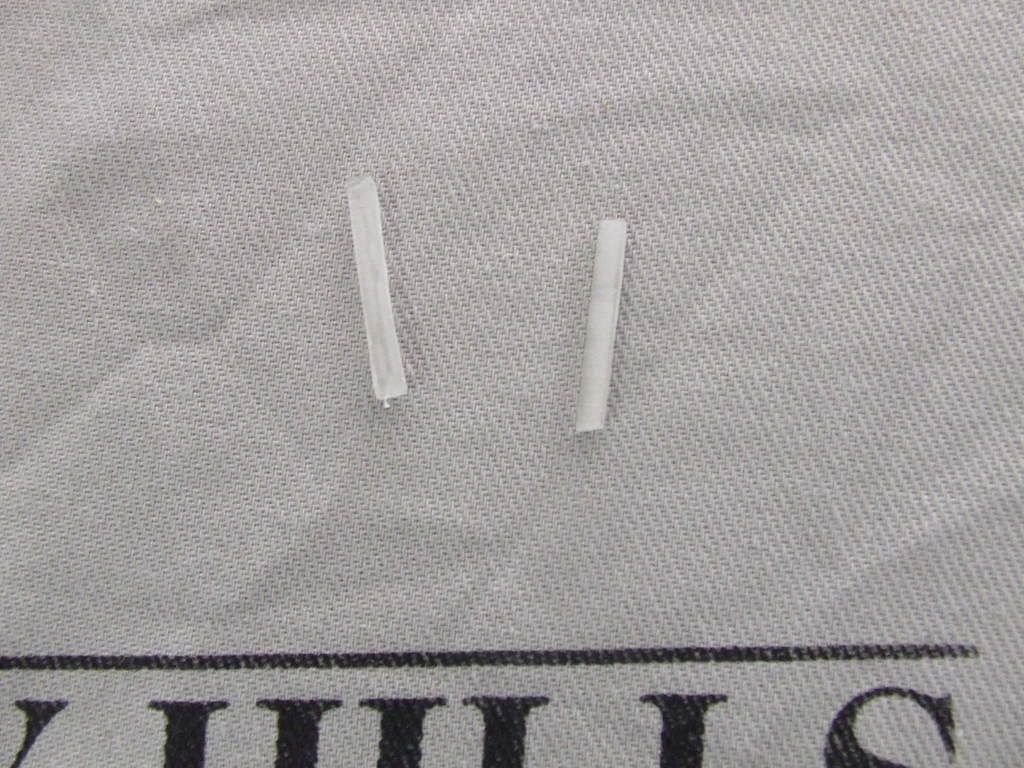
Cut four small strips of the plastic next. These will be to space the lenses out to give a nice flush look on the car.
Now using a reciprocating saw, rough cut out the lenses. Use the belt sander to shape it then a bodywork file to finish shaping it. Finally sand the edges with 800 grit paper. It should look like this. Use the tracing on the paper to verify the outline as you shape it.
Next take a heat gun and put a slight curve in the lenses
Cut four small strips of the plastic next. These will be to space the lenses out to give a nice flush look on the car.
Last edited by ScottURnot; Jul 21, 2007 at 06:44 PM.
Thread Starter
Lexus Test Driver
iTrader: (33)
Joined: Jul 2004
Posts: 5,827
Likes: 4
From: Sideways on the Yellow Brick Road! < Thats KS!
Using two part clear epoxy, glue the two strips to the light backing like this.
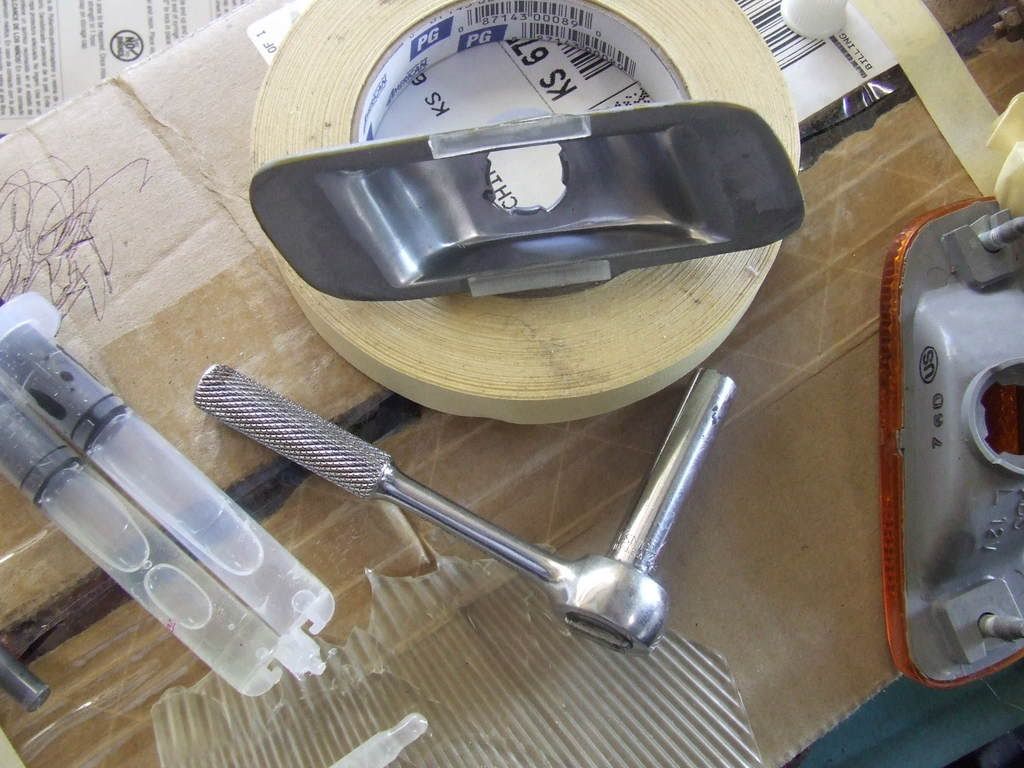
Next glue the lenses to the plastic strips again using the 2 part epoxy. Take care to get them centered, once you stick it, its stuck.

This next step is important. Go around the entire lights edges with clear silicone adhesive sealant. This will keep the moisture out and help hold the lens where you need it to keep it flush.
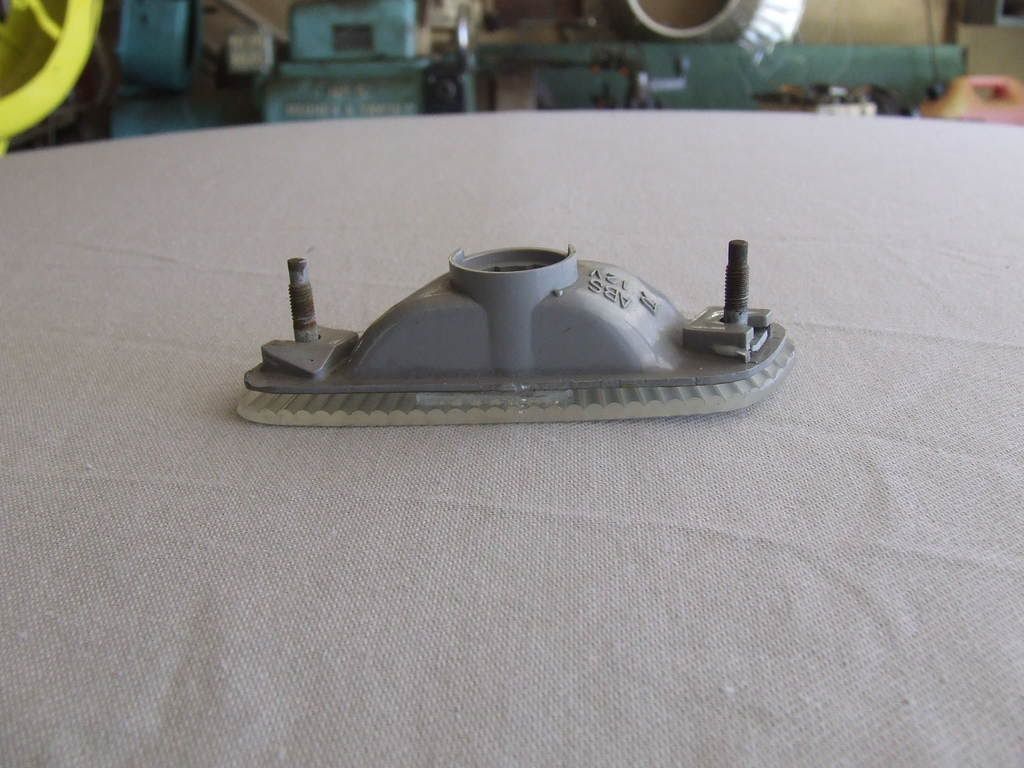
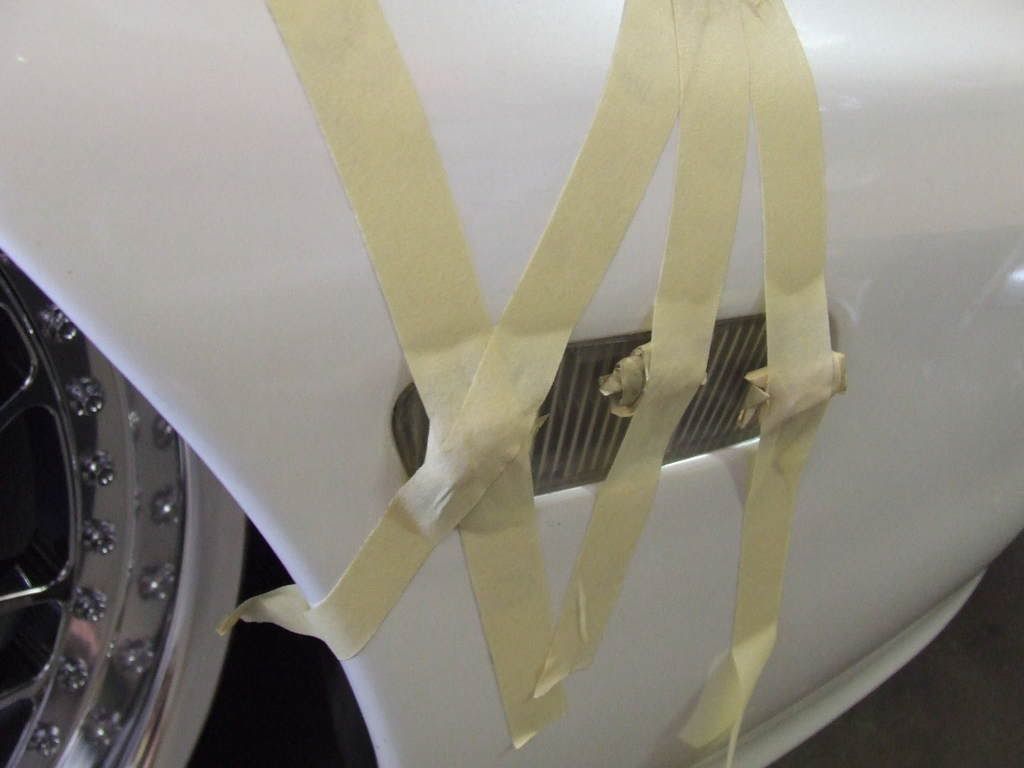
As soon as you have the silicone on bolt the light in the car. Then using tape and tape wads tape the lens into position. Really what you are trying to do here is push the ends in or bring them out. You may need to use the heat gun again to get it flush depending on how much pre curve you put in it. Once the silicone sets overnight the light will stay where you have it set. To really look smooth take time to do this right.
Next glue the lenses to the plastic strips again using the 2 part epoxy. Take care to get them centered, once you stick it, its stuck.
This next step is important. Go around the entire lights edges with clear silicone adhesive sealant. This will keep the moisture out and help hold the lens where you need it to keep it flush.
As soon as you have the silicone on bolt the light in the car. Then using tape and tape wads tape the lens into position. Really what you are trying to do here is push the ends in or bring them out. You may need to use the heat gun again to get it flush depending on how much pre curve you put in it. Once the silicone sets overnight the light will stay where you have it set. To really look smooth take time to do this right.
Thread Starter
Lexus Test Driver
iTrader: (33)
Joined: Jul 2004
Posts: 5,827
Likes: 4
From: Sideways on the Yellow Brick Road! < Thats KS!
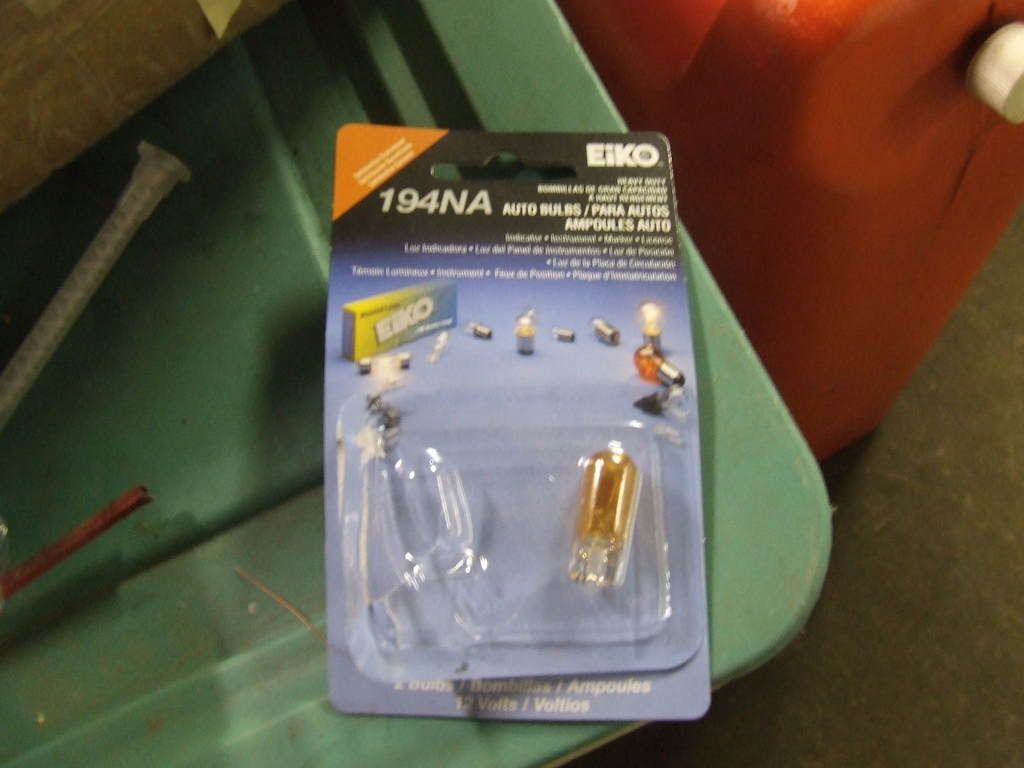
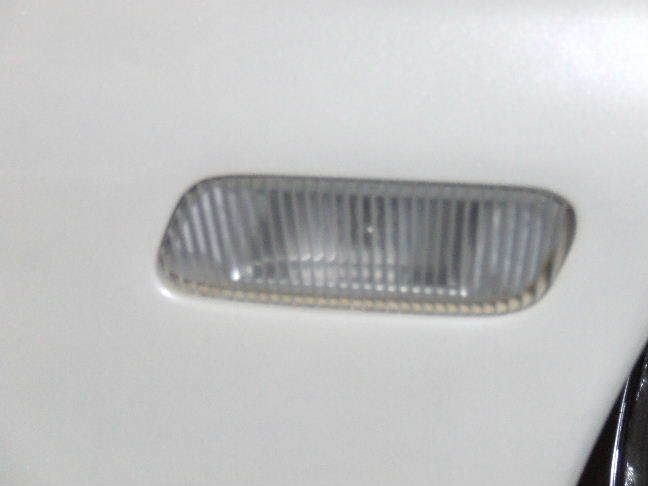
I just bought cheap amber bulbs to keep it legal. I may change these later.
Here are some complete pictures.

Amber light on
A few more finished pictures
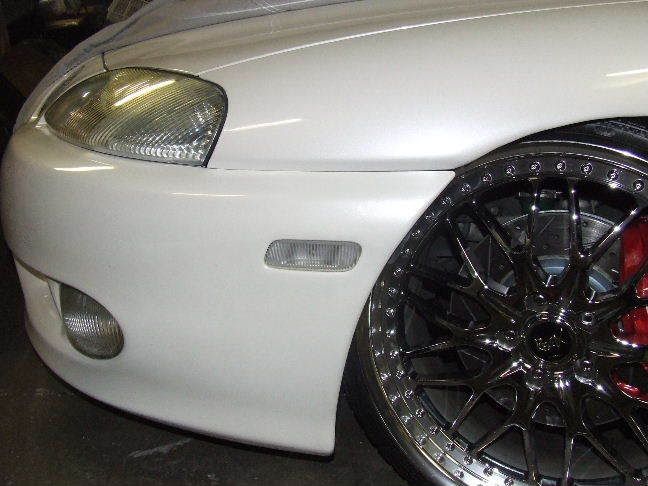
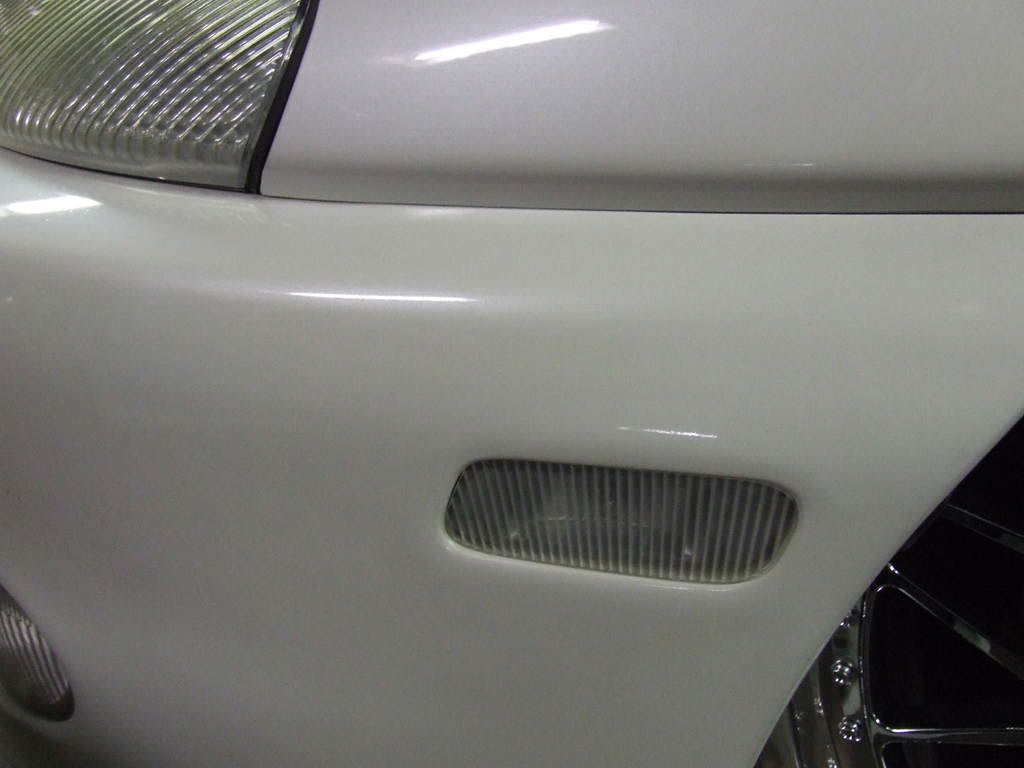

Here are some complete pictures.
Amber light on
A few more finished pictures
 thanks for sharing

Trending Topics
Thread Starter
Lexus Test Driver
iTrader: (33)
Joined: Jul 2004
Posts: 5,827
Likes: 4
From: Sideways on the Yellow Brick Road! < Thats KS!


