When you click on links to various merchants on this site and make a purchase, this can result in this site earning a commission. Affiliate programs and affiliations include, but are not limited to, the eBay Partner Network.
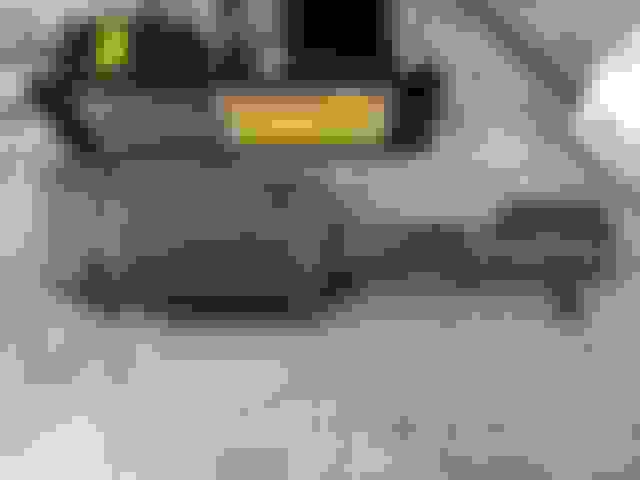
just wanted to drop some pictures from when I replaced a right rear air strut.
If you have the right tools it will take you about 1,5 hours. It's not that difficult.
This happened a week before the summer holiday so I was in a bit of a rush to get the stuff.
I bought an OEM strut in the UK which arrived after 2 days.
Next time a strut goes, I will replace everything with coilovers.
The bolts that attach the strut to the wheel hub (don't know the correct technical term) are VERY tight.
By hand there is no way you get these loose. I used an impact driver (Dewalt DCF887) and with that it's easy.
You also need an air/fuel line disconnect tool. You will need 1/4 inch. I borrowed mine from a local garage.
Just clip it around the airline and lightly tap it into the strut. After that it needs a light pull on the air line to get it out.
After that it's basic mechanic stuff.
If you have any questions: just ask
Last edited by MikeB139; Aug 14, 2018 at 06:12 AM.
I�ve had a response from the Dutch distributeur and he can�t garantee a 100% drop-in fit.
It�s a replacement for the non-air RX�s. So it should be fine.
On a British Lexus forum there is someone that did it (air to these coil-overs) and said it was quite easy, so I�m gonna go for it...
I�m probably ordering this week so should have some results posted in the coming week(s).
I just replaced the all the air struts with regular ones,just drop in the new spring ones no modification of any kind
There was an instrument cluster blinking light,I removed the cluster and cut a wire,I can not remember which ,I found that on this forum,no more blinking light but a solid air suspension one,you can cover with a black tape if you want
Okay, that took longer than intended, but I'm just too busy.
Tomorrow we are going to fit the coil-overs which I received two weeks ago.
Will keep you updated!
So, the time finally arrived: no more air suspension!
I guessed it would take us 6-7 hours, knowing how fast we changed the right rear air-stut.
Boy was I wrong... My friend guessed 10 hours. He was more right than I.
We started at noon and finished 22:30, only had a quick lunch and dinner.
Wheels off, LOTS of penetrating fluid on all nuts and bolts and hope for the best.
We started at the front, because we knew the rear wasn't going to be too hard (or so I thought).
Jack under the wheel hub to support everything.
Remove the wipers, windshield cowl and the caps that enclose the strut bolts and air line. Easy enough.
Unscrew the airline and FREAK OUT, since there is still pressure in the line (I forgot about that, hehehe)
So far it's an easy job. Everything unscrews easy enough.
The wheel hub bolts.......
Those did NOT come off easily.
We snapped off a 1/2" impact drill bit trying to get it off.
Fortunately we had a massive torque wrench (goes up to 500Nm, or 370 foot pound). That thing must weigh 8-10Kg.
Loaded it up to 300Nm (220 foot pound) to make sure the bolt wouldn't brake (I think it can take a lot more, but better safe than sorry).
It came off!!
Last time I saw that the stabilizer links were bad, so I decided to change them with new ones (Febi Bilsteins).
That decision took us a LOOOOOT of time. Of course a lot of the bolts wouldn't come off, rusted through and through.
Disc grinder to the rescue.
The front of the links were quite easy, the backs were a pain in the derriere.
Hard to reach, lots of other things you do NOT want to cut.
Yes I did hit a few things very slightly, so be it...
Man, I hadn't worked a lot with disc grinders, by now I'm an expert
Removing everything took us more than 7 hours!
Another pain in the ****: removing that STUPID 60 amp fuse.
That thing wouldn't come out. Tried pliers and lots of force. Nothing, nada, zip, ne rien, nichts, niets.
So I simply opened the fuse and cut it and pushed the metal parts to each side inside the fusehousing.
Test started the car, no beeps, just a solid green light at the "N" position.
Putting everything in took the remaining 2,5 hours.
Another nice, not, surprise: someone in Taiwan mislabeled the rear left and right strut.
I found out when we had mounted everything on the right side and saw that the mounting plates for the wiring and stabilizer link were on the wrong side...
Nice one.
This morning we adjusted the rear ride height.
It was too low for comfort and didn't look right.
We increased the height by 2cm. Now the stance is a bit lower than neutral with air (I will make a picture of that tomorrow).
Adjusting ride height is very easy: remove wheel, loosen the bottom ring and start twisting the strut to the desired height.
Took us just a few minutes per side.
Ride comfort is set to 2 clicks from the softest setting.
Finally it drives like it should have!
A lot less bumpy and a lot less sound coming in to the cabin from rough roads.
Next job: removing the compressor and selling that (and the one, good as new, air strut).
The thing I'm not going to do: removing the front lower control arm.
Those bushings look shot. That's a job for my indy.
It is definitely a diy job, but know that it takes a lot off time and patience.
I wouldn't have done this by myself. Working together is far easier.
Well, it depends on the car.
I got it for a good price, first owner, perfectly by the book maintenance till the last kilometer.
It had a new set of premium tires, newly powder coated rims, rear diff oil change, new wipers, new filters, etc. etc.
Basically a well maintained car.
Of course I knew beforehand the air would be troublesome, but that was calculated in my offer.


 (I forgot about that, hehehe)