


Whew...What a week!


Thread Starter
Moderator


Joined: Feb 2013
Posts: 2,498
Likes: 244
From: Milwaukee, Wi
 Whew...What a week!
Well, I took this week off to work on the RX and man oh man, did I hit it hard!
The short list;
Replaced B2 valve cover with newer style
Replaced all 4 struts and Stabilizer links
Replaced parking brake shoes and hardware
Installed LED bumper lamps
Installed Lexus Bumper step cover
Oil change
Differential fluid change
Transfer Case fluid change
The hardest part of the valve cover change was getting that 14mm bolt off the back of the plenum support. I was able to reach it with a very shallow Snap On 9/16 socket on a 1/4 drive ratchet. But I had to finish getting it out by hand after loosening the plenum on the lower intake. I suggest that you ensure the new cover is secure and you haven't rolled the gasket out of the valve cover before closing it up. I used a mirror to make sure I could see the gasket completely along the aft edge.
Toyota decided to use a Torx socket (E5) on the fuel injection harness for some stupid reason , and I wasted about 3 hours driving around looking for that stupid socket. I finally just used a pair of vise grips and that worked fine.
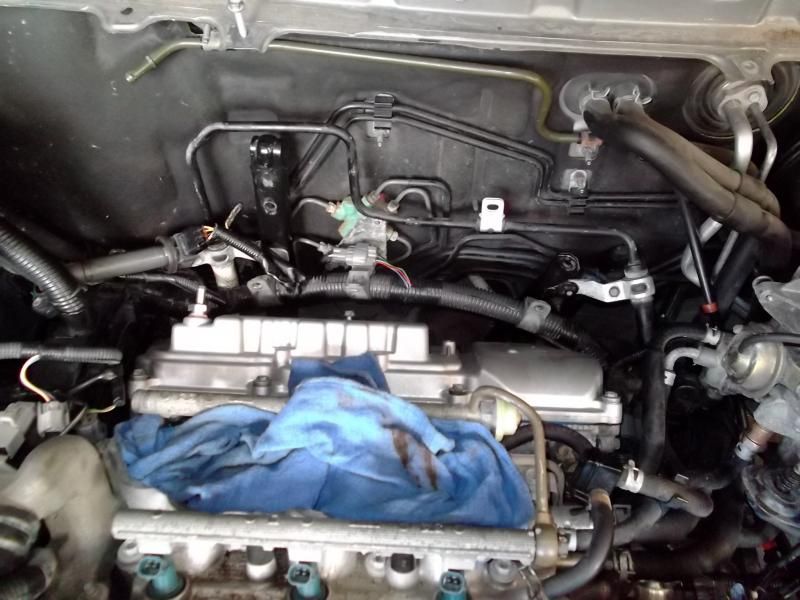
There was a good bit of varnish in the heads, and around the cams even after I did the Auto RX treatment. I did clean up the front VC and then re-installed it with a new gasket.
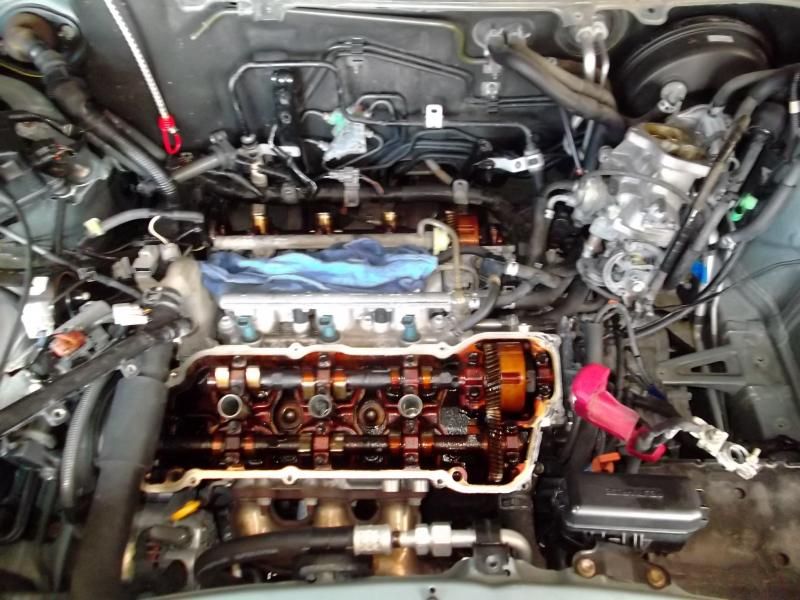
I used the original PCV hose, but cut it down an inch or so to allow it to work with the new set up.
The pipe that is fitted into the upper plenum was almost completely blocked with dried oil, so I made sure that was cleaned out and free to breath.
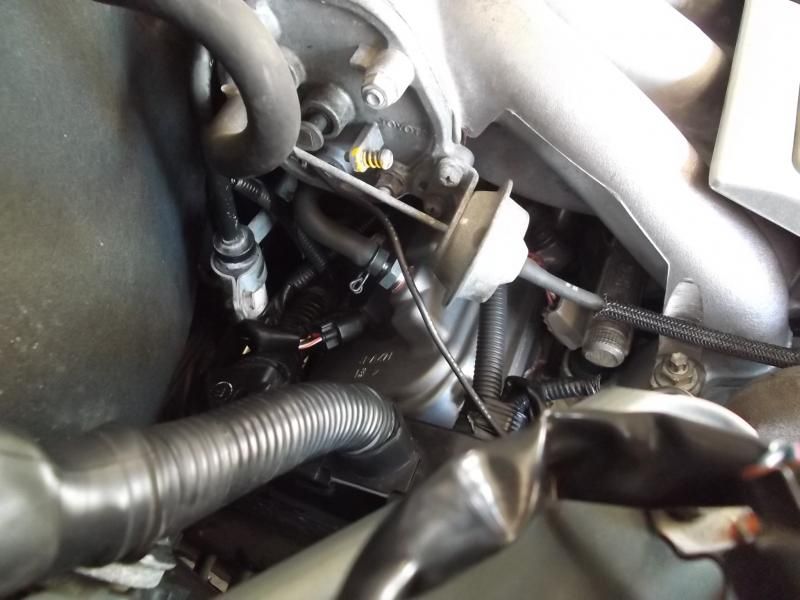
It was necessary to remove the wiper motor, the tray that sits above the engine and the strut brace. I had to pull the 10mm bolt that holds the brake fluid reservoir to access the brace.
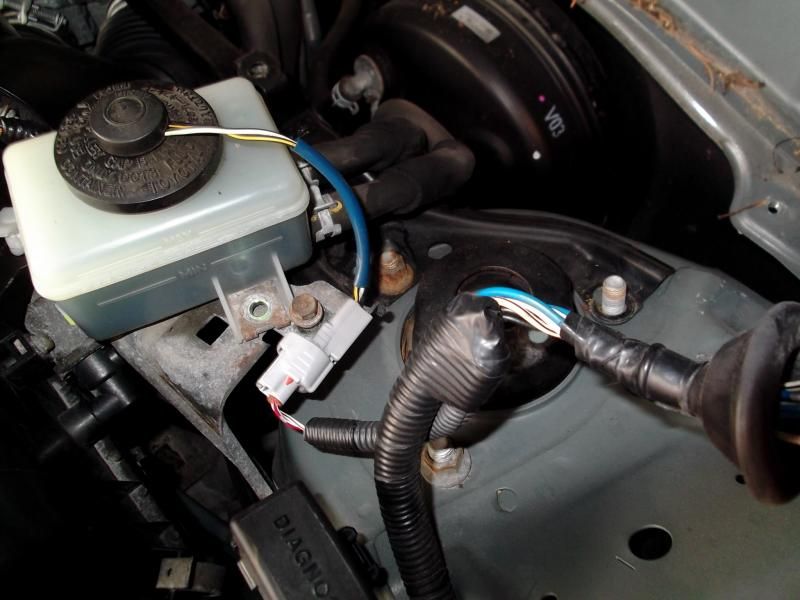
Going back together here. I really didn't run into any problems. It went fairly easily. Just make sure to take your time and double check each step.
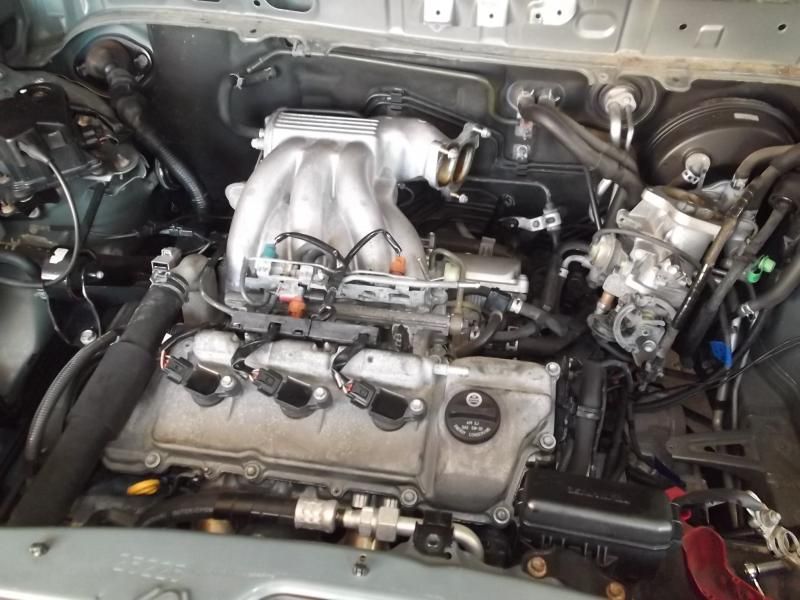
The completed engine. No leaks, no missing tools, no lights and most importantly, no strange noises..
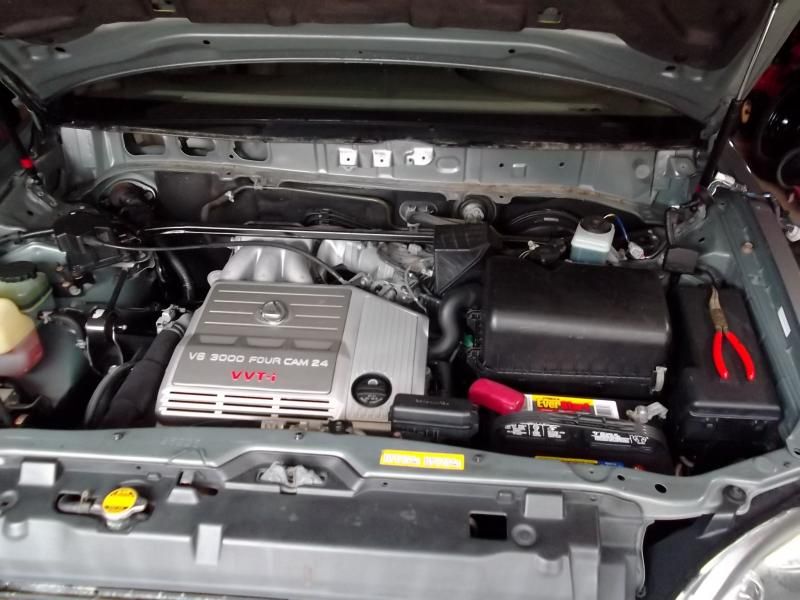
Struts were next. The stabilizer links were beyond worn out. They were just plain sloppy... Brakes were recently done, so I didn't have any work there, but the parking brake had never been serviced, which surprised me, so I replaced the shoes and the hardware.
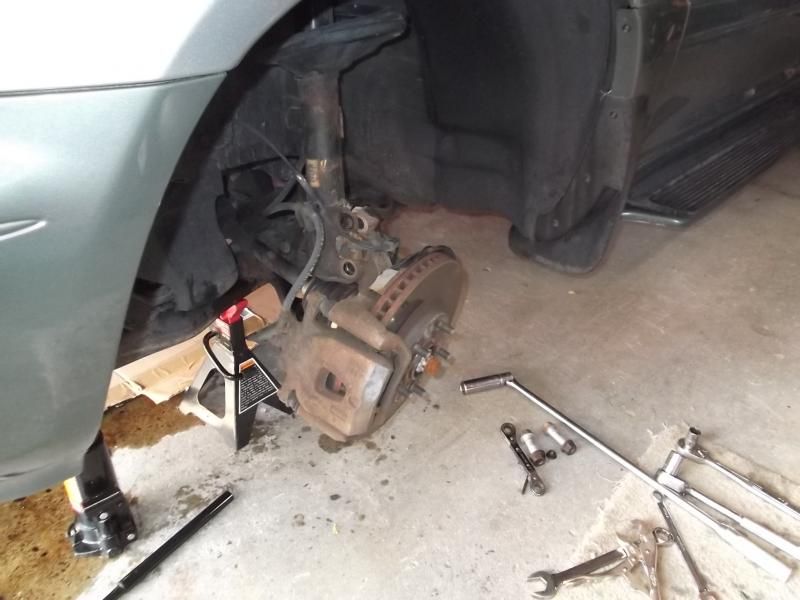
I went with Sensen aftermarket struts I got off eBay for 165.00 delivered, which for the price I felt were actually pretty nice. They give a nice ride and feel good.
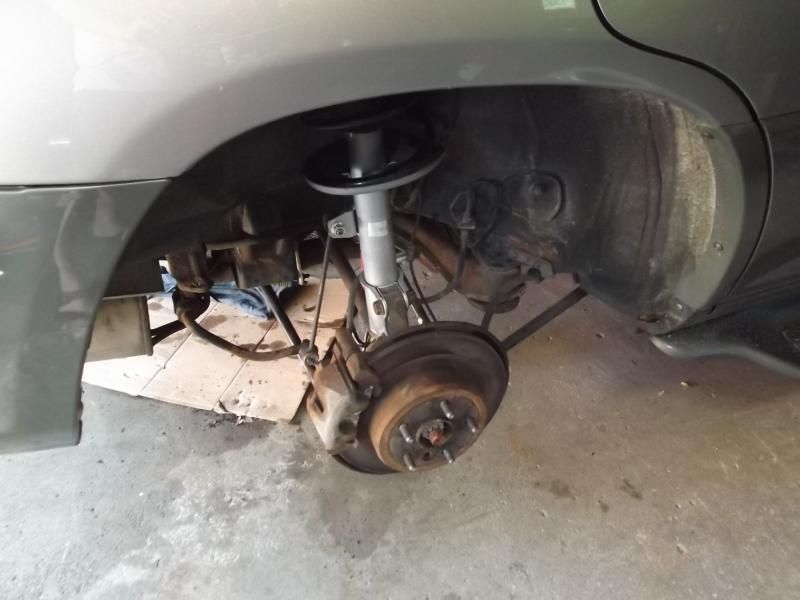
I then tackled the rear bumper cover. About 3 months ago I had an elderly woman bump into me with, of all things, a 2002 Highlander... It didn't do much damage, but it did mark up the cover a little. I had to replace the bumper bar, as it got pushed in slightly on the driver's side. I found the bumper bar, styrofoam and an original Lexus bumper cover on Craigslist for 75 bucks. The cover had the step cover on it, which you'll see furhter down the post.
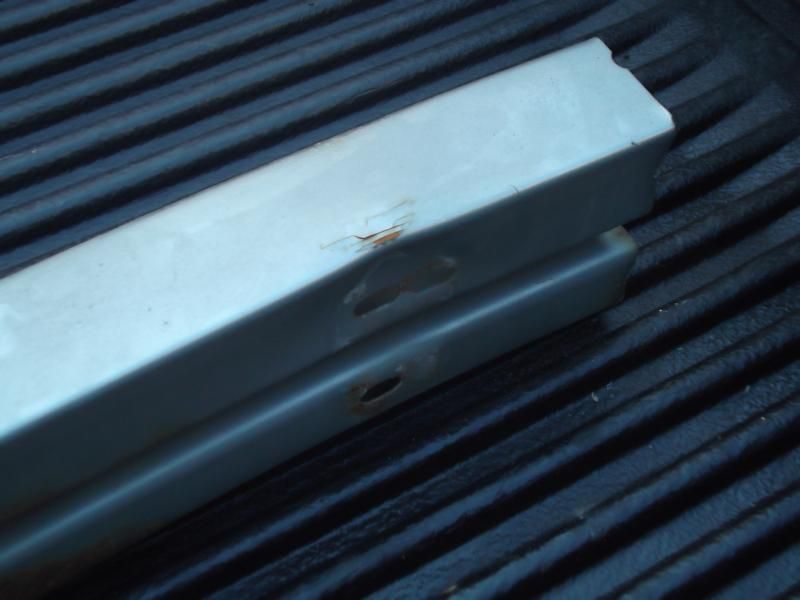
Here's a shot of the old bumper bar. Notice the wrinkles around the bolt holes. That was enough to make the cover not sit correctly on the back of the car.
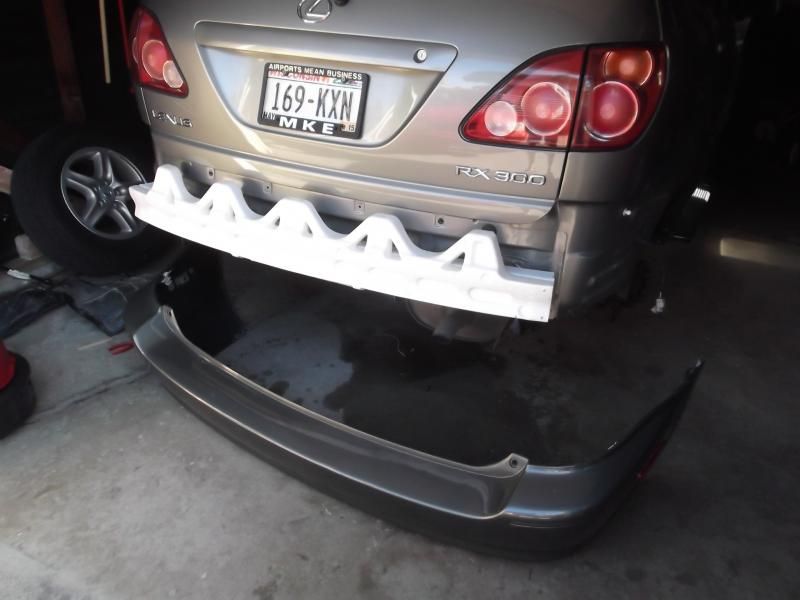
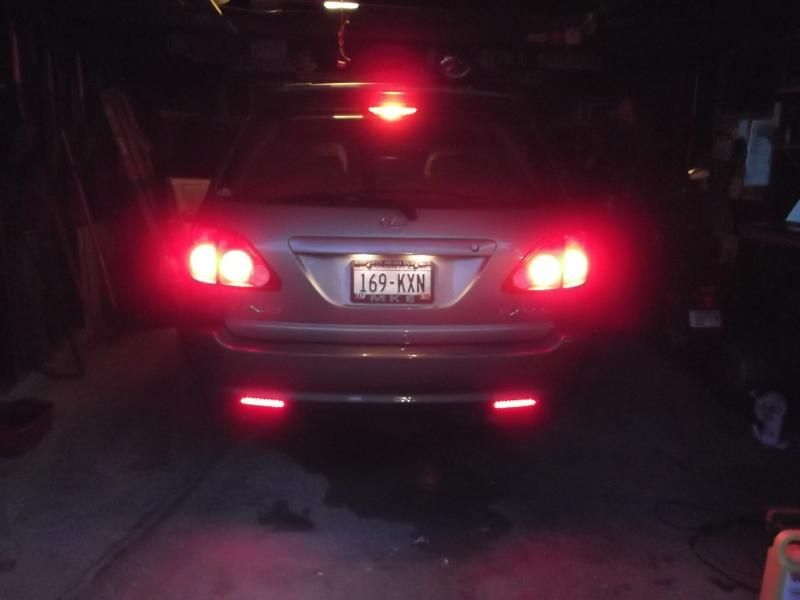
While I was in there I decided to install new side marker lenses, as the originals were completely faded. I also installed red LED bumper lights, which I got off eBay for 20.00 delivered.. I like the way they look and they were pretty easy to install. I teid them in to the harness as it goes out to each taillight assy.
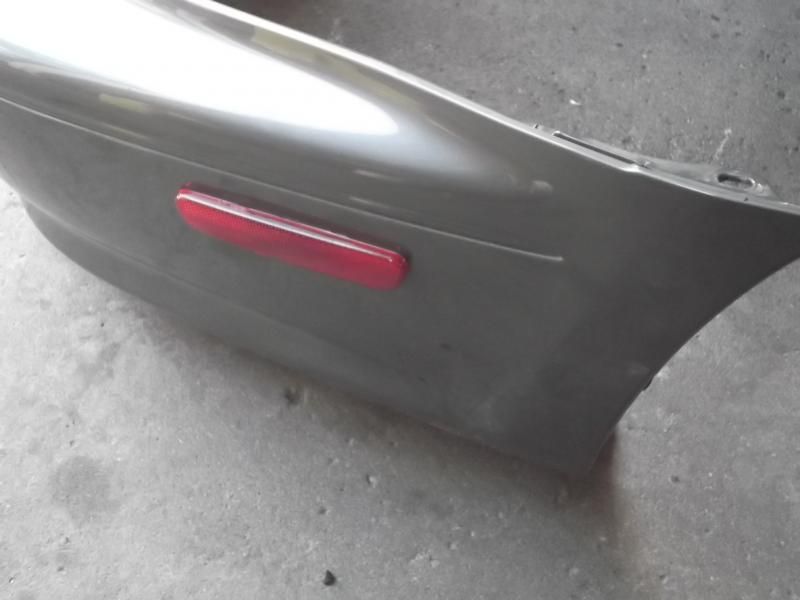
Here's the new side marker lens
And here's a couple shots of the LED bumper lamps.
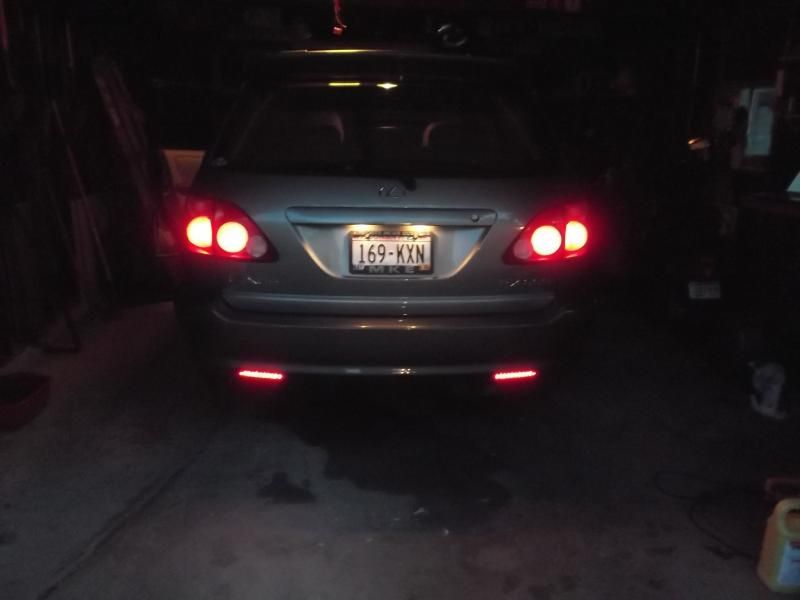
And with brake lights on..
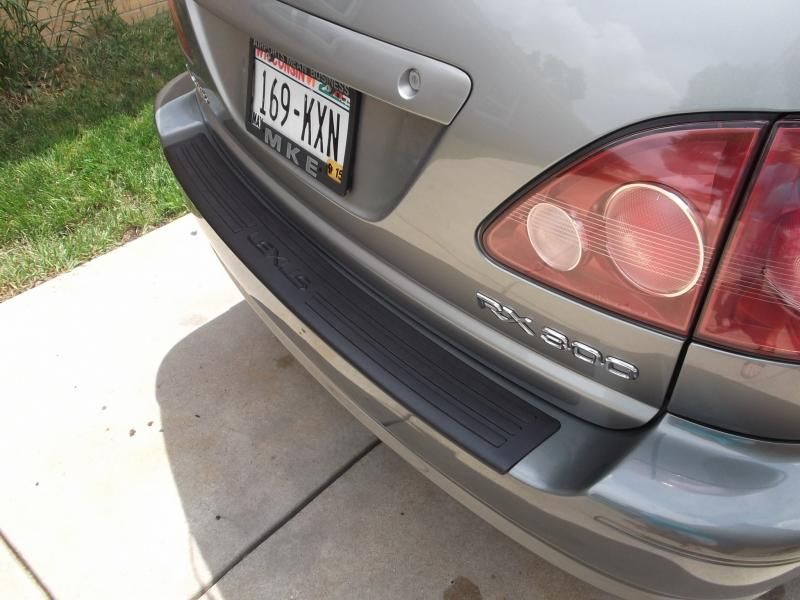
Next was the bumper top step cover i got with the rear cover. It was a breeze to install. Just use a good quality wax and grease remover before you install the cover. It's held on with double sided tape. Make sure it's centered before you stick it down. You only get one shot at this...
I didn't have any issues doing the differential and transfer case oil, but the drain plug for the Transfer case is 24mm and you have to use an open ended wrench on it. Nothing else would work.
I will need to do a front end alignment soon, but I'm also looking at new tires as well, so I'll do the alignment then.
Overall a good week. Very tiring, but it was a good deal of work that I accomplished.
I should be good to go for a while........
The short list;
Replaced B2 valve cover with newer style
Replaced all 4 struts and Stabilizer links
Replaced parking brake shoes and hardware
Installed LED bumper lamps
Installed Lexus Bumper step cover
Oil change
Differential fluid change
Transfer Case fluid change
The hardest part of the valve cover change was getting that 14mm bolt off the back of the plenum support. I was able to reach it with a very shallow Snap On 9/16 socket on a 1/4 drive ratchet. But I had to finish getting it out by hand after loosening the plenum on the lower intake. I suggest that you ensure the new cover is secure and you haven't rolled the gasket out of the valve cover before closing it up. I used a mirror to make sure I could see the gasket completely along the aft edge.
Toyota decided to use a Torx socket (E5) on the fuel injection harness for some stupid reason
, and I wasted about 3 hours driving around looking for that stupid socket. I finally just used a pair of vise grips and that worked fine.
There was a good bit of varnish in the heads, and around the cams even after I did the Auto RX treatment. I did clean up the front VC and then re-installed it with a new gasket.

I used the original PCV hose, but cut it down an inch or so to allow it to work with the new set up.
The pipe that is fitted into the upper plenum was almost completely blocked with dried oil, so I made sure that was cleaned out and free to breath.

It was necessary to remove the wiper motor, the tray that sits above the engine and the strut brace. I had to pull the 10mm bolt that holds the brake fluid reservoir to access the brace.

Going back together here. I really didn't run into any problems. It went fairly easily. Just make sure to take your time and double check each step.

The completed engine. No leaks, no missing tools, no lights and most importantly, no strange noises..

Struts were next. The stabilizer links were beyond worn out. They were just plain sloppy... Brakes were recently done, so I didn't have any work there, but the parking brake had never been serviced, which surprised me, so I replaced the shoes and the hardware.

I went with Sensen aftermarket struts I got off eBay for 165.00 delivered, which for the price I felt were actually pretty nice. They give a nice ride and feel good.

I then tackled the rear bumper cover. About 3 months ago I had an elderly woman bump into me with, of all things, a 2002 Highlander... It didn't do much damage, but it did mark up the cover a little. I had to replace the bumper bar, as it got pushed in slightly on the driver's side. I found the bumper bar, styrofoam and an original Lexus bumper cover on Craigslist for 75 bucks. The cover had the step cover on it, which you'll see furhter down the post.
Here's a shot of the old bumper bar. Notice the wrinkles around the bolt holes. That was enough to make the cover not sit correctly on the back of the car.


While I was in there I decided to install new side marker lenses, as the originals were completely faded. I also installed red LED bumper lights, which I got off eBay for 20.00 delivered.. I like the way they look and they were pretty easy to install. I teid them in to the harness as it goes out to each taillight assy.
Here's the new side marker lens

And here's a couple shots of the LED bumper lamps.

And with brake lights on..

Next was the bumper top step cover i got with the rear cover. It was a breeze to install. Just use a good quality wax and grease remover before you install the cover. It's held on with double sided tape. Make sure it's centered before you stick it down. You only get one shot at this...

I didn't have any issues doing the differential and transfer case oil, but the drain plug for the Transfer case is 24mm and you have to use an open ended wrench on it. Nothing else would work.
I will need to do a front end alignment soon, but I'm also looking at new tires as well, so I'll do the alignment then.
Overall a good week. Very tiring, but it was a good deal of work that I accomplished.
I should be good to go for a while........

Driver
Joined: May 2014
Posts: 105
Likes: 1
From: Ohio
I feel ya!
I used the HF pass through ratchet on the 14mm plenum support. Worth the 19.99.
"The Family Handyman" did a comparison on those pass through ratchets. Did pretty good. I dropped mine in some used motor oil. Lubed up those gears great!!
Don't forget to use your 20% off coupon!!!
I used the HF pass through ratchet on the 14mm plenum support. Worth the 19.99.
"The Family Handyman" did a comparison on those pass through ratchets. Did pretty good. I dropped mine in some used motor oil. Lubed up those gears great!!
Don't forget to use your 20% off coupon!!!


Pit Crew
Joined: Aug 2013
Posts: 170
Likes: 20
From: FL
I just did my struts with Sensens (I paid $140ish shipped through Amazon because I bought them in pairs, which was cheaper)
I can attest to the build quality and ride improvement. Matter of fact they look 100% identical to the worn out KYB's someone had replaced in the past.
I can attest to the build quality and ride improvement. Matter of fact they look 100% identical to the worn out KYB's someone had replaced in the past.


Thread Starter
Moderator
Joined: Feb 2013
Posts: 2,498
Likes: 244
From: Milwaukee, Wi
However, before I got the car, the oil changes were done at the Lexus dealer regularly and more than likely with Dino oil..
Trending Topics
Thread Starter
Moderator
Joined: Feb 2013
Posts: 2,498
Likes: 244
From: Milwaukee, Wi
I just did my struts with Sensens (I paid $140ish shipped through Amazon because I bought them in pairs, which was cheaper)
I can attest to the build quality and ride improvement. Matter of fact they look 100% identical to the worn out KYB's someone had replaced in the past.
I can attest to the build quality and ride improvement. Matter of fact they look 100% identical to the worn out KYB's someone had replaced in the past.
The rear struts were perfect.
Thread Starter
Moderator
Joined: Feb 2013
Posts: 2,498
Likes: 244
From: Milwaukee, Wi
You ain't kiddin, Lex.
I started Monday morning around 9am and finished the VC replacement around 6pm. Running around looking for tools wasted a lot of time Monday. Tuesday was Strut day, and the garage that swapped over the springs took longer than I expected them too, so that set me back a day.
The parking brake work was not planned for, but really needed to be done.
I started Monday morning around 9am and finished the VC replacement around 6pm. Running around looking for tools wasted a lot of time Monday. Tuesday was Strut day, and the garage that swapped over the springs took longer than I expected them too, so that set me back a day.
The parking brake work was not planned for, but really needed to be done.


Lexus Test Driver
Joined: Sep 2007
Posts: 962
Likes: 28
From: Iowa
Nice job, 2K! I have a question for you and Eric -- I have done struts before, but not on this car. It was a real bear getting the springs compressed. How did you go about that? And did you need a four-wheel alignment when you were done?

Thread Starter
Moderator
Joined: Feb 2013
Posts: 2,498
Likes: 244
From: Milwaukee, Wi
Spring compressor is in the trash

As far as an alignment, it could use it, but I'm planning on new tires in the next month, so I'll do the alignment then
Pit Crew
Joined: Aug 2013
Posts: 170
Likes: 20
From: FL
Alignment was needed but just slightly up front. Barely pulled to the left.