99 RX audio upgrade log


Thread Starter
Rookie
Joined: Nov 2011
Posts: 84
Likes: 3
From: California
Ok so Ive been sitting on this for a while. I did and are currently upgrading my audio system in my Lexus. Wanted to post on here for those wanting ideas for a DIY upgrade. Its a lot of custom work but it shows that it can be done. Hope you guys enjoy..
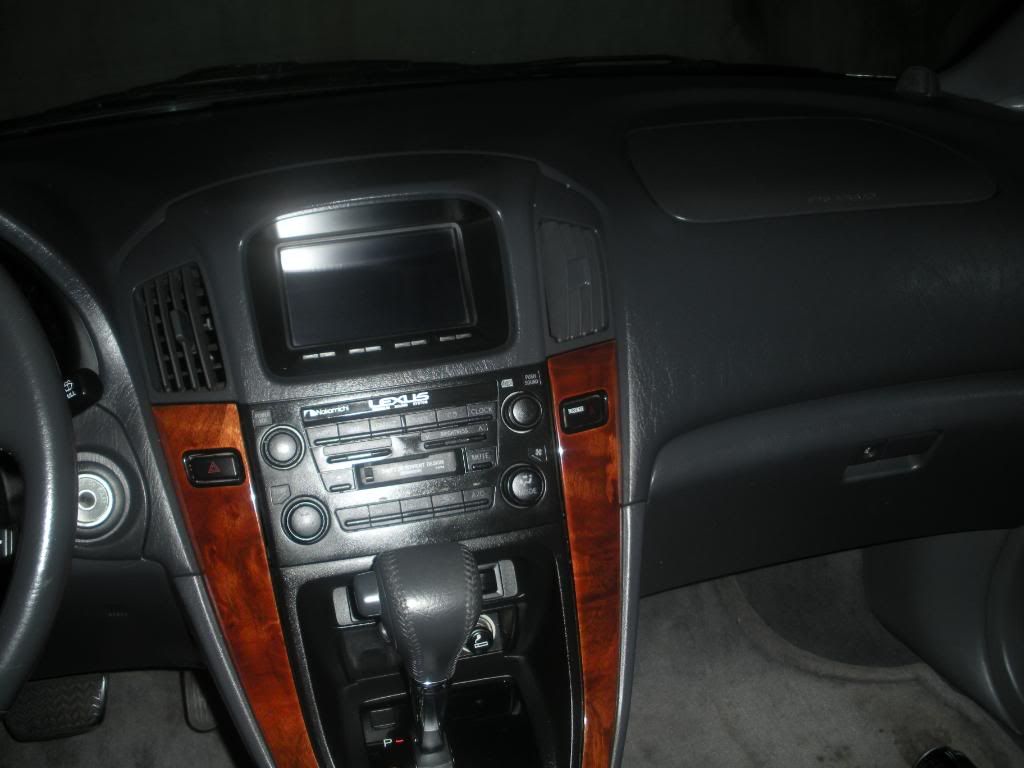
First few shots are of the aftermarket radio and location.
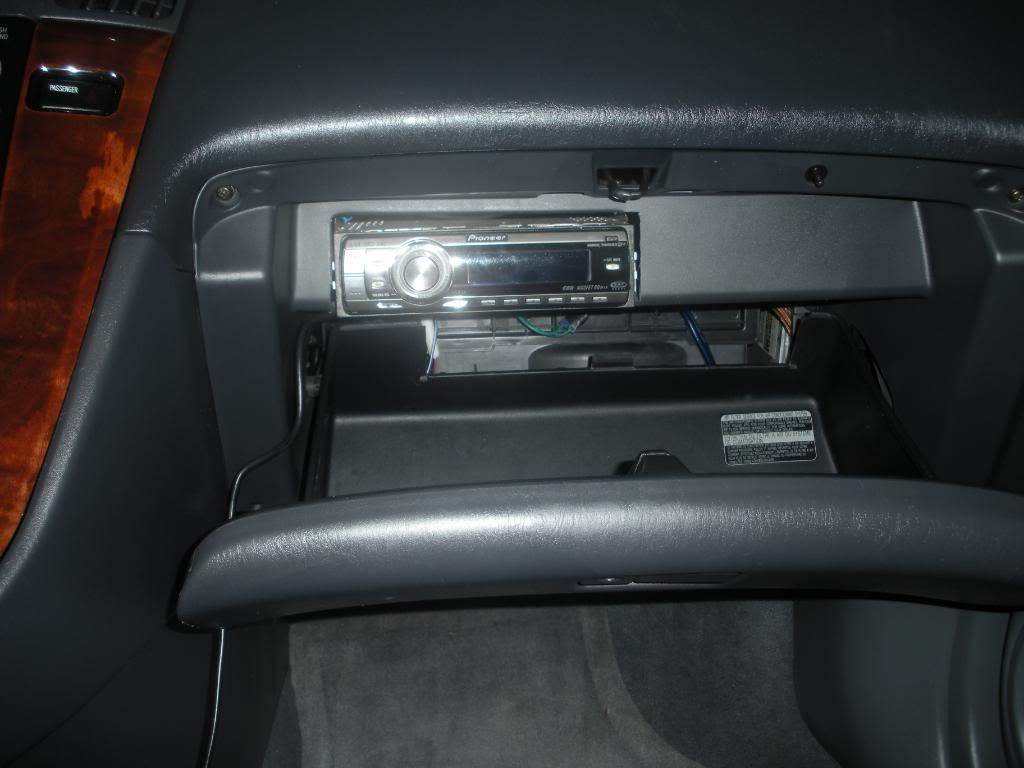
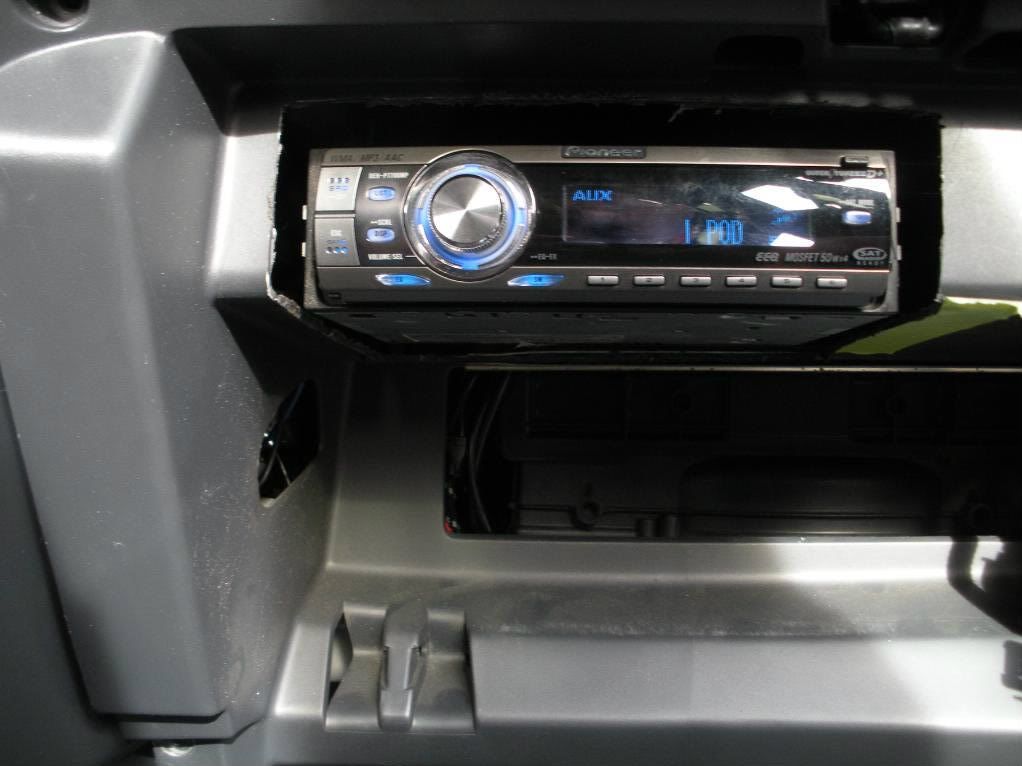
Sorry I dont have any pics of the mounting of the radio but i used the bracket from the factory cd changer. When I pull this out to do some more work Ill take a few shots of it.
The look im going for.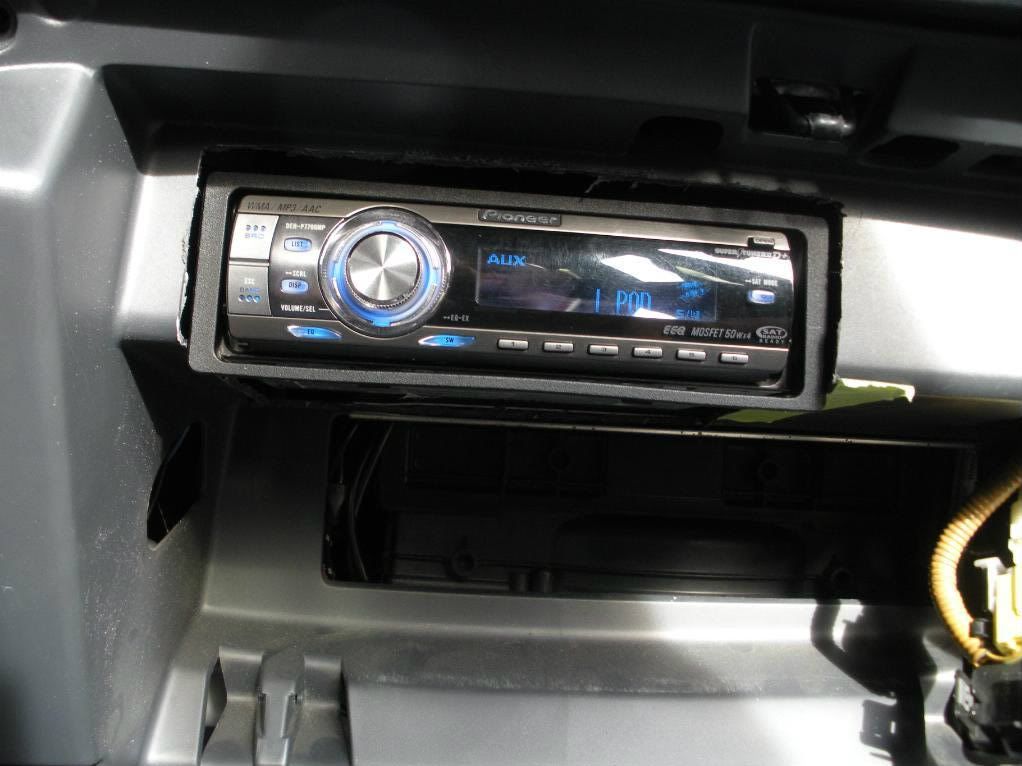
Let the work begin.
First few shots are of the aftermarket radio and location.
Sorry I dont have any pics of the mounting of the radio but i used the bracket from the factory cd changer. When I pull this out to do some more work Ill take a few shots of it.
The look im going for.
Let the work begin.
Last edited by RXdriver11; Feb 26, 2012 at 07:43 PM.
Thread Starter
Rookie
Joined: Nov 2011
Posts: 84
Likes: 3
From: California
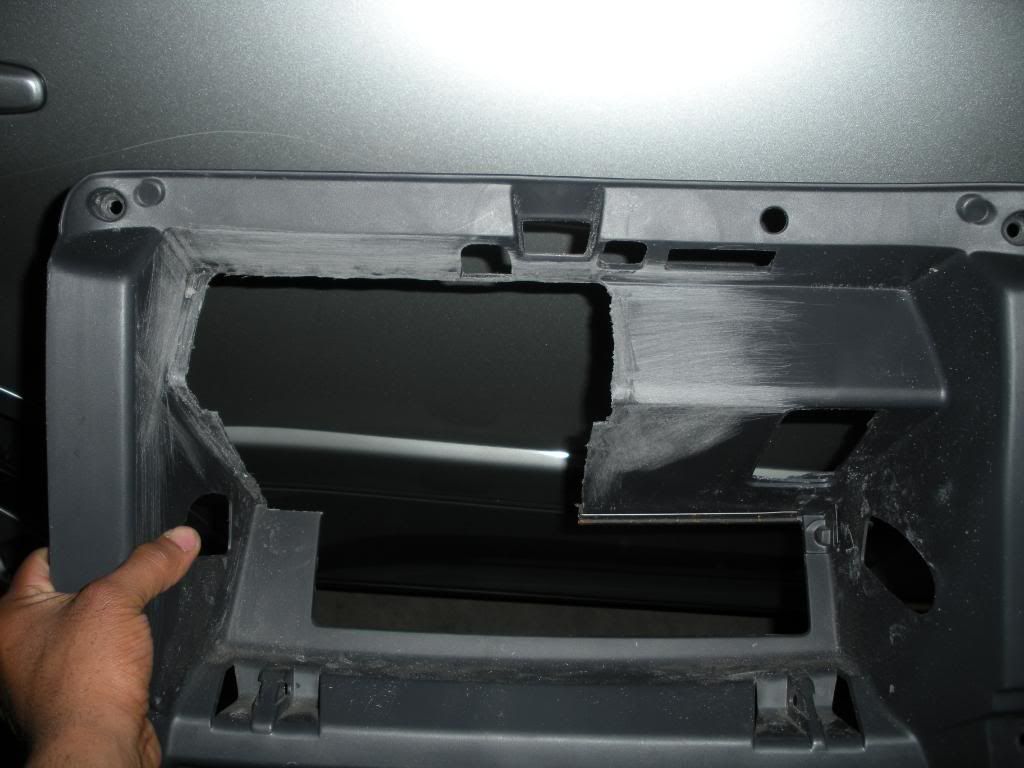
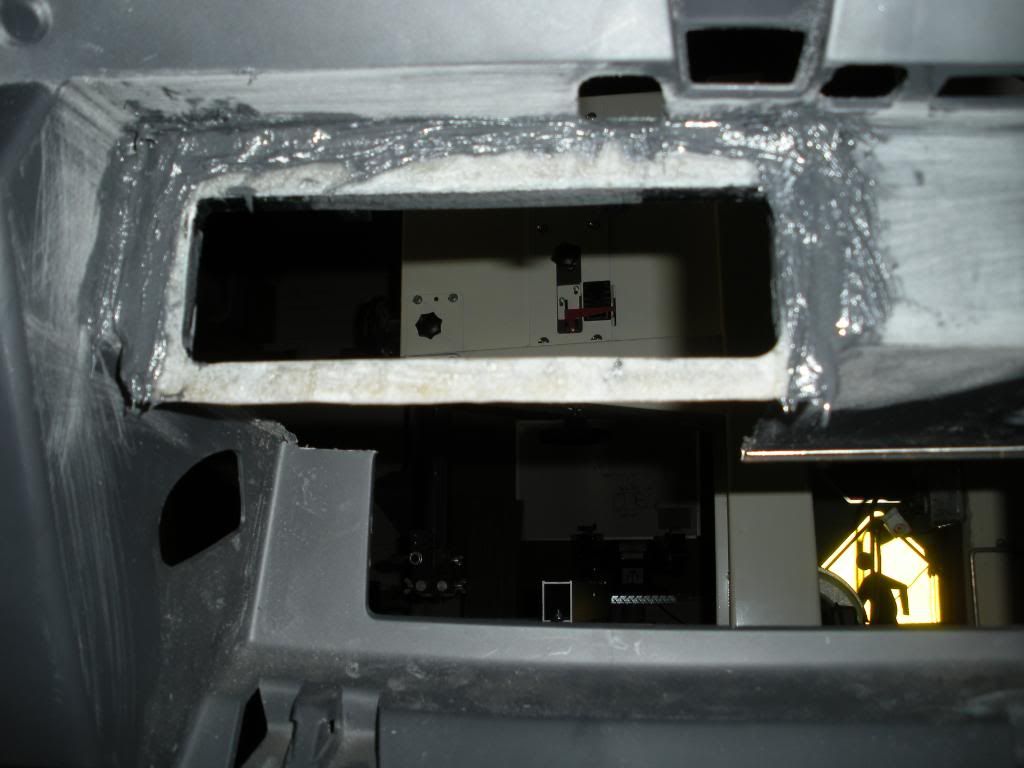
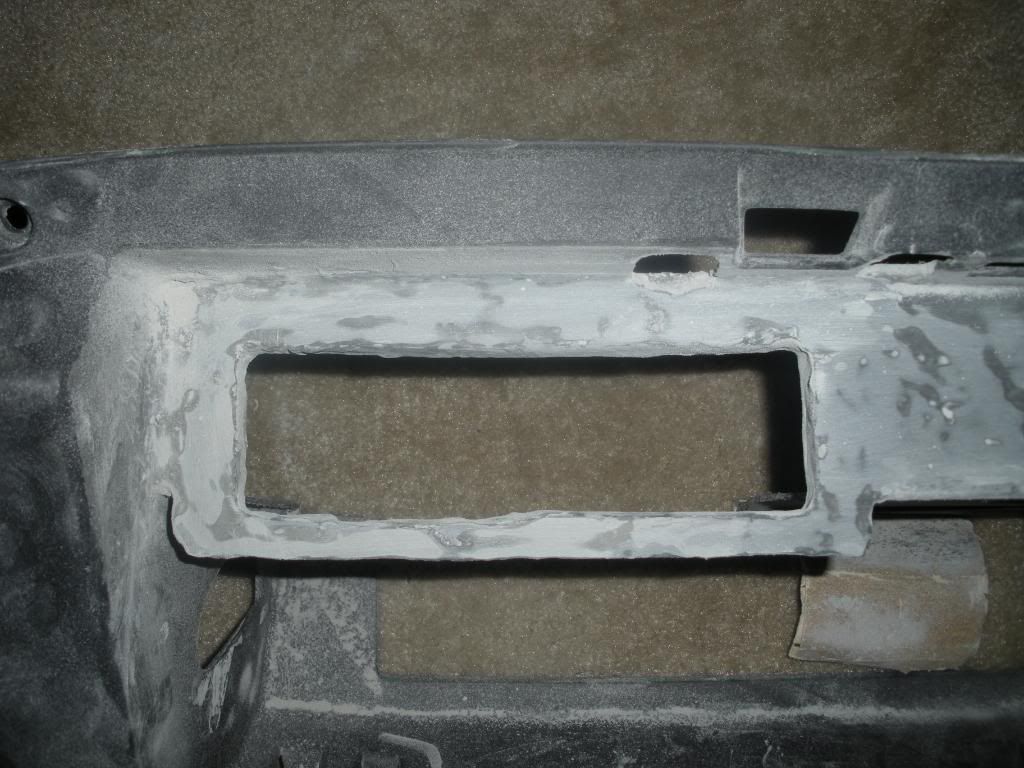
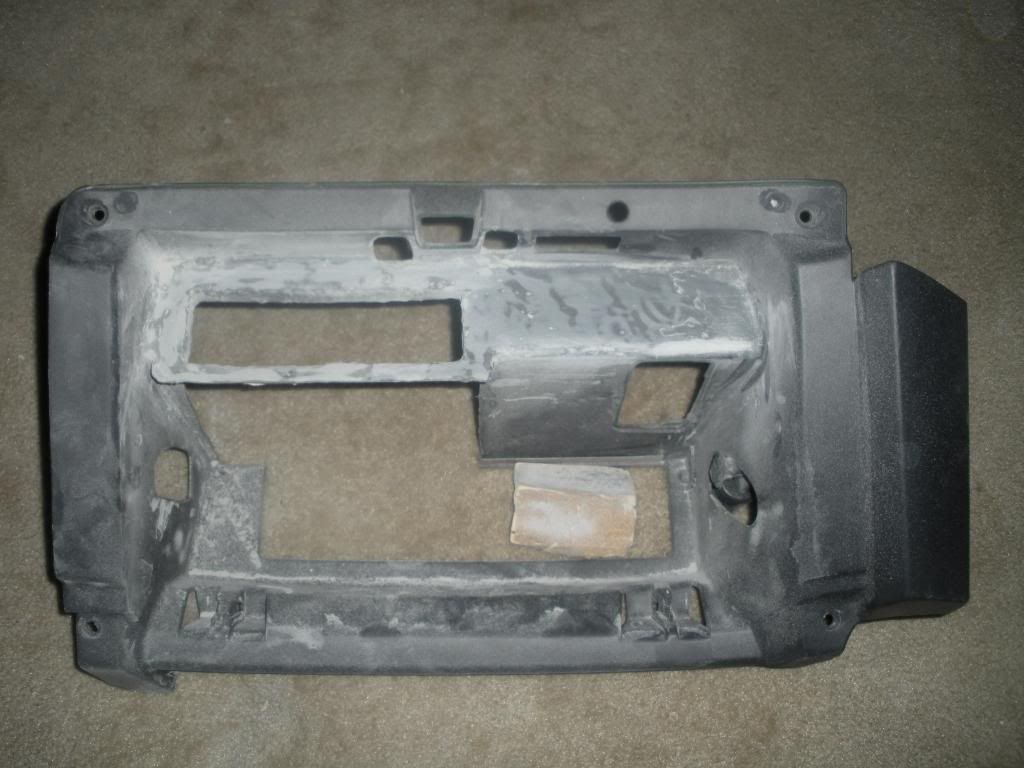
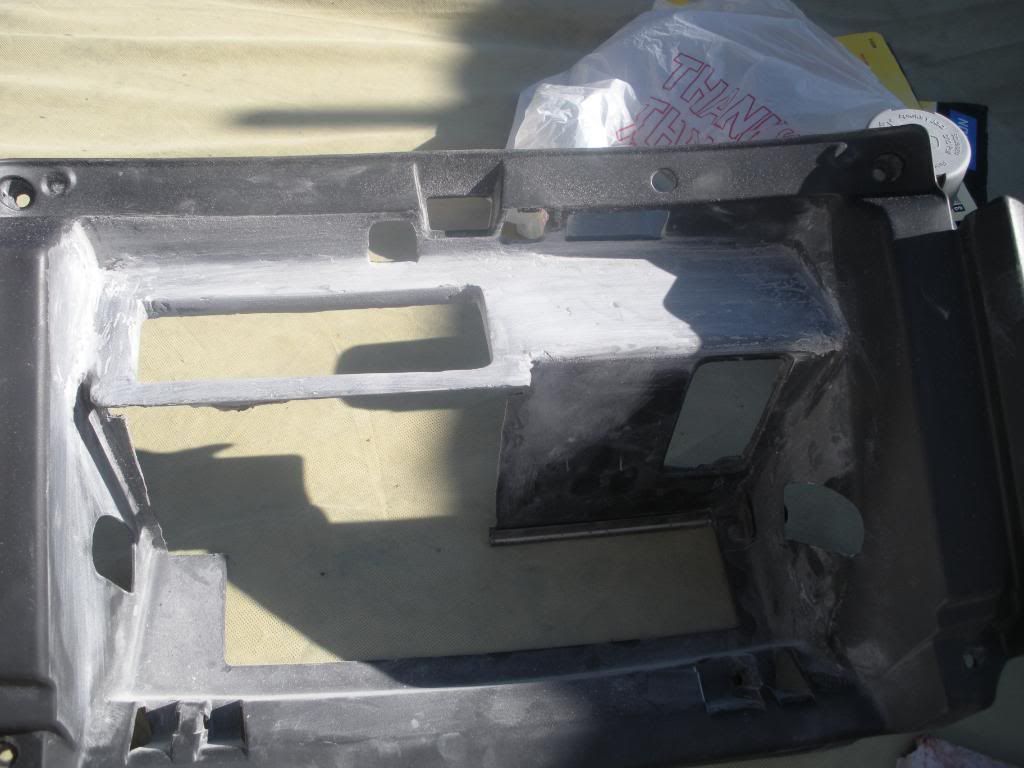
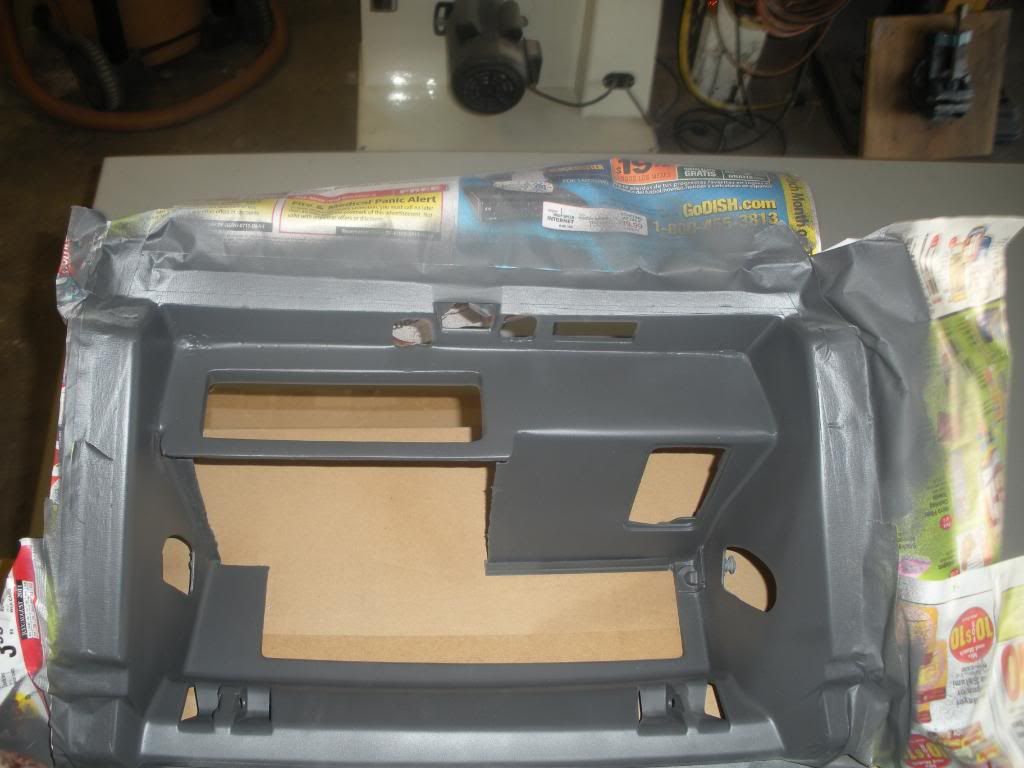
Here is the glove box removed and ready to start the custom work.
That black trim piece is a leftover from another audio kit so I figured Id put it to use. Used some leftover polyester to mold onto this piece.
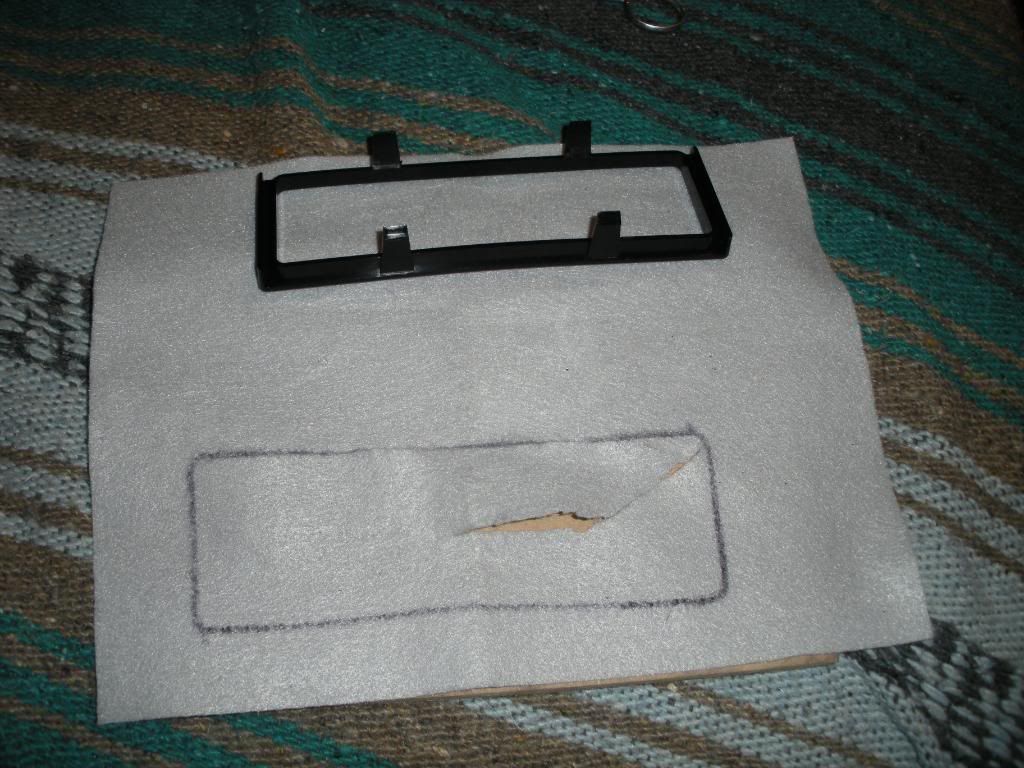
A little resin to make it solid
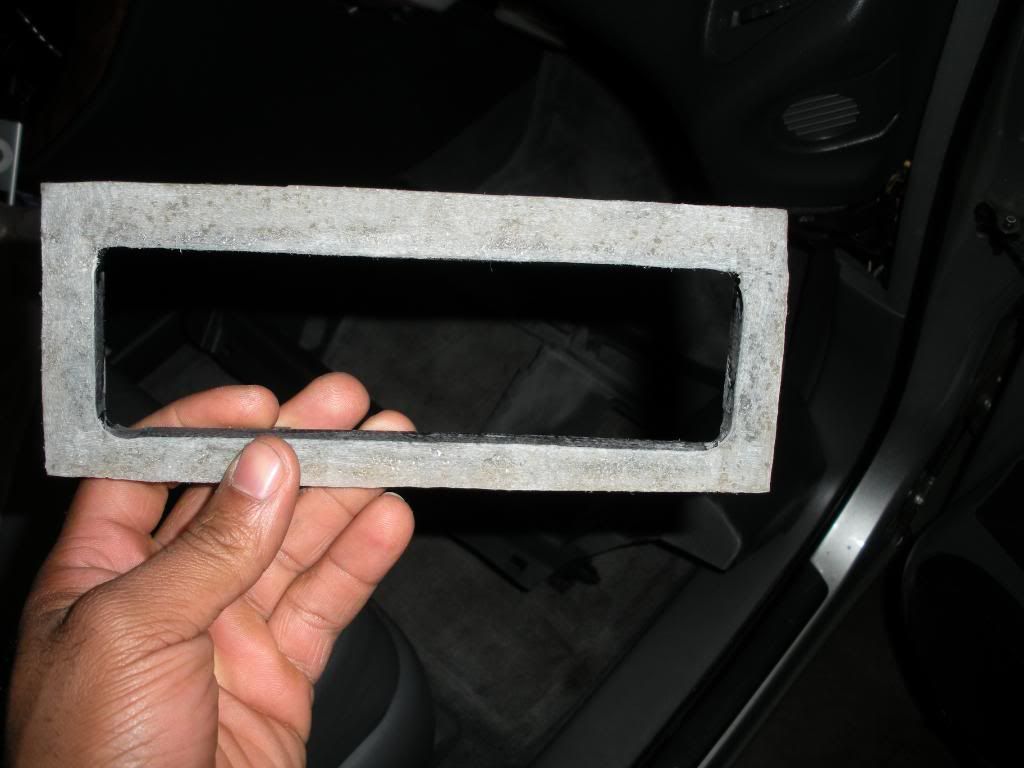
And the molding away

That black trim piece is a leftover from another audio kit so I figured Id put it to use. Used some leftover polyester to mold onto this piece.
A little resin to make it solid
And the molding away


Thread Starter
Rookie
Joined: Nov 2011
Posts: 84
Likes: 3
From: California
 ..
..
Thread Starter
Rookie
Joined: Nov 2011
Posts: 84
Likes: 3
From: California
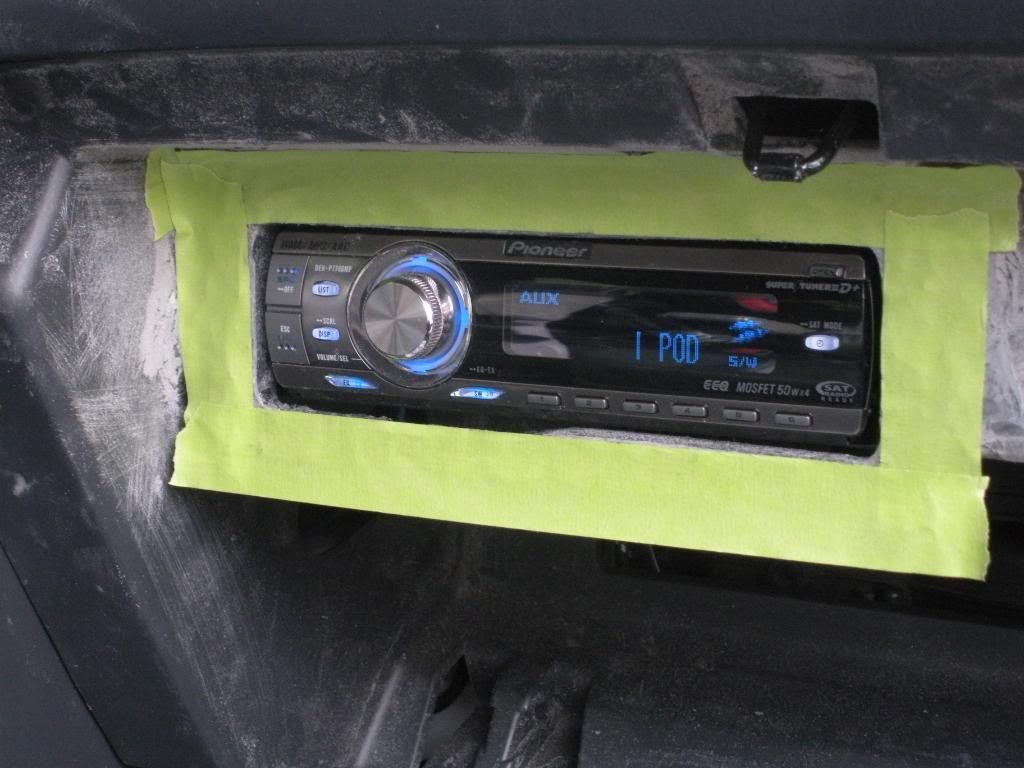
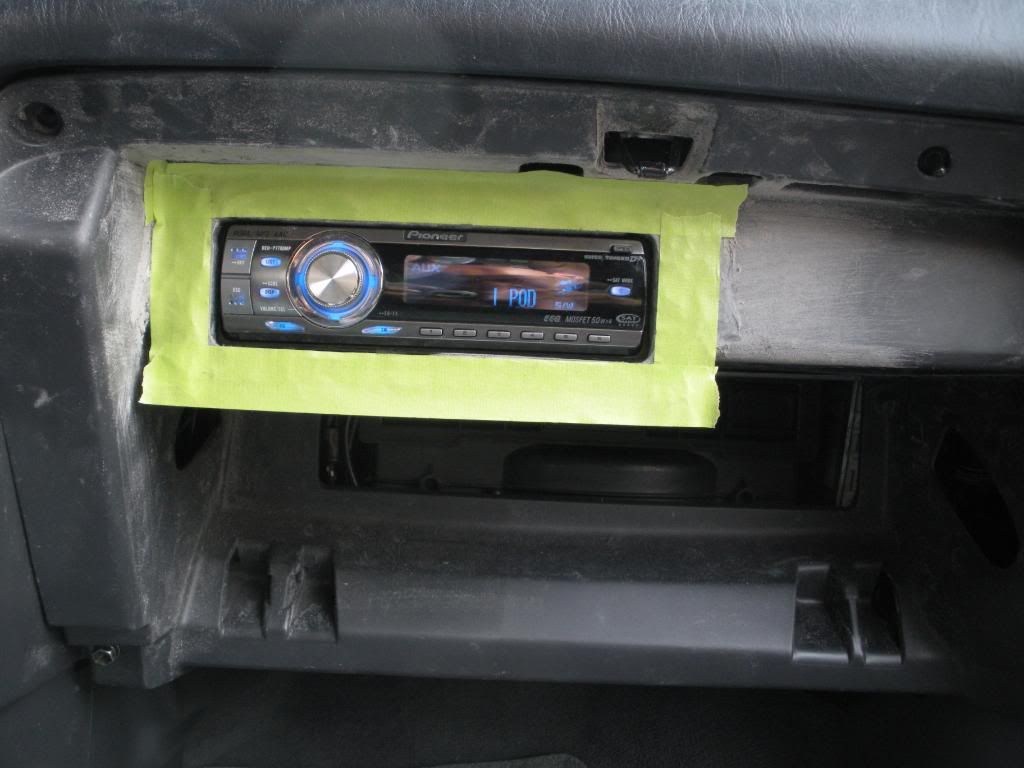
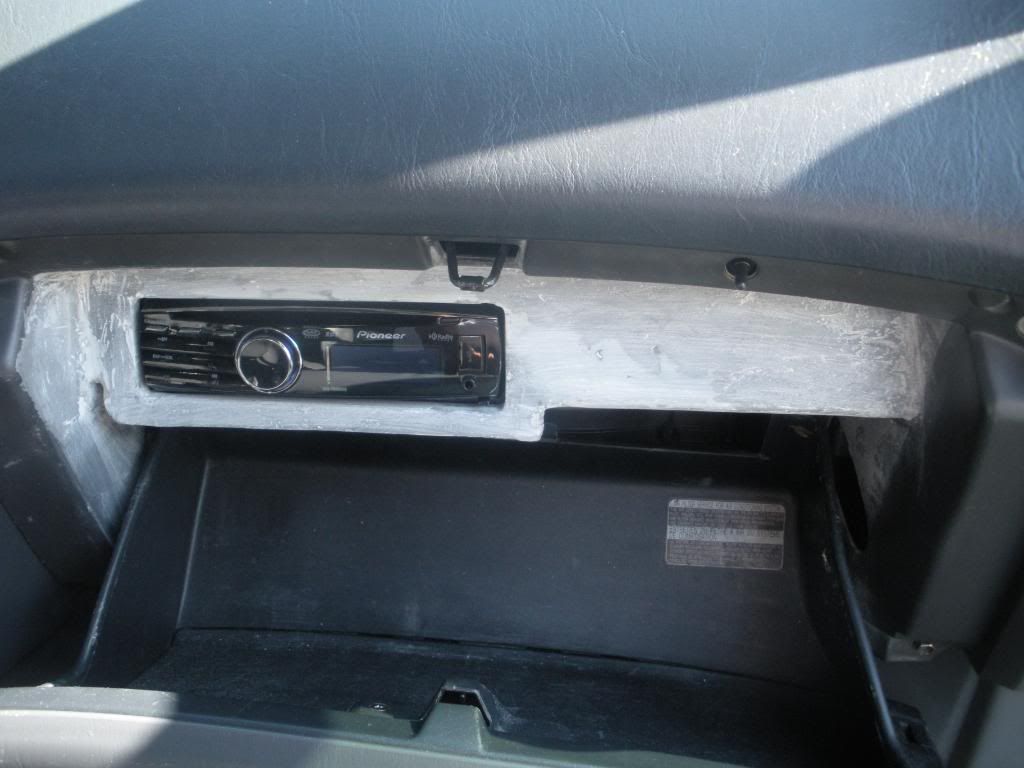
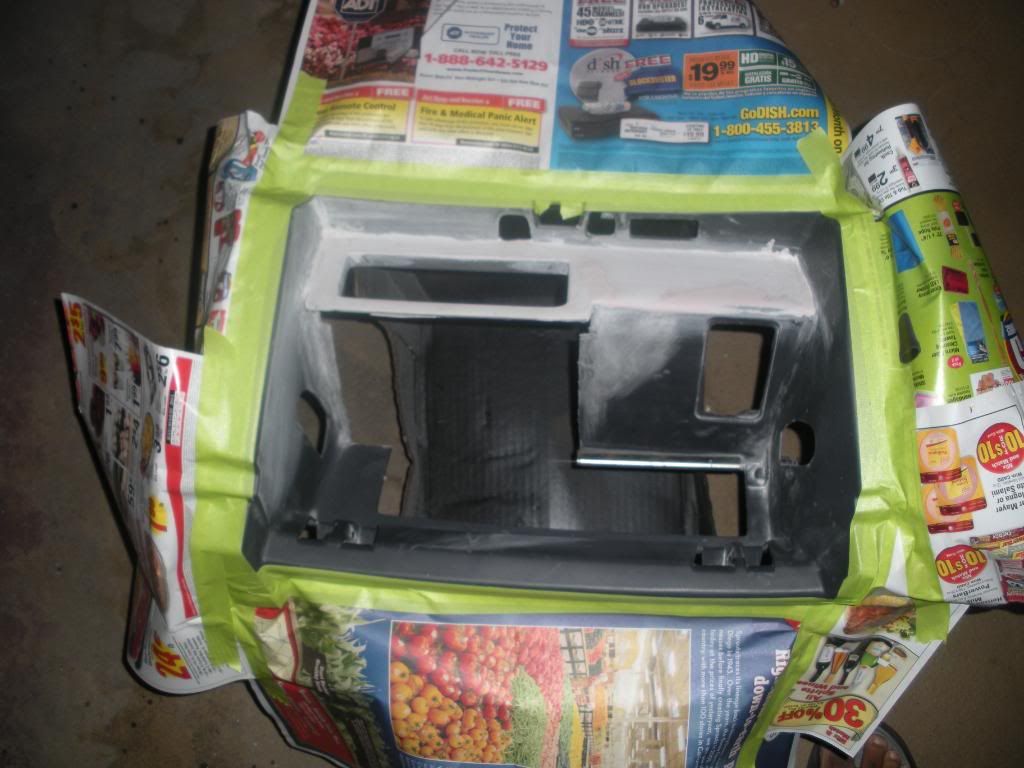
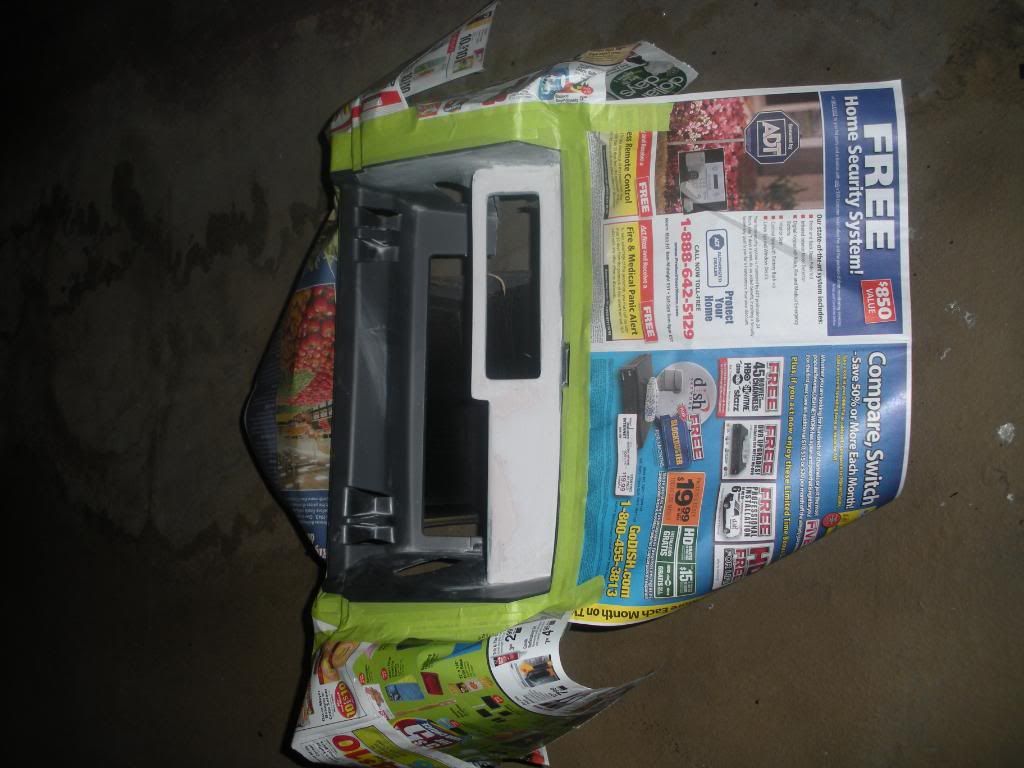
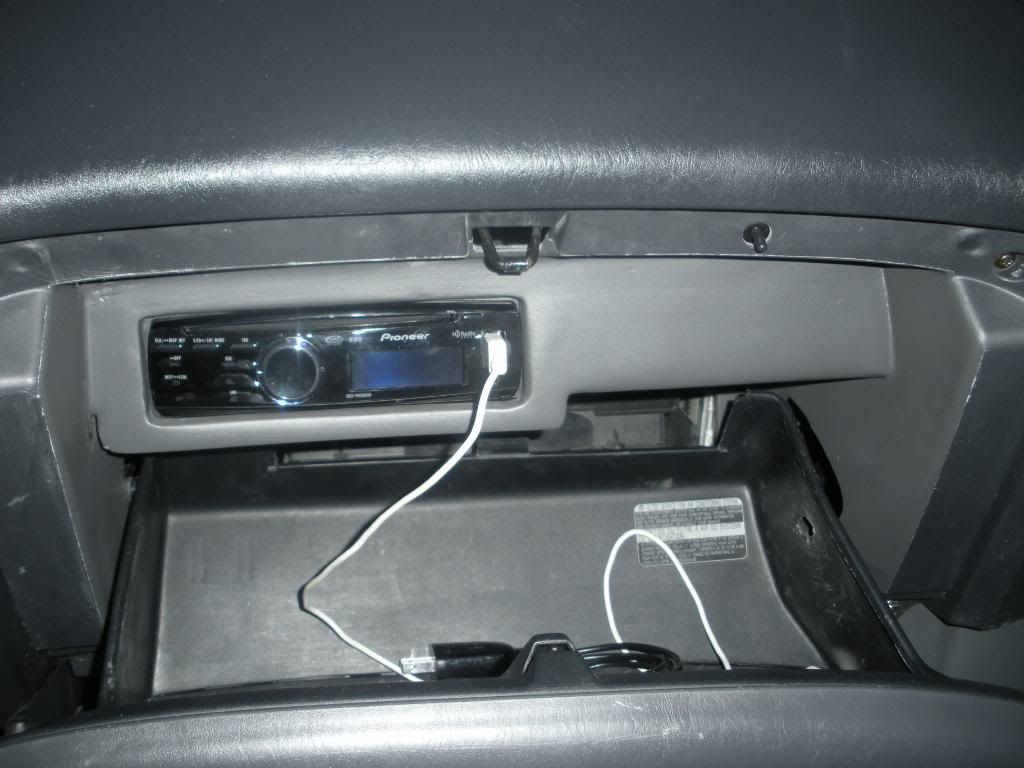
Added my new head unit while I was installing.. Another test fit
[IMG]http://i1205.photobucket.com/albums/bb437/RXdriver11/For%20the%20build%20log/DSCN1105.jpg[/IMG
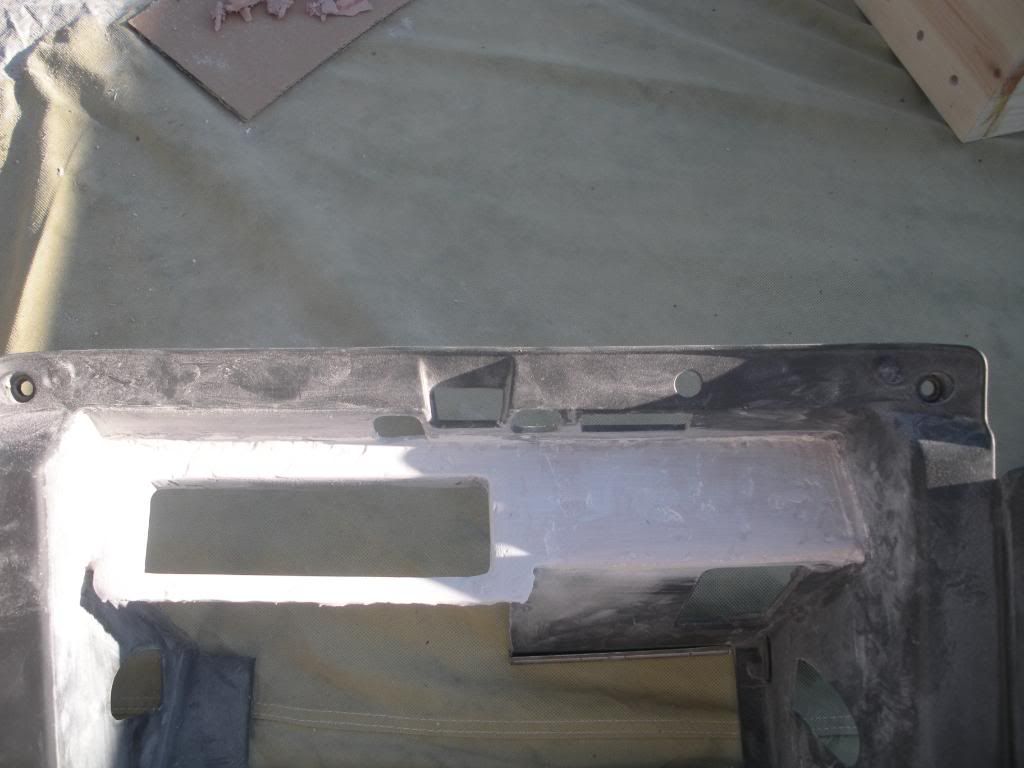
and some more sanding
[IMG]http://i1205.photobucket.com/albums/bb437/RXdriver11/For%20the%20build%20log/DSCN1105.jpg[/IMG
and some more sanding
Thread Starter
Rookie
Joined: Nov 2011
Posts: 84
Likes: 3
From: California
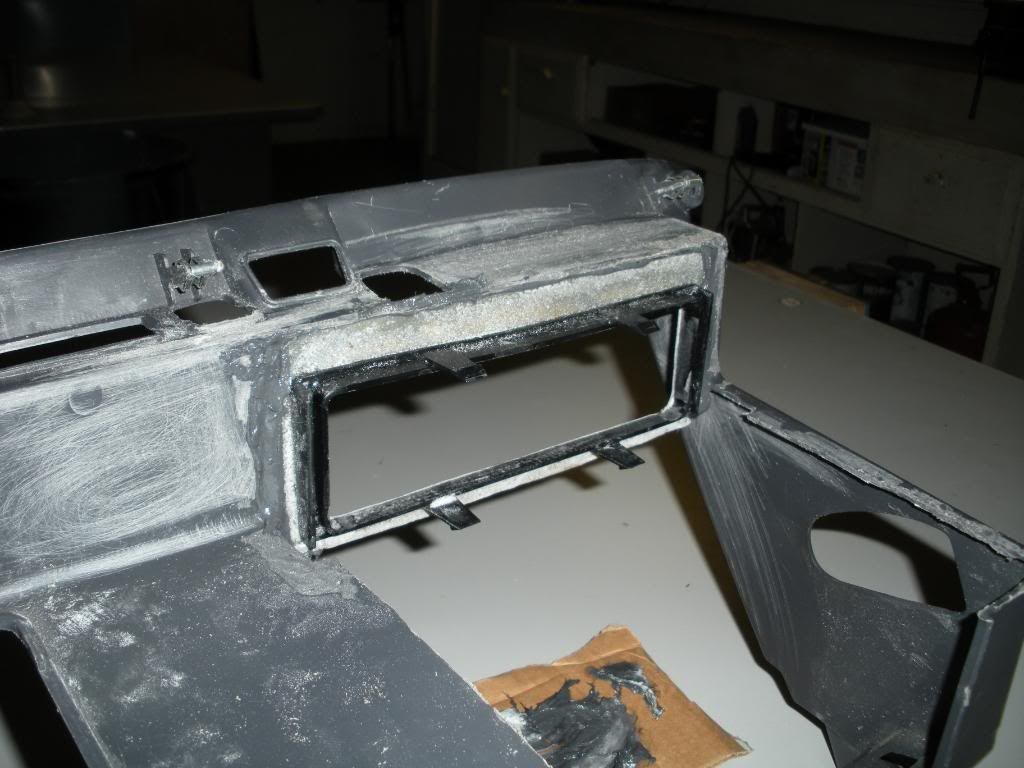
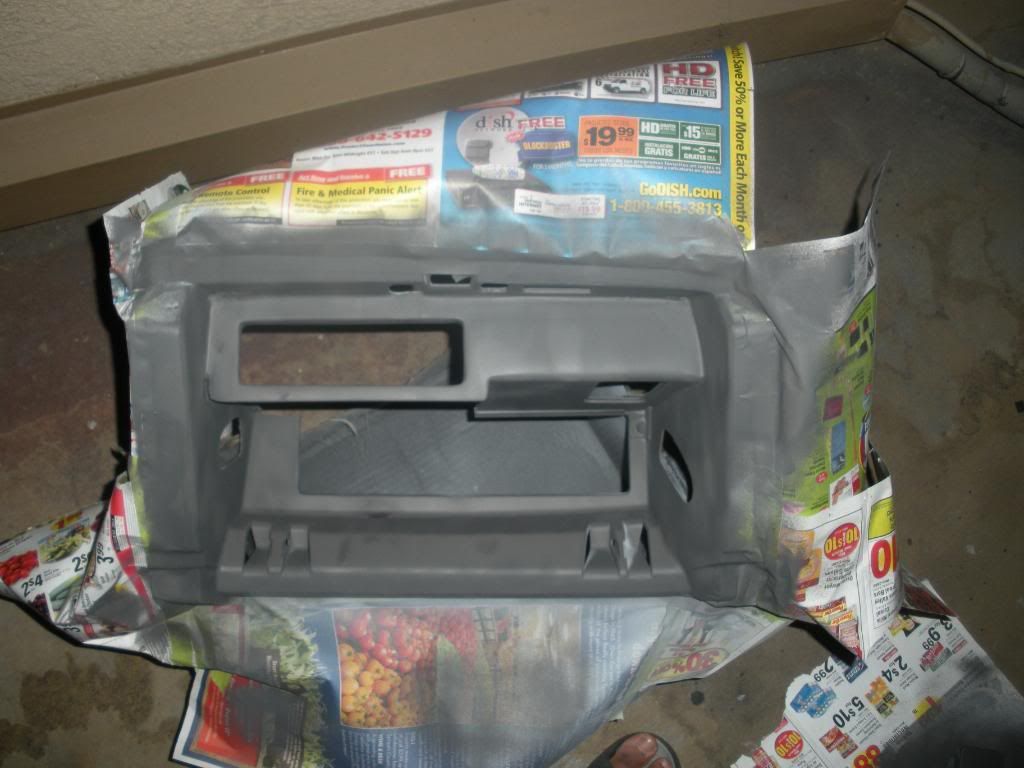
Here is after a month of back and forth sanding, test fitting, blowing this thing off and more sanding. I just realized I didnt take any pics of the primer work but it did get primed and sanded some more before paint.

Trending Topics

Thread Starter
Rookie
Joined: Nov 2011
Posts: 84
Likes: 3
From: California
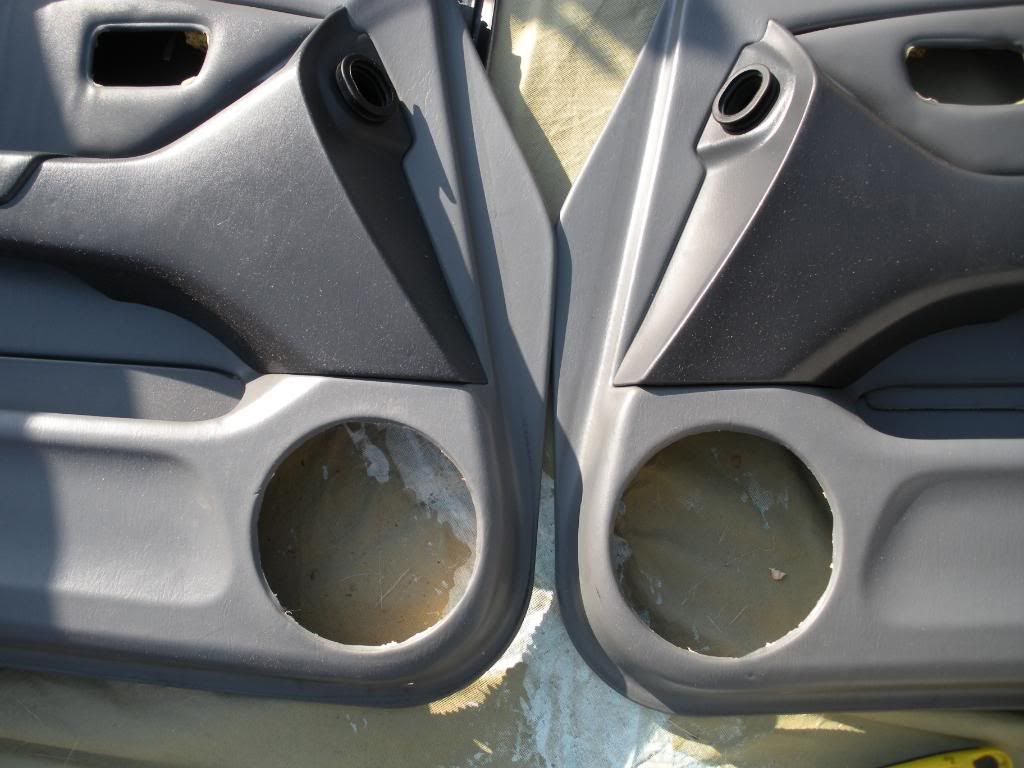
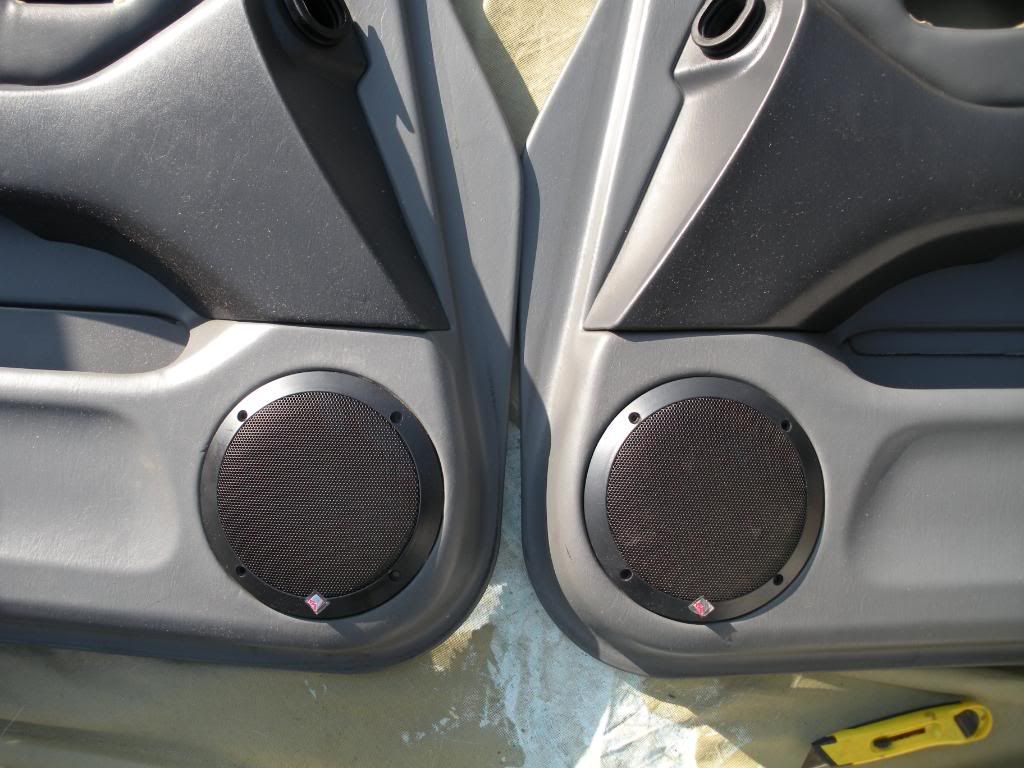
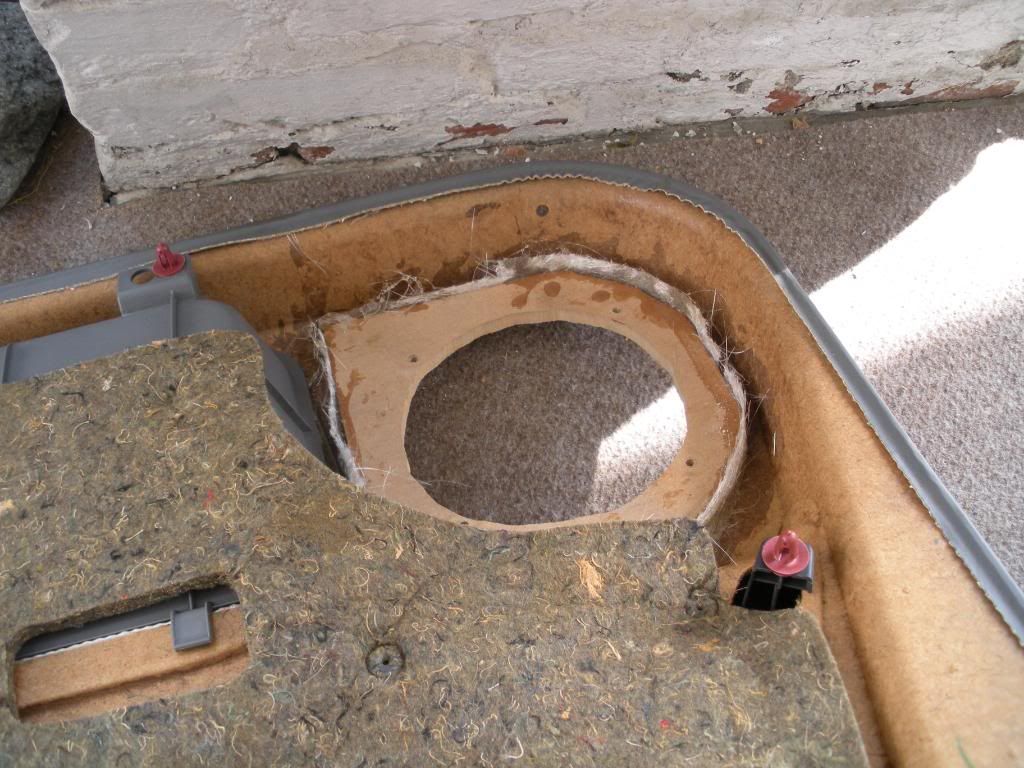
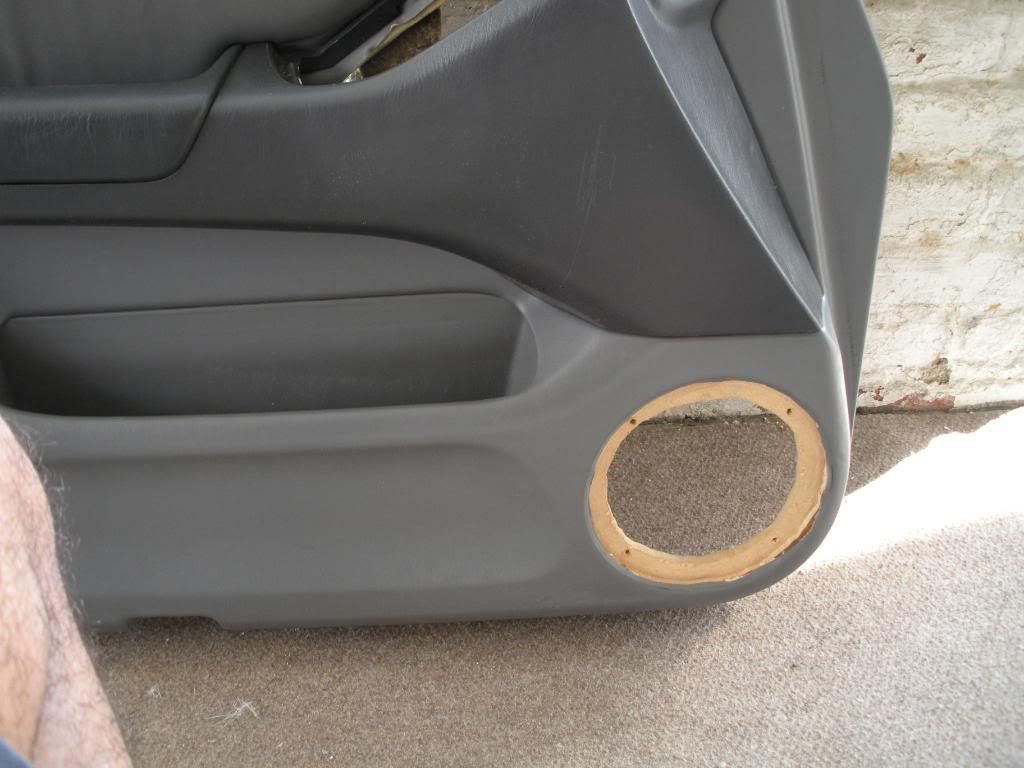
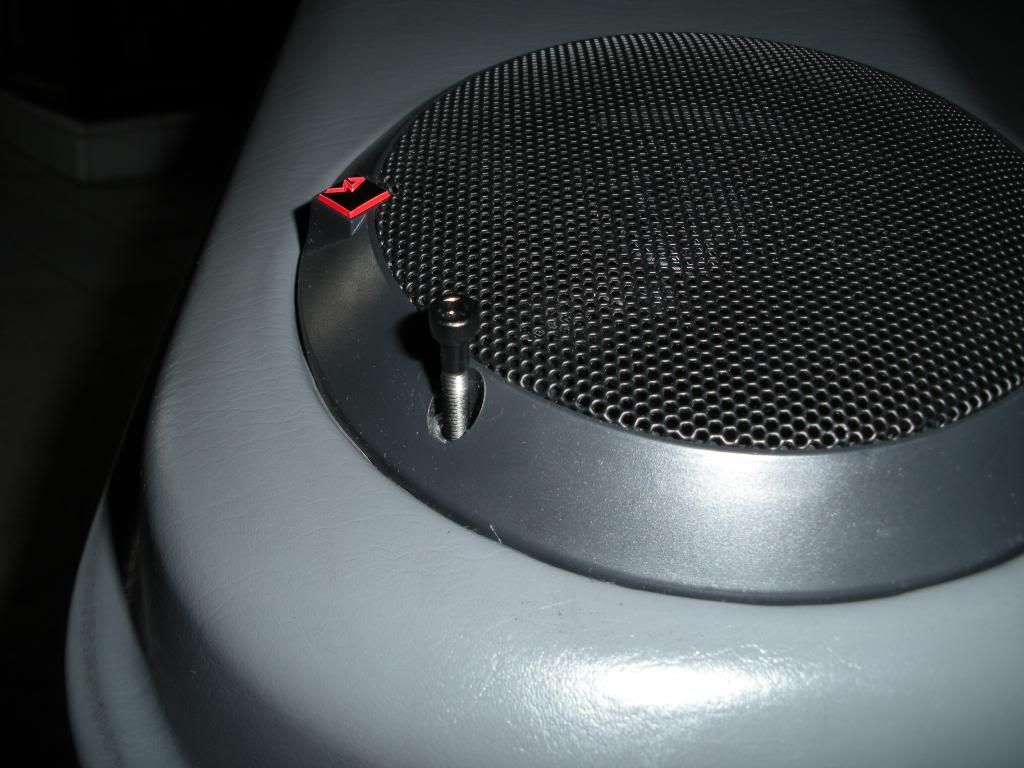
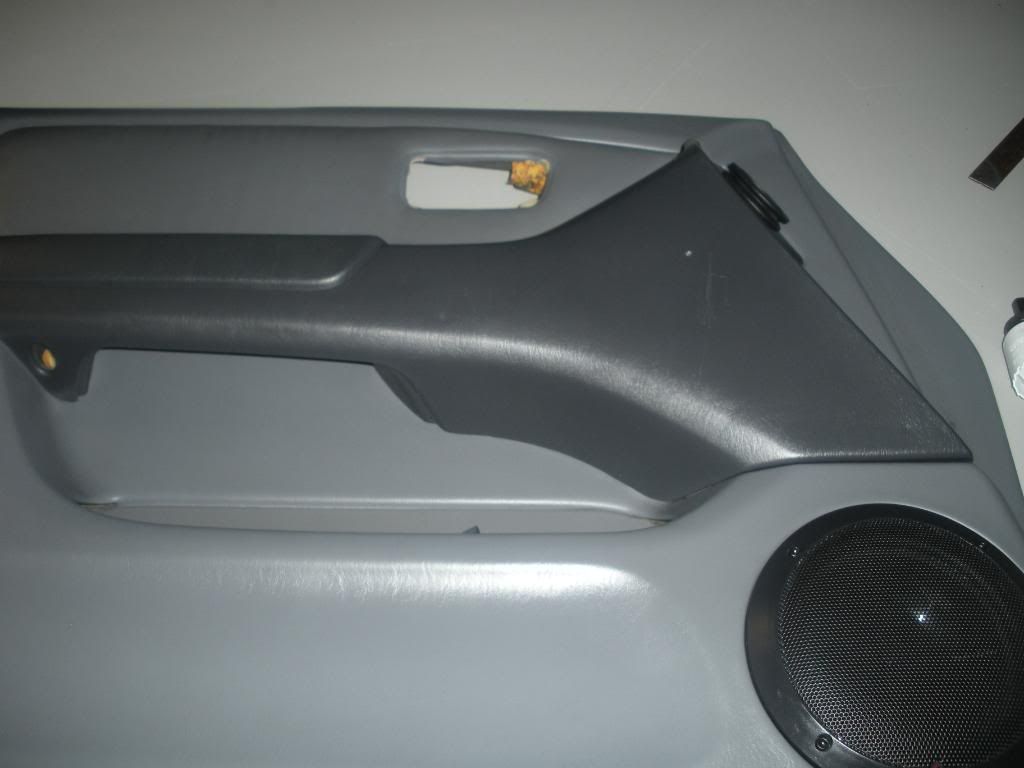
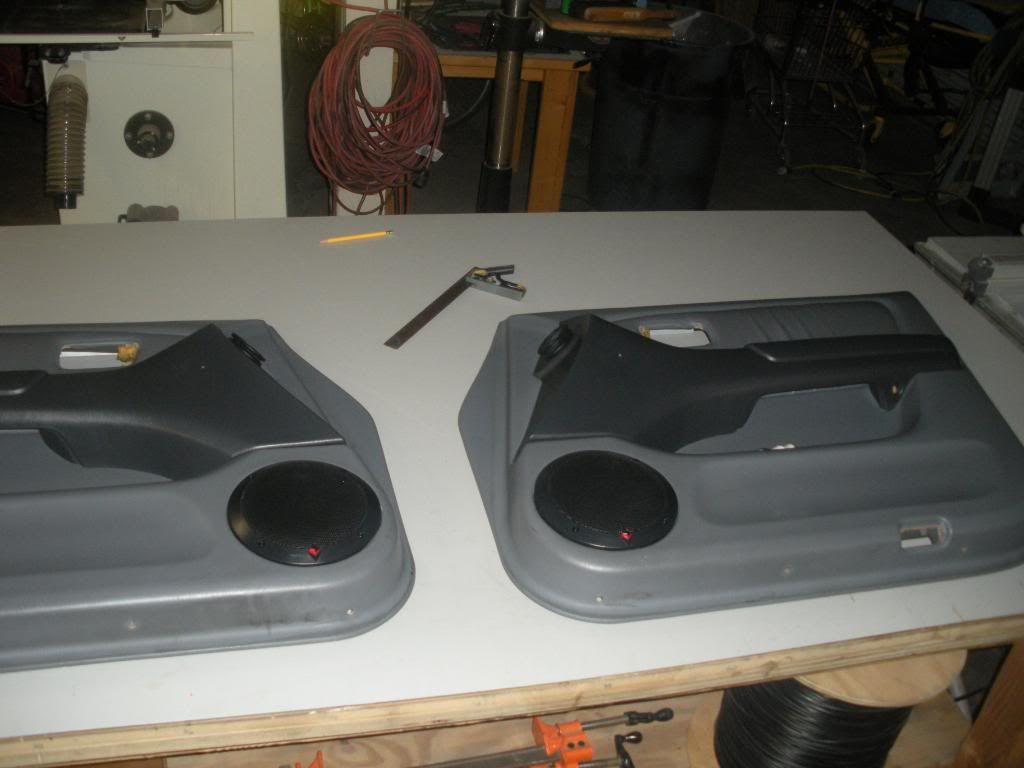
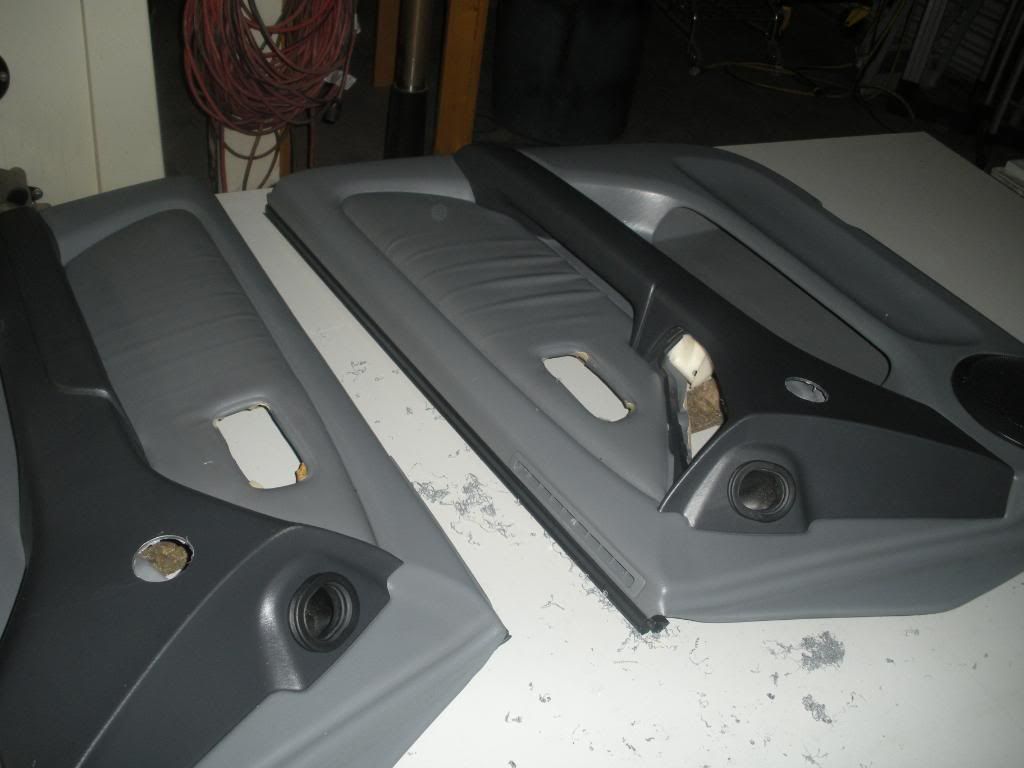
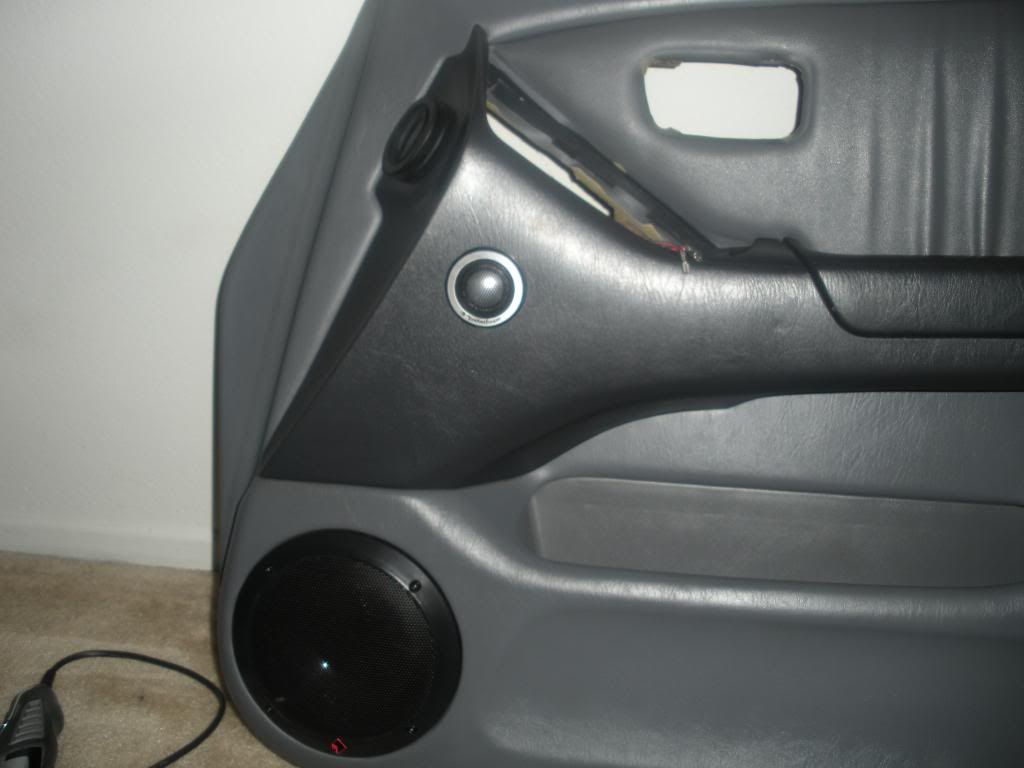
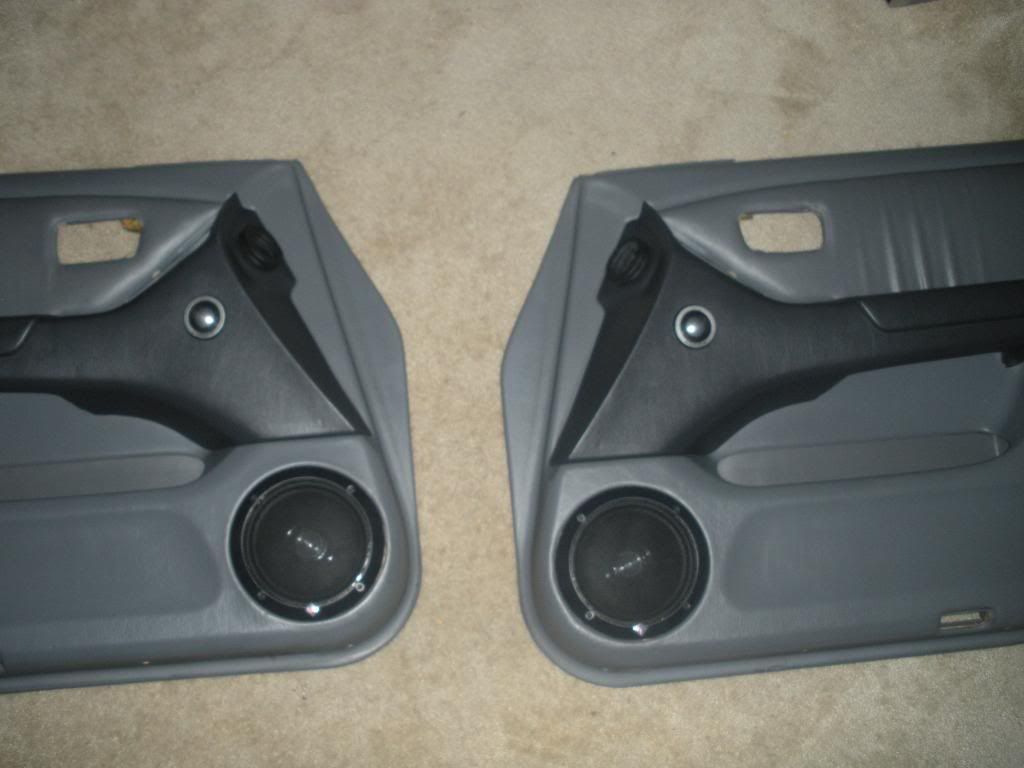
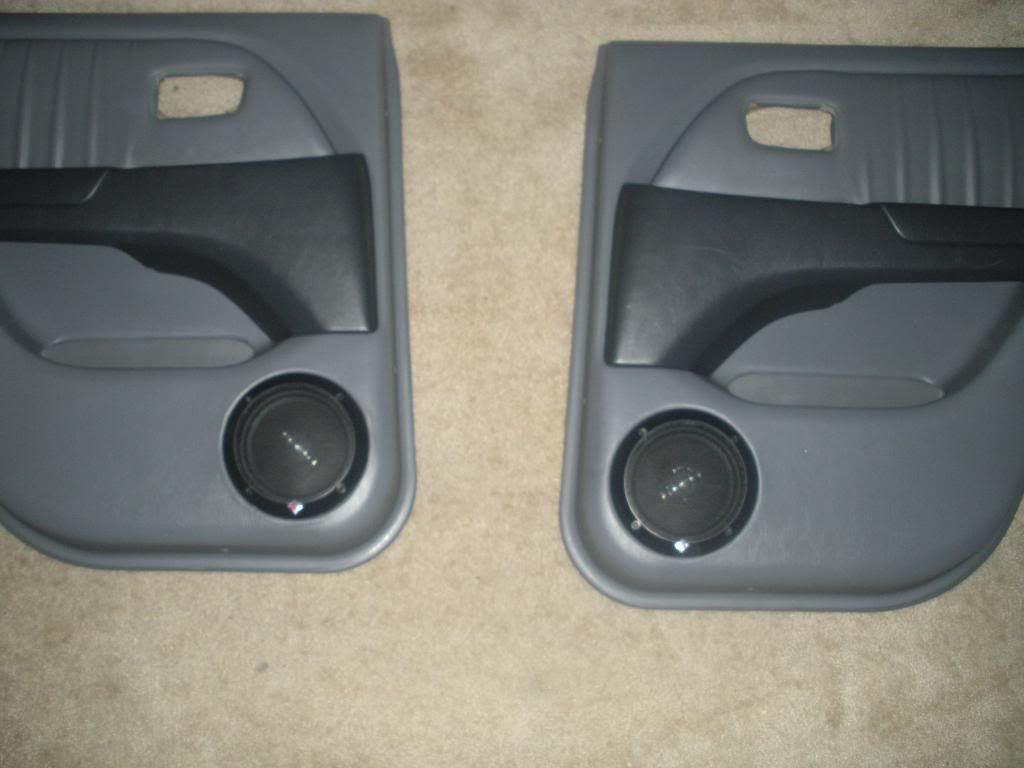
A little more work on the door panels. I free handed some mdf brackets to fiberglass to the rear of the door panel to mount the speakers to. A quick look from the rear.
and the front
Those rings are there for structural purpose and arent going to ever be seen so I just freestyle cut em.
and the front
Those rings are there for structural purpose and arent going to ever be seen so I just freestyle cut em.
Thread Starter
Rookie
Joined: Nov 2011
Posts: 84
Likes: 3
From: California
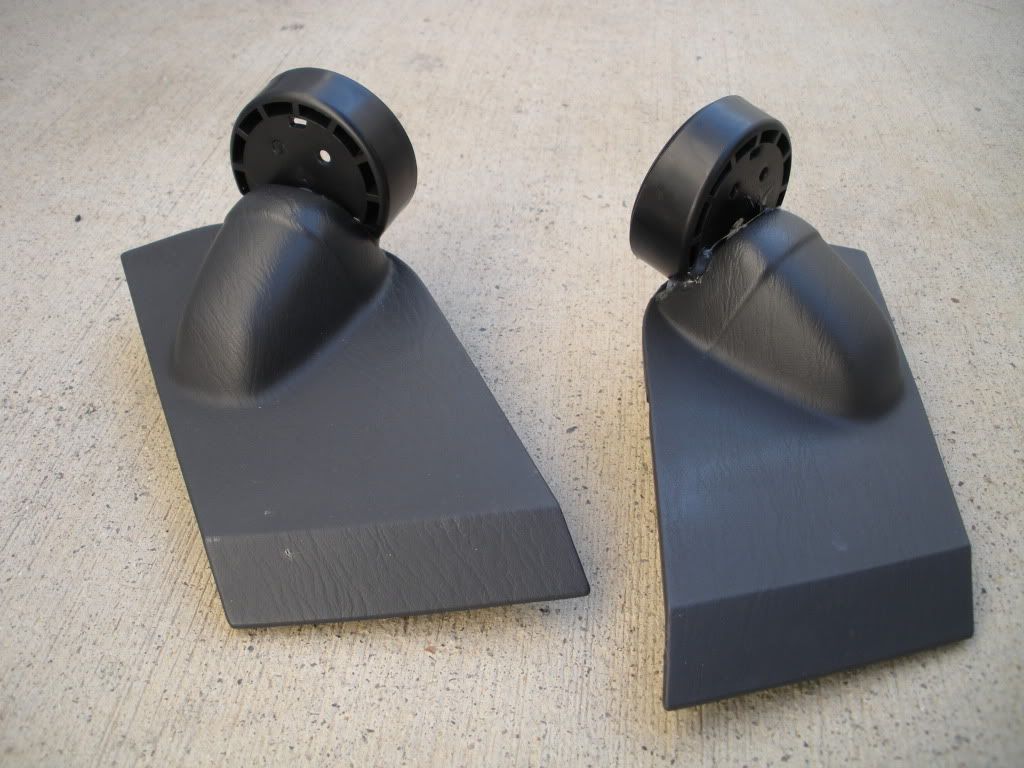
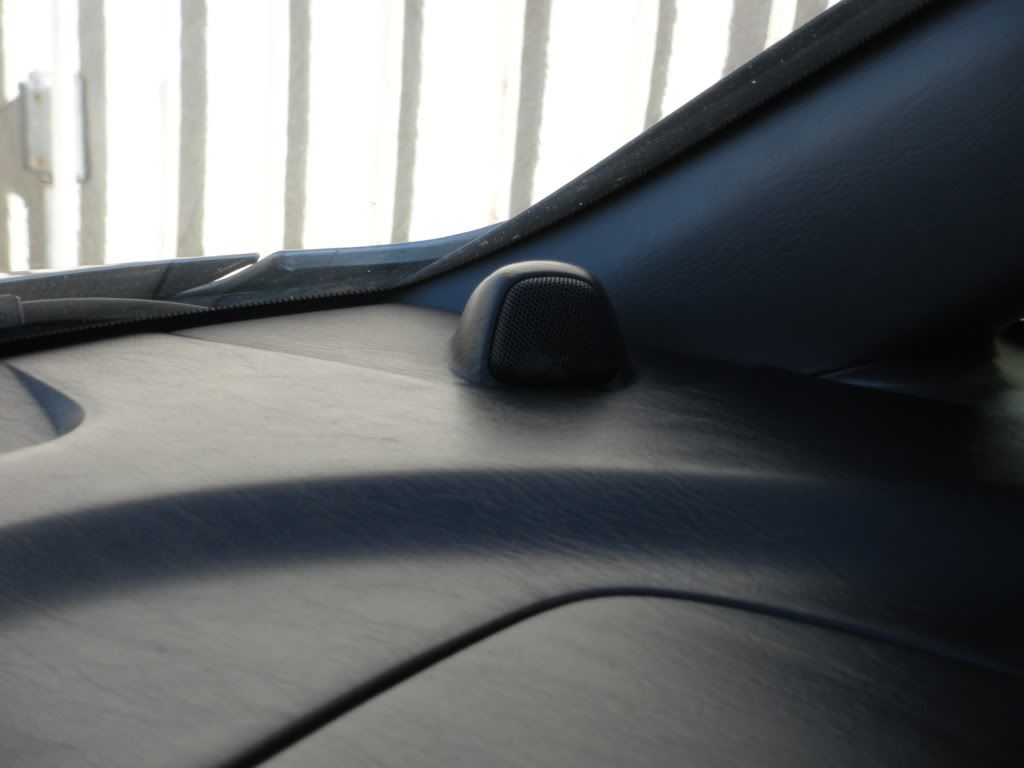
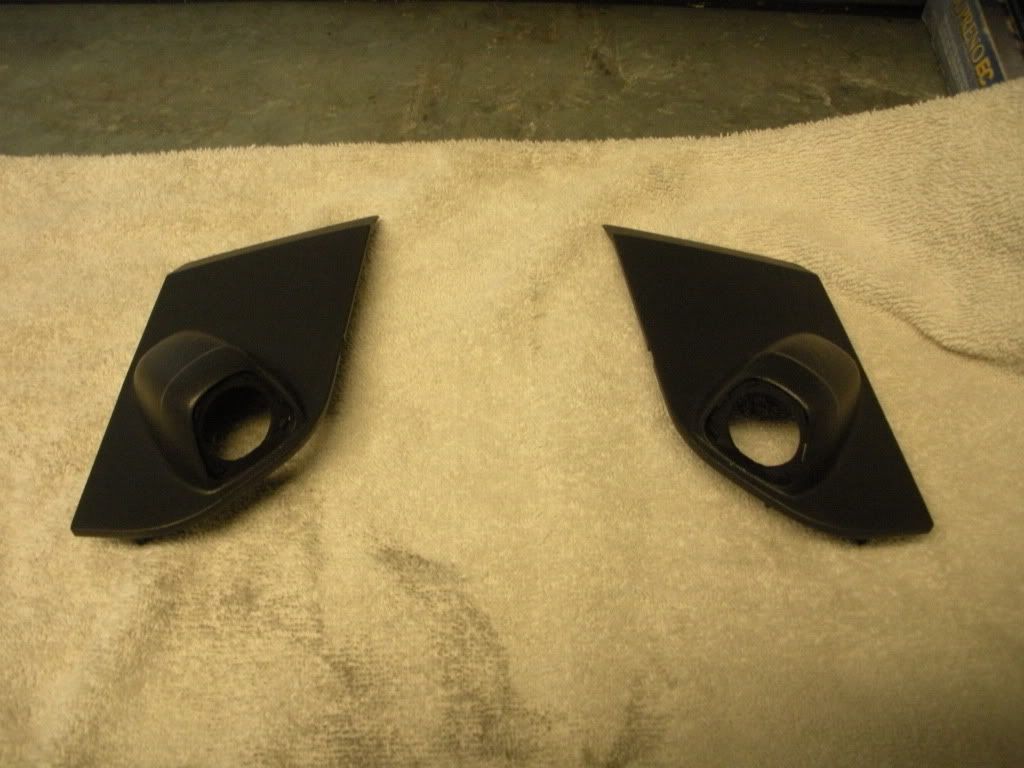
Now as I said there are 2 component sets going in yet you only see one full one.. The other tweeters are mounted in the dash where the factory one were. So this is the stock tweeter pod
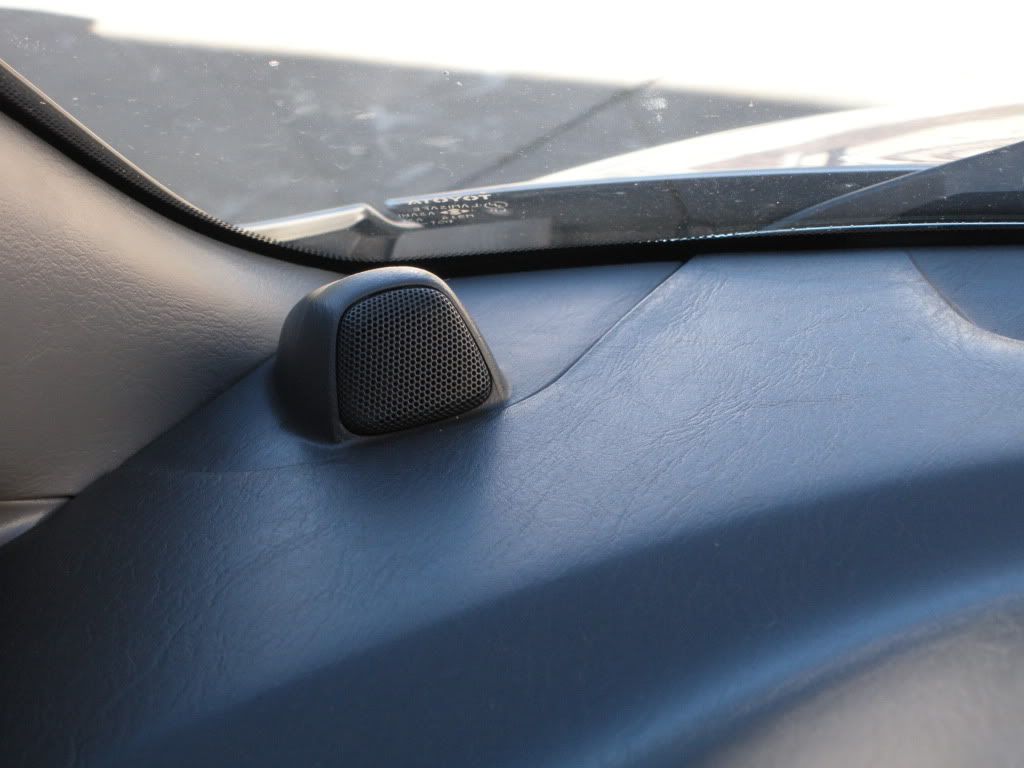
pulled out of the car
and let the fun begin..
pulled out of the car
and let the fun begin..