When you click on links to various merchants on this site and make a purchase, this can result in this site earning a commission. Affiliate programs and affiliations include, but are not limited to, the eBay Partner Network.
Along with the repairing the air leaks around the triangle trim, I found that I had to "bump down" the window glass just a bit to seal the car off completely.
After owning an LS400 for 3 years and an LS430 for 5, I'm used to driving around in a rolling tomb.
The 460 felt... inferior in that regard.
RE: The triangle trim:
I completed the triangle trim repair by first sealing the two spaces/cracks on the body side (I used black silicone gasket maker) and then covering the ENTIRE centre of the plastic trim with quality 3M double sided tape, careful to ensure that no spaces were left where air could work its way to any of the registration holes. It did require carefully cutting the tape into many triangulish shapes.
I didn't break any of the registration pins and I didn't fill the holes they go into. My glue use was minimal. Just enough to close the gaps on the body side. Maybe a pea sized amount total on each side. Just to fill those two cracks.
I also added a felt strip about 2mm wide along the forward edges and at the right-angle corner of the triangle trim to buffer any air that might get anywhere near the under edge of the trim. I used thin cut strips of the 'loop' side of velcro stickers actually.
My investigation started with looking at why a "bump down" works to seal the glass in the first case.
What I noticed was that at the top of the glass' travel, it shifts out toward the outer seals (I assume to guarantee a proper weather seal on the outside of the glass.
As it does this outward movement however, it can actually open a space at the inner seal as demonstrated in the video below.
With my trusty dental tools (aka o-ring tools) I could verify that the space was opening on the inside and that's what was creating that sense of openness in the car.
The space is actually wider nearer to the front edge of the window just behind the mirror vent AND right next to the bloody triangle that was leaking air into the car at higher speeds to begin with.
The problems are now compounding one another!
First I started by trying my trusty 3M furniture pads in an attempt to spread the seal by crowding it.
While this did help a bit, a bump down was still needed to close the rest of the glass.
I kept bumping for a few more days while I decided if I wanted to pay Lexus the $500 to replace the window seal (which I now know wouldn't have helped at all).
About a week before this little investigation, I had also ordered the screw set that stops the side mirrors from jiggling. Mine would rock about 1/8" froward and backward.
The only real change is that the new screws have locking washers built in btw. Worked great.
To replace these screws, the mirror has to be removed from the car, so the door lining had to come off.
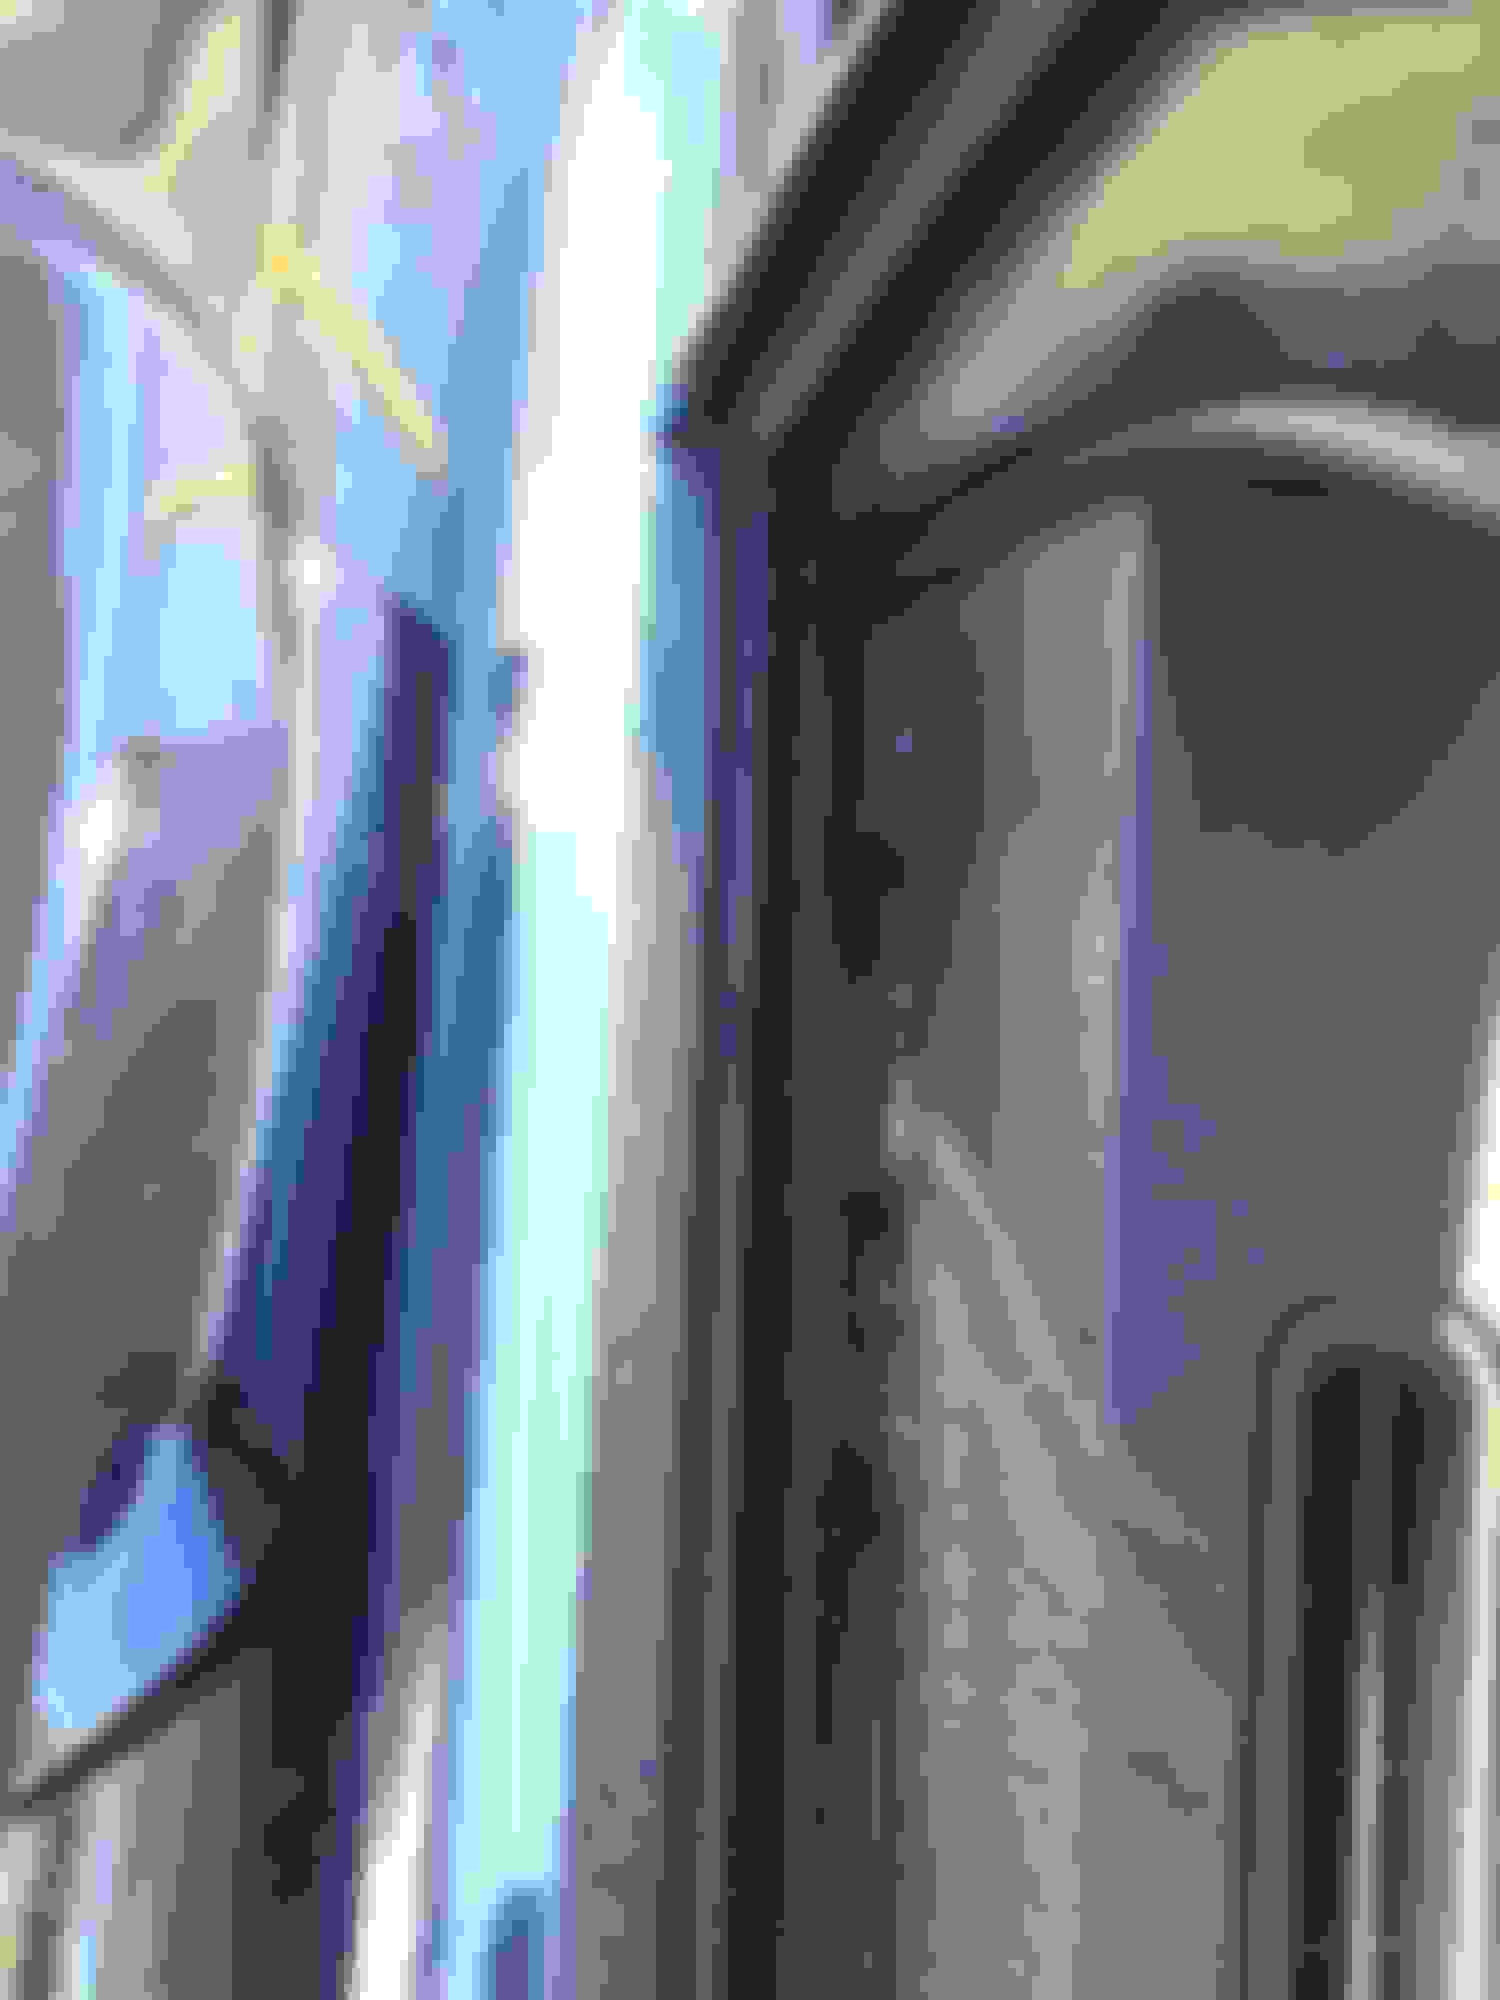
While I was in the door I realized that the top of the inner door (the edge on which the liner hangs) is made of a layered bonded metal that would bend with a little encouragement.
I would only need the inner seal to move closer to the glass by a couple millimetres for the seal to be pressing on the inside of the glass all the time, so bending this edge should move the seal closer.
So I got my trusty locking pliers and went at the top edge... carefully.
This is the metal lip directly above the light blue plastic inner liner in the photo below.
I focused first on the area close to the triangle trim as I suspect the space there makes any leakage behind the triangle trim especially easy to hear.
It also happens to be the safest area to work anyway because the glass is way down in the door and far from the pliers and bending.
After carefully going over the whole length of the glass I reassembled and lo and behold, no space when the glass is all the way up, and no airy sounds in the cabin with no bump down needed!
The car is now as quiet as my 430 was. Honestly.
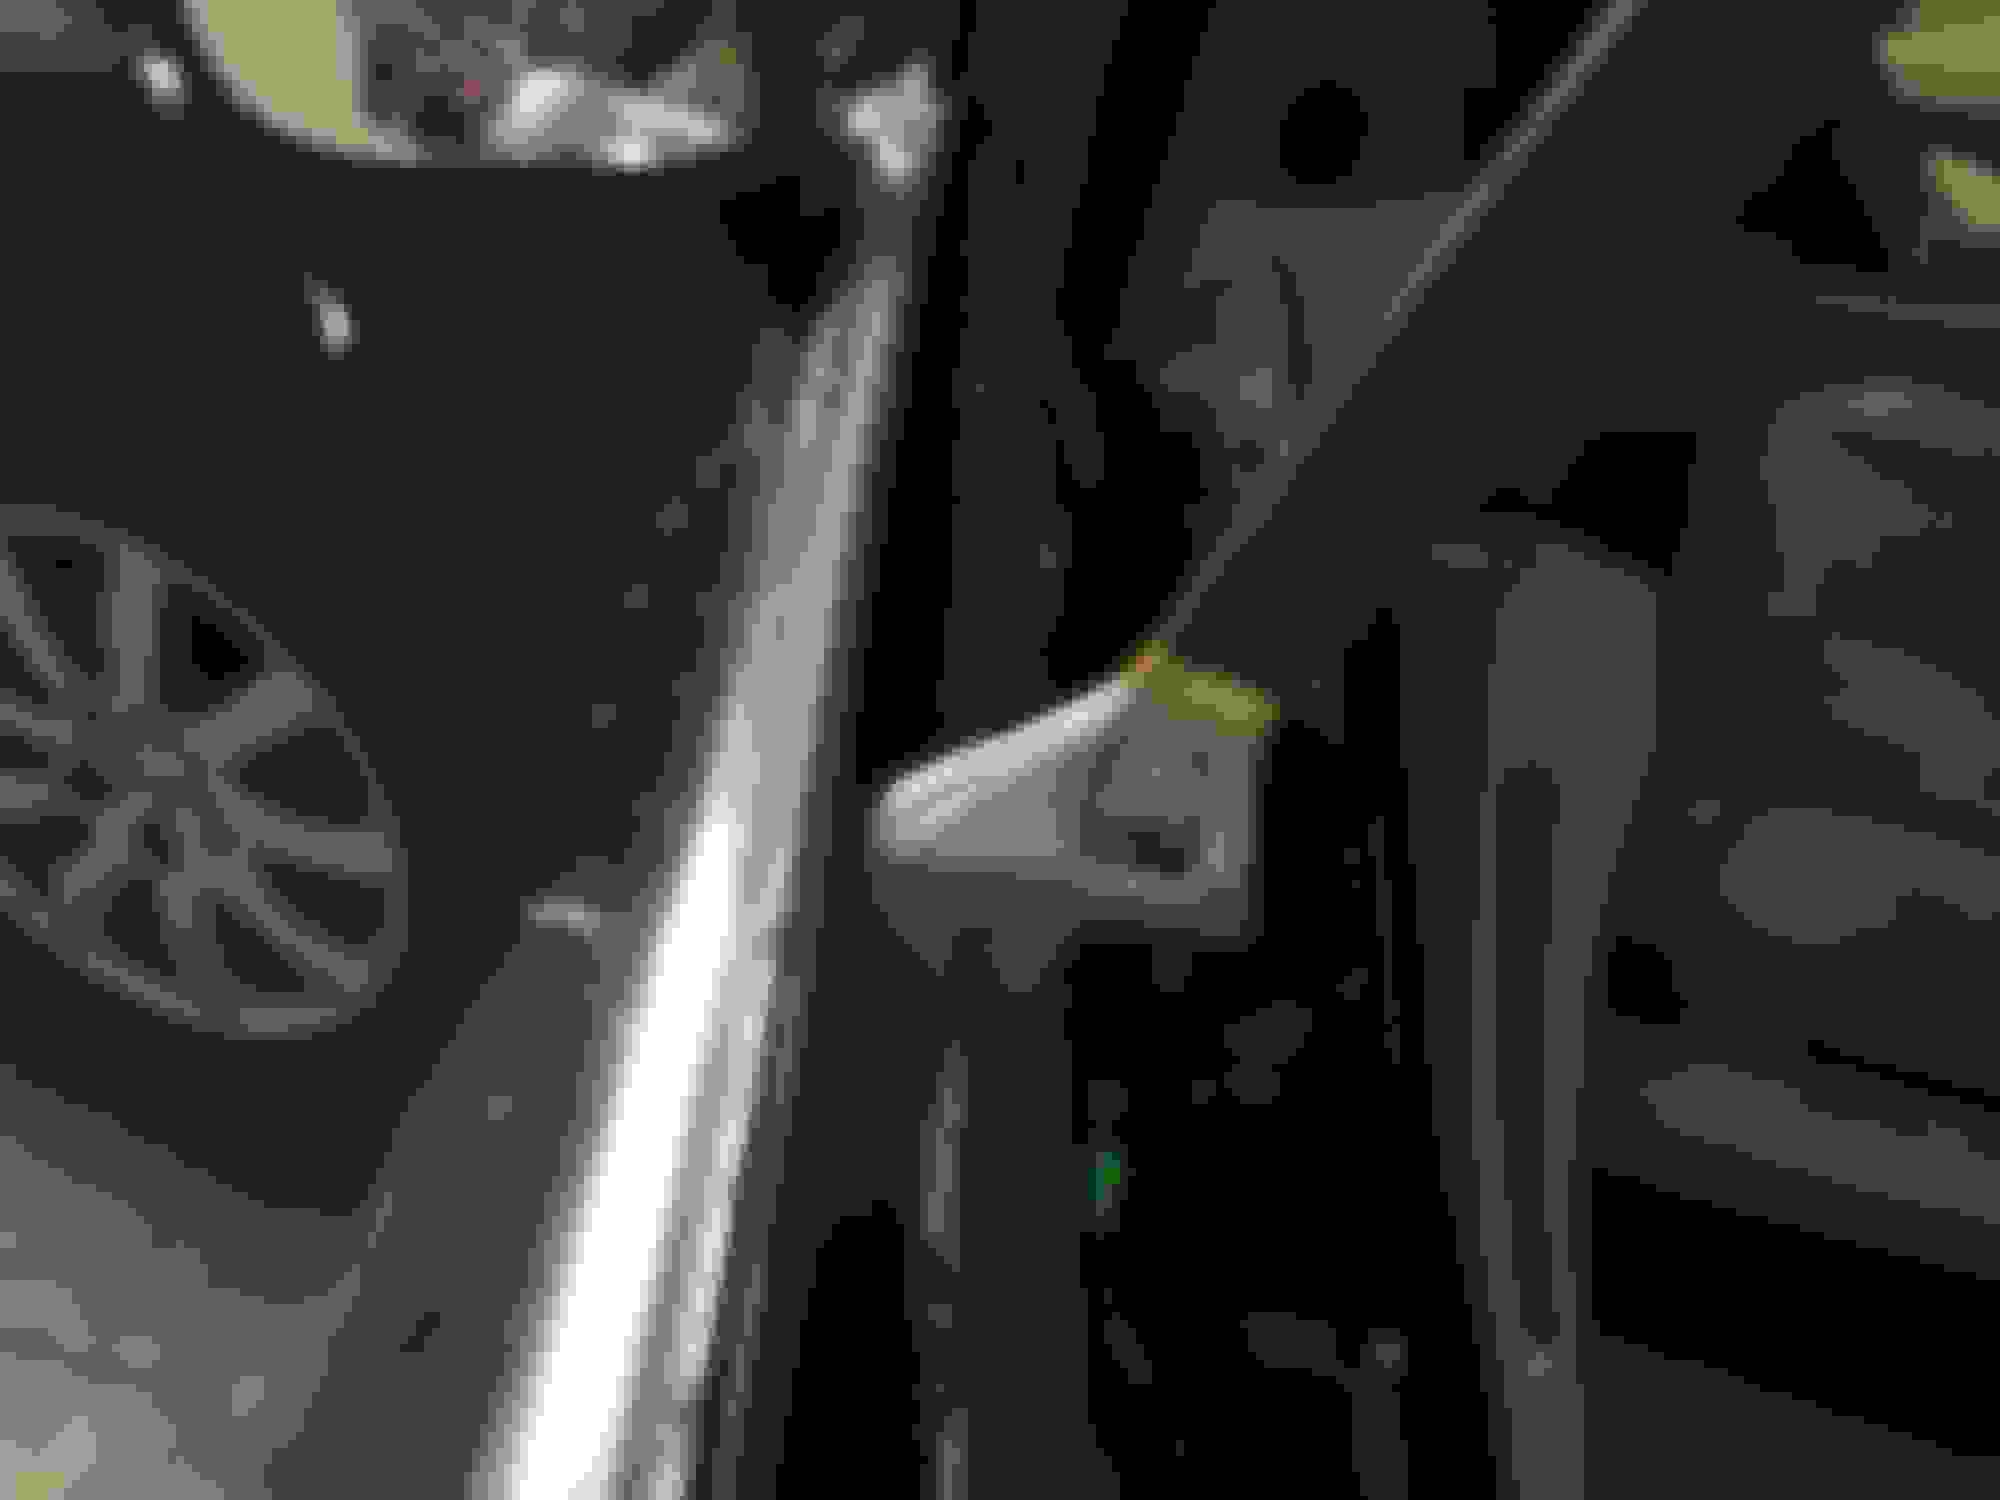
When I went into the other door to complete the passenger side mirror fix, I realized that a medium-sized Crescent wrench actually does the job really well as I could tighten it just right before each push on the metal lip.
This is because that metal strip is not an even thickness all the way along the door.
So rather than using locking pliers to get a grip to bend the metal, I could use a Crescent wrench instead by closing it tightly around the metal lip for leverage. This also gave me more control of the gentle bending I was doing.
The space between the inner and outer seals is now narrower even when the glass is all the way down and is in contact on both sides when the glass is all the way up.
Last edited by dfkd; May 2, 2017 at 02:21 PM.
Reason: Added additional photos and some re-wording for clarity.
NIce, I am having trouble following this fix. So you pushed back the inner layer all along the window? I don't follow your comments about the passenger side.
NIce, I am having trouble following this fix. So you pushed back the inner layer all along the window? I don't follow your comments about the passenger side.
Correct!
In order to move the top of the liner (and therefore the seal) closer to the glass, I bent the top metal edge that the inner door liner hangs on.
I'm editing the photo to highlight the strip that i bent.
It only took a couple millimetres (maybe 1/8") of bending toward the outside.
Nothing drastic. The physical change is imperceptible and if you didn't know it was done, you wouldn't know it happened.
Tried the "bump down" on my lunch break, major difference in wind noise in the cabin. And looking at it I can see where at the very top of rolling up the window pushes itself outward and away from that inside seal. Definitely going to have a go at this fix this weekend.
I'm adding some additional photos to the original post.
One to show the whole strip a bit better and another to demonstrate my usage of the Crescent wrench for this fix.
I popped the door lining off quickly today to shoot these photos. It was apart and reassembled in 10 mins.
The only tool I use in removing the door liner is the screwdriver that comes in the trunk of the car: Flat side for prying, Phillips side for the three screws.
Honestly, this fix should take not much longer than 15 mins per side.
If you've never removed the door liner so you're tiptoeing through it, I'd say up it to 30 mins per side.
Also, you really don't need to completely remove the door liner to complete this.
All the electrical connectors and even the door lock cables can stay in place if you're careful not to drop the weight of the liner on the wires/cables.
Last edited by dfkd; May 2, 2017 at 02:22 PM.
Reason: Added detail.
You can also use Shin Etsu silicon grease to condition the rubber. Some of the best stuff available. Use a rubber glove and massage it into all your door, window, and all the rubber. Wipe off the excess. This will greatly prolong the life of your rubber seals.
You can also use Shin Etsu silicon grease to condition the rubber. Some of the best stuff available. Use a rubber glove and massage it into all your door, window, and all the rubber. Wipe off the excess. This will greatly prolong the life of your rubber seals.
A nice silicone greasing or spray is really helpful for quieting the seals as well so there's none of that kinda scratchy squeaking that can occur when they're dry.
I did find that this also helped the window to 'park' easier in the channel at the top.
No preceptible difference in the actual wind noise from this treatment in my case tho, but it's worth it just for how good it keeps the rubber looking.
I found my my supply of silicone grease at Home Depot in the plumbing section.
Moen (the plumbing supply company) makes nice small containers that go for just a couple bucks.
This made finally replace the side mirror screws i had ordered to stop the mirror shake. Like you said just a little bit of bending along the front edge. Didn't seem like i was moving it at all.
But in the end it did what you said. I test drove it after and we have a nice breeze today. Nice difference in sound when i tried the bump down it actually created noise.
I've tried all previous popular measures to reduce the wind noise from the front windows, including sealing of the black plastic triangle pieces. Nothing made much of an improvement.
It sounds like you have hit upon an effective solution, but I've read your instructions several times and dont feel I have a full grasp of the entire procedure.
Side mirrors aside. You take some pliers or a average size crescent wrench. Like the photo shows pinch and bend that top area of the inner door weld inward. From the A-pillar side back to the B-pillar. But stop just when you reach the top of the window. You barely bend it in just a tinny bit but it makes a big difference on seal tightness.
Just wanted to give an update to my experience. This is a winner for me. Over a month now. Wind noise is very much gone. The corner plate and seal helped but this for me closed it down. I still get a car swoosh that goes by close and fast. So if any of you are still thinking this is a no brainer.
i think adding an arrow to show which way to push would help alot. when you say inward it means towards me if i am in the car seat?
Originally Posted by johnnyg66
Side mirrors aside. You take some pliers or a average size crescent wrench. Like the photo shows pinch and bend that top area of the inner door weld inward. From the A-pillar side back to the B-pillar. But stop just when you reach the top of the window. You barely bend it in just a tinny bit but it makes a big difference on seal tightness.
Toyota and Lexus Join Mille Miglia For The First Time
Slideshow: A five-car lineup spanning more than five decades of Toyota performance and engineering will tackle one of Italy's most celebrated automotive routes.