When you click on links to various merchants on this site and make a purchase, this can result in this site earning a commission. Affiliate programs and affiliations include, but are not limited to, the eBay Partner Network.
So I've been working on a tray this week with some of my spare time. What do you guys think?
EDIT: Off-road/Show use only is advised, may interfere with passenger airbag deployment.
I bought a second hand Flossd tray a couple weeks ago. It's an old model Infinity LED tray. Not going to lie, the lights are pretty cool imo. But there was a couple things that bothered me about it. It was a universal tray, so it was not long enough to go all the way across my dash, and it also had a slight curve on the whole thing. Would be good in other cars obviously but the ucf20 dash is very straight lol. So I figured I'd give the DIY thing a shot.
So this is what I started with. Straight and simple, I didn't want to go overboard with the design since I've never tried anything like this before. I do have quite a bit of wood working experience from high school, which was only a year ago lol so I knew what I was comfortable with. And it turns out my Gramps has every wood working tool i would ever need haha
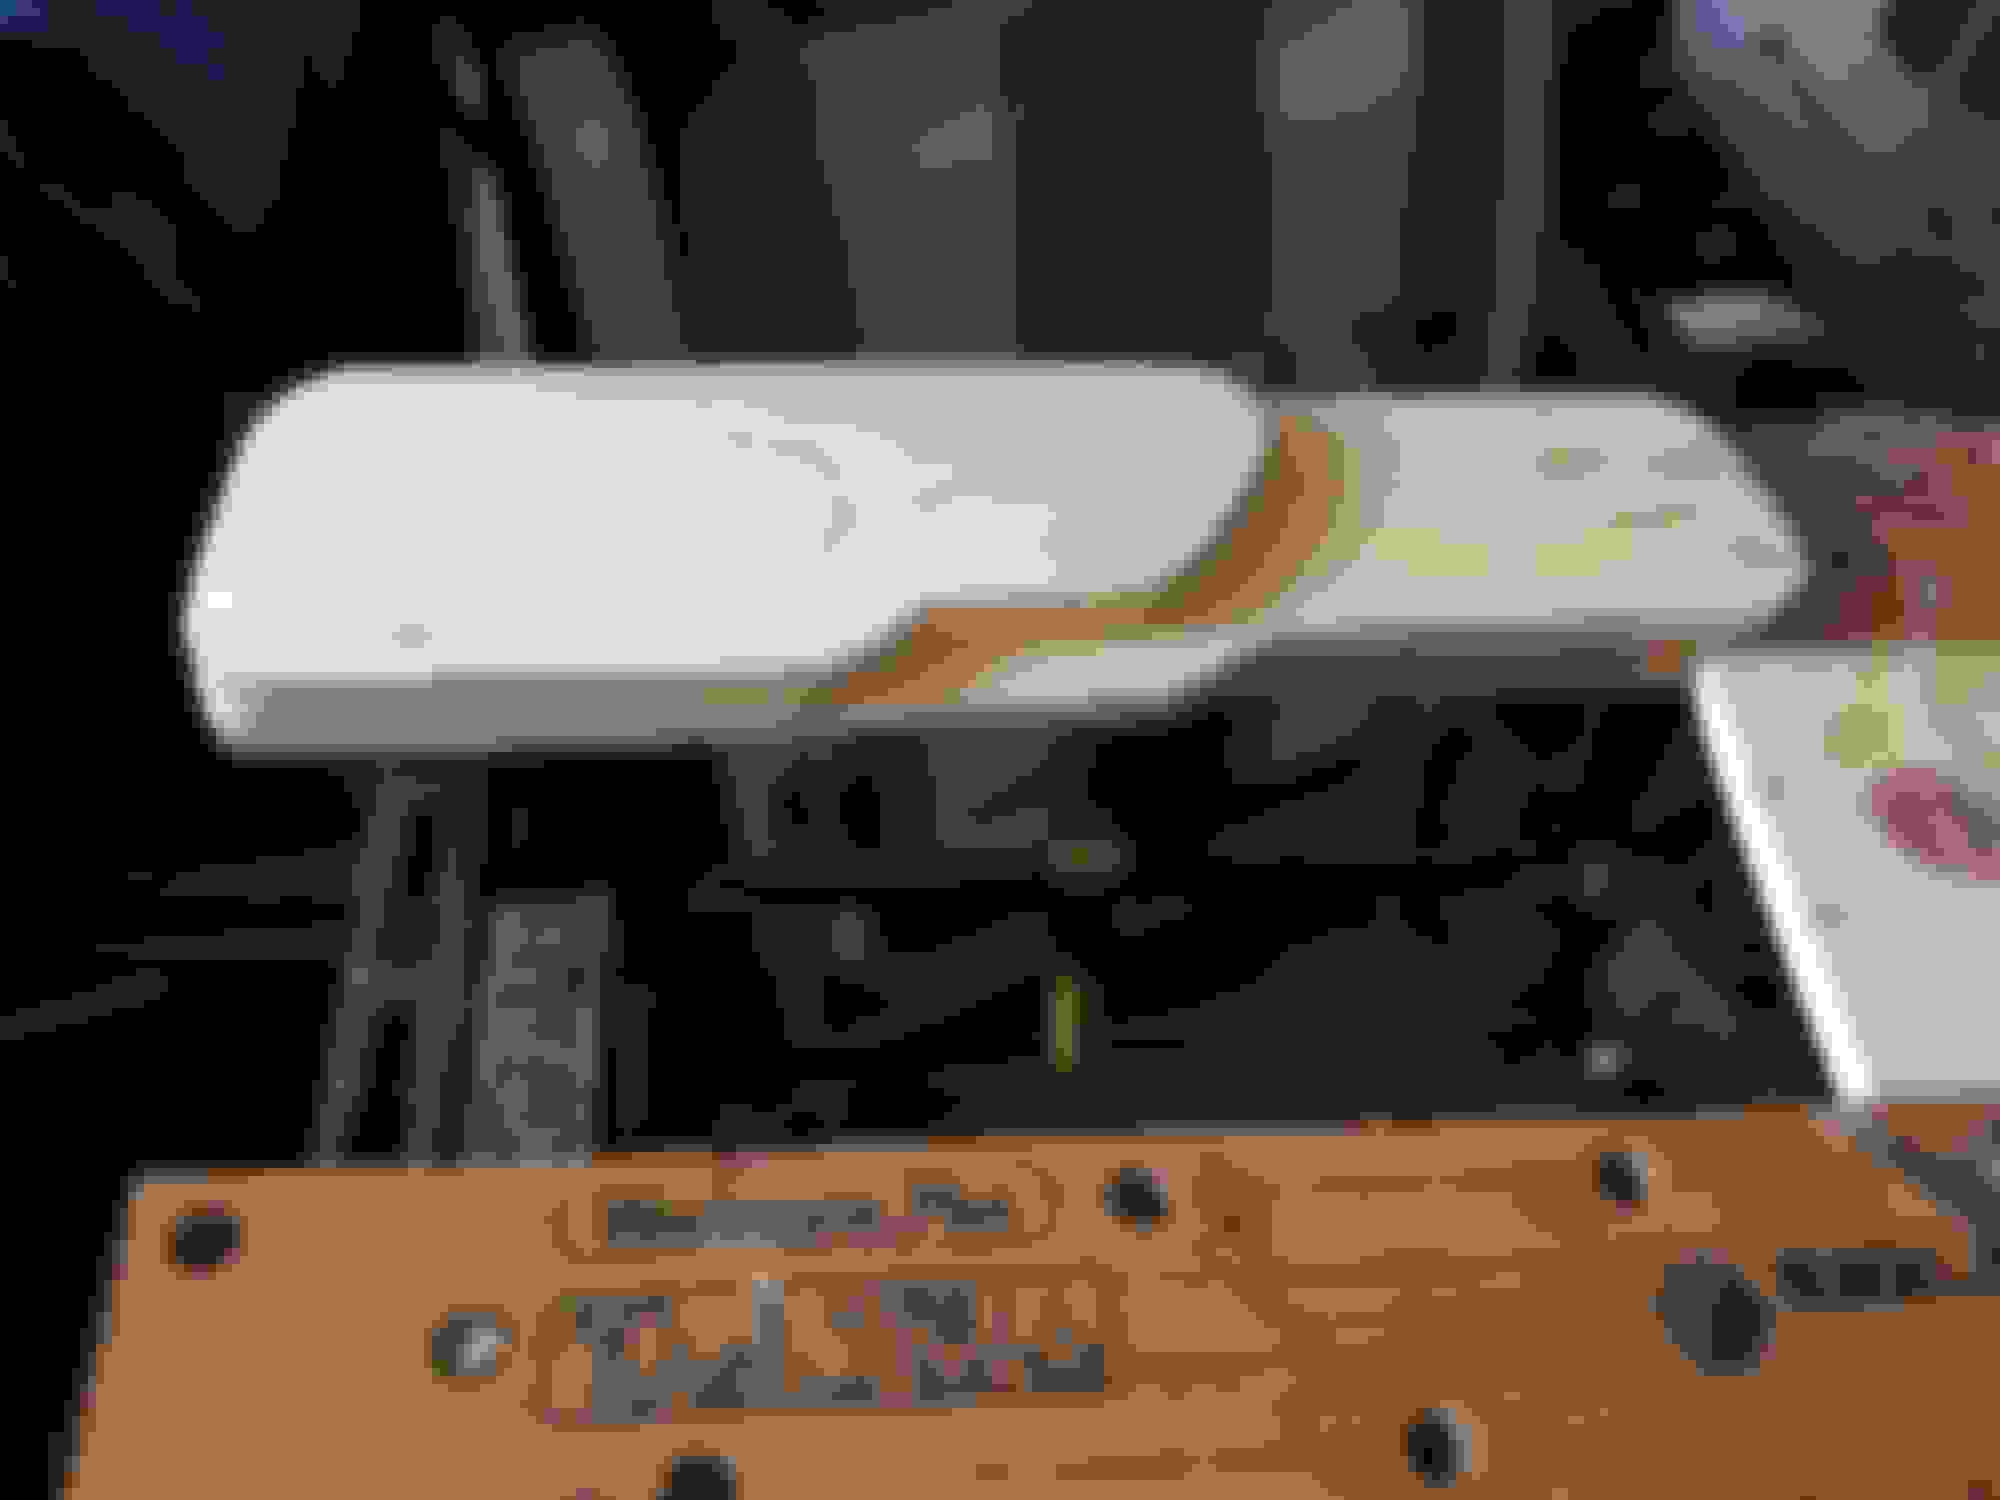
So I started my cuts. Turned out how I expected, but the blade on the electric saw I was using was being a PITA. As you can see, the edges aren't straight. The blade was also bending, but some time on the belt sander and all was good.
I set some screws on the base to get an idea how it would look. At this point I was hooked.
Next was to get the cup holders/rings in. To find these I searched chrome boat cup holders on eBay, found 2 for 10 bucks. The listing said stainless lip, but they were chrome. Once I finally got them in, I realized I was going to have to change the design a bit. They were larger then I originally designed. That's what I get for doing that before I had the cup holders lol. Busted out the dremel and cut the bottoms off the cup holders, left an inch from the top, lined up perfect with the bottom of the wood
A few days later the chrome edging came in the mail. To find some on eBay, I searched Chrome roof moulding. I got the 25mm size, but when I make another tray, I'm going to get 20 or 22mm instead. Stopped at Joanne's to get some black leather/pleather fake stuff, luckily they were having a 50% off sale lol. You probably only need to ask for half a yard, I got one yard and I have a lot left over, but I do plan on making another tray so that was fine with me. Here are some pics when I was done with it. It is by no means VipDout level quality ( props, because now I really see the quality lol ) , but it was better then I expected.
I didn't get any pics after I had the poles/spacers on. They're just solid wood poles with some chrome vinyl around them, had some left over from my C-Pillars.
I will update with pics of the tray fully assembled and the brackets. Also pics of the tray installed
Costs: ( you could do it for cheaper too )
Cardboard - Free(;
Wood - $7.50, 4'x6" I think
Cup Holders - $10.00 for 2
Chrome Trim - $12.00 for 12'x1"
Leather etc. - $4.50 for a yard
Spray Adhesive - $5.00
Aluminum for brackets - $5.00
My time - Free(; didn't keep track of how long it took me, did it off and on throughout the week
Total: About $44.00
Let me know if you have any questions or if I left any useful info out, il gladly edit. I hope this helps some of you guys out if you want to give this a shot. It definitely wasn't too difficult(:
The problem many people don't realize with hese trays (especially if you raise it past the CD changer) is that it may interfere with the passenger airbag.
Stupid question here. I don't know what those are for? I guess the round holes are for a glass what are the hand looking holes for? And how is it attached to the dash?
Stupid question here. I don't know what those are for? I guess the round holes are for a glass what are the hand looking holes for? And how is it attached to the dash?
For holding your sake and gives you something to snort your coke from.