


Weekend install complete
A while back I picked up the Branew lip kit CrazyMPG was selling. I finally was able to have time to install it this weekend. I documented some of the install as the only way to really correctly install it was to remove the front bumper and side skirts from the car since the kit doesn't use factory mounting points except at the end of the front and rear bumper.
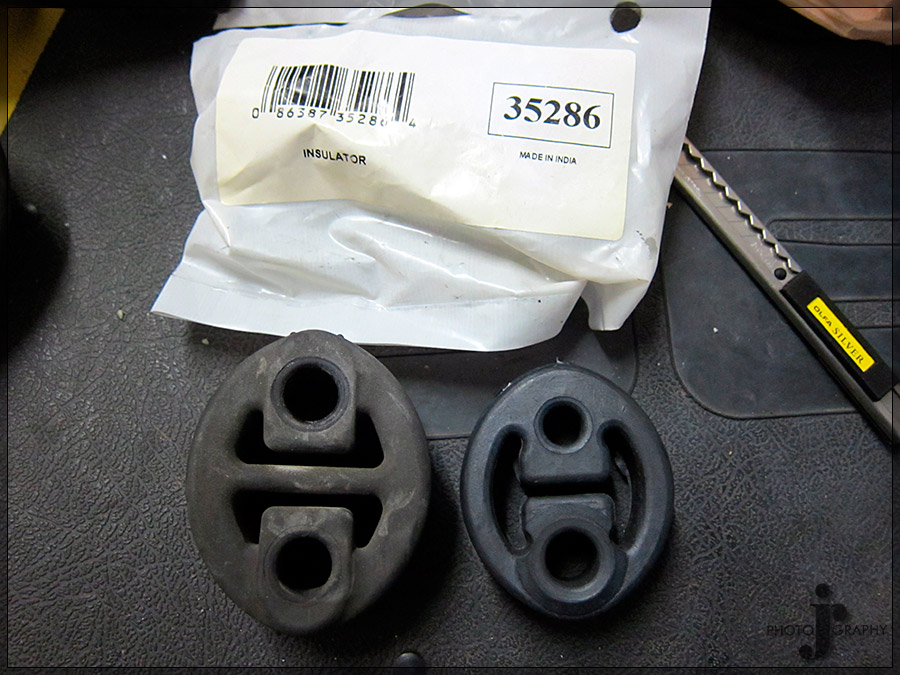
The install wasn't terribly difficult just more so time consuming due to having to remove the front bumper and sides. The kit also is rather hard to fit with the ISSForged exhaust because it goes into the exhaust openings on the bumper and thus makes them a little smaller. I fixed this problem a little by switching out so some different size rubber exhaust hangers in order to move the exhaust around in the opening a bit.
I am still working on fitting the rear piece in a final position as the original install they used pop rivets that were hidden but I don't really want to drill those holes in the bumper because they would not be 100% hidden when I would eventually remove the kit.
Well onto the install and pics.
New slightly smaller rubber exhaust hangers.
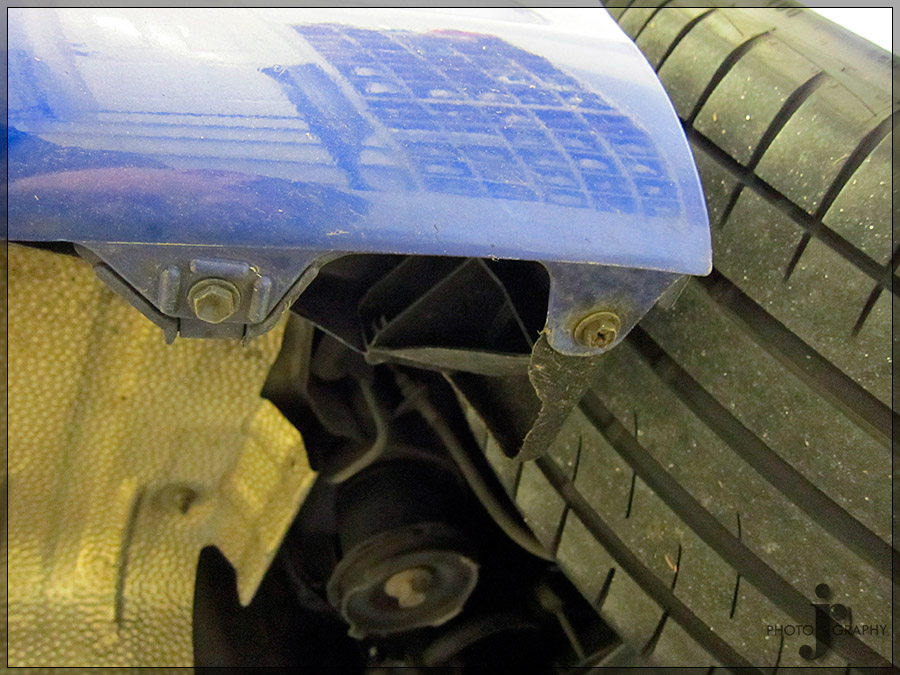
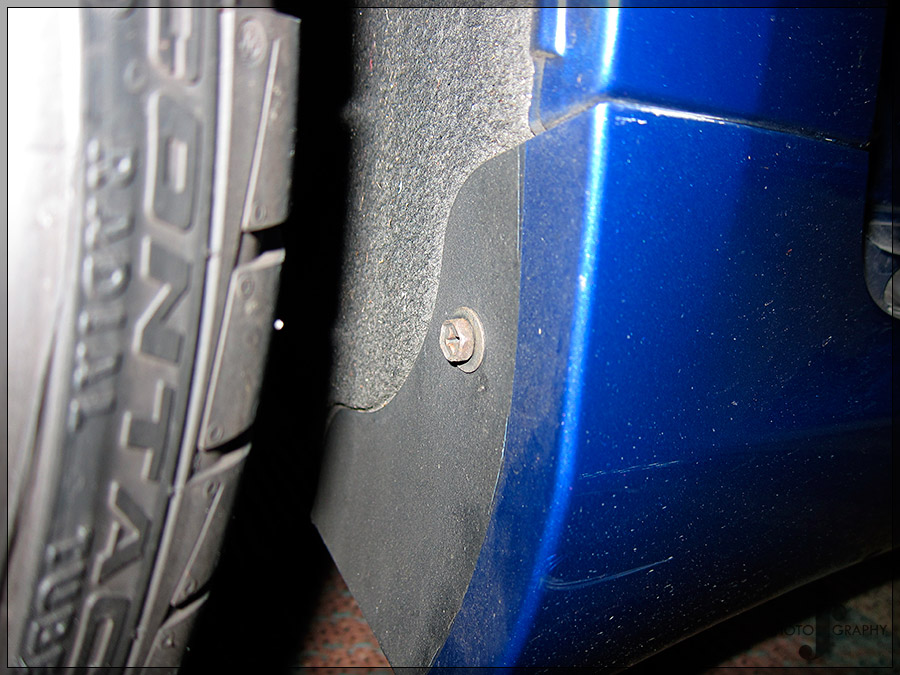
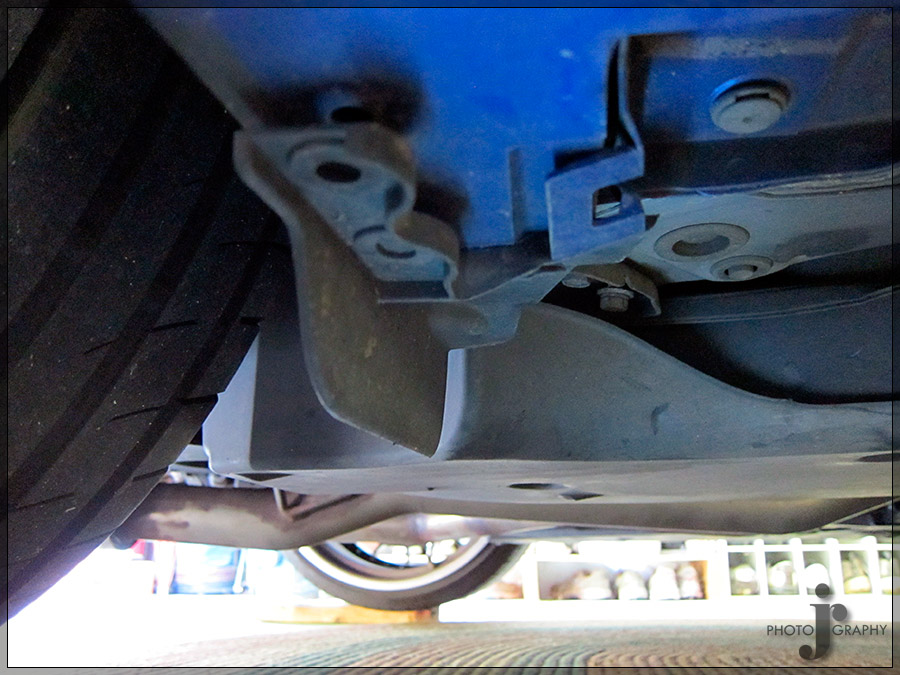
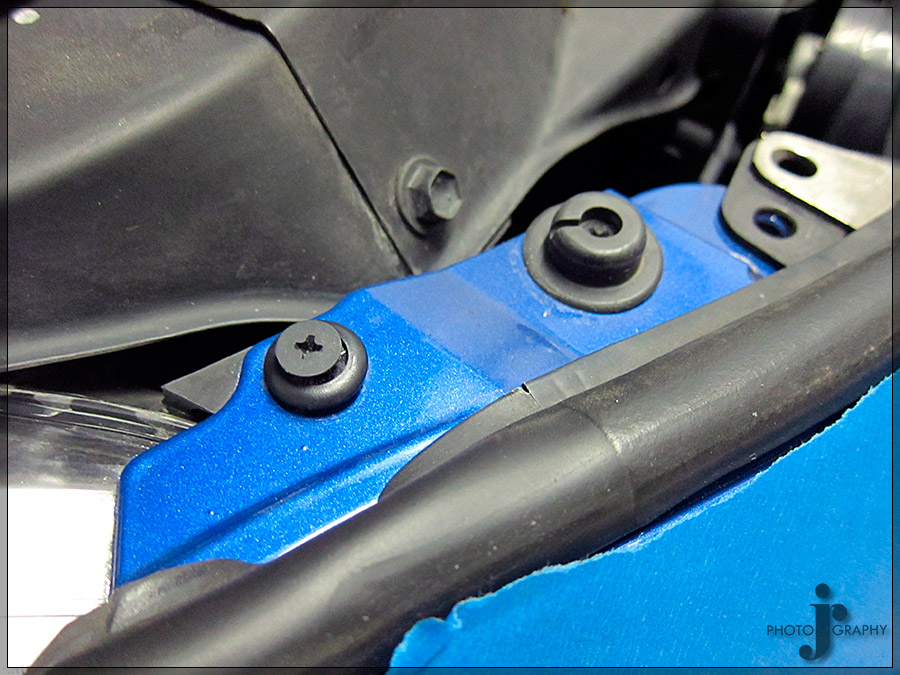
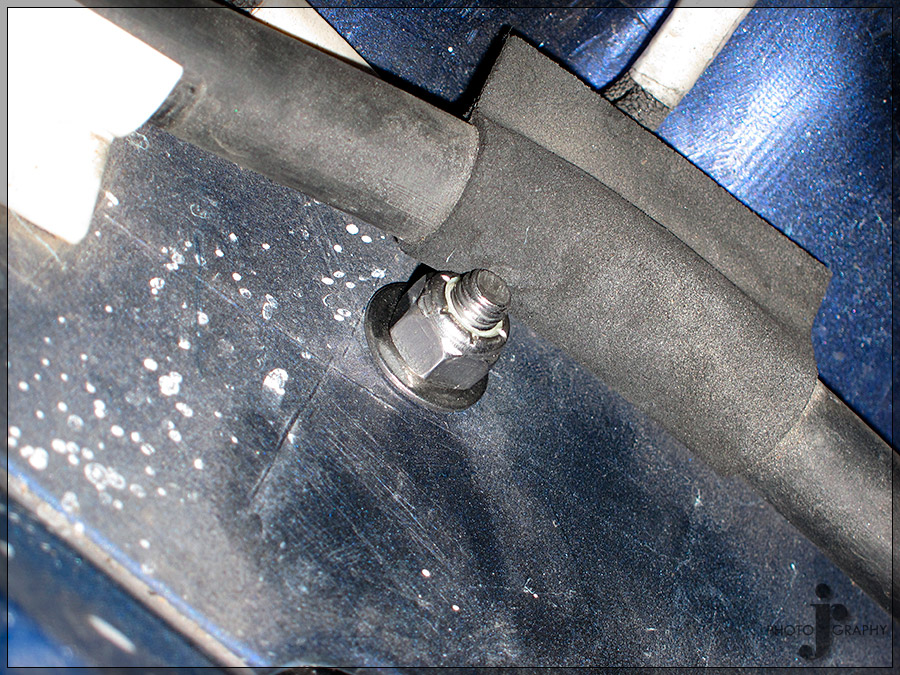
This spot on the rear lip mounts to the bolt right before the wheel arch in the picture below. Those bolts one on each side are technically the only thing holding the rear lip on. It does however fit tightly around the exhaust as well so it is pretty much permanently held on. Once I get a few more things figured out I will then attach it with 3m body tape as well. Hopefully till then it will stay on safely.

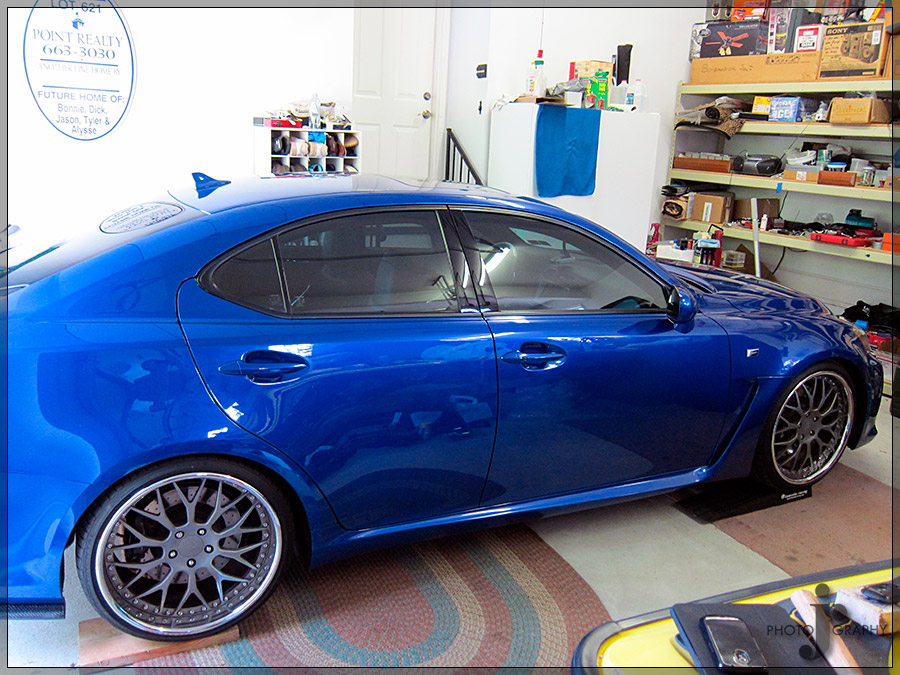
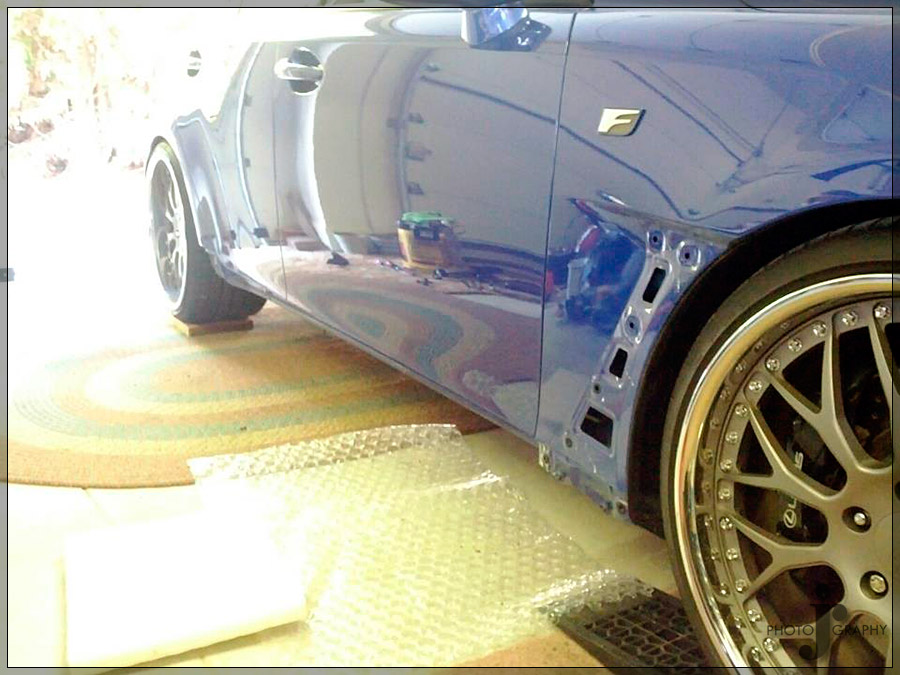
Rear lip on and car up on ramps and boards to give a slight increase in clearance to complete the rest of the install.
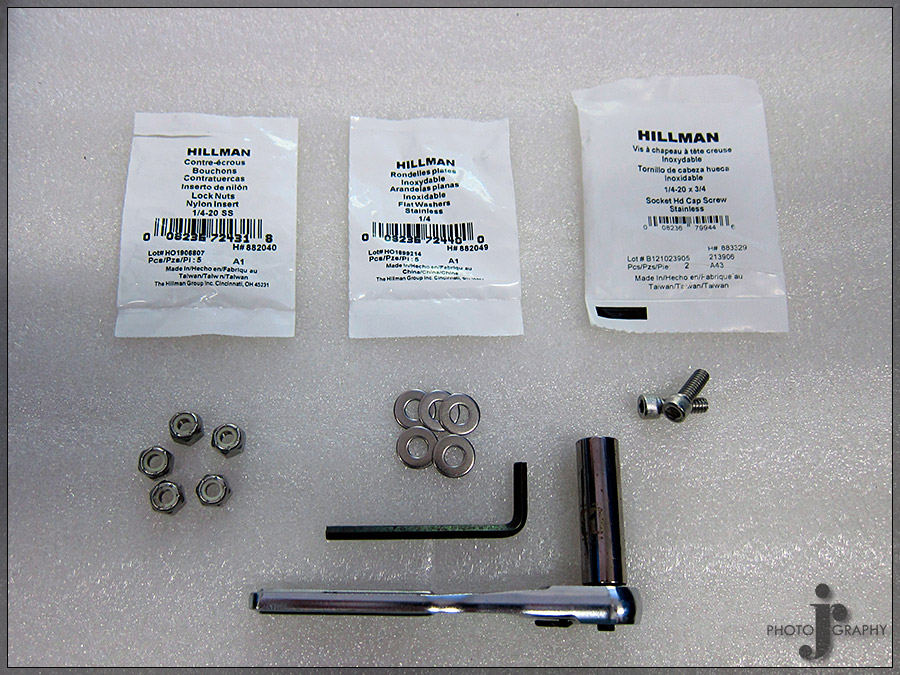
I chose all stainless steel hardware to bolt in on with. I got nylon locking nuts as to help prevent the need to ever have to retighten anything since I would have to remove it from the car first which would be a pain.
Front wheel arch remove top bolt
Remove 2 bolts and 1 clip here.
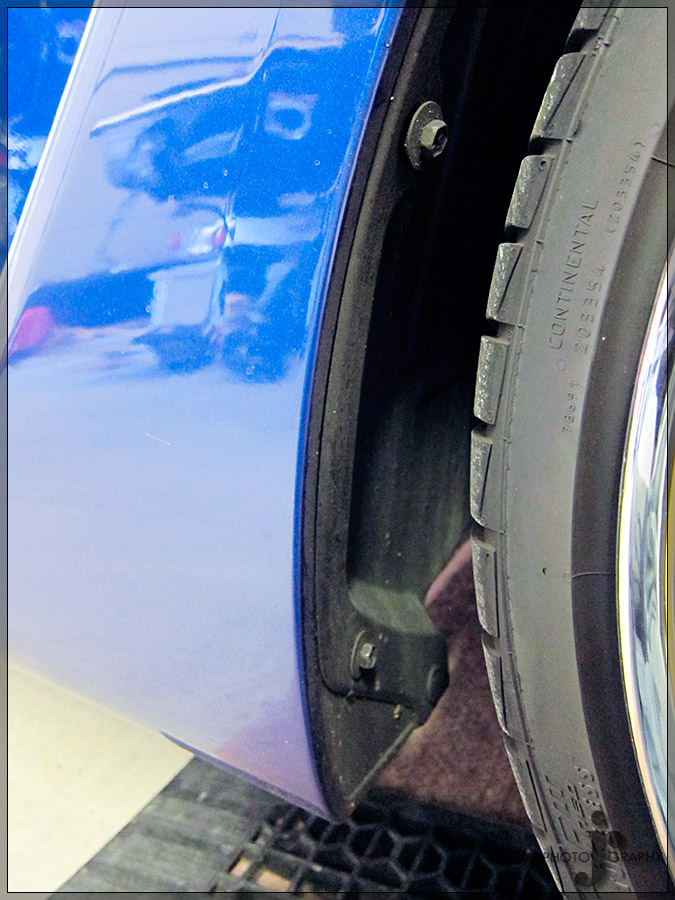
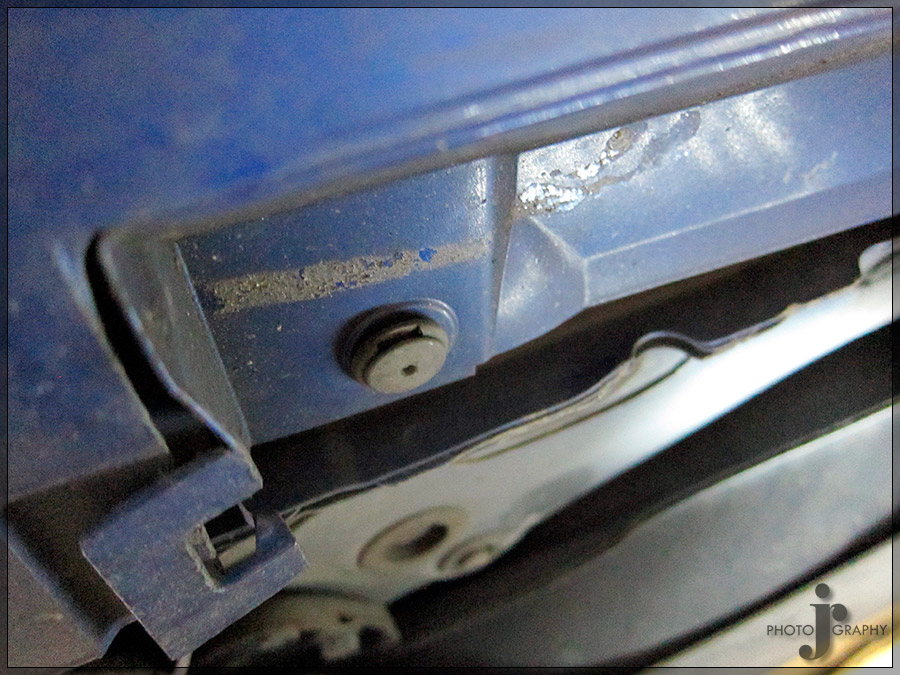
Rear wheel arch remove single bolt on side skirt
Remove clip from flap
Remove bolt from flap
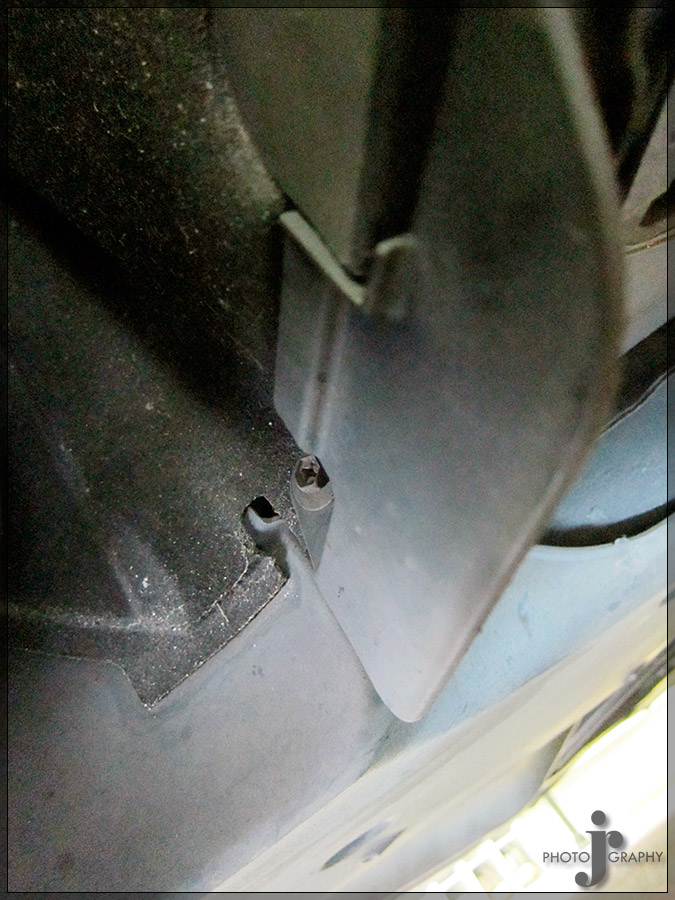
Remove 7 clips on underside of sideskirt
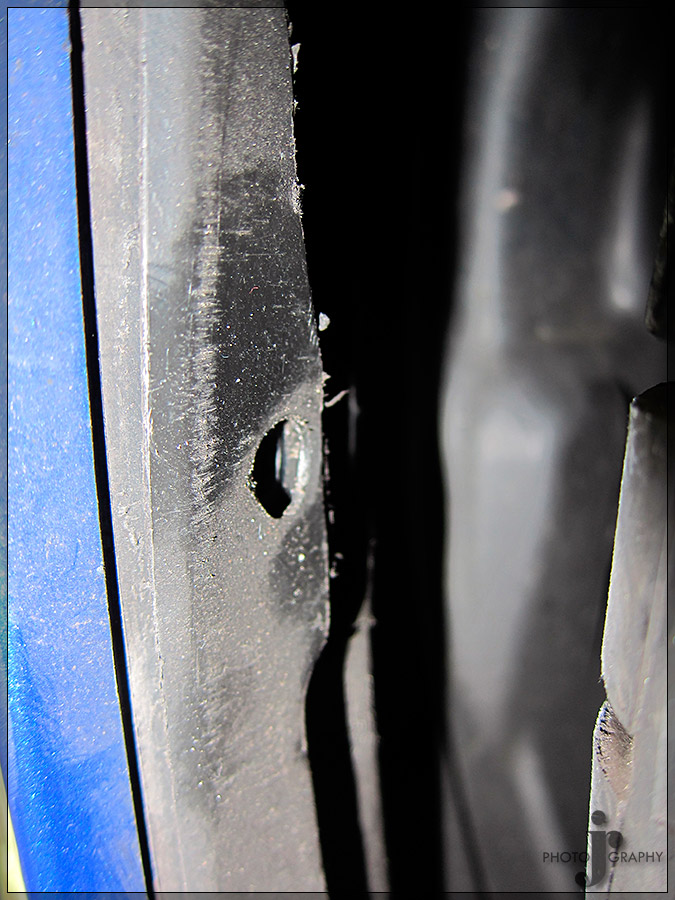
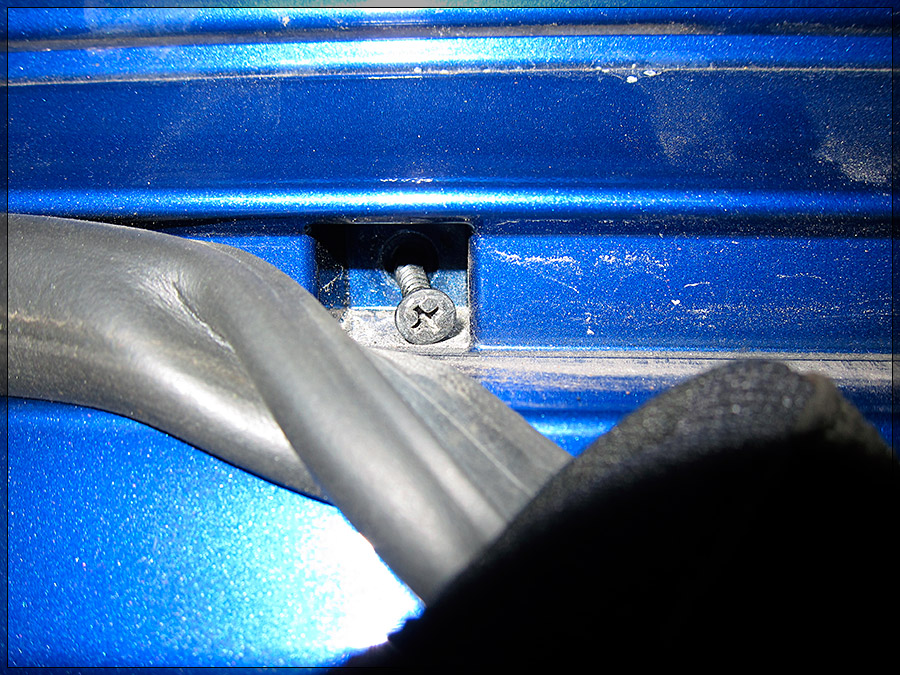
Remove 2 screws under weather stripping one at front and one at back. The front ones were rather a pain because I could not get in a position to be able to see into it so as to line up the screw driver.
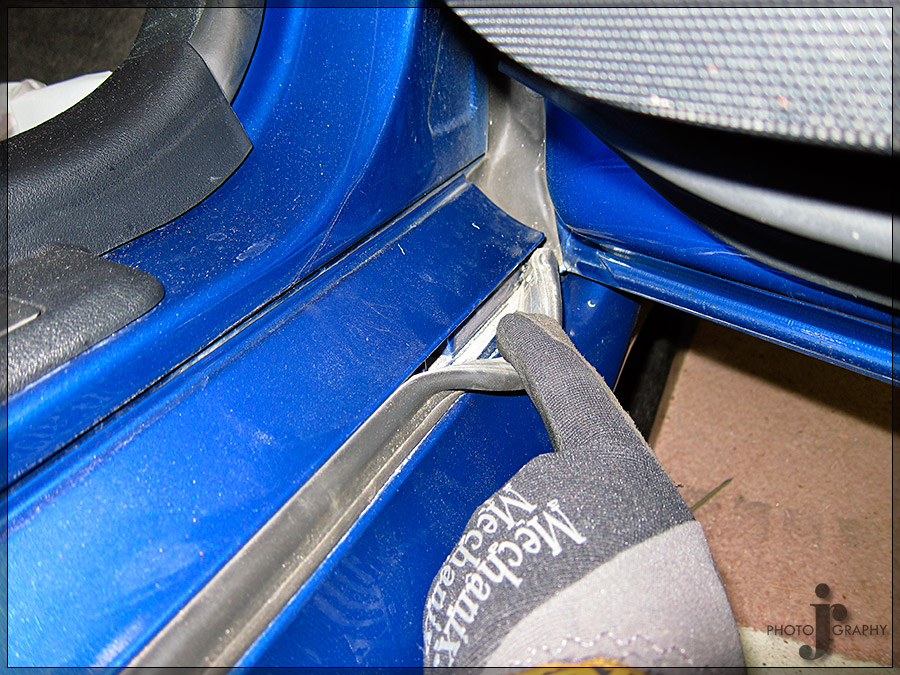
Side skirts finally off
Now on to removing the front bumper. There are 9 clips on the top panel.
Below that there are 3 bolts. 1 on each side and one in the middle.
I forgot to grab pictures but there are two plastic clips inside each wheel arch and then one screw which you have to pry the fender liner out first to access at the top corner of the bumper. Then there are 8 bolts to be removed on the bottom side of the bumper. Once are of that is out carefully pull the bumper out of the clips underneath the side and inner corner of each headlight.
You will either need someone to hold the bumper or or lay it down at an angle and quickly disconnect the fog light wires so as not to put strain on them. Also need to disconnect the harness that is for the headlight washers and parking sensors.
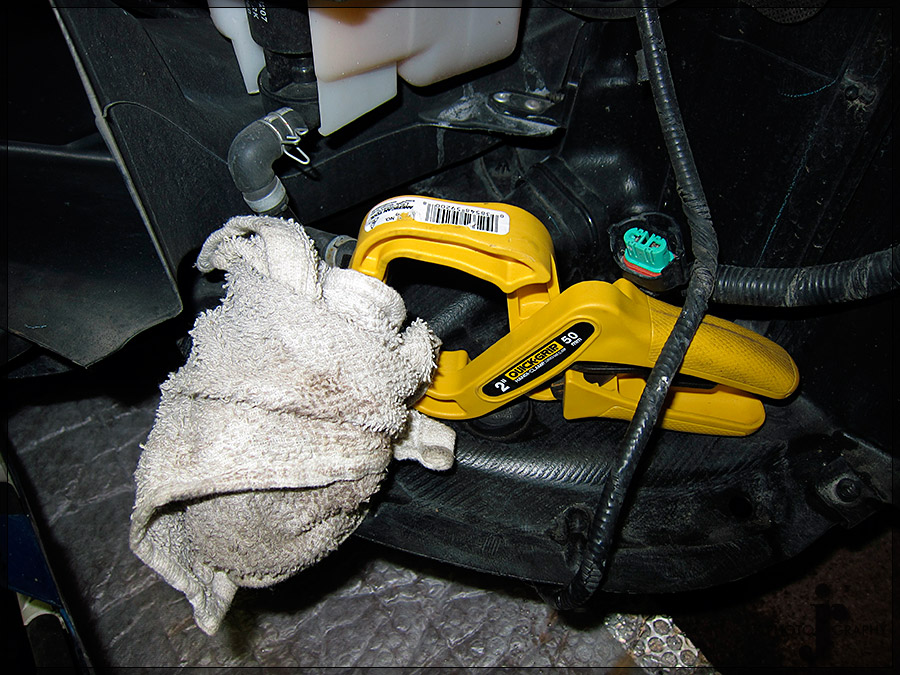
Lastly make sure you have something to clamp the hose from the washer fluid container or else you will end up with a mess like I did the first time. Not really sure what I thought was going to stop it from coming out all over the place.
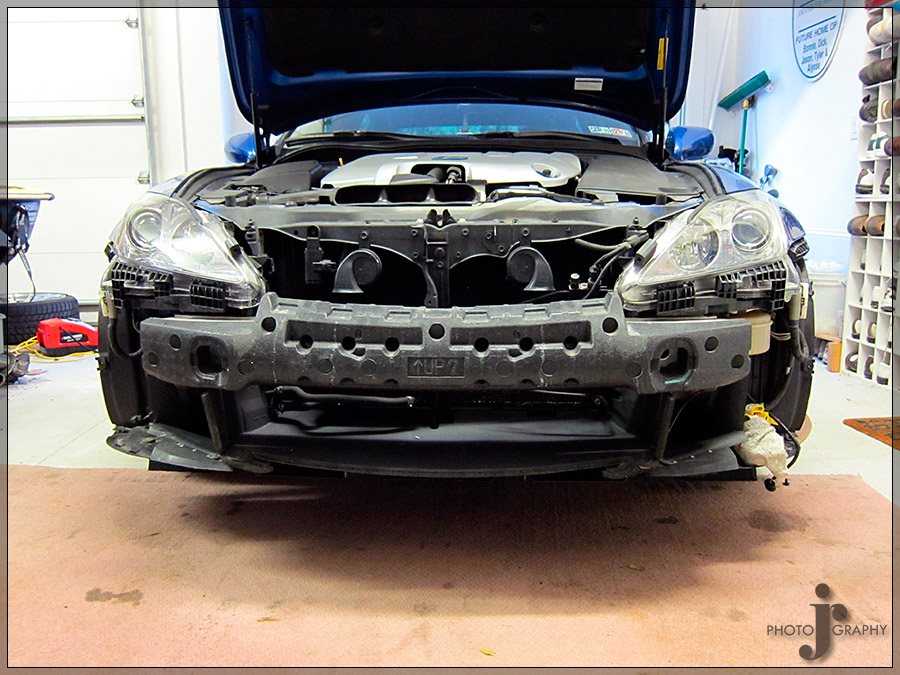
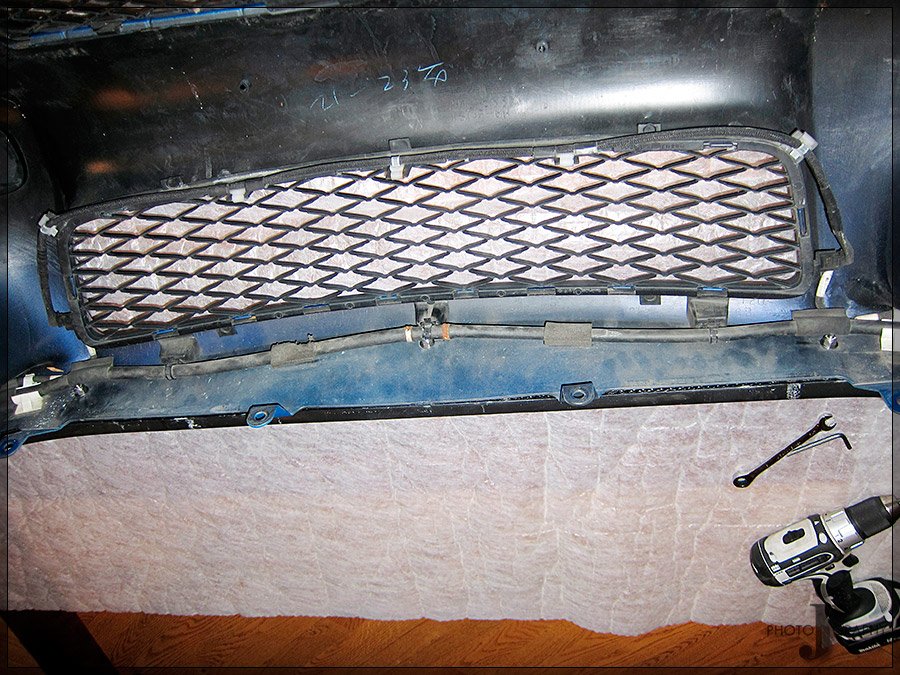
Bumper finally off
The install wasn't terribly difficult just more so time consuming due to having to remove the front bumper and sides. The kit also is rather hard to fit with the ISSForged exhaust because it goes into the exhaust openings on the bumper and thus makes them a little smaller. I fixed this problem a little by switching out so some different size rubber exhaust hangers in order to move the exhaust around in the opening a bit.
I am still working on fitting the rear piece in a final position as the original install they used pop rivets that were hidden but I don't really want to drill those holes in the bumper because they would not be 100% hidden when I would eventually remove the kit.
Well onto the install and pics.
New slightly smaller rubber exhaust hangers.
This spot on the rear lip mounts to the bolt right before the wheel arch in the picture below. Those bolts one on each side are technically the only thing holding the rear lip on. It does however fit tightly around the exhaust as well so it is pretty much permanently held on. Once I get a few more things figured out I will then attach it with 3m body tape as well. Hopefully till then it will stay on safely.
Rear lip on and car up on ramps and boards to give a slight increase in clearance to complete the rest of the install.
I chose all stainless steel hardware to bolt in on with. I got nylon locking nuts as to help prevent the need to ever have to retighten anything since I would have to remove it from the car first which would be a pain.
Front wheel arch remove top bolt
Remove 2 bolts and 1 clip here.
Rear wheel arch remove single bolt on side skirt
Remove clip from flap
Remove bolt from flap
Remove 7 clips on underside of sideskirt
Remove 2 screws under weather stripping one at front and one at back. The front ones were rather a pain because I could not get in a position to be able to see into it so as to line up the screw driver.
Side skirts finally off
Now on to removing the front bumper. There are 9 clips on the top panel.
Below that there are 3 bolts. 1 on each side and one in the middle.
I forgot to grab pictures but there are two plastic clips inside each wheel arch and then one screw which you have to pry the fender liner out first to access at the top corner of the bumper. Then there are 8 bolts to be removed on the bottom side of the bumper. Once are of that is out carefully pull the bumper out of the clips underneath the side and inner corner of each headlight.
You will either need someone to hold the bumper or or lay it down at an angle and quickly disconnect the fog light wires so as not to put strain on them. Also need to disconnect the harness that is for the headlight washers and parking sensors.
Lastly make sure you have something to clamp the hose from the washer fluid container or else you will end up with a mess like I did the first time. Not really sure what I thought was going to stop it from coming out all over the place.
Bumper finally off
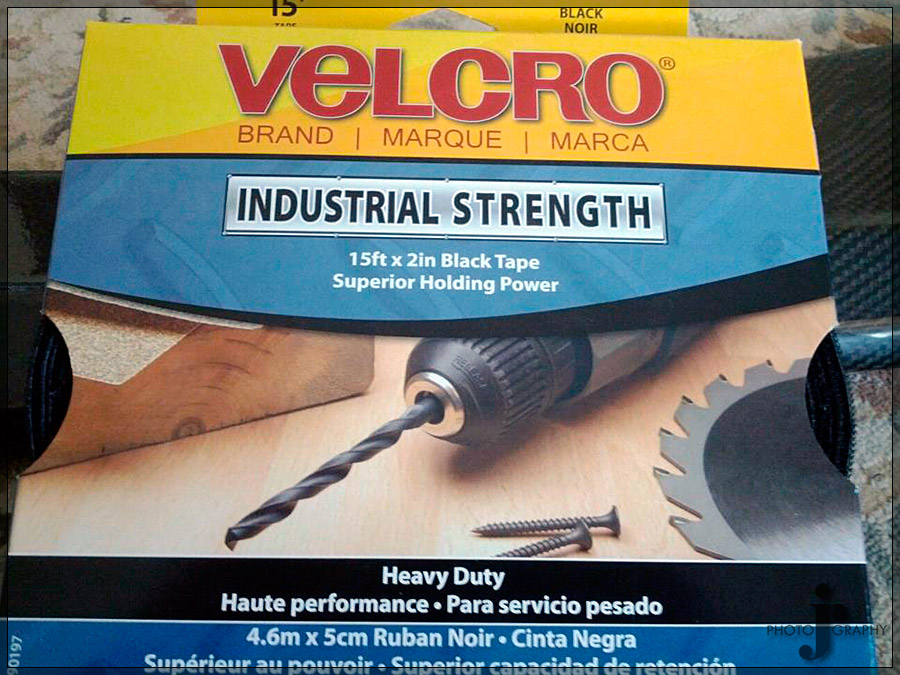
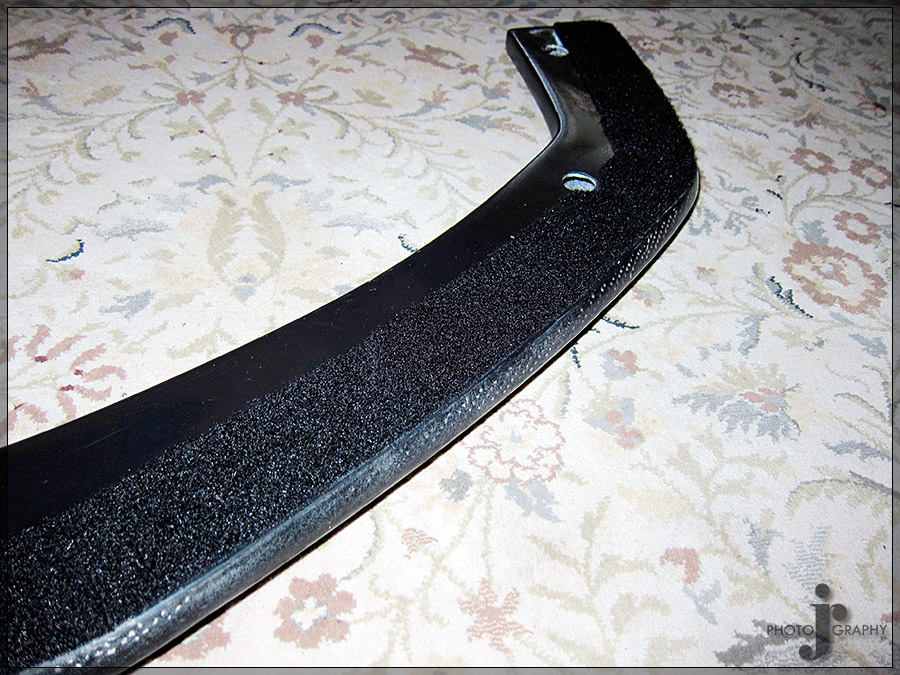
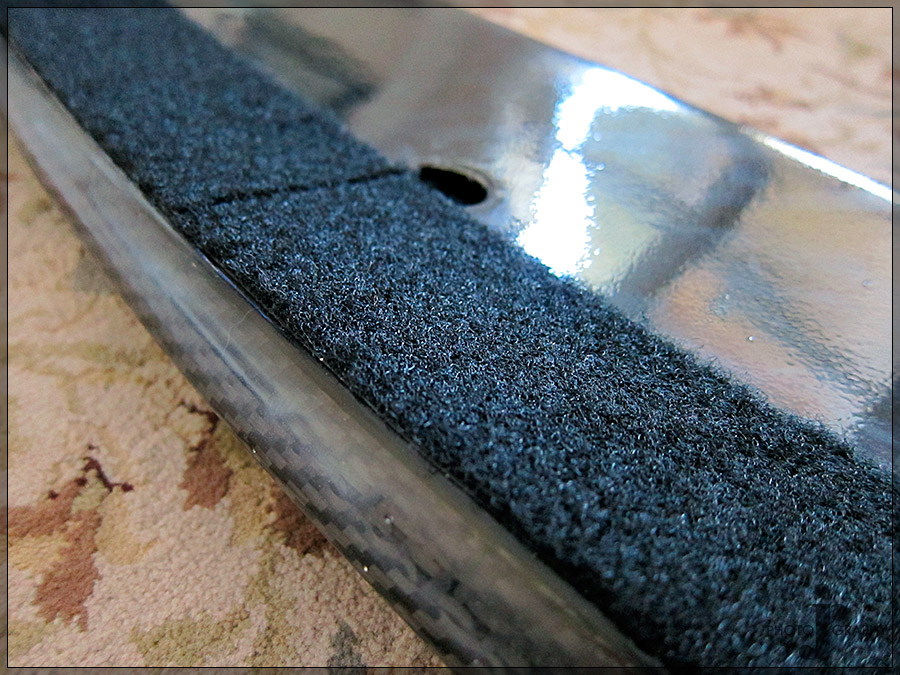
So I was worried about scrapping the front lip and since it was carbon and I didn't want to damage it I did a little research and found two solutions. One using industrial Velcro and the other a 3M product used on airplane front ends and helicopter blades that seems pretty indestructible. The 3M product is extremely expensive and I was unable to figure out if you needed a special adhesive to apply it so I went with the easier solution that I could pickup at Lowes.
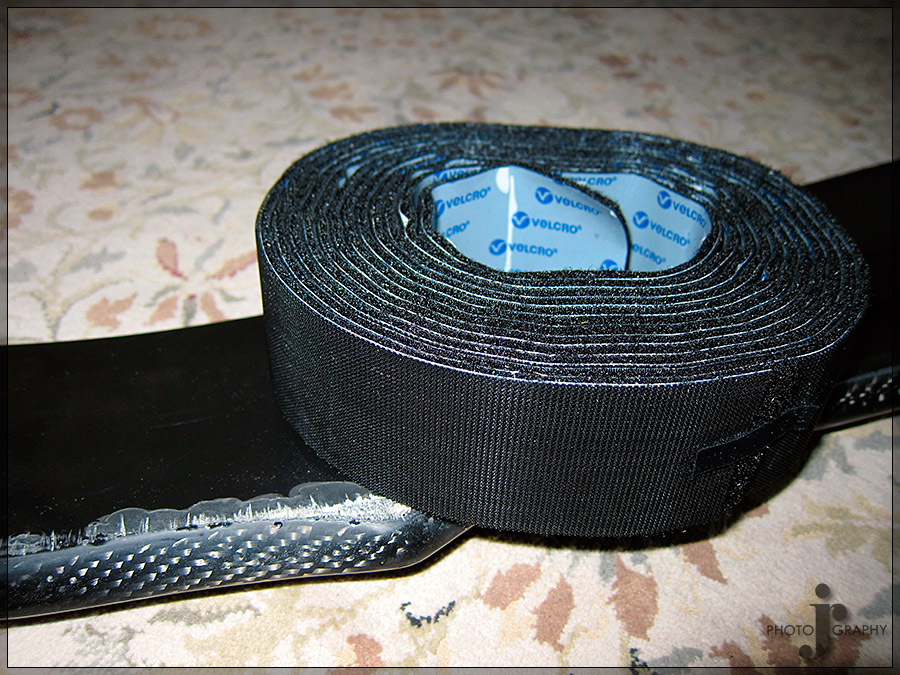
You don't use the hard plastic stuff but rather the softer thicker part of the Velcro.
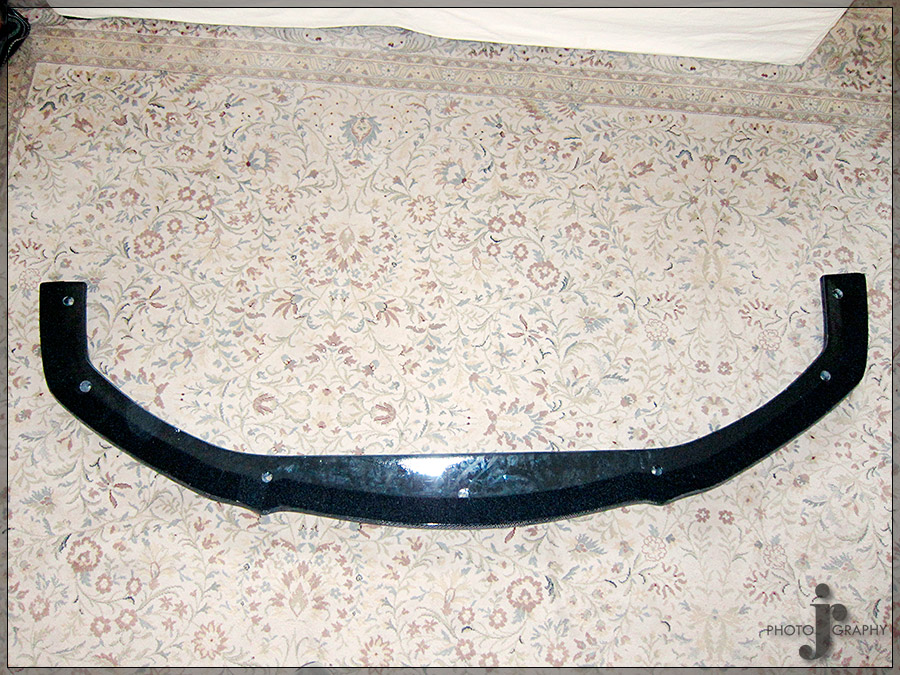
Lip finally installed on the bumper
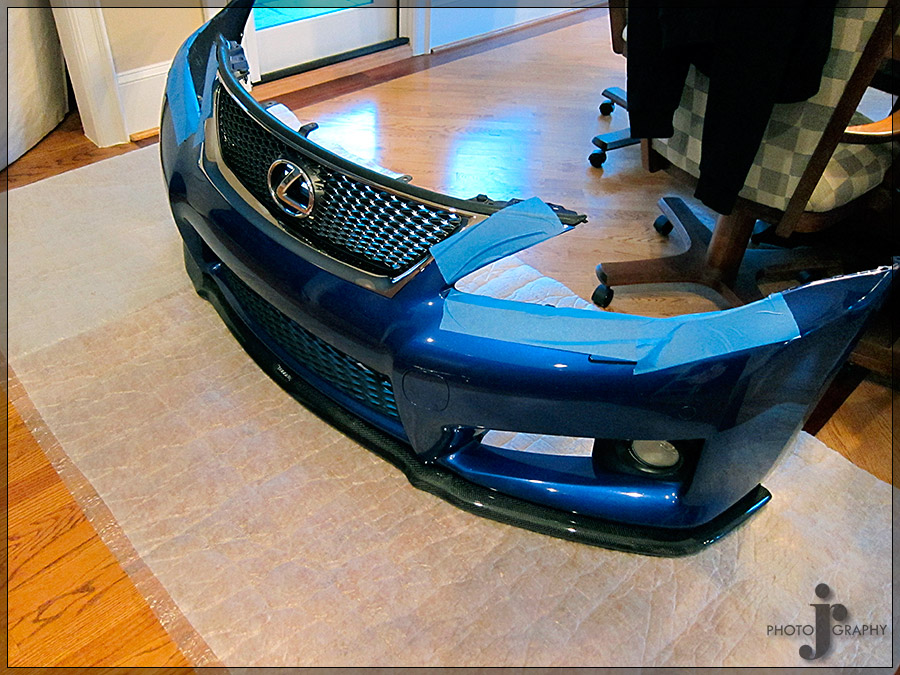
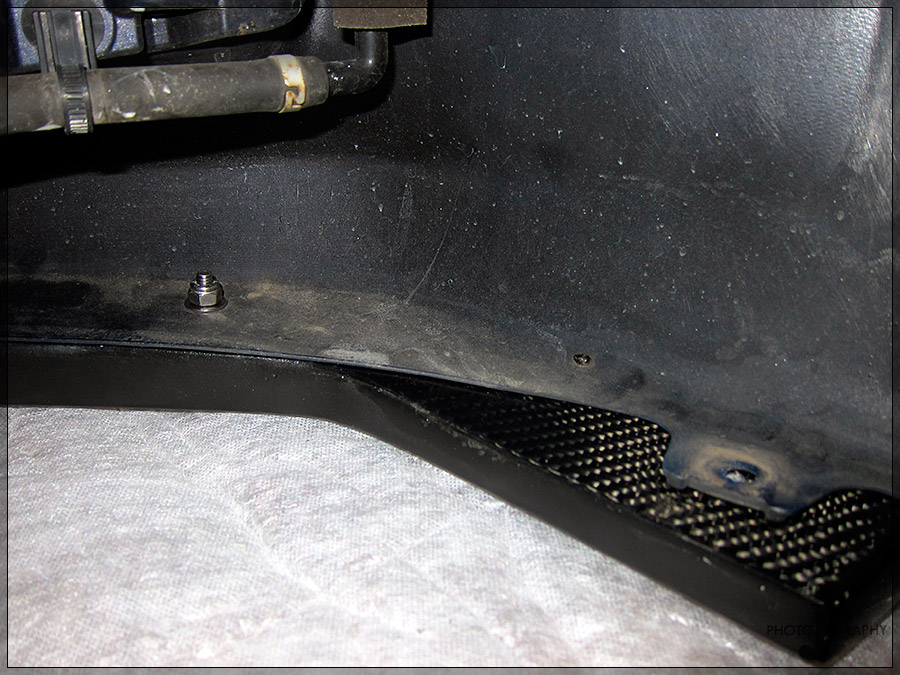
Couple shots of the hardware installed and at the end of the bumper you can see how the last mounting location uses the factory hardware. I chose to use the factory holes to start with to bolt the lip on to align it to the bumper before drilling the holes in the bumper to install the other bolts.
Shot before installing the side skirts.
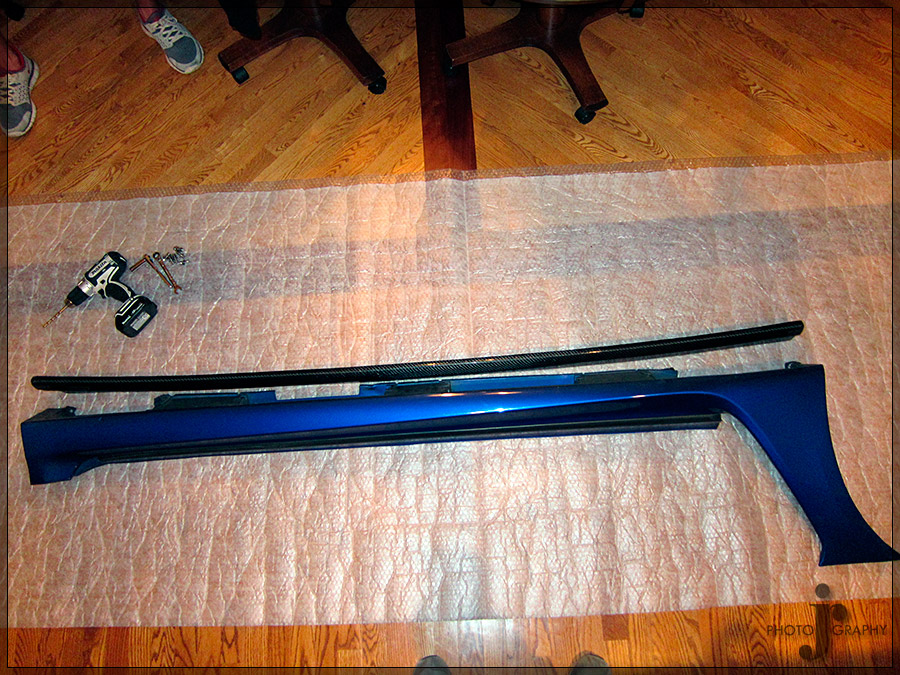
The side skirts didn't have a factory bolt hole to use to help align so a buddy of mine came over to help me hold it in place after I lined up each end before drilling the outer holes. I forgot to take any pics of the rest of the side skirt install cause I was getting tired at this point. Also no pics of the re-install but just pretty much do the reverse of taking it apart.
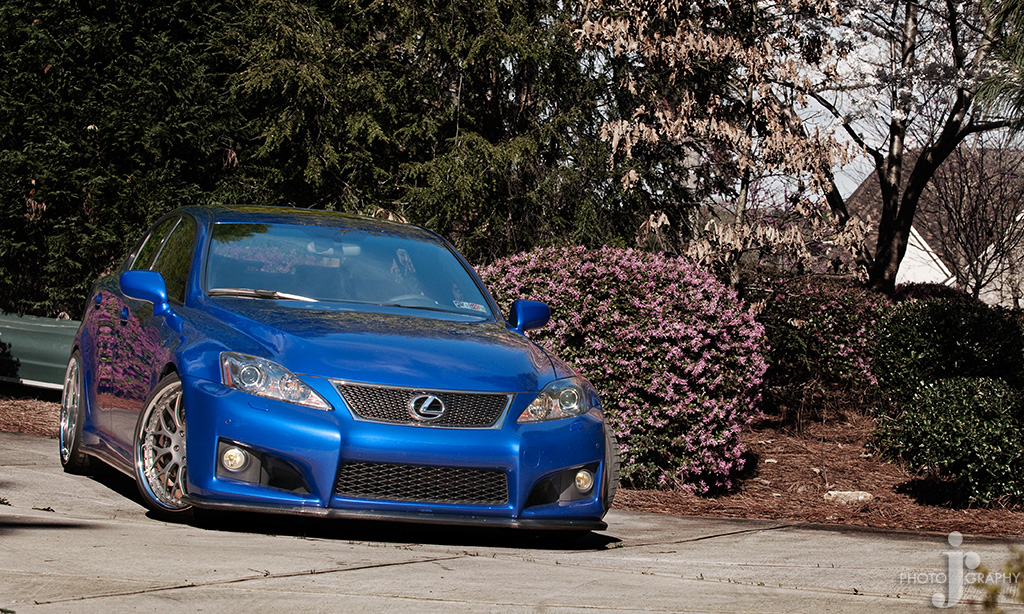
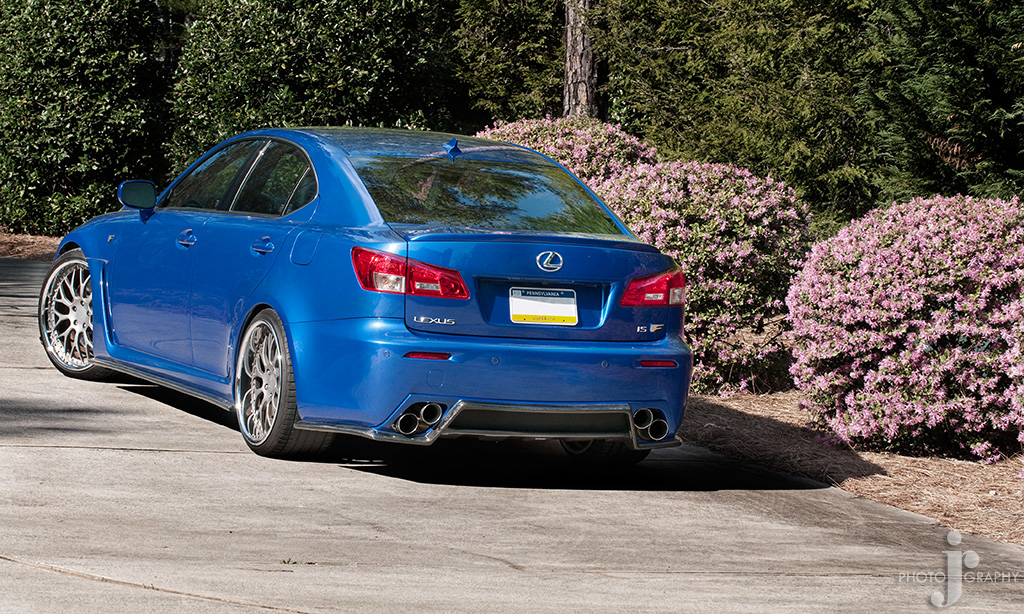
Only able to get 3 shots of it today as it rained for most of the day unforunately. The sun did come out though so I could at least get these.

You don't use the hard plastic stuff but rather the softer thicker part of the Velcro.
Lip finally installed on the bumper
Couple shots of the hardware installed and at the end of the bumper you can see how the last mounting location uses the factory hardware. I chose to use the factory holes to start with to bolt the lip on to align it to the bumper before drilling the holes in the bumper to install the other bolts.
Shot before installing the side skirts.
The side skirts didn't have a factory bolt hole to use to help align so a buddy of mine came over to help me hold it in place after I lined up each end before drilling the outer holes. I forgot to take any pics of the rest of the side skirt install cause I was getting tired at this point. Also no pics of the re-install but just pretty much do the reverse of taking it apart.
Only able to get 3 shots of it today as it rained for most of the day unforunately. The sun did come out though so I could at least get these.
Trending Topics
ClubLexus Stories
Celebrating Lexus & Toyota from Around the Globe

Top 10 Most Confusing Things Lexus Has Ever Done!
Joe Kucinski
2026 Lexus ES Review: Lexus Re-Embraces Founding Principles
Michael S. Palmer
10 Lexus Bargains That are Cheaper Than a New Toyota RAV4
Joe Kucinski
8 Weirdest Things Lexus Has Ever Built
Verdad Gallardo
10 Lexus Designs That Have Aged Like Fine Wine
Verdad Gallardo
8 Tips for Improving Your Hybrid or Plug-in Hybrid's Efficiency!
Michael S. Palmer
10 Best Lexus Models No One Remembers
Joe Kucinski
TRD Off-Road Premium: Best 2026 4Runner, Except This One Thing
Michael S. Palmer
Top 10 Lexus & Toyotas to Drive Before You Die!
Joe Kucinski


Thread
Thread Starter
Forum
Replies
Last Post
Dallasguy1
GS - 4th Gen (2013-2020)
16
May 25, 2016 06:58 AM
SC3coupe
IS - 2nd Gen (2006-2013)
15
Jul 12, 2007 11:35 AM