When you click on links to various merchants on this site and make a purchase, this can result in this site earning a commission. Affiliate programs and affiliations include, but are not limited to, the eBay Partner Network.
Hey everyone, just joined the forum after being a long time lurker. I thought I would do a thread on the process I make on fixing my cars front end damage. I am by no means a mechanic so I will be documenting the process from the view point of a novice.
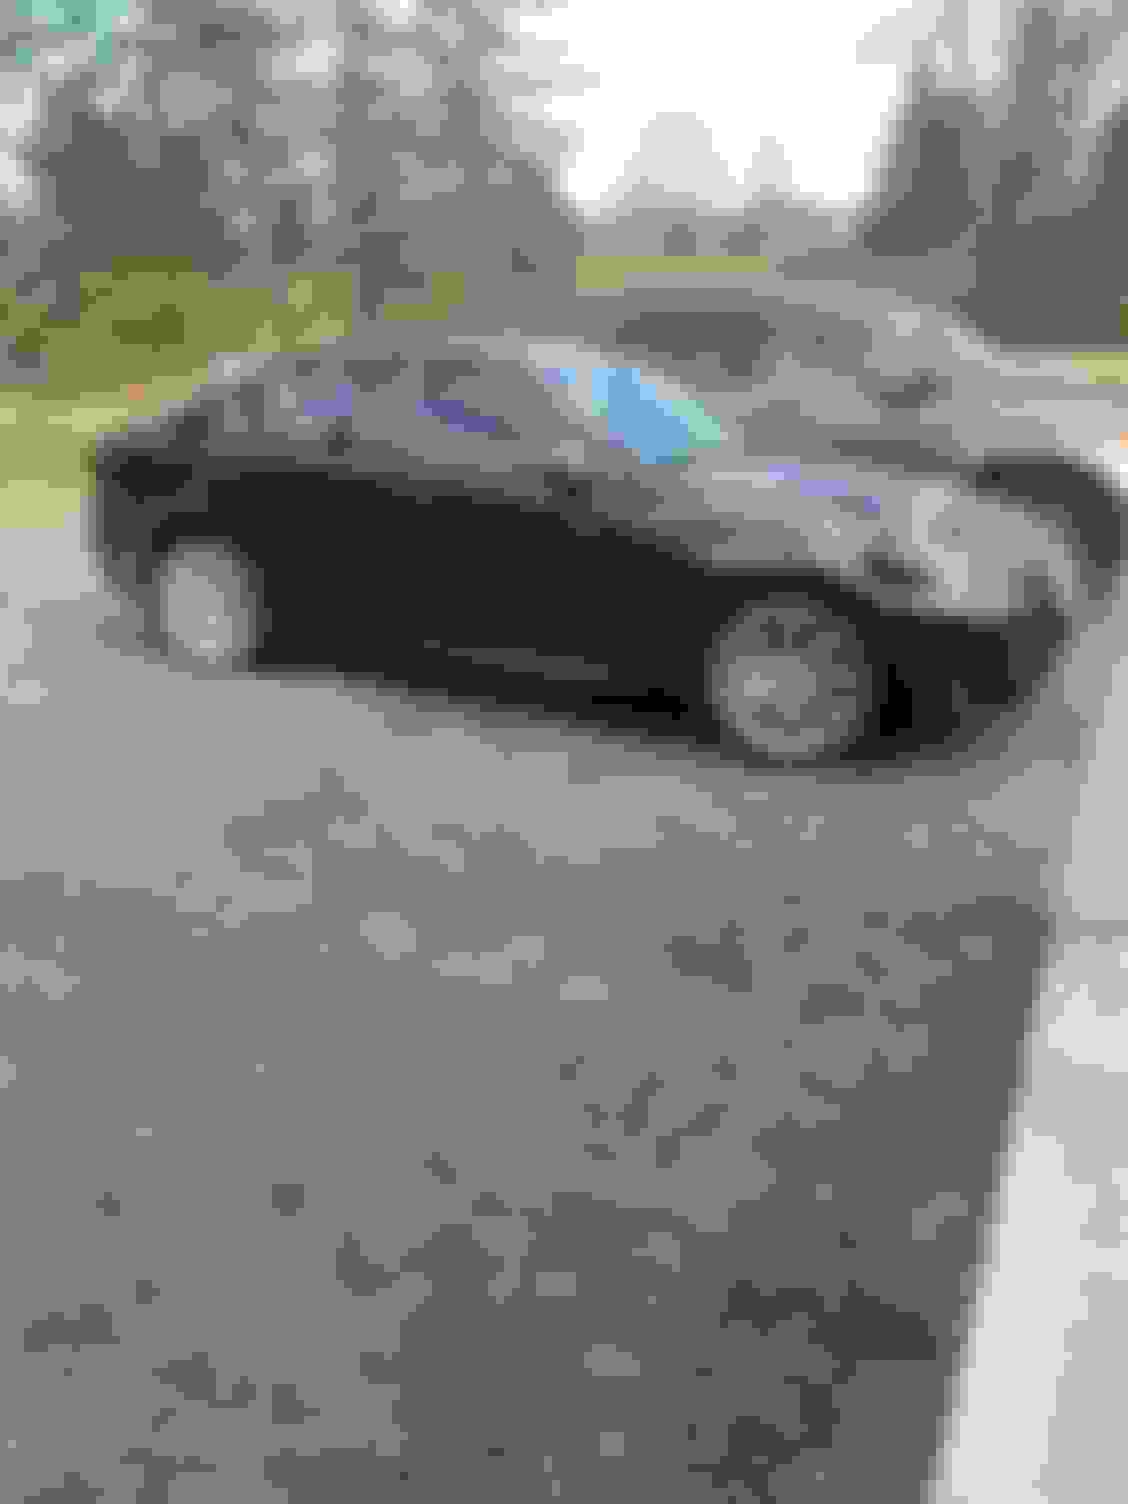
Yesterday I got the car home and took this picture while pulling it apart. The damage that concerns me is the bit of wheel well/fender damage on the passenger side. I�m fairly confident wrenching on my own vehicles but I have limited body work experience.
First thing is I want to make sure everything is mechanically sound. So I ordered a new radiator support, and radiator. Having the new radiator support as an alignment jig should help with pulling out the fender. Until I get the parts I will be checking the lights on my dash with the obd cable-laptop.
Yesterday when started the car there was only a vsc light, but the would start and drive. Today I saw two new lights, CEL and tire pressure light. However now it won�t leave park unless I unlock the shifter with the button. I will be testing the brake switch which I�ve read can be the issue.
Until my next update, thanks in advance for any advice I may receive during this process and thanks for reading.
current codes:
Last edited by Dozendirt; Dec 24, 2021 at 02:36 PM.
Problems Fixed:
*VCS light on dash
*Ac/heater controls now power up and operate properly l, they had no power before.
*Blinkers/hazards now work, they were dead before but my brake lights still worked so I knew it wasn�t my brake switch.
*Power steering light is now off, I haven�t tested to see if it works yet as I�m waiting on radiator install before I start the car. Currently being shipped
Solution:
*Replaced 15 amp blinker fuse located in engine bay above passenger wheel well.
*Replaced fuse �ECU IG LH� 10 amp mini fuse located by drivers left foot.
*Replaced fuse �RR Fog� 7.5 amp mini fuse located by drivers left foot.
*Charged battery to full, I�m not sure if the low voltage would cause any of these problems but it�s one thing I did.
The fuses that I changed fixed all the problems that I listed above.
I noticed some of the wires for the headlight harness were exposed from impact damage. I put heat shine on them for for now to ensure the my don�t short again.
Using tech stream and the obd cable I �attempted� to pull codes, I will display a picture of my results. I am unfamiliar with this program and don�t understand if these codes are current or old and stored in history.
Question: which column do I read for current codes?? �Curr conf� column? Or �test failed� column?
Last edited by Dozendirt; Dec 24, 2021 at 02:37 PM.
welcome and grab the CEL code using your reader which will point you in the right direction on the problems.
how is the crash beam? air bags sensors? bumper cover?
they are all toast, once I get the body straightened out, the radiator support/radiator in and everything running smooth. Then I will get invest in the rest of the parts.
i will have to buy reinforcement bar, foam absorber,bumper, rad support(on its way), head lights, grill, etc.
Not impressed with the packaging� I pulled the fender with a ratchet strap and gave it a few light taps with the sand mallet to realign the fender before taking it off. Hopefully this will move the mounting brackets back to normal. I will need to get a new fender for this side. Radiator support is in and everything lines up fairly close. A little tight on passenger side where majority of the impact was but it went together just fine. I don�t have a welder so I used sheet metal screws to conned the passenger side of the road support. I�m sure it�s not the right way to do it but hey it�s a commuter.
I will update once I receive my new radiator and can run the motor to ensure there�s no over heating issues.
Last edited by Dozendirt; Jan 3, 2022 at 08:05 PM.
Update: today I had to address two problems. Replace broken thermostat housing and replace hard line for coolant over flow.
I used a 1/4� barb 1/8 npt threaded 27/� fitting which turned out nice.
Before tap After tap Broken thermostat housing Done I bought another one 😄 2011 is350 awd
currently I am waiting on parts to be shipped, new engine coolant hose, and radiator support grommets(insoluators). Once they come in I can run the engine to ensure everything mechanically is okay. If it fingers crossed there�s no over heating issues because I really don�t want to do a head gasket on this 😅
I gave the engine a test run for about 30 mins to ensure everything was running okay and had no overheating issues.
Installed a bunch more parts: new radiator, fan shroud, coolant reservoir, bumper mounts, bumper reinforcement bar, hood latch, washer fluid tank, horns, etc.
finished requiring the broken connectors, however I�m no going to reinstall the ac condenser. Where I live it doesn�t really get too hot and for the month or two it might I can drive my other car. I simply want to fix this is250 and use it as a commuter to work and back so I don�t have to put miles on my is350.
I ended up buying some new vland headlights to put in my is350 and I�ll take the exhisting headlights and put them in this is250 that I�m repairing.
Im still waiting on a few parts in the mail, fender bumper cover, hood latch cable, headlight bracket, vland headlights�
I still need to replace the driver seatbelt/knee air bag/steering wheel air bag inside the car. Outside the car I still need to order a hood and the grill then it should be ready for paint.
unfortunately when I ordered this radiator support they didn�t give me the mounts for the headlight. So I�m going to make one out of sheet metal, using the ones off my is350 as a template. Wish me luck!
Can you drop the hood and take a quick picture of the left fender gap to the hood? When you get the right fender, the hood will speak volumes as to the impact and any unforseen damage to its mount points.
Speaking of: grab a tape measure and measure diagonally to equal points from the hinge area to the core support. if the numbers are equal, the nose might be okay?
i appreciate the feed back, the hood is damaged and can�t be used to reference square. But you have a good idea measuring diagonally, I�ll check that tomorrow
I installed new fender and mocked up the headlights, still waiting for the headlight mounting brackets but it�s getting closer. Everything seems to line up fairly well, (small gap between driver fender and headlight,I�ll address once I mount the headlights) once I get a new straight hood I will be able to really ensure the alignments are true.
I�m going to have to check with my laptop if the drl are active. I saw a forum that mentioned wiring in a relay for the led portion of these head lights since it�s an 07 vehicle with 2011 lights. The relay claims to alter the power output from 50-100% brightness, but currently mine are not turning on period. Also I will need a 2011 blinker relay as another member mentioned the 07 had 2 blinker bulbs and the 2011 has 1 bulb, so the difference in resistances is has my car thinking the bulb is out even tho it�s not.
i did install a new hood release cable which wasn't too bad.
Last edited by Dozendirt; Feb 21, 2022 at 11:44 PM.
Installed the head light bumper brackets, had to modify them and cut them to fit the 2011 headlight design (car is an 07).
installed the bumper and I�m happy with how it looks. The passenger headlight is sticking out just a tad from the bumper but you wouldn�t notice unless you ran your hand along the head lights and knew what you were looking for.
I forgot to mention that I tested square with a tape measure in an �X� fashion as I was advised in the previous comment. I didn�t notice anything out of line.
at this point I�m going to to give the car a good test drive and hit a hill or two to make sure everything is running smooth and no CELs come on.
in the mean time I will be locating a replacement hood, and drivers side seatbelt. Then this bad boy will be ready to use as a commuter to work. Currently I�m stacking miles on my awd is350 and I�d like to change that, it considering less than 2400 2is is350 adds were made.
I also replaced the hood hinges as they were both damaged.
Stay tuned for more!
Driver side bracket comparing damaged to new Passenger side damaged Passenger side, won�t close all the way. Really glad I pulled these out and checked them.
Last edited by Dozendirt; Feb 26, 2022 at 05:37 PM.
Hey everyone back at it with an update, majority of this post is about the wiring of my 2011 headlights for 100% brightness (stock is 50% brightness/100% brightness depending on light switch setting.)
Progress made:
Wired led strip for headlights
Installed hood w/oem brackets
Installed hood latch
When installing the hood I had to replace my aftermarket hood hinges with oem ones. The aftermarket ones from my previous comment did not align whatsoever. The oem hinges I got with the new (used) hood lined up great.
Removed white guard. With a small screwdriver I pulled loose two wires. Green wire 100% brightness red wire ground. I did not pull he 3rd wire which was the 50% brightness power. This way requires wiring in a relay from what I�ve read, and I don�t mind having them on full brightness Tested led light to ensure I had proper wires. 9v powering lights. Install a mini fuse kit, disregard the 3 amp fuse, I replaced with 2 10s. I used a file to cut a slot in the cover allowing the wire to pass through. Wiring of leds finished, new hood installed. I took the car out for a drive and it smelt like mouse urine with the vents on� after further inspection I found that a mouse nest was made on top of the cabin filter that had been eaten through. I am actually very surprised how much progress the mouse made in the 2-3 months this car was in my shop. Took a shop vac to the mess and replaced the cabin filter, done deal.
Last edited by Dozendirt; Mar 29, 2022 at 01:02 AM.