When you click on links to various merchants on this site and make a purchase, this can result in this site earning a commission. Affiliate programs and affiliations include, but are not limited to, the eBay Partner Network.
I have some modifications planned which require me to remove the rear center armrest (in the back seat.) Does anyone know how to remove them? I found two levers under the armrest that snap out the side trim, but that didn't help loosen the armrest.
I broke down and bought a TIS subscription. Looks pretty simple. Mine has the storage box in it, and there are a couple of different variations. The method looks approximately the same, but I only focused on the storage version.
For the version with the storage box, you need to reach under the armrest near both edges, and you feel some plastic levers. If you push these away from center, it unsnaps the hing covers.
Then pull the armrest down and continue to move the hinge covers out of the way until you see the hinge bolts on both sides. This part I still need to check, but it looks like you pull them out (the drawing calls them bolts, but I suspect they are really pins.)
There are two bolts attaching the hinge to the body, but it looks like you need to remove the trunk trim cover and at least the seat bottoms to get to that. That might end up being necessary, anyway because of the cloth pieces around the hinge, but I am going to try the hinge pin route for the least amount of disassembly.
I'll get some photos when I have a chance to remove mine.
I finally had some time and the weather cooperating to do this, so here you go:
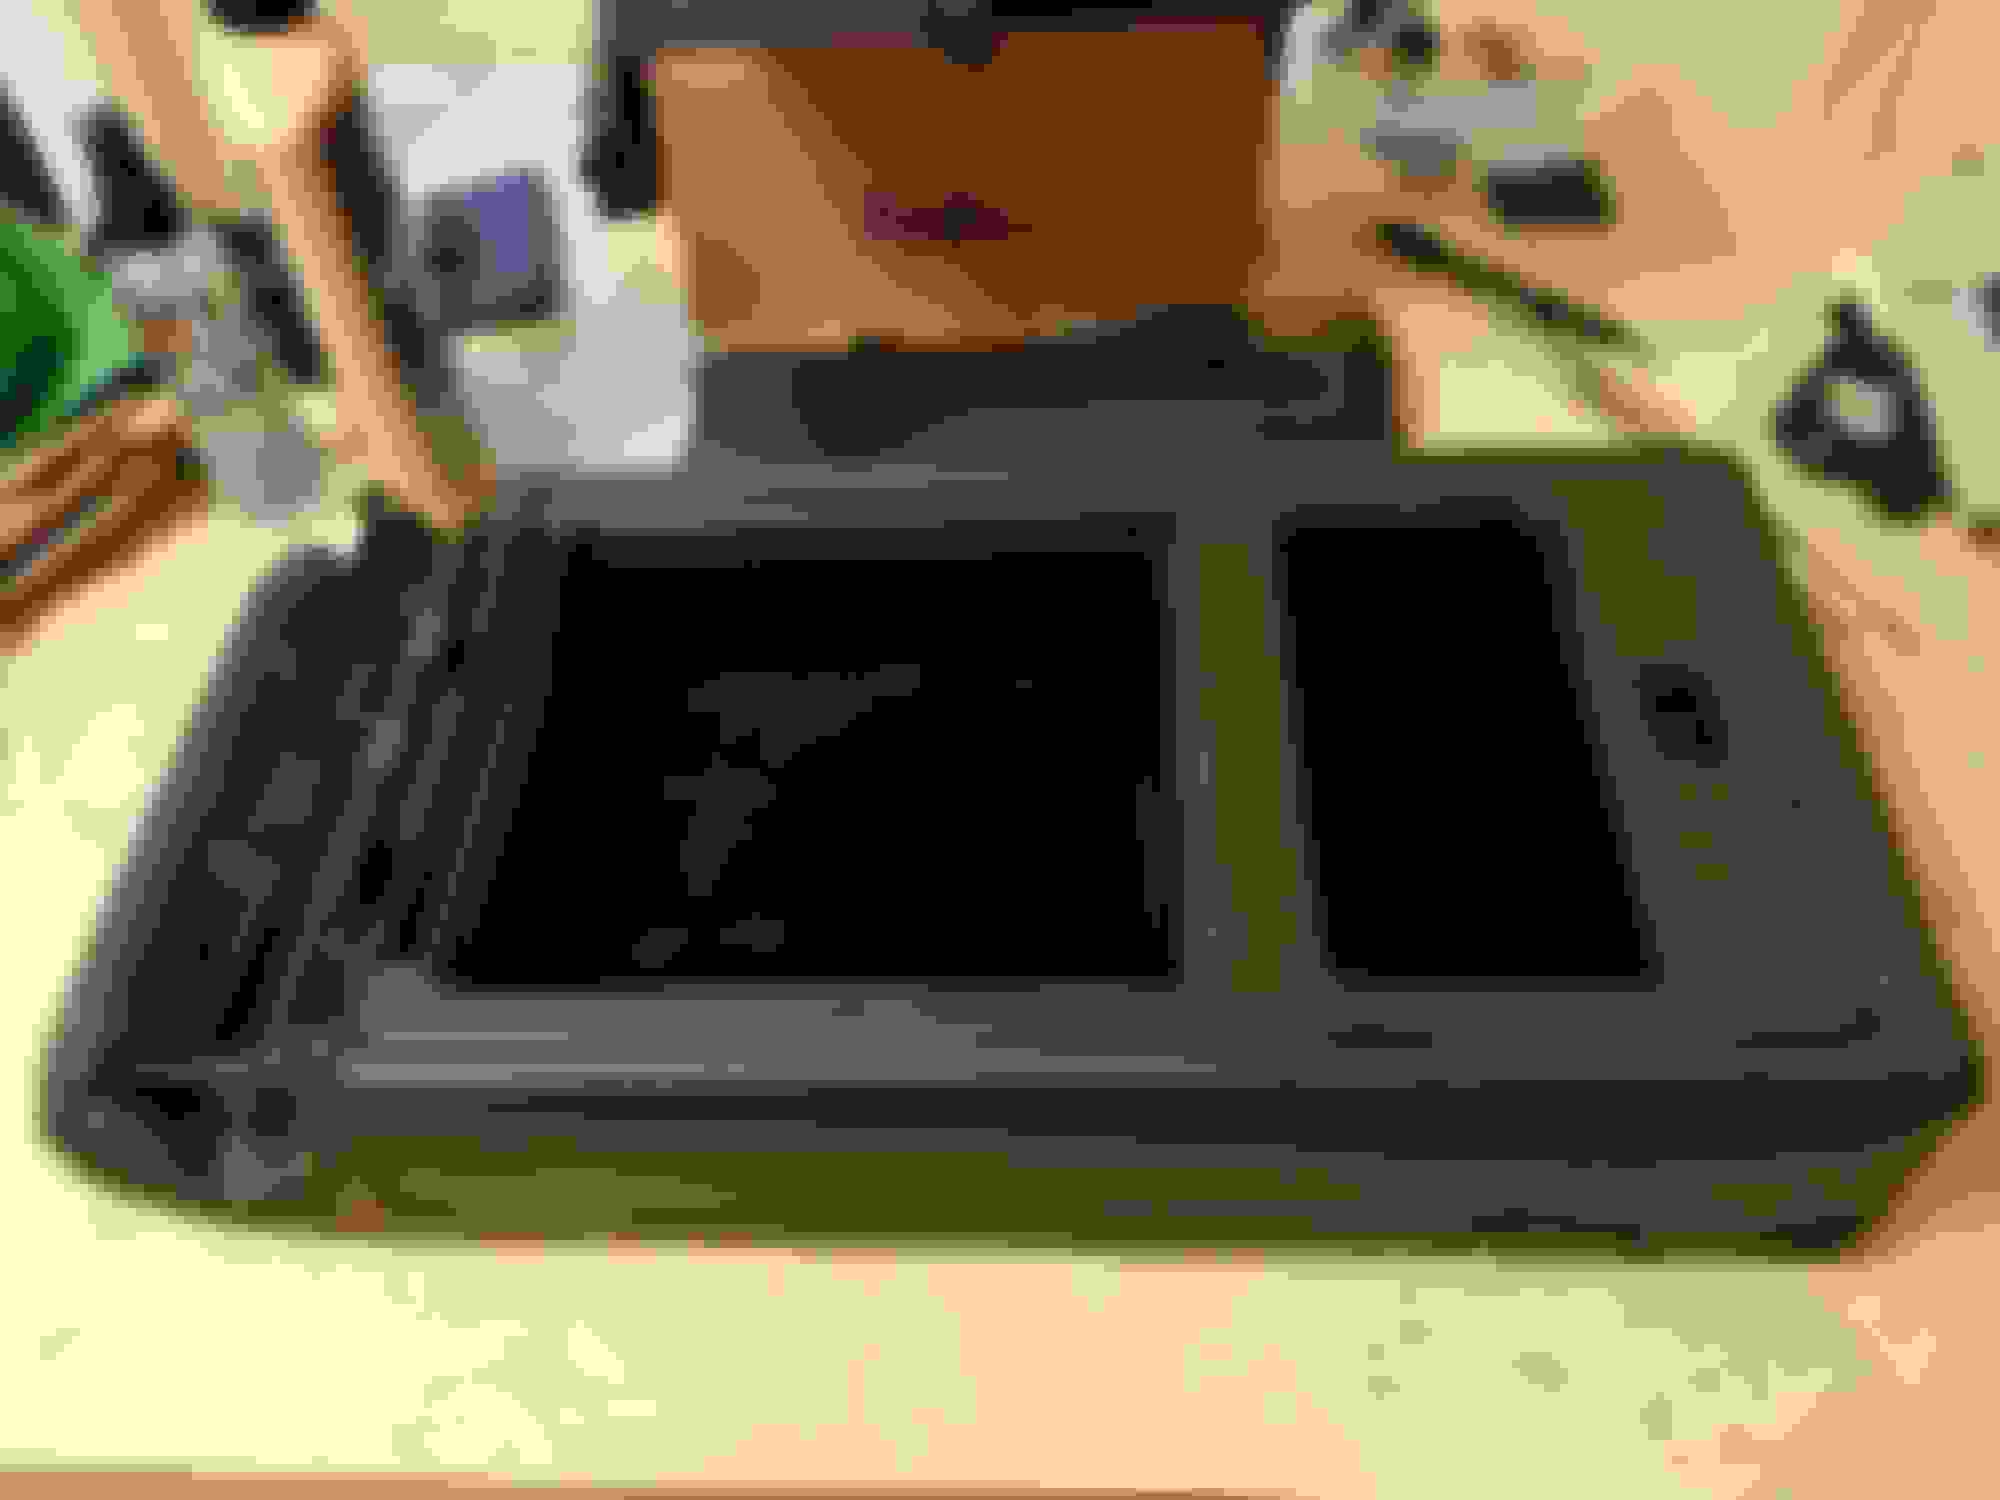
To remove the armrest, push back the sides of the leather left/right rear seat.
Use a large Philips screwdriver (#1) to remove the hinge bolts on both sides. There is also a plastic bushing you should remove so it doesn't get lost.
After this, you the armrest will come loose, but is still attached with a cloth cover over the hinge. To get the armrest out, you will need to remove the inside of the top lid and then unscrew the hinge bracket. The top lid will stay attached to the car. The only way I could see to remove that part is to remove the entire hinge which would require disassembling the rear trim from the trunk. I was only interested in the bottom portion, so no problem for me.
To remove the top lid, you need to remove 4 small screws (I used a #0) then use a pry tool to get under the plastic and carefully snap it loose.
Bottom of plastic piece you removed, showing the clips.
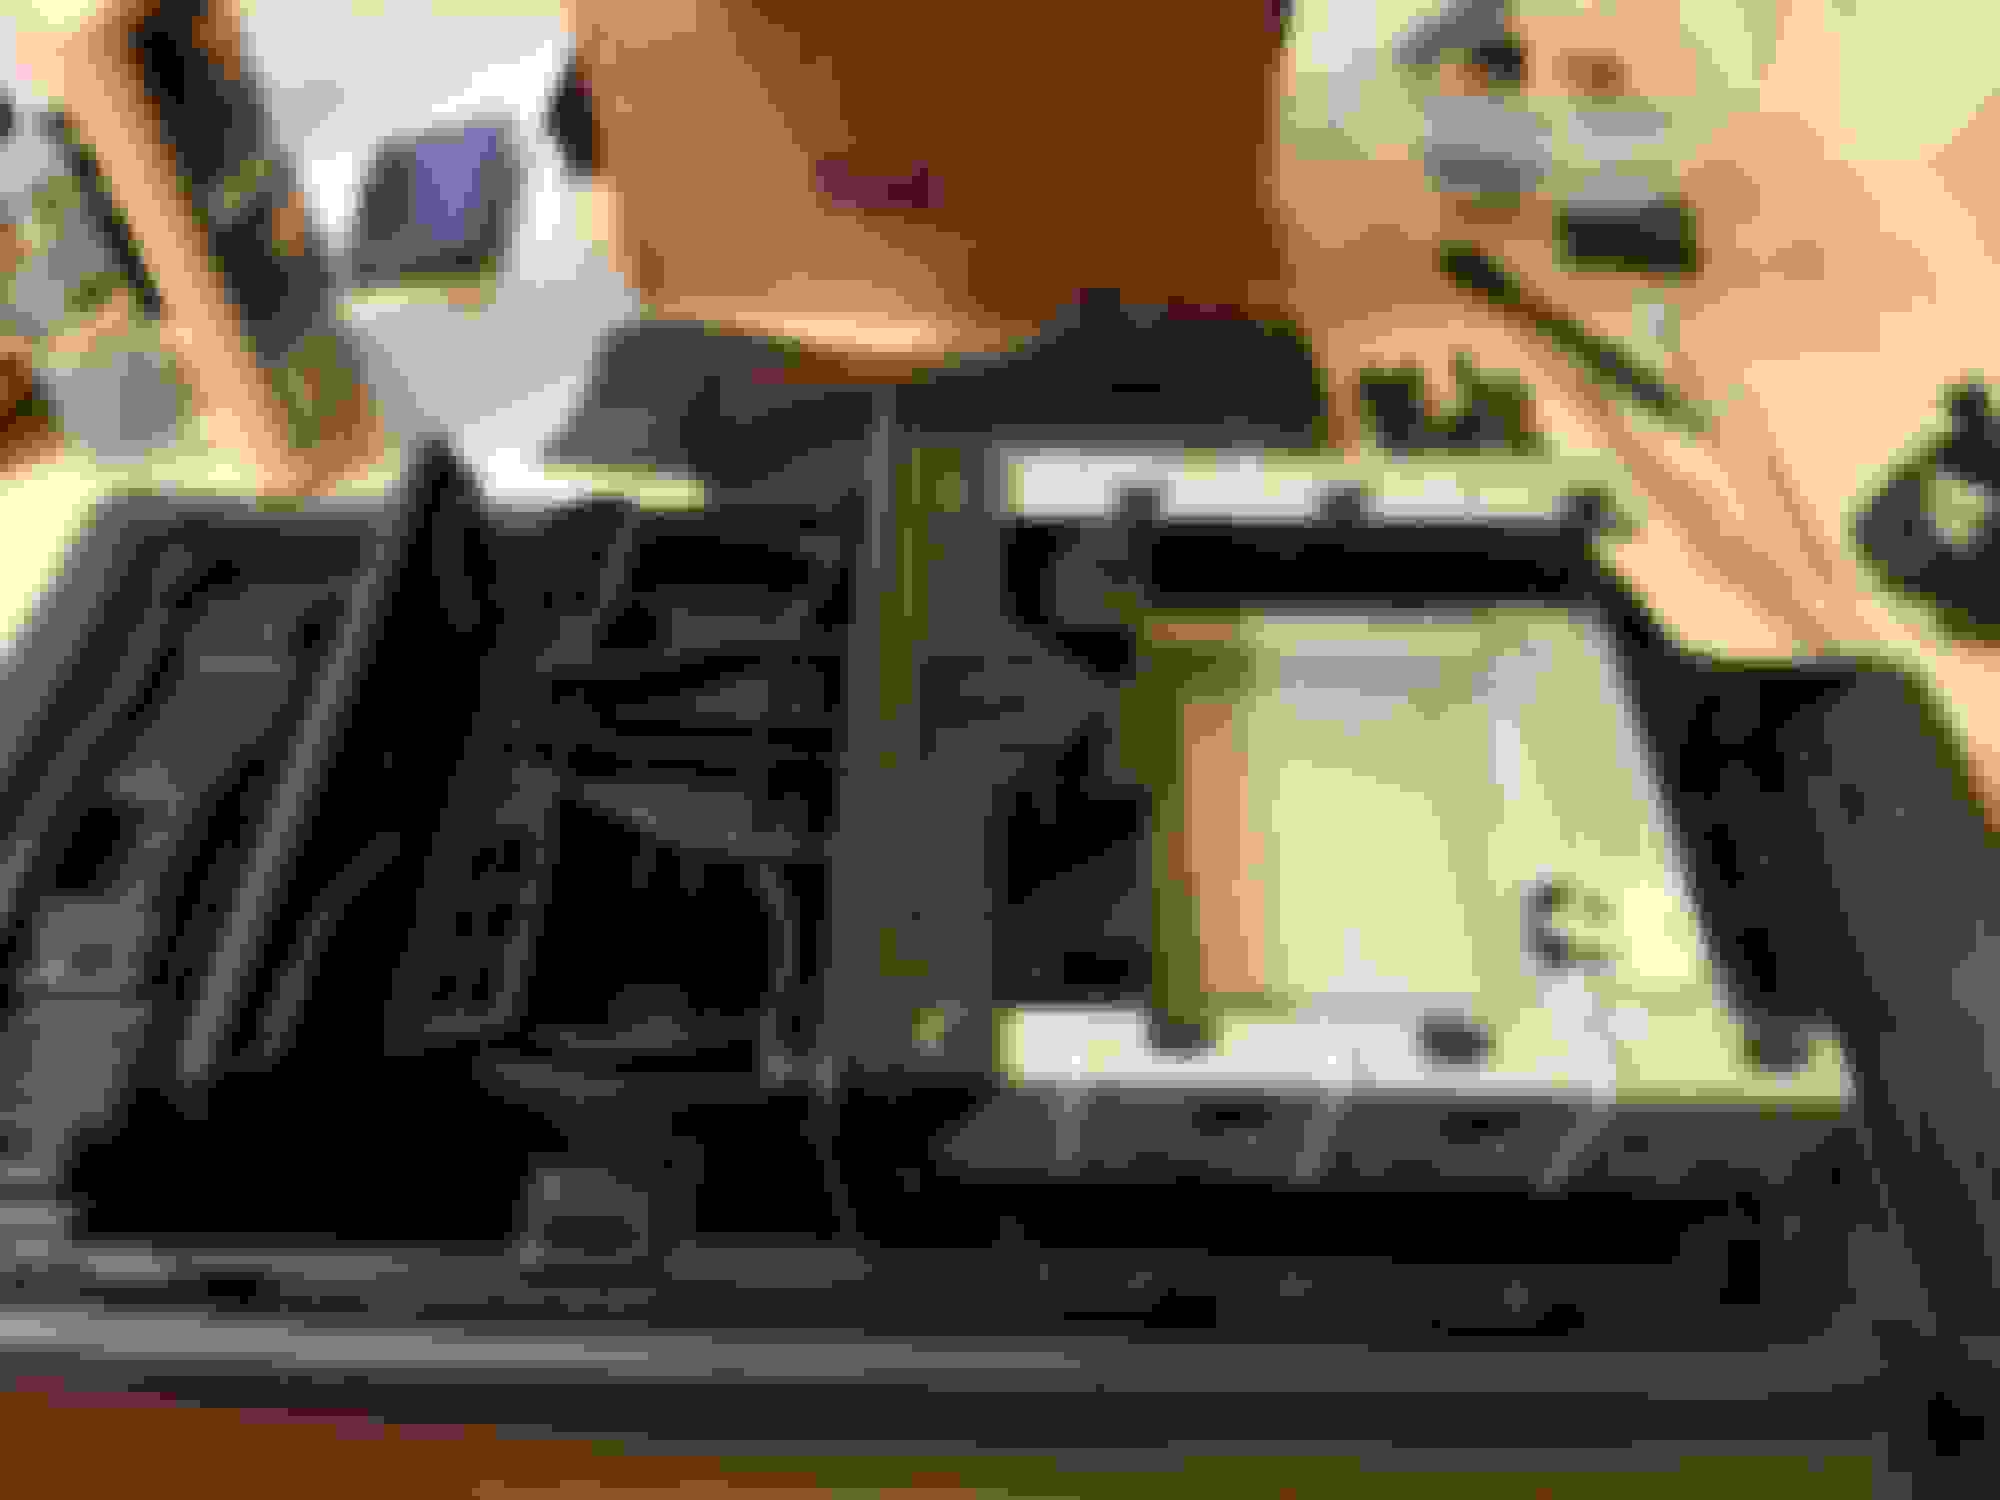
To disassemble further and get the cupholder out, you need to remove the rest of the hinge at the back and then use a pry tool to lift the plastic trim.
Under this plastic cover, you will find two screws holding the cupholder mechanism in place.
I've had a few ideas for mods, but needed to get it out to look at what is possible. For sure, the plans were a wireless Qi charger under the phone holder and a USB port for charging a phone.
There isn't a whole lot of room under the the phone holder. The cupholder mechanism nearly touches it. If you get a Qi charger and extend the coils, you could probably get away with it by relocating the electronics.
Looking at the cup-holder mech had given me some ideas of replacing that with something. Not sure what. Console for controlling rear entertainment system? A storage box?
Any other ideas, people?
Last edited by Retroplay; Jan 22, 2017 at 10:31 AM.
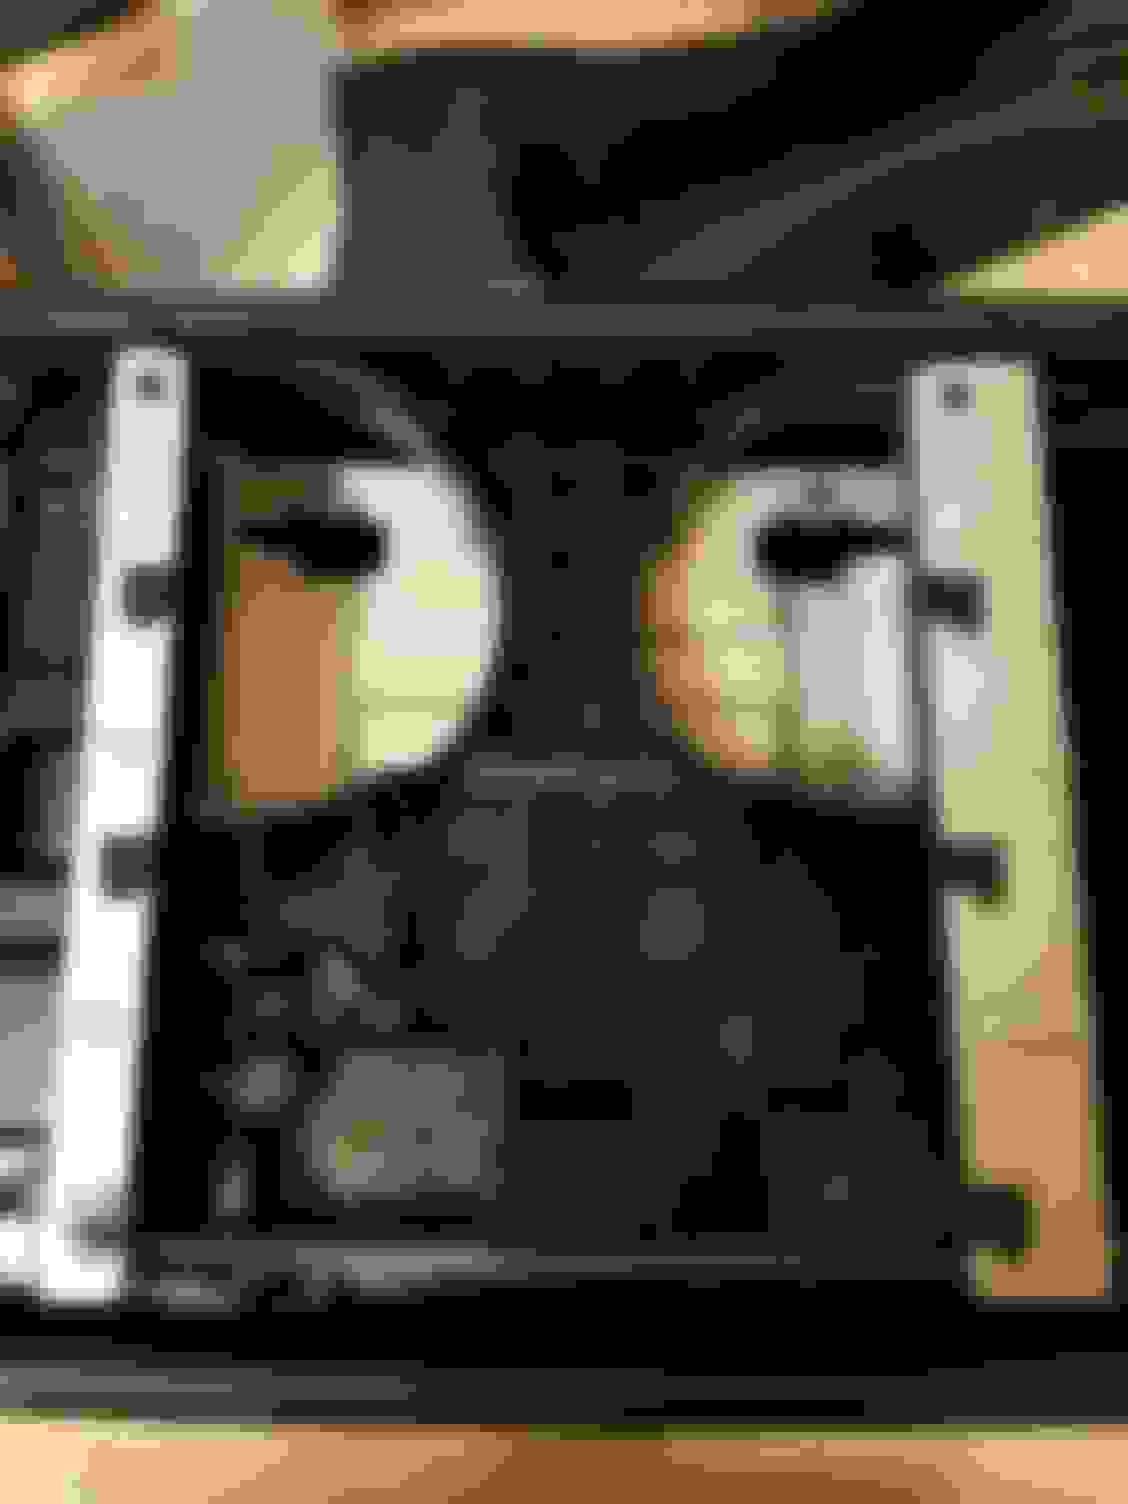
There is a toggle mechanism that locks/releases the cupholder tray. The silver piece you see in the middle at the top is a roller spring which pulls the tray out when released.
To make sure it doesn't just shoot out, there is a damper mechanism inside the above gear which rides along a pinion. It controls the speed at which the tray travels.
The arms of the cupholders are spring-loaded to open when the tray comes out. They can be removed by removing the screws holding them in, lifting out the plastic arms, and then removing the springs that are underneath.
The bottom piece of the cupholder can be removed by prying the hinge mechanism and lifting it out
After removing these pieces, you can remove the front bezel by lifting up the clips holding it to the metal.
The front cover can be removed with two clips holding it on:
And you are left with this:
If you wanted to replace the cupholders with something else, you would need to fabricate a new tray or modify this tray.
Mechanic lost this 2 screw and i dont know what size or type of screw i need please help i will be very thank full and wait for reply I attached your picture edits so you can understand thanks