


Installed Red Tail Light Overlay


Thread Starter
Driver
Joined: Apr 2013
Posts: 151
Likes: 9
From: MO - Kansas City
 Installed Red Tail Light Overlay
I order a few parts for my car and this was the first one to came in the mail. Since it was a beautiful day out, I decided to go ahead and install it. This is my first time applying any tint of that matter and it was much easier than I expected.
1.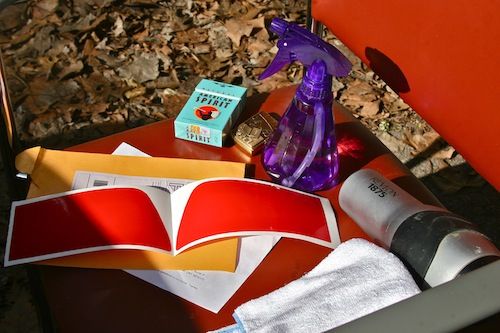
Materials needed: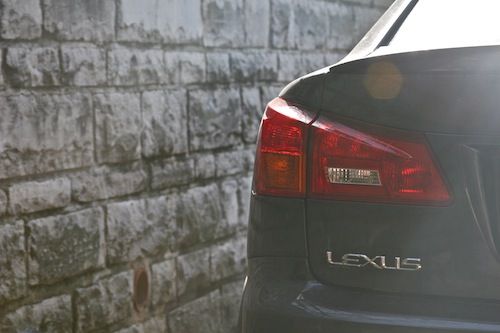
This is how it looked before the install as you can see the orange amber tail light.
First, use the spray bottle that you filled up with water and a small drop of hand soap to spray around the light area to remove all dirt or any other debris that might have been left on or near the installation area.
Then, peel off the tint over lay that you have and spray it on the adhesive side of the tint. Place the tint over the area that you want to be tinted and align it as you wish before pressing against it.
Once you have aligned it as you pleased, use a microfiber towel or credit card to squeeze out all of the water thats behind it. Make sure to remove all bubbles.
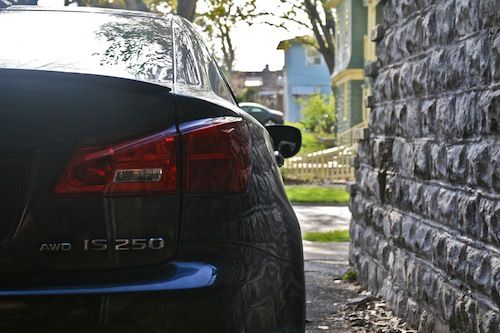
Now, use your air dryer and put it about 1 to 2 ft away while applying pressure to it.
3.
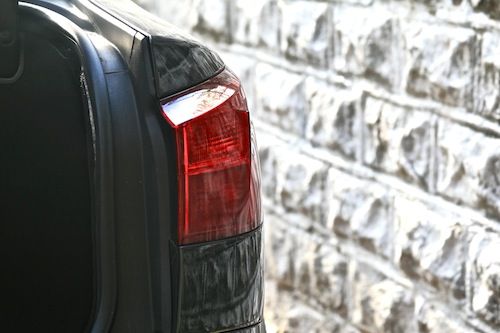
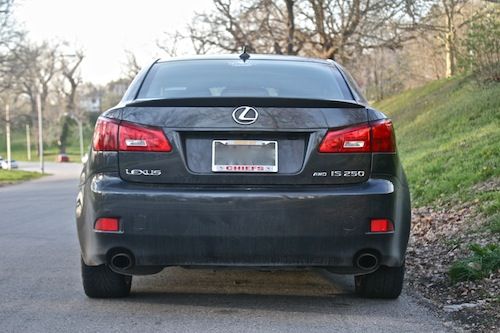
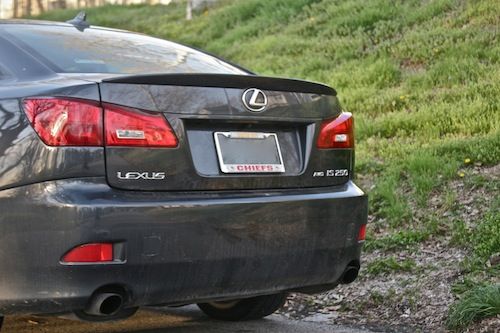
About 15 minutes later and viola, here you have a red out tail light that makes it look cleaner. Simple and easy to install as it was my first time doing this.
4.
After installing the tint, I realized that it would have been a lot easier if I had open the trunk. It would have been easier to align the overlay.
I messed up a little on the edge so I am ordering new ones, but that's how it looks like now.
1.
Materials needed:
- Your tint overlay
- Small spray bottle filled with water
- A drop of hand soap into the spray bottle
- Hair dryer or heat gun
- Microfiber towel
This is how it looked before the install as you can see the orange amber tail light.
First, use the spray bottle that you filled up with water and a small drop of hand soap to spray around the light area to remove all dirt or any other debris that might have been left on or near the installation area.
Then, peel off the tint over lay that you have and spray it on the adhesive side of the tint. Place the tint over the area that you want to be tinted and align it as you wish before pressing against it.
Once you have aligned it as you pleased, use a microfiber towel or credit card to squeeze out all of the water thats behind it. Make sure to remove all bubbles.
Now, use your air dryer and put it about 1 to 2 ft away while applying pressure to it.
3.
About 15 minutes later and viola, here you have a red out tail light that makes it look cleaner. Simple and easy to install as it was my first time doing this.
4.
After installing the tint, I realized that it would have been a lot easier if I had open the trunk. It would have been easier to align the overlay.
I messed up a little on the edge so I am ordering new ones, but that's how it looks like now.


Thread Starter
Driver
Joined: Apr 2013
Posts: 151
Likes: 9
From: MO - Kansas City
I'll take some more pictures here shortly.

I ordered the same ones and put them on without anything but a credit card. No air bubbles, nothing. This section of a taillight is pretty straight forward. I've used soapy water on much tougher applications though... Not bad!
Trending Topics


Thread Starter
Driver
Joined: Apr 2013
Posts: 151
Likes: 9
From: MO - Kansas City
I ordered them from an eBay user by the name of firearm01.
http://www.ebay.com/itm/370646723973...84.m1497.l2649
http://www.ebay.com/itm/370646723973...84.m1497.l2649


