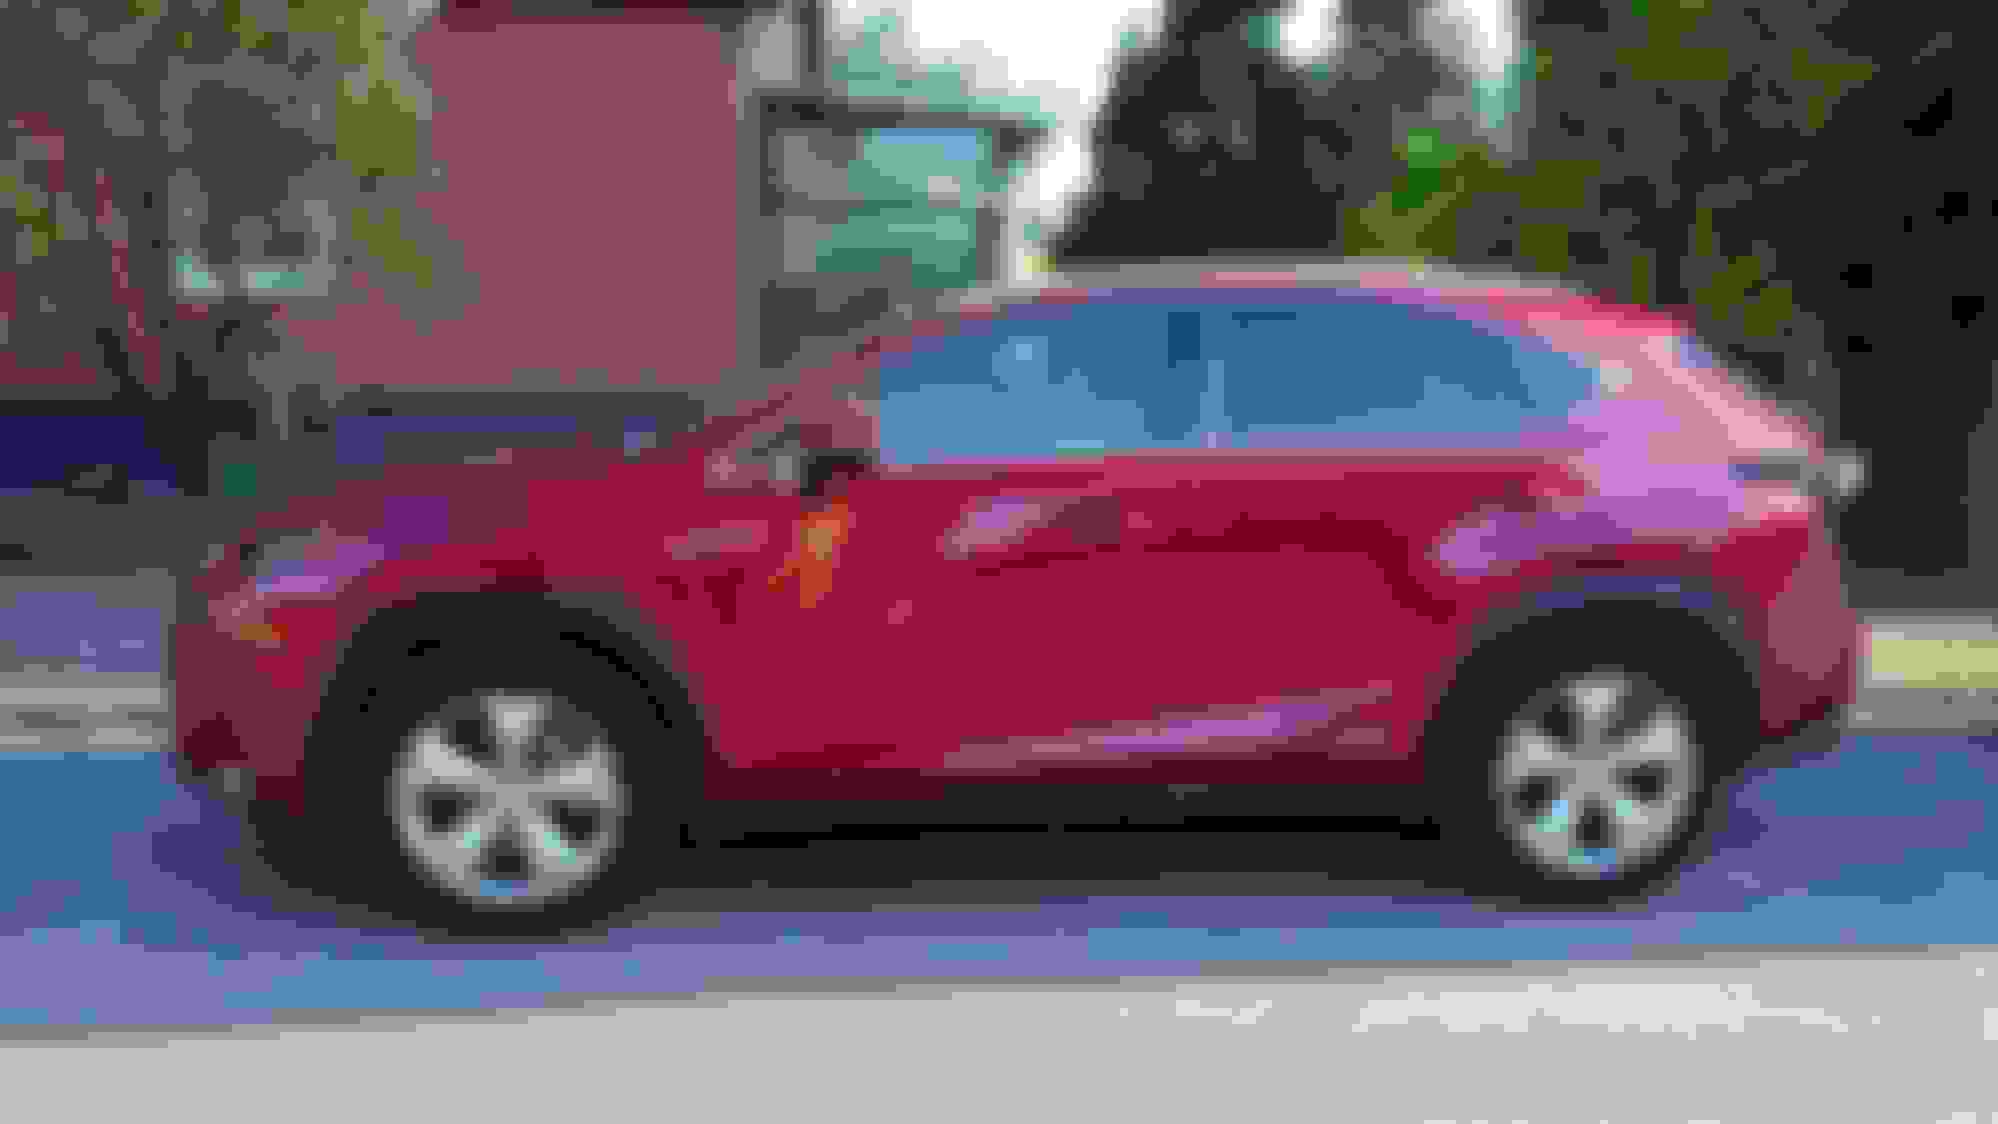
Thought I might start a build thread since there's a lot of parts on the way.
The 300h isn't a performance vehicle, so the build will not be a performance build. But I have to make the car "my own" and maybe evolve the luxury side, and adding some equipment the original car is missing.
First pictures, fresh at home about a month ago. Bought it 4,5 years old with about 105000km on the clock.
First modifications two weeks ago. Scuff plate for the rear bumper. A must have for an utility vehicle. I went with a non original one since it's bigger than the one Lexus provides, also looks better I think.
Also added som side molding trims.
Next steps today.
Replaced the well worn original door sills with new illuminated ones. Although the hybrid should have blue ones, I went with the white PT94478150 to better match the rest of the interior lights. Quick self install, about 40 minutes in total. I followed the Sewell instructions, attached in zip file.
Old well worn vs new illuminated. Also newly added OEM floor mats with red stitching.
Plenty of wires behind the covers. The connection cable for the door sill goes through here to the foot light in the far left of the picture.
They glow!
I also added some rear LED indicators. Osram WY21W W3x16d, with some canbus resistors.
Unfortuately Lexus isnt't using the standard base for fitting the base to the housing, so I had to modify it a bit to fit. The Lexus base is triangular instead of using tabs to lock it in place.
I'll add a clip when I figure out how to add it to the post without being an attachment.
7440 resistors
EDIT: I figured out how to convert the video to a gif!
Those door sills definitely take a lot of abuse. Replacing them with illuminated versions is a great way to refresh them while adding a little pizazz at the same time.
Those door sills definitely take a lot of abuse. Replacing them with illuminated versions is a great way to refresh them while adding a little pizazz at the same time.
Thanks!
Yeah, the original owner definitely used the car. I've found gravel in the most odd places.
A few pictures of the progress. Some Silent Coat to begin with. Empty trunk. Lot of empty volumes behind the panels. Adding some 20mm or 30mm (depending on space) thick foam.
Moving on to the doors. The panels are very easy to remove. 3 bolts for the driver front, then just pull it off. Driver door disassembled. Butyl composite layer on the whole outside panel.
While at it, I changed the cargo lights too, making the total number of LEDs to 95. Originally it's 90. More to come in the future.
Pre 07-2015 build, so festoon bulbs for me. Those of you with later build date will have T10 wedges instead . Some aluminum tape to act as reflector. Significantly more light.
I've had some issues with blurred picture from the front camera in the 360° system, so today after work I thought to figure it out.
Plenty of room. The flat box in center is the radar for adaptive cruise control. Below that, on the back of the grille, is the mount for the camera. Two Philips screws and a quick connector is all to remove it.
And there's the issue. A stone chip in the corner. Replacement is the only solution as the camera housing can't be disassembled.
If you want some interior pieces that are nice look at the GS shift stitched shift ****. I replaced ours a while back. Complete plug and play. The NX should have had it from the beginning.. You can also add the f sport aluminium pedals which look nicer than the crappy plastic pedals. And for some pop you can add OEM lexus illuminated cup holder inserts. I did all that and it looks nice now.
If you want some interior pieces that are nice look at the GS shift stitched shift ****. I replaced ours a while back. Complete plug and play. The NX should have had it from the beginning.. You can also add the f sport aluminium pedals which look nicer than the crappy plastic pedals. And for some pop you can add OEM lexus illuminated cup holder inserts. I did all that and it looks nice now.
-Nigel
Good tips.
I already have the pedals. Saw your post about the shift **** and intend to get it after my vacation trip. If I order now it'll arrive while I'm away.
The cup holder pieces are crazy expensive. Nice, but absolutely not worth the price to me.