When you click on links to various merchants on this site and make a purchase, this can result in this site earning a commission. Affiliate programs and affiliations include, but are not limited to, the eBay Partner Network.
I got the 22mm deep socket and I also have a set of wobble extensions. I'm going to order the universal joint because I don't have one in 3/8ths, but I'll see if the wobble extension will give the socket enough play to get the PCV out. I'm curious to see what my PCV looks like at almost 127k.
Will update this thread once I try this, probably next weekend...
The U joints I used were from Harbor Freight 1/2 in. I only had 1/2 in socket in 22 mm size. My setup was 3/8 ratchet, two 3/8 extensions, 3/8 to 1/2 adapter, 1/2 U joint and 1/2 22 mm 6 point deep socket. U joint is a must because the angle needed to put socket on the PCV is too steep for wobble socket or wobble adapter (I tried it to no avail).
One thing I would highly recommend is to use 6 point socket only (I would suspect that using 12 point socket would round off the plastic PCV), and have some one point the light in the hole so you can see how the socket is getting mounted on the valve with verification that PCV is rotating out. Going in blind with the feel was not working for me. Also use Liquid Wrench or similar as it will tremendously help removing the PCV. The long needle nose were helpful in extracting back the socket and attachments that were disconnecting on me, other that that I did not use the needle nose for any thing (my PCV hose came off with just wiggling with the clamp attached to it).
Good luck. I am sure others who would attempt will find more efficient ways to do this.
I just tackled this job today, wasn't bad at all. Took 1 and 1/2 hours maybe, a lot of this was setup time. Here are my notes.
2012 GX460, 105K miles. Well cared for with regular maintenance.
Tools:
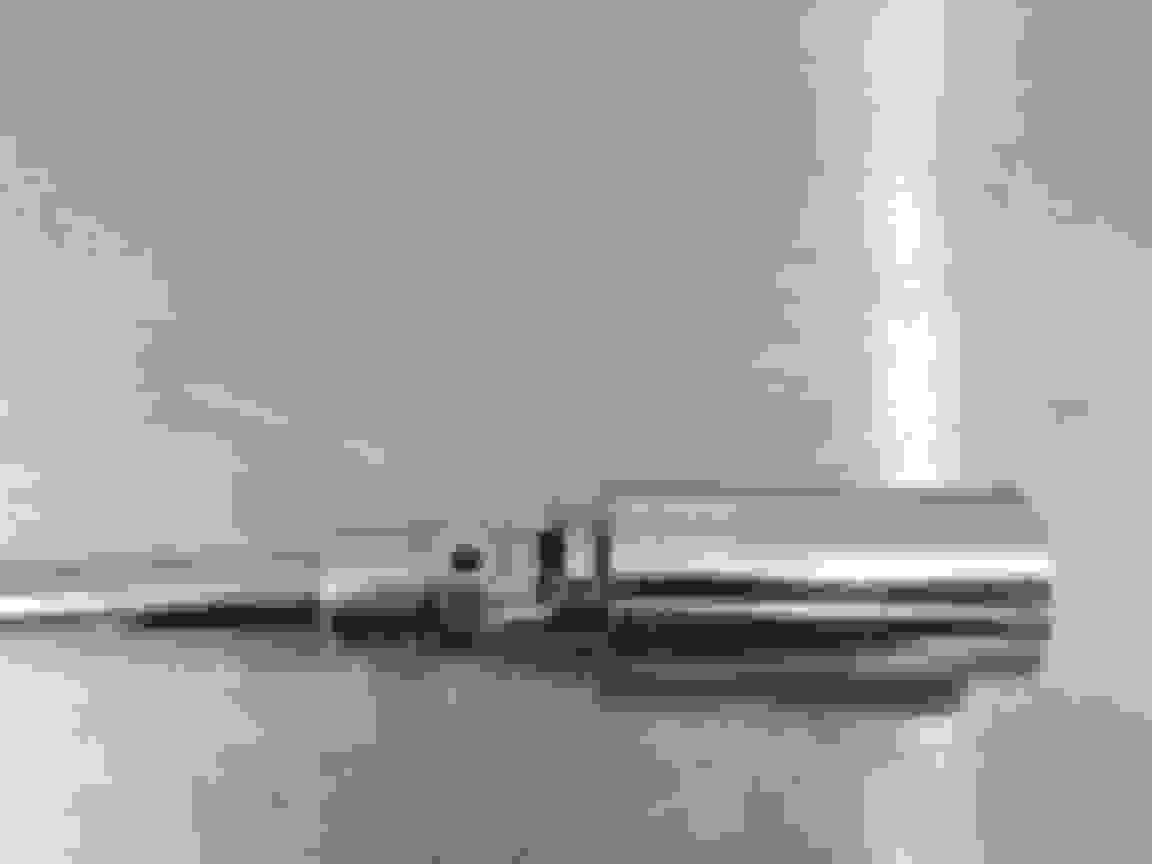
7/8 3/8 drive socket, 6 point. Ideally use a 22mm.
3/8 swivel
12" 3/8 extension
Long needle nose pliers. A must have in my opinion.
Long screwdriver.
PVC tubing.
Removal:
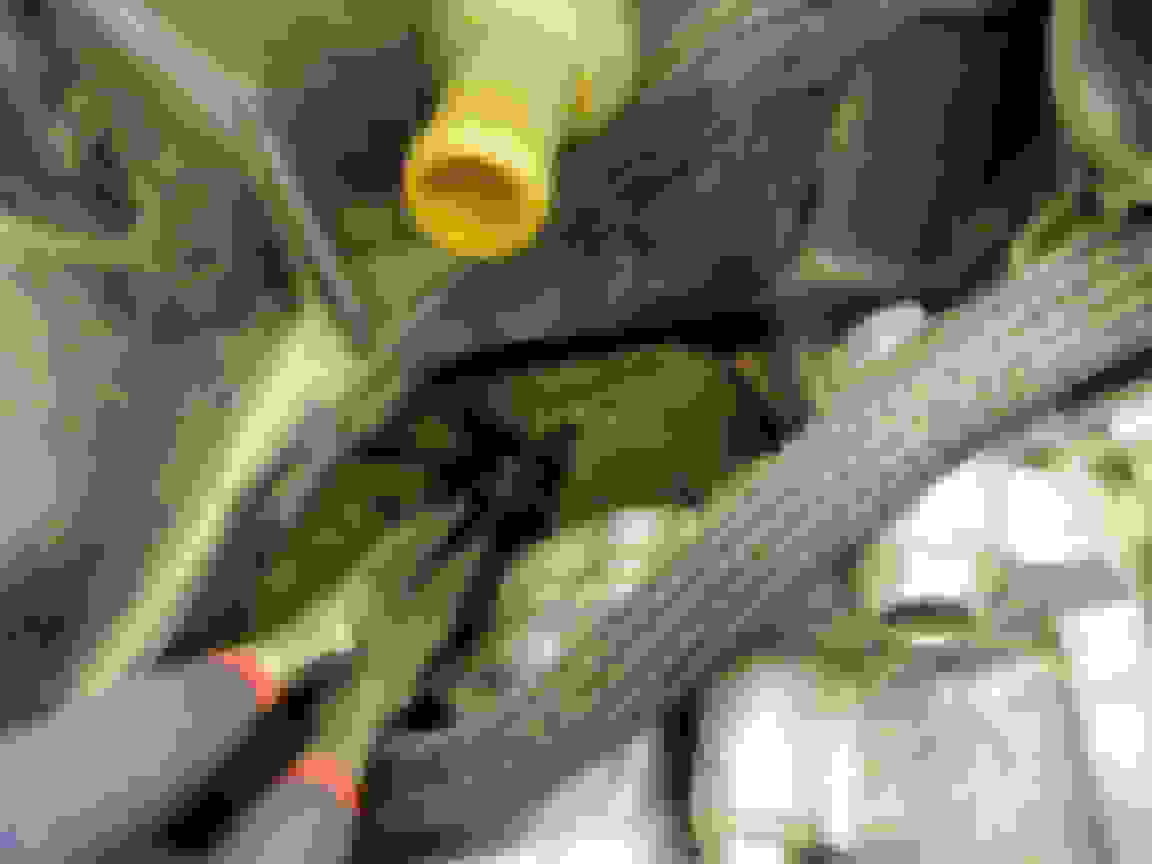
Forget about saving the foam, it will come out like this. I had to peck away at it with a screwdriver to get it out. Long pliers were also used to grab various pieces.
I used a 3/8 drive 7/8 socket, I didn't have a 22mm. I wasn't going to force anything, but I figured I would try it. Luckily the PCV valve was loose and took little force to loosen. But I recommend using a 22mm 3/8 drive socket with a 3/8 swivel joint.
I pecked away at some of the other foam block behind the PCV valve in order to get a better view.
For fishing out the valve, I used the long pair of needle nose pliers. These were also used to pulled some of the foam out. With the pliers, you can grab the end of the valve tip and rotate it and pull it out. Pretty easy.
Install:
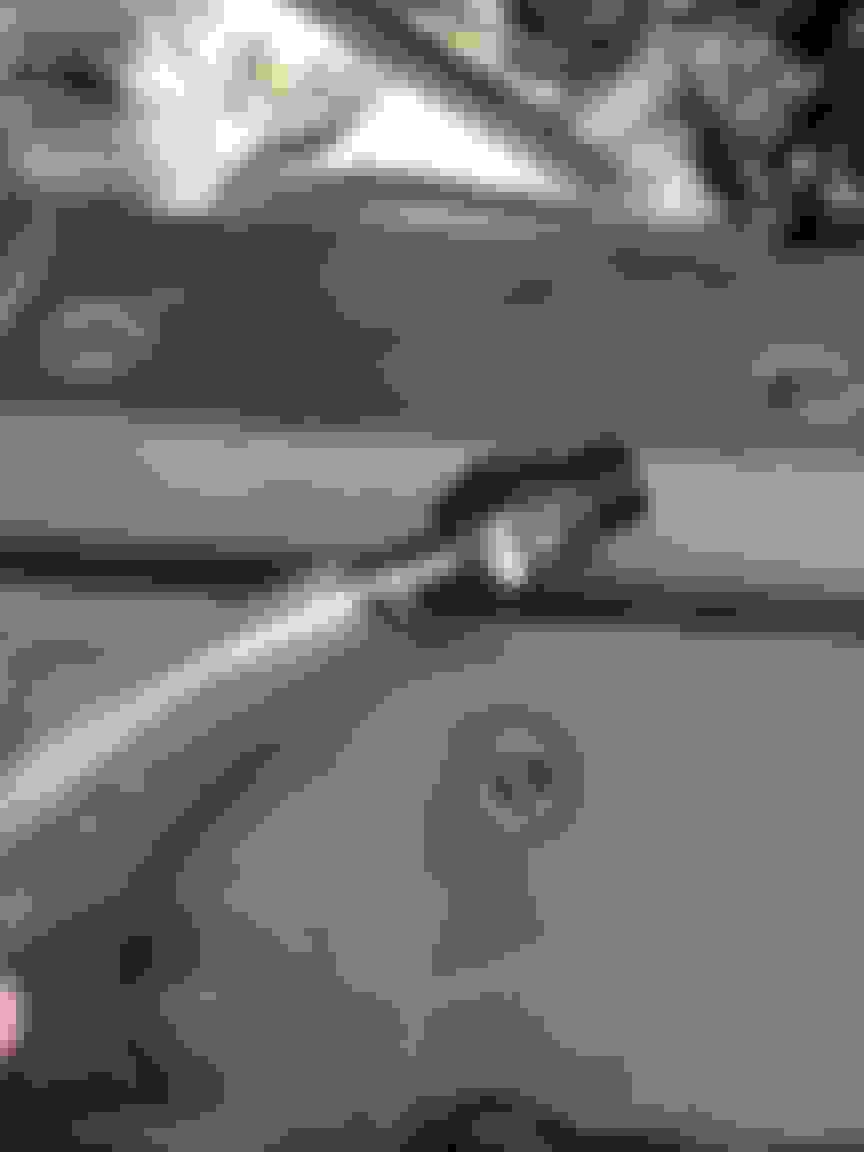
For installing the new valve, I used some PVC tubing which is somewhat stiff but also flexible. This worked for getting the threads started, but I also used the pliers to rotate the valve in a few more threads. Once threaded, you can use the socket again. Again, this step was fairly easy.
The old valve still had a little click left in it, but you could tell it was getting gunked up.
I would rate this job a 3 out of 10 for difficulty.
Last edited by whizzer929; Apr 3, 2021 at 12:13 PM.
Reason: .
Thanks for the information. Very useful. I will definitely sacrifice a beautiful Saturday and attempt it. PCV, hose, and 2 clips were just ordered from Lexus yesterday. Been staring at the engine compartment for a while now trying to strategize how i would tackle this job. One step at a time...
My foam was still broken off a little from last attempt but got PCV valve swapped this morning.
Once I got it loose I was able to use a piece of vinyl tubing to spin PCV valve off and to tighten up new one for the most part. Factory spec is only like 31 inch-lbs so not much.
I also removed one of the air hoses to the driver side SAIP valve as that other line in Bob's video that he wraps behind oil filler tube wouldn't make it on mine anyway.
Great advice Acrad. Come to think of it, I may not have needed to pull that tube over the oil filler. It was just a nuisance to be in front of my workspace. I think a plastic zip tie would have done the job for the next go-round. Again, thanks for the post and the suggestion.
I asked my guy to replace my PCV during service today. He advised that it felt like it was going to break, so we opted to just leave it alone. It should be noted that the body that the PCV screws into is plastic, as is the PCV itself. If the body breaks, the piece isn't that expensive but the intake manifold has to come off for access. You're probably better doing this early on and I waited too long. At 142k with all of the heat cycles the motor has been through, it is probably on the brittle side. Hopefully I'll never have the coolant valley leak to contend with, but if I do, I will have it done then. There is a chance it could have come out without any issue but why risk it?
I was in last week for 60K service on my 2015 Premium. The adviser suggested PCV service for $80 - a preventative suggestion since PCV isn't part of 60K service, he said. I authorized it, basically with thought of they're under the hood already, I'll save myself some time and 80 bucks will be worth it. But the adviser called back later and said the tech said to revise the estimate because the job calls for removal of the intake manifold and it's just a PITA kinda job. I rejected the PCV replacement after the adviser said it was going to be $530+.
Thanks all who have shown the work on this. With all the guidance collected in this thread, I may be able to do this myself one weekend (as long as all the tools required as < $530 )
Changed mine yesterday. Indeed the easiest (and found 0 easy) was using a short piece of pvc tubing attached to the end of valve, guiding it in and screwing it carefully until it caught the threads. Thanks for the tip. You saved me a few remaining hairs on my head.


 )
)
