
2GS Stock Subwoofer Replacement w/ pics


Lead Lap
Joined: May 2013
Posts: 517
Likes: 4
From: Finland
Tbh this is much better DIY than bananags' so it's a good thing you did a 'repost' with pics included. 
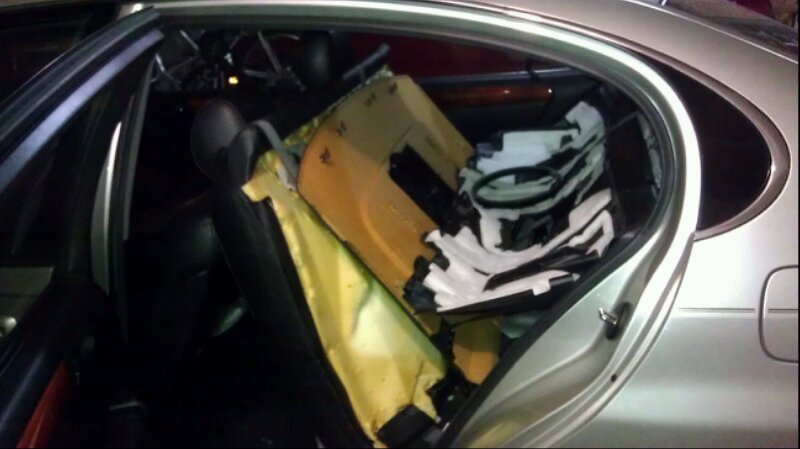
I was going to change the sub too for an aftermarket one.
After I had ripped everything apart and came the time to take the sub off I realized my aftermarket sub was 12". Well atleast now I know how to change the sub if I decide to change it in the future.
 ")
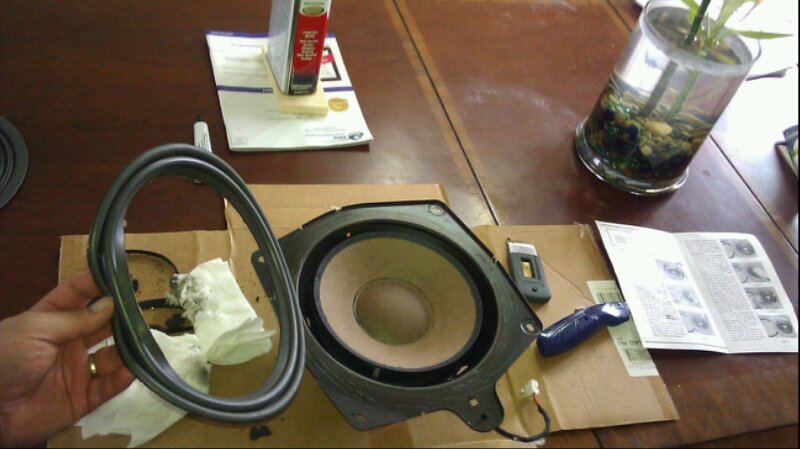
Btw is that replacement sub black rather than brown as the old one or is it just the lighting?
I'm asking because I have black one and now I'm thinking if it's been changed by someone.
I was going to change the sub too for an aftermarket one.
After I had ripped everything apart and came the time to take the sub off I realized my aftermarket sub was 12".
Well atleast now I know how to change the sub if I decide to change it in the future. Btw is that replacement sub black rather than brown as the old one or is it just the lighting?
I'm asking because I have black one and now I'm thinking if it's been changed by someone.

the reason its NOT a sticky is because someone posted a DIY YEARS AGO WITH pics also...
his name was bananas and ITS IN THE STICKIES
https://www.clublexus.com/forums/gs-...ou-search.html
and in that thread you will find this
http://bananags.grantham-internation...DIY/rear_deck/
WELCOME to the club though OP. if u search 99.9% of everything is on here, most of it is already a sticky
DEBBIE DOWNER STRIKES AGAIN
BTW dont use a hammer to remove the pins just buy a cheap $12 interior panel puller to remove the pins
Advanced
Joined: Jul 2007
Posts: 614
Likes: 7
From: FL
Wow, this is a lot of work just to get the rear subwoofer out. I would have thought that Lexus would have made it simple by only needing to remove the speaker cover. So I take it the speaker cover is actually attached to the rear deck from the backside?

Driver School Candidate
Joined: Oct 2005
Posts: 27
Likes: 0
From: CA
Glad I found this post... did almost the same thing just yesterday. I simply super-glued the blown sub but thinking of replacing the sub stock. I have to say this is a much better guide than all the previous ones. Thanks for the post.

Driver
Joined: May 2013
Posts: 122
Likes: 0
From: Port st Lucie, Florida
I also replaced mine a few years ago , when I upgraded the stereo system , amps , speakers, etc . There was nothing wrong with it , but the sound was mediocre at best , so I replaced it with a much better 10 inch on a ported enclosure .
Last edited by josey88; Apr 19, 2014 at 03:18 PM.
Driver
Joined: Dec 2011
Posts: 150
Likes: 3
From: IL
I re-foamed my factory ML sub using this very thread few weeks ago. I couldn't have done it without this post.
The foam kit cost me 20$, and about 2 hours including work on the actual sub.
Again, thanks to the OP... With the money I saved, I got my front suspension taken care of. (Caster arms, LBJ, tie rod ends)
The foam kit cost me 20$, and about 2 hours including work on the actual sub.
Again, thanks to the OP... With the money I saved, I got my front suspension taken care of. (Caster arms, LBJ, tie rod ends)
Lexus Test Driver
Joined: Feb 2012
Posts: 1,158
Likes: 23
From: PA
I cant wait to get my sub soon. I needed to replace mine since the day I bought the car. Go figure lol. Great thread bro. I know there's more DIYs on this but yours is great. Greatly detailed and good pics. Thank you!