
RedPhoenix's MK3 1uz Build Thread

Thread Starter
Lexus Fanatic
iTrader: (10)
Joined: Oct 2006
Posts: 5,006
Likes: 4
From: Tampa, Florida
Figure I would share my other project with my fellow Florida Lexus owners 
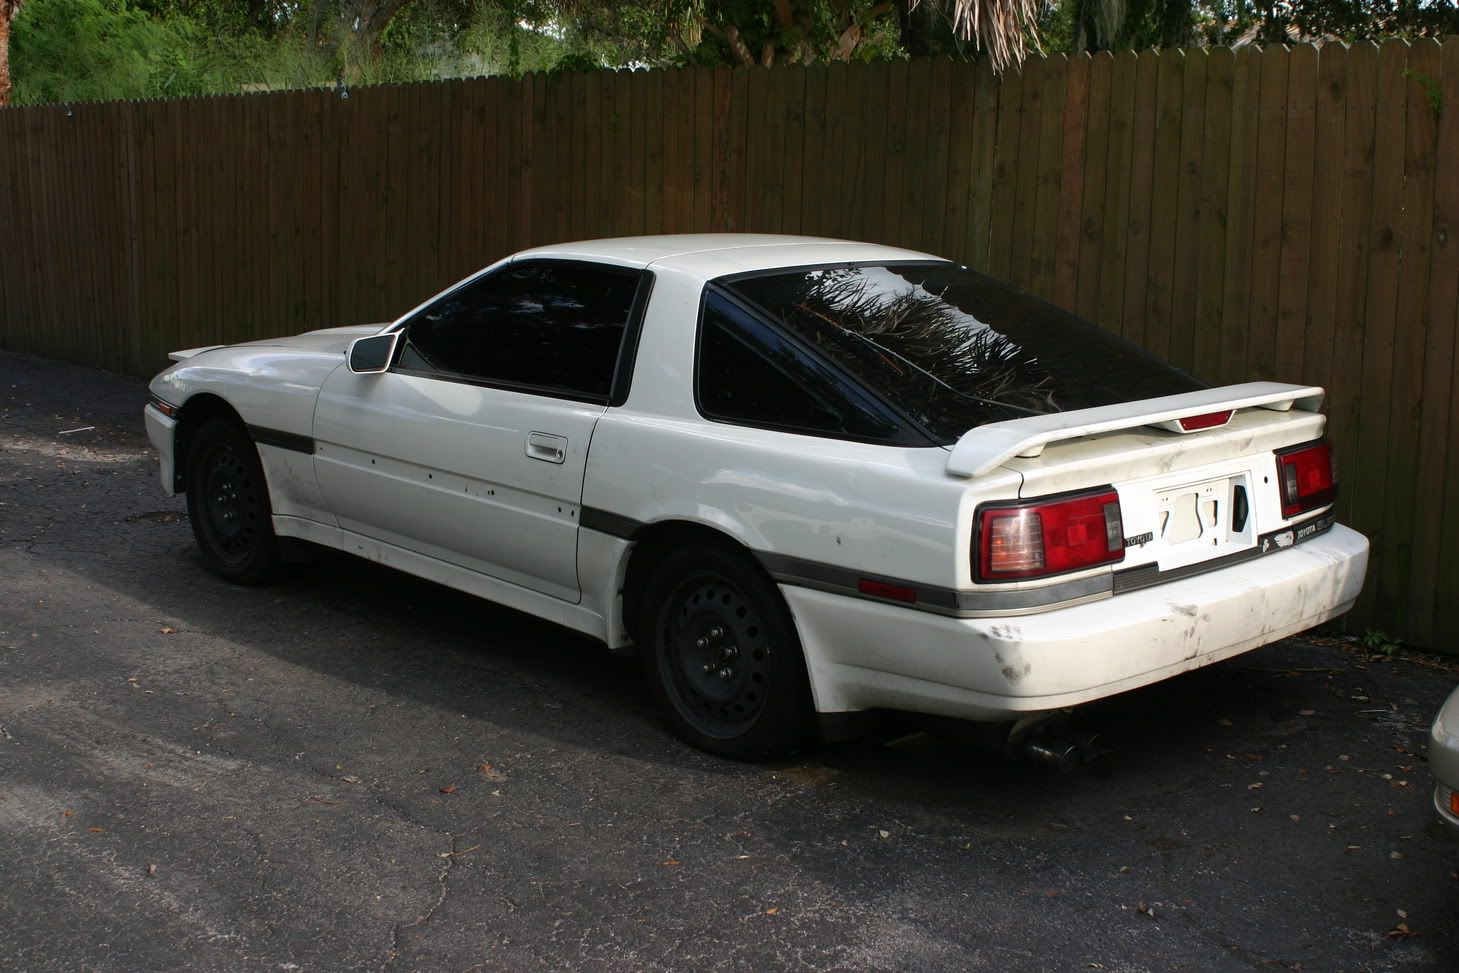
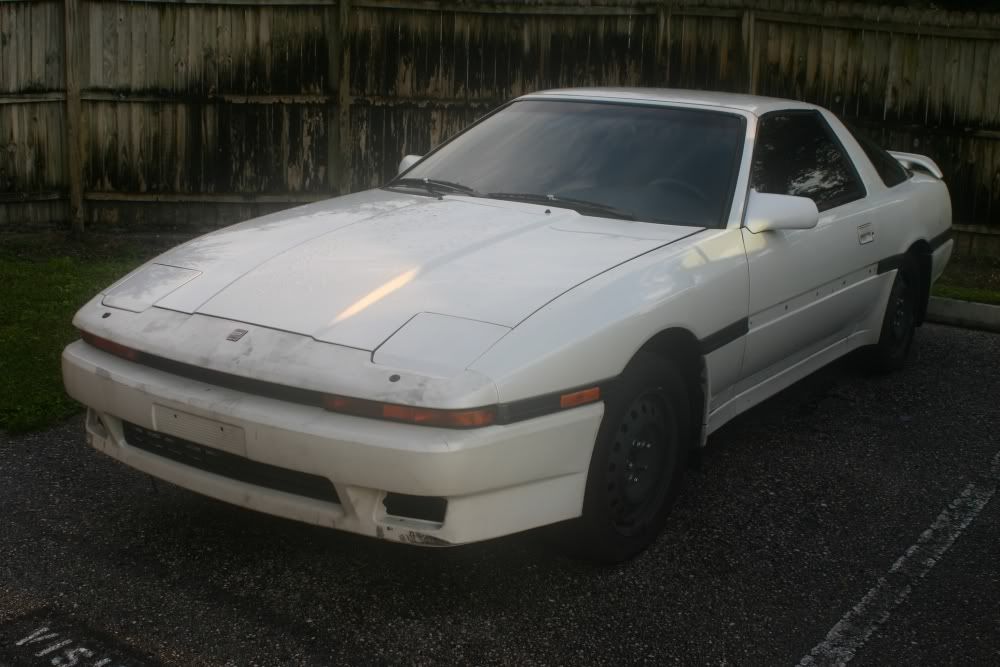
I bought this car for $200, with title, straight body, decent paint, most of the interior, less than 100k miles on the body and no rust. Due to this car being passed around, most of the previous owners started to take stuff out of it. I guess I am the only one to add parts back into it!
Day 1
==========================================
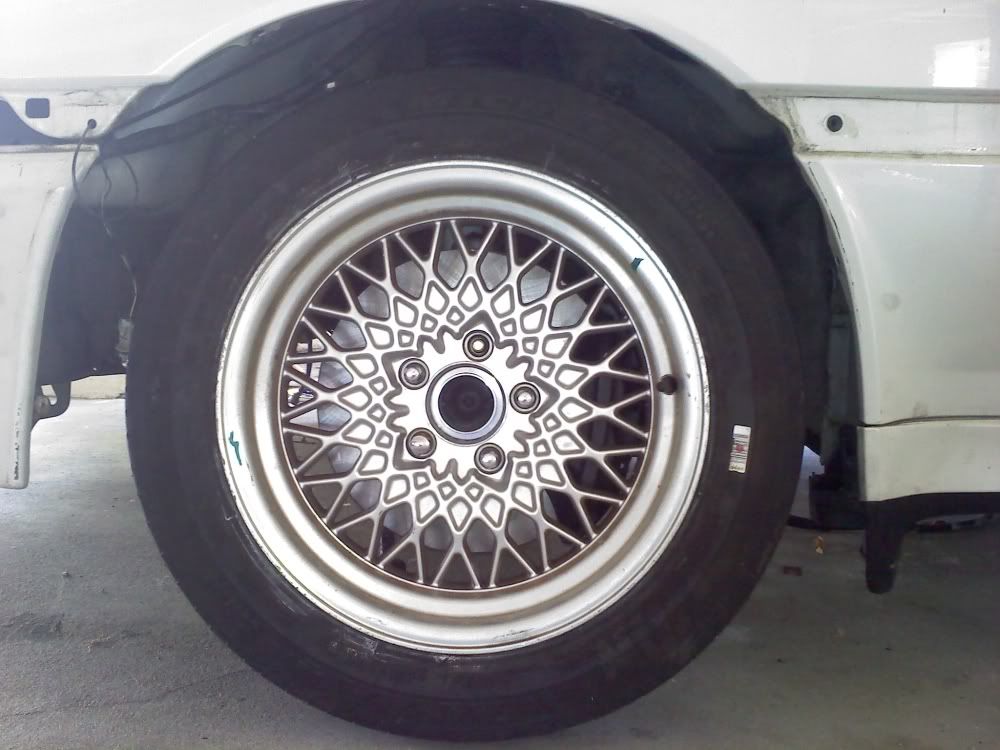
Got some of those Crown Vic BBS Wheels, should make tire sizes easy to get for sliding this thing...
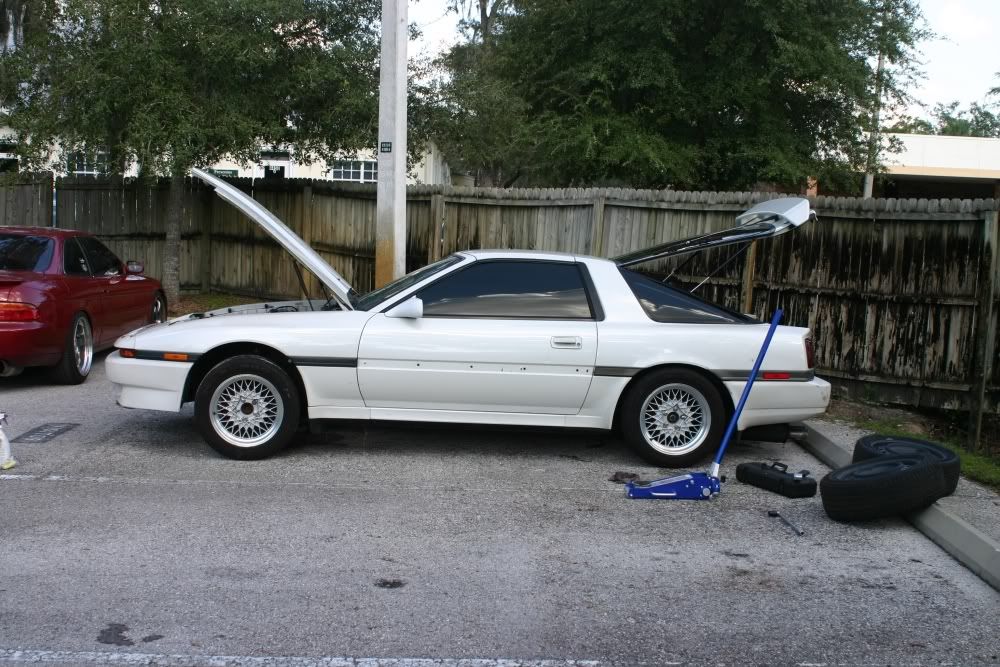
Found out that it had Intrax springs, got rid of them for $125 and found H&R's in the local yard for $40....

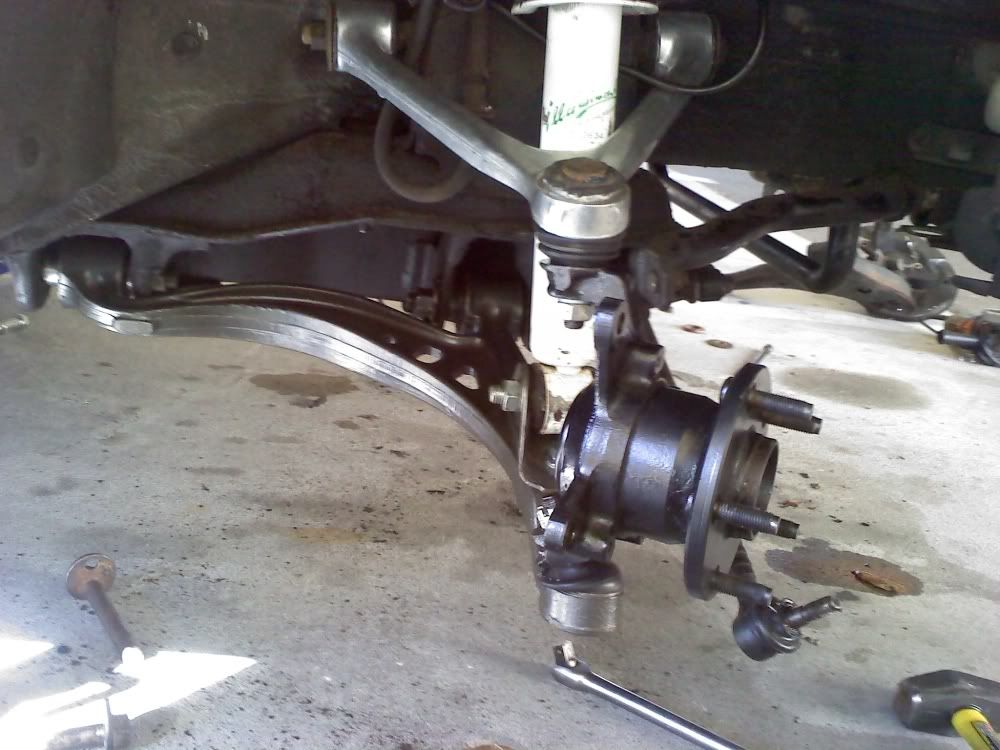
Modified on SC LCA's and Knucles.... This also allowed me to throw on a LS400 4 piston brake upgrade... had to put on 25mm spacers

I bought this car for $200, with title, straight body, decent paint, most of the interior, less than 100k miles on the body and no rust. Due to this car being passed around, most of the previous owners started to take stuff out of it. I guess I am the only one to add parts back into it!
Day 1
==========================================
Got some of those Crown Vic BBS Wheels, should make tire sizes easy to get for sliding this thing...
Found out that it had Intrax springs, got rid of them for $125 and found H&R's in the local yard for $40....
Modified on SC LCA's and Knucles.... This also allowed me to throw on a LS400 4 piston brake upgrade... had to put on 25mm spacers


Thread Starter
Lexus Fanatic
iTrader: (10)
Joined: Oct 2006
Posts: 5,006
Likes: 4
From: Tampa, Florida
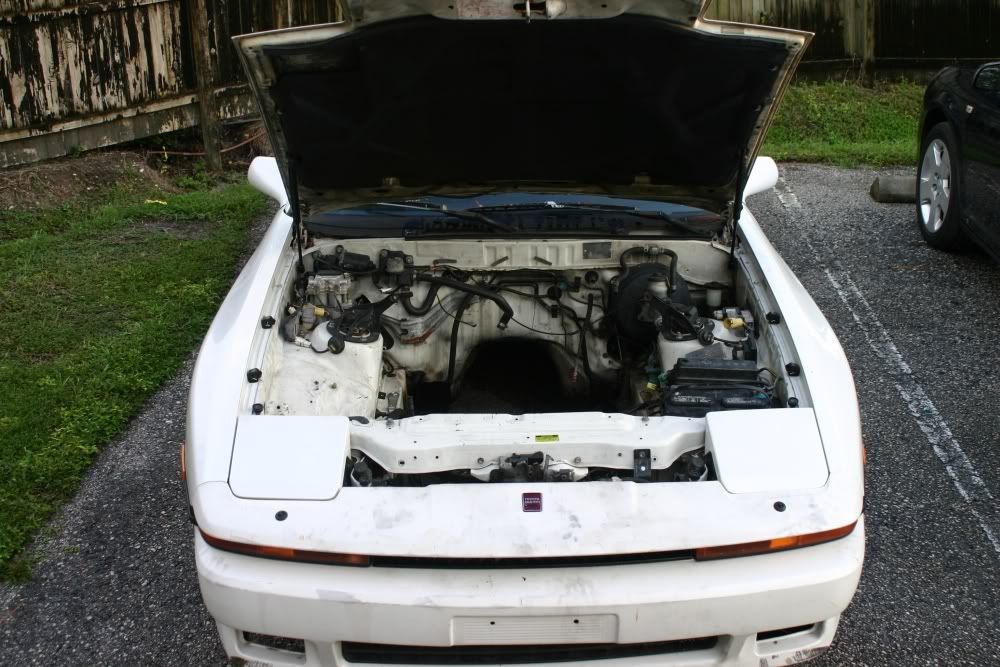
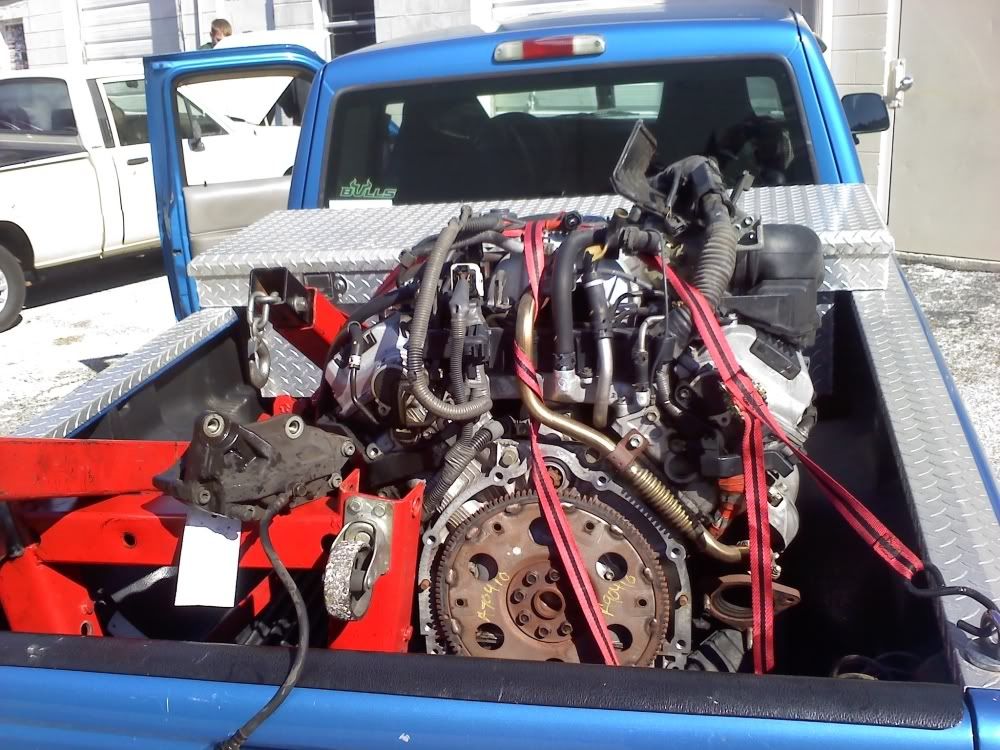
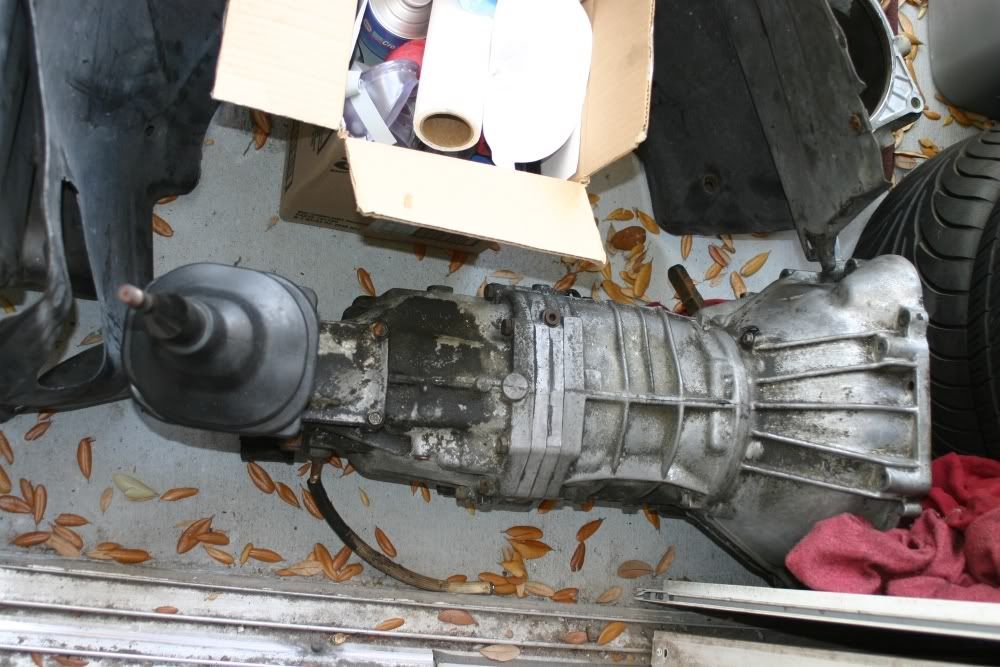
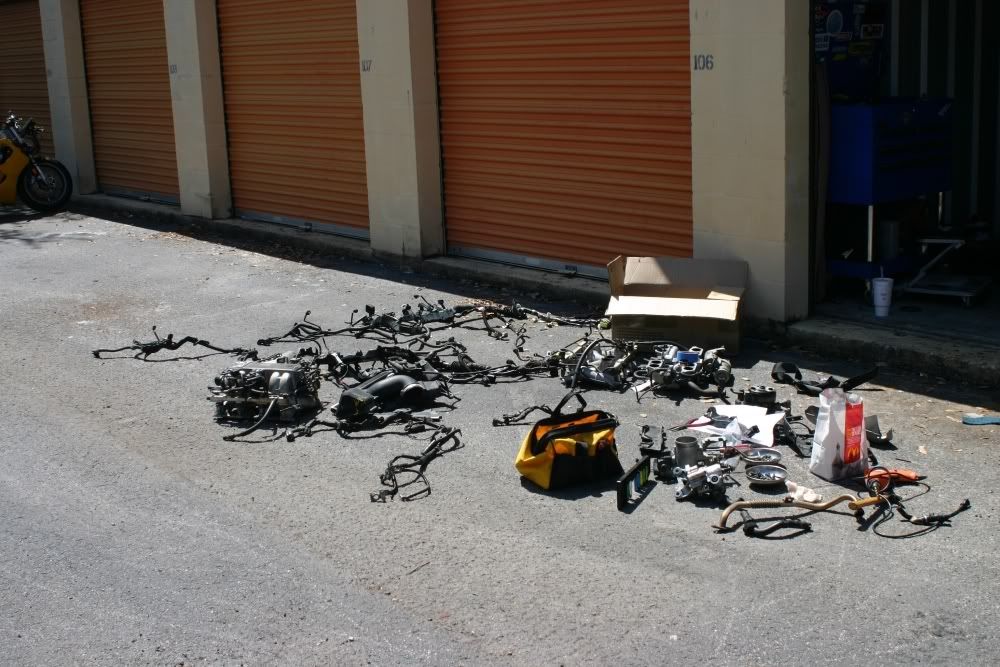
Picked up a 95 1uzfe for $100... W58 for $100.... and misc stuff over time for good deals...
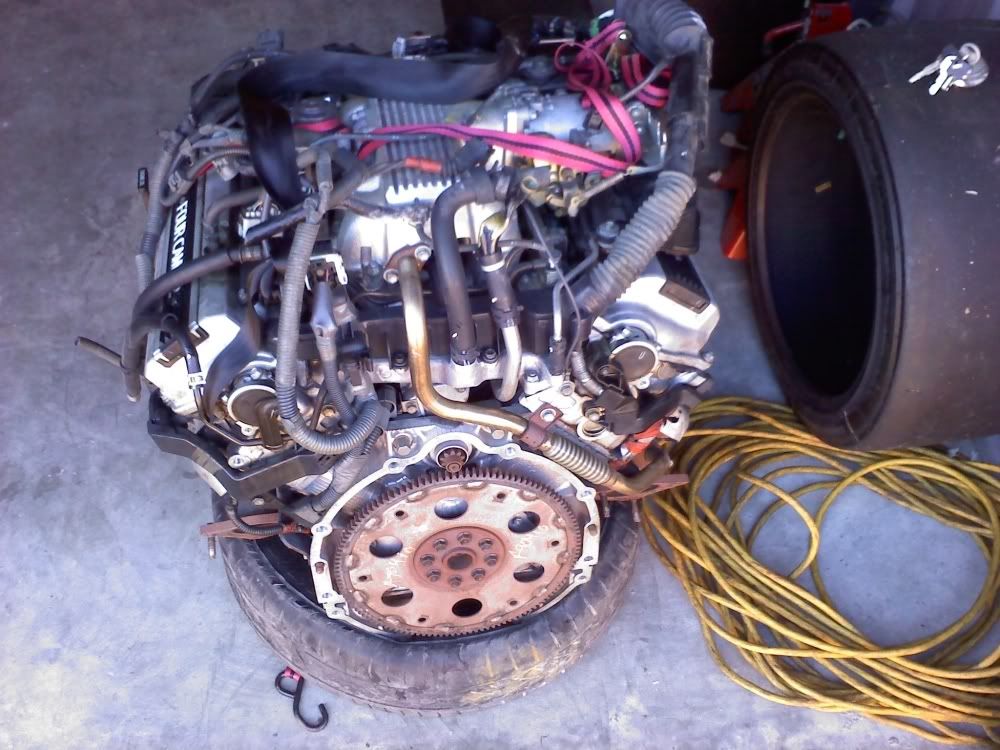
Started to break it down... I wanted to convert it to 92 electronics since I was given the harness, ecu, and other stuff for free. Plus it makes toying with the ecu easier... Less the computer knows the better
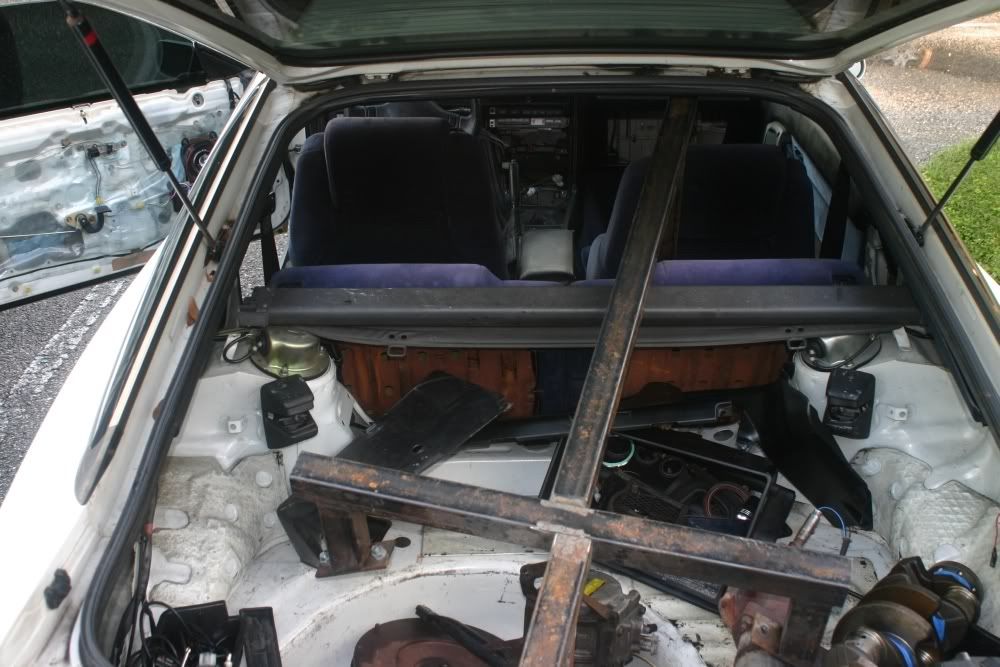
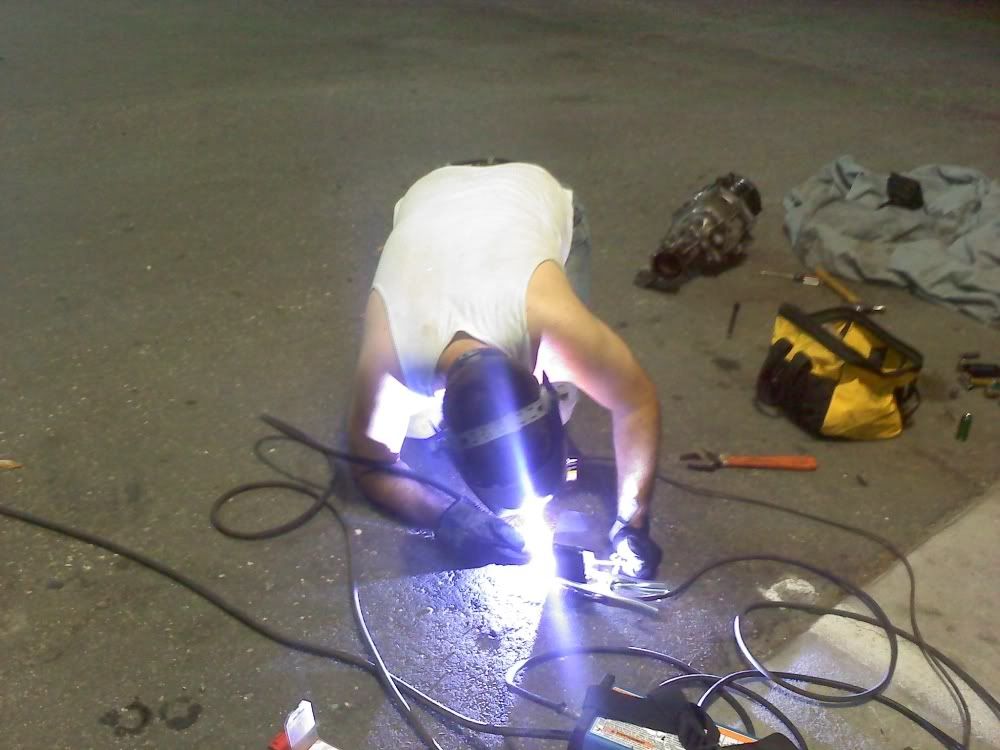
Tig Welding some solid mounts...
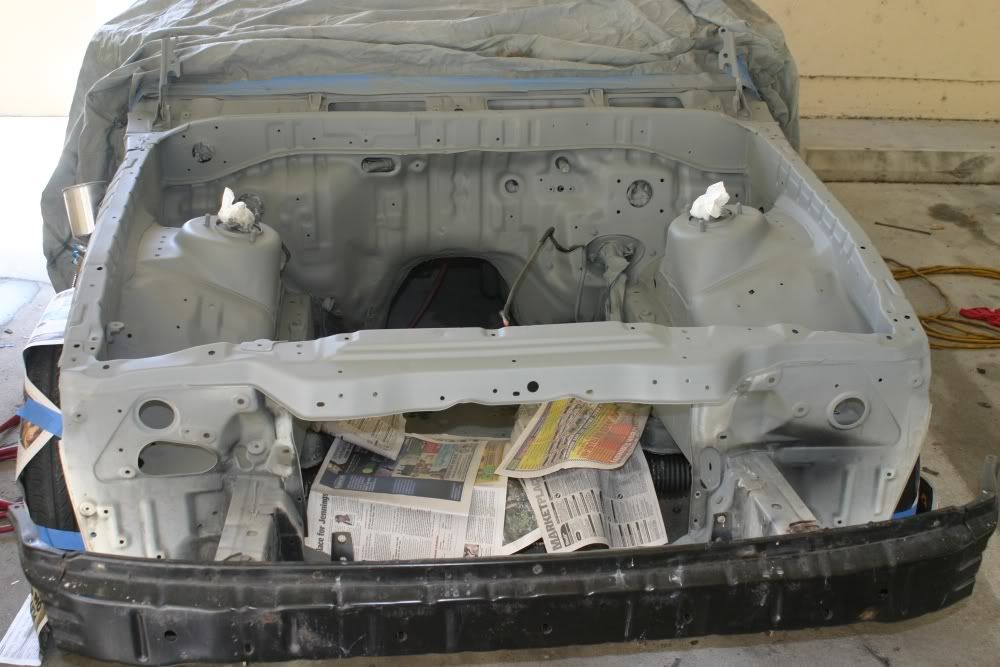
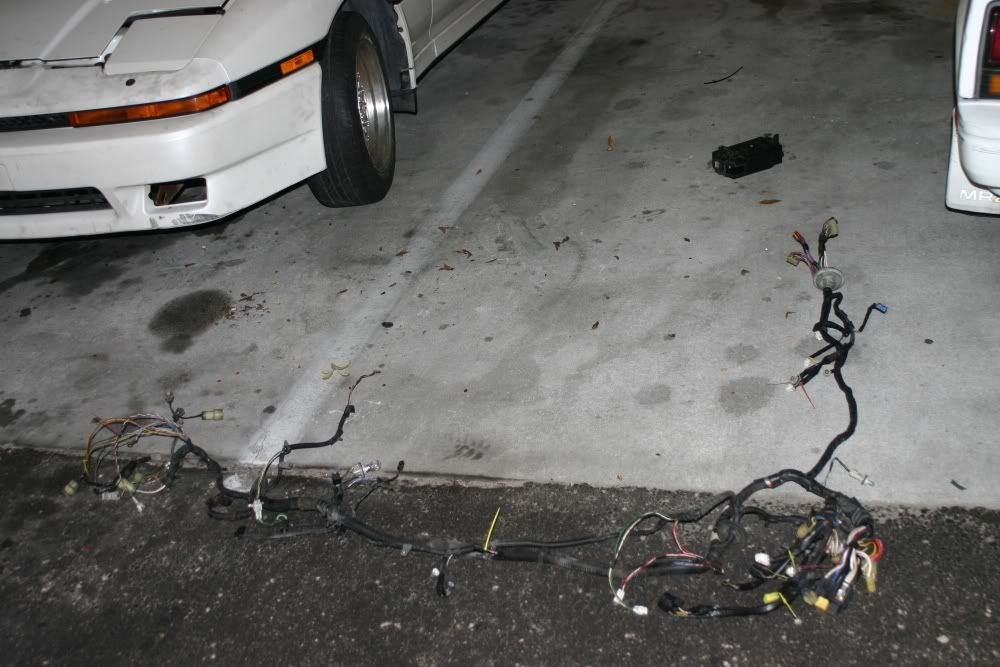
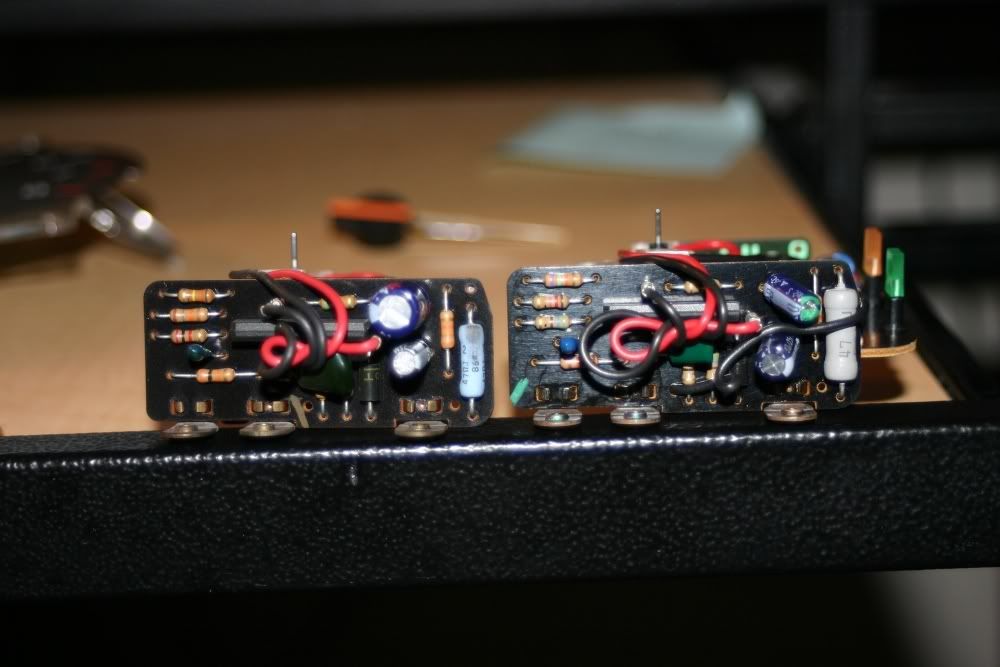
Pulled the entire body harness for painting, but I removed some wires I knew I did not need, the rest will be removed once the car runs... Also worked on a patch harness for the swap.

=============================================
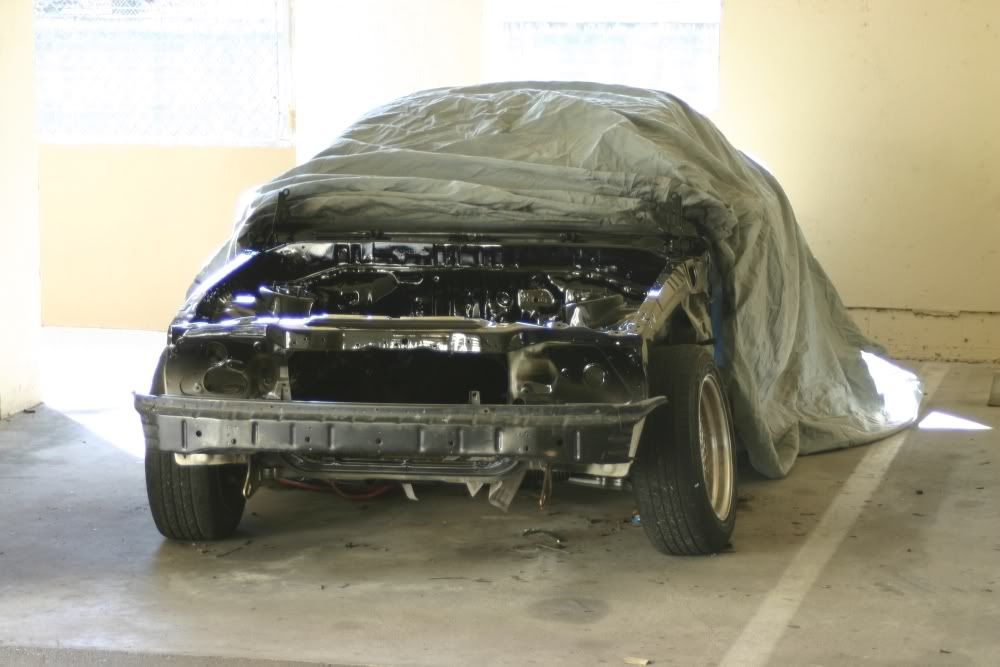
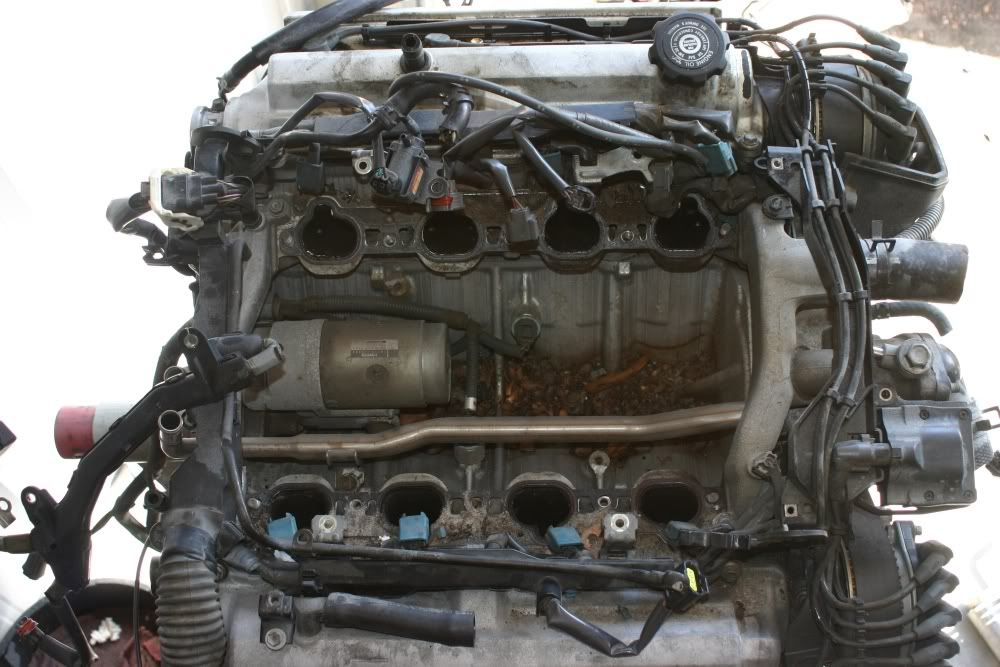
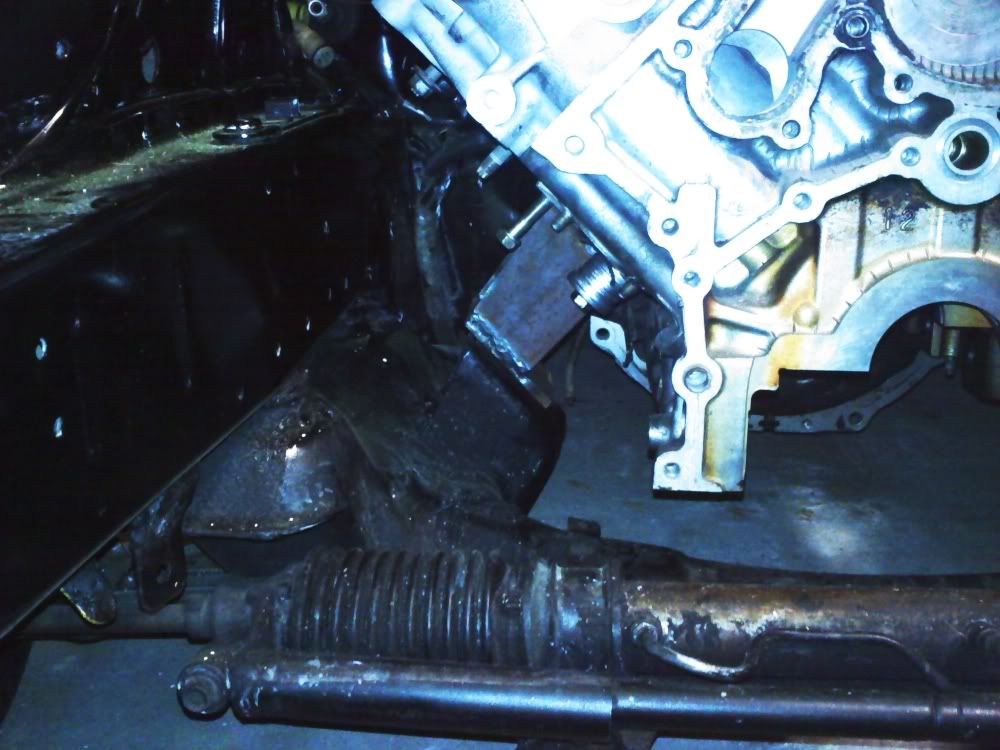
Had many issues fitting this engine into a pre 89 car. After some major hammer modifications, it FINALLY sat on the subframe/mounts instead of sumbframe/oil pan!
Started to break it down... I wanted to convert it to 92 electronics since I was given the harness, ecu, and other stuff for free. Plus it makes toying with the ecu easier... Less the computer knows the better
Tig Welding some solid mounts...
Pulled the entire body harness for painting, but I removed some wires I knew I did not need, the rest will be removed once the car runs... Also worked on a patch harness for the swap.
=============================================
Had many issues fitting this engine into a pre 89 car. After some major hammer modifications, it FINALLY sat on the subframe/mounts instead of sumbframe/oil pan!
Thread Starter
Lexus Fanatic
iTrader: (10)
Joined: Oct 2006
Posts: 5,006
Likes: 4
From: Tampa, Florida
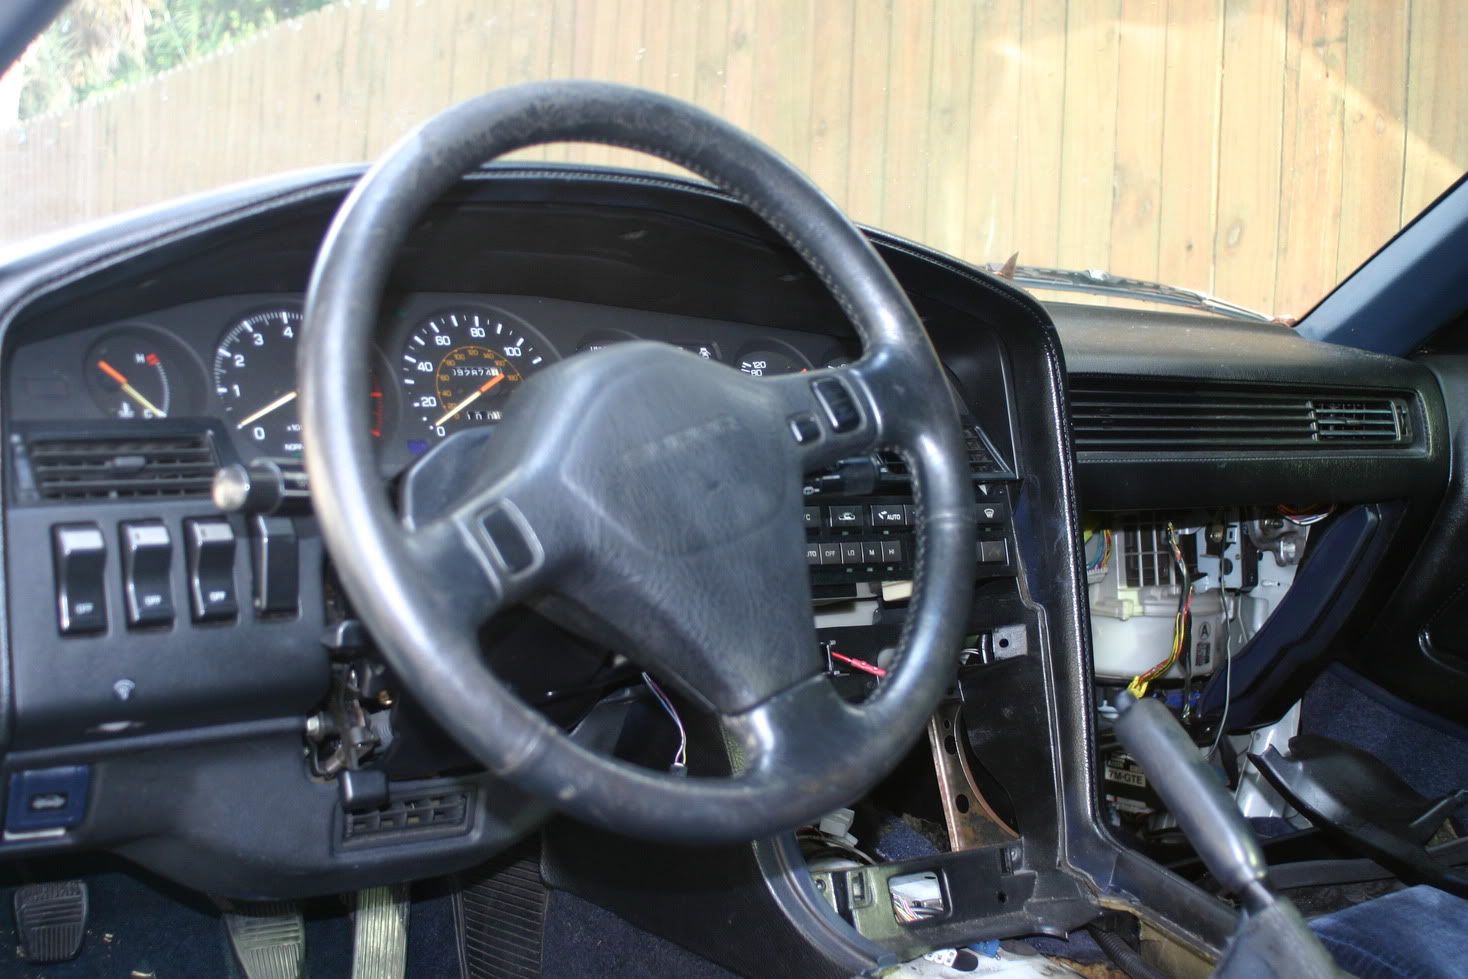
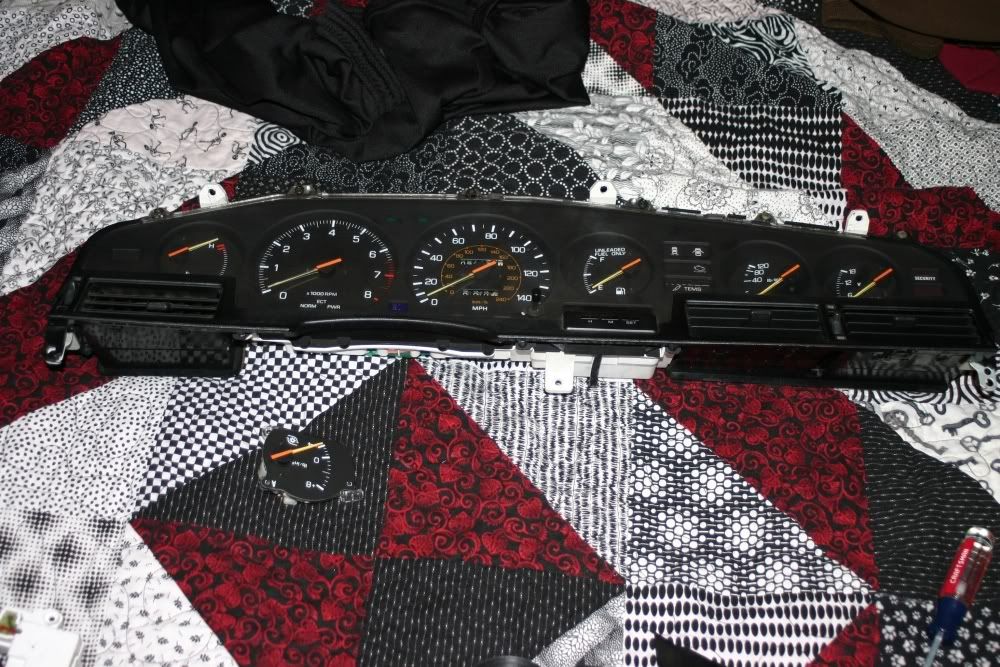
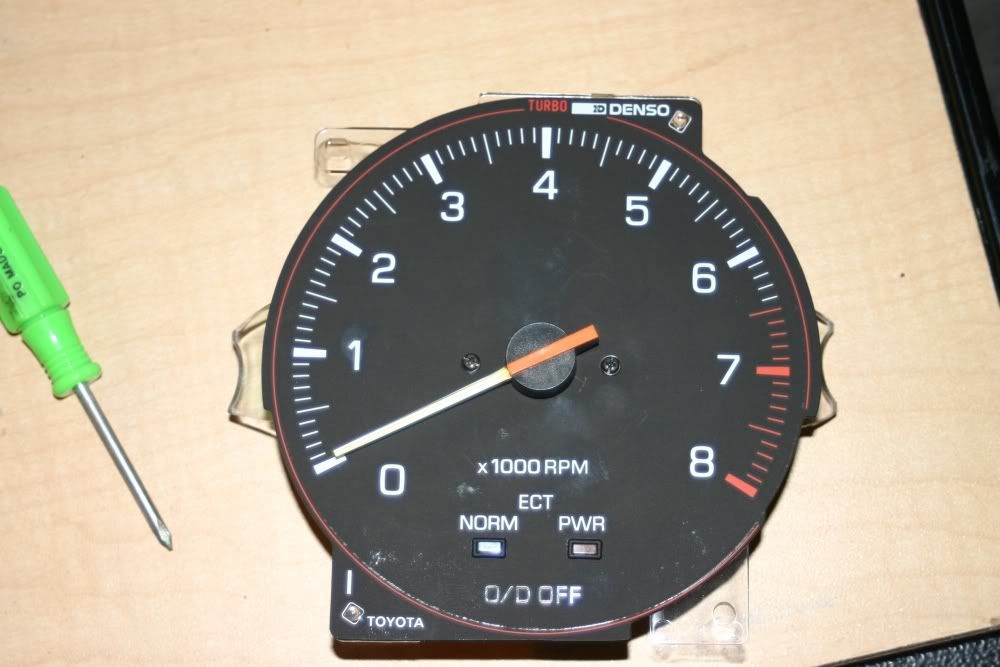
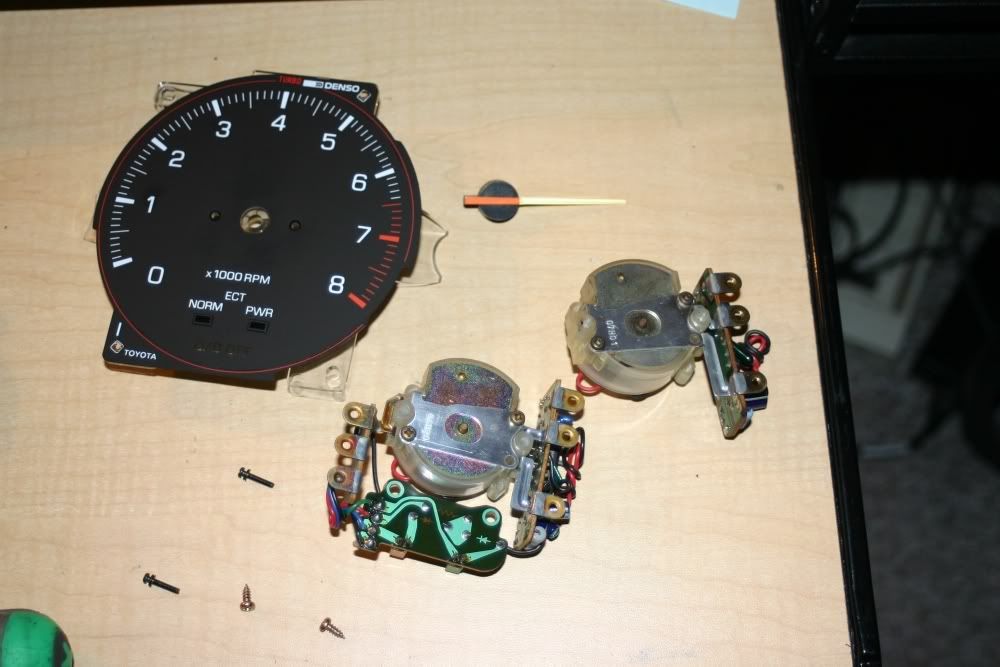
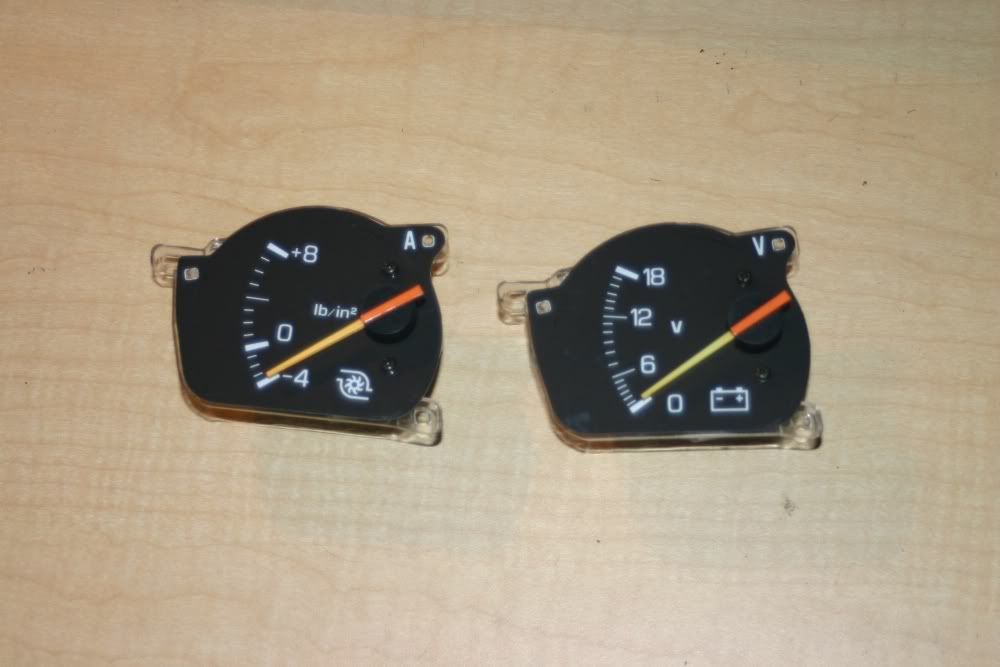
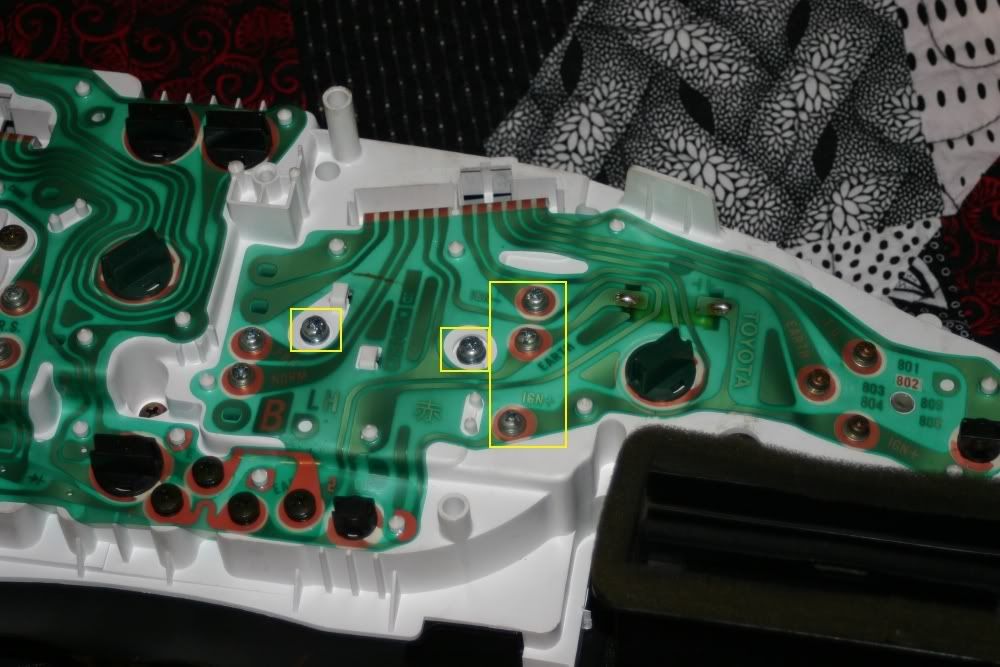
A small issue that people have with these swaps is getting all the gauges to work... One is the tach. Its made to read an I6 signal not the 4cyl singal that a 1uz gives (dual distributors). Funny enough I found out that a 4th gen celica tach with *minor* mods will bolt right in... Also converted the boost gauge to volt, since it was an original turbo.
Thread Starter
Lexus Fanatic
iTrader: (10)
Joined: Oct 2006
Posts: 5,006
Likes: 4
From: Tampa, Florida
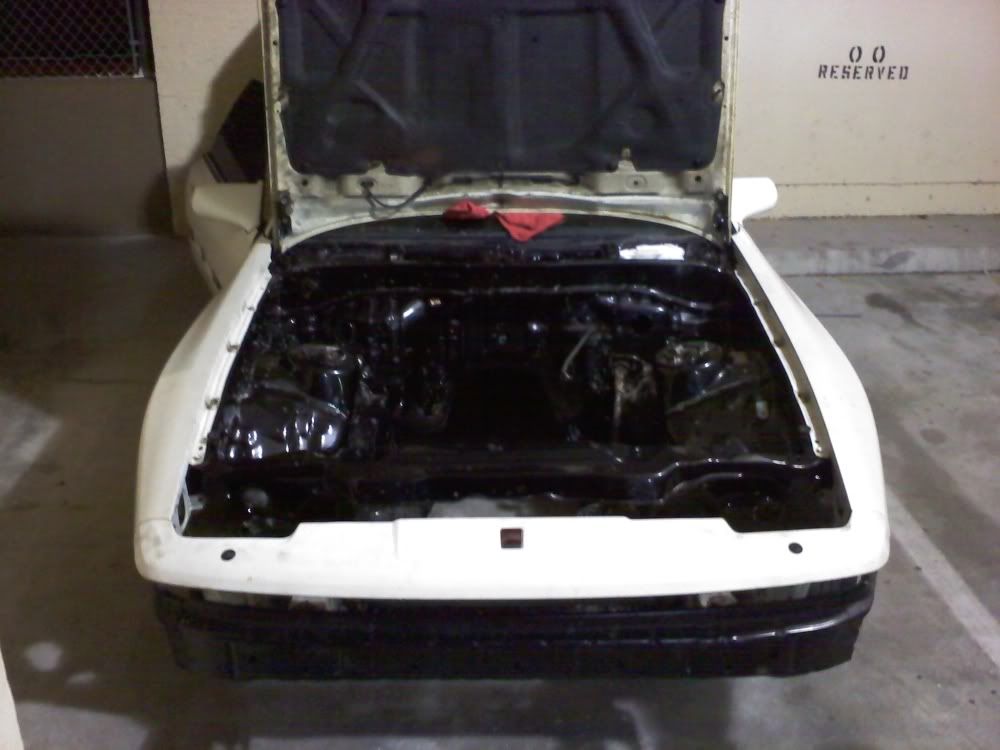
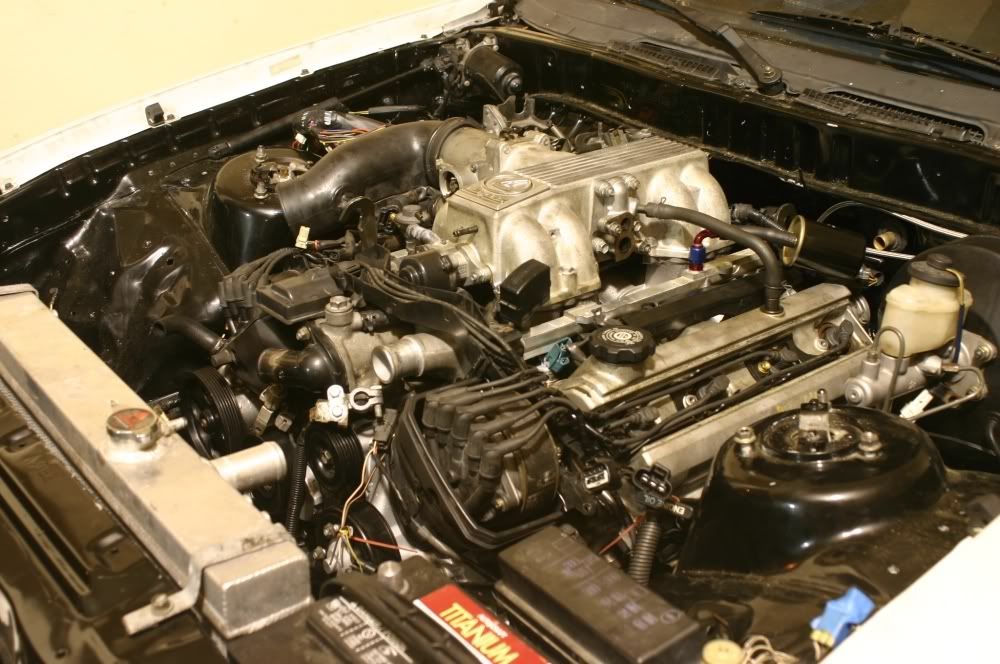
Got the car to fire up on the first try. I guess my 92 electronic conversion, patch harness, body harness modification and everything else worked... Go me.
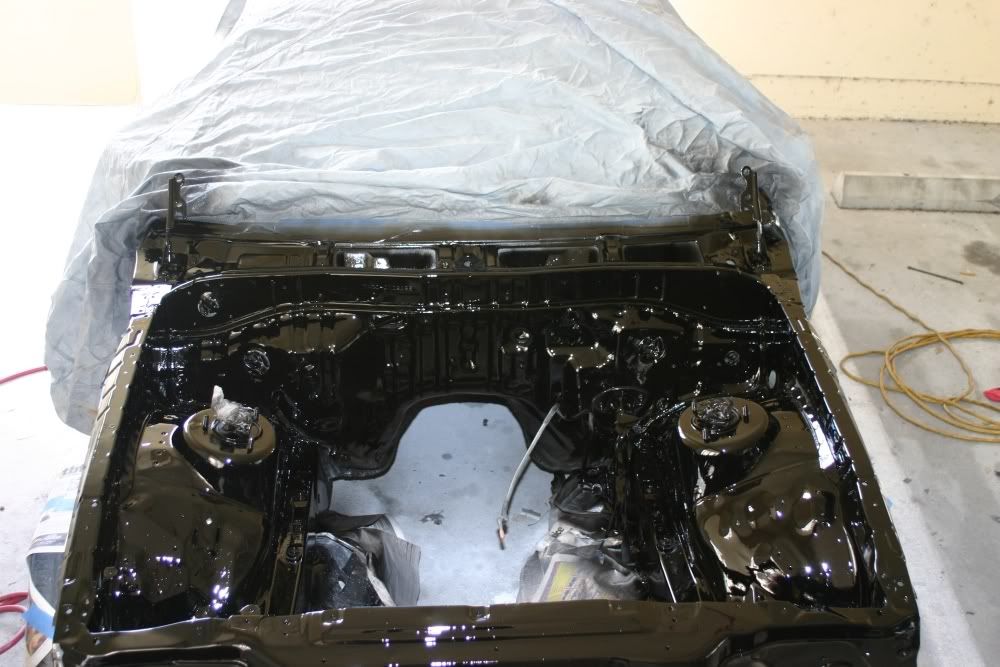
Once I found out that I did a good job, I started to pull apart the wires and loom it up. Also playing around with coloring on the manifolds/valve cover... Its black for now, might be too much black for the car... Have red valve covers going on, so we shall see.
But for now..... Last pic of the series. Its a little brighter than what I wanted, but I think with the rest of the 1uz plastic covers on, it will fit right in. Now time to paint the lower manifold, tb and water bridge black.... and maybe polish up the fuel rails a bit...
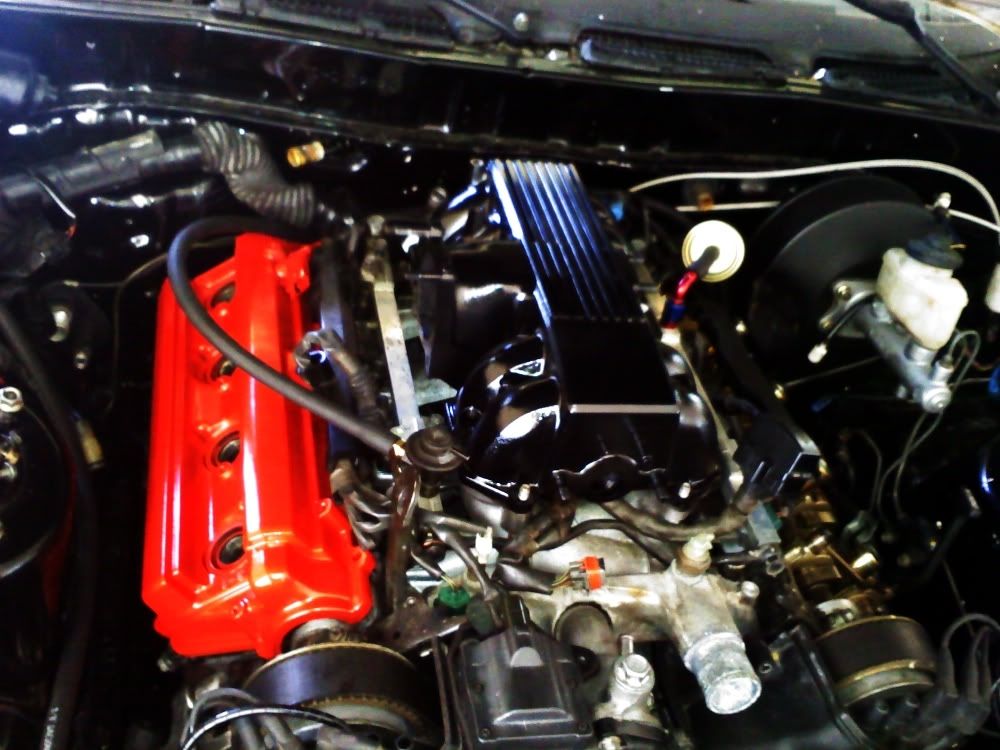
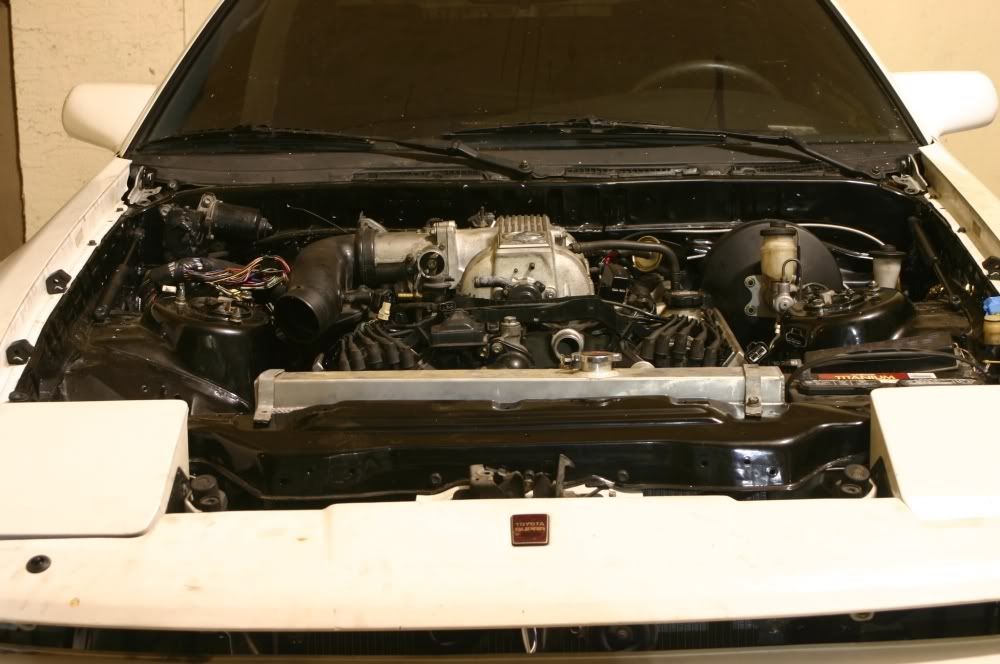
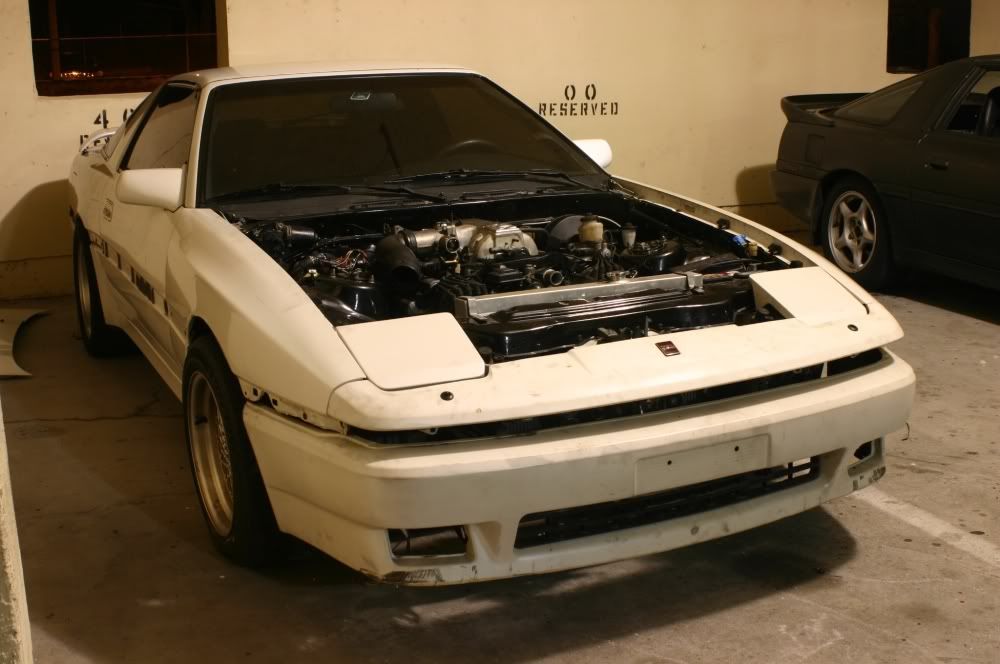
For now, yes. Its a beater really... hate to waste the decent paint that it does have still. But if I do change it, its obvious which color it would be. . The reason for the black engine bay was to give it a nice contrast, along with the panda theme I wanted. It has black post 89 side moldings going back on, there are just at my parents house so I have not had time to get them.
Once I found out that I did a good job, I started to pull apart the wires and loom it up. Also playing around with coloring on the manifolds/valve cover... Its black for now, might be too much black for the car... Have red valve covers going on, so we shall see.
But for now..... Last pic of the series. Its a little brighter than what I wanted, but I think with the rest of the 1uz plastic covers on, it will fit right in. Now time to paint the lower manifold, tb and water bridge black.... and maybe polish up the fuel rails a bit...
For now, yes. Its a beater really... hate to waste the decent paint that it does have still. But if I do change it, its obvious which color it would be.
. The reason for the black engine bay was to give it a nice contrast, along with the panda theme I wanted. It has black post 89 side moldings going back on, there are just at my parents house so I have not had time to get them.
Last edited by RedPhoenix; Jun 8, 2010 at 09:36 AM.


