
3M Headlight Restoration Before & After Guide (pictures)
 01-15-13, 11:03 PM
#1
Advanced
Thread Starter
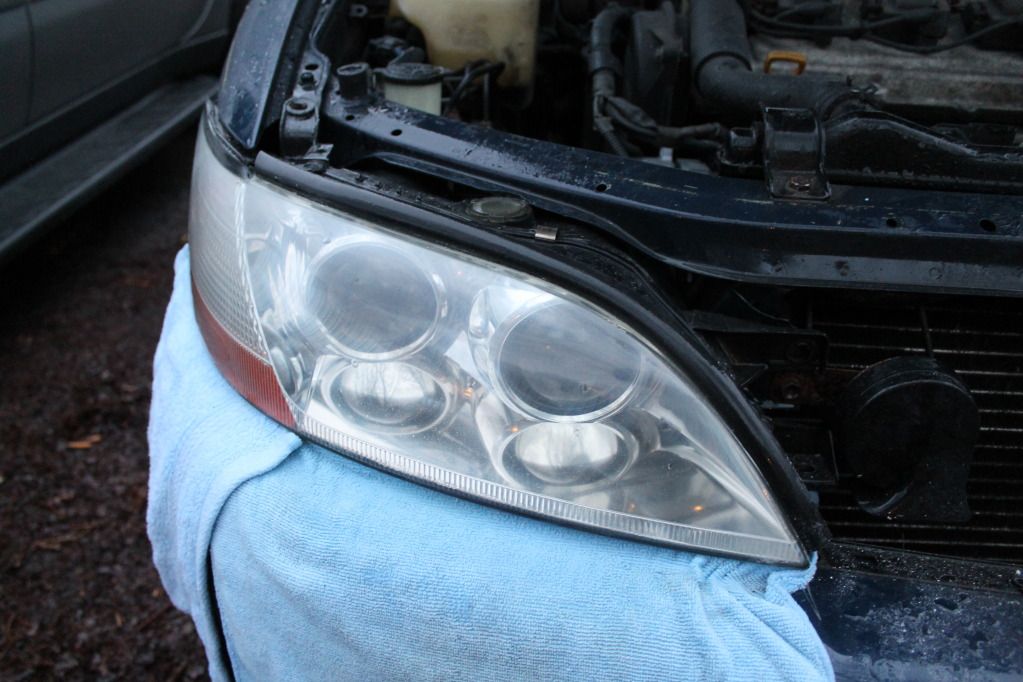
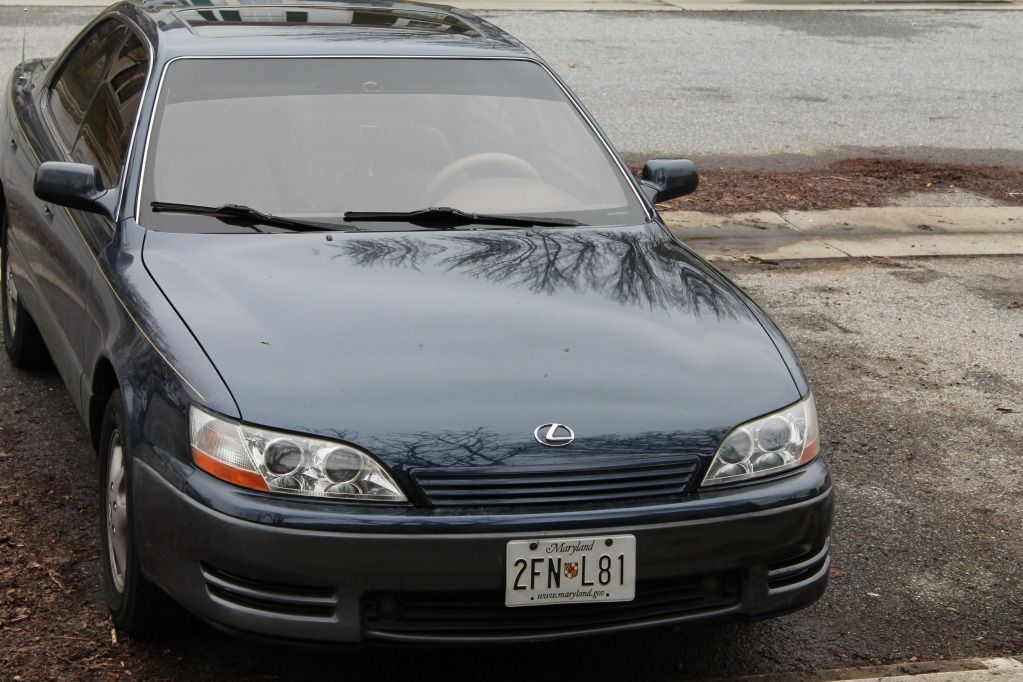
This may have been done before (I'm sure), but I'm going to do it again. My car got in an accident and one of the headlights were destroyed. As you may know, even our car being 92-96, the assembly of the headlight is still very expensive being a double projector lens  .So I went to the junkyard to get some in decent condition:

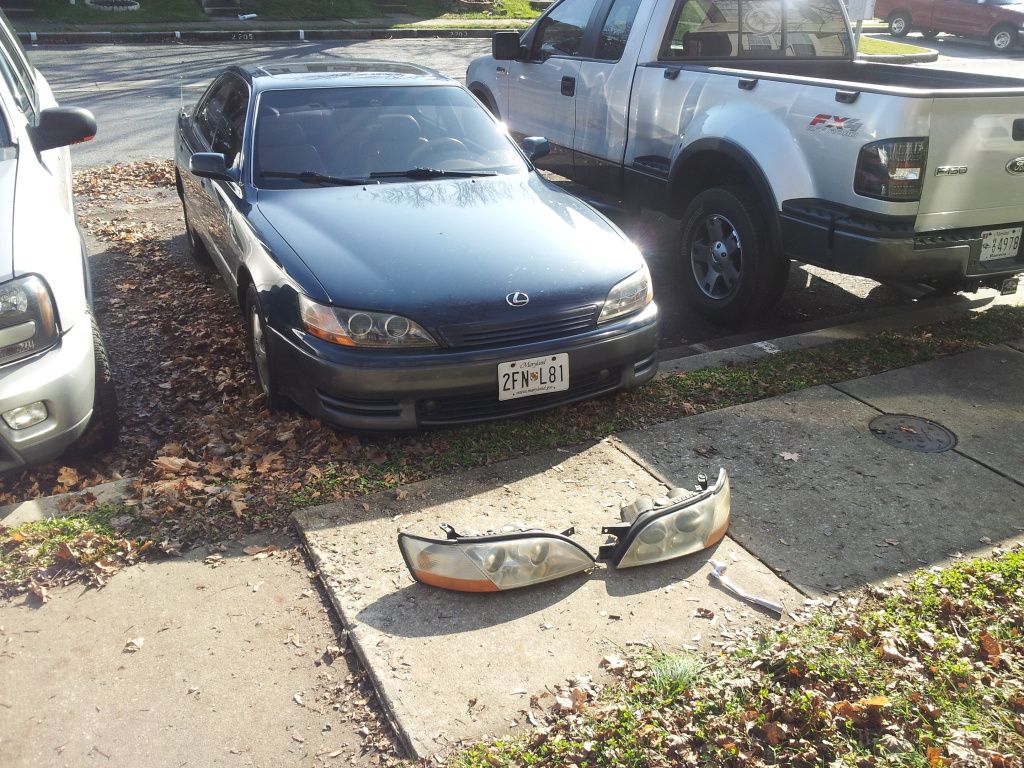
Kind of picked up the wrong lights. Be aware that 95-96 have smoked chrome with ALOT better cutoff for light. But whatever, that's besides the point. These will do.
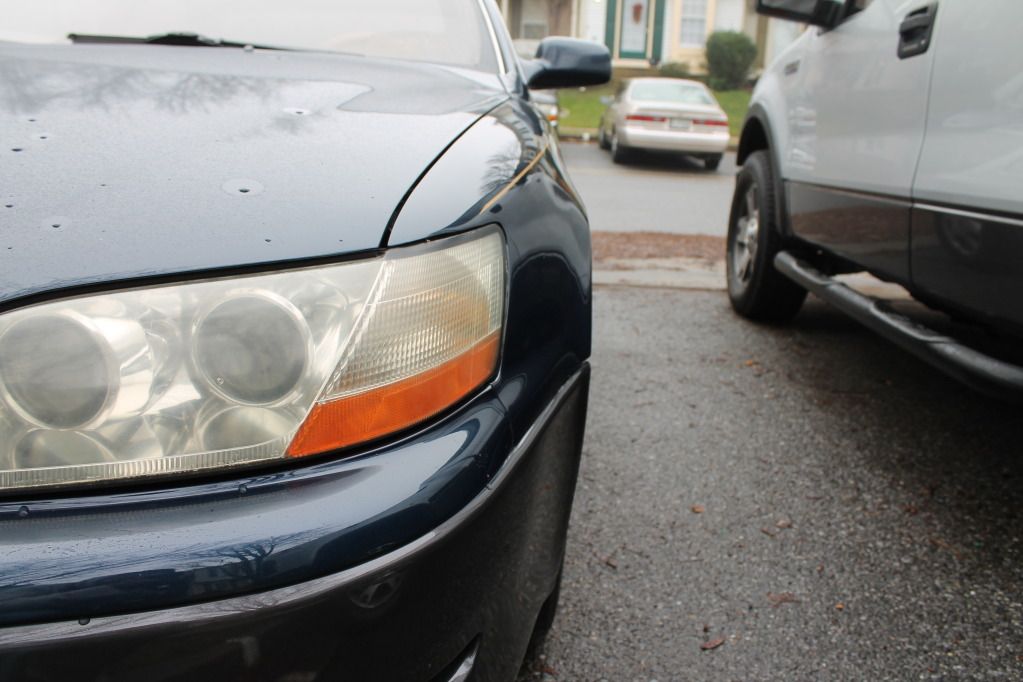
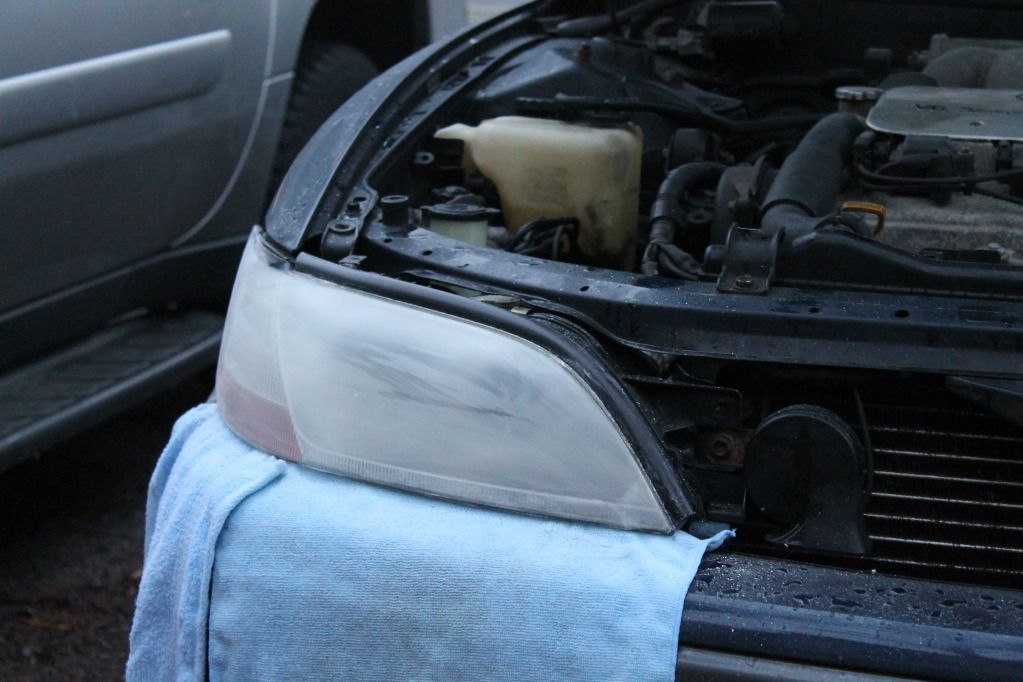
before:
After cleaning the plastic with soap and water, I started with the 500 Grit in the kit:

You will see yellow dust coming off. This is what you want. This is removing the oxidized layer from the headlight. Continue the 500 until the dust turns white.
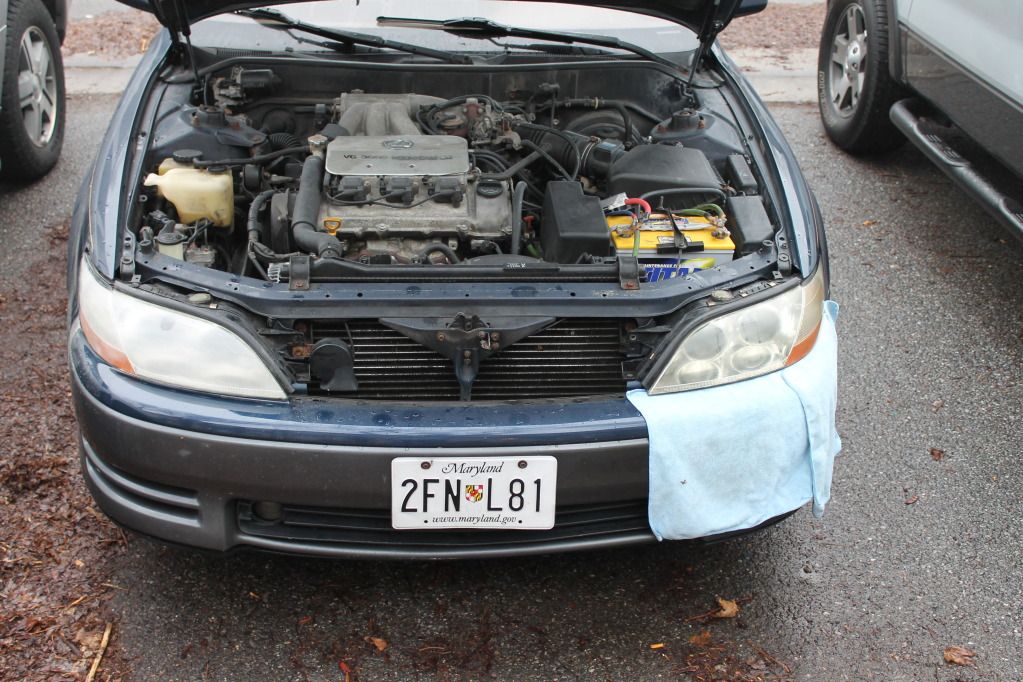
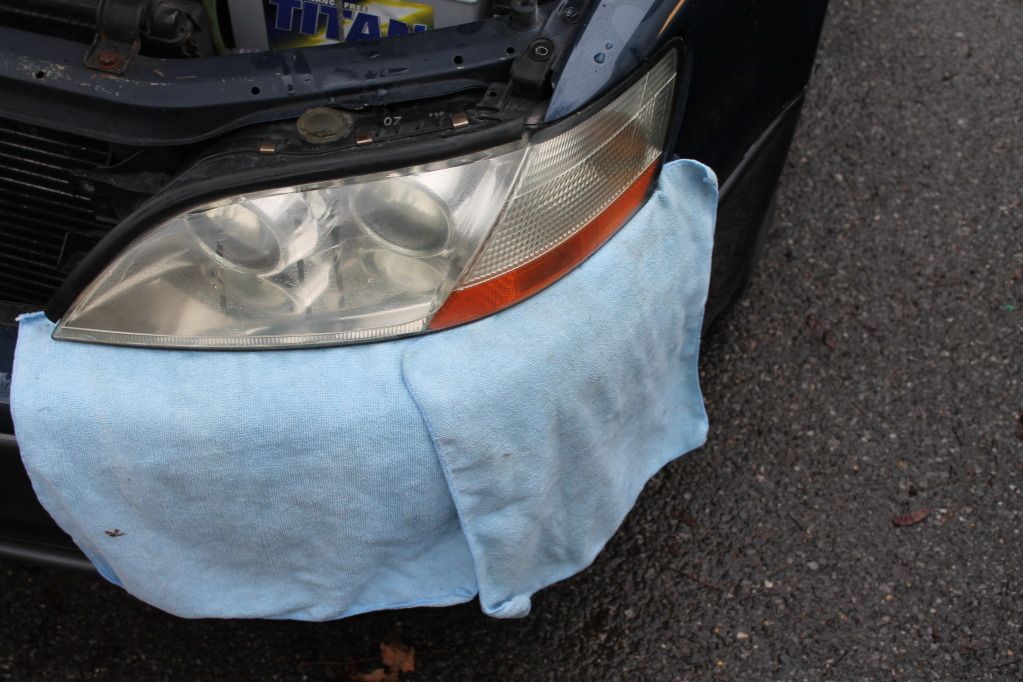
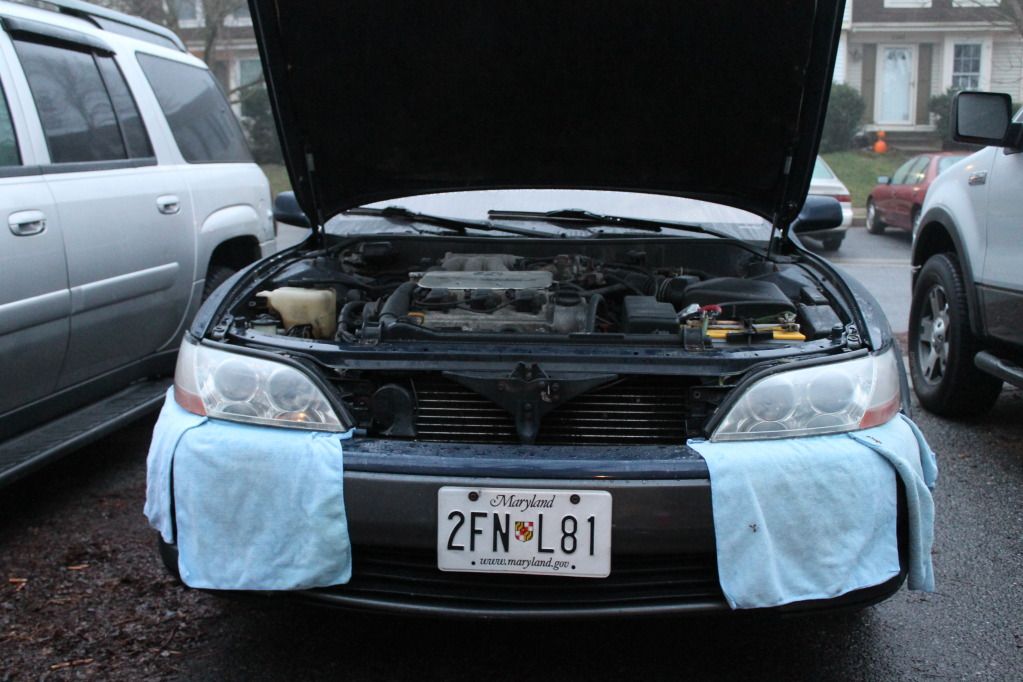
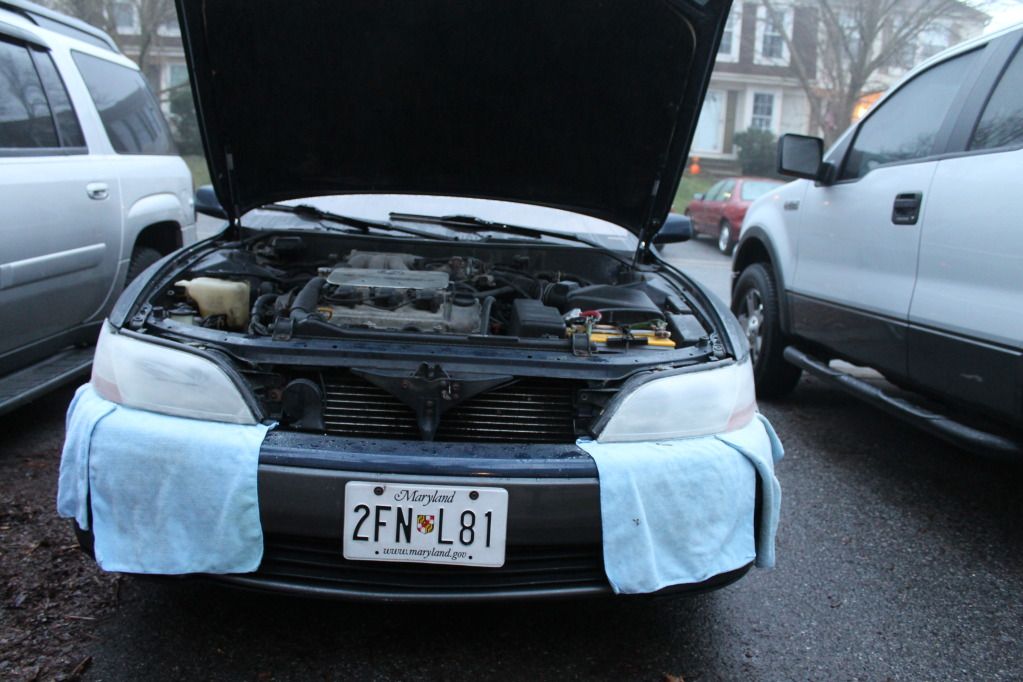
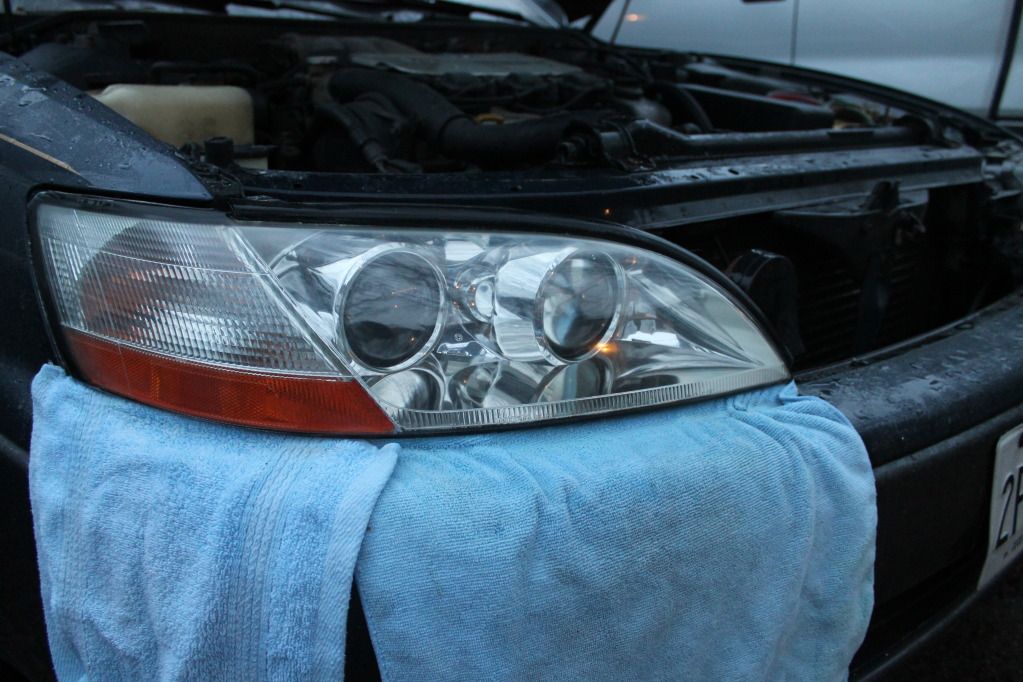
I've done this before on another set of lights and learned NOT to use the automotive masking tape to protect the bumper. Unmount the headlights, and tuck some towels underneath. You can't go wrong with this, as the attachment will not rip through fabric. Your bumper will thank you.
Next is the 800 grit sandpaper. this will produce finer scratches and make an even frosted color on your lens:
Then use the 3000 Grit sandpaper. This is when you want to wet sand. Use a spray bottle to keep the lens and the pad wet. Don't have a spraybottle? Use a cup and put water in your mouth, and spit on them in a mist. Unsanitary, yes. Does it work for less cost than a spray bottle, yes....
Do this until a grey slurry is made. This lets you know it is working.

Clarity gets ALOT better with last step. Use the foam pad with the polish to get the end result. Use a dime size to avoid splatter. Smear it across headlight. Wipe with towel. Be amazed.

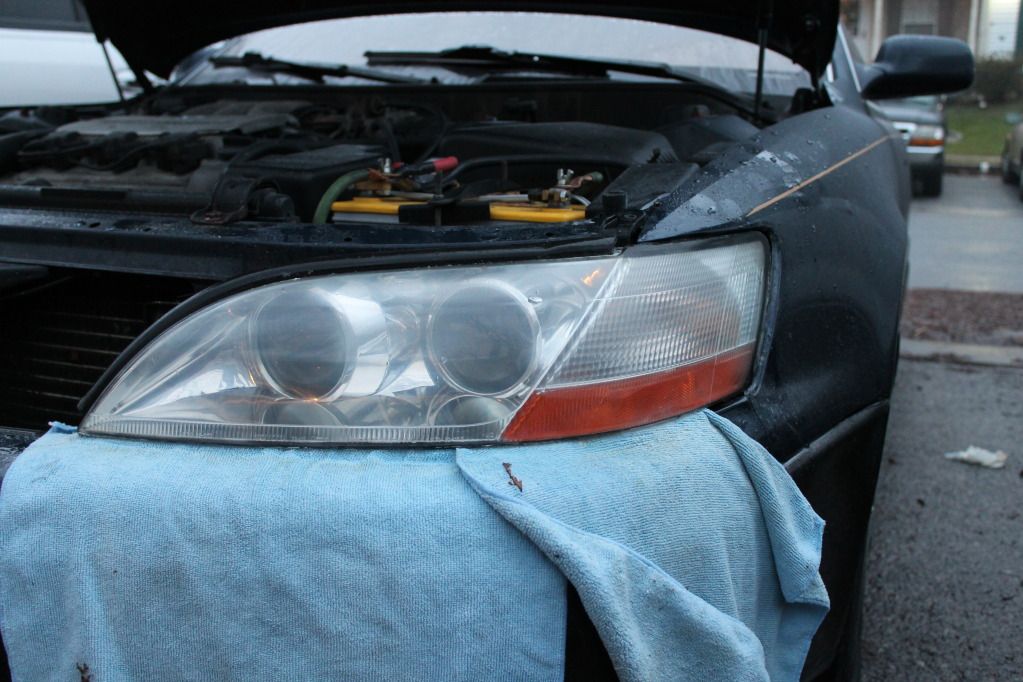
Final product.
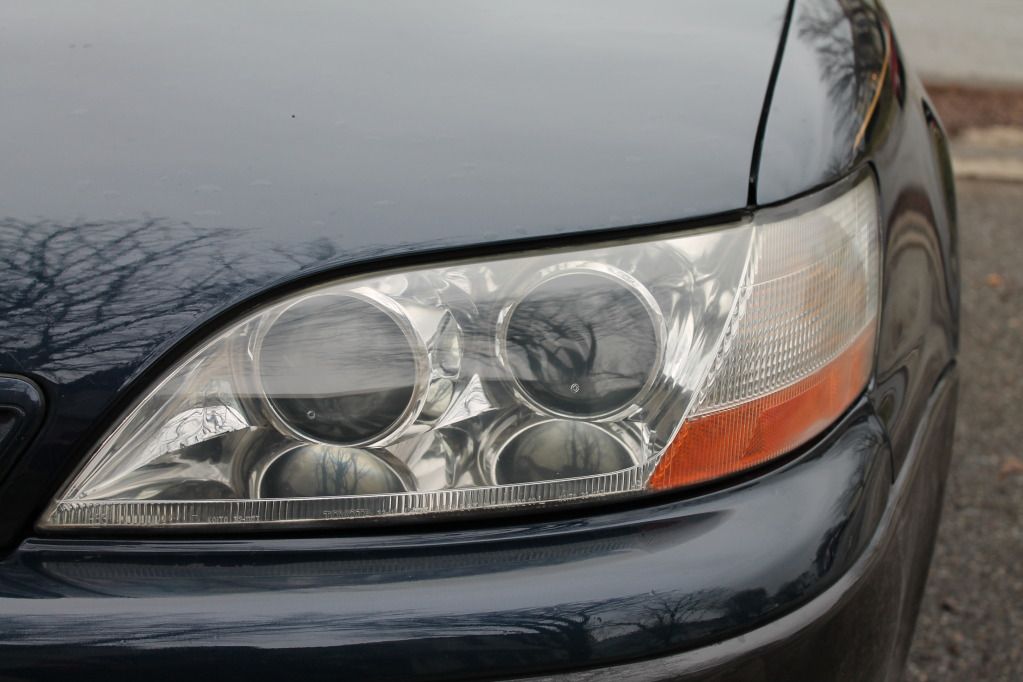
voila

magic
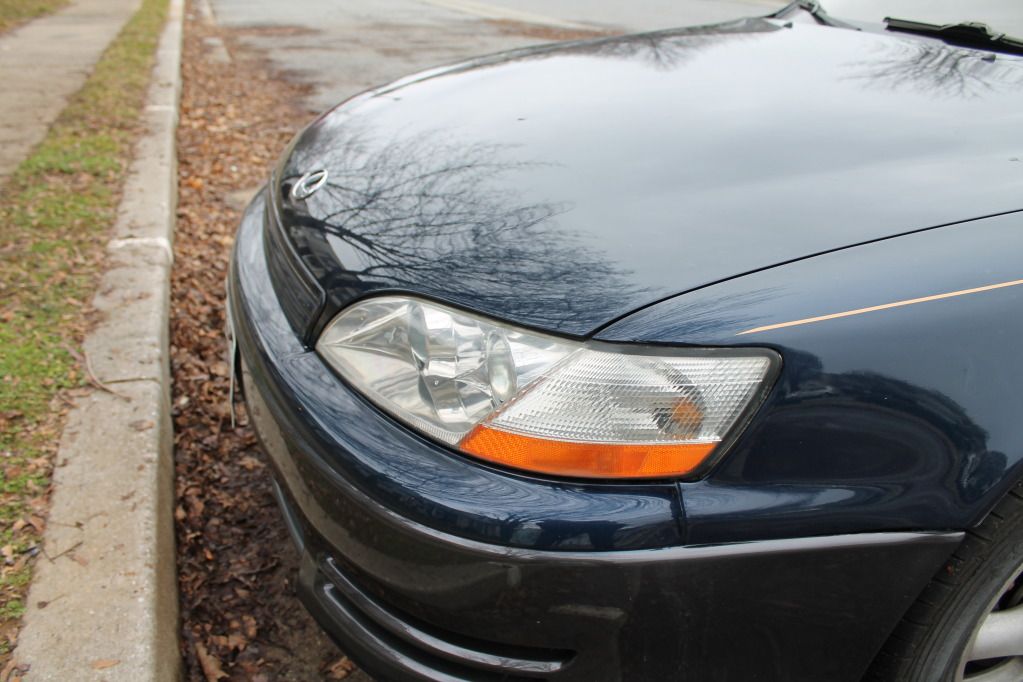
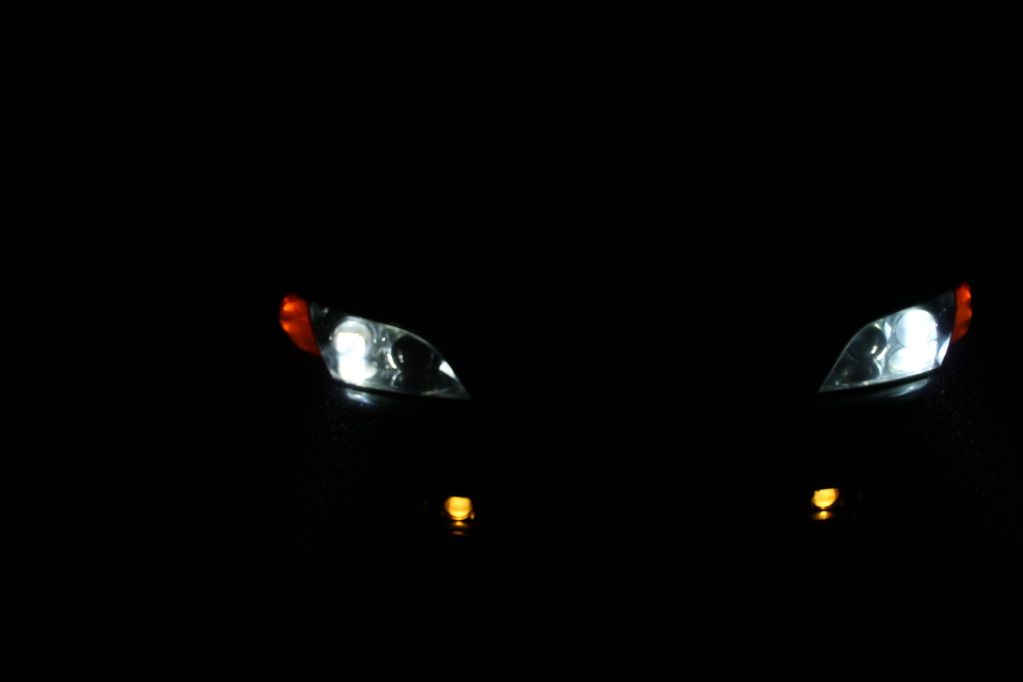
6000k 55watt HID. Yellow projector swap.
.So I went to the junkyard to get some in decent condition:Kind of picked up the wrong lights. Be aware that 95-96 have smoked chrome with ALOT better cutoff for light. But whatever, that's besides the point. These will do.
before:
After cleaning the plastic with soap and water, I started with the 500 Grit in the kit:
You will see yellow dust coming off. This is what you want. This is removing the oxidized layer from the headlight. Continue the 500 until the dust turns white.
I've done this before on another set of lights and learned NOT to use the automotive masking tape to protect the bumper. Unmount the headlights, and tuck some towels underneath. You can't go wrong with this, as the attachment will not rip through fabric. Your bumper will thank you.
Next is the 800 grit sandpaper. this will produce finer scratches and make an even frosted color on your lens:
Then use the 3000 Grit sandpaper. This is when you want to wet sand. Use a spray bottle to keep the lens and the pad wet. Don't have a spraybottle? Use a cup and put water in your mouth, and spit on them in a mist. Unsanitary, yes. Does it work for less cost than a spray bottle, yes....
Do this until a grey slurry is made. This lets you know it is working.
Clarity gets ALOT better with last step. Use the foam pad with the polish to get the end result. Use a dime size to avoid splatter. Smear it across headlight. Wipe with towel. Be amazed.
Final product.
voila
magic
6000k 55watt HID. Yellow projector swap.
 01-16-13, 12:48 AM
#2
Beware that the plastic will haze up again in about 6 months. I did a similar job, but only with polishes, when I first got the car. The headlight hazed up soon after. This summer though, I decided to wet sand the headlight and clearcoat it with paint. The paint acts as the factory UV coating and prevents any further hazing.
01-16-13, 09:50 AM
#3
Advanced
Thread Starter
Beware that the plastic will haze up again in about 6 months. I did a similar job, but only with polishes, when I first got the car. The headlight hazed up soon after. This summer though, I decided to wet sand the headlight and clearcoat it with paint. The paint acts as the factory UV coating and prevents any further hazing.
01-16-13, 11:56 AM
#4

I've done the same, except I wet sanded the entire way. If you don't use a protect ant layer the headlights will haze in 6 months or so. If you do you might last a year or so.
dave
dave

 01-16-13, 08:10 PM
#7
Beware that the plastic will haze up again in about 6 months. I did a similar job, but only with polishes, when I first got the car. The headlight hazed up soon after. This summer though, I decided to wet sand the headlight and clearcoat it with paint. The paint acts as the factory UV coating and prevents any further hazing.
+1, 6 month back to haze. may try the clear coat thing. I ordered some Wipe New, supposedly 2 year guarantee, well, I shall see.

Trending Topics
01-25-13, 06:55 AM
#9
Advanced
Thread Starter


Thread
Thread Starter
Forum
Replies
Last Post
keyur246
IS - 2nd Gen (2006-2013)
38
10-30-13 10:49 AM