

Diy Smoked Tails/any Lights

Thread Starter
Lead Lap
Joined: Feb 2006
Posts: 619
Likes: 0
From: CA
Hello, I decided that the black/red "theme" on my car is really cool. I also always liked smoked tail lights. So I took the time to do some big time research on how I could do it (they don't have "kits" for 85 Celicas). I found out that you could just purchase dark grey vinyl and do it yourself.
I was looking around for a good price, when I came across this thread by searching on google:
http://www.jdmuniverse.com/forums/sh...ad.php?t=47403
This guy gives you step by step instructions on how to apply the vinyl (he was doing red). He mentions a site to order some vinyl from: <http://www.importequipment.com/sticker_by_the_foot_transparent.htm>
This place is really expensive. A 1'X1' piece of dark grey vinyl costed me 12 something shipped.

I later bought a HUGE roll (30Ft) in bulk, so if anyone wants some, please PM me (although I still haven't received it, because I ordered after I got the small 1x1).
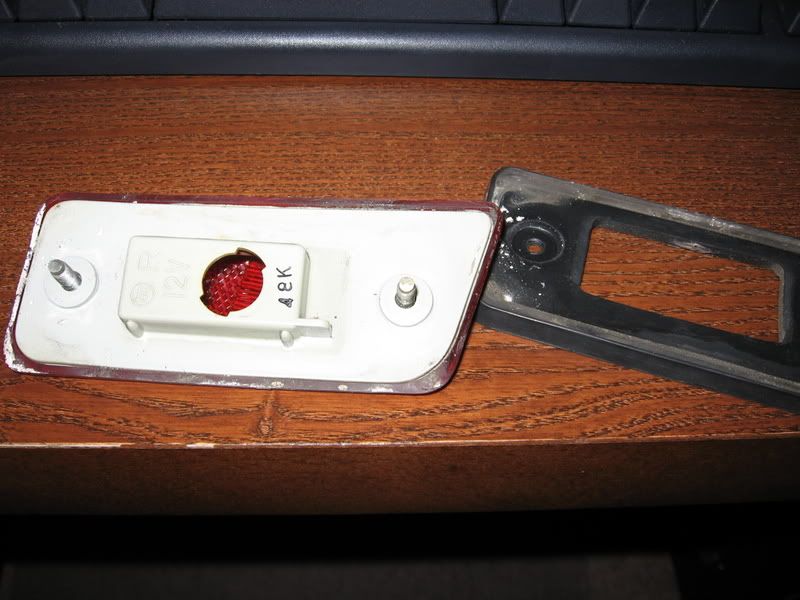
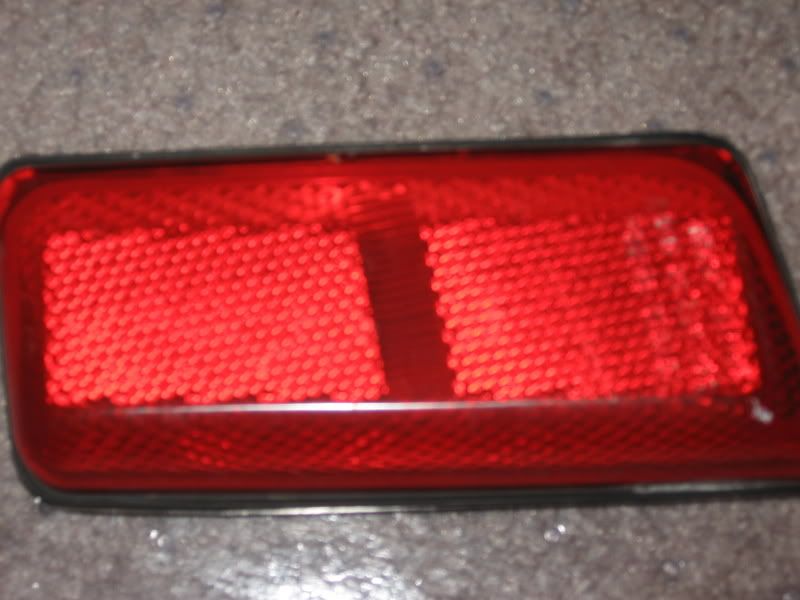
Since I only had a little piece to work with, I started looking for a part of my car I could apply it to. I was looking and I found those little side lights.
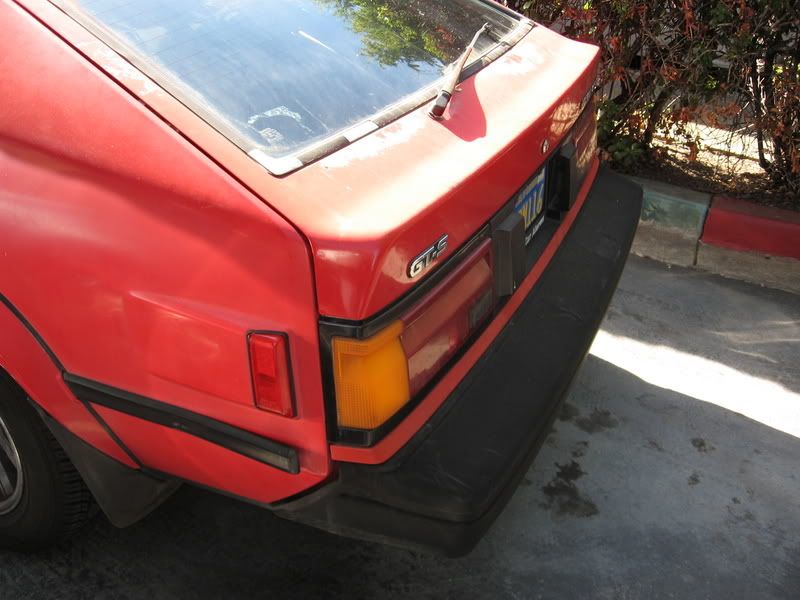
I just took off the rubber backings so they wouldn't get damaged:
I knew that I had to first clean the lights. As suggested on Club Lexus, I picked up some polishing and rubbing compound made by Turtlewax.
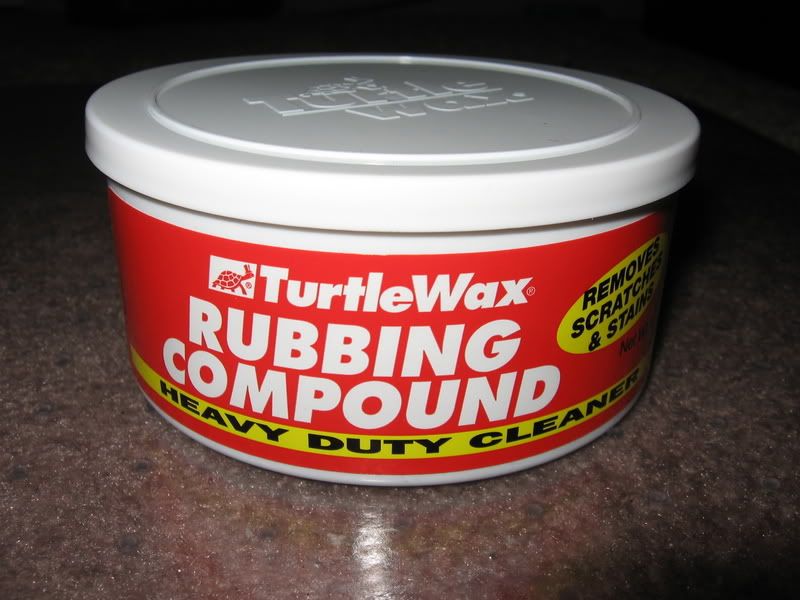
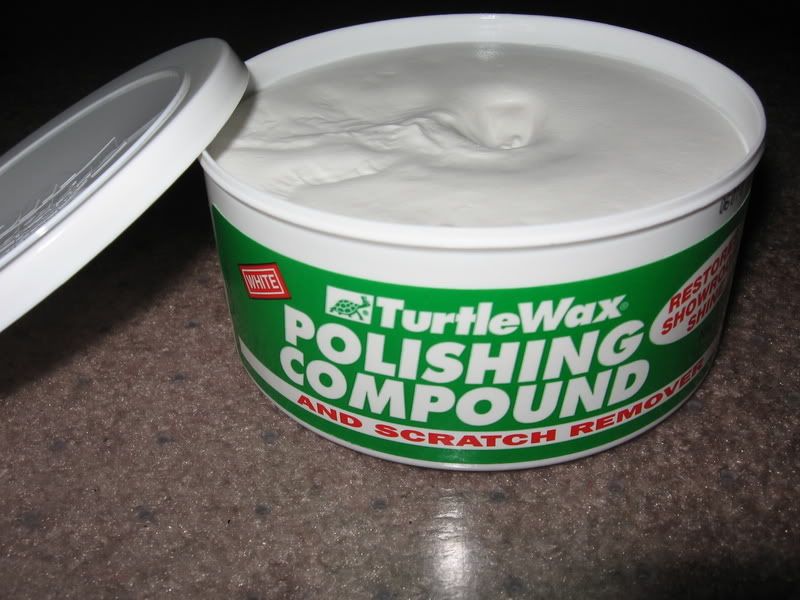
I used the red one first, which was the heavy duty cleaner. I just dampened a cotton rag and applied it (just like the instructions say). I did this for 3-4 min to be sure all the crap was gone (its a 20 year old car after all). After I finished with the red, I moved on to the green compound. Same thing, rubbed it till it got clean and had lots of shine.
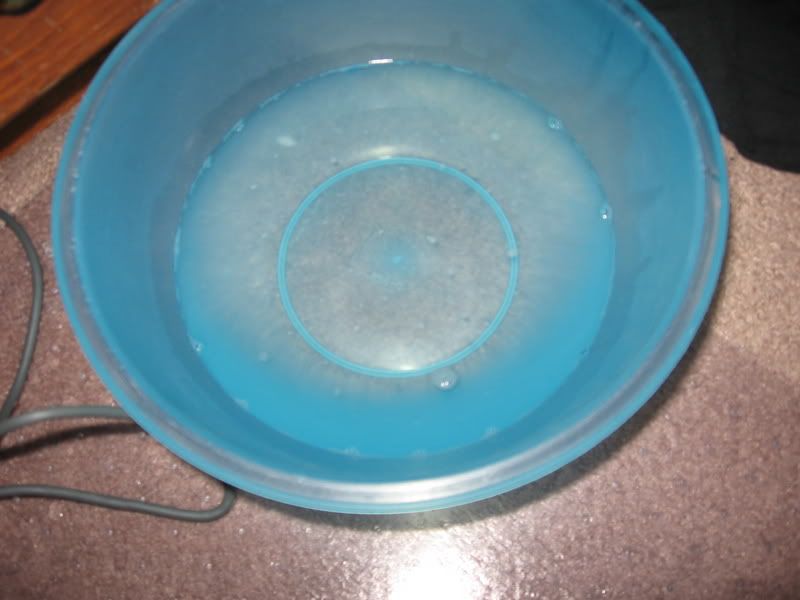
Next thing that I did was prepare a bowl of soap and water. All I did was put a couple of drops of concentrated dishwasher liquid and I was good to go. I lightly wet the lights, then dipped the entire sheet of vinyl in this mixture. I just pressed it against the light, and smoothed out all the bubbles.
(it looks like the water has no bubbles, but they just settled down)
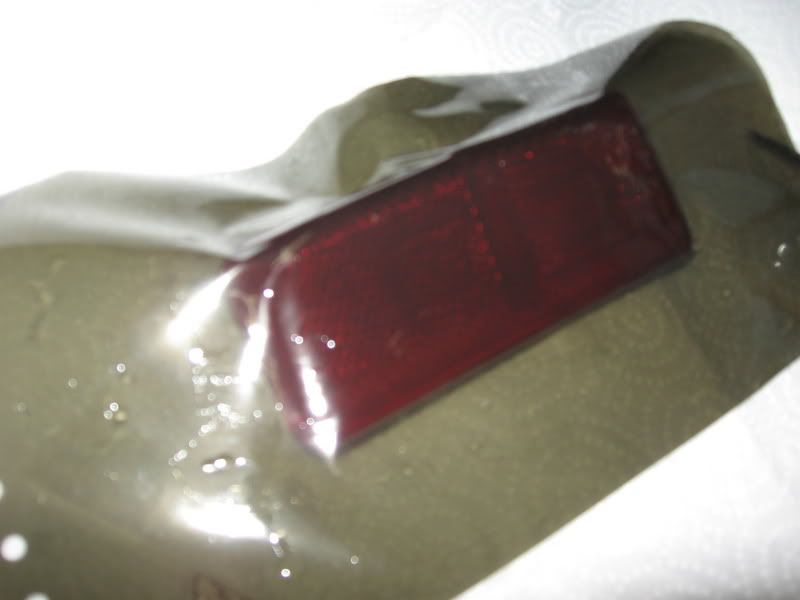
Now here is the hard part. These lights have a couple of stubborn bends and curves. The way to deal with this is to bust out a hair dryer and stretch the vinyl. This sounds easier than it is, so I really reccomend getting one of your homeboys to help you out (no homo). Have one person deal with the light, and one person hit you with the hairdryer. Be careful, as if you use the dryer too much, you can really crinkle the vinyl, deeming it unusable.
I just wrapped it around the corner of the light and let it dry. I just finished doing this step, so I am going to wait overnight to let it dry.
Will post more pics later on, when I reassemble them.
Will post this in other forums to help people out.
I was looking around for a good price, when I came across this thread by searching on google:
http://www.jdmuniverse.com/forums/sh...ad.php?t=47403
This guy gives you step by step instructions on how to apply the vinyl (he was doing red). He mentions a site to order some vinyl from: <http://www.importequipment.com/sticker_by_the_foot_transparent.htm>
This place is really expensive. A 1'X1' piece of dark grey vinyl costed me 12 something shipped.
I later bought a HUGE roll (30Ft) in bulk, so if anyone wants some, please PM me (although I still haven't received it, because I ordered after I got the small 1x1).
Since I only had a little piece to work with, I started looking for a part of my car I could apply it to. I was looking and I found those little side lights.
I just took off the rubber backings so they wouldn't get damaged:
I knew that I had to first clean the lights. As suggested on Club Lexus, I picked up some polishing and rubbing compound made by Turtlewax.
I used the red one first, which was the heavy duty cleaner. I just dampened a cotton rag and applied it (just like the instructions say). I did this for 3-4 min to be sure all the crap was gone (its a 20 year old car after all). After I finished with the red, I moved on to the green compound. Same thing, rubbed it till it got clean and had lots of shine.
Next thing that I did was prepare a bowl of soap and water. All I did was put a couple of drops of concentrated dishwasher liquid and I was good to go. I lightly wet the lights, then dipped the entire sheet of vinyl in this mixture. I just pressed it against the light, and smoothed out all the bubbles.
(it looks like the water has no bubbles, but they just settled down)
Now here is the hard part. These lights have a couple of stubborn bends and curves. The way to deal with this is to bust out a hair dryer and stretch the vinyl. This sounds easier than it is, so I really reccomend getting one of your homeboys to help you out (no homo). Have one person deal with the light, and one person hit you with the hairdryer. Be careful, as if you use the dryer too much, you can really crinkle the vinyl, deeming it unusable.
I just wrapped it around the corner of the light and let it dry. I just finished doing this step, so I am going to wait overnight to let it dry.
Will post more pics later on, when I reassemble them.
Will post this in other forums to help people out.

Thread Starter
Lead Lap
Joined: Feb 2006
Posts: 619
Likes: 0
From: CA
Ok guys, I received my 30 foot roll of vinyl, and red tail spray (major props to chanh55 from ClubLexus).
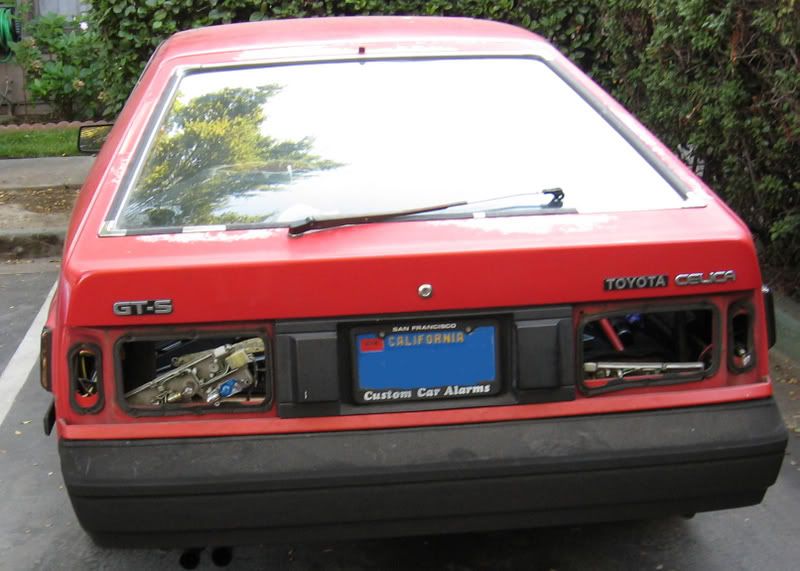
Had everything ready, and started to take out my tail lights. I removed back panel, and took out the supporting bolts (I think 8 on each light). Popped them out, and took them to my house for some reconditioning.
Damn, my car has 2 black eyes:
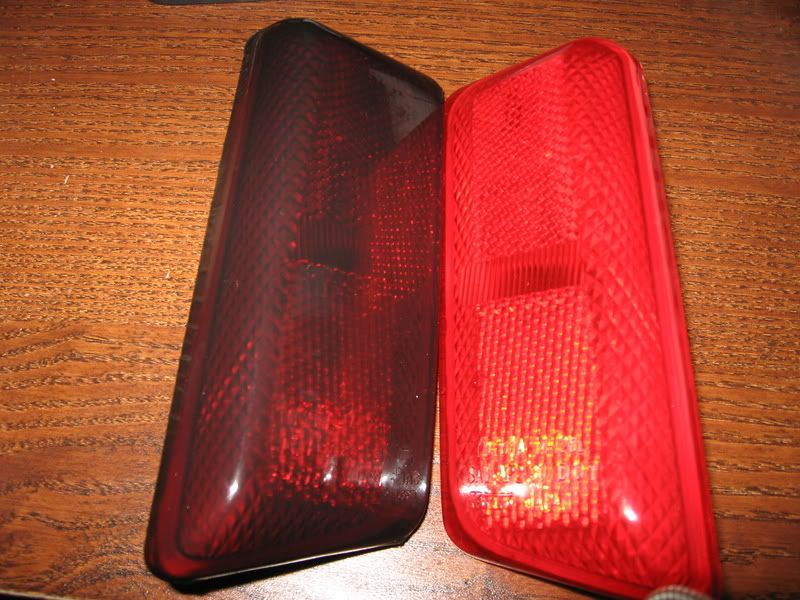
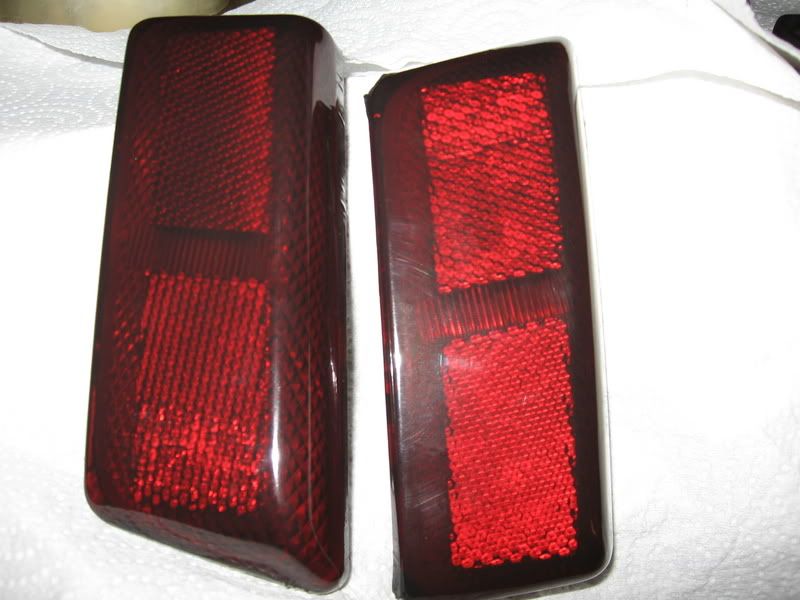
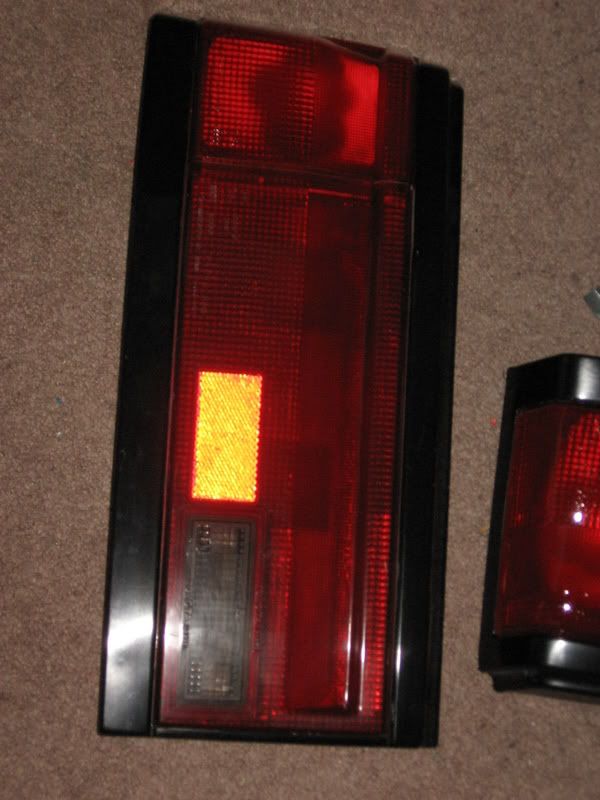
Here are the tail lights without any polishing (you can really see the cloudyness on the yellow turn signal).
Here is a picture after polishing:
Look at that reflection (even bigger difference in person)
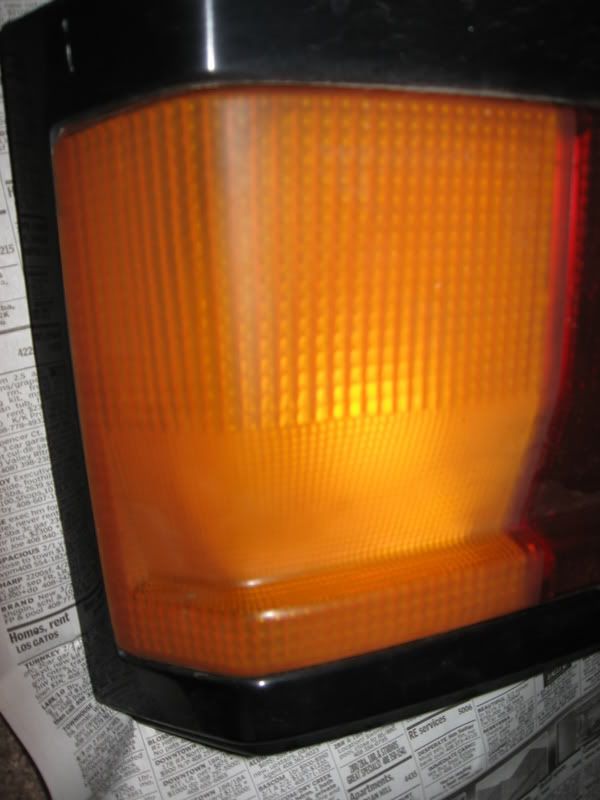
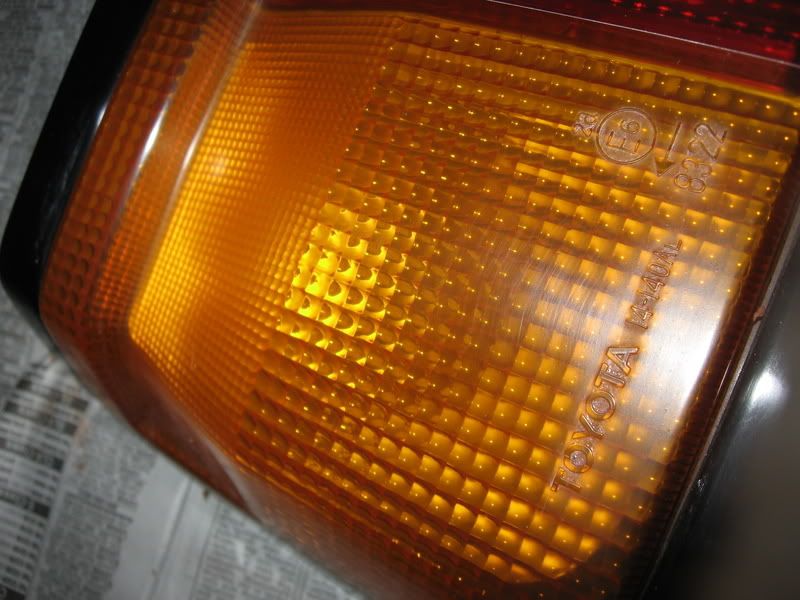
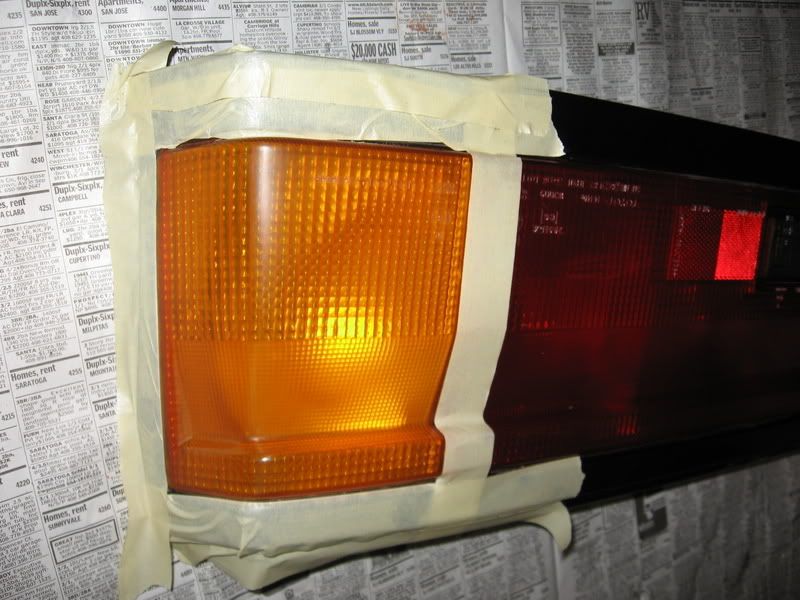
Got it taped up for the yellow to red turn signal conversion:
After spraying it (flash makes it look pink, and paint hasn't dried yet):
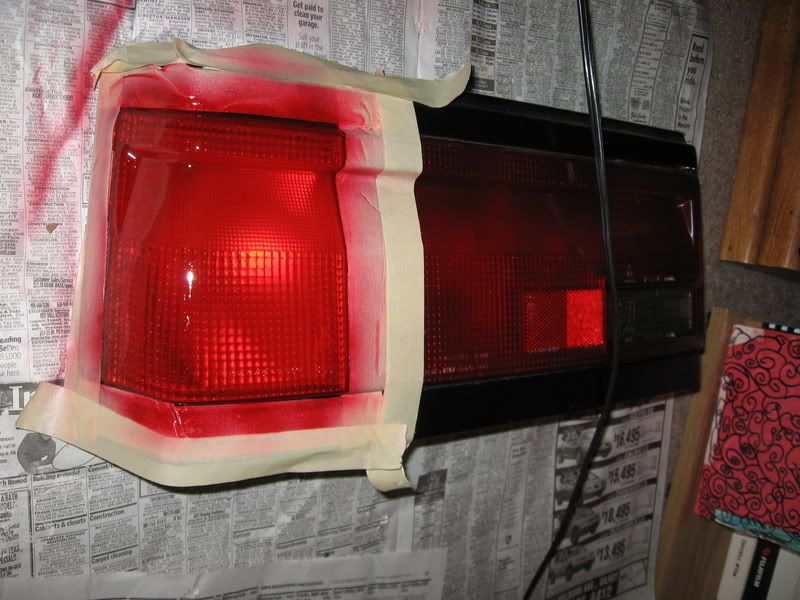
The Result:
Let it dry for a couple of hours:
Applied the vinyl (I later got rid of the bubbles):
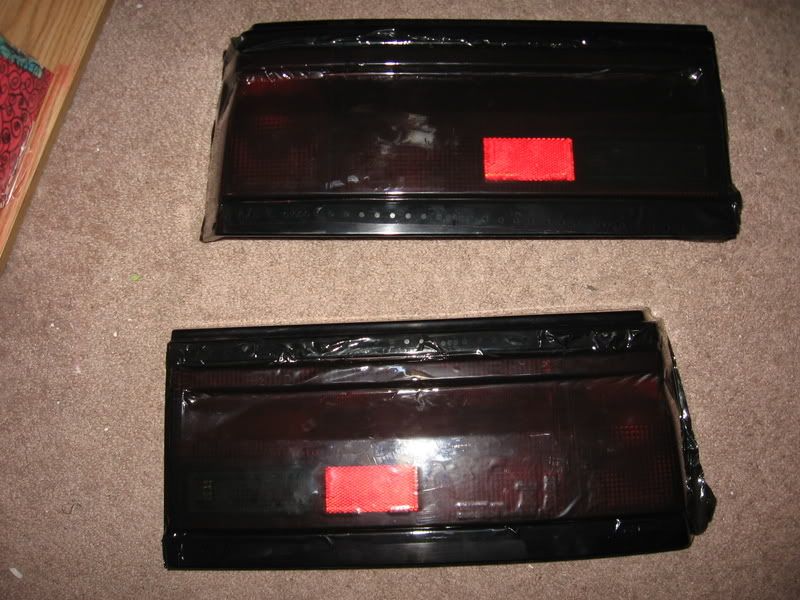
Here is a picture with it applied:
NOTE: I STILL HAVEN'T TRIMMED IT DOWN YET, I WANT TO LET IT DRY. You can see the yellow circled areas where it needs to be trimmed.
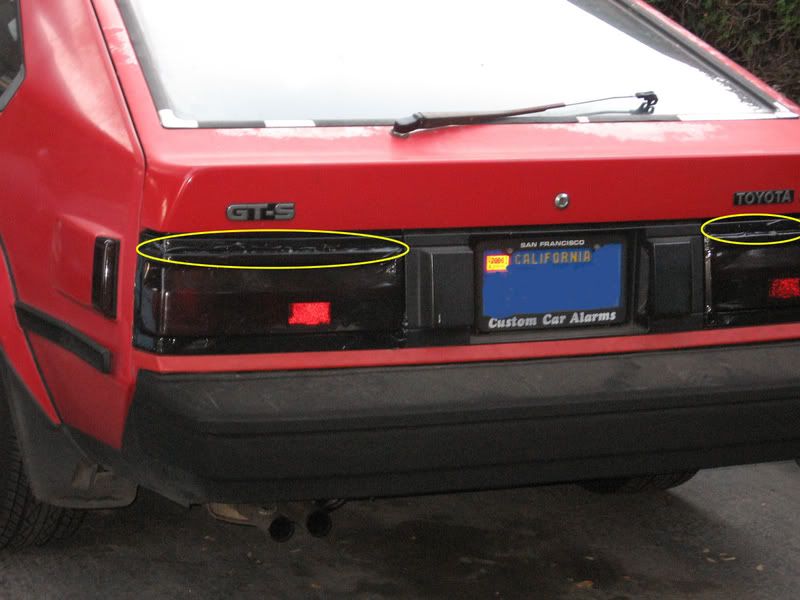
Finished result: :facesjump
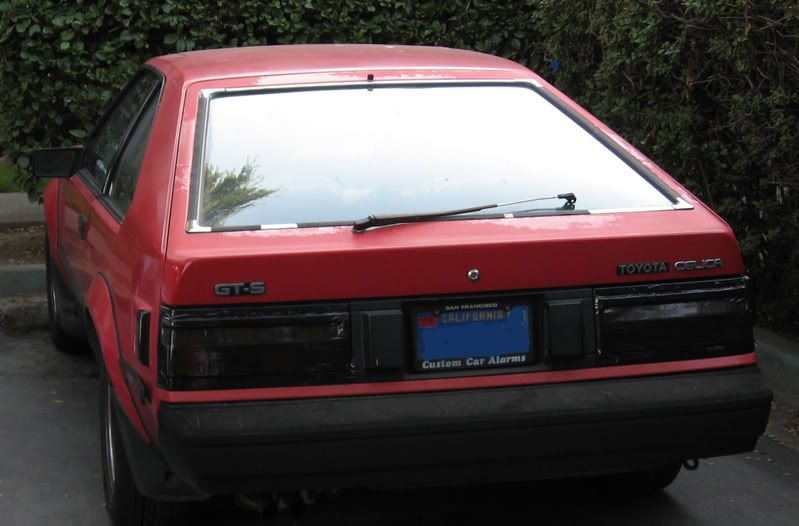
Also. It looks really great at night. The signals light up red (that was the point of me painting them) and everything is visible. I will take pictures of it at night later.
Hope you guys like it.
Had everything ready, and started to take out my tail lights. I removed back panel, and took out the supporting bolts (I think 8 on each light). Popped them out, and took them to my house for some reconditioning.
Damn, my car has 2 black eyes:
Here are the tail lights without any polishing (you can really see the cloudyness on the yellow turn signal).
Here is a picture after polishing:
Look at that reflection (even bigger difference in person)
Got it taped up for the yellow to red turn signal conversion:
After spraying it (flash makes it look pink, and paint hasn't dried yet):
The Result:
Let it dry for a couple of hours:
Applied the vinyl (I later got rid of the bubbles):
Here is a picture with it applied:
NOTE: I STILL HAVEN'T TRIMMED IT DOWN YET, I WANT TO LET IT DRY. You can see the yellow circled areas where it needs to be trimmed.
Finished result: :facesjump
Also. It looks really great at night. The signals light up red (that was the point of me painting them) and everything is visible. I will take pictures of it at night later.
Hope you guys like it.

Thread
Thread Starter
Forum
Replies
Last Post
TMAdash1
LS - 1st and 2nd Gen (1990-2000)
17
Mar 29, 2016 01:35 PM