Hi I am new to the forum. I recently bought my 92 SC400. One of the doors has clear coat peeling, so I ordered some OEM color spray paints and repainted my door. Here is the process:
Clear coat peeling:
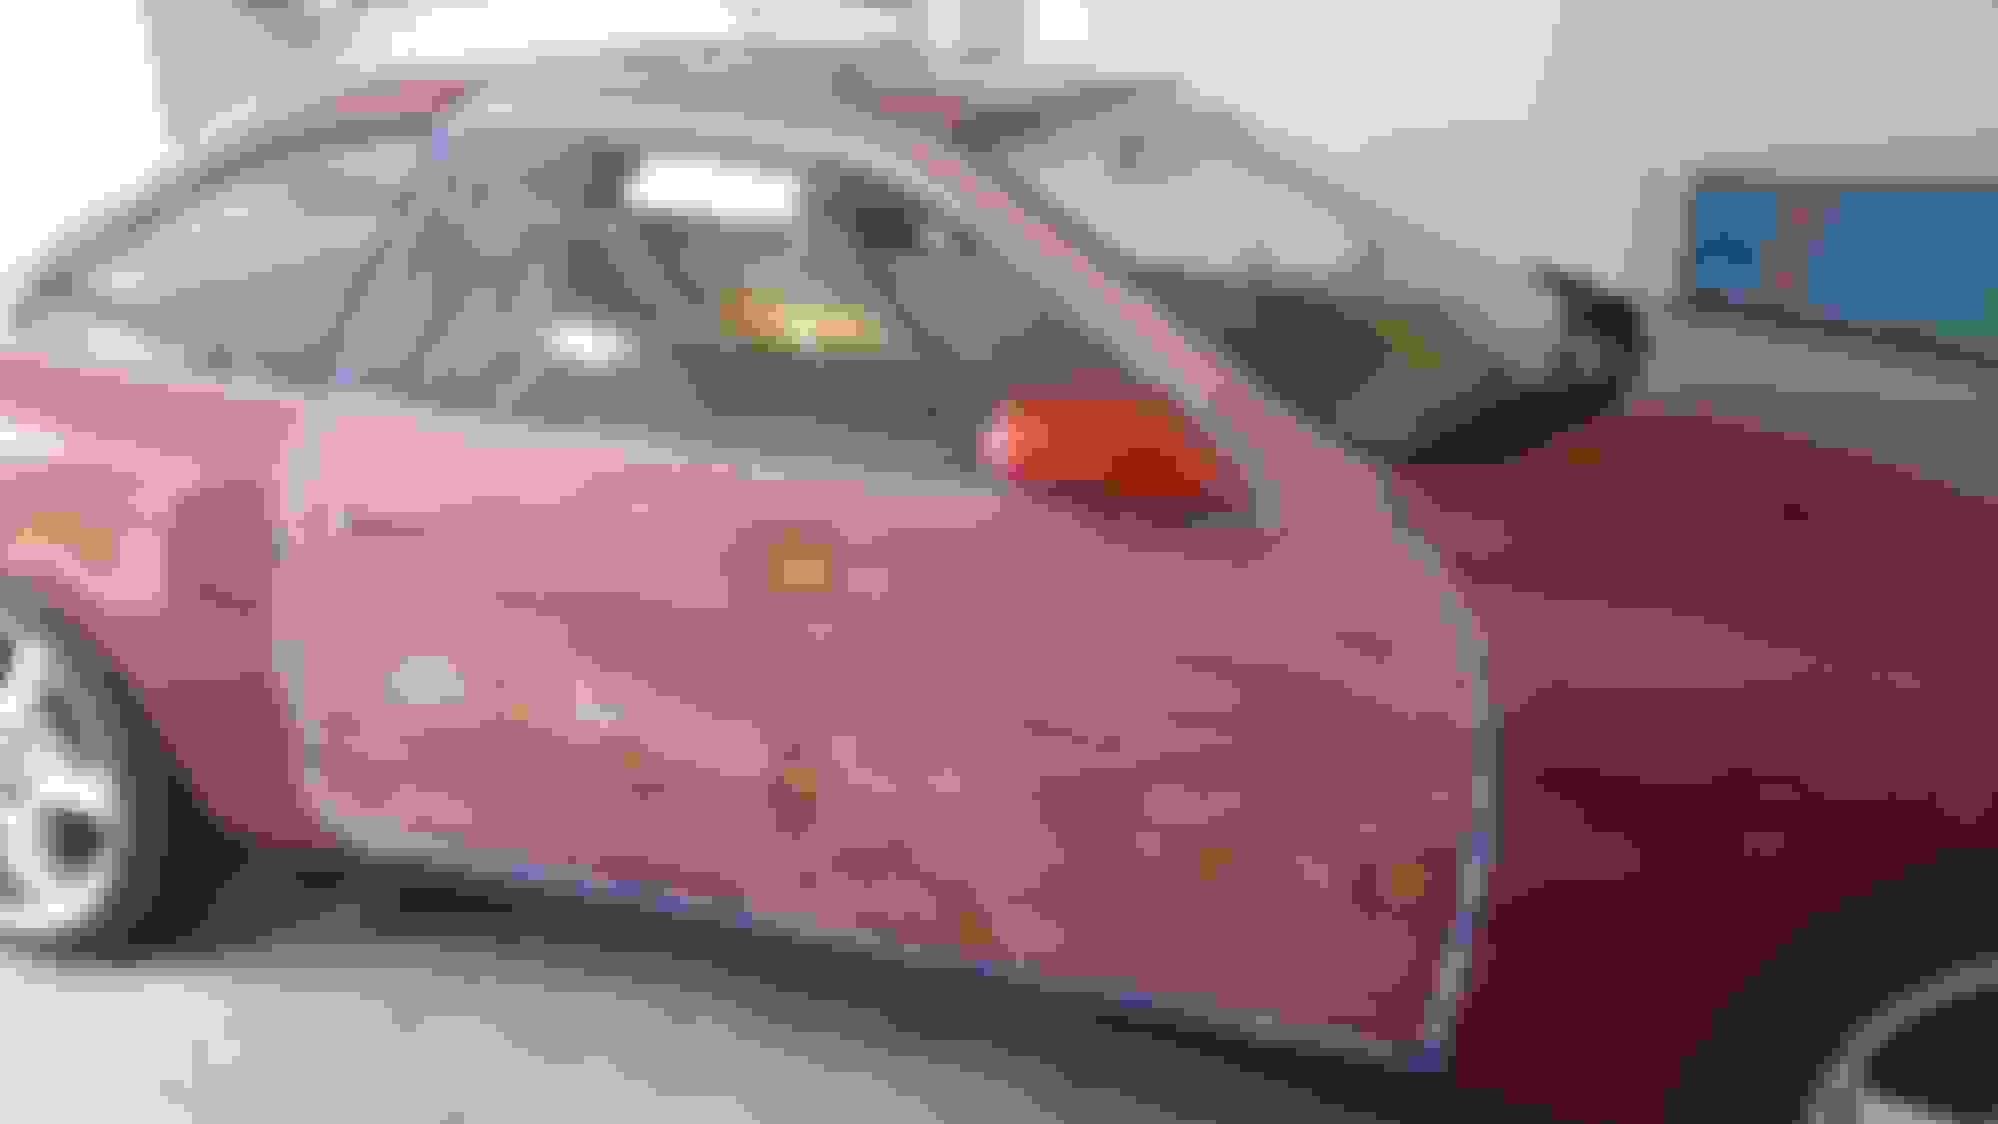
Taping the door - see clear coat is also peeling above the side window:
Sand the original paint with 600 grit sand paper. Note that I also bondo some minor dings in the process. Of course sand down and flatten the surface as well:
Tape the whole car and apply primer. I ordered the red base primer:
Spraying the base coats - OEM 3K3 Garnet Pearl Red:
More base coats:
Applying clear coats:
Once the clear coat is dry, I noticed quite a bit of orange peel. I expected this since the spray can can't match the finer paint particles from the traditional spray gun. As a result, I need to wet sand the painted surface to smooth it out. Started with 1000 grit, 1500 grit and 2000 grit.
Wet sanding completed:
Then polish compound was applied. Beginning to see the result:
Regular wax was then applied. Here is the final result. Not bad for a spray paint job.
For your information, I've used 2 cans of base coat, 2 cans of clear coat and 1 can of primer. Material cost about $120 (i.e. paint, sand paper, tape and wrap etc...)
No, I just used the regular clear coat can from automotivetouchup.com. No mixing needed.
That's the same website I got my stuff from, I painted my fender about 1 year ago with their primer, base, and a 2K clear coat! I'm finally about to get the entire car painted professionally.
That's the same website I got my stuff from, I painted my fender about 1 year ago with their primer, base, and a 2K clear coat! I'm finally about to get the entire car painted professionally.
Does the color match with the rest of your car? I am glad that mine came out pretty close to the OEM color.
Does the color match with the rest of your car? I am glad that mine came out pretty close to the OEM color.
Yeah I was very happy with how mine came out, I'll see if can find some pictures. After seeing how yours looks after the wet sanding I wish I would have done that to mine!