When you click on links to various merchants on this site and make a purchase, this can result in this site earning a commission. Affiliate programs and affiliations include, but are not limited to, the eBay Partner Network.
Got home late today after a long day. Didn't feel like tackling anything complex.
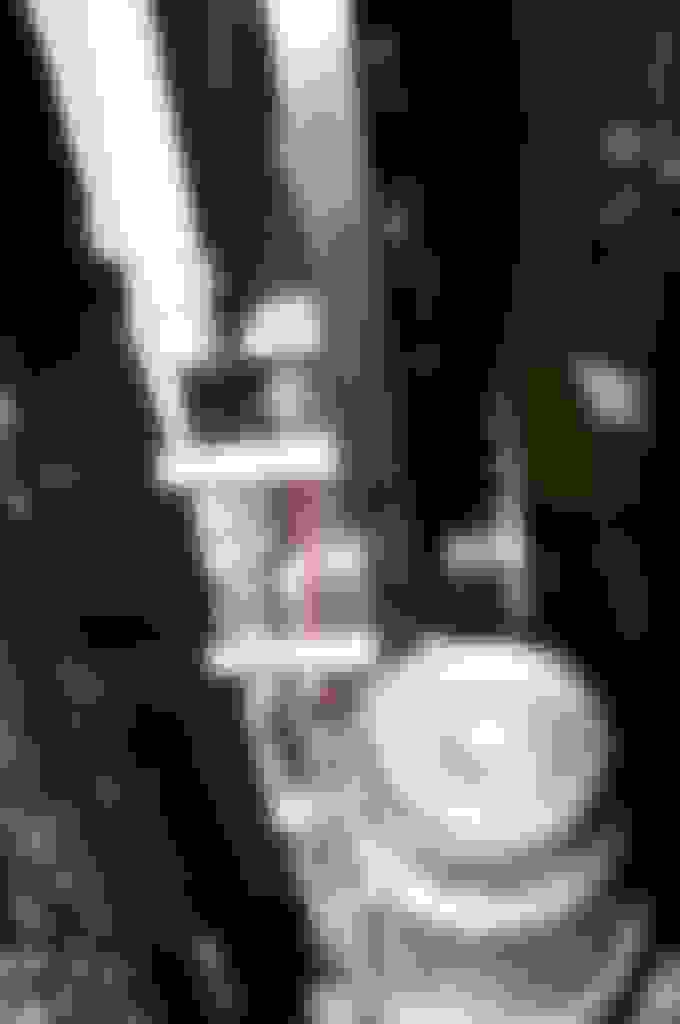
PLX multi gauge has been installed. AFR, Boost. Voltage. Very cool gauge.
My "floating" gauge
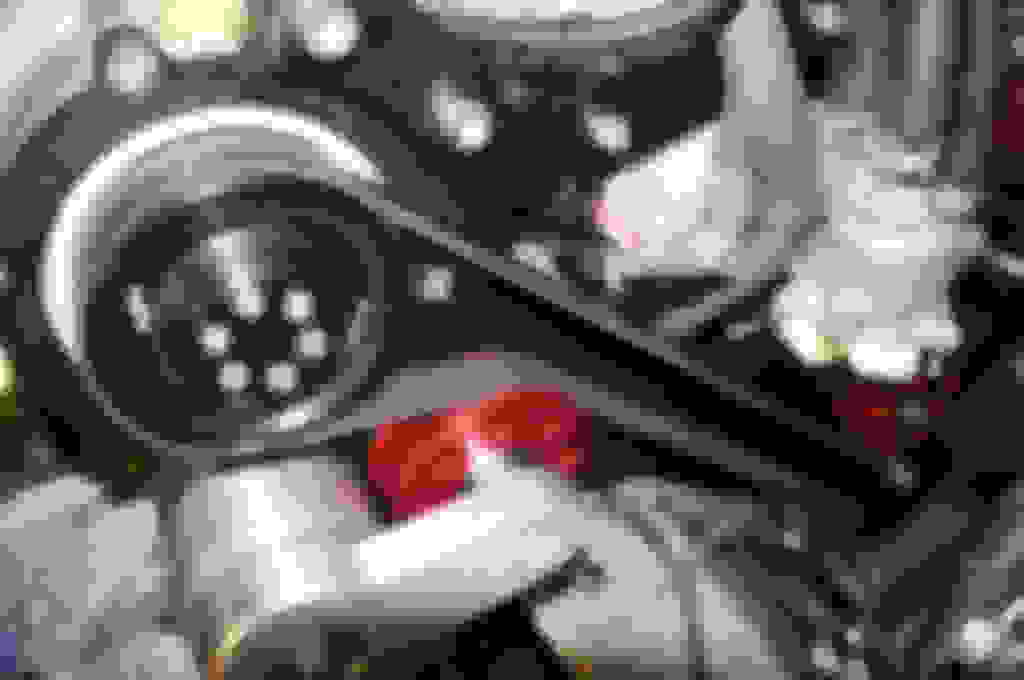
These are the tools I used to remove the OEM crank pulley and install the new one: The chain lever wraps around the pulley (used the rubber to protect the pulley) and holds the crank in place. Then 22mm socket with a long lever to break the nut.
. I do Smell a DIY Rafi. NICE!!! btw how the Supercharger holding up.
We recently hit 10,000 miles since installing the supercharger in April. Not one hickup with the SC system, engine, or tranny, and that's with multiple track days and lots of testing/abuse.
We have a bunch of customers working this install right now, so we really appreciate all the feedback and will make all the necessary changes to clarify the instructions, make the install easier, and make this kit as good as it can possibly be.
thanks!
Rafi
__________________
We Engineer Track Proven Upgrades For Your Lexus! SUPERCHARGERS : ECU TUNING : SUSPENSION : EXHAUST : PPE MASTER DEALER
We recently hit 10,000 miles since installing the supercharger in April. Not one hickup with the SC system, engine, or tranny, and that's with multiple track days and lots of testing/abuse.
We have a bunch of customers working this install right now, so we really appreciate all the feedback and will make all the necessary changes to clarify the instructions, make the install easier, and make this kit as good as it can possibly be.
thanks!
Rafi
Thats awesome man, i do appreciate all the work you guys have dedicated to this platform. and to the OP for the incredible DIY install and picture documentation on this SC. i see you guys are in PA. any chance in you guys coming out to NY to do the install if my mechanic feels it's too much for him to do. He's an old school Spanish mech and installing performance parts on any vehicle scares him because he thinks the car is going to blow up or perform out of its normal duties. lol.
Thats awesome man, i do appreciate all the work you guys have dedicated to this platform. and to the OP for the incredible DIY install and picture documentation on this SC. i see you guys are in PA. any chance in you guys coming out to NY to do the install if my mechanic feels it's too much for him to do. He's an old school Spanish mech and installing performance parts on any vehicle scares him because he thinks the car is going to blow up or perform out of its normal duties. lol.
Thanks! I will also make myself available to answer questions as I did a few things differently (ie on Jack stands). Rafi, do you want to outsource tech support?
Spent a long time today installing the supercharger bracket. Take your time with it.
It is easier with the bottom coolant hose out of the way. Also remove the thermostat. Lot more space to work then.
This is the diagram that RR Racing provides. Use it as a guide:
There is a bolt right above the alternator. Remove that and thread the provided spacer and bolt through the frame at position H
I am pointing at the bolt
Next under the car, behind the crank pulley there are 4 bolts that have to be removed.
The top two are shown in the picture. I have marked it with pink paint. Ignore the one on the bottom. There are two on top (one is hiding behind the other)
These two go into the frame at positions C and D
These are the two on the bottom. They slot into positions A and B.
Below is the bolt that is under the front left side of the valve cover. This bolts on to the frame at position I.
This is what the frame looks like installed:
With the thermostat removed, it is easier to get to the nut shown:
Just wanted to say I am following your build, looks really good so far man, good luck and can't wait to see more updates and very excited to see the final results!
Thats awesome man, i do appreciate all the work you guys have dedicated to this platform. and to the OP for the incredible DIY install and picture documentation on this SC. i see you guys are in PA. any chance in you guys coming out to NY to do the install if my mechanic feels it's too much for him to do. He's an old school Spanish mech and installing performance parts on any vehicle scares him because he thinks the car is going to blow up or perform out of its normal duties. lol.
I think it would cost you more to have me drive up to NY and do the install than to just bring us the car! If you are so close, its certainly worth to have us do it, I think.
Rafi
__________________
We Engineer Track Proven Upgrades For Your Lexus! SUPERCHARGERS : ECU TUNING : SUSPENSION : EXHAUST : PPE MASTER DEALER
When you mount the supercharger on to the frame, hand tighten only. I stripped the threads inside the supercharger and I had to use helicoils to repair. Be careful.
When you relocate the injection module, you will have to extend the ground to the engine and the module. I simply created another one for the engine.
Bought this Dayco Laser alignment and belt tension tool


 . I do Smell a DIY Rafi. NICE!!! btw how the Supercharger holding up.