When you click on links to various merchants on this site and make a purchase, this can result in this site earning a commission. Affiliate programs and affiliations include, but are not limited to, the eBay Partner Network.
Well lets hope the retaining clamp is still there, or it's back to the dealer to order that part too. The third PDF is for replacing the very expensive actuator. I've never had to replace one of these so I cannot offer much help.
There either a retaining clamp as shown, or, a pressure clip to retain the washer nozzle. If its the latter you should be able to seat it in place and feel it click/lock in, otherwise you may have to drop the cover to get to it.
Car ahead of me hit plastic storage box on the highway. It came flying my way and I was glad it hit the front bumper, rather than my head (I had the top down...). It did pop the washer cover off though...
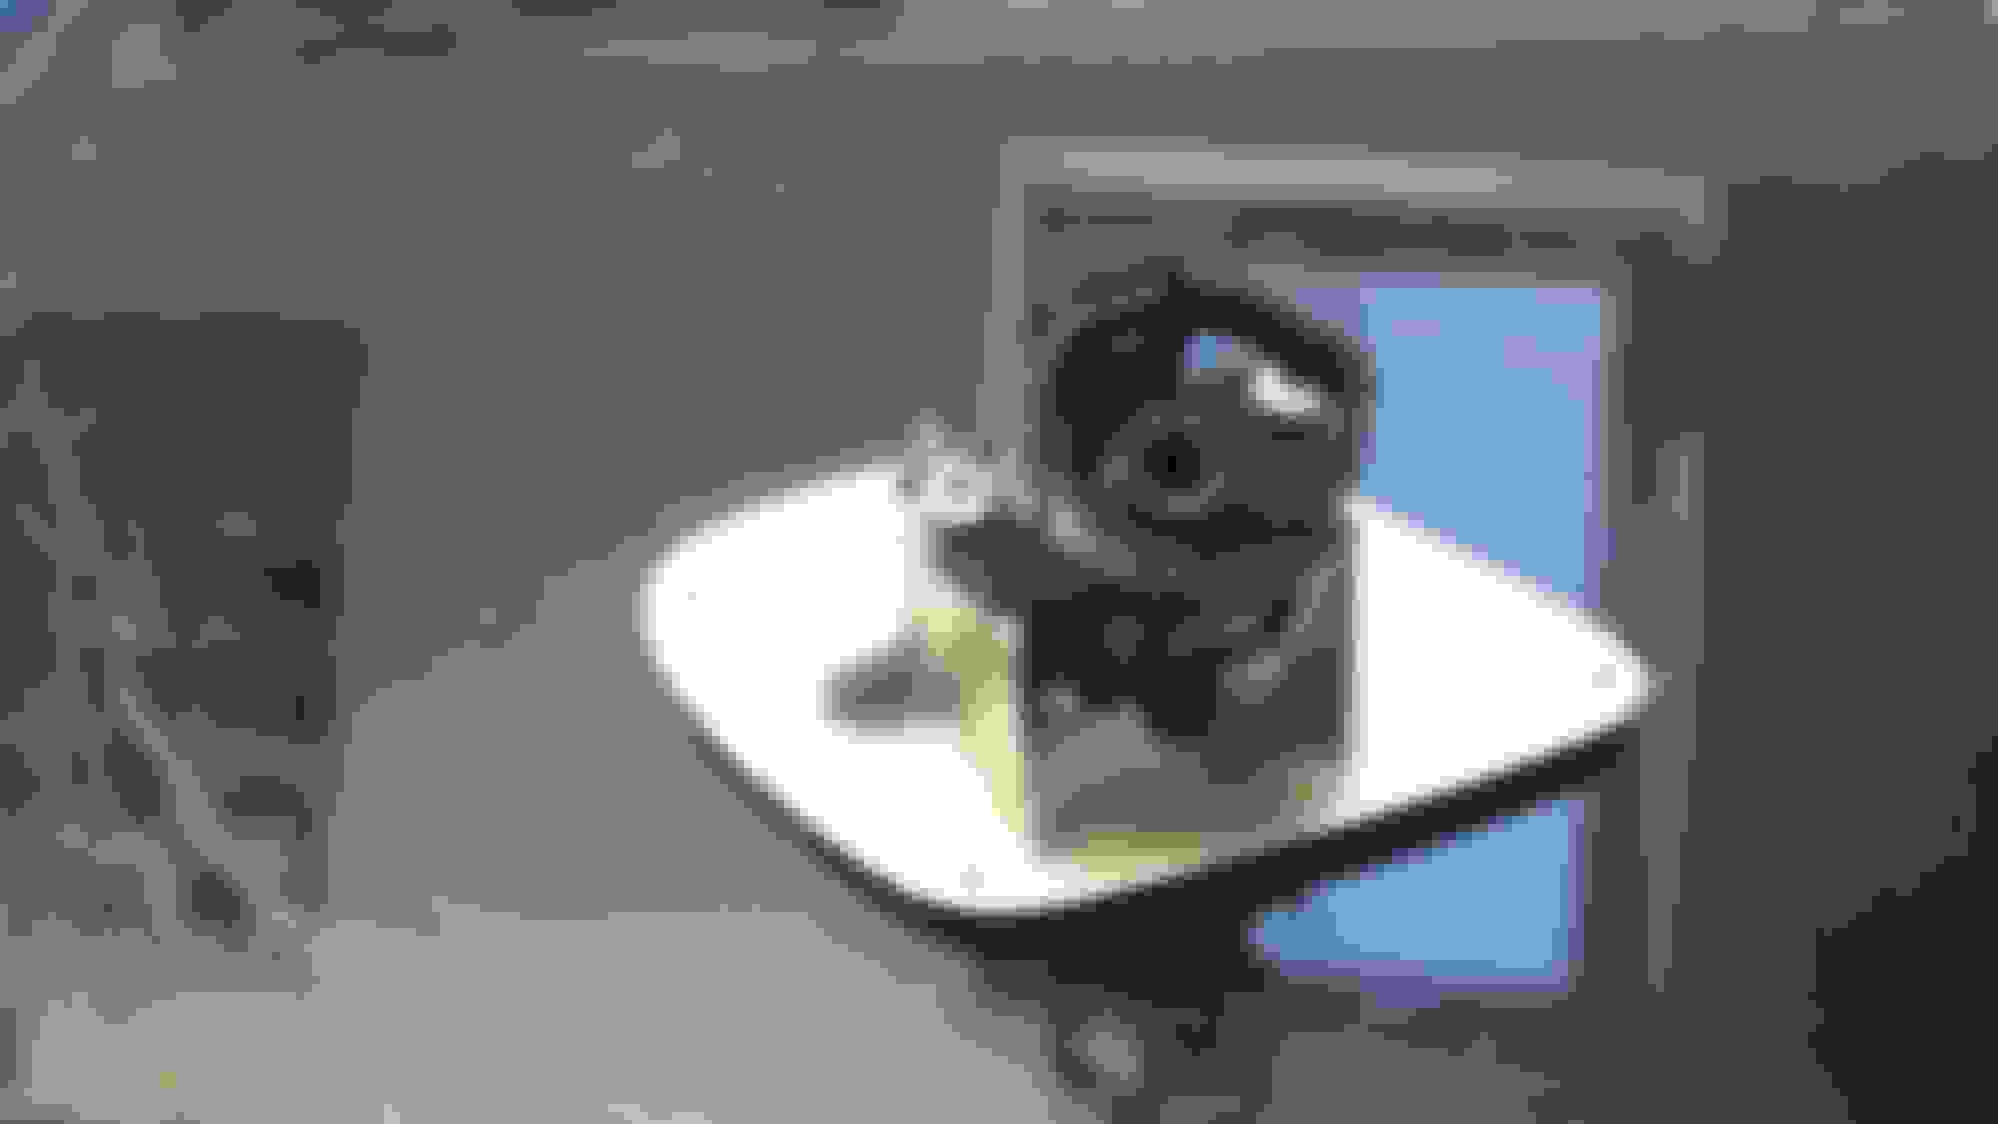
The cover is more than that: It consists of the cover, the nozzle and a pipe with a o-ring seal at the end, to slide down into the actuator.
When I installed it this morning, I just firmly pushed it down into the actuator and it clicked firmly into place. I activated it by turning on the headlights and windshield washer and then pushing he dash button. I didn't realize the whole mechanism comes up about 4 inches to spray the fluid! Amazing.
At the Lexus palace (I compare it to what I think would be one of Saddam's houses), I paid $47 for the assembly. It was special ordered to get the paint correct.
Hi everyone
My car doesn't have headlight washer cover (and spray nozzle). So I bought this from ebay but I have no idea how to fit into my car.
I feel like some part is missing. Could you guys please help me. Thank you
This is what I bought from Ebay This is what I bought from Ebay This what I have on my car
Well lets hope the retaining clamp is still there, or it's back to the dealer to order that part too. The third PDF is for replacing the very expensive actuator. I've never had to replace one of these so I cannot offer much help.
There either a retaining clamp as shown, or, a pressure clip to retain the washer nozzle. If its the latter you should be able to seat it in place and feel it click/lock in, otherwise you may have to drop the cover to get to it.
Hey Bob,
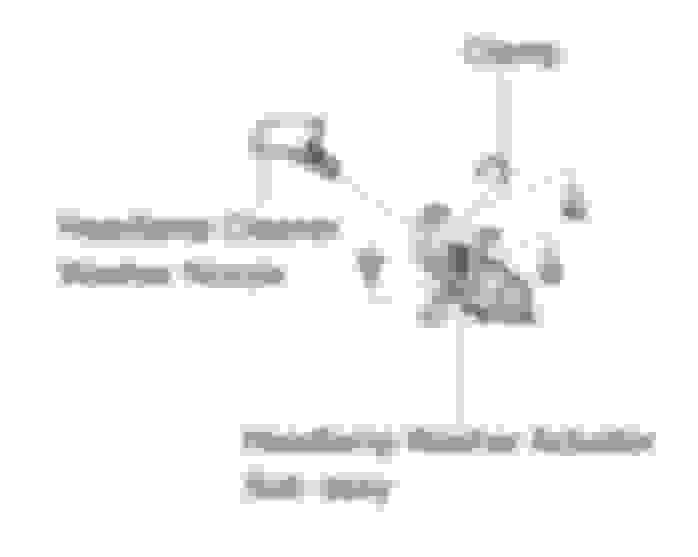
Great info as usual. As it turns out, I need what is listed in your Washer Components PDF as "Headlight Cleaner Washer Nozzle." From what Ausbun said in his post, that is a single part that includes the cover, the nozzle and a pipe with a o-ring seal at the end, to slide down into the actuator. That's exactly what I need -- all of that. I have the retaining clamp, which I had to remove to get the broken one out.
So is all that covered under a single part number? Would you be able to let me know what the part number would be for Smokey Mica Granite?
If I understand you correctly these should be the parts. I say parts because you did not specify left or right. In addition, there was no Smokey Gray Mica color listed for the matching color, but that may just be an interpretation from this vendor. So before ordering from whomever, verify the color code which are the last two characters of the part number.
Thanks Bob, that was the correct part number. This probably the easiest fix I have ever done. It literally takes less than two minutes, and is doable by anyone, regardless of ability.
In case someone stumbles on this thread in the future....... maybe your nozzle is broken and its not spraying correctly. Maybe the nozzle piece has broken and the headlight washer cover has fallen off so that now you have a hole in the bumper where the headlight washer cover used to be. Have no fear!
The plastic painted cover is part of the nozzle assembly -- its all one piece, one part number, although there are different part numbers for passenger/driver side and also for color.
1. Order part. It is much cheaper online but after adding shipping it seemed to be the same price as my local Lexus dealer. Under $50 out the door.
2. Use your fingers and go inside the hole left by the absence of the painted cover and grab the assembly. If the cover is still on, just use your fingers on it. Pull out the assembly which has your damaged nozzle.
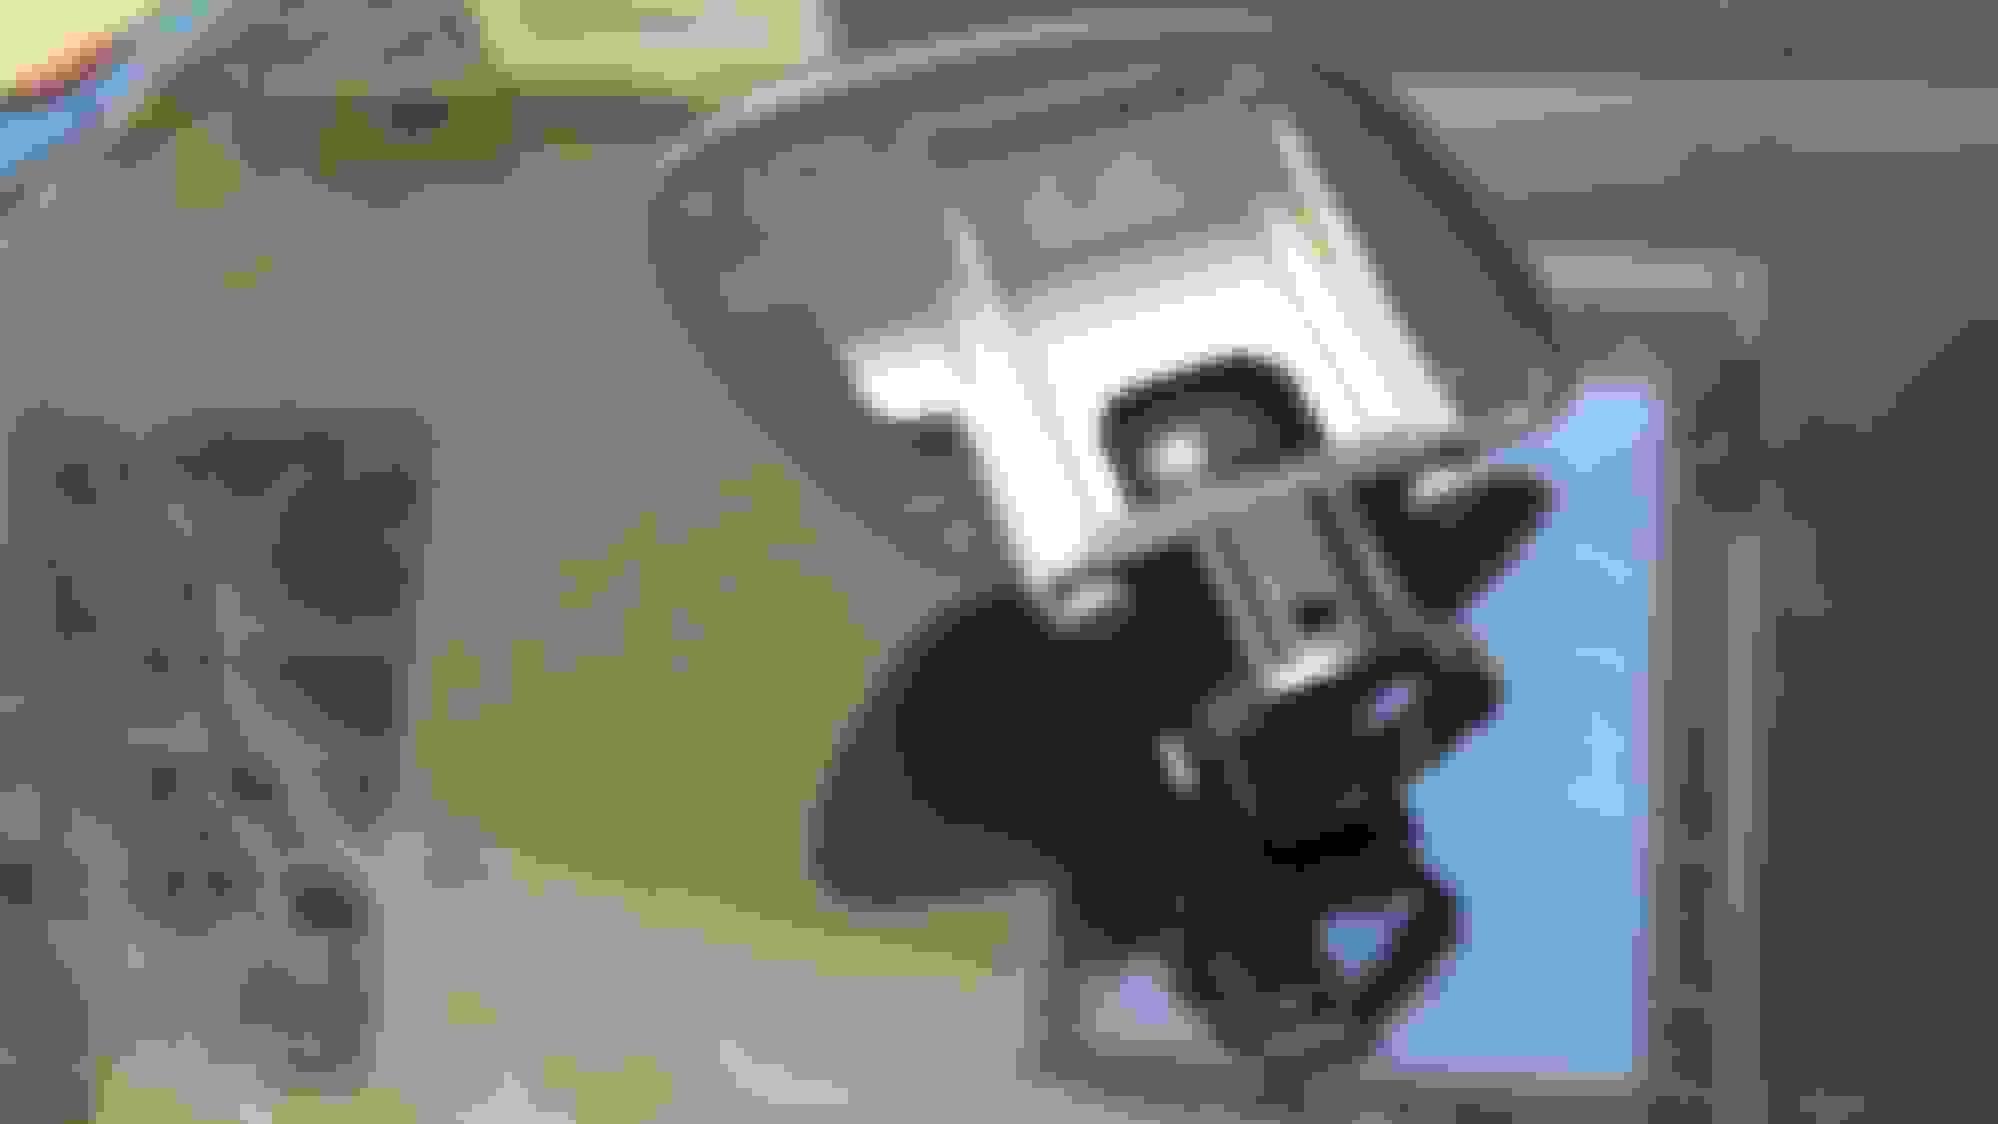
3. In Neil's picture below (thanks, Neil!) I have circled the retaining clip. Use your fingers or a small screwdriver and pull off that clip.
4. In addition to the retaining clip, there is a tab on the side (both sides?) also holding it on. Lift the tab and pull the assembly out.
5. Insert your new assembly until it clicks in place.
6. Re-install clip.
You are done! There is no need to drop the bumper or do anything else, provided the damage is at the nozzle or thereafter. Also, maybe things are different in England, but nothing I saw looked remotely like TZW's photos in his post above. A third hand is helpful to hold the nozzle after it is pulled out while you are uncliping it.

 08-25-10, 02:28 PM