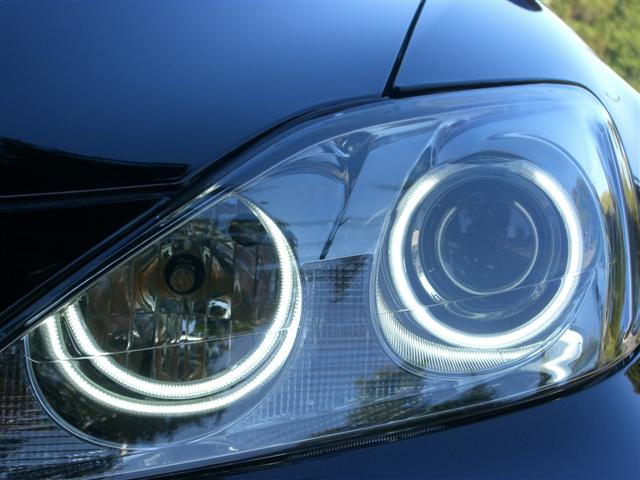
Lexus IS: How to Install Halo Headlights
Halo headlights are a common yet fancy modification for the Lexus IS.
This article applies to the Lexus IS (2005-2014).
Installing halo headlights is an easy upgrade that can be done in half of a day. It is not the easiest modification, but it is well worth it. If you find this how-to complicated, consider taking your Lexus IS to the auto shop.

Tools Needed
- Metric socket set
- A socket driver (looks like a screw driver with a ratchet type end to it)
- Wire strippers
- Screwdrivers
Step 1 - Remove the front bumper
Using the 10mm socket, remove the clips and screws from the cover and the top of the grille. Next, remove the two clips by the front wheels and the screws from the bottom of the bumper.
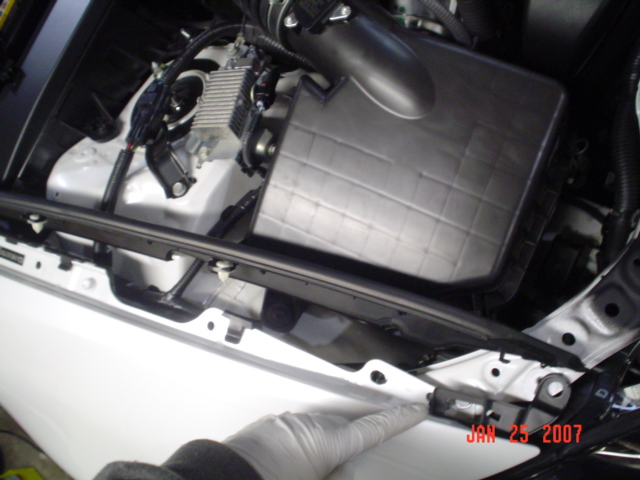
Figure 1. Remove the indicated screw. 
Figure 2. Remove the bolts near the front wheels.
Pro Tip
Keep a compartment box such as a fishing lure box nearby. Put the screws in the box in order. For reassembly, reverse the order. Take pictures of the screws and their locations in order to avoid confusion.
Step 2 - Remove the headlight from the vehicle
Remove the headlight by taking out the three 10 mm screws.

Pro Tip
Keep the wiring harness intact so as not to alter the auto leveling headlight sensor.
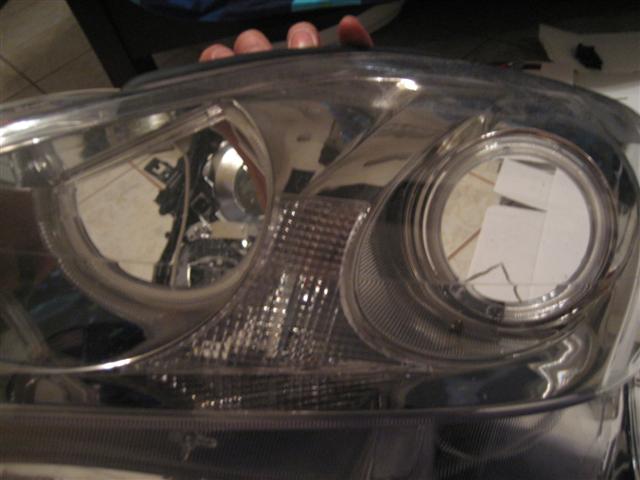
Step 3 - Remove all screws and bulbs from the headlight
The factory HID bulb will remain in the assembly during this step. Remove all of the screws and bulbs from the headlight. The wires for the bulbs are held in by plastic covers that have to be removed.

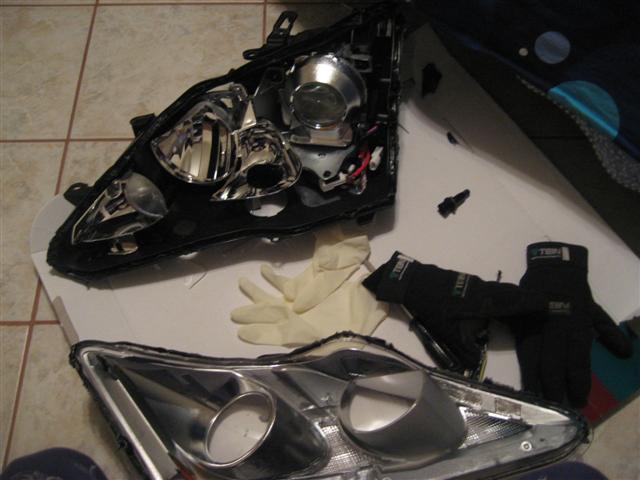
Step 4 - Separate the outer lens from the assembly
Put the assembly in a 200 degree oven for 20 minutes to soften the glue. Starting near the marker light, pry the outer lens from the assembly.
Step 5 - Mount the LED halo on the outer headlight
Use two-sided tape (for LED strings) or follow the instructions in your kit to mount the halo ring to the headlight. Run the wiring out of the back of the light.
Step 6 - Reassemble the lens and light
Put the lens and the light together and then back in the oven for 17 minutes. Remove the assembly from the oven and squeeze it together while aligning the light.

Pro Tip
Keep the second light together and in the car for a reference.
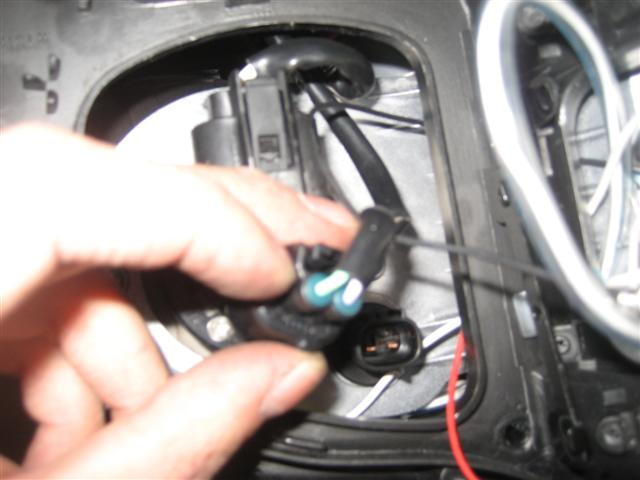
Step 7 - Wire the light to a power source
The light can be wired to either the HID bulb or parking light. Purple is ground, green is power.
Pro Tip
Keep the wires inside the assembly and out of the elements as much as possible. Now would be a good time to wire the parking light to the daytime running lights. Be sure this is legal in your state.
Step 8 - Install the light
Assembly is the reverse of removal.
Related Discussions and Site
- DIY for HALO fans- ClubLexus.com
- Headlight/Turn Signal Removal DIY with Pictures - ClubLexus.com
- Halo Kits for Sale - Automotivelightstore.com