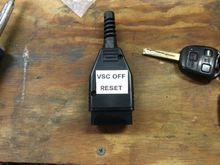
This procedure will allow the viewing of an alternate signal on the GPS screen, ie. beatsonic allows you to switch between the GPS screen and an alternate input, ie. Movies, but when the emergency brake is released, it goes to the GPS screen.
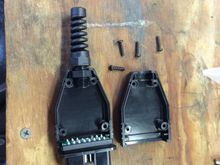
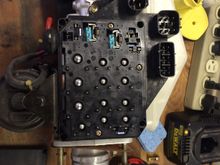
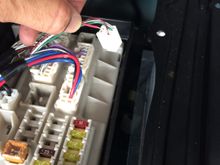
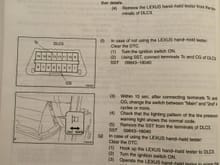
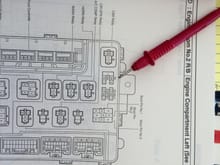
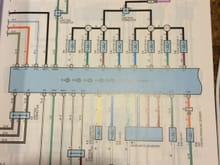
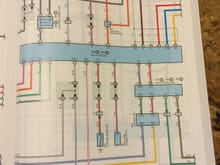
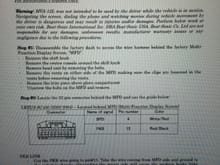
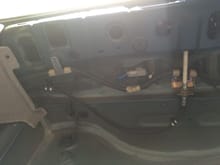
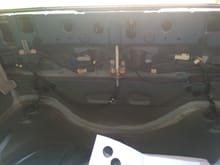
Refer to the schematic, Pins 4 and 15 are located on the connector on the bottom side of the screen.
SPD=speed
PKB=parking brake.
If you do this procedure the car will always think it is parked and you can do anything you want with the screen.