TEIN SS C/O Installation for 3GS - No Pics

Thread Starter
Driver
Joined: Jul 2005
Posts: 198
Likes: 0
From: CA
Sorry that there are no pics. My friend helped me after work last night and wanted to get done ASAP.
You can get an idea of what I am talking about if you look for foofighter's write up on installing springs. He has some pics.
Prep:
We first prepped the car by removing the covers from under the hood. If you don't know how to remove the covers, you just need to push in the center of the little tabs until they snap. When you go to put the covers back on, you have to push the tabs back up.
Prep - Trunk:
You will need to remove some of the trunk liner to get access to the top of the struts. You don't have to take apart your whole trunk to do this. Take of the platic cover to the spare tire and the 2 side panels that go with it. At the top of the spare tire well there are 3 tabs that need to be removed (I did it with the back of a hammer - its like picking weeds). You should also take at the the 2 hooks closest to the struts (where you can hook your cargo net into). Simply lift the hook and pry the cover with a small flathead screwdriver to expose a 10mm bolt. Beyond this, you can remove more of the interior if you want. We removed almost the whole liner. I think we did too much.
Thread Starter
Driver
Joined: Jul 2005
Posts: 198
Likes: 0
From: CA
Front:
I think most people will install springs/ shocks/ COs starting with the fronts, and then the rears or vice versa. People usually don't go right side and then left side... Well, for some screwy reason, we did the right side first, and then the left side. Don't ask why. I'm not sure, but it could be the reason for some of our slight problem. You guys let me know. Anyhow....
Front:
The worst thing about the Tein SS I found out was that you have to use the OEM cap to the strut. I didn't know this going into the project. So it turned out we had to pop the old springs off manually (shot them off into the side of a card box). I used to do this back in the days lowering Hondas so no surprises. I know its not the safest thing to do.... Anyhow
1. As is standard, loosen the 3 top bolts to the strut. We also slightly loosened the middle bolt. (No impact wrench). Then, you want to
2. Unclip the ABS harness from the back of the hub and remove the bolt that attaches it to the strut.
3. We then undid the end linkage that attaches the sway bar to the shock. (Easy to see)
4. The next step was to remove the 19mm bolt at the bottom of the strut. You will want to use a breaker bar as this was the hardest bolt to remove.
5. We then removed the 2 19mm bolts on the bottom side of the hub. After you take these out, the shock should come out pretty easily.
If you don't have a spring compressor, be careful when removing popping the strut. It's all fun and games until someone looses an eye...
Just put the top of the strut onto the Tein and tighten it up. You are all set. The setting is on the stiffest setting, and the highest setting. You can adjust from there....
Ok, I'll do the rear later... hopefully get some pics of the car posted....
AK

Thread Starter
Driver
Joined: Jul 2005
Posts: 198
Likes: 0
From: CA
Install continued:
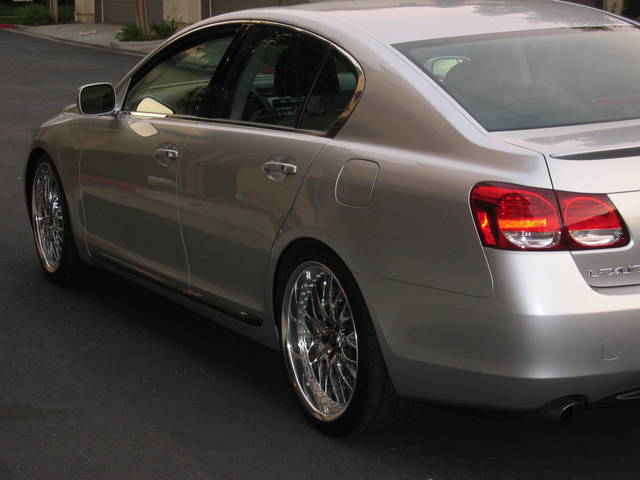
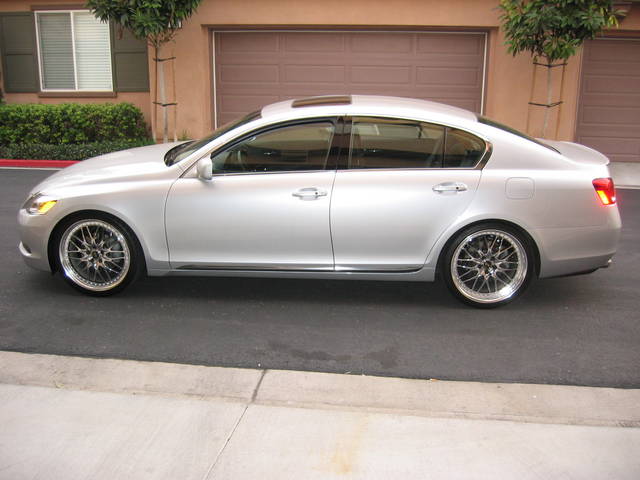
Okay, I'll post some pics of the shocks/install soon. I'm gonna take the wheels off and lower the car a lil more.
Rear:
Start by taking out the 3 bolts. Interior removal was done at the beginning of the install... You will need to remove the end linkage first. You also need to undo 3 10mm bolts for the liner of the wheel well. If you look underneath, there will be 2 bolts that attach the strut to the body of the car. These are 14mm bolts.
You will then need to undo the 2 large 19mm bolts. One at the bottom of the strut, and the other at the bottom of the hub. After this, the shock comes out relatively easily.
Then, just remove the spring carefully, and you are good to go....
Pics to follow....
AK