
Stance Coilover Install write up!

Thread Starter
Lexus Champion
iTrader: (16)
Joined: Aug 2008
Posts: 2,691
Likes: 12
From: SoCal (Huntington Beach)
Well, this is a mini write-up i guess because I was too excited.
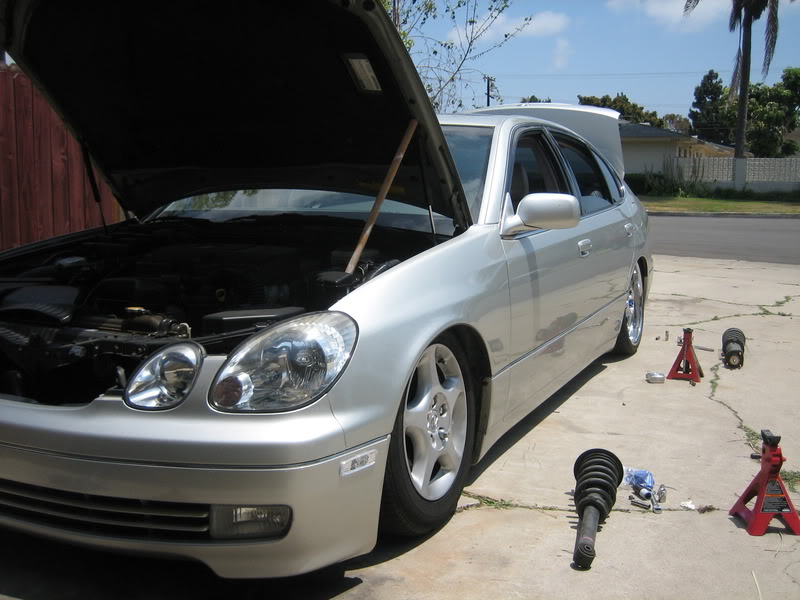
I installed the fronts on before taking any pictures, but I will use the after pictures for reference.
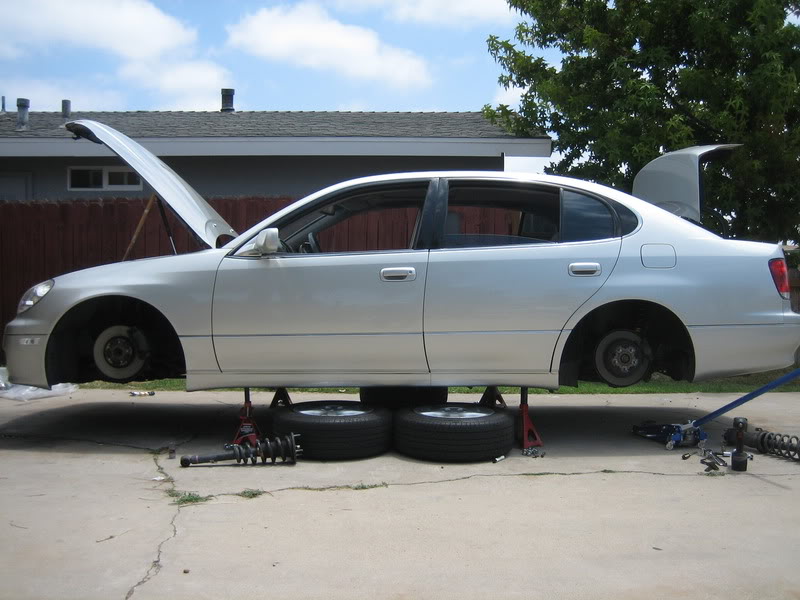
Jack the car up and remove wheels and all that jazz.
FRONT
1. I removed the swaybar first. Its two 12mm bolt and nut dealio. Remove both sides now because its easier to move the swaybar out of the way.
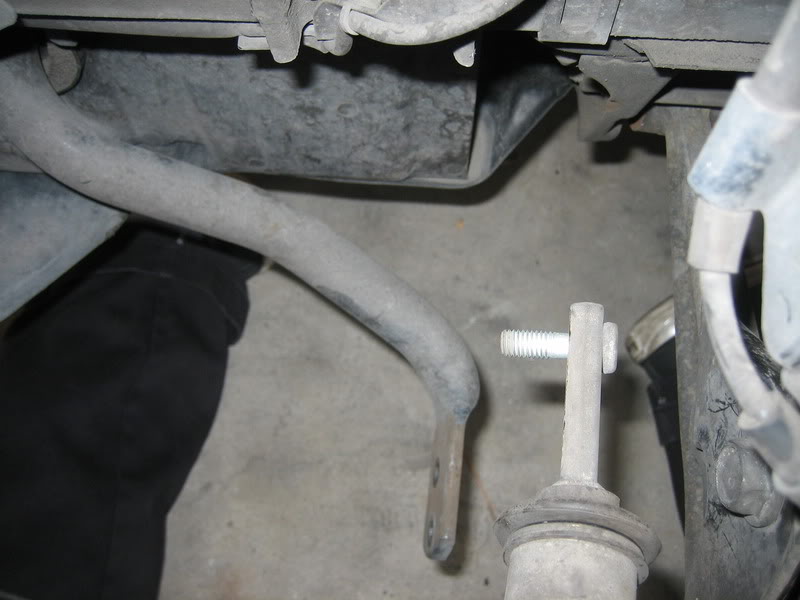
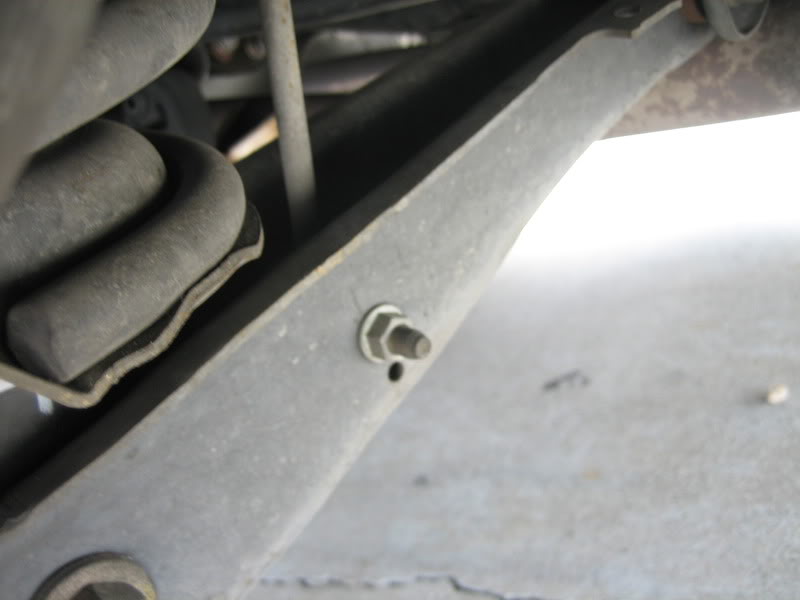
2. Remove the bolt holding the brake line onto the strut. Its a 10mm
3. Remove one side of the upper control arm. I removed the side towards the front of the car. It makes taking out the OEM strut much easier. The bolt was a 14mm. Use a ratcheting wrench if you have one. its very easy that way.
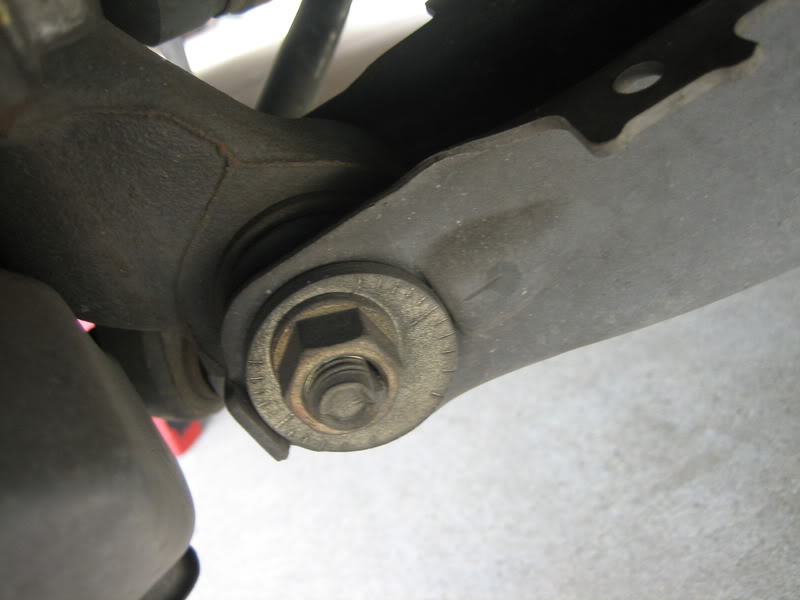
4. Next remove the lower nut/bolt connecting to the spindle. its a 19mm for the nut and 17mm for the bolt. REMOVE THE NUT SIDE, not the bolt. Then take out the bolt
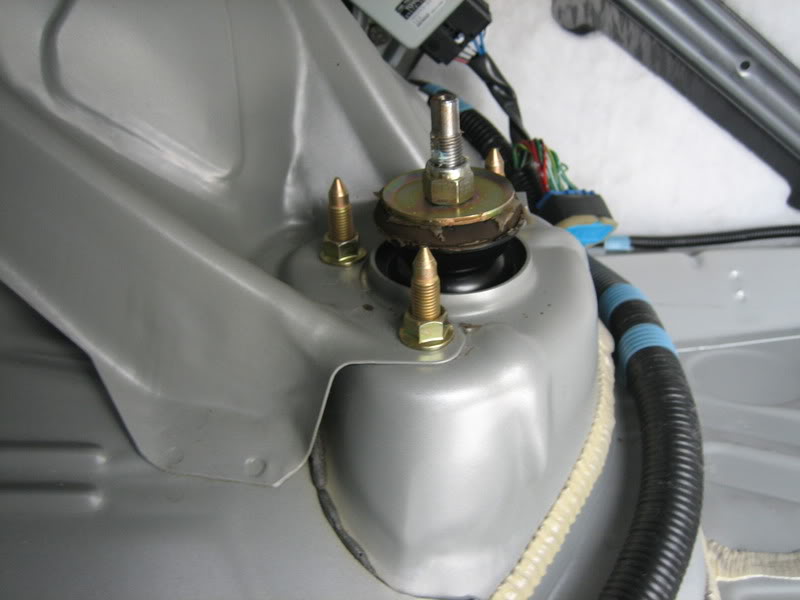
5. Remove the top 3 nuts from the top of the struts. They are 14mm as well. Hold the strut while you do this because it will fall.

6. Install the opposite way and do the same for the other side.
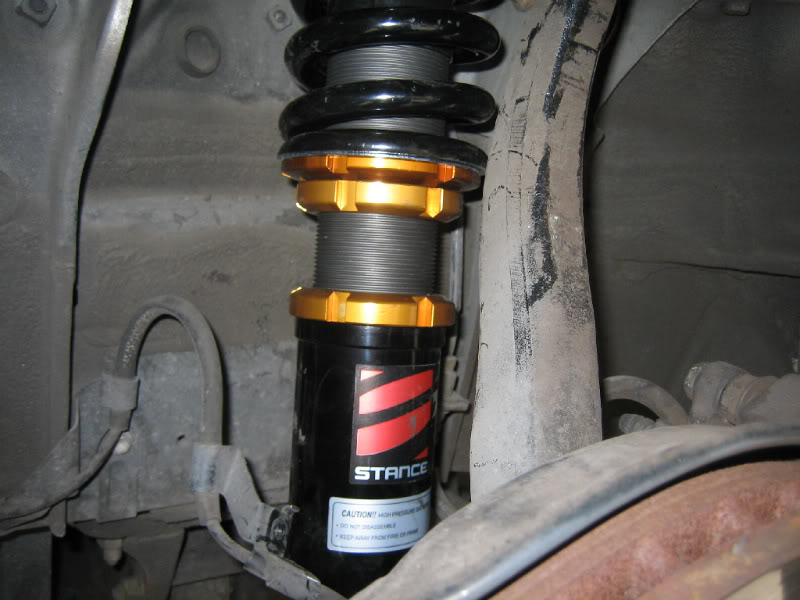
Stances do not have a bracket to hold the brake line so i just used a ziptie to secure it.
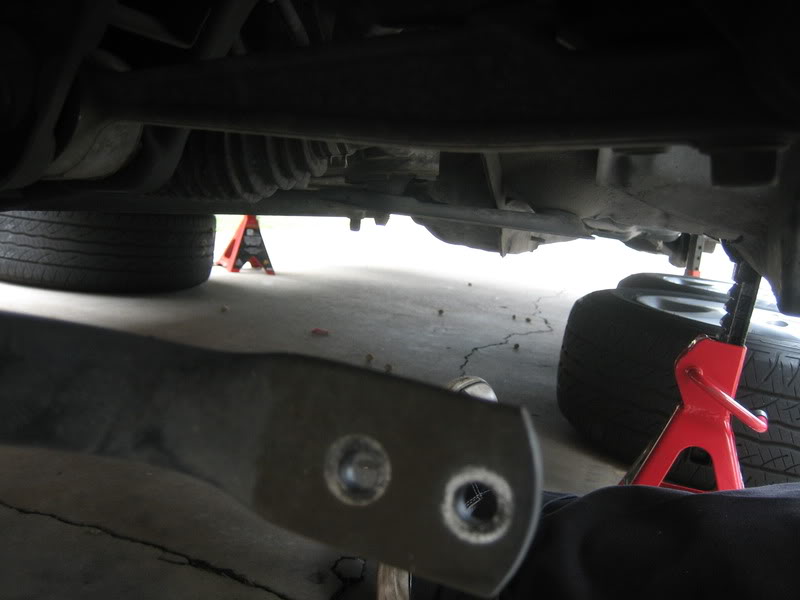
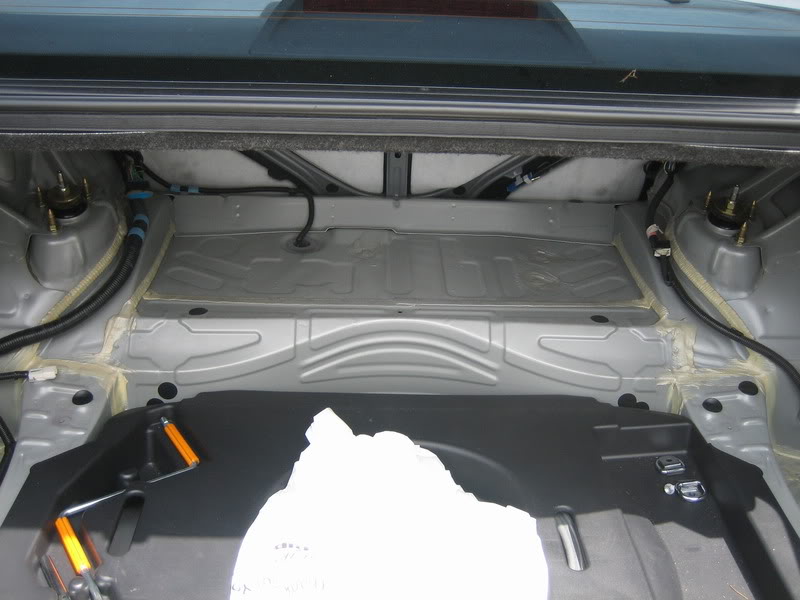
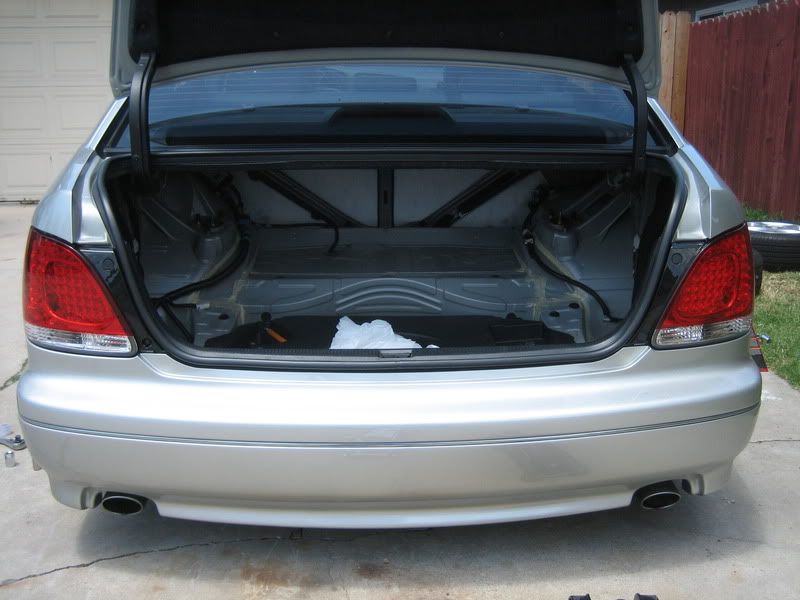
REAR
1. Remove the trunk lining/covering towards the rear of the trunk. Use a ziptie on the fastener and pull it. There should be 5 fasteners total (2 on each side and one right in the middle)
2. Remove these two bolts. They are 12mm. Use an extension to ease removal.
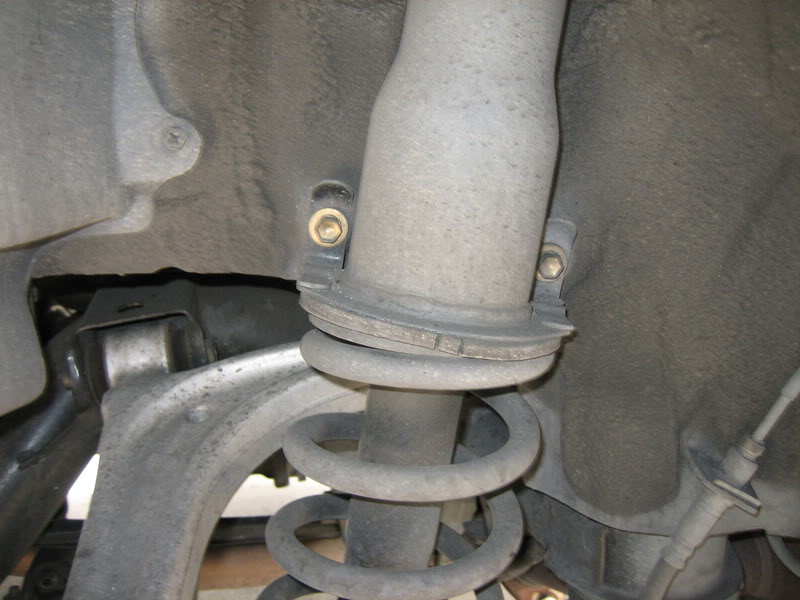
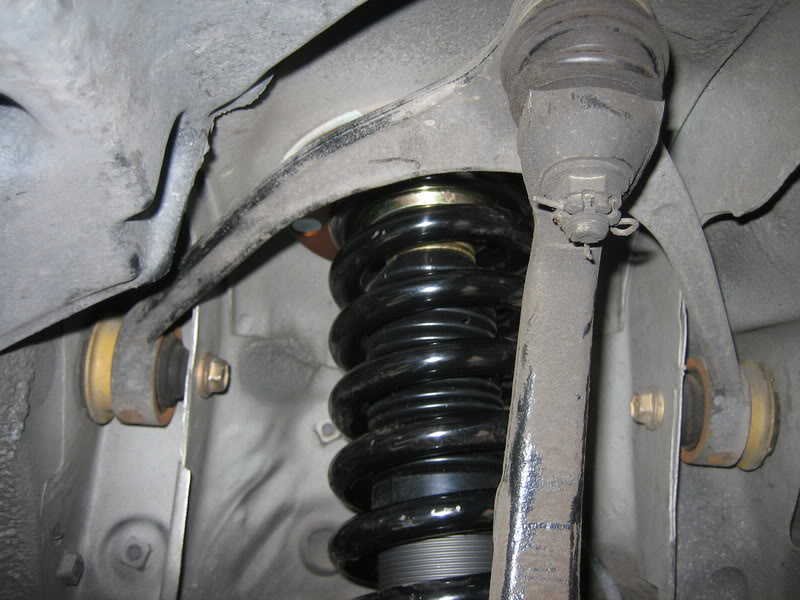
3. Remove the nut connecting the strut to the lower control arm. It is a 19mm. Then remove the bolt
4. Remove the swaybar endlink nut/bolt. It was a 12mm. Remove from the nut side. Then remove the bolt
5. I removed the camber adjustment eccentric bolt so it would be easier to remove the strut. You should mark the current alignment of the lobes to the LCA. It is a 19mm nut. Then take out the bolt. Don't worry, the LCA wont drop on you.
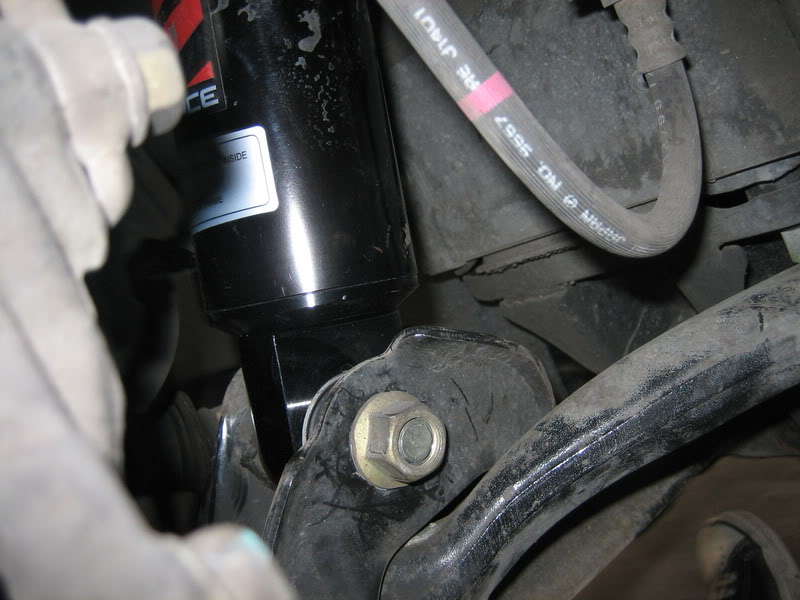
6. Then remove the top 3 nuts on the top of the strut. They are 14mm. Do it carefully because it might drop. Mine didn't so just be careful
7. Take out the strut and install in reverse order. Then do the other side.
Finish! Make sure everything is tight and firm.
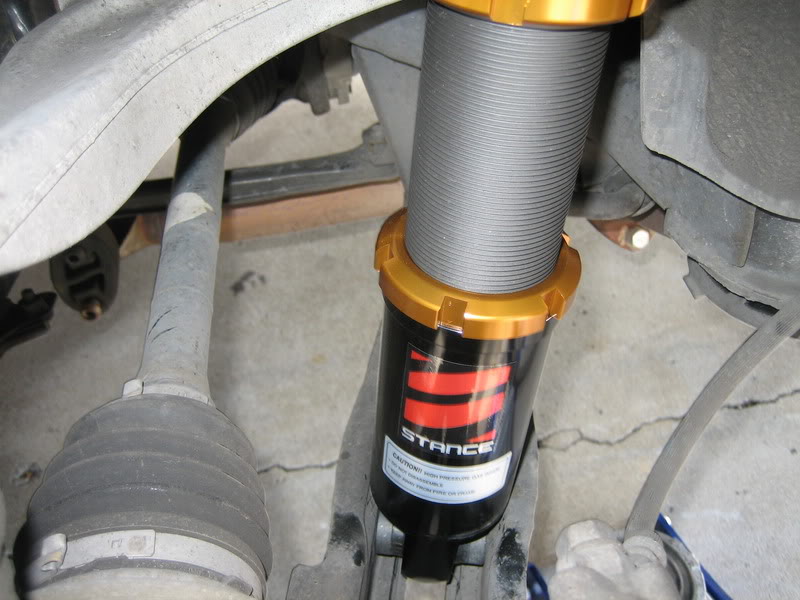
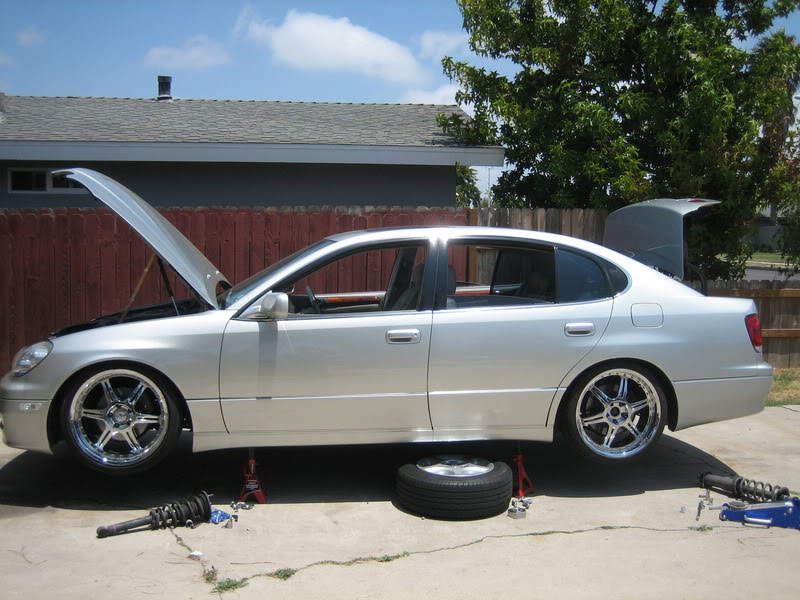
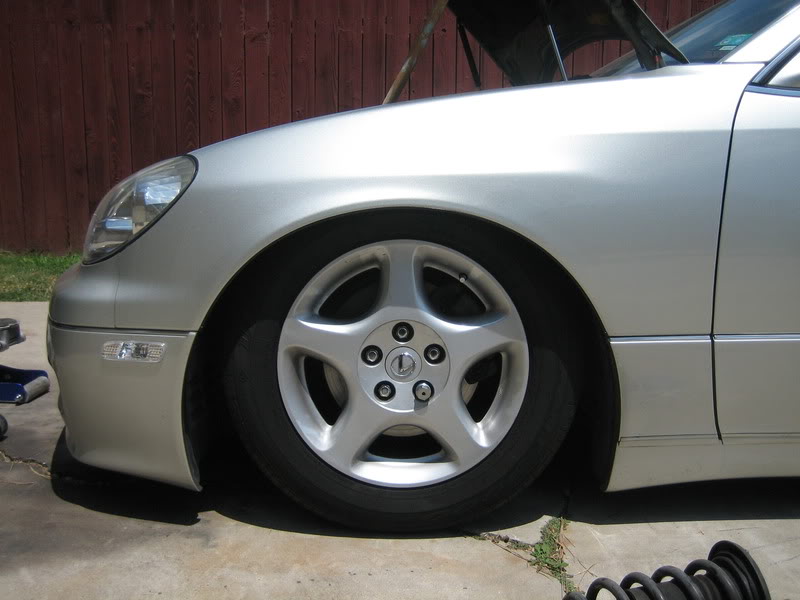
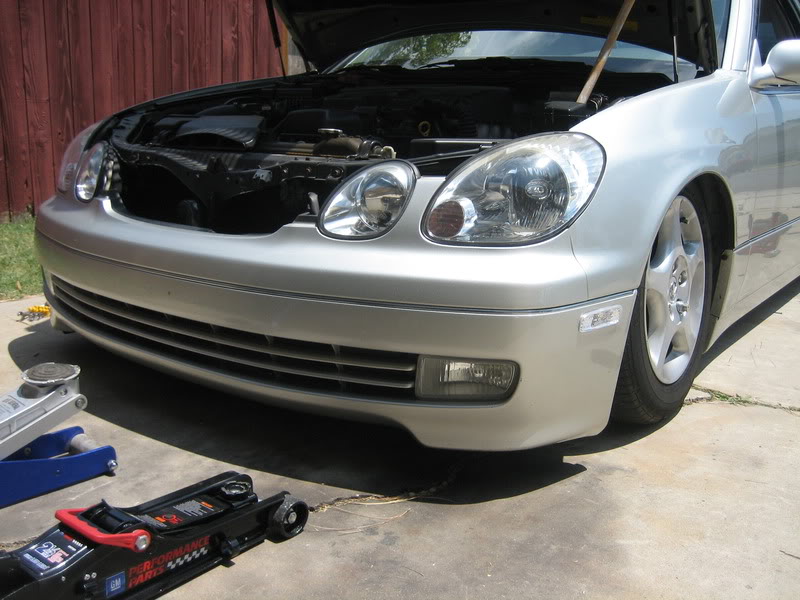
This is my car on AIR
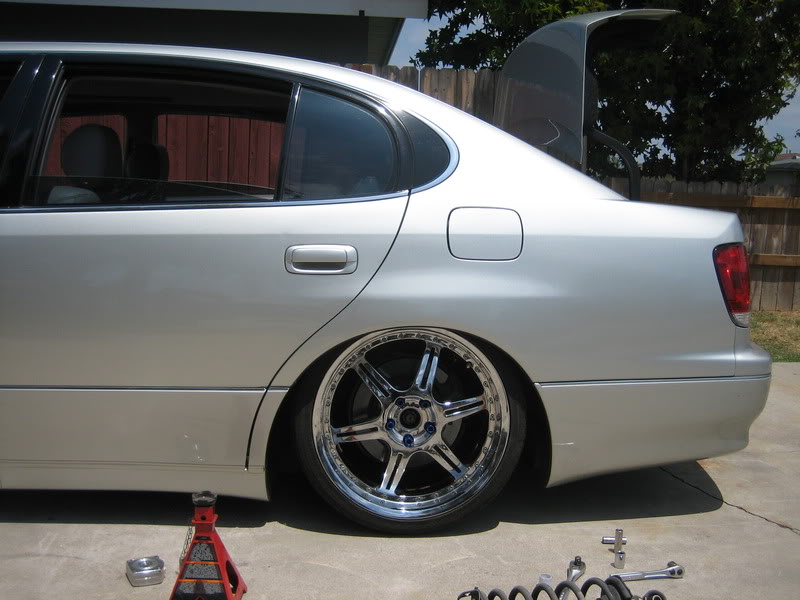
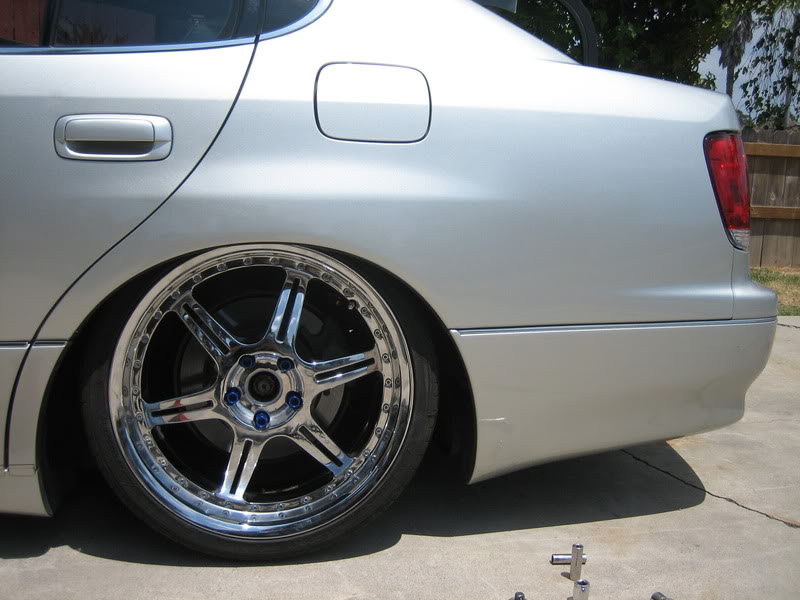
Wheels test fit
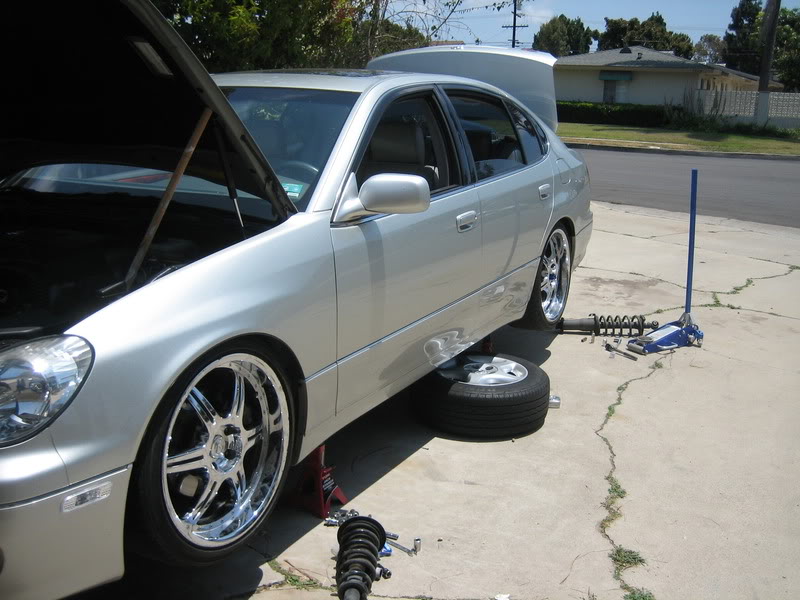
my wheels need a 3-5mm spacer up front to clear the caliper.
Now lower the car. SLAMMED! These are MAX down front and rear with little to no spring preload
My front pair of wheels need a spacer so I haven't installed them on yet
I couldn't drive like this because it is TOO low. my exhausts are 1" off the ground and it scrapes everything. I raised the front up a bit but i left the rears max down. I will raise it up tomorrow because I cannot drive around like this. Sure it looks tight, but i cant even go over a speed bump or dip without major scrappage.
Have fun installing yours. I'm not responsible if you get hurt or something breaks. GOOD LUCK
I installed the fronts on before taking any pictures, but I will use the after pictures for reference.
Jack the car up and remove wheels and all that jazz.
FRONT
1. I removed the swaybar first. Its two 12mm bolt and nut dealio. Remove both sides now because its easier to move the swaybar out of the way.
2. Remove the bolt holding the brake line onto the strut. Its a 10mm
3. Remove one side of the upper control arm. I removed the side towards the front of the car. It makes taking out the OEM strut much easier. The bolt was a 14mm. Use a ratcheting wrench if you have one. its very easy that way.
4. Next remove the lower nut/bolt connecting to the spindle. its a 19mm for the nut and 17mm for the bolt. REMOVE THE NUT SIDE, not the bolt. Then take out the bolt
5. Remove the top 3 nuts from the top of the struts. They are 14mm as well. Hold the strut while you do this because it will fall.
6. Install the opposite way and do the same for the other side.
Stances do not have a bracket to hold the brake line so i just used a ziptie to secure it.
REAR
1. Remove the trunk lining/covering towards the rear of the trunk. Use a ziptie on the fastener and pull it. There should be 5 fasteners total (2 on each side and one right in the middle)
2. Remove these two bolts. They are 12mm. Use an extension to ease removal.
3. Remove the nut connecting the strut to the lower control arm. It is a 19mm. Then remove the bolt
4. Remove the swaybar endlink nut/bolt. It was a 12mm. Remove from the nut side. Then remove the bolt
5. I removed the camber adjustment eccentric bolt so it would be easier to remove the strut. You should mark the current alignment of the lobes to the LCA. It is a 19mm nut. Then take out the bolt. Don't worry, the LCA wont drop on you.
6. Then remove the top 3 nuts on the top of the strut. They are 14mm. Do it carefully because it might drop. Mine didn't so just be careful
7. Take out the strut and install in reverse order. Then do the other side.
Finish! Make sure everything is tight and firm.
This is my car on AIR
Wheels test fit
my wheels need a 3-5mm spacer up front to clear the caliper.
Now lower the car. SLAMMED! These are MAX down front and rear with little to no spring preload
My front pair of wheels need a spacer so I haven't installed them on yet
I couldn't drive like this because it is TOO low. my exhausts are 1" off the ground and it scrapes everything. I raised the front up a bit but i left the rears max down. I will raise it up tomorrow because I cannot drive around like this. Sure it looks tight, but i cant even go over a speed bump or dip without major scrappage.
Have fun installing yours. I'm not responsible if you get hurt or something breaks. GOOD LUCK


Trending Topics

I love the ride quality on mines its like the best bucks you can spend without any other negative compliments about them... Stance is really top notch if you dont have 2grand to blow on like the JIC's
Im pretty low on my 20" and ride quality is cloud besides the upper control arm banging on the chassis area
Dara
Im pretty low on my 20" and ride quality is cloud besides the upper control arm banging on the chassis area
Dara


