When you click on links to various merchants on this site and make a purchase, this can result in this site earning a commission. Affiliate programs and affiliations include, but are not limited to, the eBay Partner Network.
So a few months ago I won my ISF in a raffle, $125 buy in and 210 spots.. I bought a spot and ended up winning the car. I'm definitely not new to tracking or building racecars but realized I knew surprisingly little about the ISF other than they are a sort of a wolf in sheeps clothing.
I was initially going to flip it for profit but after going over it i realized it was in remarkably good condition other than these pretty simple wear item fixes... then I started to read how capable the motor package is in relatively stock form and even how the transmission even is generally up to the track of track duty.
Obviously a $125 car is going to have its share of issues and mine came with its own. I had 4 blown shocks, more than a couple bad bushings, cracked headers ect.. Compression was good and it felt healthy so even though i have a few other pretty significant builds going at the moment I decided "why not" and starting to mod the car with an aim to occasionally take it to a track day here and there. I ended up getting some PPE headers, RR racing tune intake and MAF, USRS, KWv3's, figs mega arms, figs toe links, figs race upper camber arms, sikky rear sway, AOS, Figs motor mounts, 18x9.5 275 square, figs differential bushings, Porterfield pads, new rotors fluids and peeling all the clear bra off the front end.
I'd been daily driving the car (gotta love automatic transmissions) for a few weeks and a track day came up where I was asked if I would be available to do some instructing, my other cars were down and i figured the ISF was far enough along that I could take it out and make up my mind what i really wanted outta the car.
Turns out I had TONS of fun and it had fantastic balance for a 3740 lb car. I was sliding around in the stock seat while momentum driving a big ol' 4 door sedan so hard that i snapped the dead pedal clean off the floor.
Really got the wheels turning on if I wanted to make this a more focused 'drive it to the track' track car for when i dont feel like loading the other race cars into the trailer.
Anyways, heres a video. i believe there is another 2 seconds in the car as it sits with just a seat added.
So took the car out to Chuckwalla this last weekend to test the fuel system upgrades and found them to be 100% effective against the fuel starving I was seeing before. On the same corners with the same lateral G-loads/speed and revs I was able to run the tank down to a quarter and still did not experience the fuel starvation I was before adding the fuel mat. Previously the car would starve at sustained 1.3 G double apex left handers. Best of all worlds- I can keep all the fuel system mods contained within the tank and not have to run additional weight of fuel to keep the oem set up happy OR surge tank hardwear complications/weight. Since I can start a session with 1/2 the fuel, I save substantially on my 'race weight'. Half a tank less fuel comes out to (53+lbs) which will now be my default fill stopping point before sessions. Not bad for some dremel work and a couple hundred bucks in parts.
Sounds like a total win. If I were you, I'd make sure the transmission fluid level is up to snuff if you are tracking this one. They are notorious for getting a little low and having weird issues because of it. Other than that, they're amazingly reliable and require very little special care for track duty.
Ok so I figured id do a proper update to this thread. Like I was saying, after winning the car I had taken it to the track as a back up, back up car that had a passenger seat that i'd be able to take students for ride alongs with. After getting on track with it (as stock as it was) id fallen in love big v8 power and tq. Also FR layout cars are always my first love and the balance the car had even for the weight was apparent.
All considered I was sold on the idea of turning this into an 'arrive and drive' track/weekend car that i wouldn't have to tow to and from the tracks and would also be able to drive in all sort of weather. (i normally race FWD cars that are always a bit boring in the wet).
I also figured "what the hell". I'm basically only into this thing for $125.... so why not huck heaps of cash into ANOTHER racecar. :rolls eyes:
Starting out I had the idea to basically make this the 'RS' version of the IS-F. I would keep power figures relatively stock, but focus on handling and the biggest disadvantage... weight. All this would be done with the intent to keep the car road legal and comfortable enough to make drives to tracks up to 8 hours away. This means I would have to keep the first things i normally tear out of my cars- Heat/AC and stereo and figure out other ways to lighten things up.
Starting from the beginning:
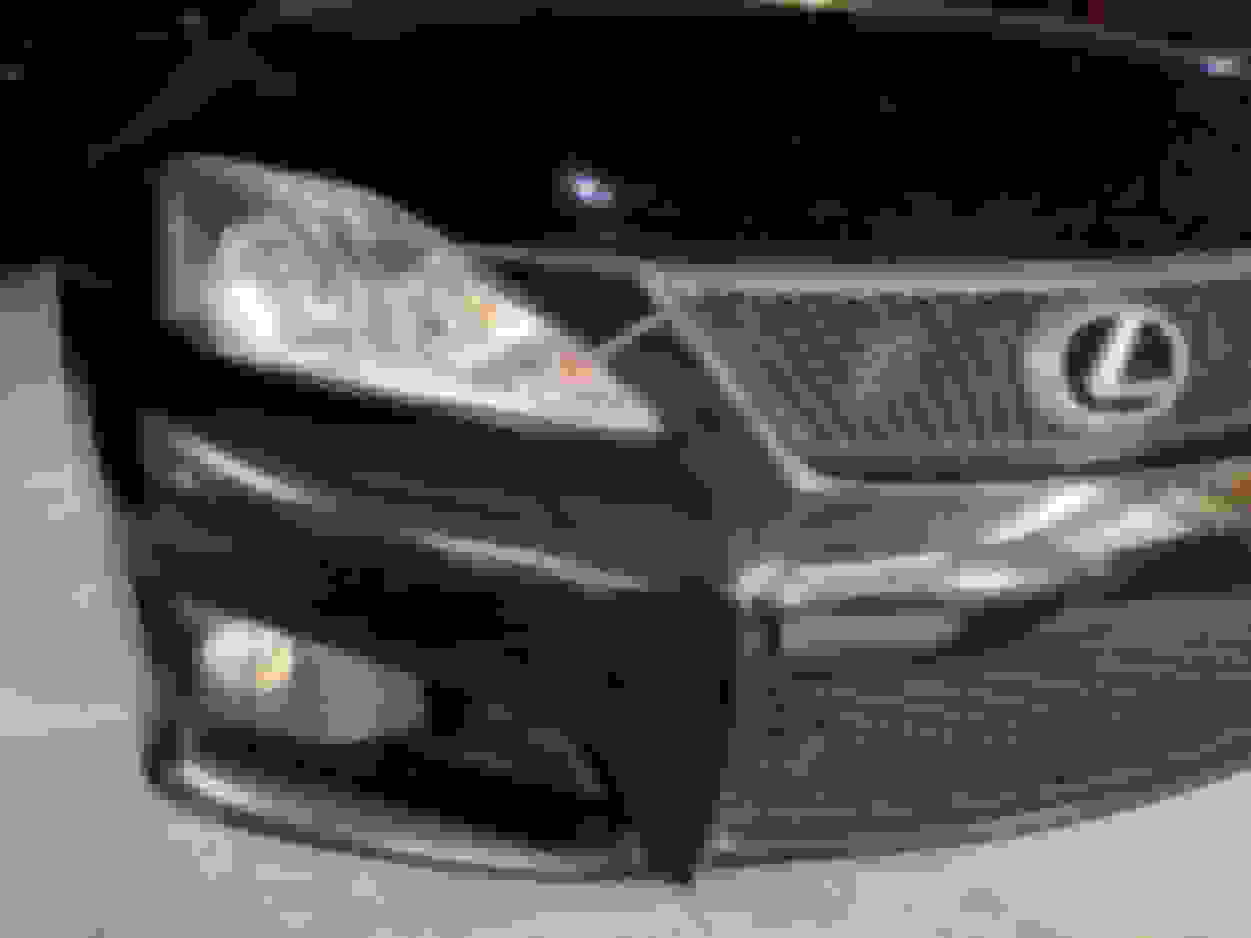
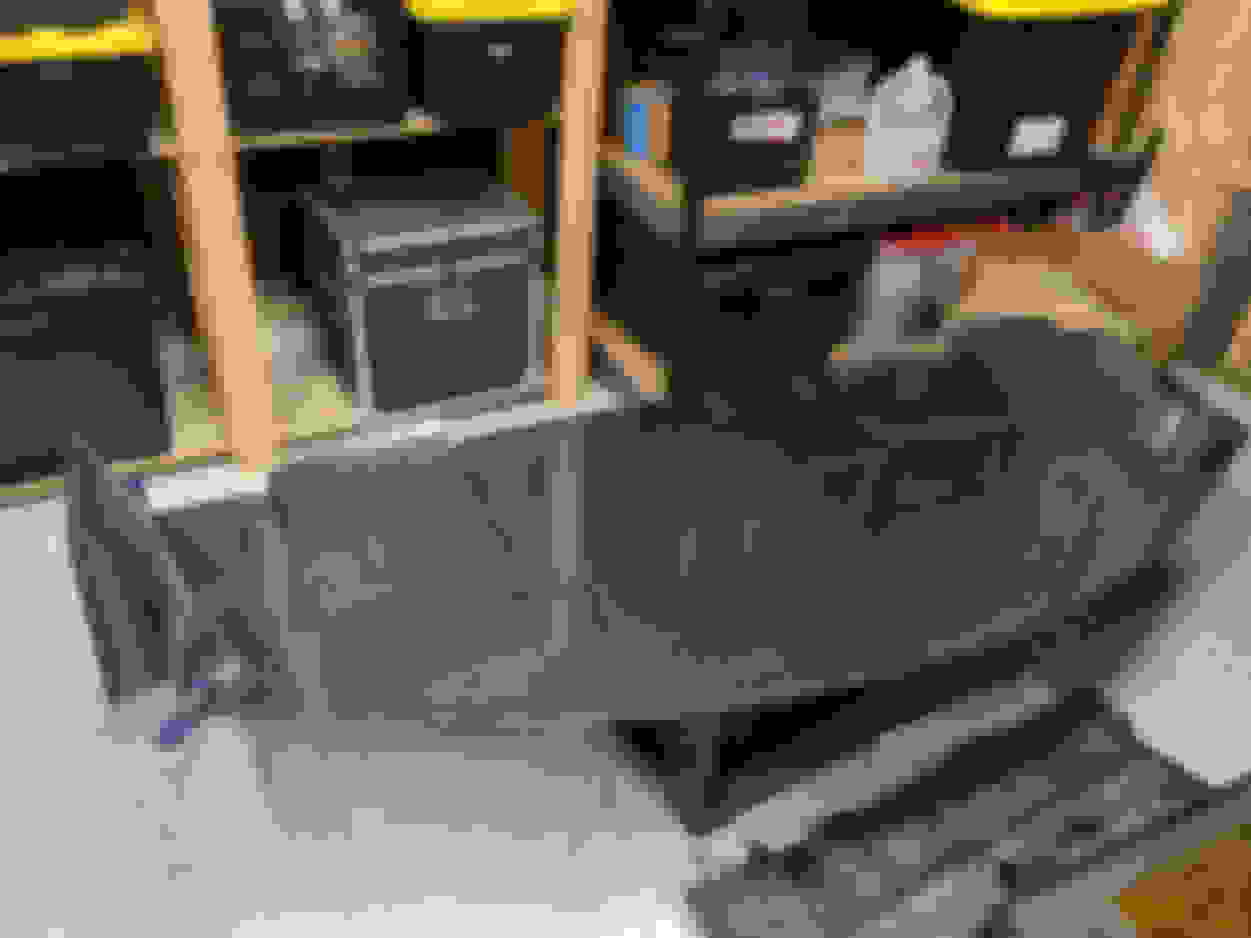
First pic is when i picked up the car. 4 blow struts a huge exhaust leak and some weird intermittent electrical issues. I did some research and found that even though the car has 170k miles on it it was serviced between a local Lexus dealership in LA and one in Arizona. from the front clear bra i think this car was used as a commuter for someone on weekends back and forth the 6 hour drive between states. I would guess 90% of its life was spent around 2k rpms.
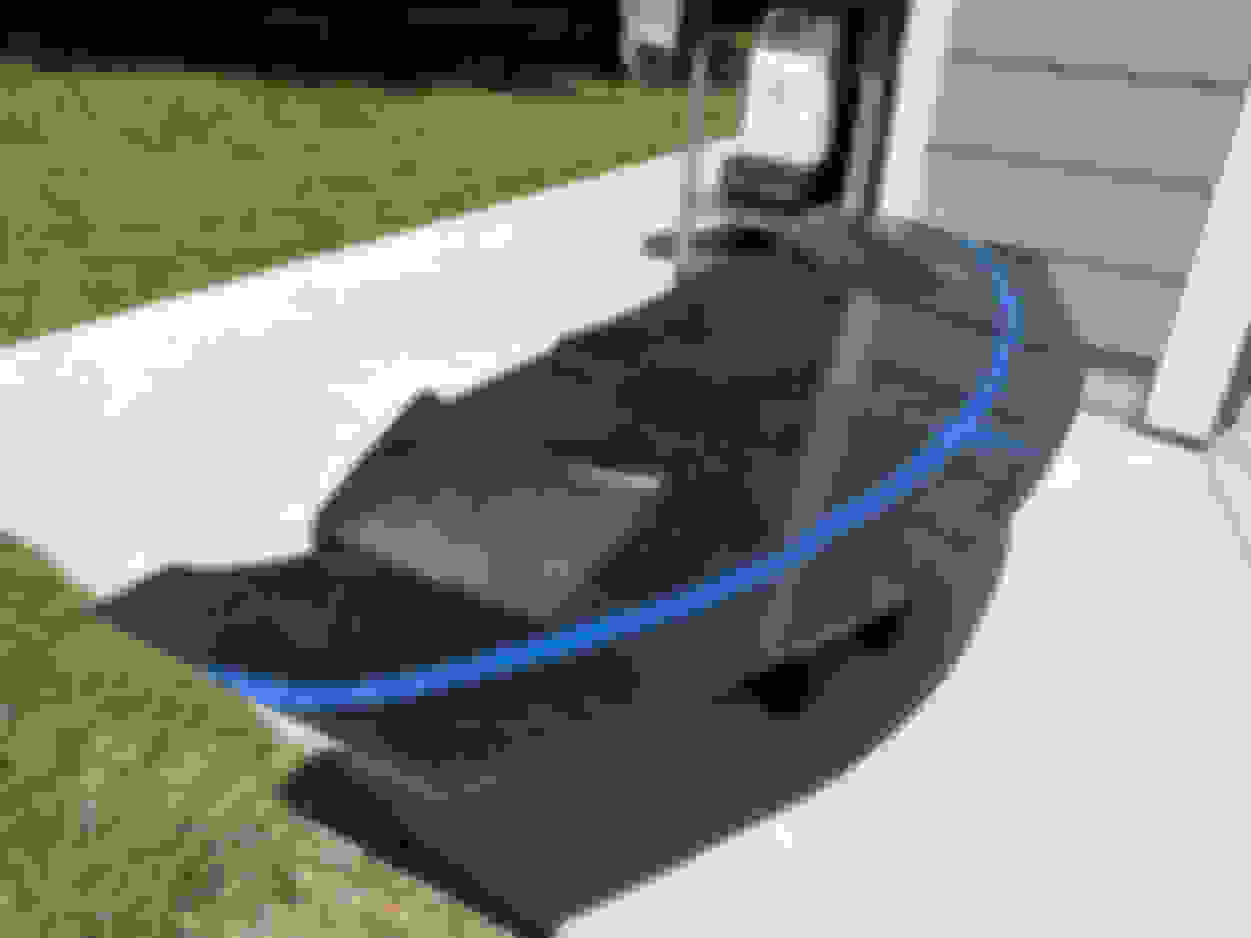
Clear bra has seen better days..
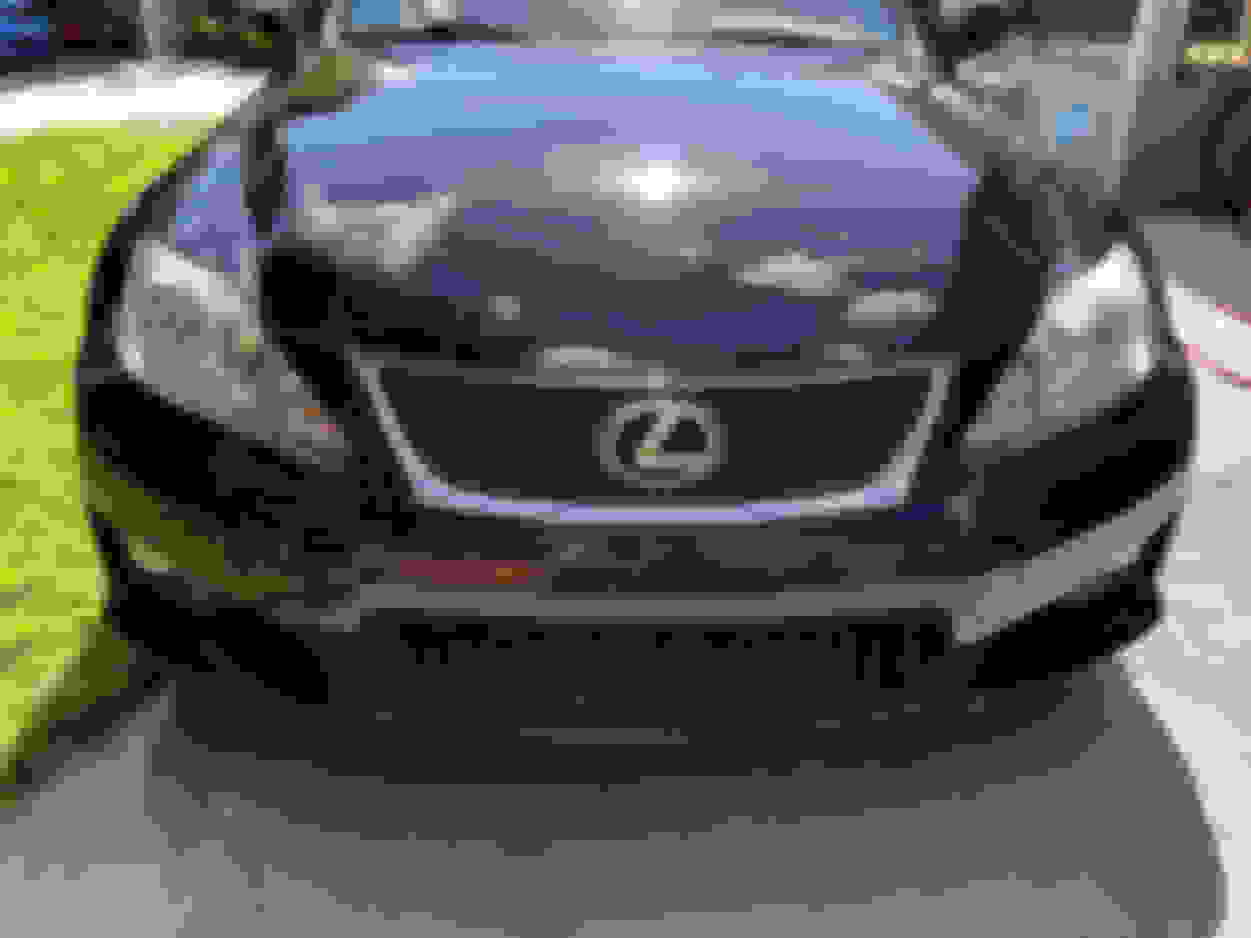
it took a whole lot of elbow grease and Gasoline in a spray bottle but I got it all off and looking half decent.
not too bad for several hours of work- and several hours off of my life from all the fumes.
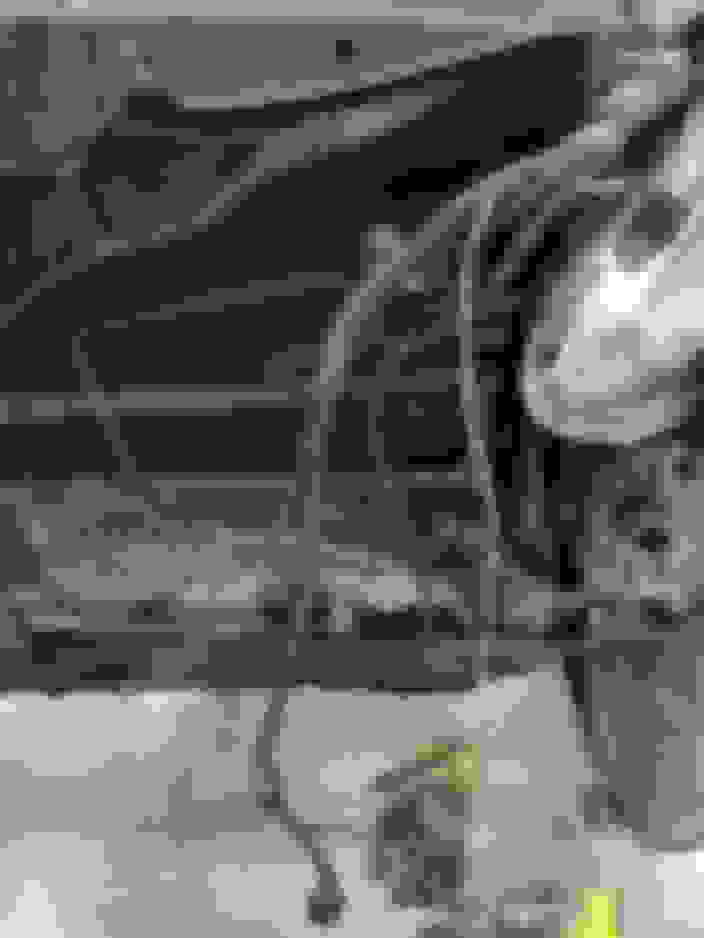
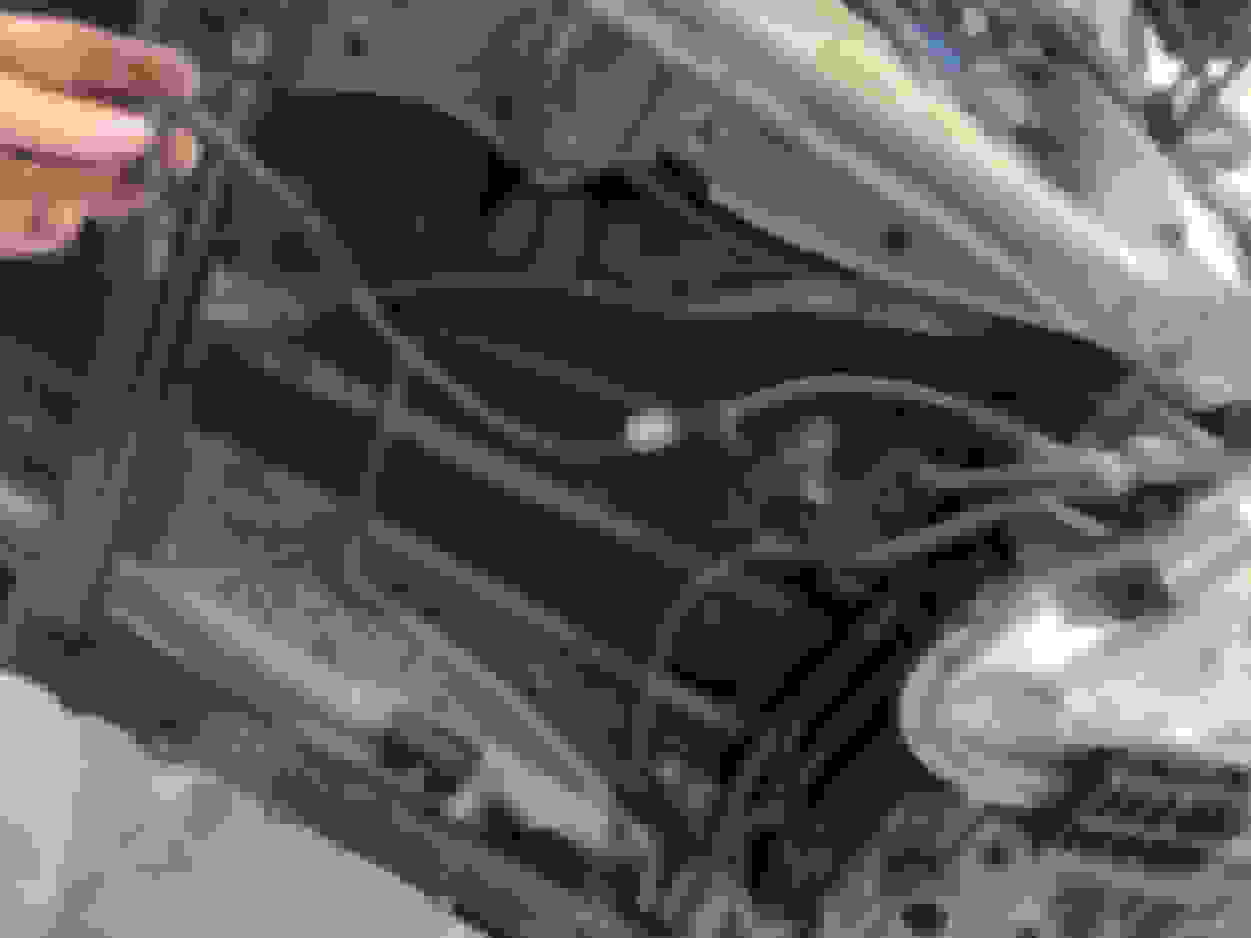
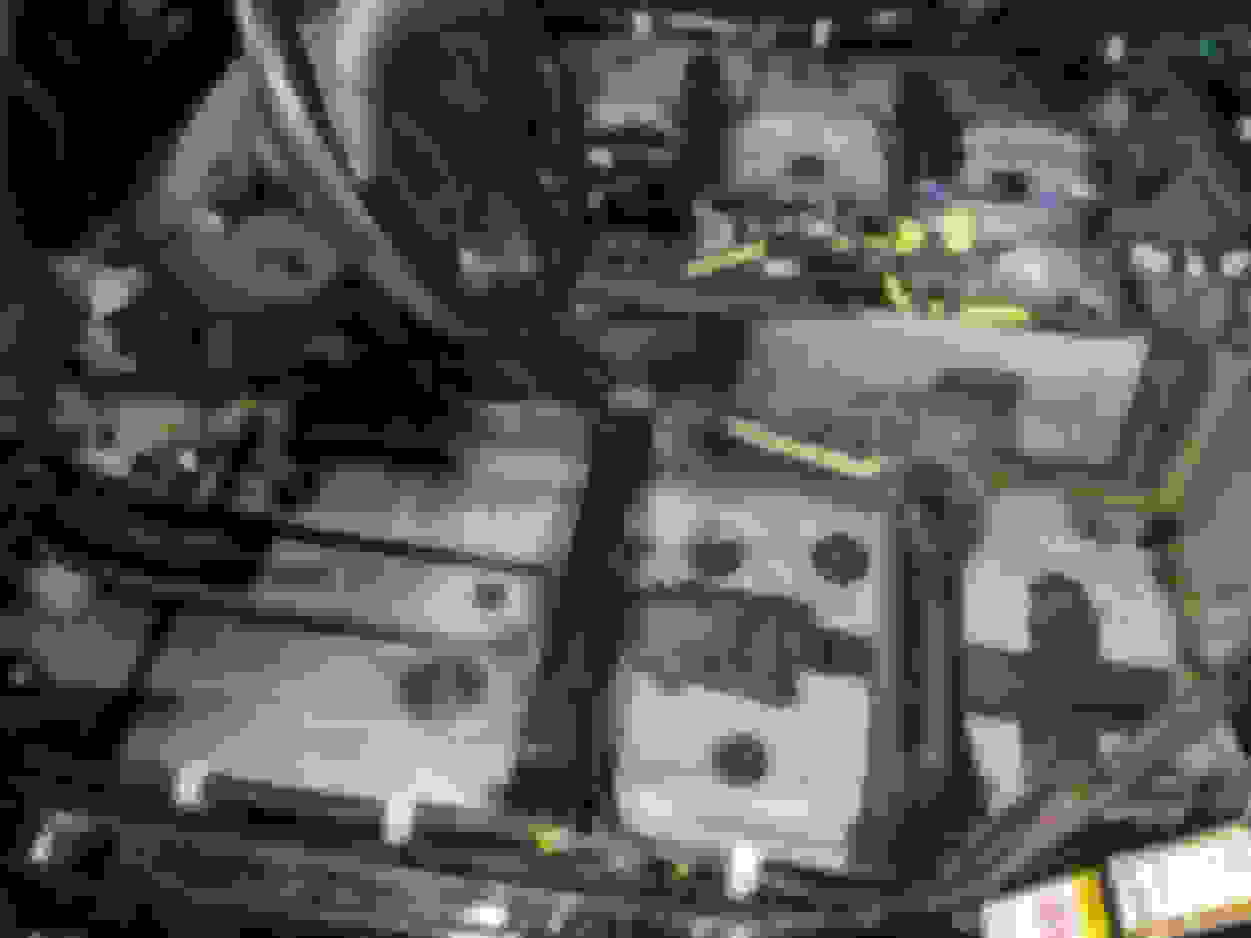
To fix the cracked manifold I replaced them with PPE headers and the RR Racing tune and MAF, while I was there I noticed that the engine mounts were shot so I replaced those and the rear diff carrier bushings with Figs/RR mounts while I was there.
I also grabbed all new rotors and pads and some spacers as a test to run some 19x10 ze40s that I had in storage.
While the Ze40's looks awesome I decided that I really don't wanna pay the $$ for 19 inch tires over 18 inch tires. Since this is for a track car that decision adds up rather quickly, been there done that not worth it.
RR racing stuff showed up, USRS, tune and AOS.
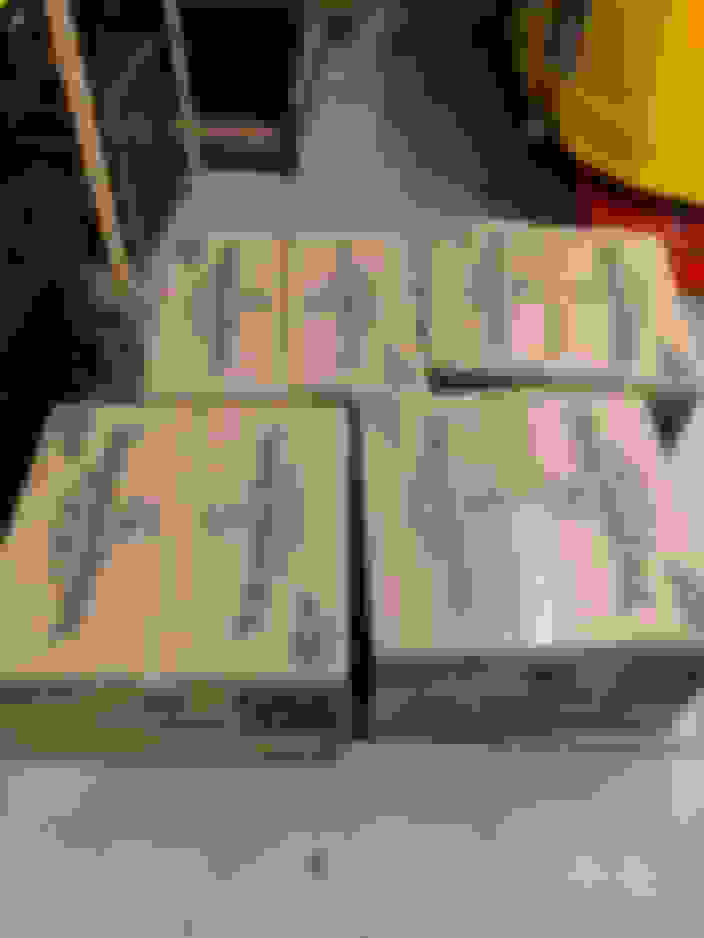
Figs stuff also showed up. As painful as spending $800 bucks on upper A-arms alone, I always figure its better to get the right stuff first. I know myself enough to know i would just have to rebuy them in the future had i not. I also don't mind supporting business who make cool parts for out of the ordinary cars.
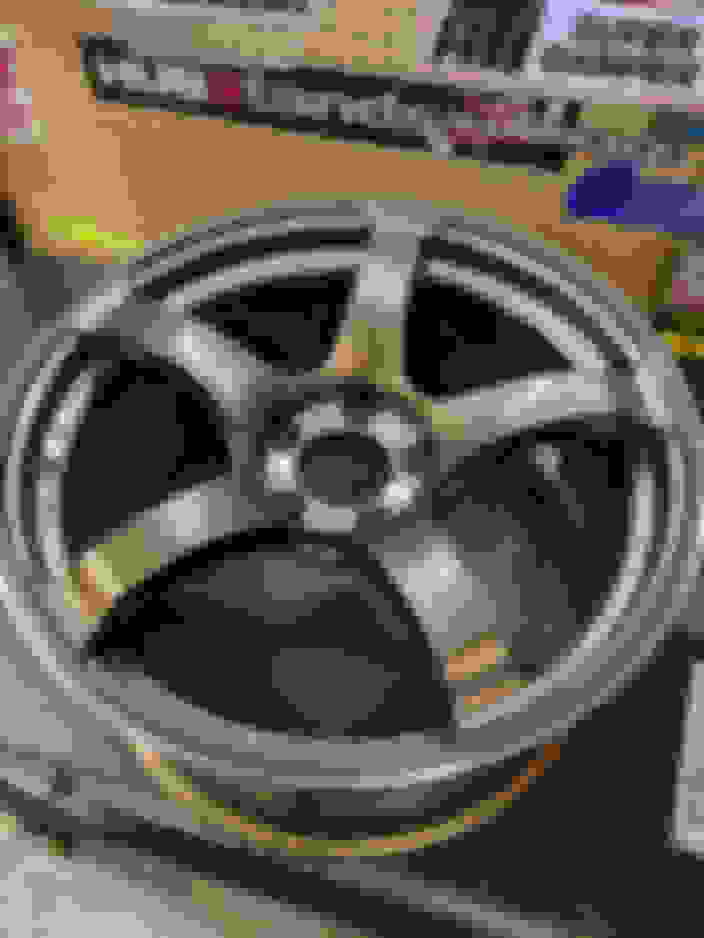
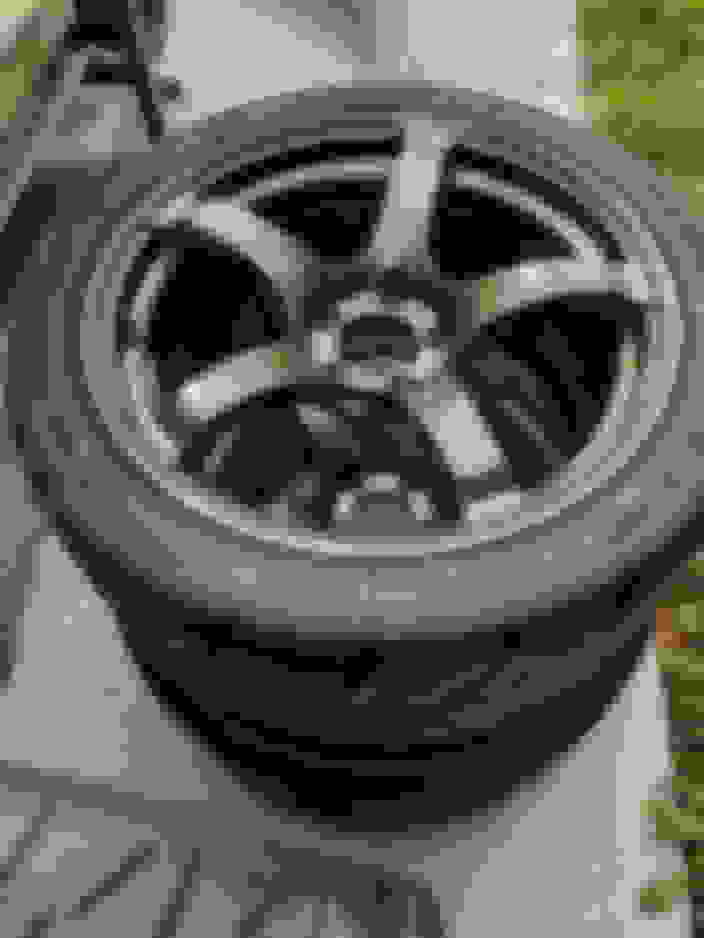
18's arrived. Went with new TC-4 advans 18x9.5 +45
Got most of the suspension arms on the car, but was waiting on a few more things to do a proper corner balance and alignment.
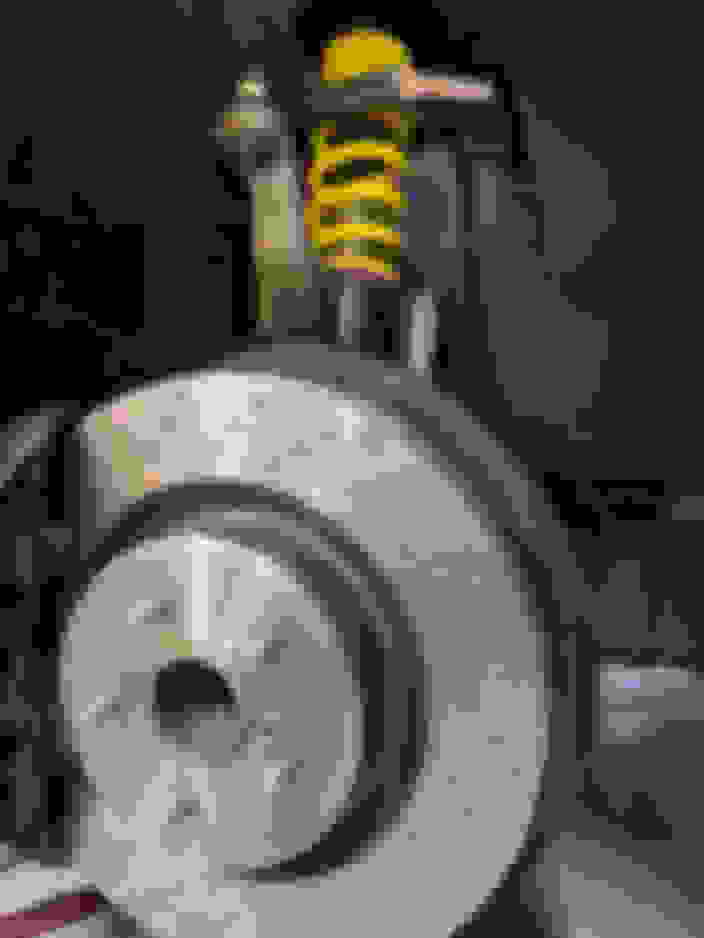
I also removed the splash shield off of the front rotors. Its dead weight and removing them proven to increase pad life and cooling and has zero detrimental effect on a car that you'll be inspecting frequently anyways. You need to trim them down and retain the center section to properly space some stuff out.
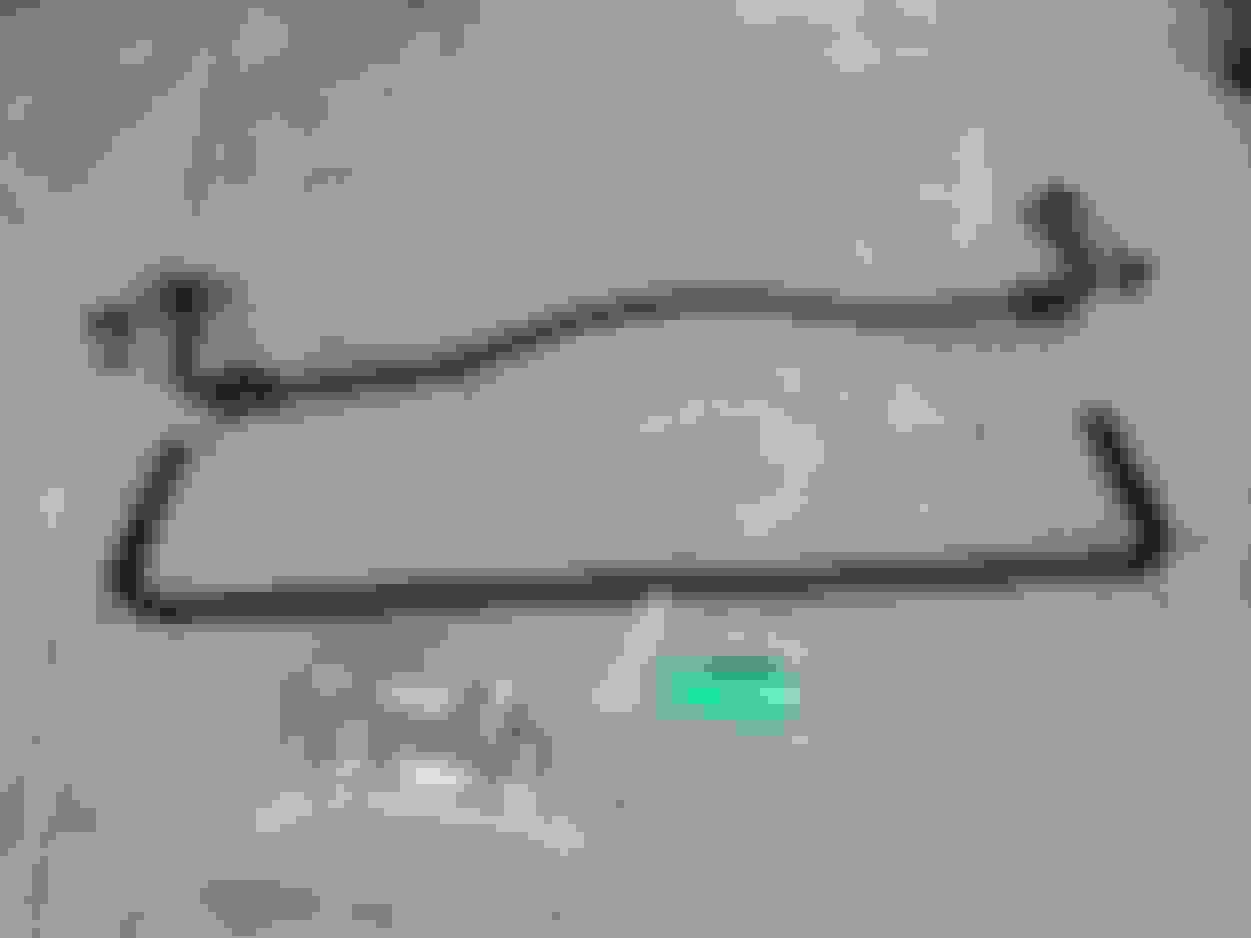
Got the Sikky sway bar and end links for the rear. I could NOT deal with how hideous the green color is and had to paint it before it went on the car.
I broke out my level plates scales and corner balance brain. 3925lbs with 1/2 a tank and me in the driver seat. A pretty big boy. near 50% cross weight without much adjustment is awesome though- no wonder the car feels so good on the track.
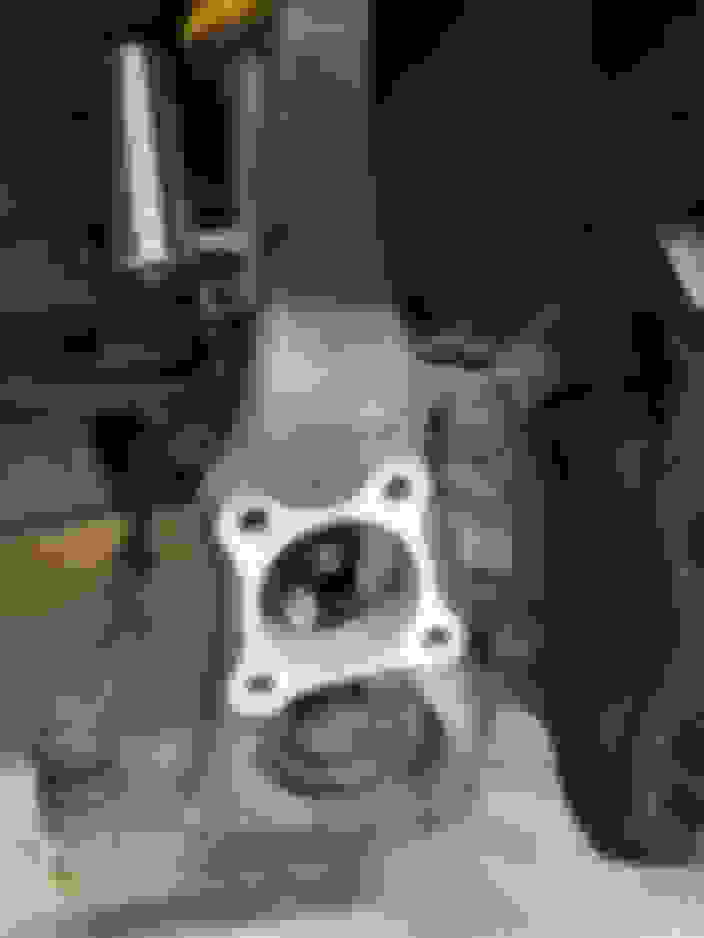
A shot of the Figs stuff on the rear, pre bar install with some new SS lines.
New re71R on the new wheels, looking sharp.
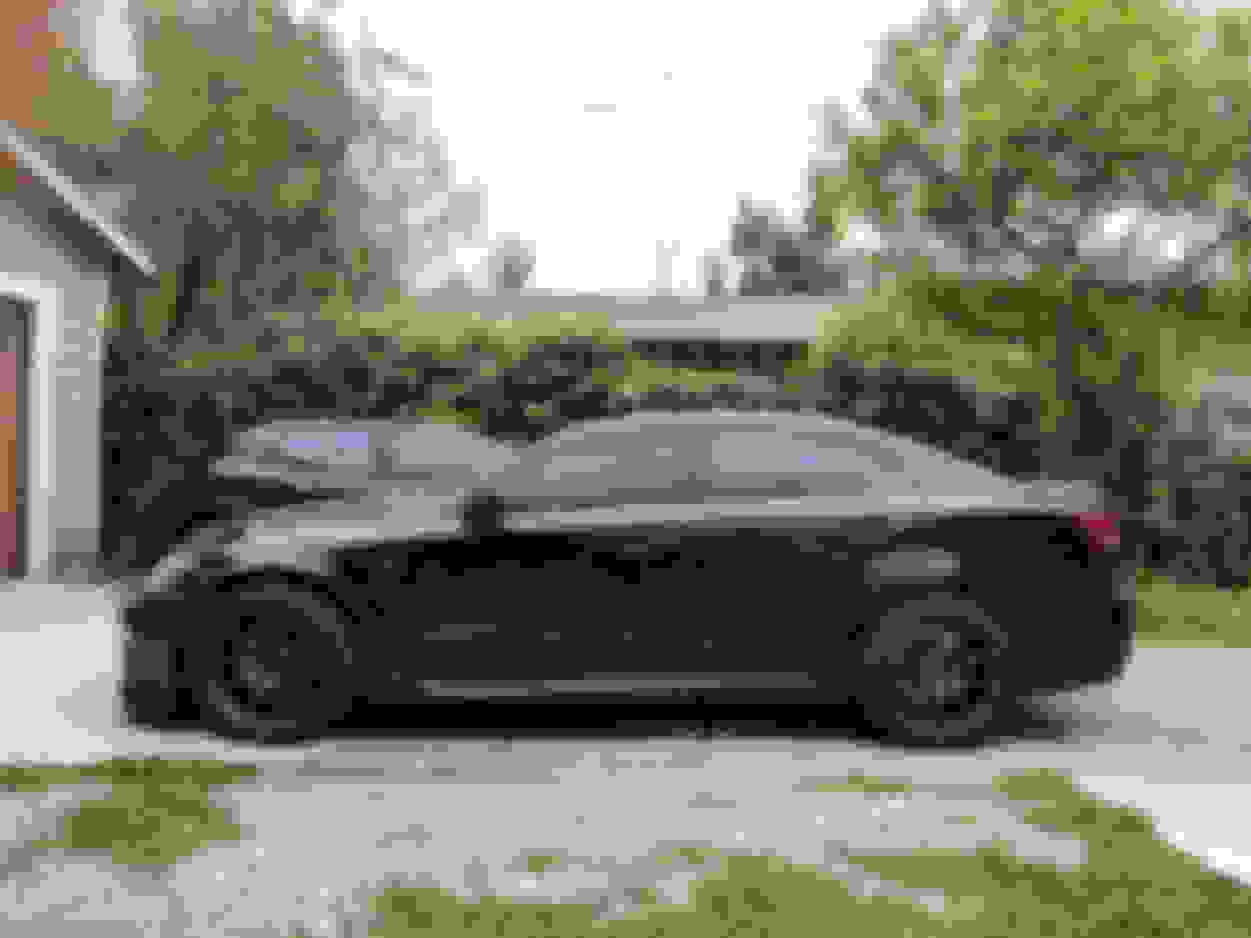
Here's after adjusting the rake and ride height and corner balance on the scales. Really happy with how its looking so far. This car doesn't need much to look brutish.
Ended up building a canister for the TPMS so I can swap tires at the track without getting all the alerts. These are always annoying to build. I had to remake it 3 times. Eventually i gave up on the pipe glue and took the time to build one that for sure wouldn't leak using JB weld.
I had put an aftermarket spoiler on but really wasn't happy with it. I decided to make something a bit more functional and broke out some carbon.
This was a huge PITA to do. Specifically it required some cleaver measuring to get all the radiusing right.
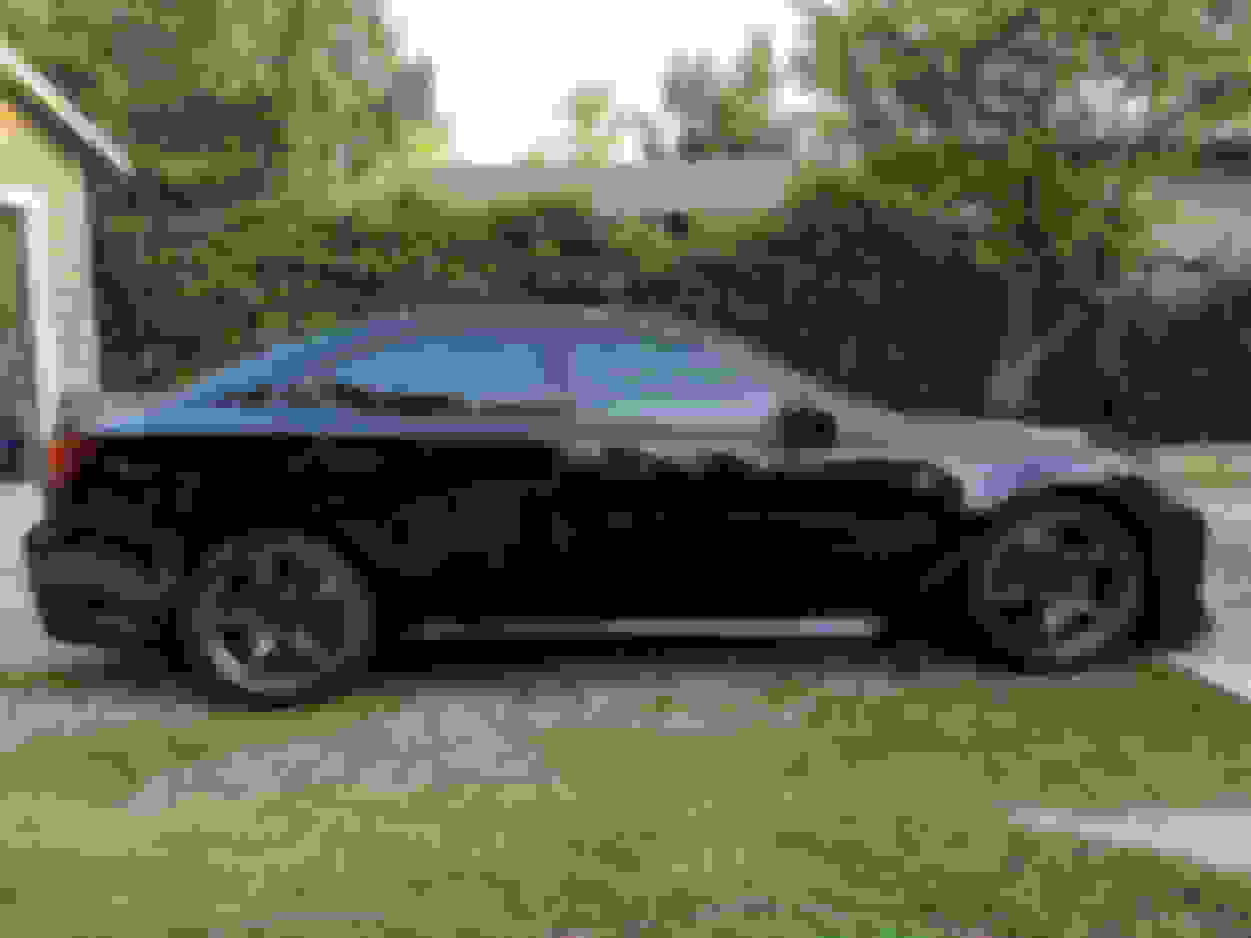
Side shot installed:
This is a very function>aesthetic modification, but all the same i love stuff like this. Increase rear stability, reduce drag win/win.
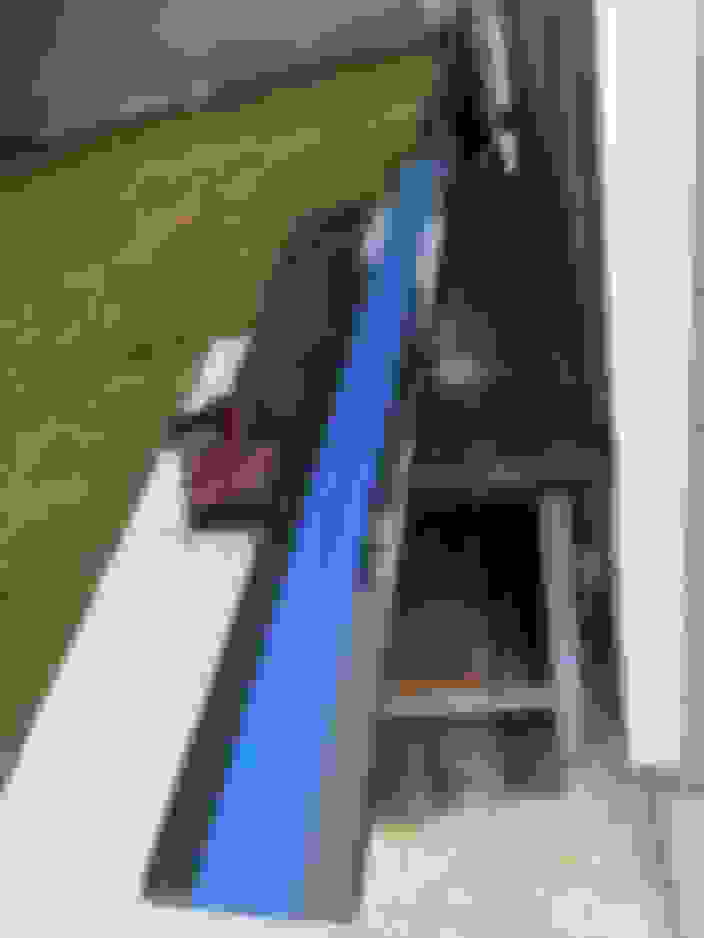
I made some carbon sills for to run as a side splitter down the length of the car, this will decrease lift and drag by maintaining a smoother stream along the bottom of the car. It also just looks cool.
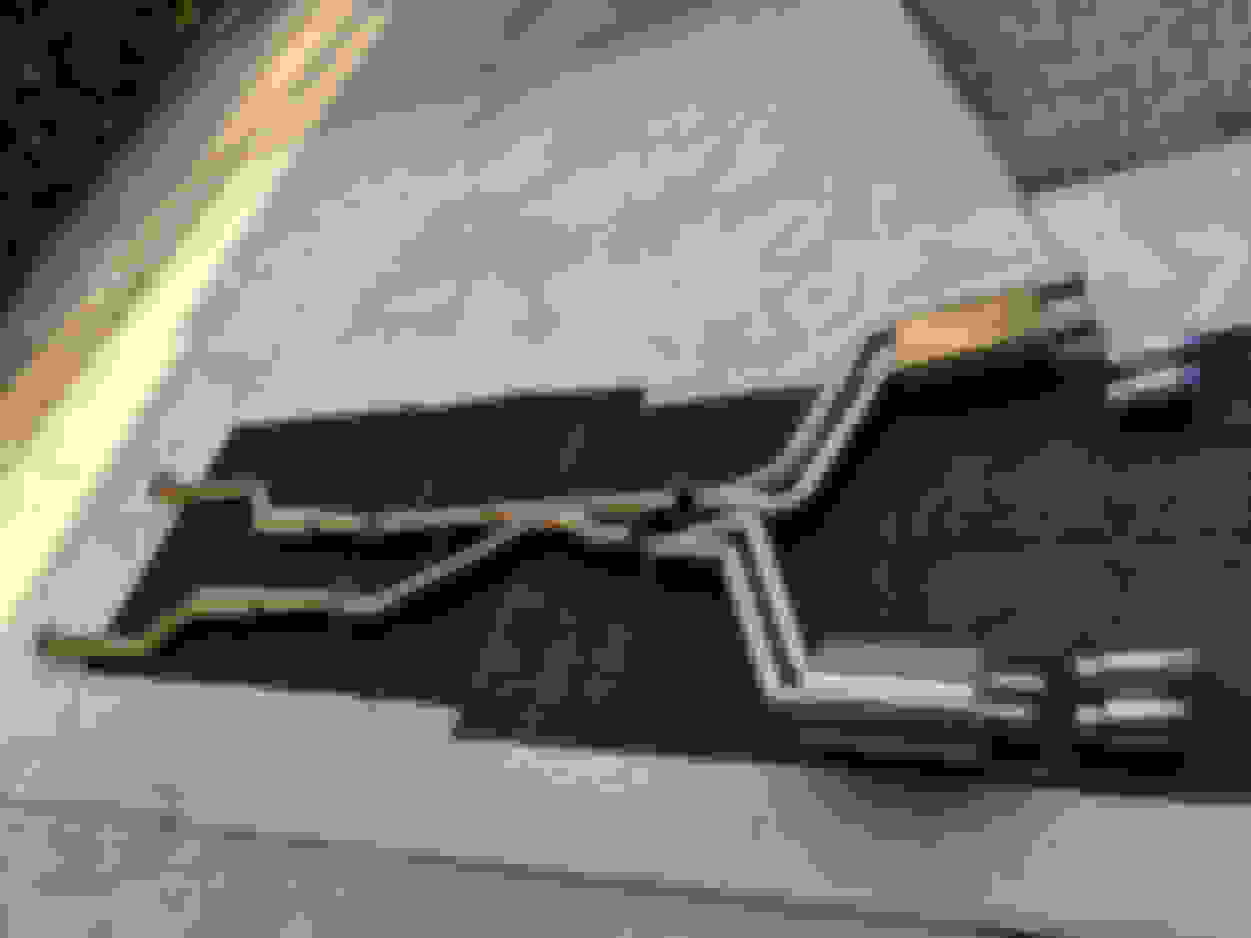
I picked up a Greddy Titanium exhaust to save weight and make the car sound cooler at the same time. Its something along the lines of 16lbs overall, so a weight saving of around 50lbs, which is big. Its off the bottom of the car, so not as big of an impact on CG as things that are higher but none-the-less a step in the right direction.
A bit of a pain in the *** to fit as you have to cut off some hangers and remove some under carriage stuff and space some bracing- but not difficult you just have to take you time and chase down taps and rattles one by one.
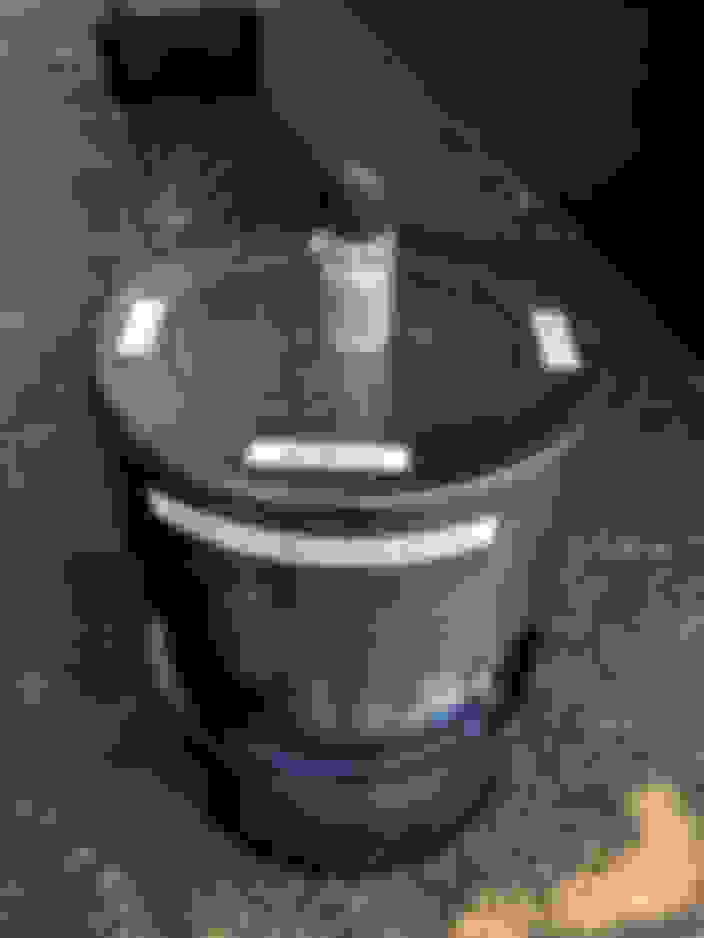
Next was a water pump service, belt and radiator.
Its a good idea not to take chances with any of this stuff, its easy and cheap enough to just fix so there is no reason not to just get it handled and it will likely be fine for the remaining life of the motor.
I moved onto installing the coolers. I bought the RRracing kits with pre measured line lengths but I was weighing the benefits of element relocation as to not stack them on top of the condenser and radiator. There would also be an added corner weight benefit to moving at least the oil cooler into the front well of the passenger side.
I fit different exchangers I had laying around and did some back of the napkin math on flow and pressure drops due line length. In the end i did mount them all in front of the radiator, theres probably more to be explored here but as of now it would save me some headaches as far as figuring out upcoming splitter bracket and mounting.
Speaking of splitters i got busy mocking mine up. Pretty early on i had figured out what i would need in the front to balance out the rear areo package i was planning. After i had the parts made I had to figure out how I would want it to attach, and disconnect, for the drives to and from the track. While the wing is off being built I needed to mount the splitter tunnels and eyeball how to chassis mount it.
I yanked the windshield wiper bottle out to gain some room and additionall weight savings
and moved the smog sensor and horns to the now vacant space with some riv nuts
I had to split and extend the looms so I could still maintain the 'hood release' warning on the instrument cluster
Splitter tunnels mocked up and added to the splitter. Because of the placement and angle of these the OEM brake ducting would interfere and be somewhat redundant. I could now get rid of the OEM duct tubes to free up some space.
A view while attached
I measured, trimmed, measured and trimmed and eventually I had a pair of block off plates.
Now it was time to start locking stuff down in the front. Adding the sandwich adapter to the oil filter appendage I noticed that the OEM donut cooler wont seal onto it because AN fittings are in the way. You have to first tighten down the fittings and stat-o-seals then grind the protrusions so the sandwich plate will sit flat to the donut cooler.
Pre trim:
and clearanced.
All snug and flat-
Transmission was pretty straight forward. I prefilled the element as much as possible and used Otinker clamps as a replacement clamp for the barbed fittings. Traditional hose clamps as supplied are not really recommended on these types of rubber lines and fittings.
To add a few elements of protection on these rubber lines I used PTFE wrap and some standard loom covering over the exposed rubber. Here in California all our tracks are in the deserts and they are covered in sharp rocks. I've seen them get kicked up from leading cars to cause some pretty expensive engine damage and/or oil slicks.. just from something as small as leaks in exposed hoses. Cheap insurance.
After the prefill and idle up to temp i did a transmission refill procedure as described in the shop manuals. I just wanted to make sure 100% that i had the recommended amount of transmission fluid in the system.
Next I trimmed the liners and widened the venting of the rear of the wells to draw even more air out. I am starting the size of the slits modestly but can go bigger as needed, this is a requirement now that i am running diffusers on my splitter, it increases the air pressures in the wells by a lot which causes air very turbulent pressurized air to reduce the effect the splitter. Moving this air out quickly can have pretty dramatic effects on the front end efficiency.
I also put in a PC680 battery to shave some extra pounds. I made the attachment strap out of some pressed carbon I had left over from another project.
Now that I had the fronts blocked off I would have to figure out a solution for the ECU cooling. From the factory it Tee's into the driver side brake duct. Now that I had ditched those I wanted to make sure it still got air. I built a computer fan blower but didn't like the way it was going to mount and where it would have to hang. Plan B was a carbon collector that would funnel 2 inch air tubing back and up into the provision for the ECU cooler. I mounted it temporary to the bash beam until I lock down my splitter mounting options.
Cushioned for sealing and the constant bumper removal.
I have engineered the front end so the bumper is on quick disconnects for easy removal at the track. Looking at the set up there is room for improvement as far as oil cooler ducting to be had. I think I can kill a few birds with one stone here and am going to hold off going anything along these lines until the car goes in for fabrication where I can do what i need more elegantly. At the moment I'm just waiting on parts. In the mean while before it goes in for fabrication I am busy tearing apart the interior for some pretty cool upgrades I have planned. Wing should be back from the builders soon too.. Stay tuned!
the TSX is actually a CL7, so a japanese type R. It was a body in white Pulled off the assembly line and built by Spoon Sports to compete. Its done the 24h of Nurburgring, won the 24h of Silverstone for that show 5th gear, and won the 25h of Thinderhill a few times among other things. Driving line just did a story on it https://www.drivingline.com/articles...accord-euro-r/
I also have other Honda stuff like my CTR and my 92 NSX, those are also partially racecars :]
Yeah, I looked at the figs one, it looks well made and a good solution for people that don't have fab experience and just want something that bolts up. A bit over priced IMO but your paying for the convenience of a part that just pops on. If you want something similar and carbon you can piece together a kit using NASCAR takeoffs. just go on ebay and search for "NASCAR carbon" youll find pages of oil cooler ducting at all sort of degrees and pitchs. you gotta get creative but if you find something that works you can likely be all in to a carbon oil cooler set up like $350-400 bucks or less including element and lines.
I really wish I had seen that RC-f option before. I prefer to run OEM stuff as much as possible. Mocal (the RR racing one) is a decent quality, I have had a few over the years and will do the job fine as long as you make sure it seats correctly. I actually found a spare thermostatic mocal sandwich plate i forgot i had when I was pulling out all my coolers to test fit. If i had paid attention I could have saved a bundle on that ;facepalm:
I stripped everything down to see what i could get rid of and to pull the airbags. This car will be used on track and I personally dont trust airbags when driving a car at 9/10th I have personally seen more than a handful of newer and smarter airbag systems deploy in cars that are jumping curbs on track. I even saw one go off going down the front straight because the guy in the vette had an uncorked exhaust... Its not pretty and can have some pretty serious consequences. You have to basically remove the headliner and dash board to get all the airbags and SRS brain out safely, I always hate doing anything with airbags as you are literally handling explosives.
Once everything is out including the carpet it let me reach and pull some vent tubes and other rear passenger stuff that I will no longer be using. The rear seats will be replaced with a weld in roll bar. I'm currently designing it so ill still be able to fit and transport 4 wheels/tires or a bunch of track gear to and from the track. The roll bar will also stiffen the chassis considerably and let me safely run some properly set up shoulder and crotch strapped harnesses. The real trick is designing and choosing the wall thickness and tube ID for the cage to be the lightest it can be and still fall within the math of the car weight roll over protection.
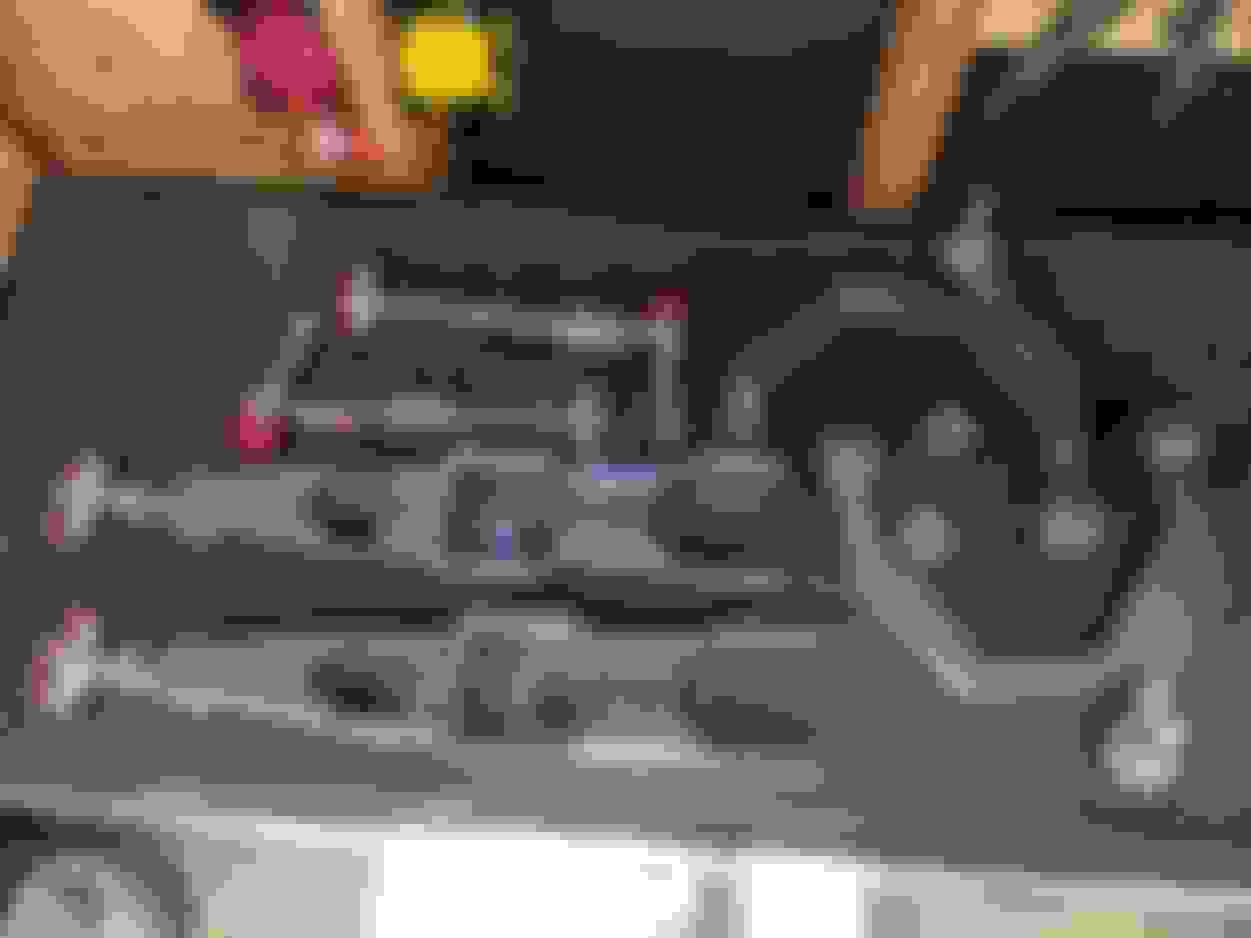
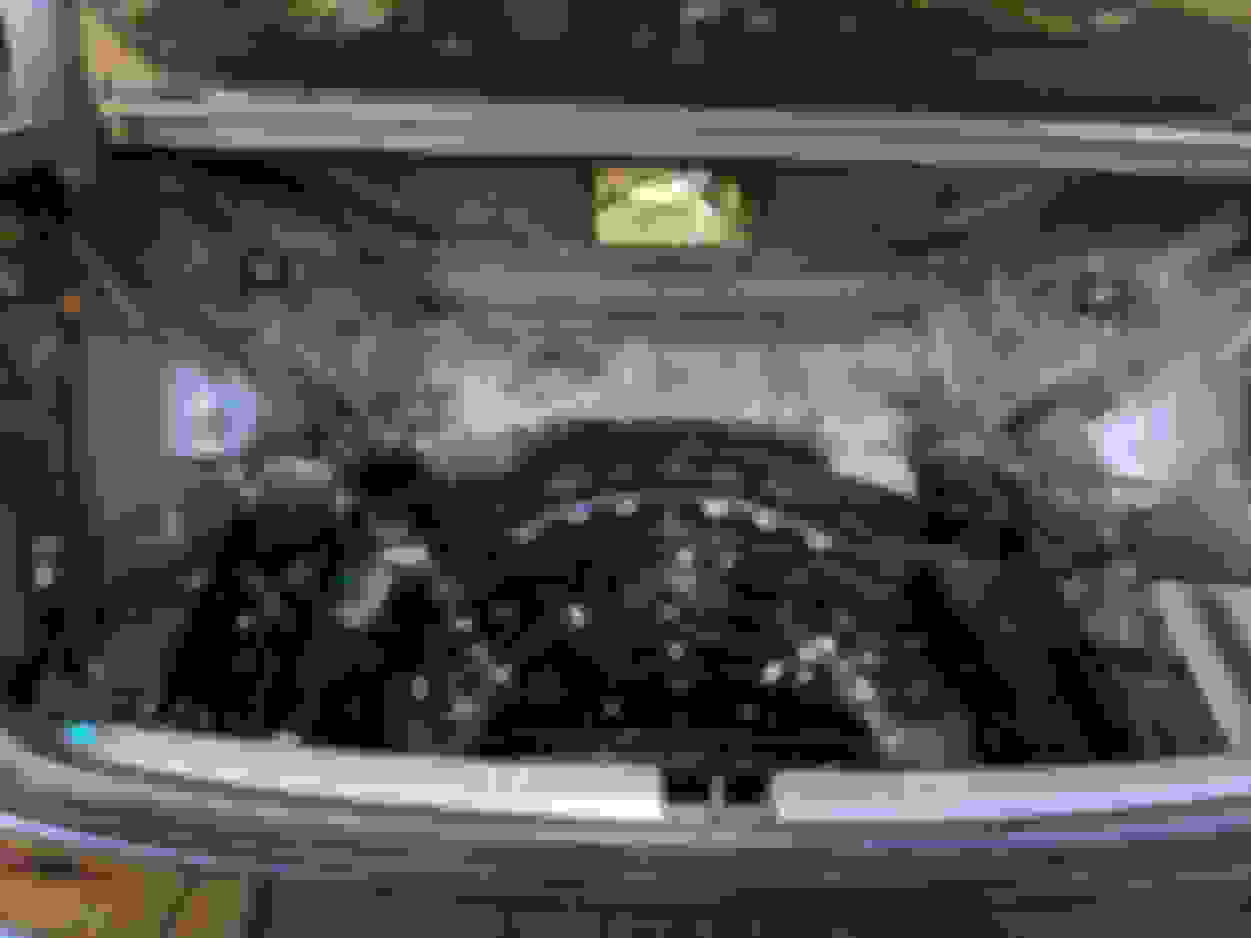
Now that the air bags were out i could get to work pulling some tar.
You want to remove as much of the wires as possible and get some dry ice pellets, dump them on the tar stickers and wait about 5 min. You will hear cracking and popping of the tar releasing from the metal. Once frozen just take a hammer and tap around, if you let it cool enough and you're lucky you should see the tar chip off in huge chunks.
Now that you have the majority of the tar gone vacuum everything up before it goes back to room temp and gets sticky again.
Then use gas and a shop rag to do a final pass on the areas. The gas basically just melts the tar on contact. I did this to be thorough, this will have the carpet reinstalled so no one will ever see it, but I hate leaving things unfinished.
There are two pads of tar to do in the trunk as well.
All in all its about 30lbs of tar you can remove without even getting the stuff way up on the firewall behind the heatercore.
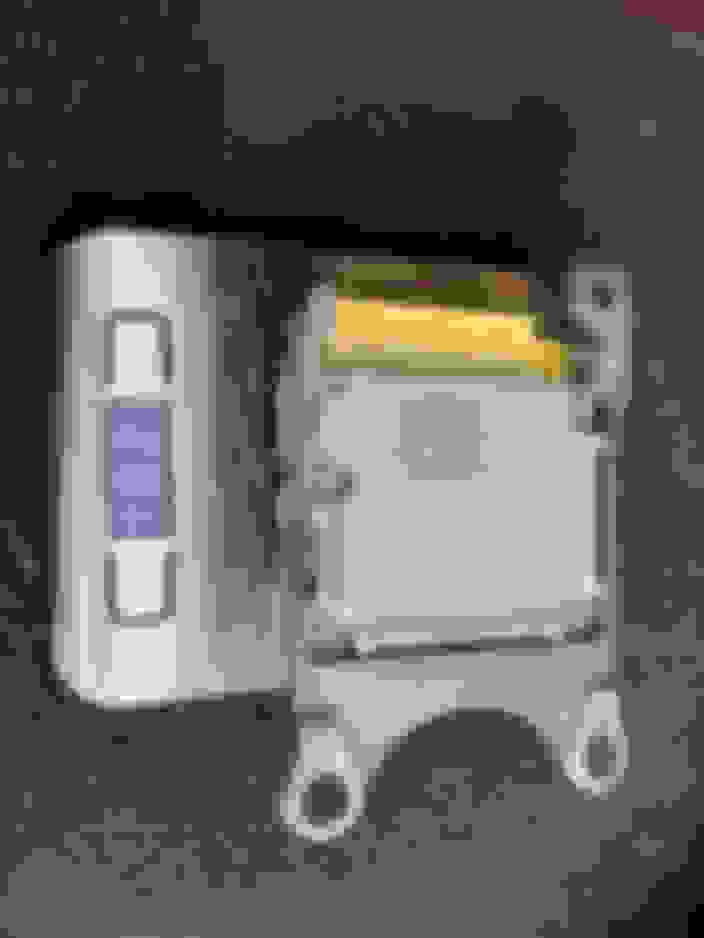
Side curtain airbags weigh about 2.5lbs each with their respective hardware (not weighed here)
SRS brain 10OZ
Passenger and driver Knee bags 3lbz 9 oz.
3lb 14oz with plastics
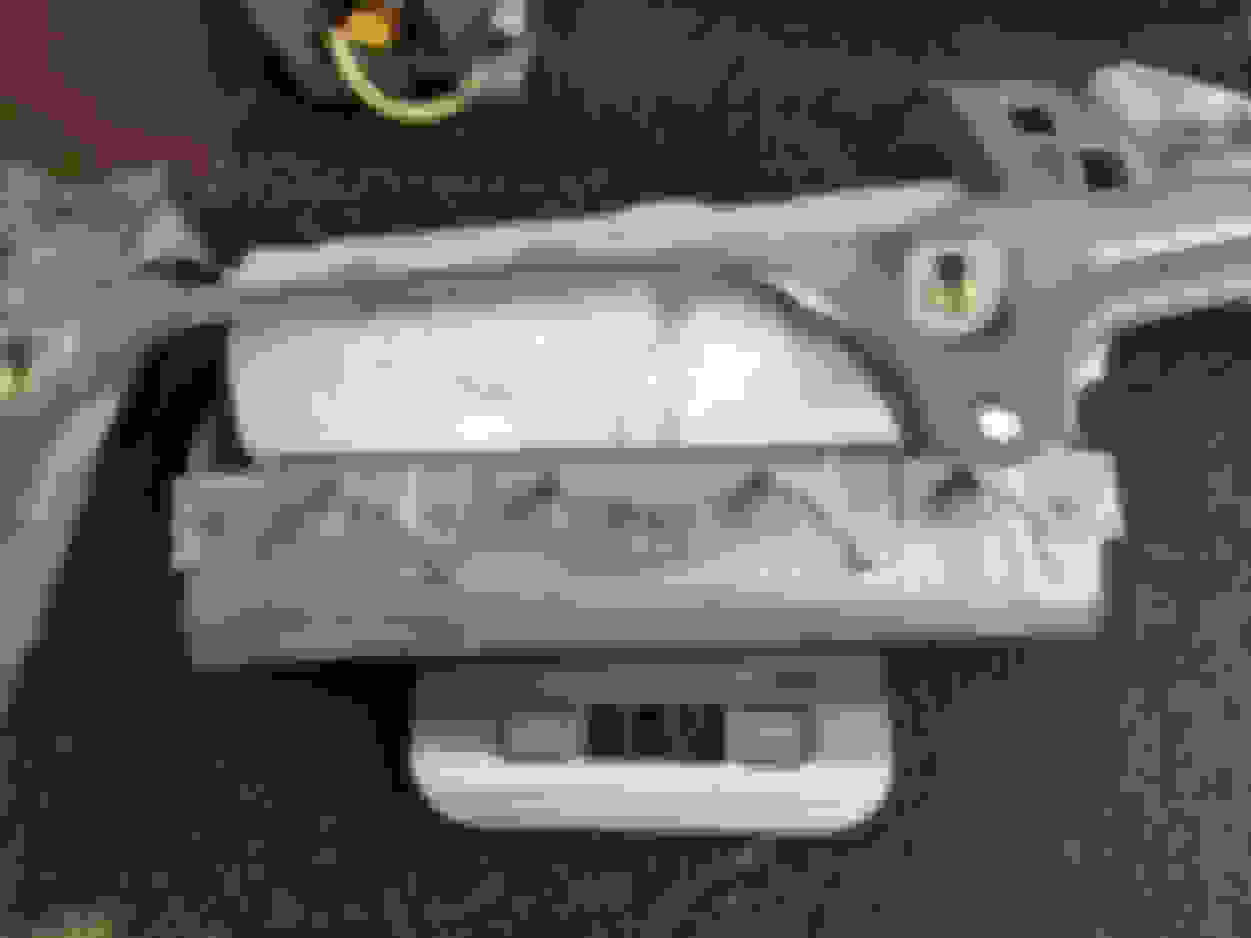
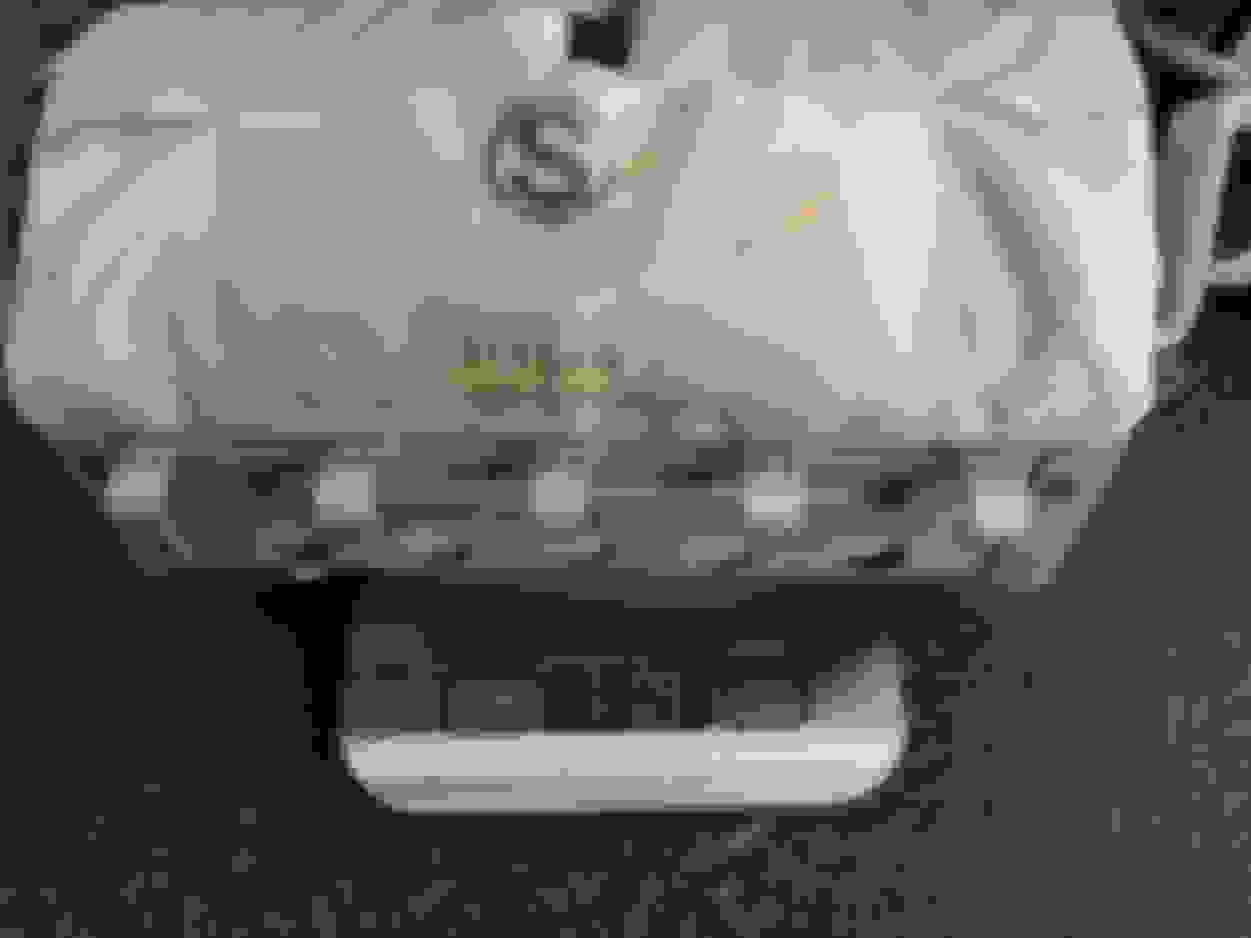
Passenger dash bag is the heaviest at about 7lbs dead.
Other Misc crap I had pulled out:
about 10 lbs on misc seat bracketey plasatics and SRS extensions..
6lbs of engine bay plastics and rear pass floor vents
The remaining parts of the chopped liners were just over 3lbs
1lb 12oz for the trans cooler lines
1lb 5 oz for the washer bottle empty. so around 9-10lbs if full.
2lbs for the OEM brake ducting
9oz for fig lights. Lighter than i though they would be for sure
3lbs 7oz for the rear seat belt retractors . So around 7lbs for both sides in total from up relatively high.
Dry ice to remove the sound deadening is pretty slick. Way better than trying to heat it or chemically dissolve it. I still have to cart my kids in the back of this thing, so I won't be able to strip it down nearly as much. Did you add up the airbag weights? Just curious what the total weight penalty is so you can get punched in the face by Mike Tyson.

 05-20-19, 02:43 PM