When you click on links to various merchants on this site and make a purchase, this can result in this site earning a commission. Affiliate programs and affiliations include, but are not limited to, the eBay Partner Network.
Whats up everyone I've started my first jz build and I'm super excited to finally post my progression. Motor: 92 2jz-ge non-vvti from my pops totaled sc300 150,xxx original miles. Car: 1988 Toyota cressida(mx73). It was pulled a few years ago and has been sitting in a garage since then. In May of 2018 I decided to bring it home and start the tear down and inspection!
Parts obtained:
aristo ecu non-vvti
map sensor
ds62 ignitor
tps
q45 throttle body
Gte headgasket
Arp head studs
ACL std. rod bearings
Oem rings
Knock-off ffim
Gte front sump upper/lower pan
Fc 460cc injectors(high impedance)
Treadstone cast manifold
Walbro 255 lph
2j bell housing
2jz flywheel
Parts needed:
Universal IAT
3/4 wire 02 sensor
ecu/ignitor pins
IC + piping 2.75"
motor mounts
throttle cable
turbo rebuild
gauges
wideband
alu rad
electric fans
time+money
wastegate
My dads 82 pickup
Delivered
Started by removing harness and intake
Just motor now
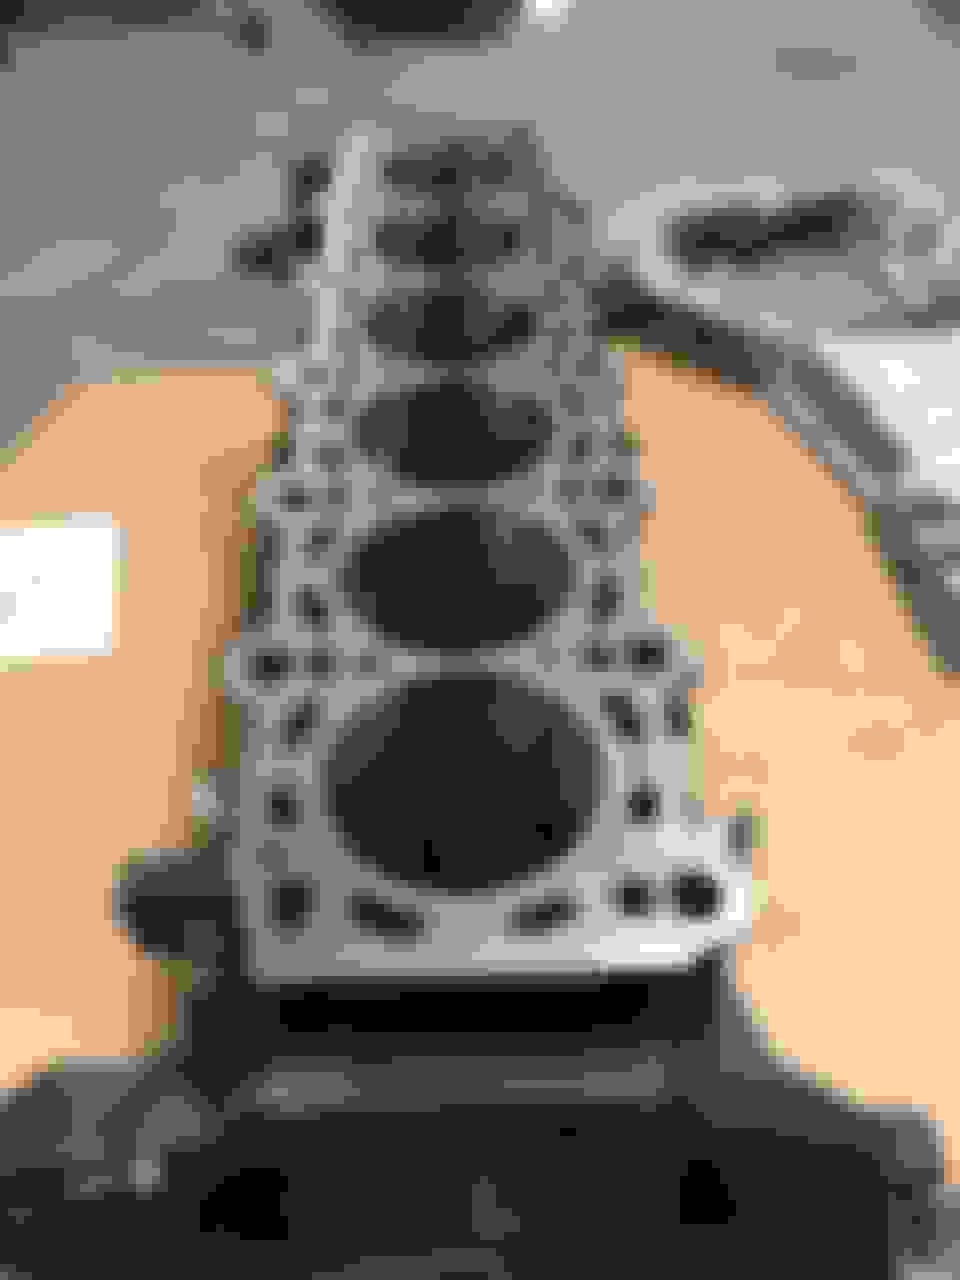
Removed head to inspect surface
Rust and corrosion from sitting for years, cross hatching still visible surprisingly
Started to clean surface and decided it needs more work. Found pitting on deck, the block requires more work than expected so it's time to go to the machine shop, but then I started thinking about rings and bearings..
Heres what its going in. Currently stock motor with w58 conversion, 272 regrinds, and pacesetter headers.
Will post current parts list when I upload the pics.
Last edited by 73luxury; 01-10-19 at 11:41 PM.
Reason: adding information
A good friend of mine totaled my old MX73 w/an NA 2jzge vvti installed (w/w58). I miss that car all the time. Super fun chassis, you'll love the combo!
A good friend of mine totaled my old MX73 w/an NA 2jzge vvti installed (w/w58). I miss that car all the time. Super fun chassis, you'll love the combo!
yeah i love it, ive owned it since 12' my buddy also has a ge vvti in his x73 so its not uncommon. My other buddy just finished his 1j swap also. Cant wait to take it to the track man!
Inspected crank for anything loose, foreign objects, and metal shavings. Check.
Removed head and bottom end. Hardware is bagged and tagged, parts are separated and organized.
Main and rod bearings were in excellent condition still, no gouges or scratches which means the oil was maintained and properly serviced. Looking good so far! Crank is stored in the upright position until it's dropped off at the machine shop. I called a local shop and was quoted $500 for head/block resurface(for mls head gasket), cylinder honing, crank micro-polishing, crank and rod clearance inspection, and parts bath.
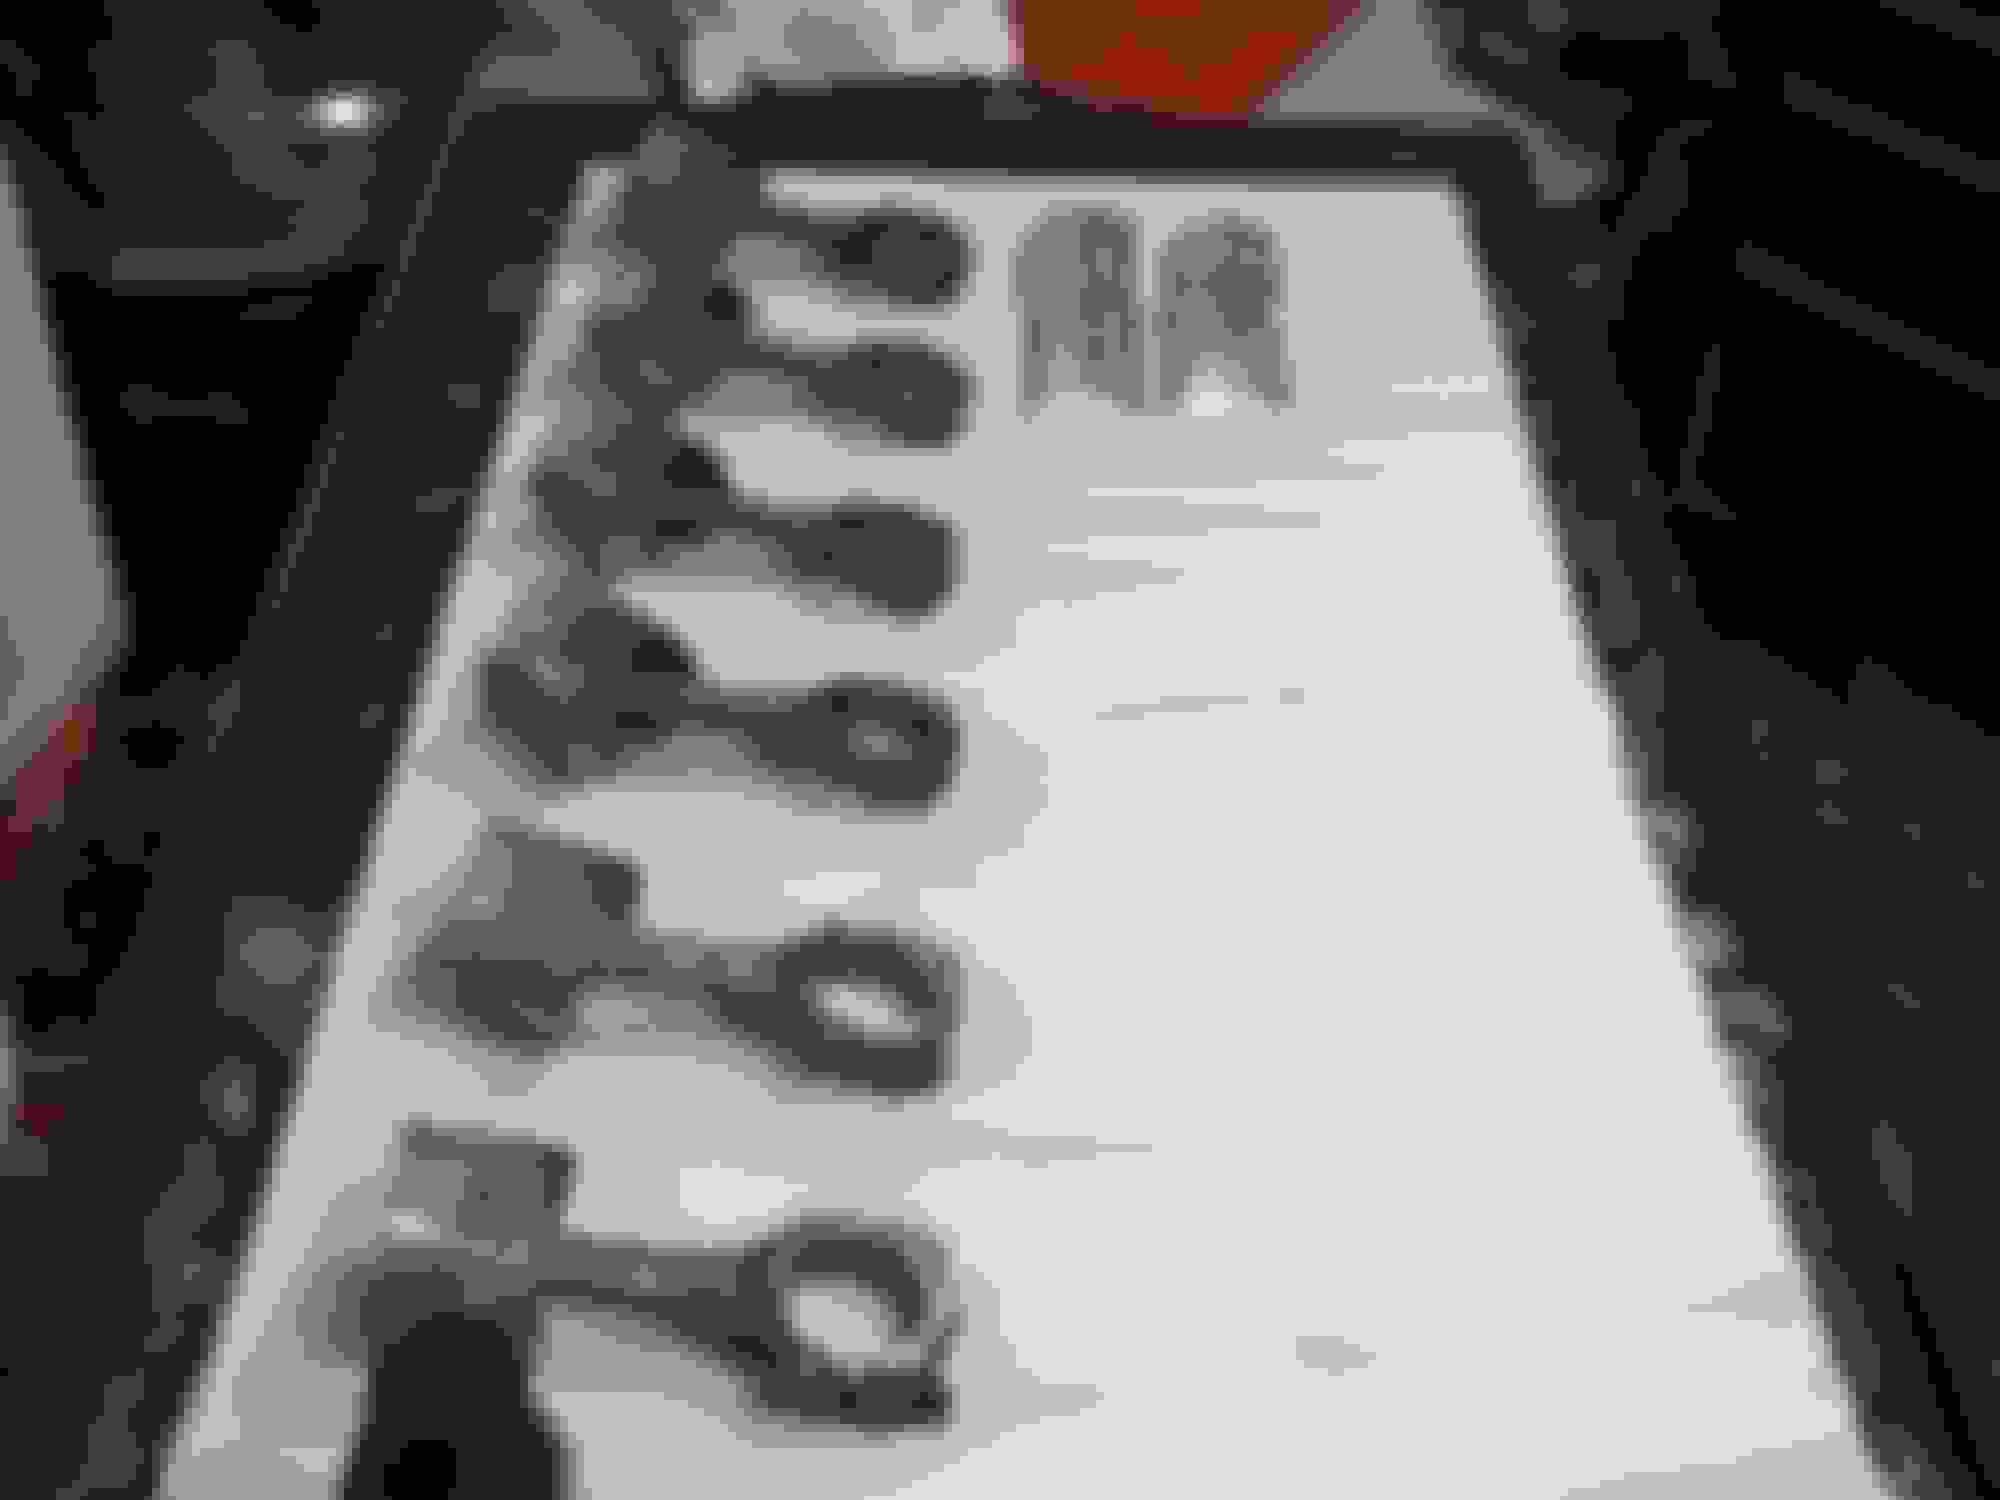
Removed cams, buckets, and valve springs. Again, keeping everything in order to make reassembly easy.
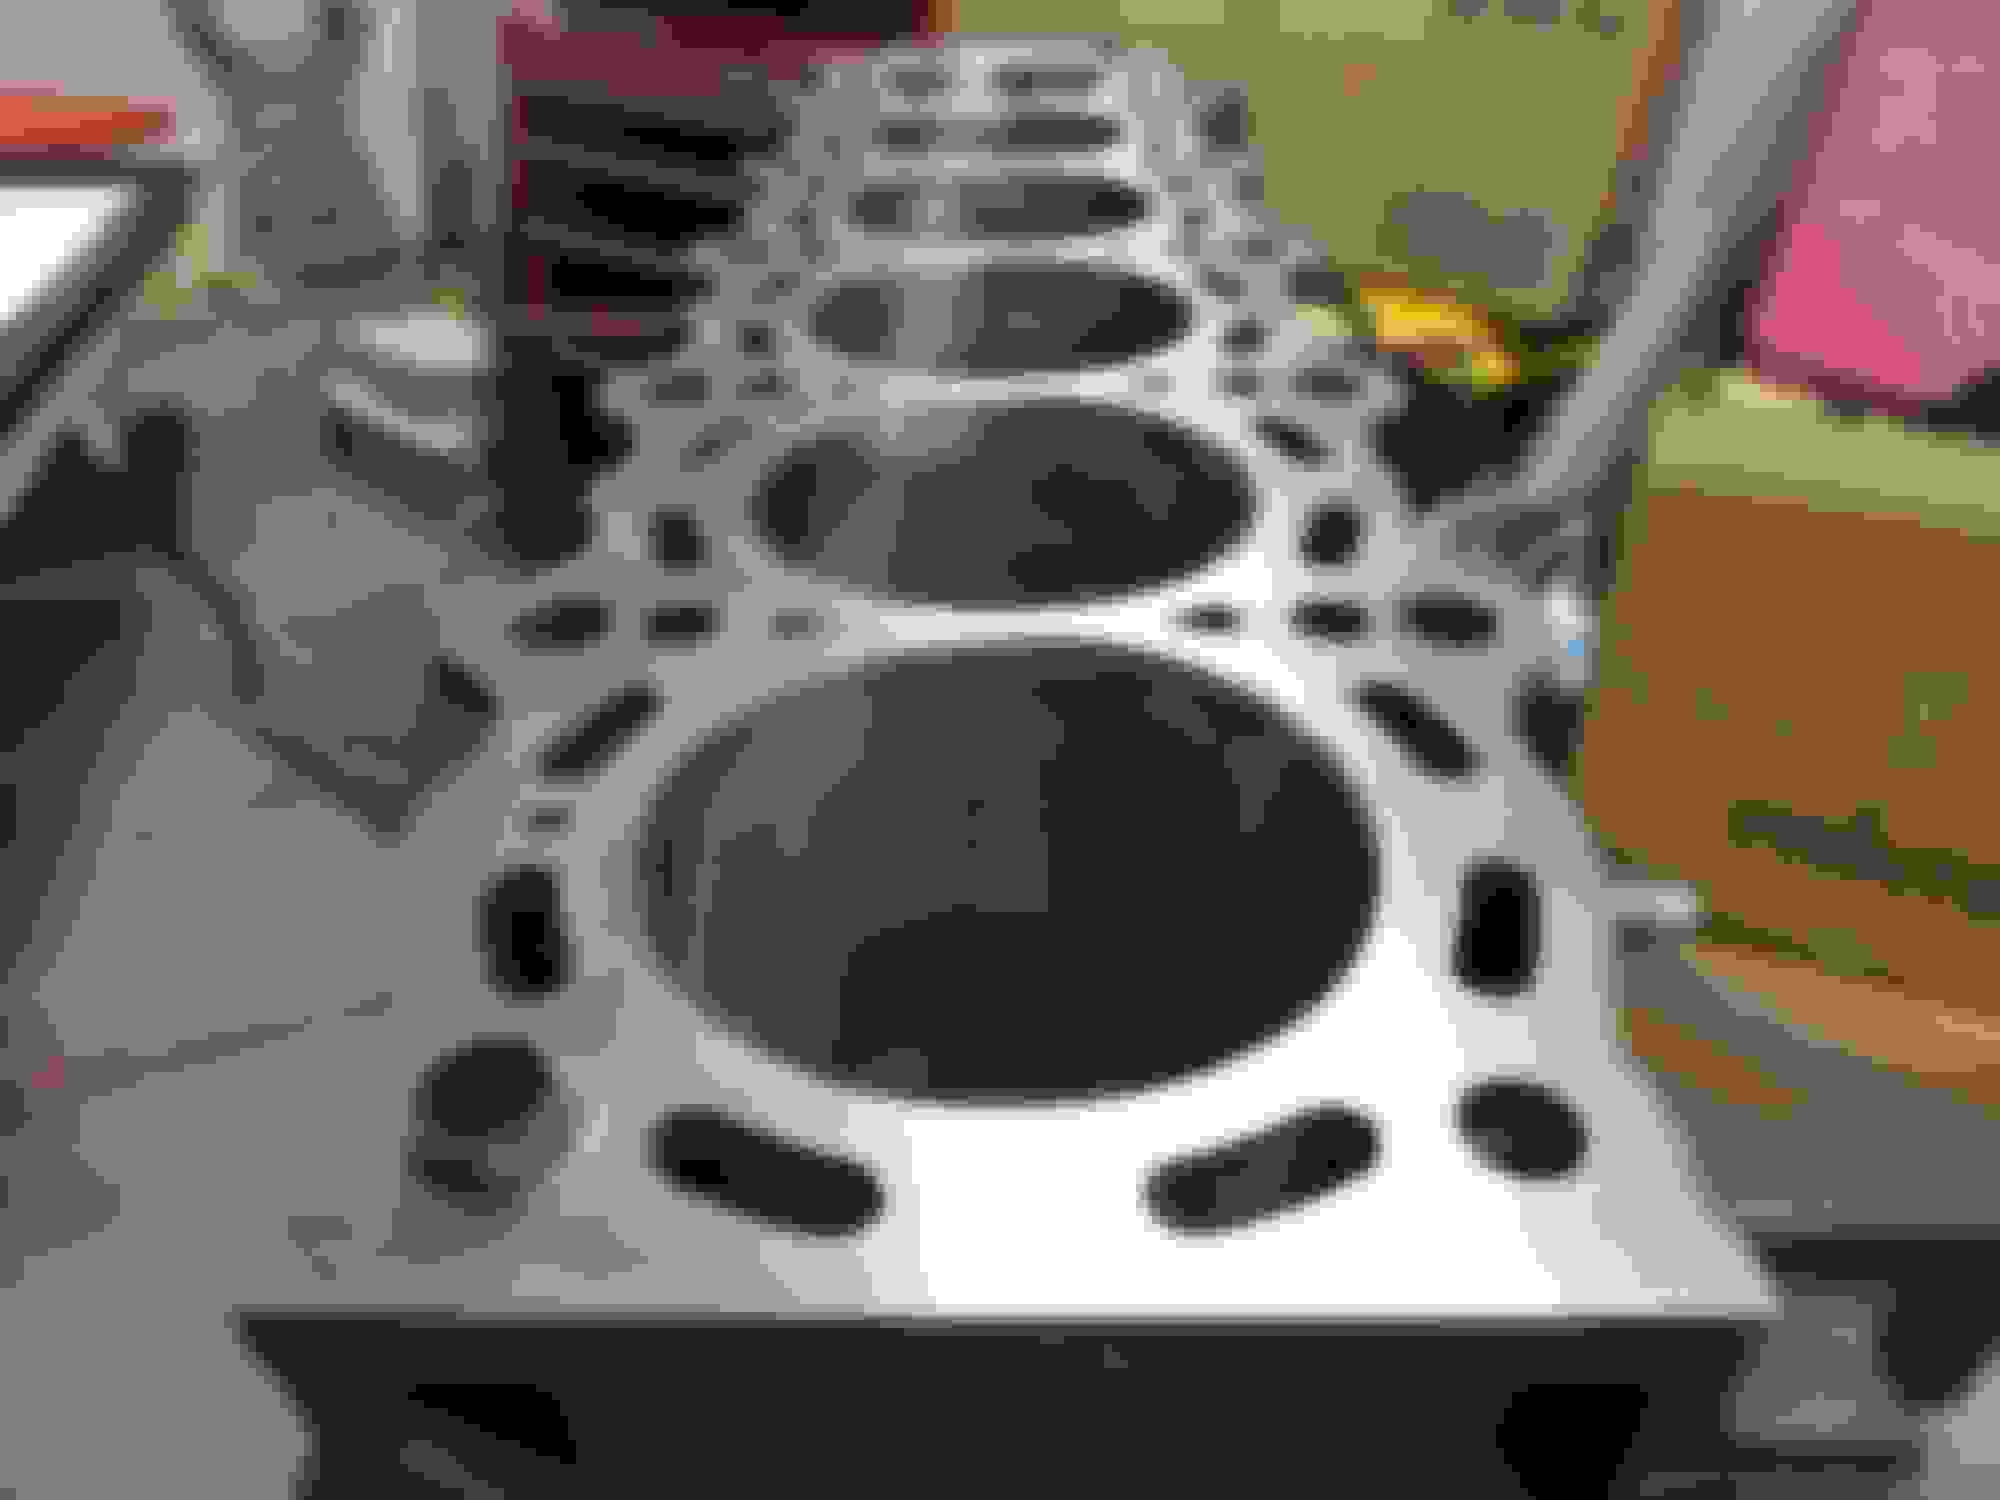
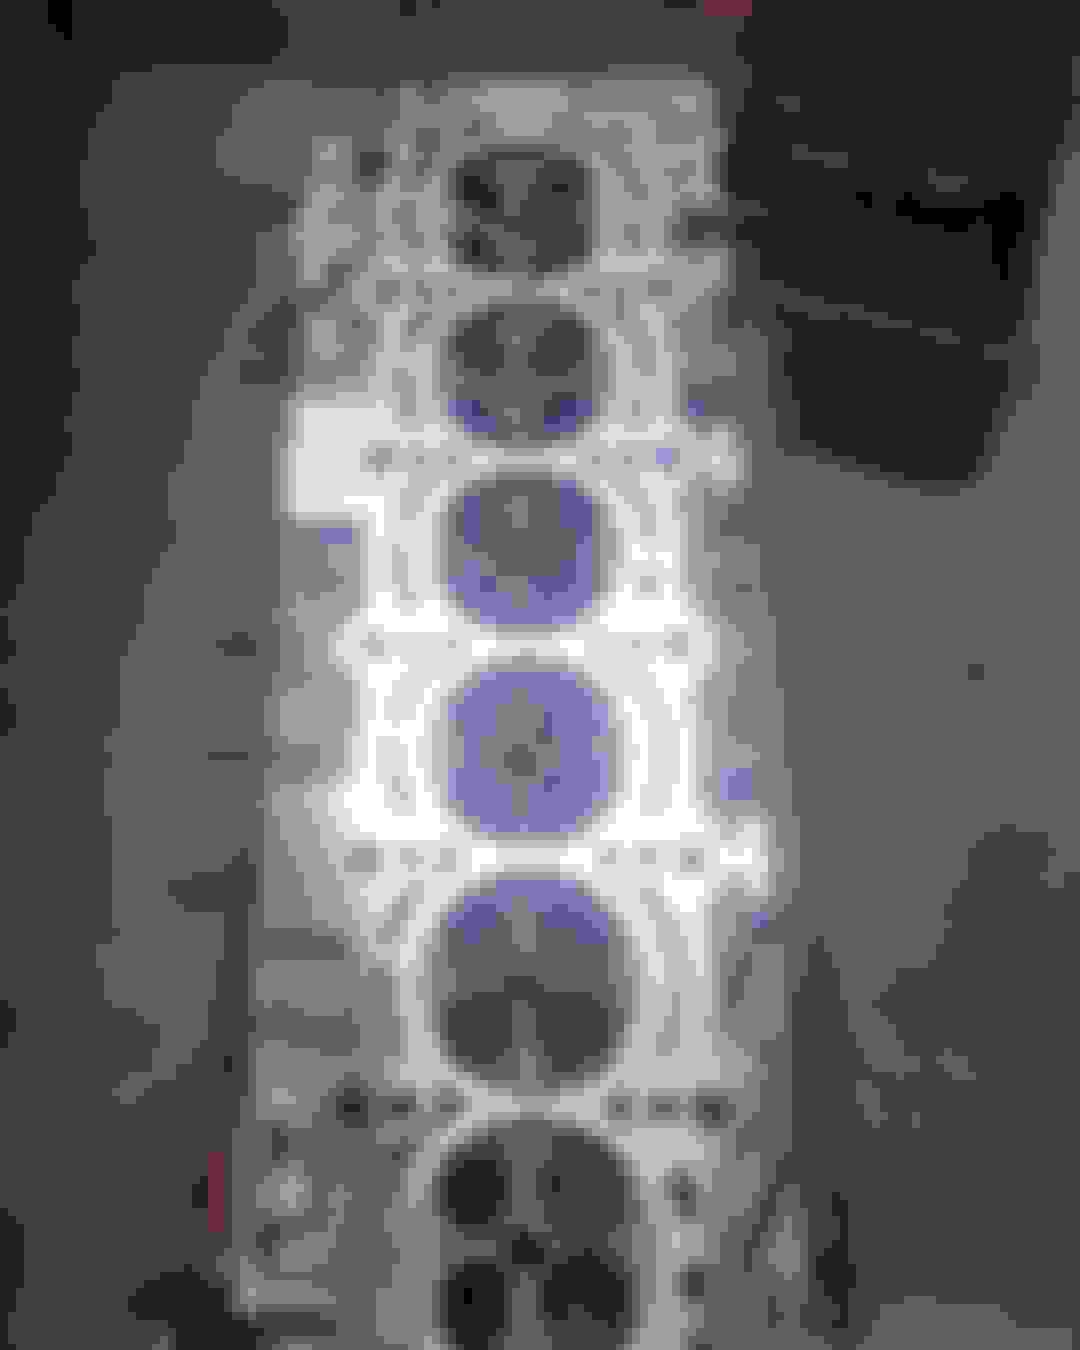
Here is the cylinder head removed before the machine shop
Got the head resurfaced, nice clean cut now. Now I'm waiting for the block, crank, and pistons to be finished and the word on the bearing clearances to see what parts will need to be replaced.
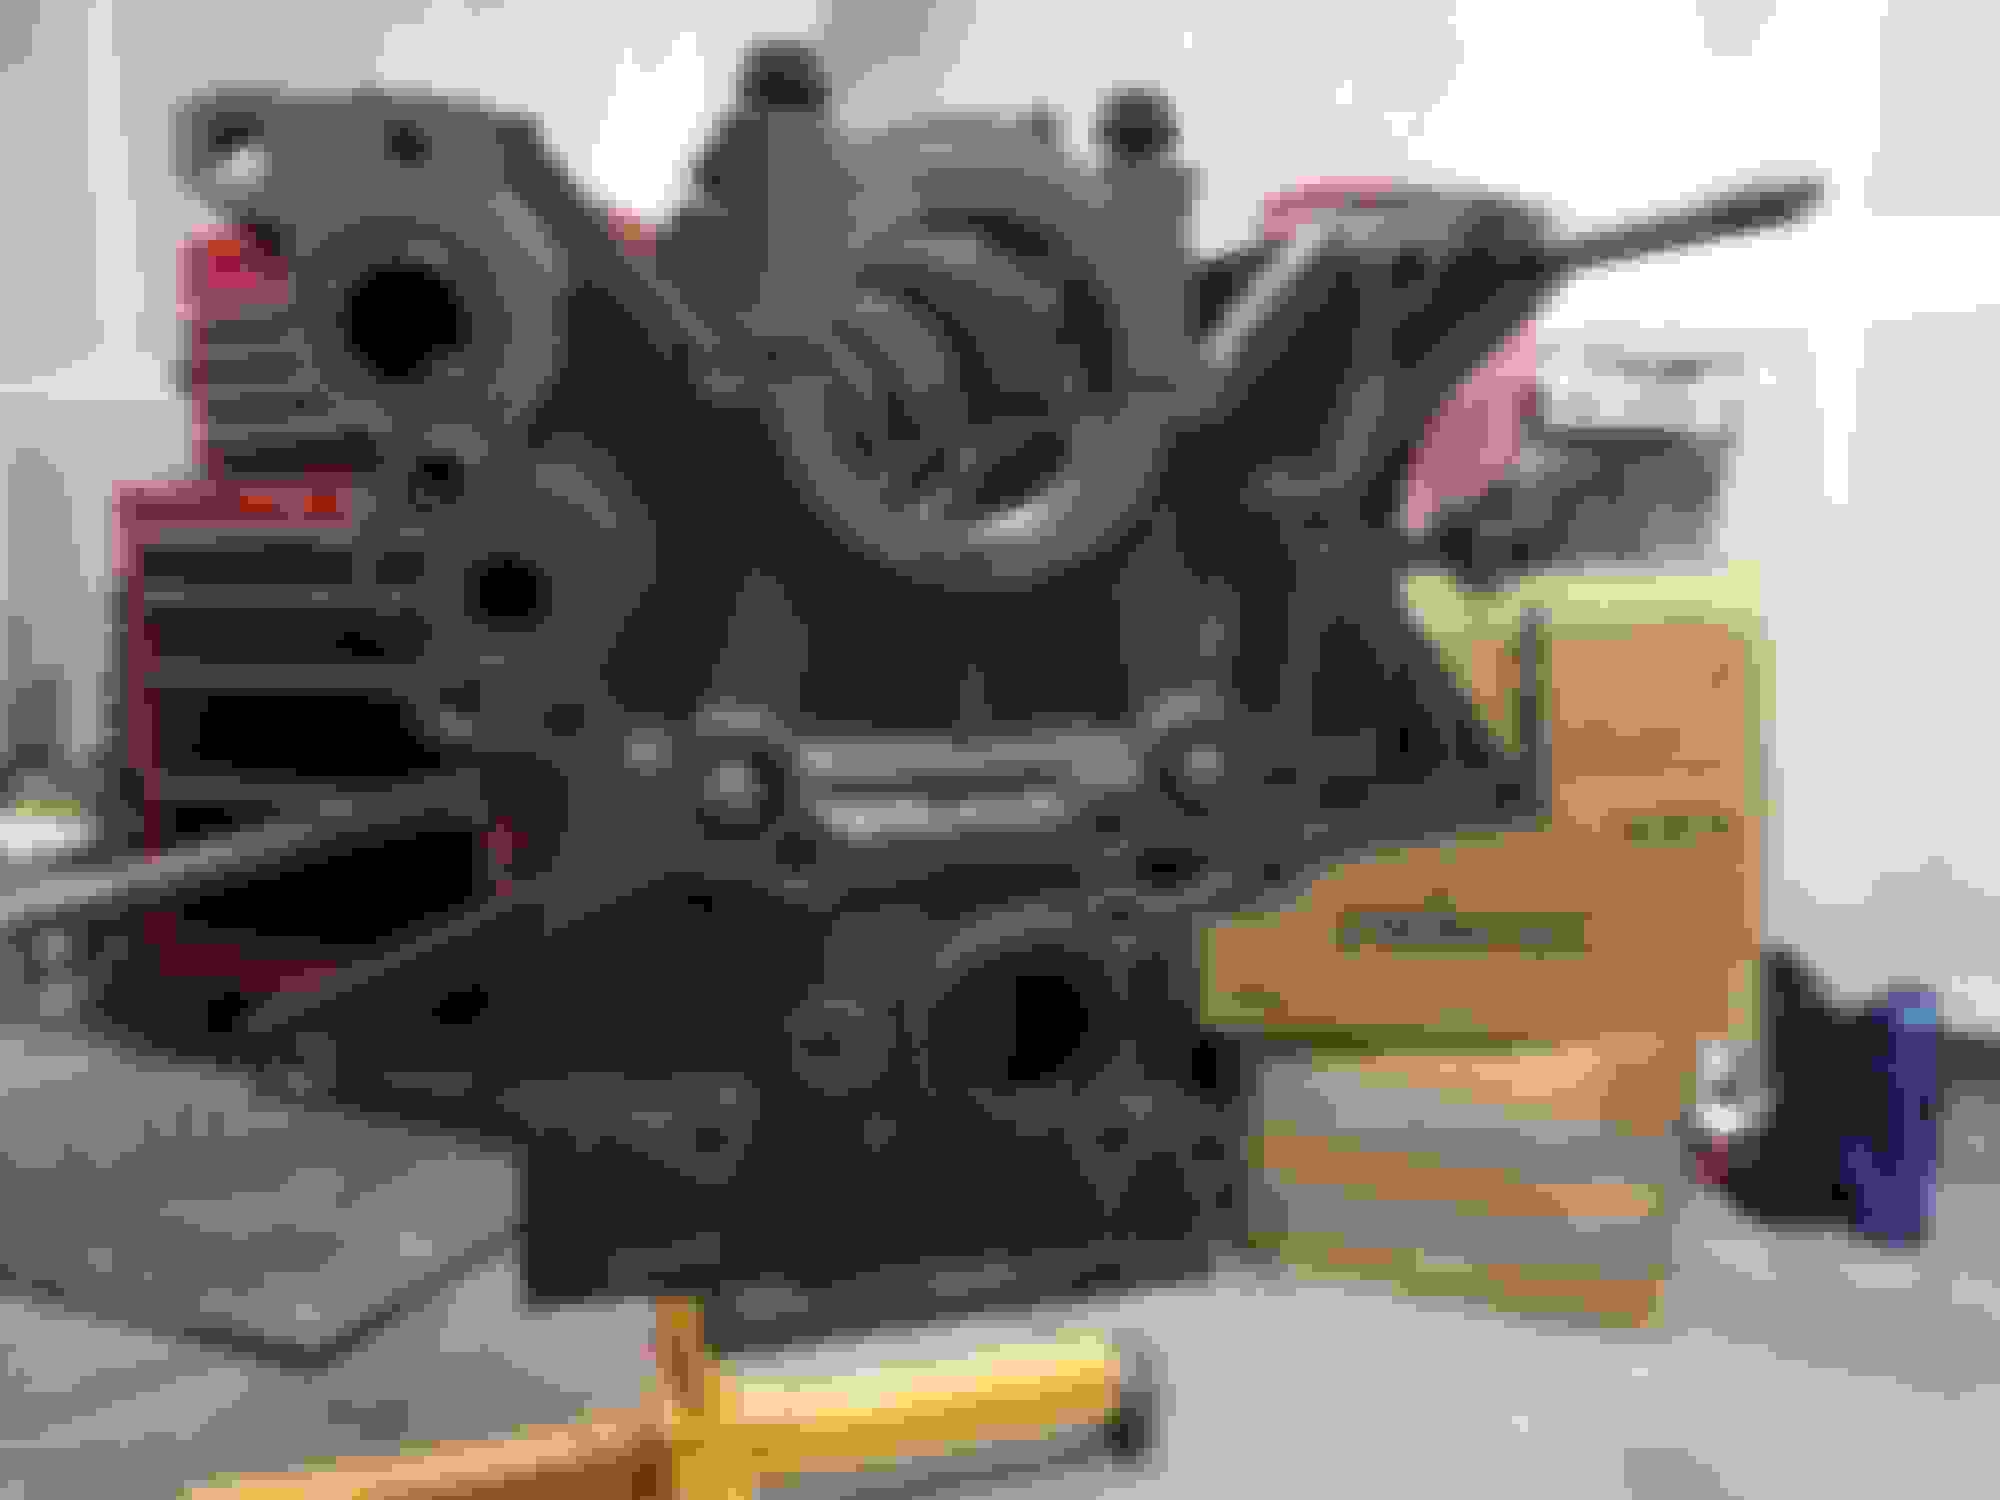
Whats up everyone, heres the block decked, honed, and cleaned from the machine shop. All measurements are in spec and ready to be reassembled. Surface has been machined for mls head gasket
Here is what the piston looked like before, oil stained and carbon build up all over the place
This is after soaking in Chemtool really good stuff if you have the patience, roughly an hour on each.
Soaked some more and used a plastic bristle brush to help break down the carbon every 30 mins or so..
Here I used an old piston ring split in half to gently scrape the clumps of oil and carbon in between the grooves(found on youtube) it worked perfectly. No wire brushes were used to clean the pistons. They all came out like this and the oil holes are all clean and clear! Next thing to do is measure ring gap clearances on all cylinders and reinstall.

 01-07-19, 11:27 PM


 . All measurements are in spec and ready to be reassembled. Surface has been machined for mls head gasket