When you click on links to various merchants on this site and make a purchase, this can result in this site earning a commission. Affiliate programs and affiliations include, but are not limited to, the eBay Partner Network.
Didn't find a post on this, so thought I'd post for those looking for a to do.
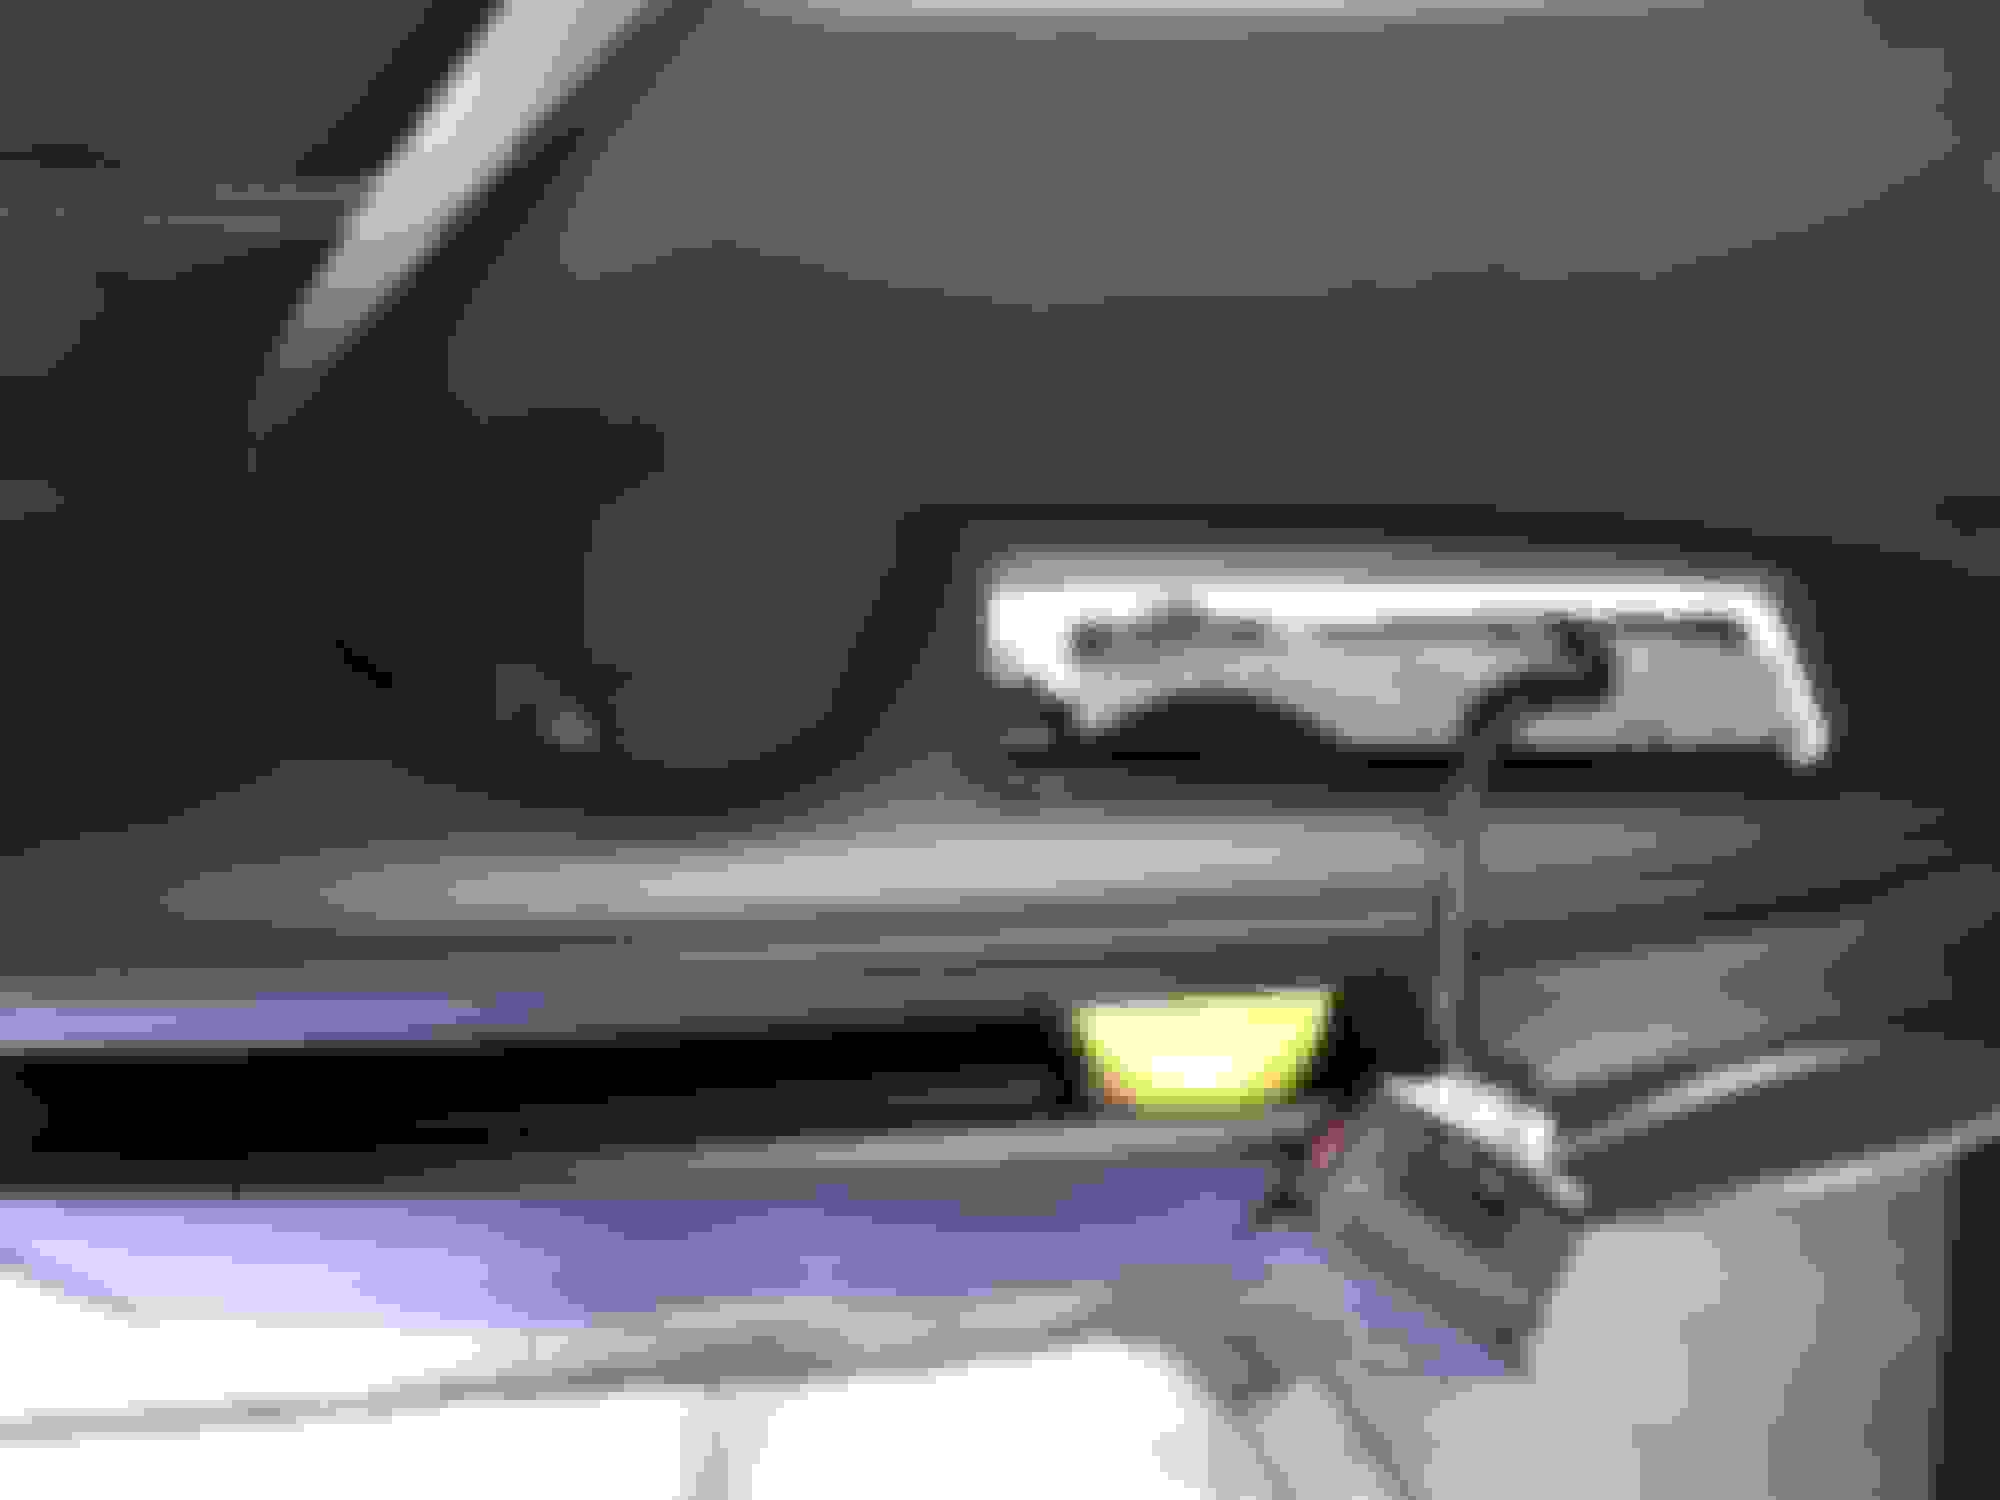
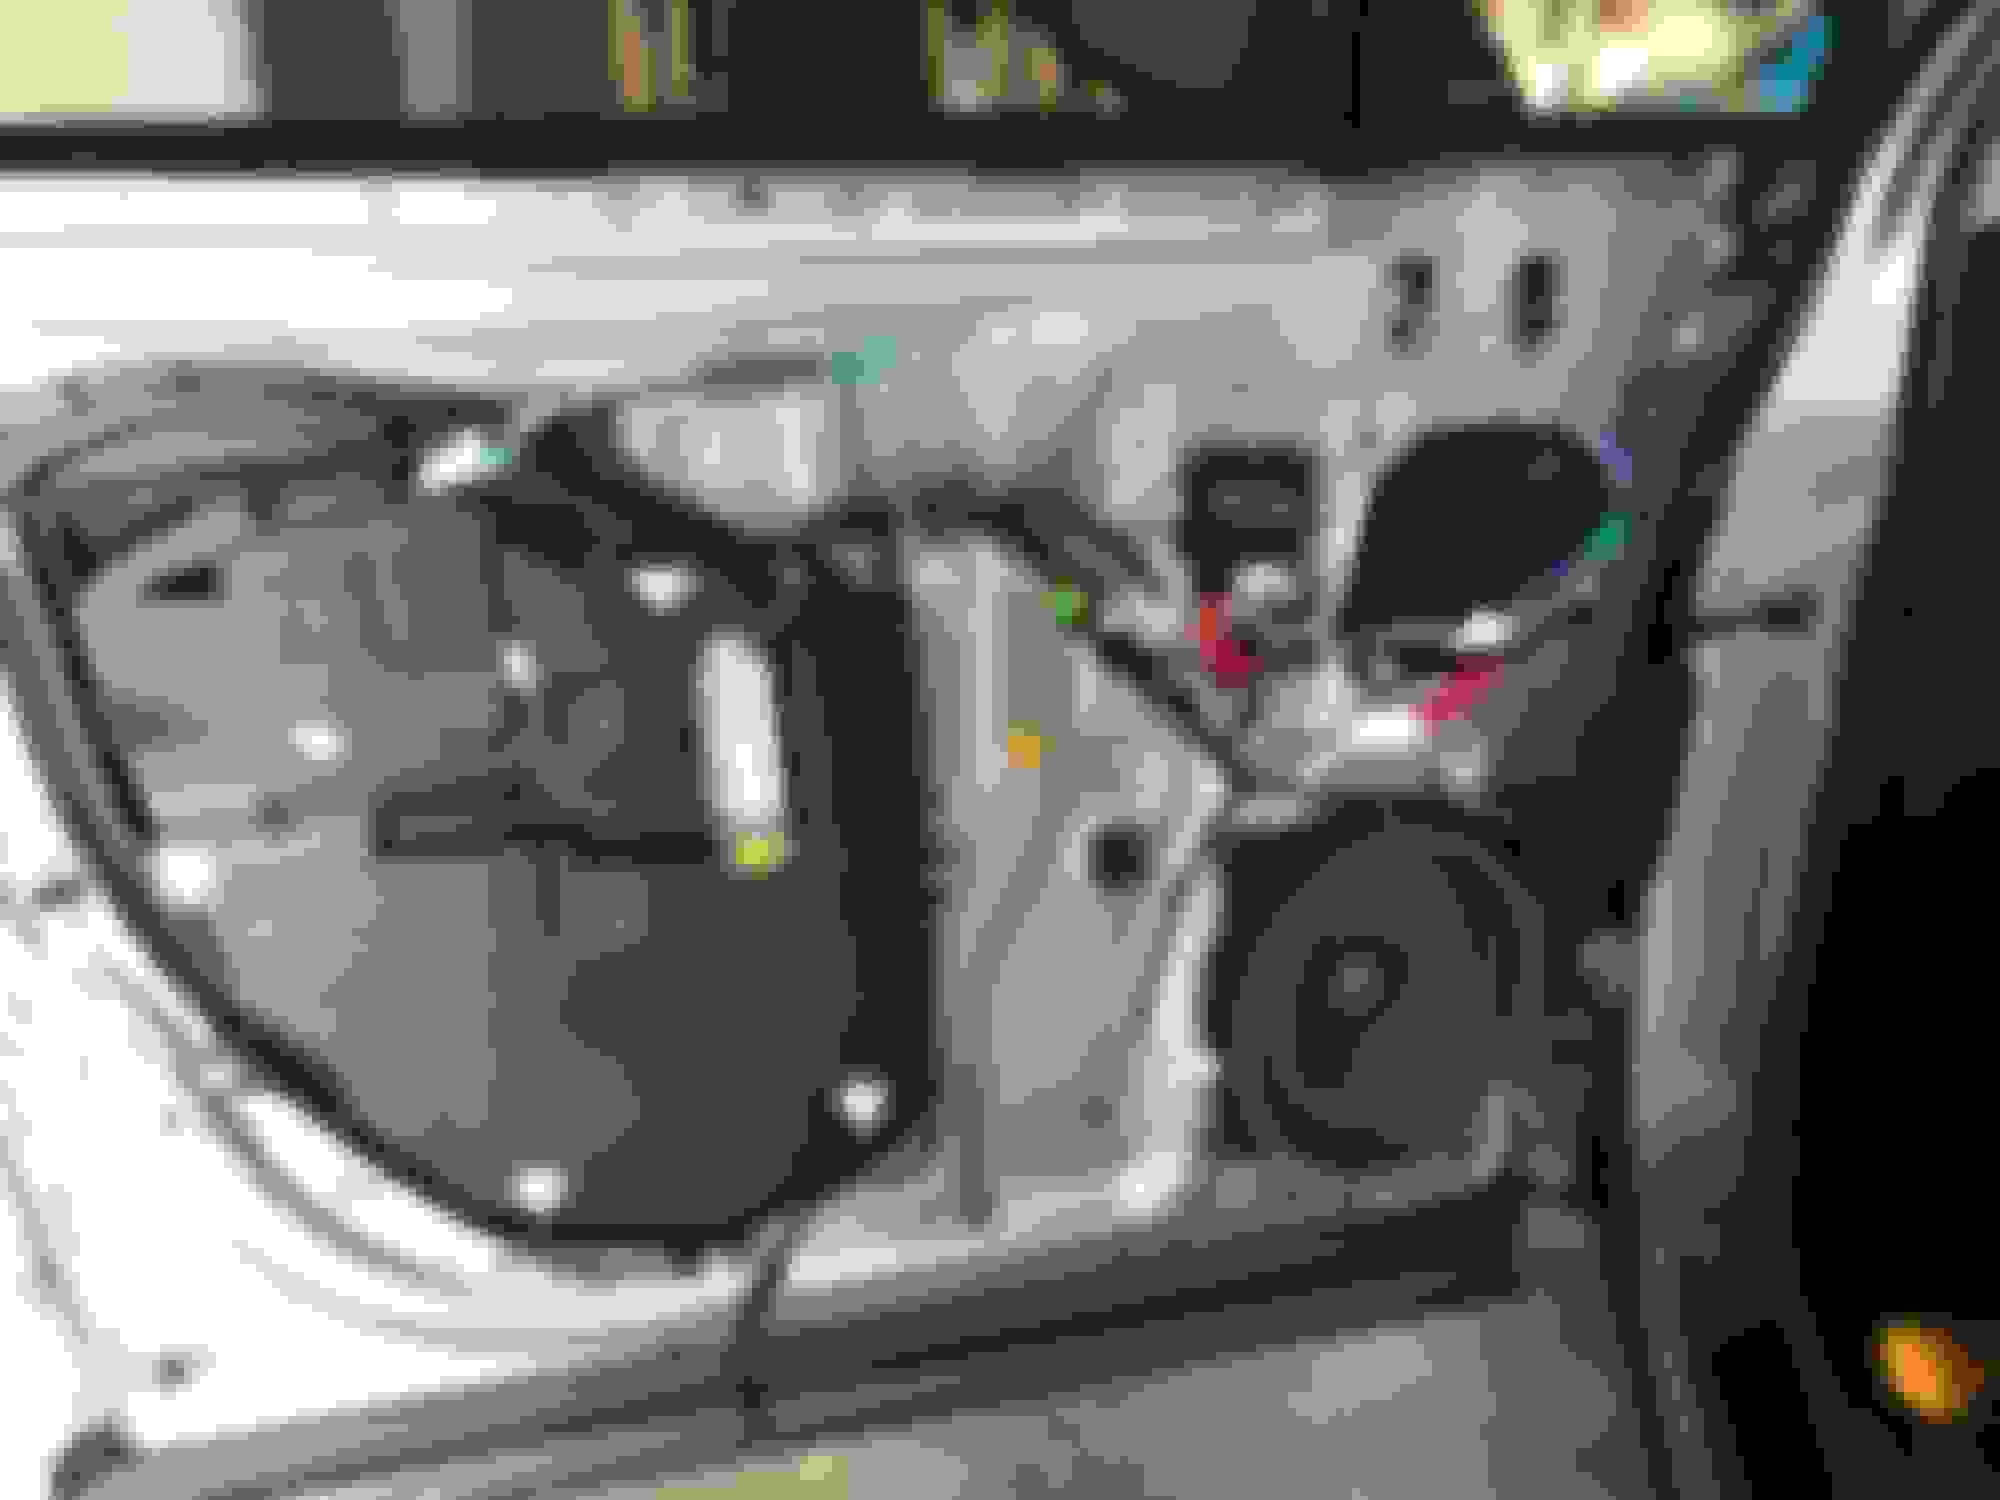
I hate that new cars, regardless of brand, sound hollow when closing the door, so I always add butyl rubber sound insulation (dynamat) to any new car that I buy. Super easy, and inexpensive and improves bass response on the woofer, cuts down on road noise and absorbs reverb from road noise and the woofer. The RX is no different than any other Lexus I've owned when it comes to removing the trim panel. 4 screws need to be removed: The outer door panel, behind the latch, in the hand grab and underneath the window electronic. See the pics for reference. DO NOT ATTEMPT THIS without the proper pry tools made of plastic. The doors are not leather trim. The are NuLuxe which is very thin and fragile. Even in the luxury $60k RX, they are not leather. If you attempt this with metal tools, you will damage the NuLuxe. What amazed me when taking the panel off is that 1. Lexus had a 2x2 patch of rubber butyl attached to the door... useless. 2. The woofer on the Levinson system is a crappy paper cone.... Amazing what DSP can do to a system. I highly recommend adding this to the doors as the result is significant and the effort is minimal. Took me under an hour to do both front doors.
Oh... remove the speaker to add the dynamat.. Don't bother removing that big plastic panel. Tore my hand up trying to get it off on the first try. You can reach the entire door through the speaker hole.
Lexus had a 2x2 patch of rubber butyl attached to the door...I highly recommend adding this to the doors as the result is significant and the effort is minimal. Took me under an hour to do both front doors.
Inhave been thinking of doing this. Did you remove the existing dynamat or pasted it on top?
Inhave been thinking of doing this. Did you remove the existing dynamat or pasted it on top?
How much dynamat did you need per door?
I tried removing that small square, but it was a losing battle. I went over it with the new stuff. I'd say overall it was probably somewhere around 6 square feet per door, give or take. To achieve the desired effect, You don't need to paste every square inch with dynamat. I just made sure that a majority of bare, flat metal was covered. The result was great. My hand are a little tore up from getting sliced by the foil ends of the dynamat, though!
Pity that you did not post a pic of what your door looked like with the dynamat attached prior to re-assembly. I would like to see what you did. You also mentioned speaker removal -- did you put dynamat behind the speaker?
The four screws are 1. behind the door latch 2. under the felt in the hand grab on the door 3. under the window and door lock module 4. on the outer edge of the door as a rubber bumper.
yes, installed a dynmat-like butyl rubber foil product. difference is significant.
The four screws are 1. behind the door latch 2. under the felt in the hand grab on the door 3. under the window and door lock module 4. on the outer edge of the door as a rubber bumper.
yes, installed a dynmat-like butyl rubber foil product. difference is significant.
How much of a difference did the dynamat make? Is it lower road noise or better sound out of the speaker? In my past experience with dynamat, it just makes the door rattle less with loud base playing out of the speaker, but hardly any difference in road noise. Most of the road noise comes through the window.
This is is why high end car audio systems usually place some sound deadening material like dynamat behind the speaker.
The dynamat improved the bass in the front as well as cut down on rattle. Don't think it did much for road noise, however, the door sounds much better when closing. Doesn't have a hollow tin sound.
I'll be doing the rear doors later this week.... will post then.
Any tips on the rear doors? Or are they similar in removal to the front? I'm interested in the verdict for the final result as well. Is it worth the trouble to dynamat all 4 doors?
Opened up the front doors only after having the car for a few days. Added some sound deadening tiles all over the place.
It was a quick job and only took an hour or so, mostly cutting the material and measuring. I didn't do the rear doors yet but I did try for a minute to get the window switch out from the panel. Was really stuck it in so I gave up, hah.
Impressions:
The same process of installation with my '15 Subaru WRX
No more "tin can" sound from tapping the door
Audio... eh I suppose it's better
Sound deadening... I would've gone full-full by using foam but wasn't about to spend more time on this
If you're keen replace the plastic speaker mount with an MDF mount, better still replace the speakers too.