When you click on links to various merchants on this site and make a purchase, this can result in this site earning a commission. Affiliate programs and affiliations include, but are not limited to, the eBay Partner Network.
I did replace mine, and it fixed the problem of screeching radio and Bluetooth audio. Here is a step-by-step pictorial. Hope it helps.
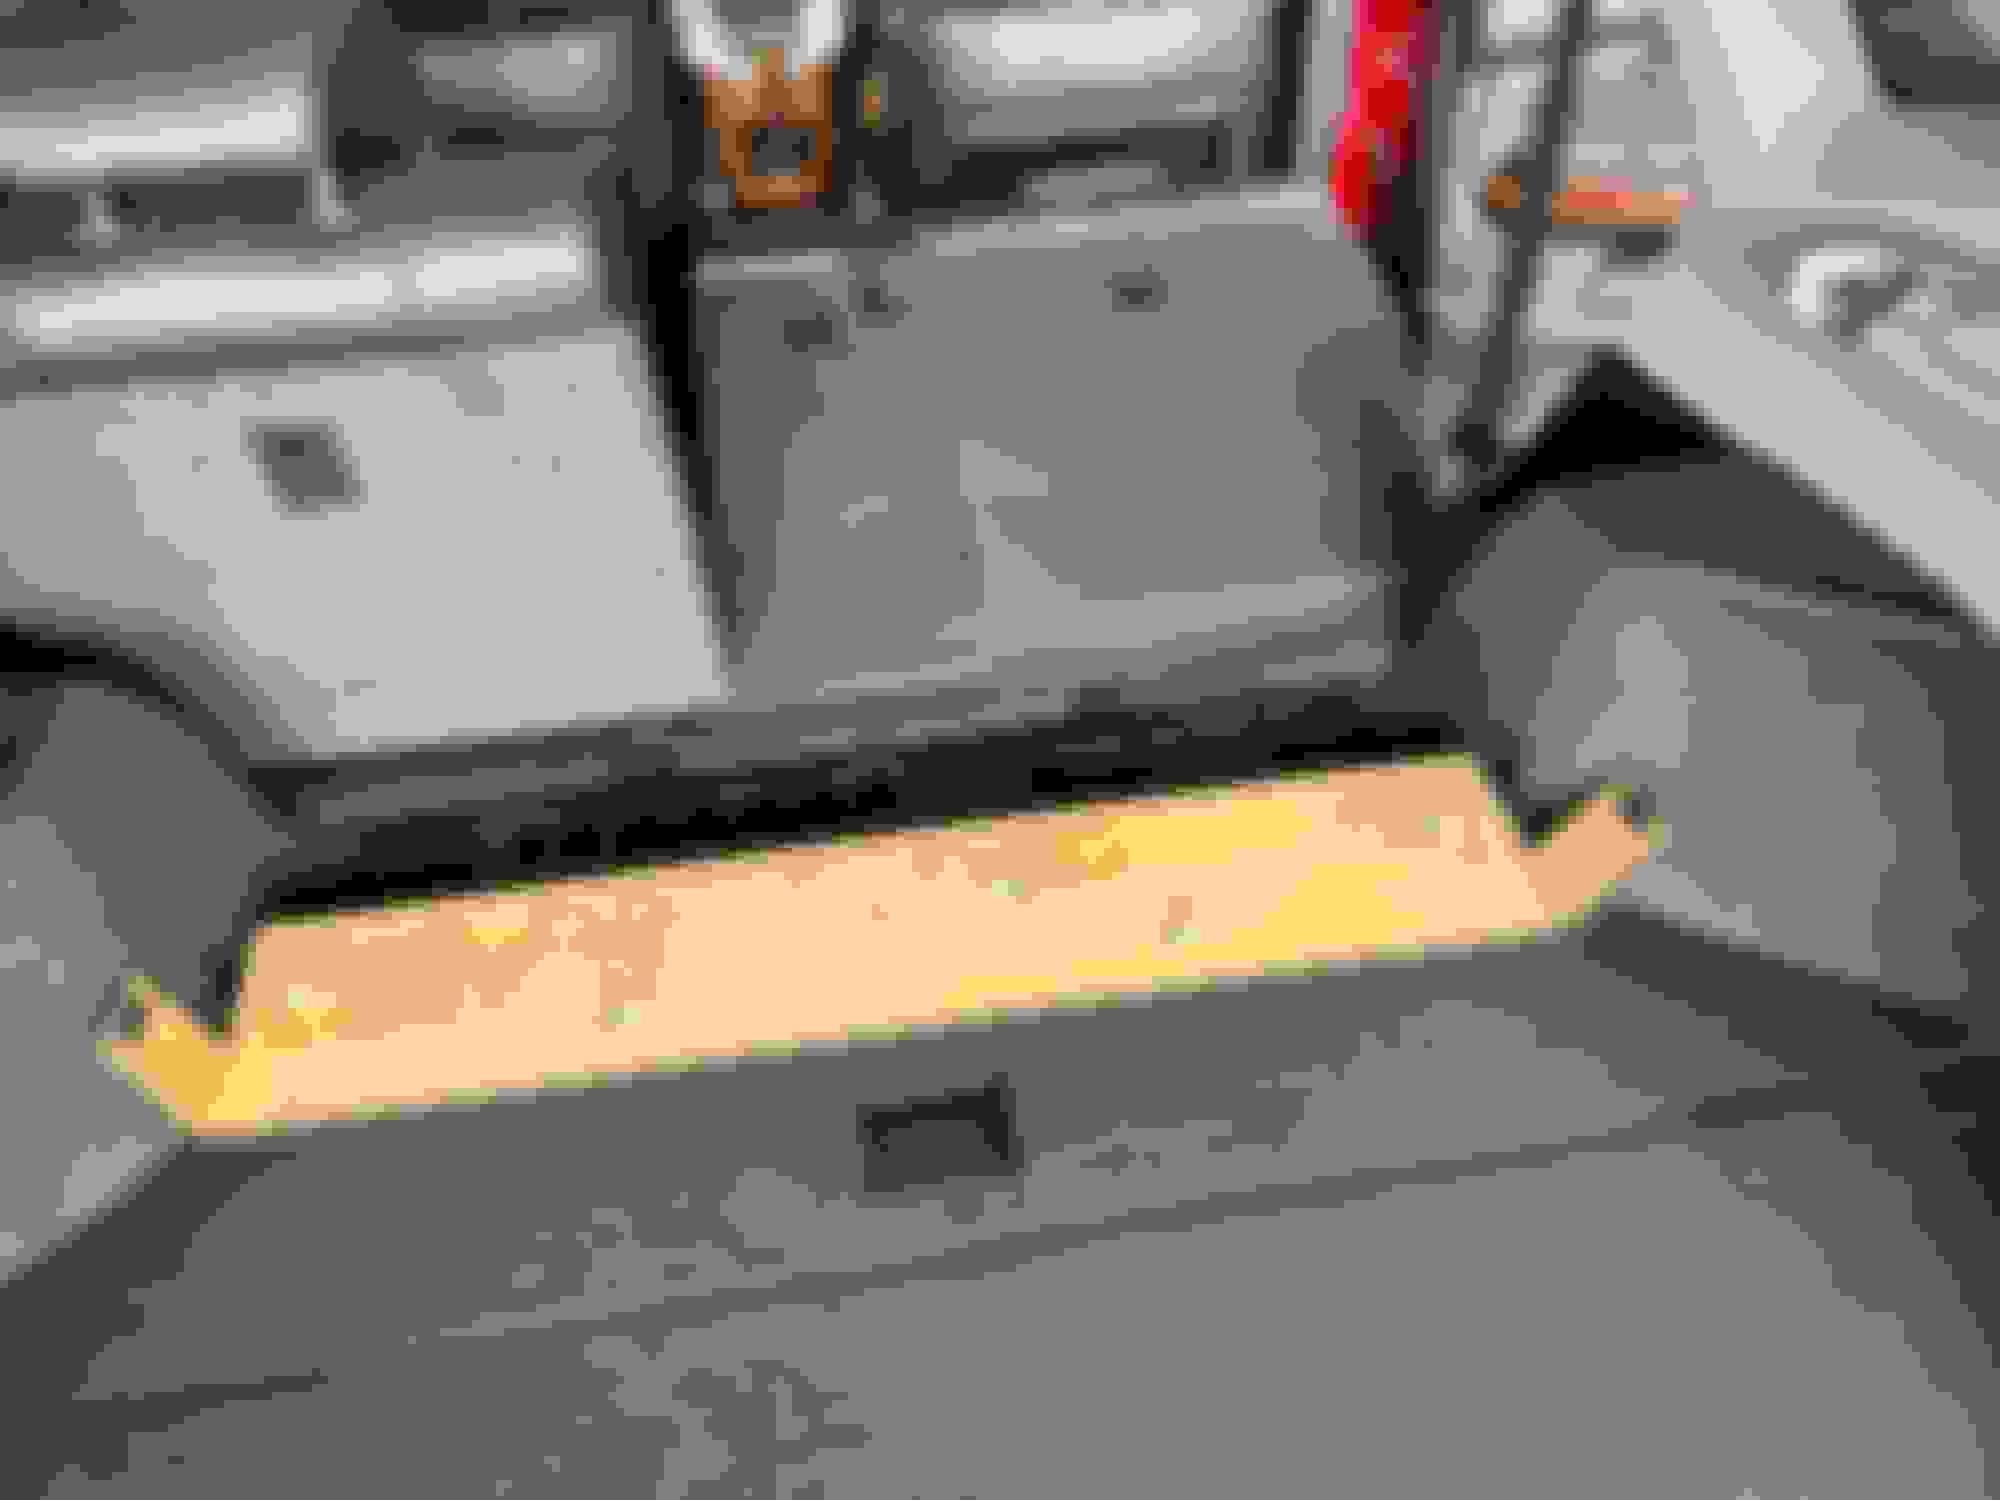
This is where I started. View is from the rear of the car, with hatch open. Two tips: 1) Take pictures at each stage so you can retrace your steps during reassembly. 2) Bag and tag the various screws and bolts so you can remember what goes where.
Flip over this carpet-covered wooden piece and remove the screws/bolts that hold it down.
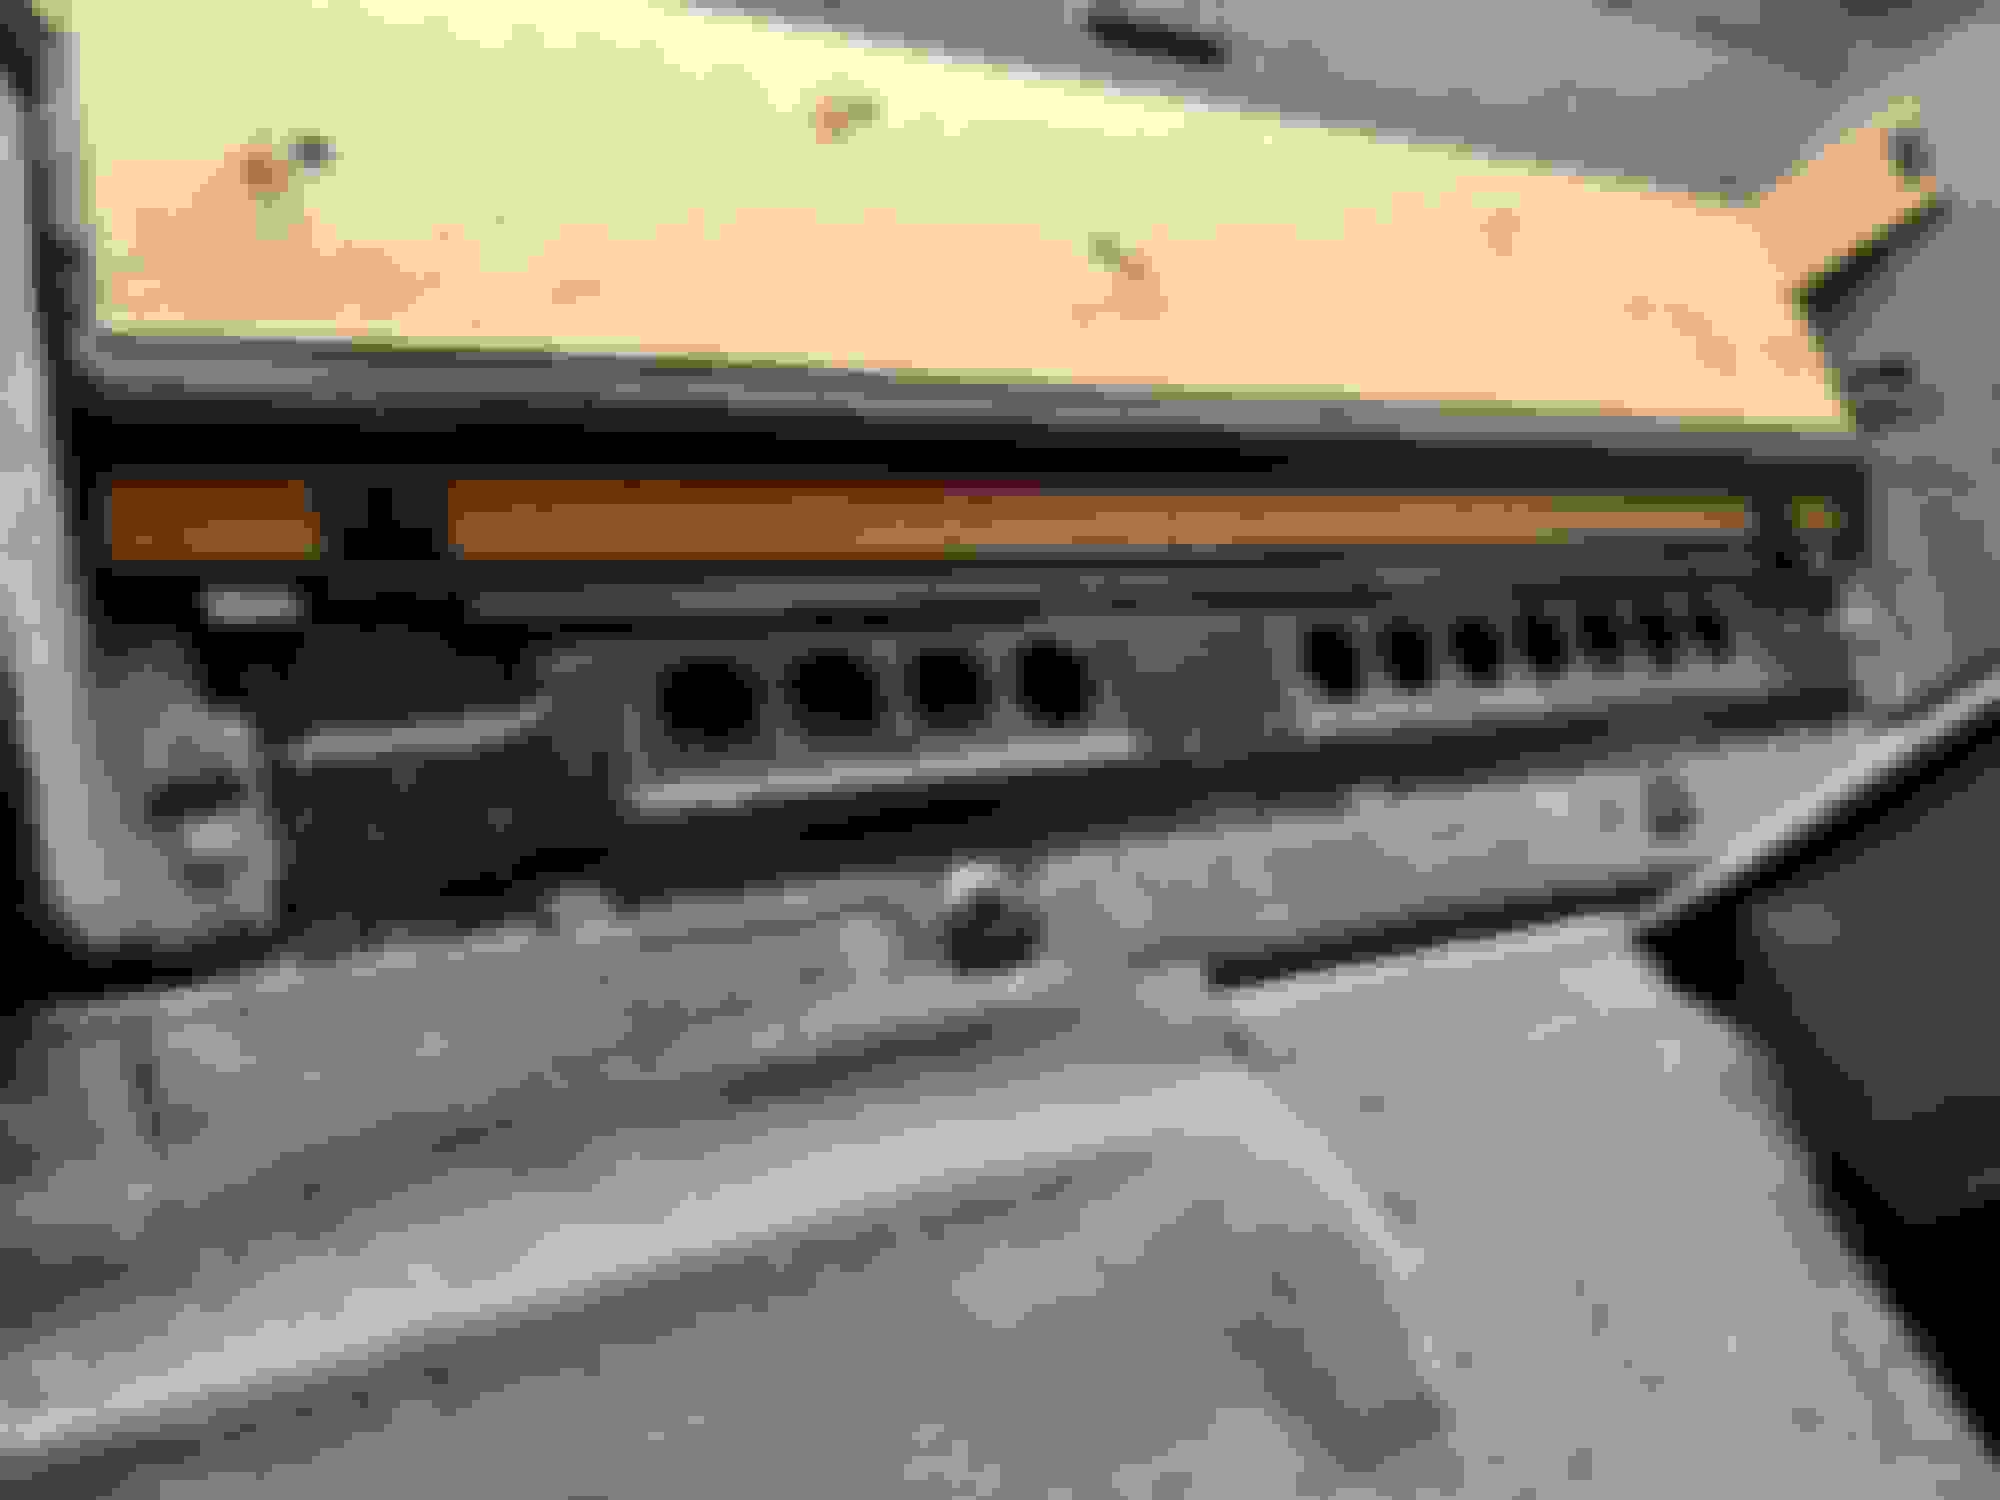
The end goal is to remove that black metal grill. The amp lies beneath it. You'll need a 10mm socket (IIRC), ratchet wrench, and articulating extension arm to reach the bolts (see following photos).
A tool like this, made for removing upholstery pins, is useful.
Remove and set aside.
Lift out this tool tray.
See that unit in bottom right of photo, with "CMO15" written on it? That's not the amplifier. It's a CD navigation system. Leave it alone. You're only halfway thru the job :-) See those metal fins peeking out from below the black grill? That's the amp. From here, it's just a matter of removing all the bolts securing the grille.
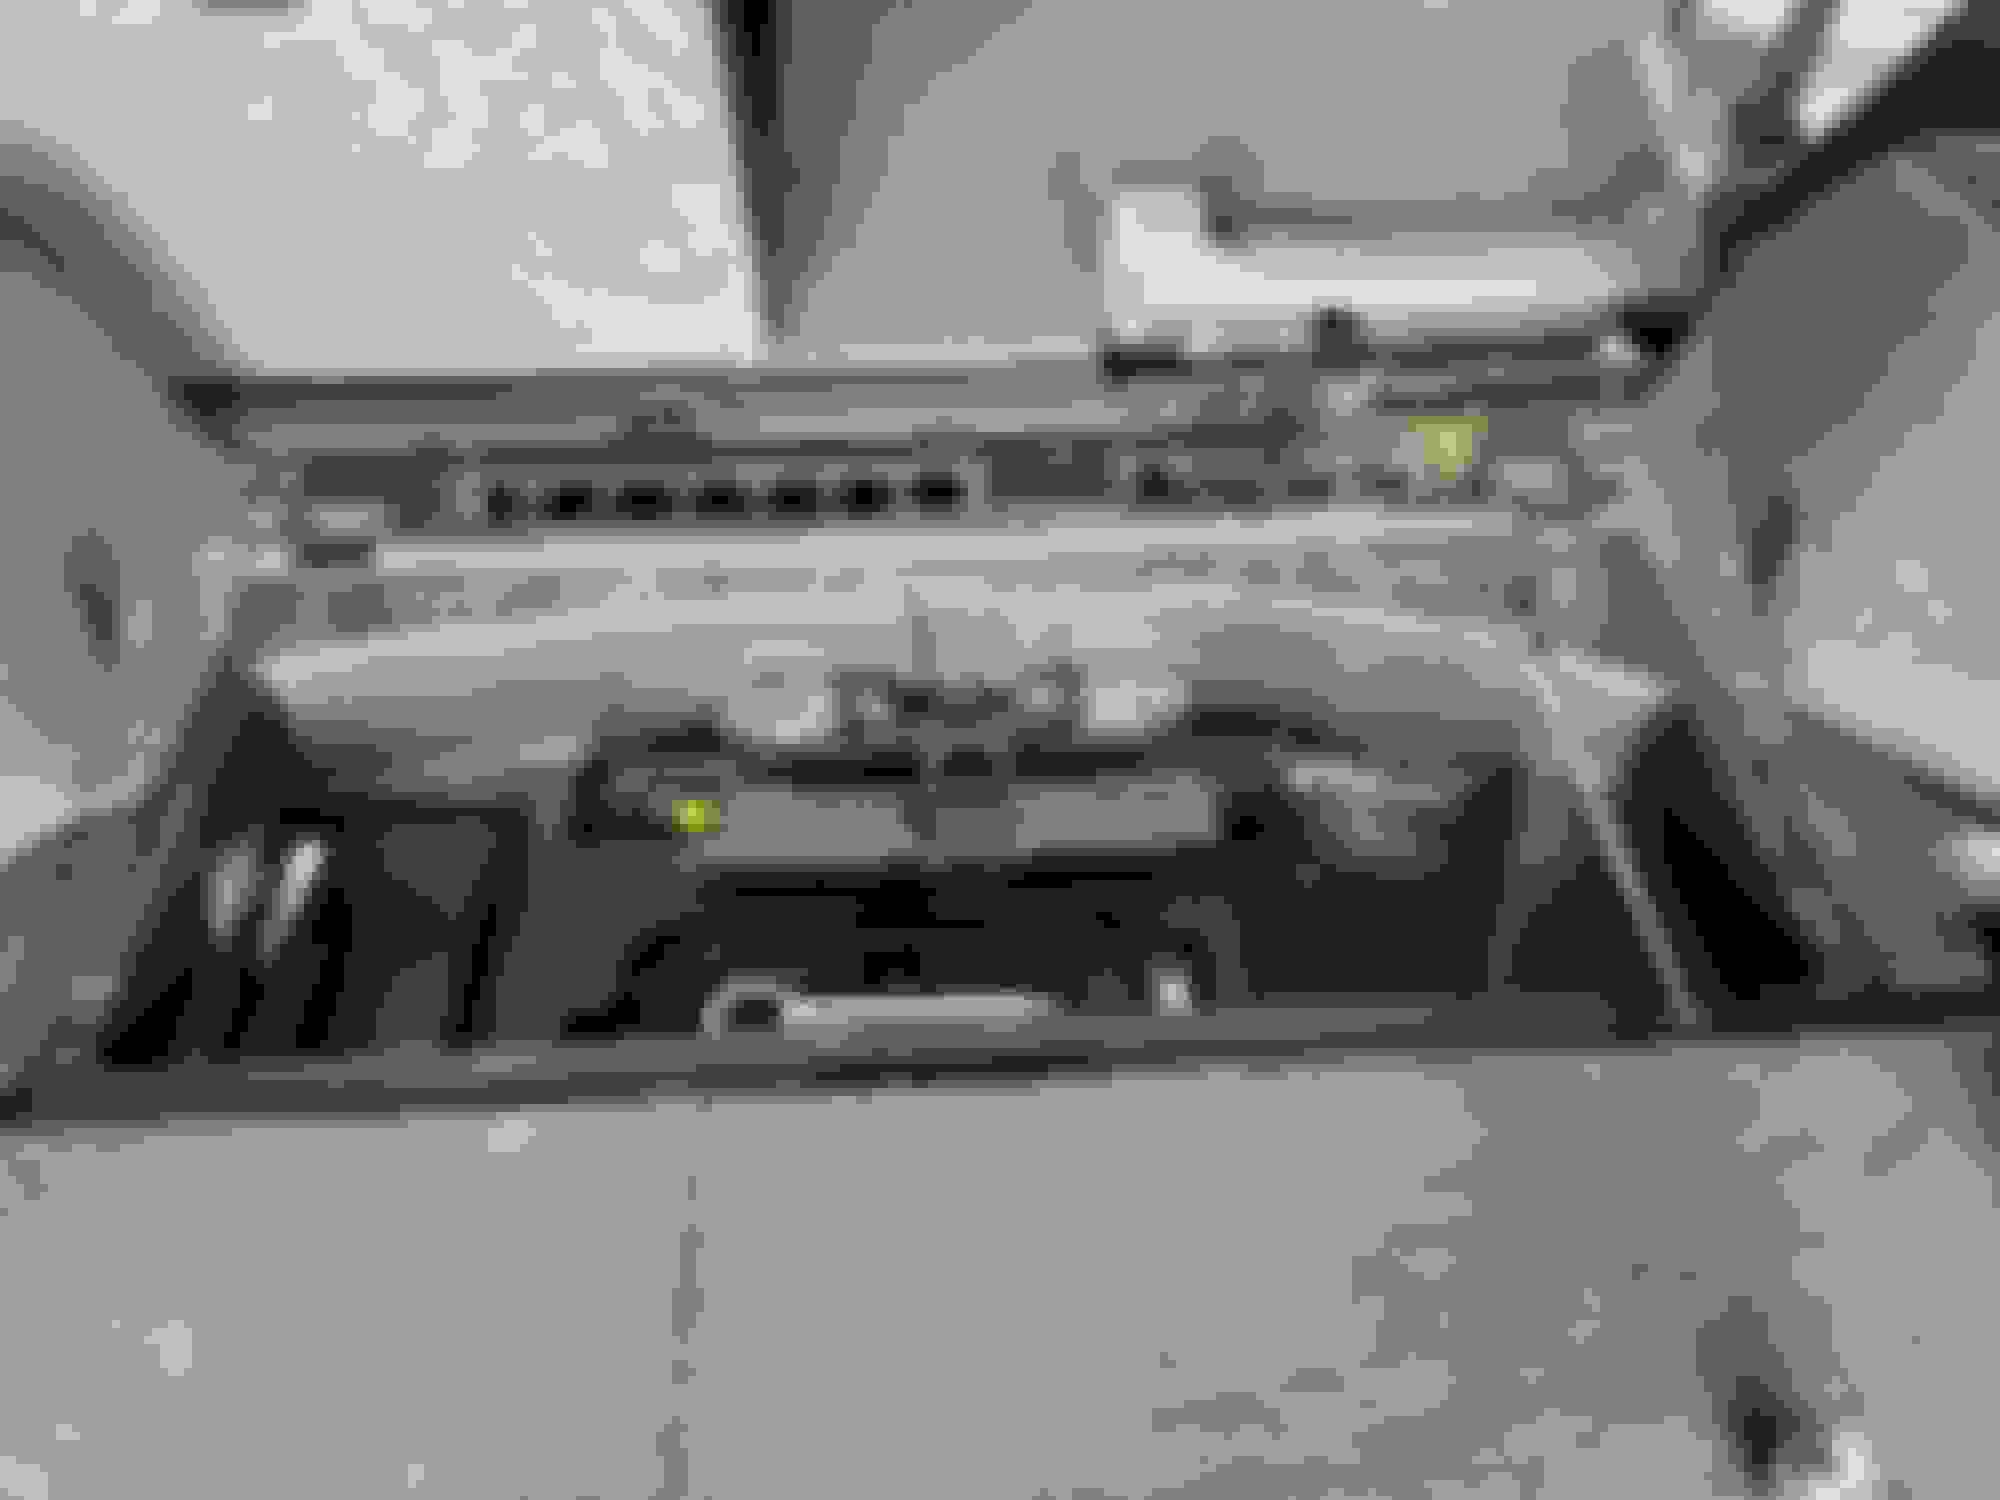
This is where you'll end up to access the amp. The grill is halfway removed. Upholstered piece covering the wheel well must also be partially removed. For that, you'll want some soft tools made for this sort of job. $10-15 on Amazon. Use them to pry off the plastic sill and weather stripping along the rear passenger door. The sill pops off and on, an easy task that I feared would be complex. You can also buy a box of assorted upholstery pins from Amazon.to replace pins you'll break. Use a screwdriver to remove and replace the amp its mounting bracket. The wiring is plug-and-play. The easiest part of the job. Reassemble everything according to the photos you took along the way.
One more question please, did you get your amp from ebay? I checked the part number on lexus website and seems like i need (86280-0E010) for a 2007 Lexus RX350, but when i opened the cover in the truck it looks just like your, which would be as the first link. Do you know the part number you purhcased?
Seems like i had a bad luck with new replacement amp from eBay. I replaced the one and it did not work either. Could there be something else? I checked all the fuses and all looks ok, just no audio.
Ok so I ordered another amp from ebay and no luck with that either. I think it's something else, other than amp. I went in the system check mode and it shows no connection to amp. Then I went in the audio setting and I cant change anything on that screen. Its stuck to the rear passenger speaker so assuming something to do with that.
Hi all, I recently purchased a 2007 RX350, everything's working perfectly with it bar the sound. The radio, all dials and functions seem to work, but we just aren't getting any sound from the system. Are there any troubleshooting steps I should follow before trying to determine which amp we have and ordering a replacement? From reading these forums my assumption is that it's the amp but I wanted to check any other potential faults first. We don't have the ML radio system or navigation. The previous owner said occasionally when they went over roadhumps they'd hear something from the speakers but now we don't' hear anything.
Thank you for sharing the amp location and replacement guide - extremely helpful!


 Here is a step-by-step pictorial. Hope it helps.