When you click on links to various merchants on this site and make a purchase, this can result in this site earning a commission. Affiliate programs and affiliations include, but are not limited to, the eBay Partner Network.
alright. this will be a build in progress at the moment of posting. but here is the shake down on the idea here.
NOTE THIS IS IF YOU HAVE NO USE FOR SEAT WARMERS, or if you want to be handy enough to craft another seat warmer switch location.
now for MOST of us, (those not included in most are the cushy "i need a perfectly comfortable car" type of people bleh :P) we have seats that either have, for one reason or another, non-functional seat warmers, seat warmers that are never used, could be lived W/o, or AM seats W/o seat warmers in the first place.whatever the situation, the result is the same; a seat warmer switch on your shift console what does nothing for you but look factory. well, at the same time, i have been thinking about how our cars have absolutely no AUX capabilities, and unless you want to use the cig lighter to USB port (which by the way sucks cause you have to keep the lid open to use it.) that is extremely commonly used today, i thought to myself, "what if i took out the entire ST WARMER module and plugged in its place a 3D printed peice with ports for the switches?" well, seeing as i am skilled in the CAD department, i figured why not. but then i many problems with printing a whole module, so instead i took the current module apart and was left with a shell. the buttons, nd the interior mechanisms/wiring. now seeing as though the buttons were realitively easy to make/modify in cad, i created a base model that i could make a shaped hole in the top to match whatever port type i wanted (within the size restrictions). i looked up on how people were previously adding AUX without switching the radio, and i found a relatively interesting post (see link A) that was able to bypass soldering capacitors. now with everything done in that post, you should technically be able to connect that aux cable in into a AUX female AUX port inside the newly designed button head. threading the wiring from the head unit down into the shift console (possibly might have to be through a user drilled hole, i have yet to confirm that whether or there is a path W/o drilling between the inner shift console and the inner center console)and through the ST WARMER switch module shell and then reinstalling the shell onto the shift console cover, you should end up with a nice AUX port where one of the switches originally was. now doing the same thing but instead wiring a bare USB female port onto the second button, and wiring this time to a acceptable power source should now, when reinstalled, give you a smooth USB port where the second switch originally was. putting the two together should give you a AUX PORT and a USB port directly from your shift console cover. i will try to post pictures later, but at the moment i am still in the design phase of the new buttons. i will also attempt to add a link to the CAD file of the base buttons (see link B), PM, email me, or text me as long as you have the hole specifications and i will go ahead and make a new CAD button design for you. i will CONTINUOUSLY UPDATE VIA THREAD REPLY!!! also feel free to try and suggest or help with the final design/product. i will later list what i used once i finish
____________links______________
A) https://www.clublexus.com/forums/lex...your-sc-3.html
B) https://drive.google.com/drive/folde...xb?usp=sharing
Last edited by rentaro; 10-26-18 at 05:01 AM.
Reason: additional information
Holy single paragraph, Batman!!! Can you edit that and make it a little more readable? Please also try to incorporate some proper grammar and capitalization.
Holy single paragraph, Batman!!! Can you edit that and make it a little more readable? Please also try to incorporate some proper grammar and capitalization.
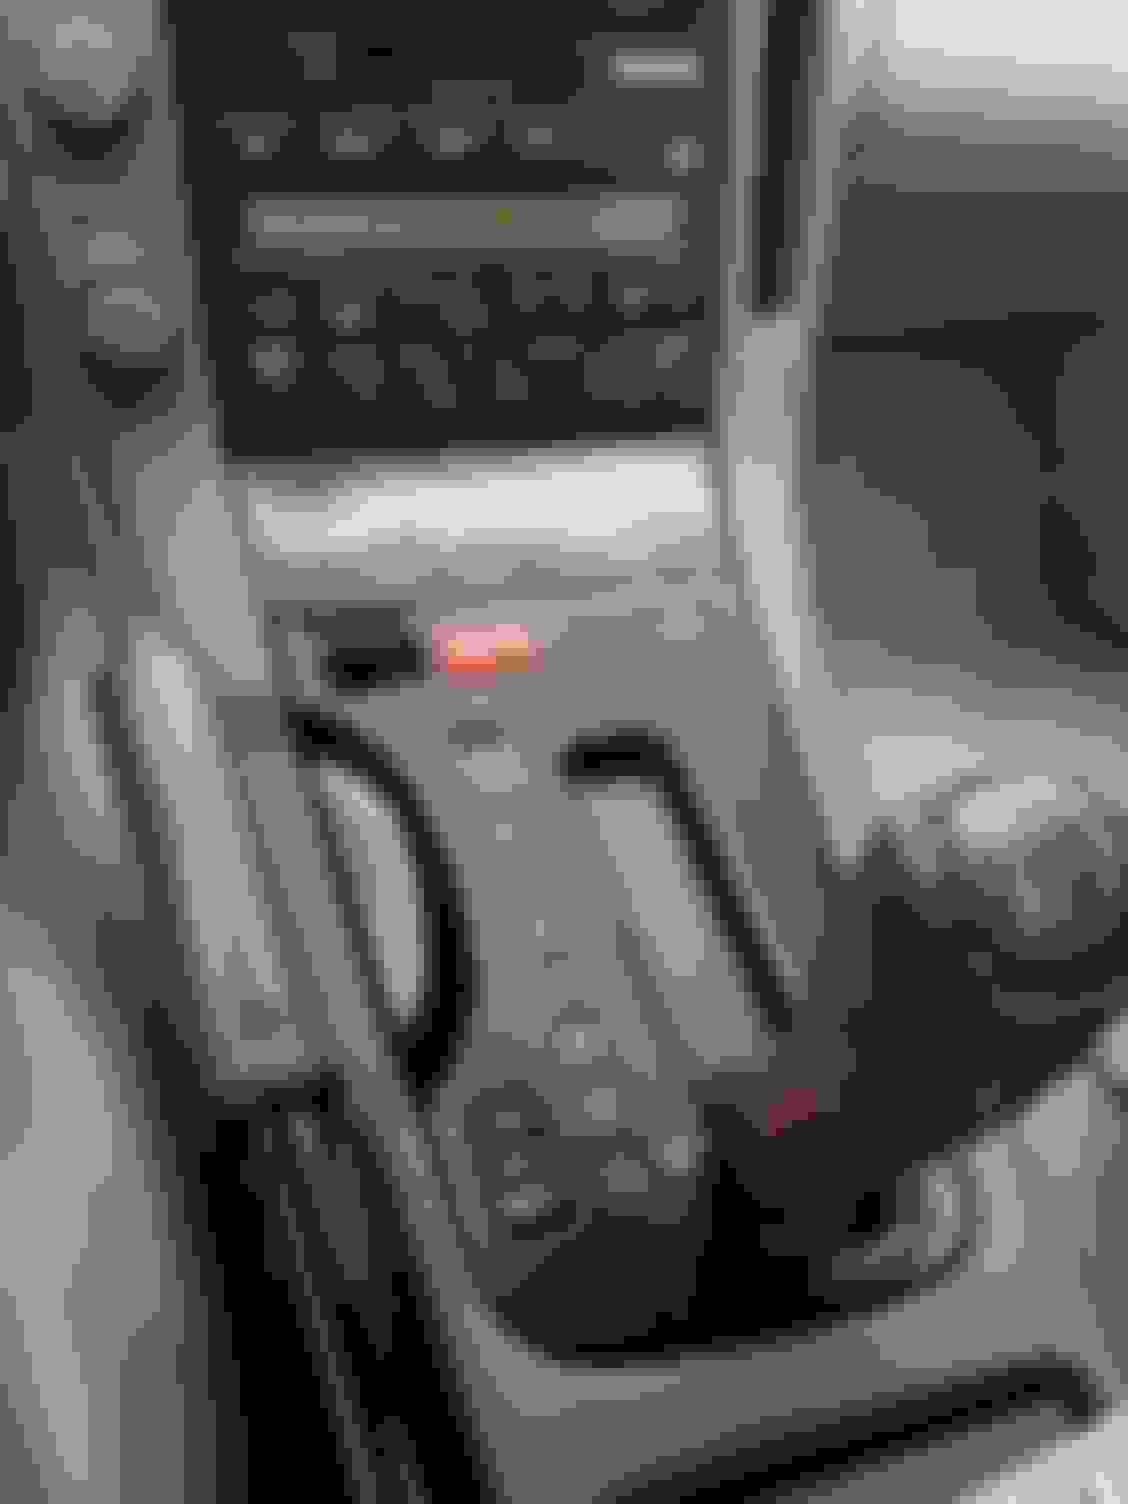
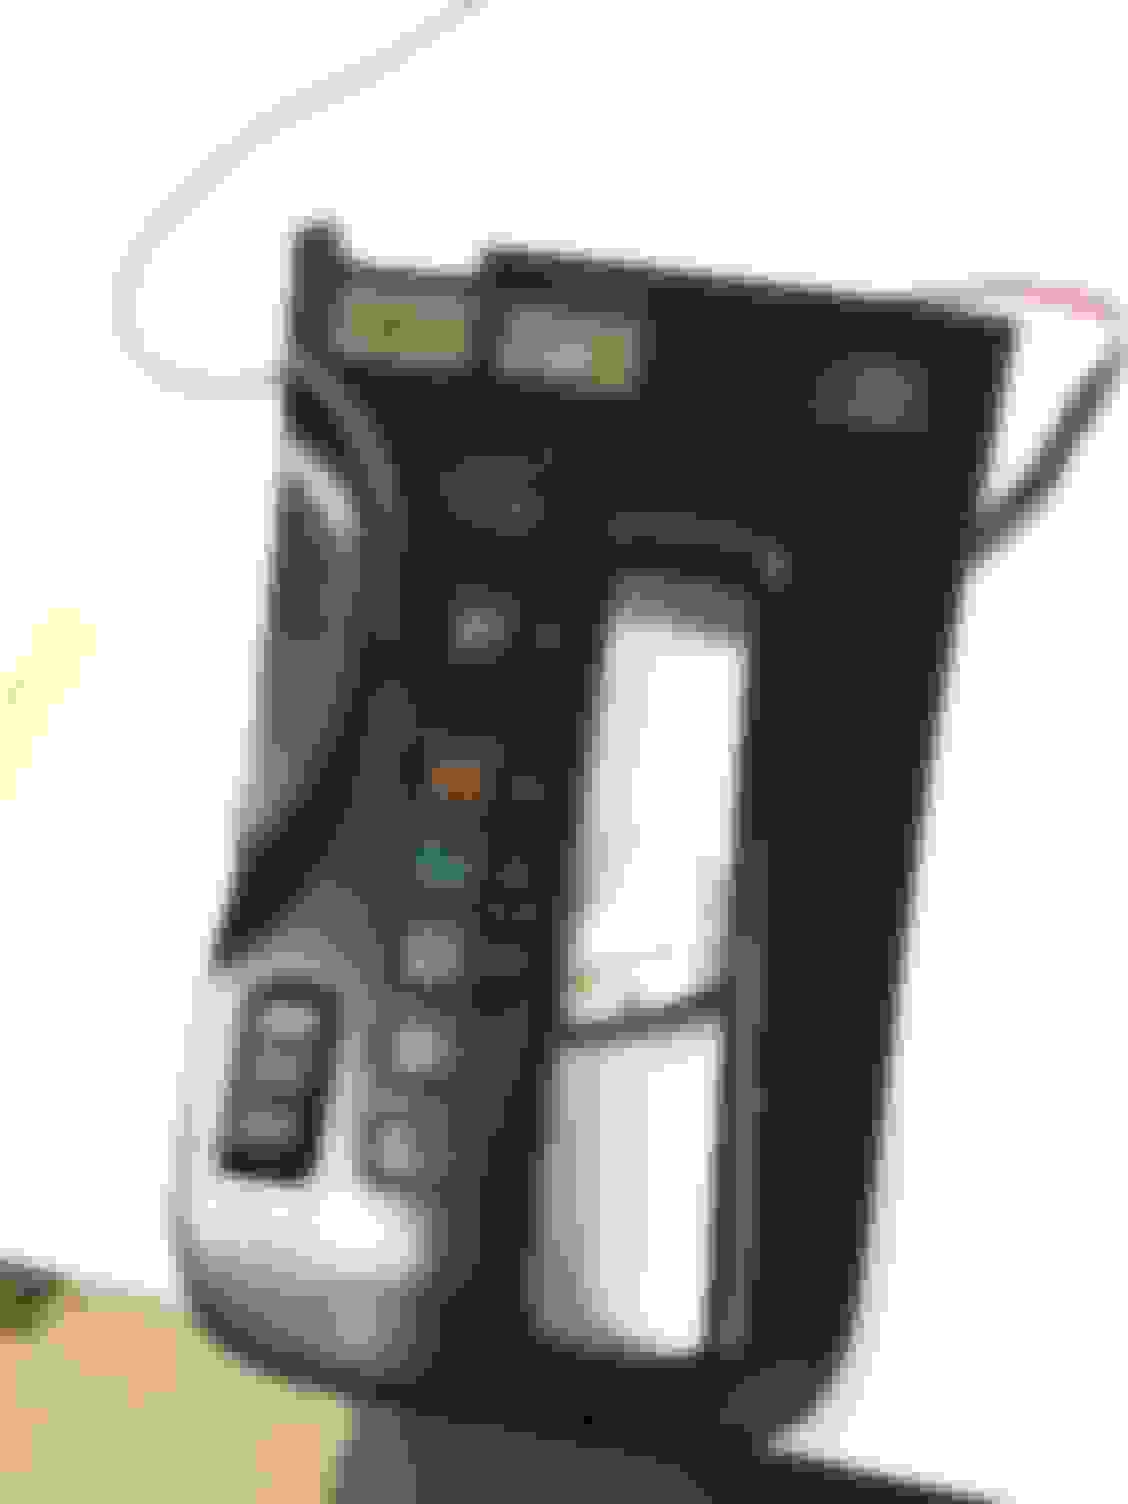
aaalright guys, the first update is here,and I am excited to share it with you all! Below is what it looks like so far, note that this is without wiring, and the button that you see is almost exactly like the final version save for some very minor adjustments (port needs to be moved over a tad) sorry for the delay, but I have had some... IRL problems If you will... (may or may not include a damaged rear end that i am going to need to bump out/repaint this month) but anyways. Here is the long awaited and most coveted photos for all my project followers!! Please note that the current shared CAD peice is outdated and I will soon relink the newest version of the button for you guys. Just seeing that there are actually people out there that are actually wanting to see the finished product makes me even more motivated to do this! I do hope you all will stick around a little longer!
Signing off until the next update,
. REN
I forgot to mention, the button will initially be rough in texture, and depending on your material color, most likely won't match the cover. Due to these factors I have decided that spraying primer coat onto the surface of the button and fine sanding it should yield a smooth surface for the button, then spray painting it the covers color should allow it to match visually
as of now, the link to the files have been updated. in the drive you will find 2 folders, one for the 3D CAD versions, while the other folder has a printable drawing that you can use to redesign and/or create in other ways than 3D printing, (not that it is suggested, but hey, its there for those who need it! i have also created a insert that should be used to hold the aux port in place.
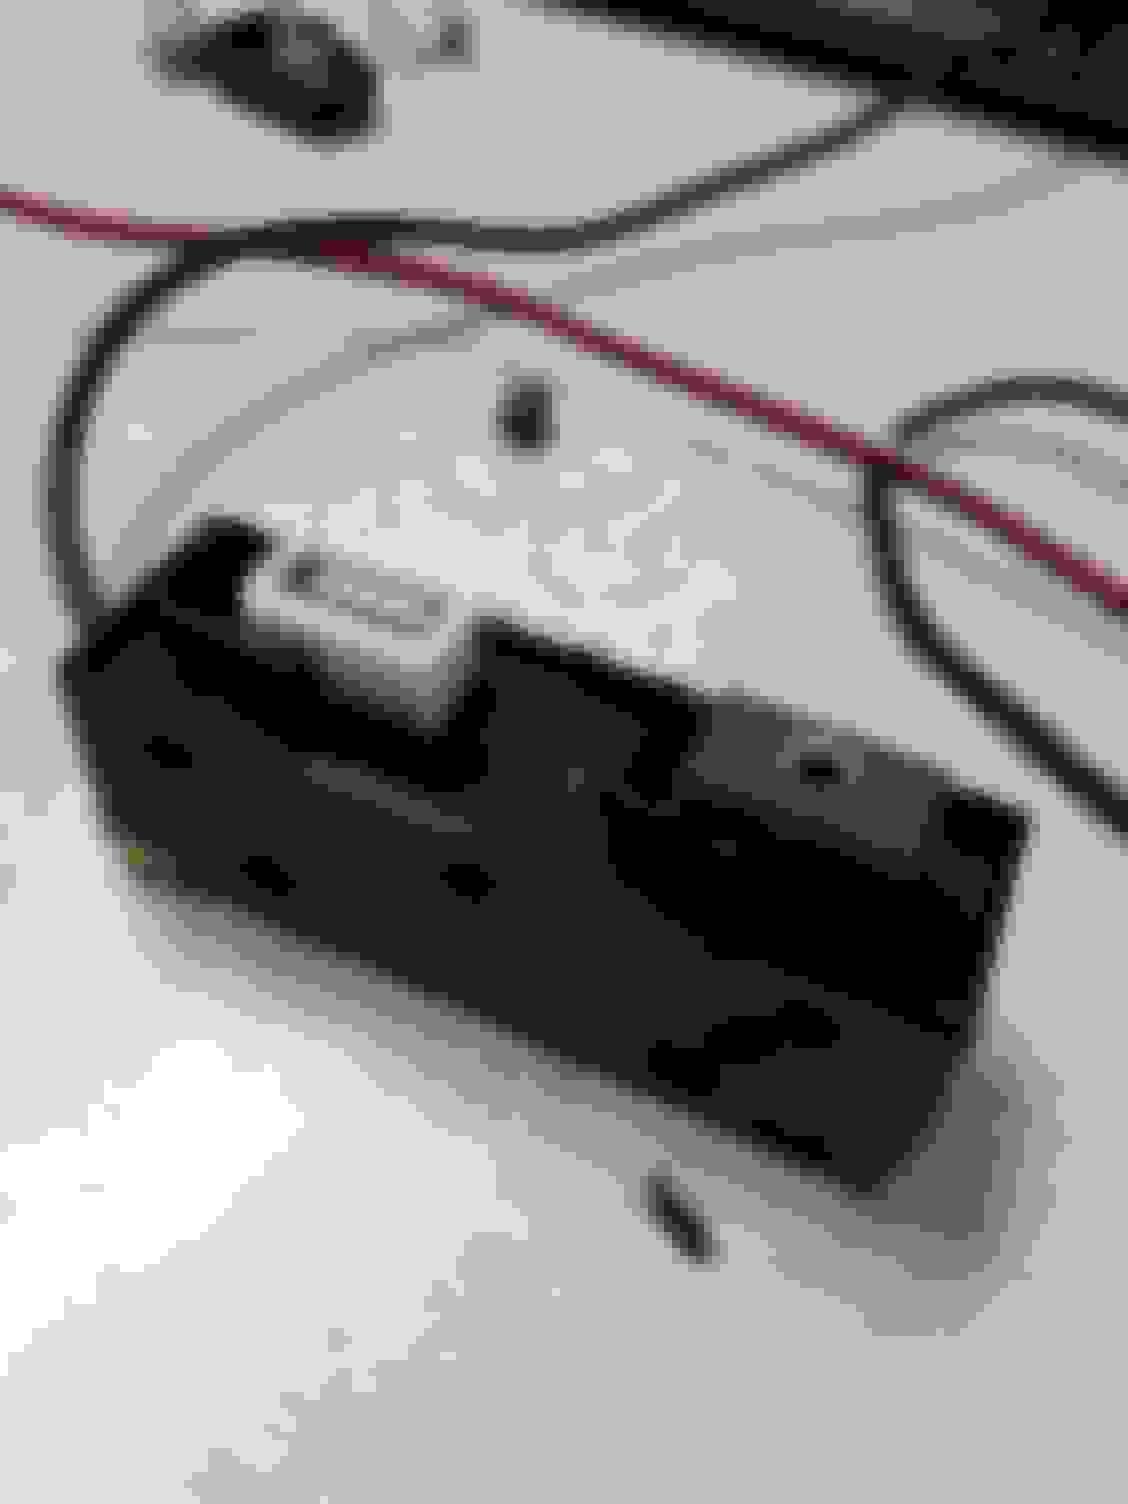
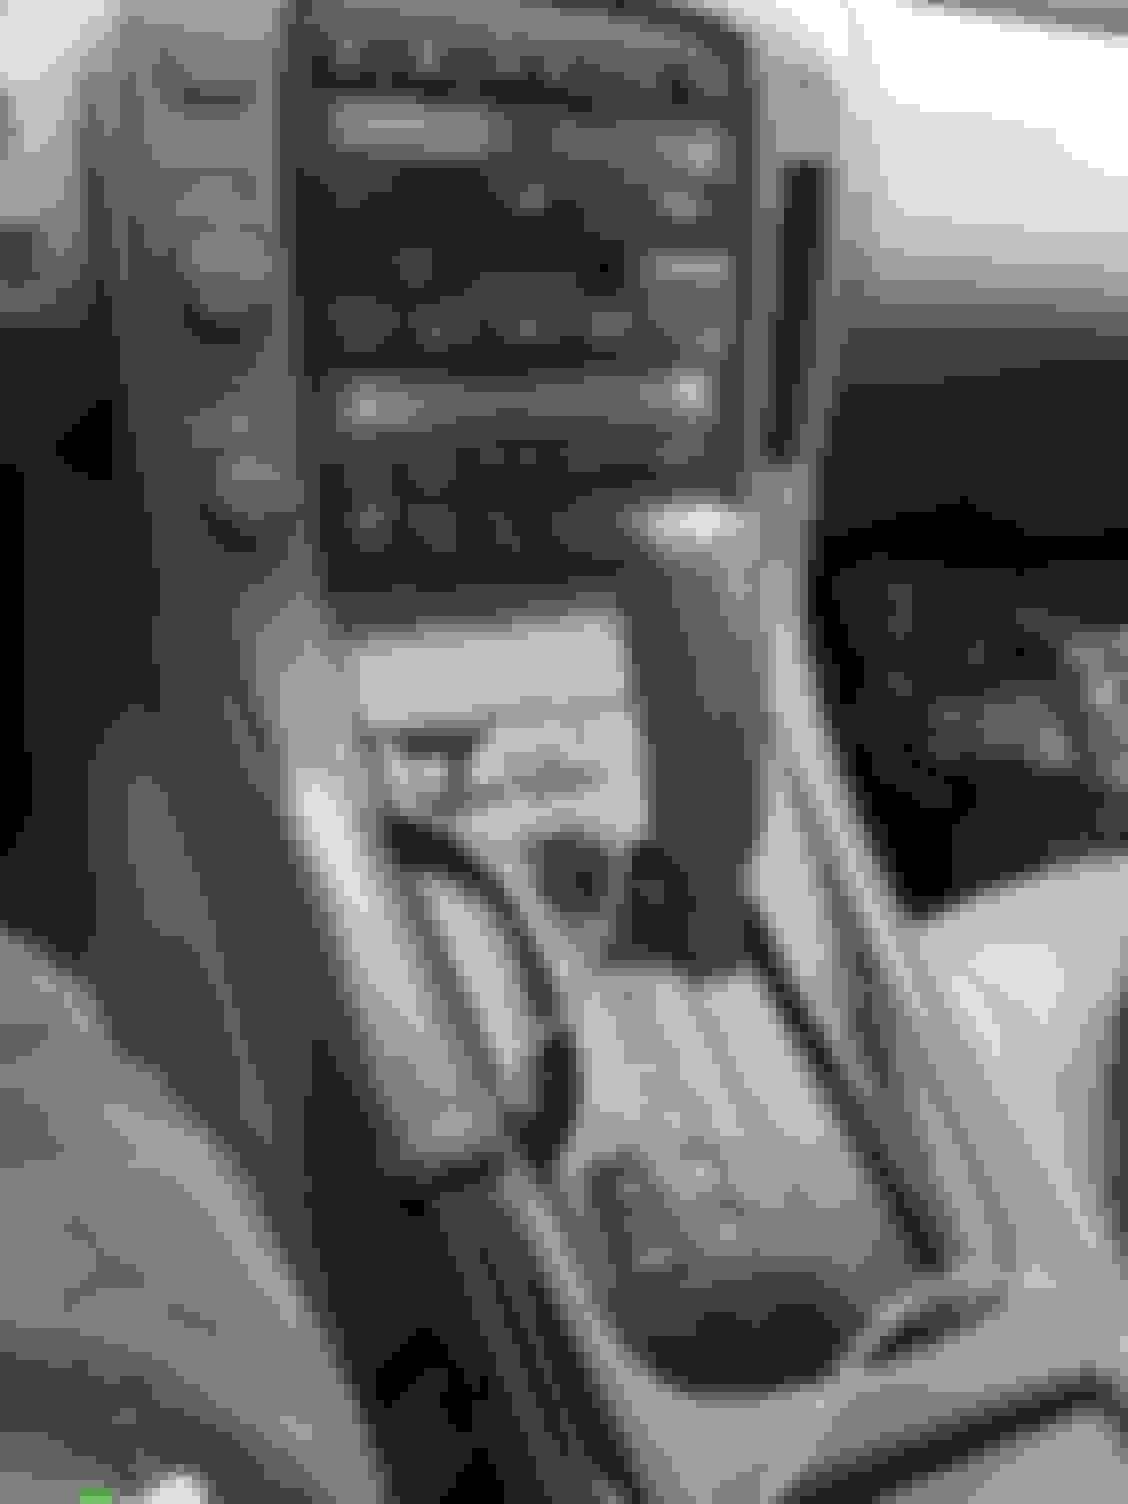
Well, the buttons still not to my personal criteria, yes they fit, but I will be further enhancing them so that they stay better. I will be updating the CAD files hopefully within the next day or two, depending on how many adjustments I end up making. Pictures of the current wired aux will be posted. The aux indeed does work if you have the right radio head, (see link A in original post to figure out whether your is the right one) I am happy to say that at this point, besides the redesign of the buttons, all that needs to be done is to wire the USB port. Please look forward to the next update 3-pin female endto connect to test port (fits perfectly i might add) Overall look so far Wiring from the ports The insert for the aux can be seen here
I have hooked up the aux port to the radio head, and it is amazing. The buttons almost look factory even without the cosmetic additions! Now I just need to do the USB port wiring and I will be able to finish this project up and move on to the next... whatever that may be...
I like it! Although, you may have to very well re-do it if you ever convert to a gated shifter down the road.
Nice job and I look forward to seeing the buttons with the final cosmetic touches.
yeah well, i feel like if i ever do want to get a manual, i wil just go out and get a new car, however at the moment, i i were to get another 300, it would definitely be a JDM soarer that has the GTE... regardless, the current car i believe wont be going anywhere anytime soon! while it does get absolutely horrible gas milage and constantly leaks PSF, i shall soon overcome those challenges in the same creative way i overcame the no AUX and USB problem lol. if i recall correctly you said that you couldn't go without the seat warmers, but i am sure that you could get seats with the seat warmers built into the seats, or if your really ambitious, rewire the switches to another location... but at that point, its not really worth it to me... but thanks for all your support anyways! not next weekend, but the weekend after that i will probably be able to do the cosmetics on it. i will definitely post pictures afterwards
 10-25-18, 07:21 AM