
DIY Tire Well Harness Relocation


Lead Lap
Joined: Nov 2005
Posts: 573
Likes: 0
From: NY
I followed this and some other people's suggestions. It worked out well. It's not too hard, just a bit tedious. I remove the tubing at that y-split near the washer fluid, that gave me slack. I then pull it all through. I left some of the tubing on, the hood closes, but not well. I'll probably end up removing the tubing and just taping it up a lot. I had to squeeze the washer fluid filler but in place, but it bolted it, a little crooked, but it doesn't really matter as it's inside the tank.
Like the other guy said it depends on how bad your rubbing. but i found out the occasional rubbing will eventually have you messing with it again. i put the front back that blocks the reservoir and then cut out the part up top that rubbed and put the remaining back in the rear. i did this on both sides. so it looks factory because you cant see up top anyhow. i went ahead and did this on both sides. so i wouldnt have to mess with that side eventually
Last edited by SpiderN9NE; Apr 26, 2010 at 12:36 PM.
Put it back on. Why would you leave it off and expose your harness where it enters the cabin, etc to all the debris and water your tires pick up off of the road?
I was wondering if I just siliconed the whole area in the wheel well where the wires go, would this be good enough or put the inner liner back in?
Anyone with and without the inner liner gone or back in place? Thoughts?
Anyone with and without the inner liner gone or back in place? Thoughts?

this is exacly what i did last night since i don't know how to unplug the other wire that goes inside the floor.
this way is so much easier and works as good, and no wire loom showing on the engine bay, which looks neater.
this way is so much easier and works as good, and no wire loom showing on the engine bay, which looks neater.
I tried to do this, but I couldn't get to the harness plugs since my Compustar Brain was in the way. I wasn't gonna bother to take it out and redo it.
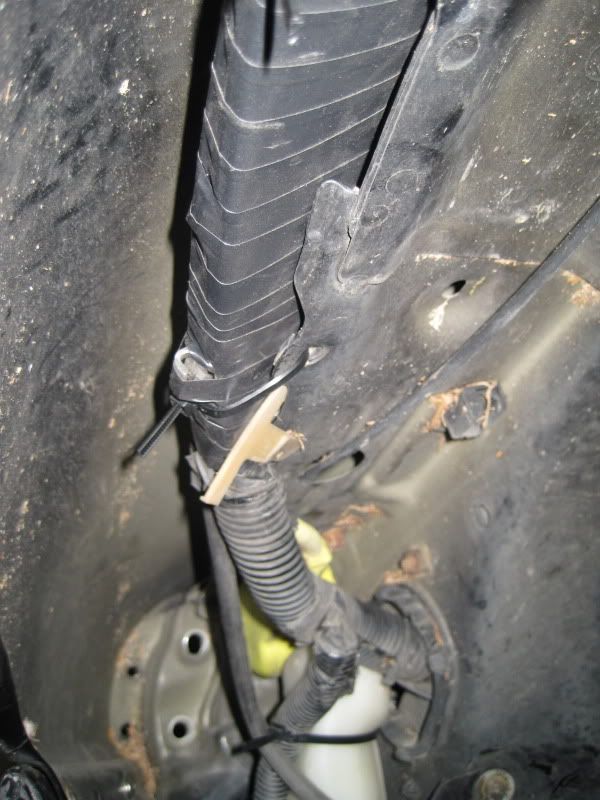
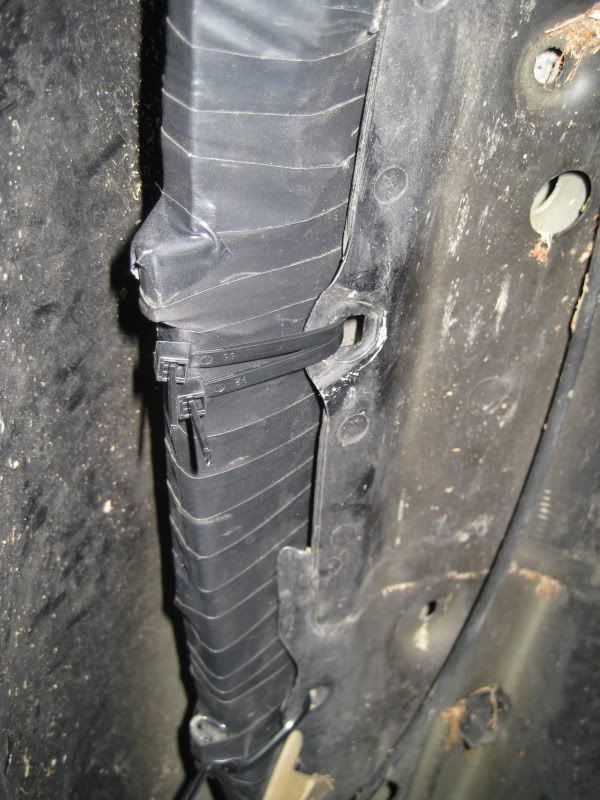
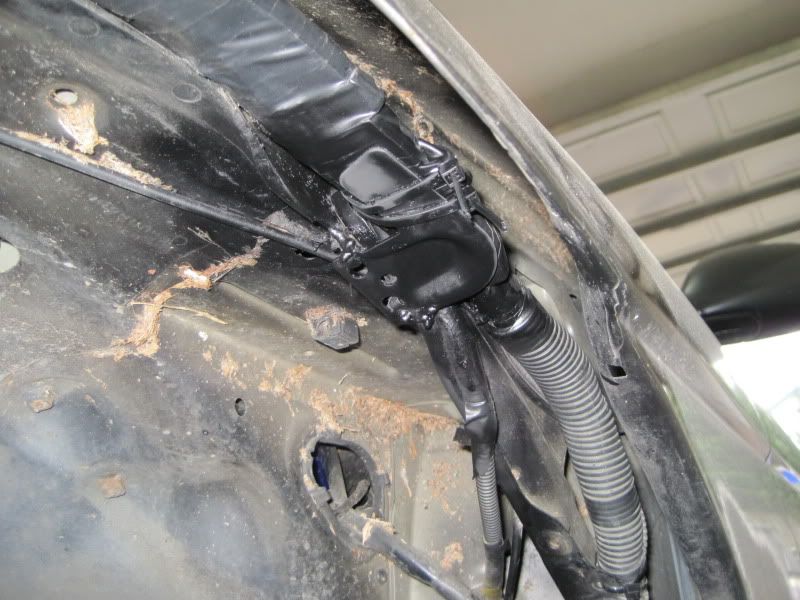
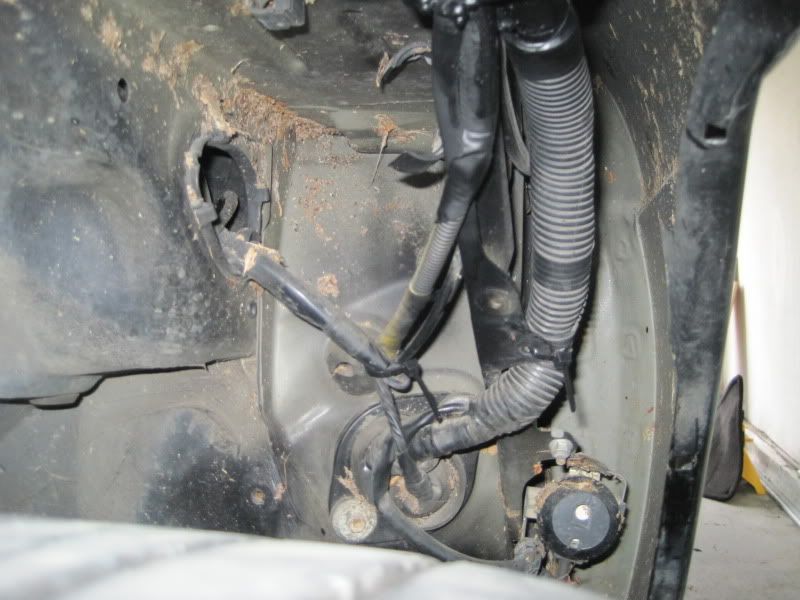
So I did this instead.
Alot of zipties and a random metal brace welded on the lip. Sanded and painted. Tucked, and ziptied. Doesn't rub.
Pics are front to back.
Car was jacked up so you can see. and for working room.
So I did this instead.
Alot of zipties and a random metal brace welded on the lip. Sanded and painted. Tucked, and ziptied. Doesn't rub.
Pics are front to back.
Car was jacked up so you can see. and for working room.


I just did this too since I'm itching to do something to my car... but I'm broke and seeing this will need to be done sooner or later....
I didn't run my harness through the engine bay, but tucked up higher like a few other guys did. Although, I did still unplug the harnesses from the fuse block...
For those that need to know, the 4 plugs you need to unplug....
-When you're looking at the fuse block you need to unplug the big green plug closest to the firewall.
-To the left of that you'll see the airbag harness (the harness with the yellow loom), unplug the big white plug above it, and a smaller white plug to the left of it.
-The last plug actually runs under the carpet. If you peel back the carpet (there are two clips holding them in on the left right by the door, mine just popped out), you'll see a white plastic cover. Unplug the light green connector.
