When you click on links to various merchants on this site and make a purchase, this can result in this site earning a commission. Affiliate programs and affiliations include, but are not limited to, the eBay Partner Network.
Well since I had the LX on the lift waiting to finish the rear BBK install, I decided that my life isn't hard enough and I'd start installing the Doug Thorley headers I've been sitting on for a year, as well as the Hewitt Tech secondary air injection delete (needed for the headers as they lack the air injection tubes - https://hewitt-tech.com/).
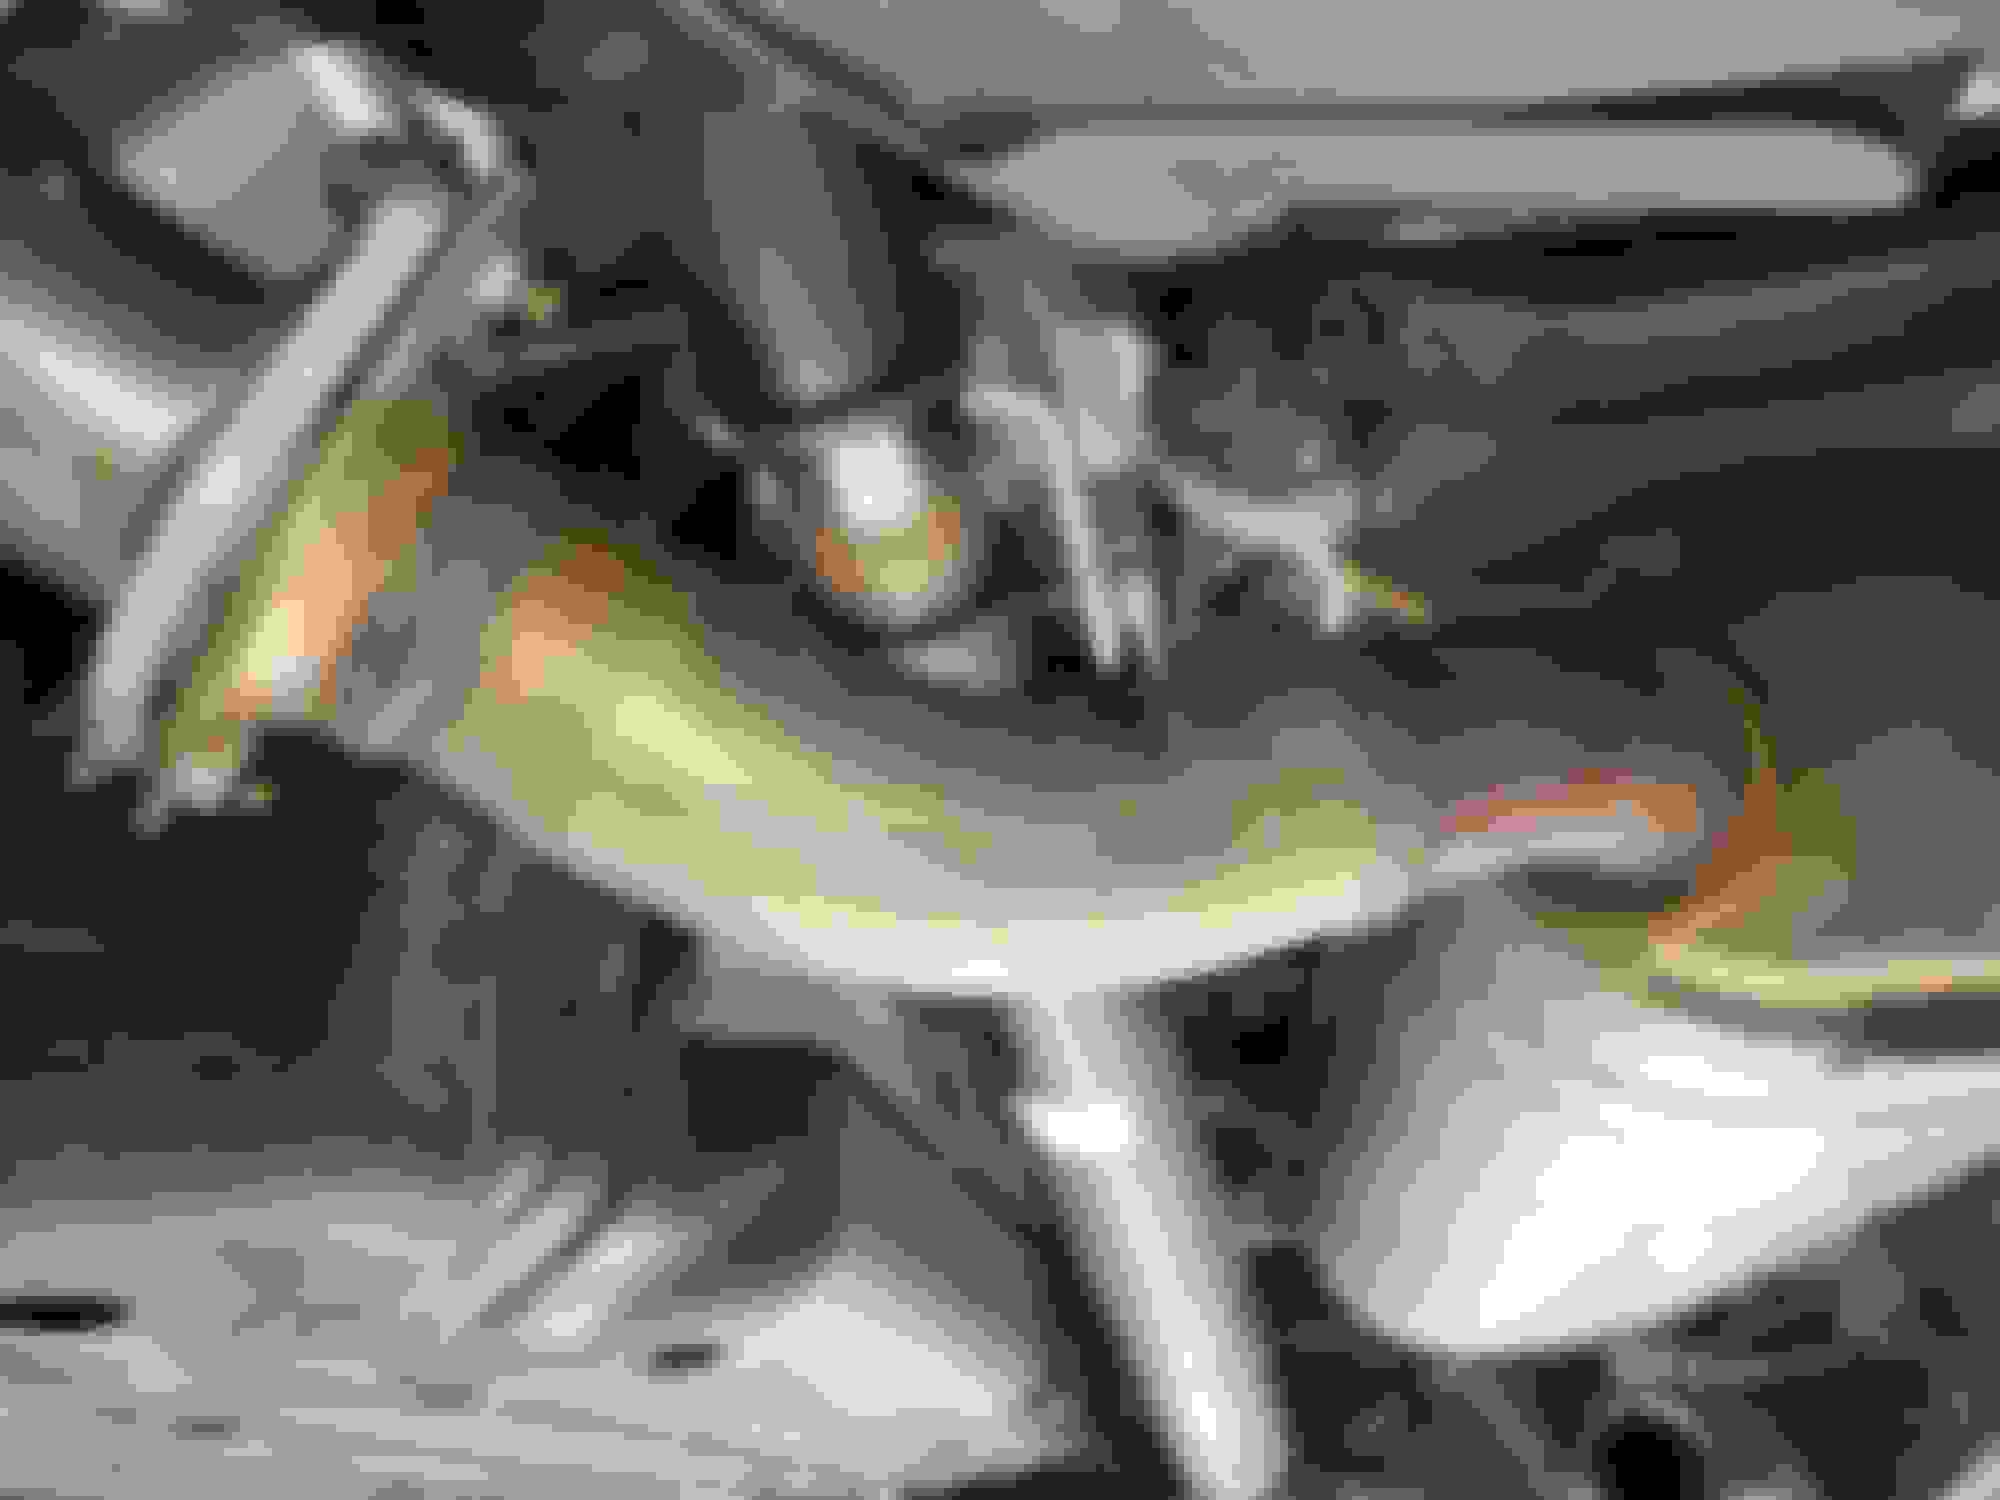
SAI delete installed:
You can get to the SAI pump on the drivers side pretty easy to connect the delete harness, but the pass side is impossible and requires the header or intake manifold to be removed...luckily I'm installing headers...
Lots of PB blaster and breaking all the nuts/bolts loose:
To get the factory B pipes out, you need to remove the downstream o2 sensor on both, remove the muffler and drop the cross member and inch or so on the passenger side:
So after lots of lifting and dropping the truck I finally got the pass side header out (which is probably the easiest one) - this is not for the faint of heart and was way harder than when I did long tube headers on my old 2008 5.7 Tundra. The AHC BS is in the way all the time and whenever it isn't. the motor mounts is then in your way. Have every 12mm socket type in existence on hand or you're going to have a bad time.
Now I can finally finish the SAI delete on the pass side:
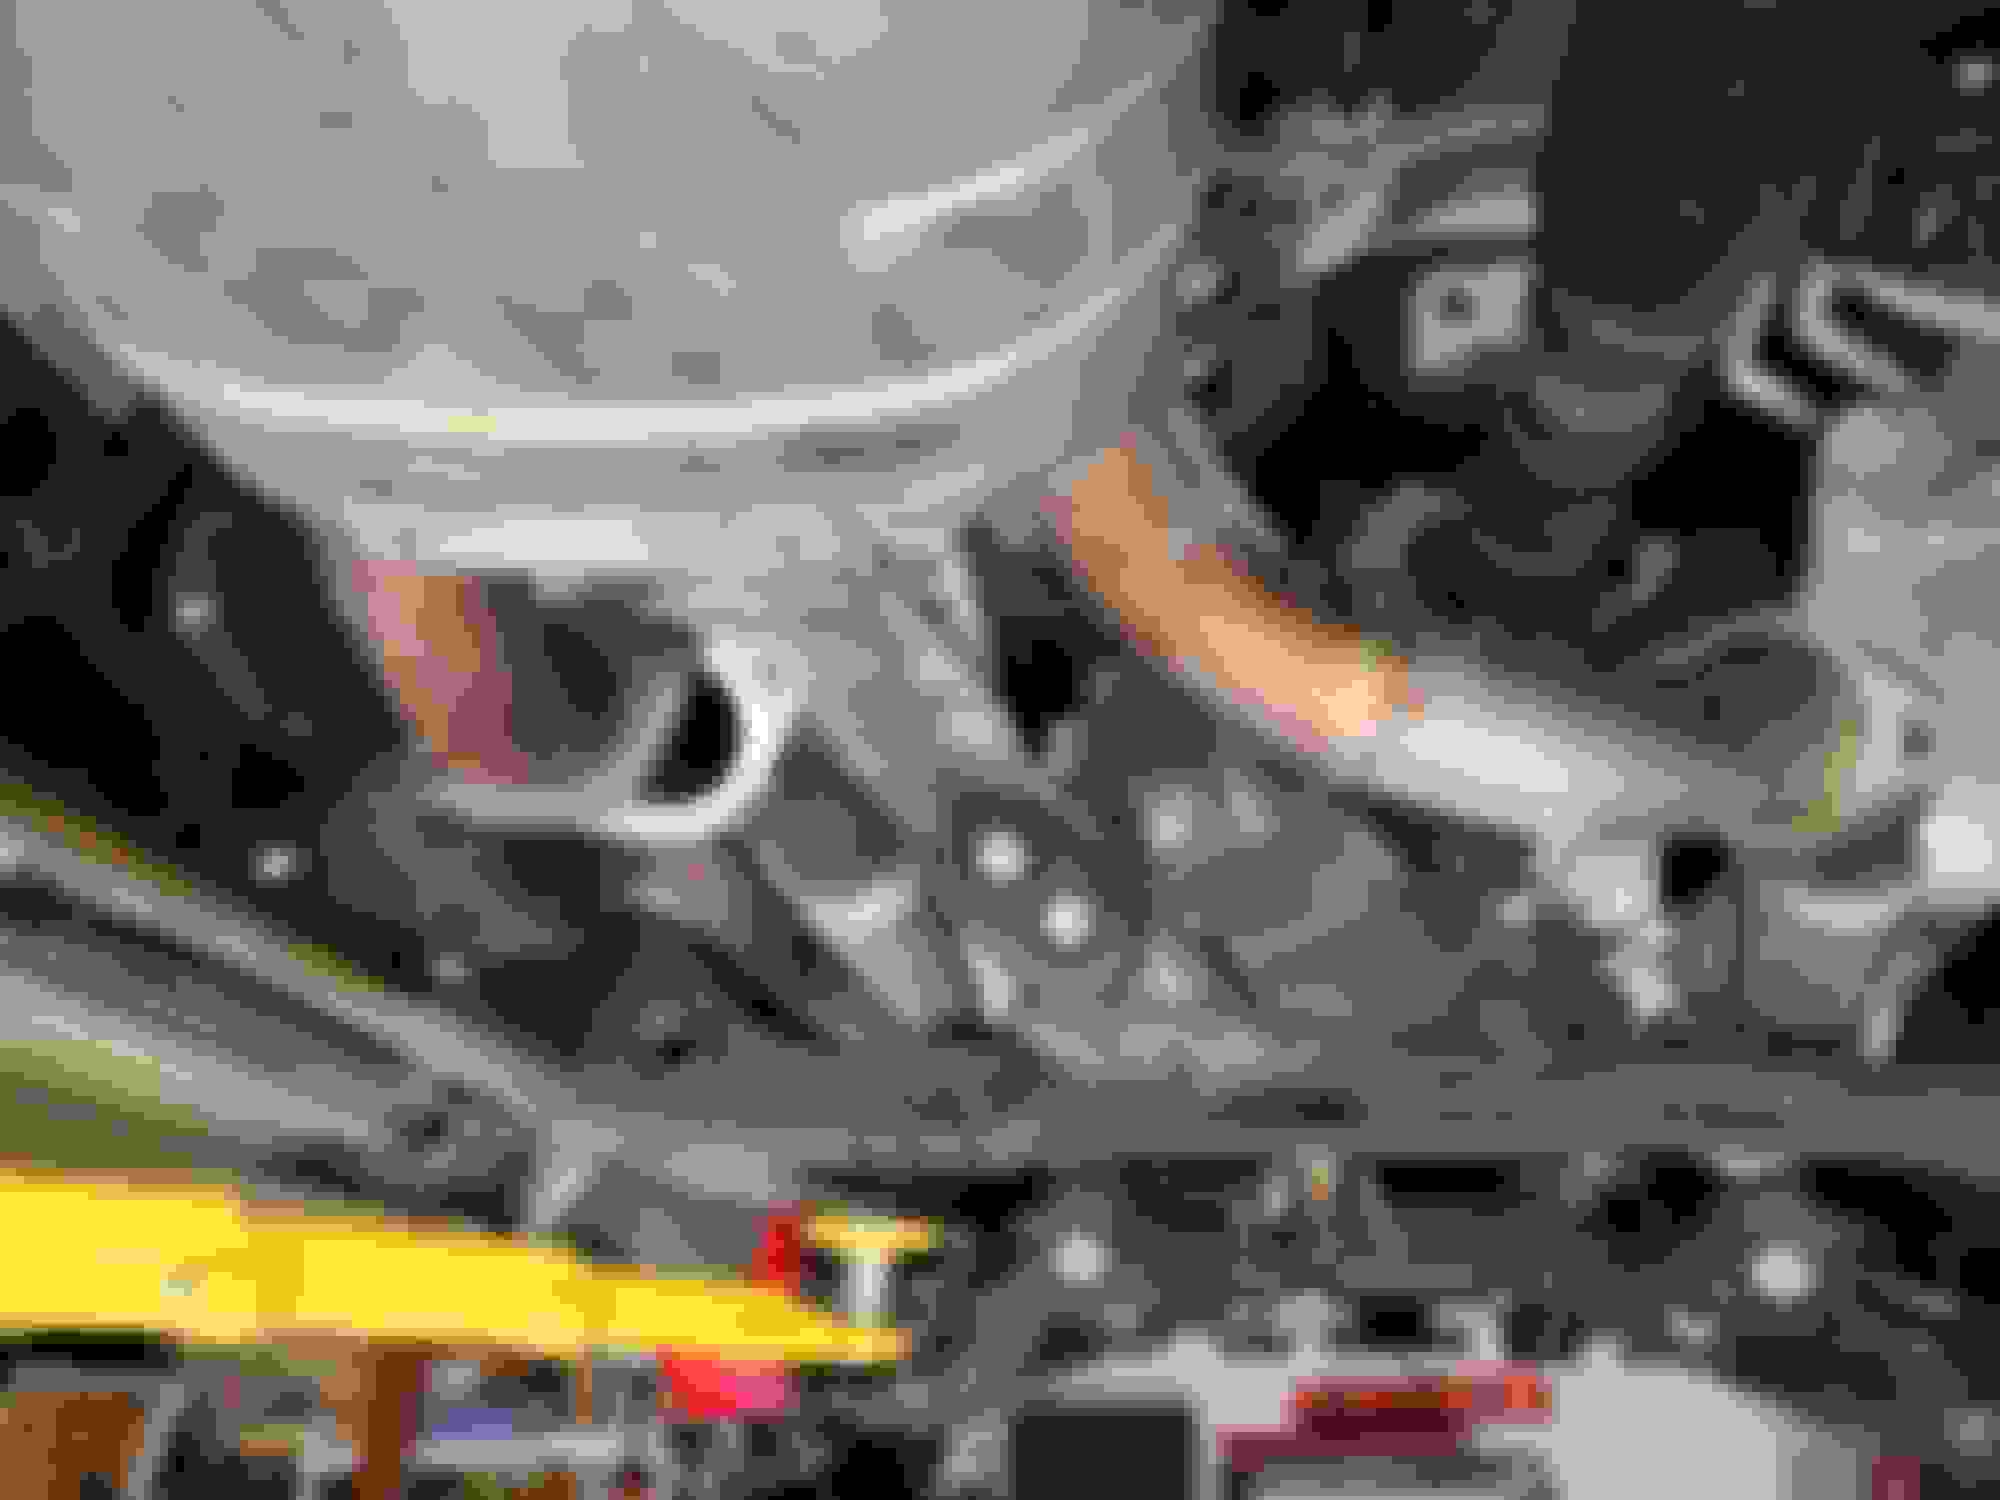
Empty head before copper anti seize on the studs and copper gasket spray on the MLS gasket:
And after some more magic tricks the pass header is in:
A few notes:
- the pass upstream o2 sensor doesn't reach the harness, but it looks like the connector can be removed from a metal bracket to get some slack
- the DT catless b-pipes appear to fit like absolute dog **** (on the pass side anyway)...will probably be playing with the welder before it's all said and done
- I have about 4 hours into just this side and I'm pretty quick with a wrench, not looking forward to the driver's side with the steering shaft in the way...
Tell me you're having fun without telling me you're having fun...
The driver side actually wasn't that bad, managed to get the old one out and new one installed in about 3 hours - the steering shaft wasn't in the way, but I did have to remove the front driveshaft to get the header installed:
You do have to put the nut on the stud hidden by the #1 primary before you snug down the rest of the header or you can't get it on afterwards:
The driver side B pipe actually fits pretty close, but the passenger side is about 1/2" too long...need to pick up some gas for the MIG welder so I can do some surgery on it tomorrow and button this thing up:
More to come!
Some progress tonight - it turns out both b pipes aren't good at fitment, but due to the shape of the pass side, it's better to leave that one in it's current form and redo the drivers side and some of the muffler inlet on the pass side.
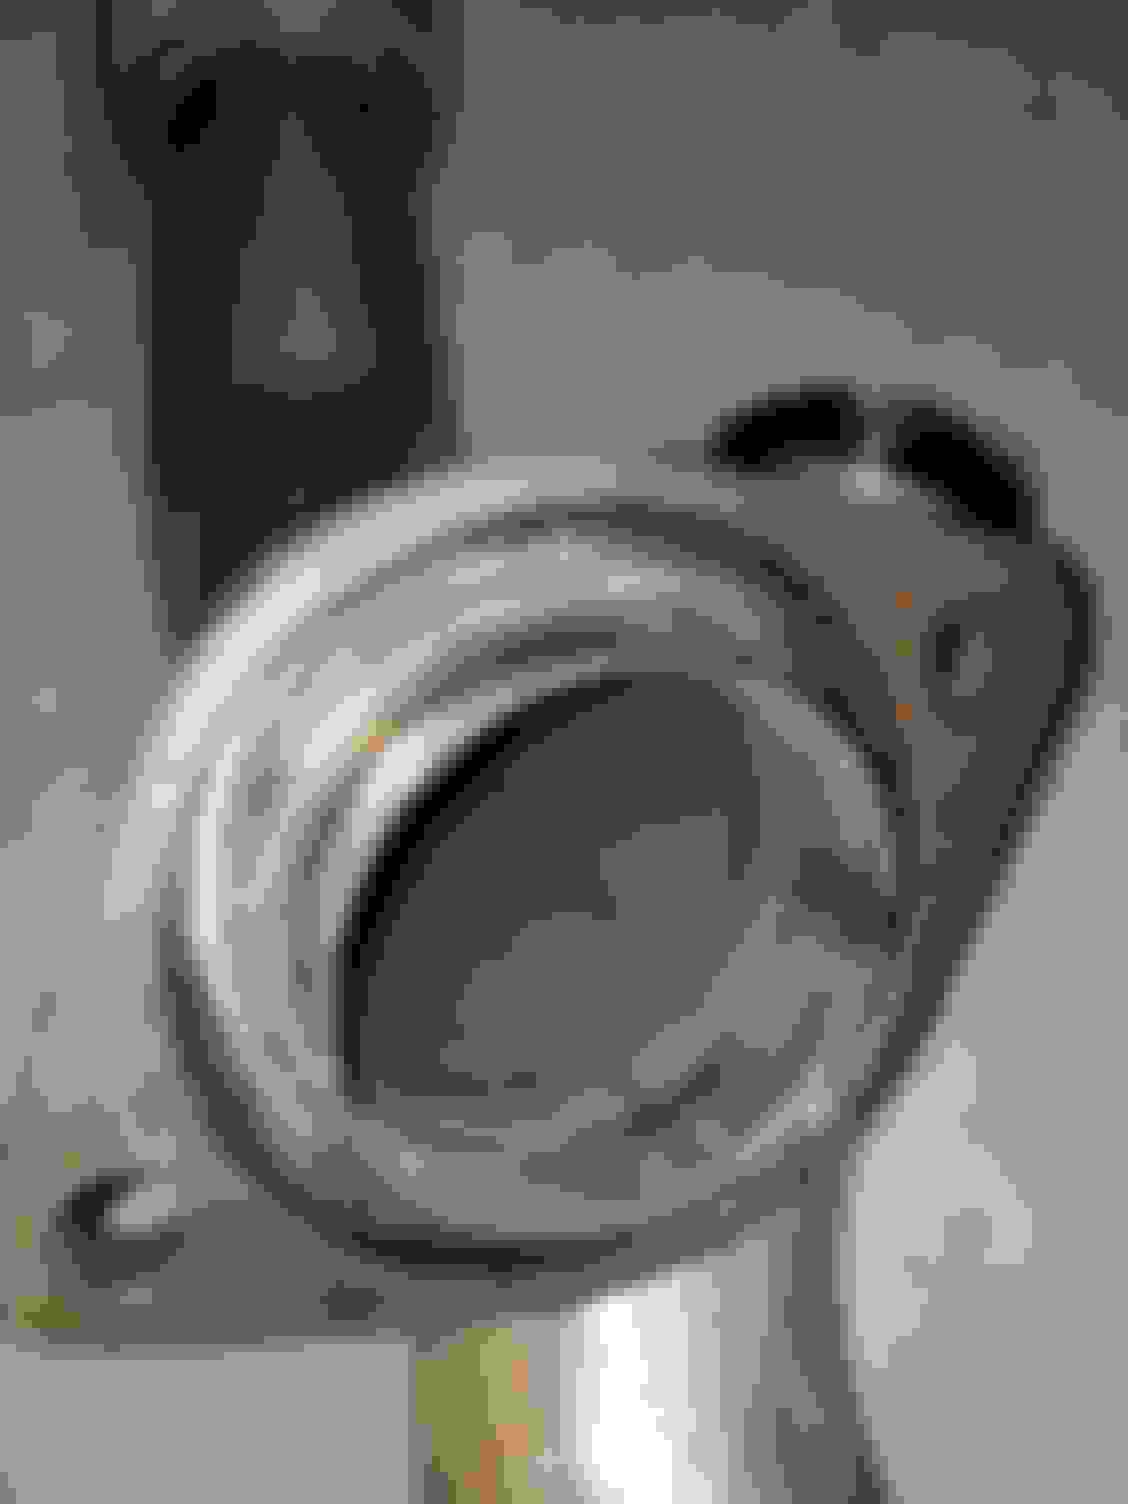
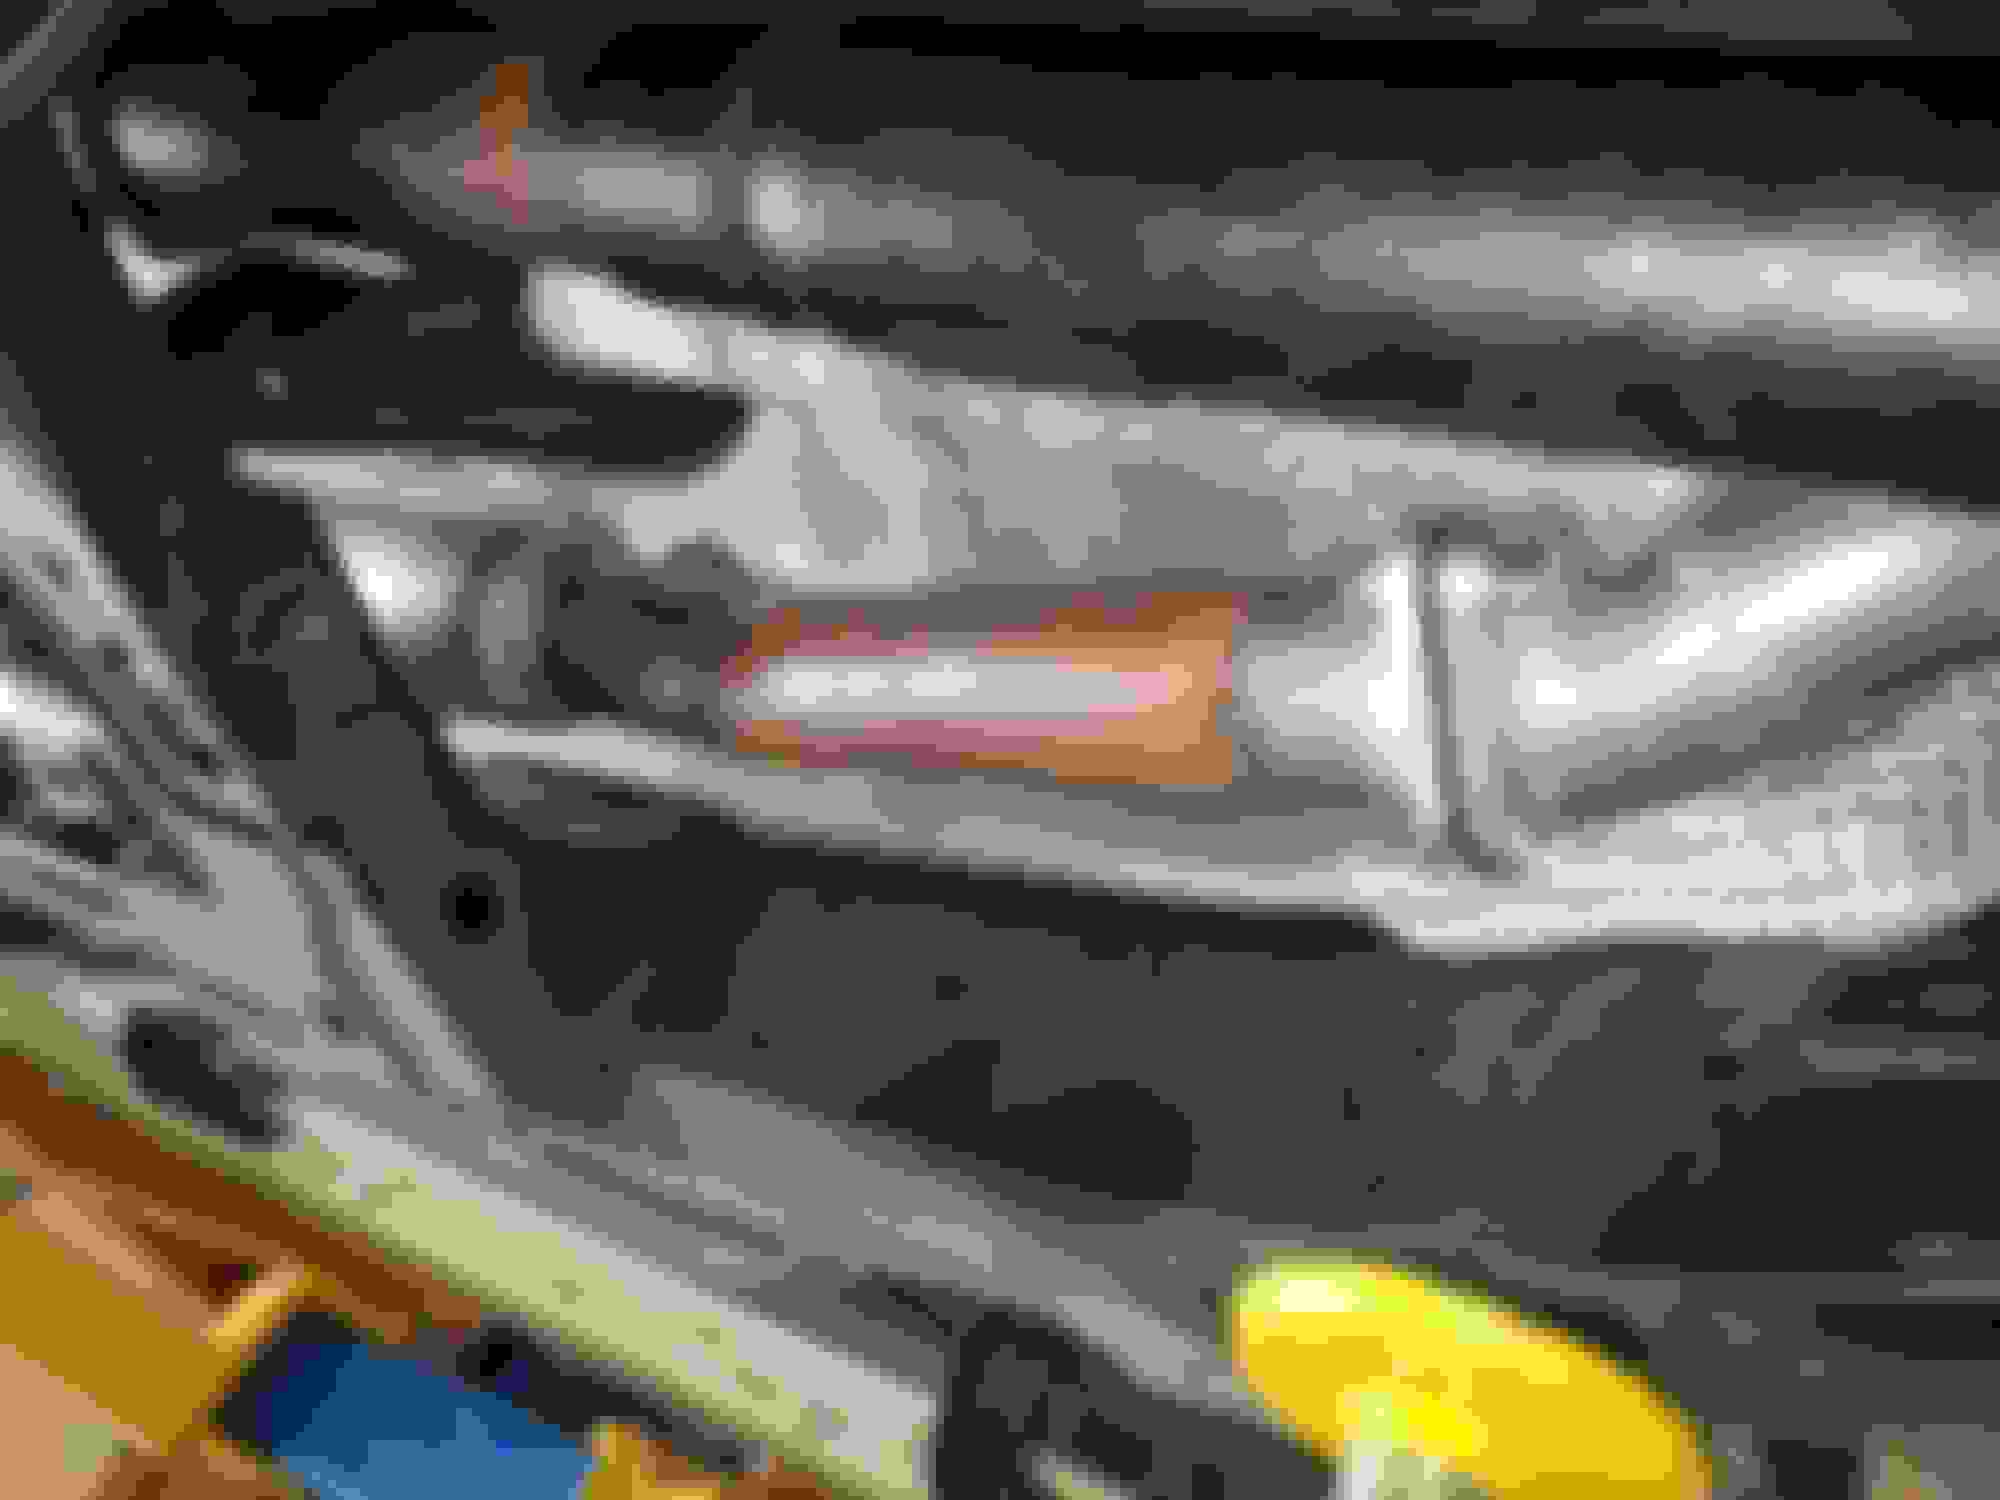
First I welded a collar onto the pass b pipe outlet so i could use the factory cone gasket for the muffler inlet:
Due to the thickness of the flange, it's not possible to use the factory spring loaded bolts (and the center to center distance is off on b pipe flange anyway), so bigger holes and extra washers FTW.
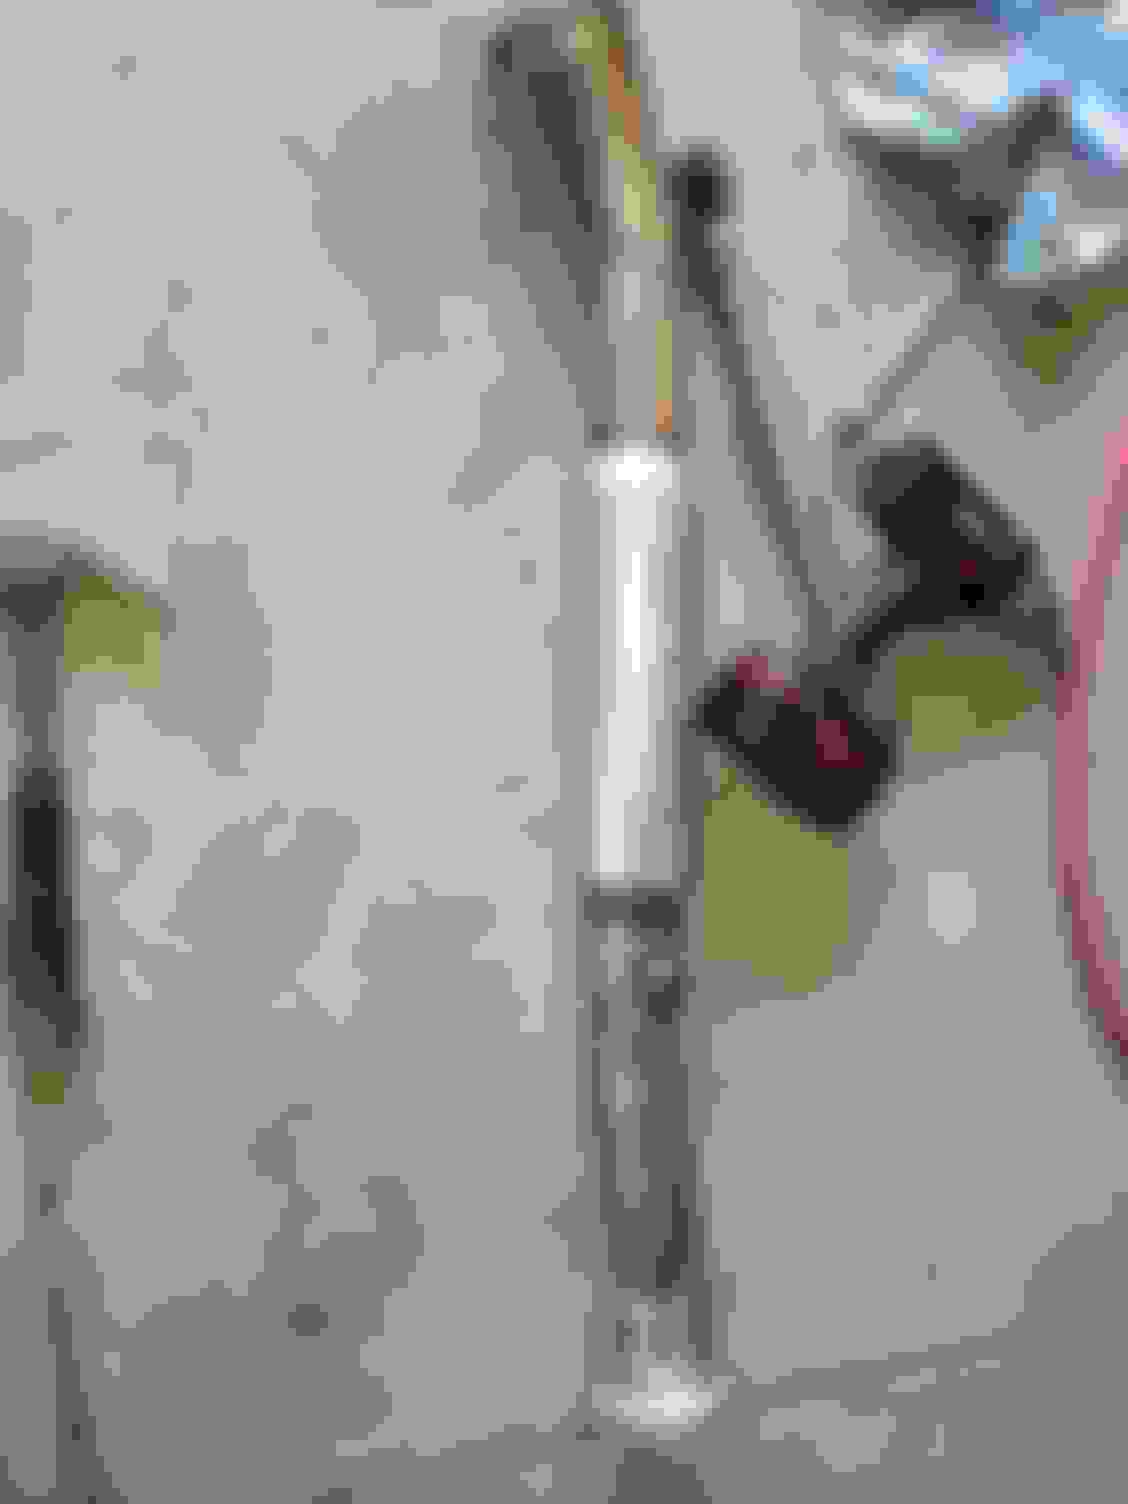
As you can see, with that bolted up, the drivers b pipe is off a mile and the muffler is pushed to the drivers side about 3/4" - it doesn't touch the AHC cover, but it's pretty close:
So I'm going to cut up this join on the muffler inlet since it's a slip joint prior to welding and then slide the other elbow into it to get the muffler back to the correct position:
After that, I'll reprofile the drivers b pipe (luckily I have a bunch of SS 2.5" exhaust tubing and U bends kicking around from some other project) - likely I'll come straight off the header flange like the extension until I'm over far enough to catch the muffler inlet:
Got it all wrapped up this morning and did a victory lap!
First step was to cut and reweld the factory joint on the muffler pass inlet:
Much better clearance around the muffler and the drivers side inlet is less ****ed.
Then I hacked up the drivers b pipe and realigned it with the muffler inlet:
It's not the prettiest thing I've ever made (and I'm not a fabricator by any means), but it doesn't leak and fits properly...form follows function.
Definitely more torque, not sure the top end feels that much different, but it's also running pig rich still. Once the fuel trims come down it'll probably feel a bit more peppy; even though it sucked, it was still worth doing!
 03-30-22, 07:27 PM