


VAISTech's VML on LS460. Compatible?


Rookie
Joined: Sep 2008
Posts: 97
Likes: 0
From: TX

Pictures as promised. Sorry for the messy wires, just too lazy to clean it up
As you can see, the bulge is minimal, if you position the box all the way down near the floor pan, as the foam behind the carpet is thinner there. That leaves a fairly easy access to the dip switches if necessary. Just have to remove one trim panel. Hope that helps.
As you can see, the bulge is minimal, if you position the box all the way down near the floor pan, as the foam behind the carpet is thinner there. That leaves a fairly easy access to the dip switches if necessary. Just have to remove one trim panel. Hope that helps.
Last edited by kitchamp; Sep 11, 2011 at 10:18 PM.

Pit Crew


Joined: Oct 2008
Posts: 237
Likes: 22
From: WA (formerly: KY)
Thanks for taking the time to provide those pictures; that has a nice clean look to it. For some reason I was imagining it behind the carpet on the firewall side, so seeing your install helped.
Does that side trim piece just slide off with a little rear facing force or are there clips/screws attaching it? I guess I should do some searching around for I suspect that someone has posted the center console dis-assembly steps.
Does that side trim piece just slide off with a little rear facing force or are there clips/screws attaching it? I guess I should do some searching around for I suspect that someone has posted the center console dis-assembly steps.
Last edited by KYLS; Sep 12, 2011 at 05:28 PM.



Pit Crew
Joined: Oct 2008
Posts: 237
Likes: 22
From: WA (formerly: KY)

that's lexus in general, they use a lot of clips and not many screws
Pit Crew
Joined: Oct 2008
Posts: 237
Likes: 22
From: WA (formerly: KY)

I found this thread on removal which looks helpful.
Rookie
Joined: Sep 2008
Posts: 97
Likes: 0
From: TX
I admit I was really nervous too the first time, but it really is quite simple, just take your time.
One piece of advice: while you do have to remove the radio portion, you can get away with just sliding the nav unit forward enough for you to reach the particular harness you need to unplug without removing the whole thing. It was the hardest piece to remove for me because of the clips all the way around the bezel. The easiest way for me was to get behind the bezel with my fingernails and pull it out around the top (up by the air vents). Don't forget to unplug the harness to the clock first, it's the shortest one. After that you should be able to wire it up and slide it back in without disconnecting all the other plugs.
One piece of advice: while you do have to remove the radio portion, you can get away with just sliding the nav unit forward enough for you to reach the particular harness you need to unplug without removing the whole thing. It was the hardest piece to remove for me because of the clips all the way around the bezel. The easiest way for me was to get behind the bezel with my fingernails and pull it out around the top (up by the air vents). Don't forget to unplug the harness to the clock first, it's the shortest one. After that you should be able to wire it up and slide it back in without disconnecting all the other plugs.
to pull out the radio unit, the trick is to leverage off the two wood trims on the side all the way at the bottom. they stick out a bit. get your finger behind them and pull. you just need to have the guts, it's strong enough to hold the unit and pull straight out
Pit Crew
Joined: Oct 2008
Posts: 237
Likes: 22
From: WA (formerly: KY)
The iPod sound and visuals are amazing, and in CD emulation mode I've been able to access a USB flash drive or the iPod's playlists. What I've been struggling with is getting the internal PATA hard drive working, but I will take that discussion over to the ViasTech ML+ thread. Thanks for everyone's help.

Pole Position
Joined: Jan 2010
Posts: 282
Likes: 0
From: Germany
Radio screw location, one on each side:
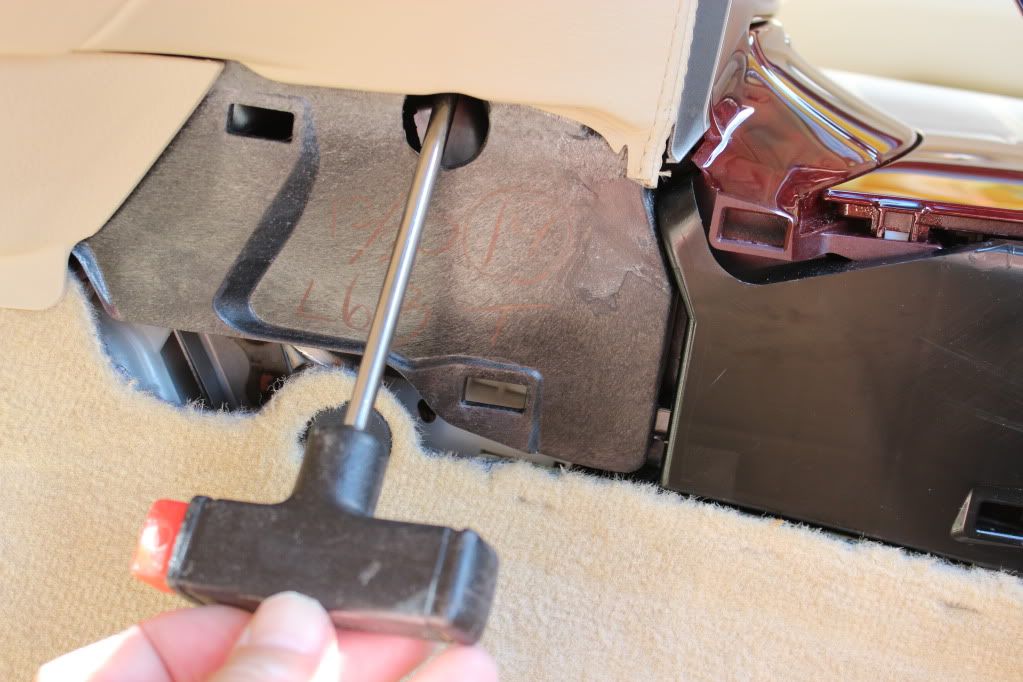
Murphy's law: A screw will fall down if a screw can fall down. Be warned:
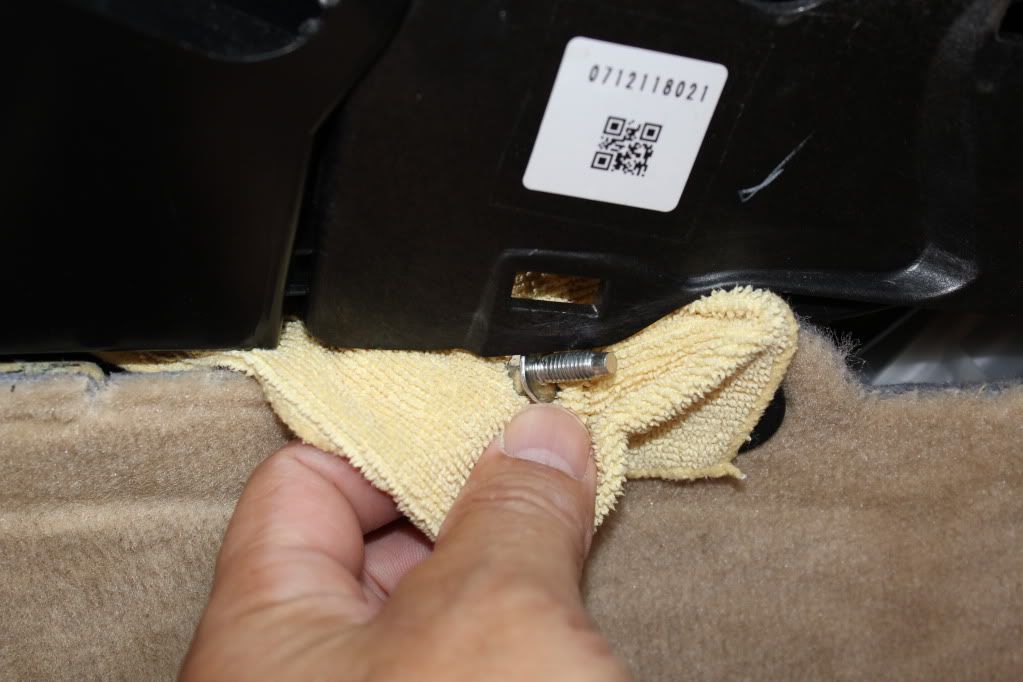
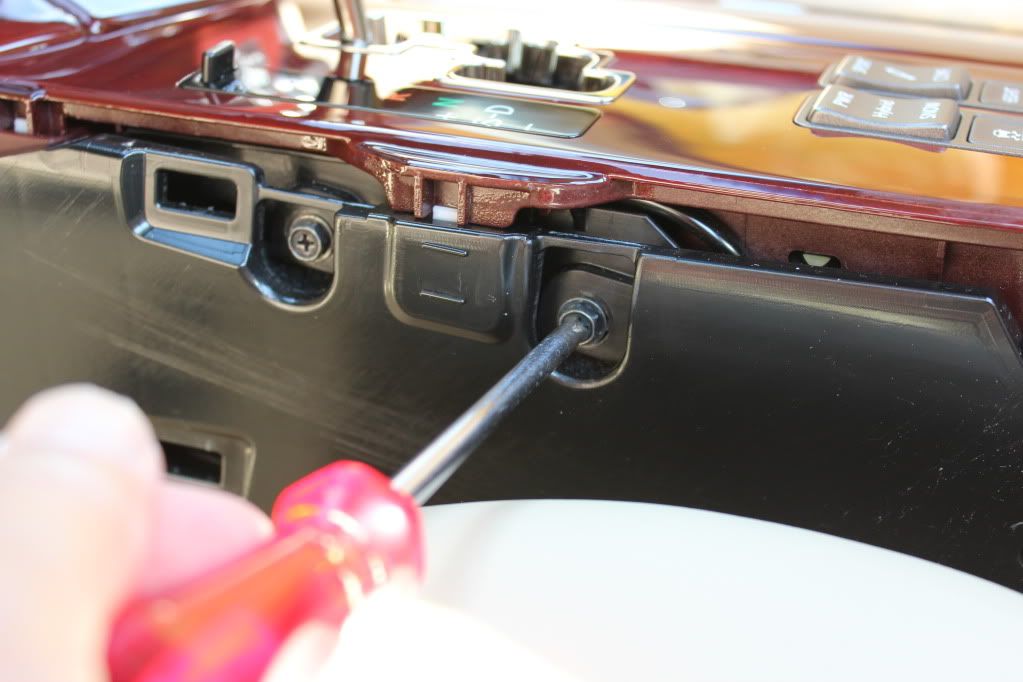
Unscrew both before lift the plate:

Thread
Thread Starter
Forum
Replies
Last Post
