When you click on links to various merchants on this site and make a purchase, this can result in this site earning a commission. Affiliate programs and affiliations include, but are not limited to, the eBay Partner Network.
I have started disassembling my car to replace the oil pump. To do so the oil pans must be removed and the factory service manual says to drop the engine/trans combo out the bottom, separate them, and then install the engine on a stand to proceed. This isn't necessary as there is a much easier way. The only downside is you'll need an alignment when you are done.
First step is to support the car on jack stands under the front frame rails on each side.
Remove the front wheels and then disconnect the tie rod ends from the spindle. Remove the cotter pin and the nut from each side. Hit the spindle where the stud passes through with a hammer to release the tie rod. If this doesn't work use a tie rod puller for free from AutoZone.
Next score or paint a line on the front camber bolt on the front control arm to aid in reassembly. Remove the camber bolt and nut and the two bolts holding the rear bushing housing in place. Use a pry bar or just pull the control arm out of its mount and let it hang.
Disconnect the feed and return lines on the steering rack. Have a drain pan handy as you will lose some ps fluid. I plugged the ends with foam ear plugs.
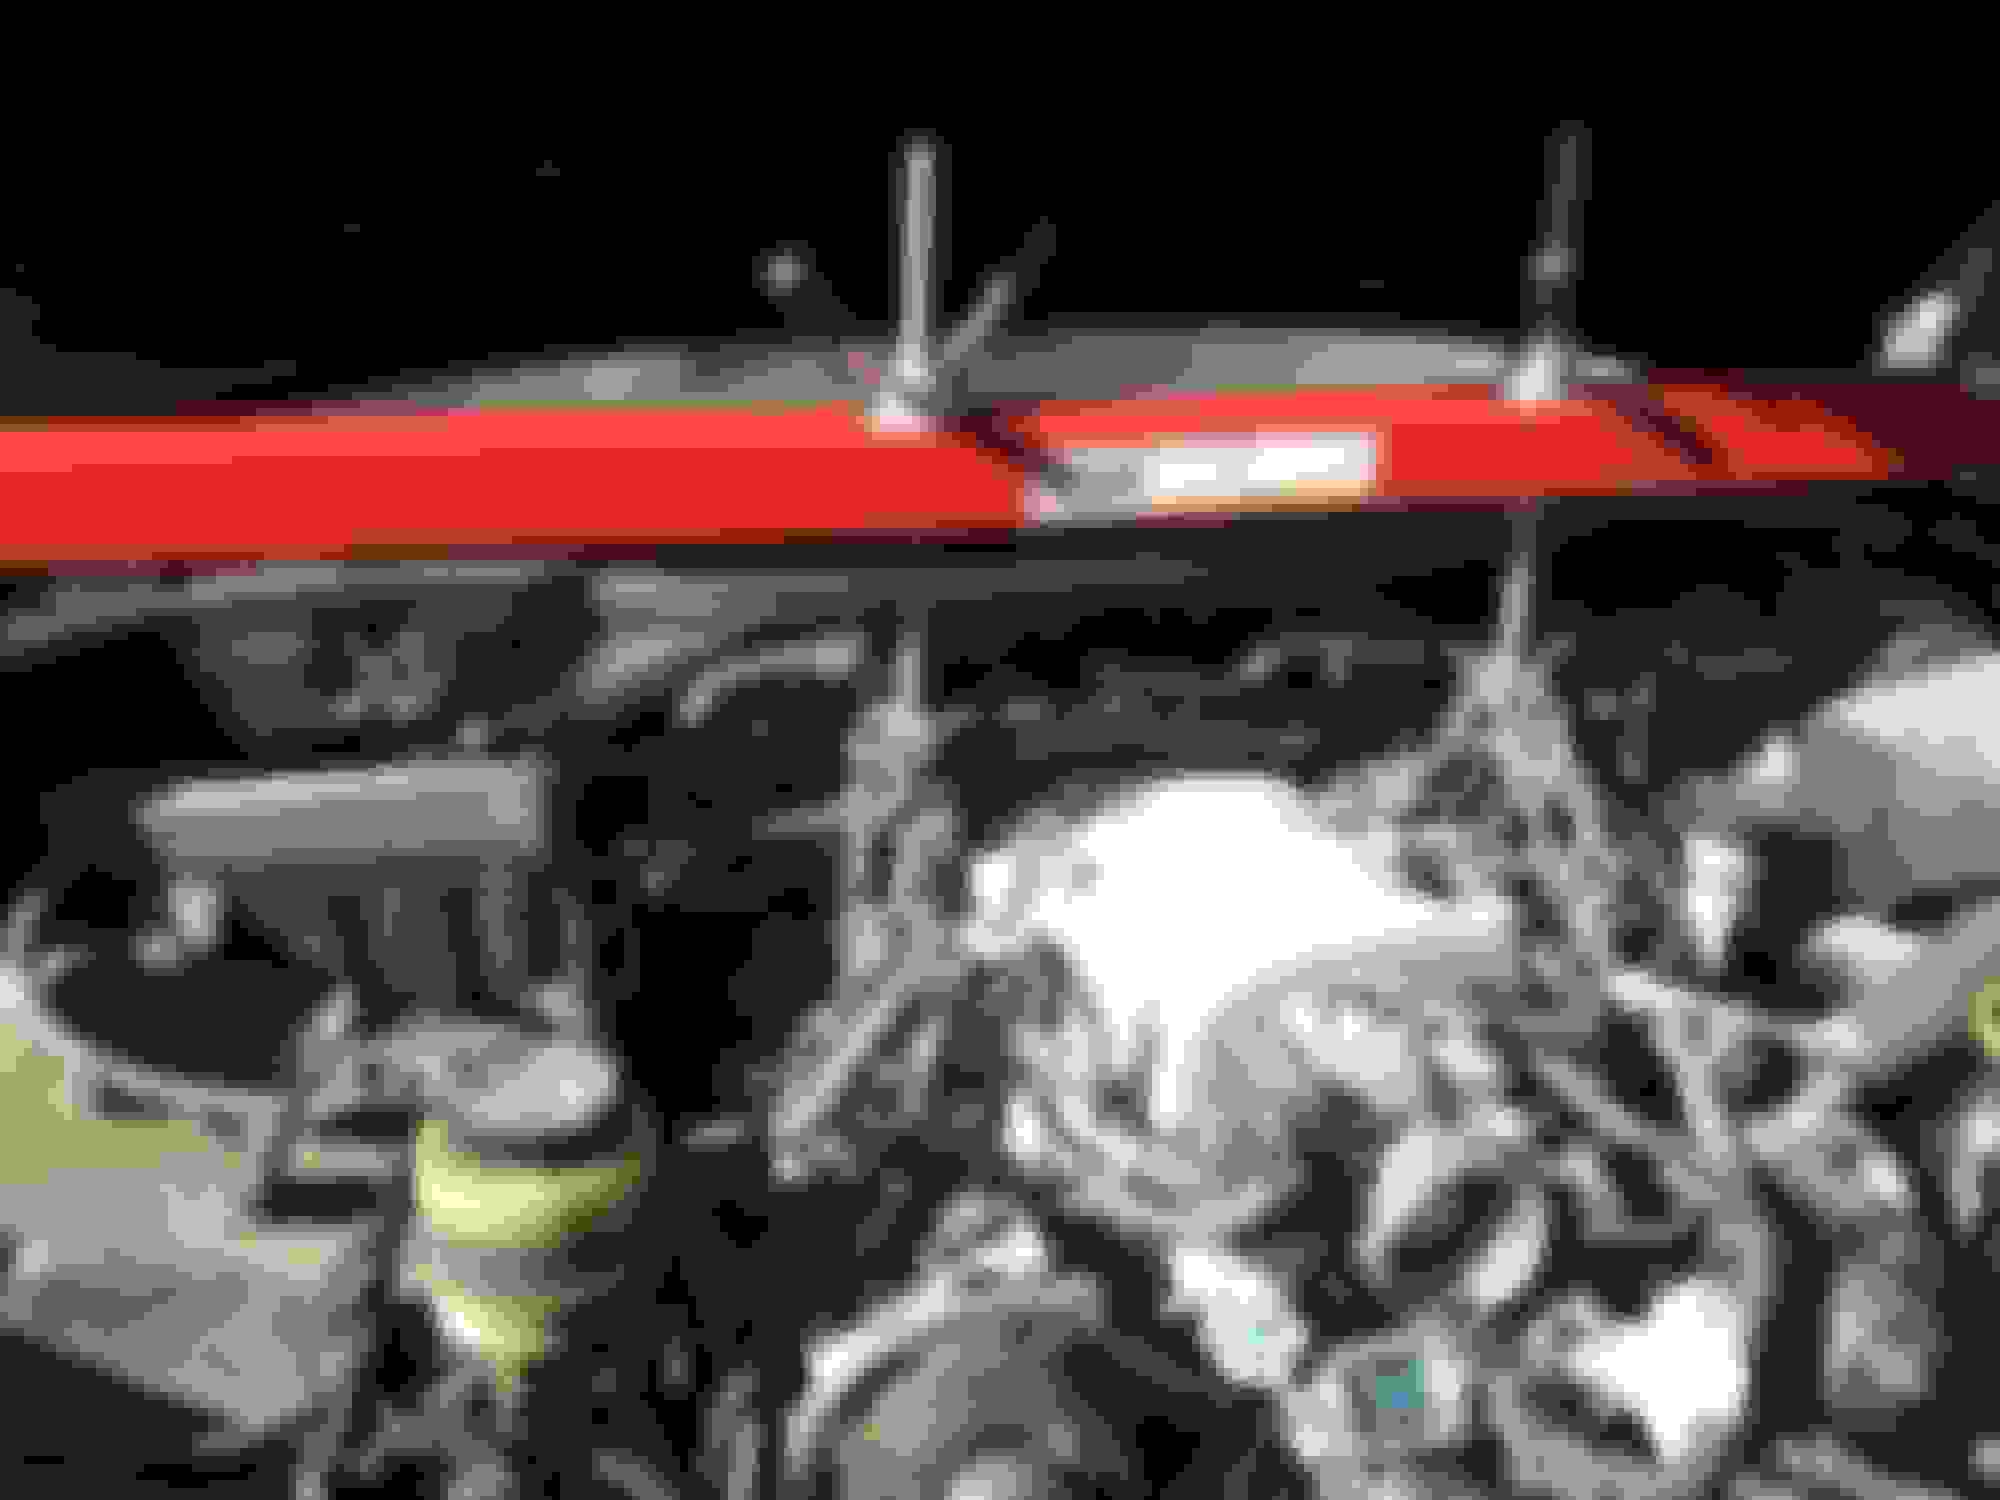
Remove the two nuts holding the steering rack to the subframe. Disconnect the wiring for the pressure sensor on the rack. Install an engine support bar or a cherry picker. Remove the engine cover and use the two hooks on the intake manifold.
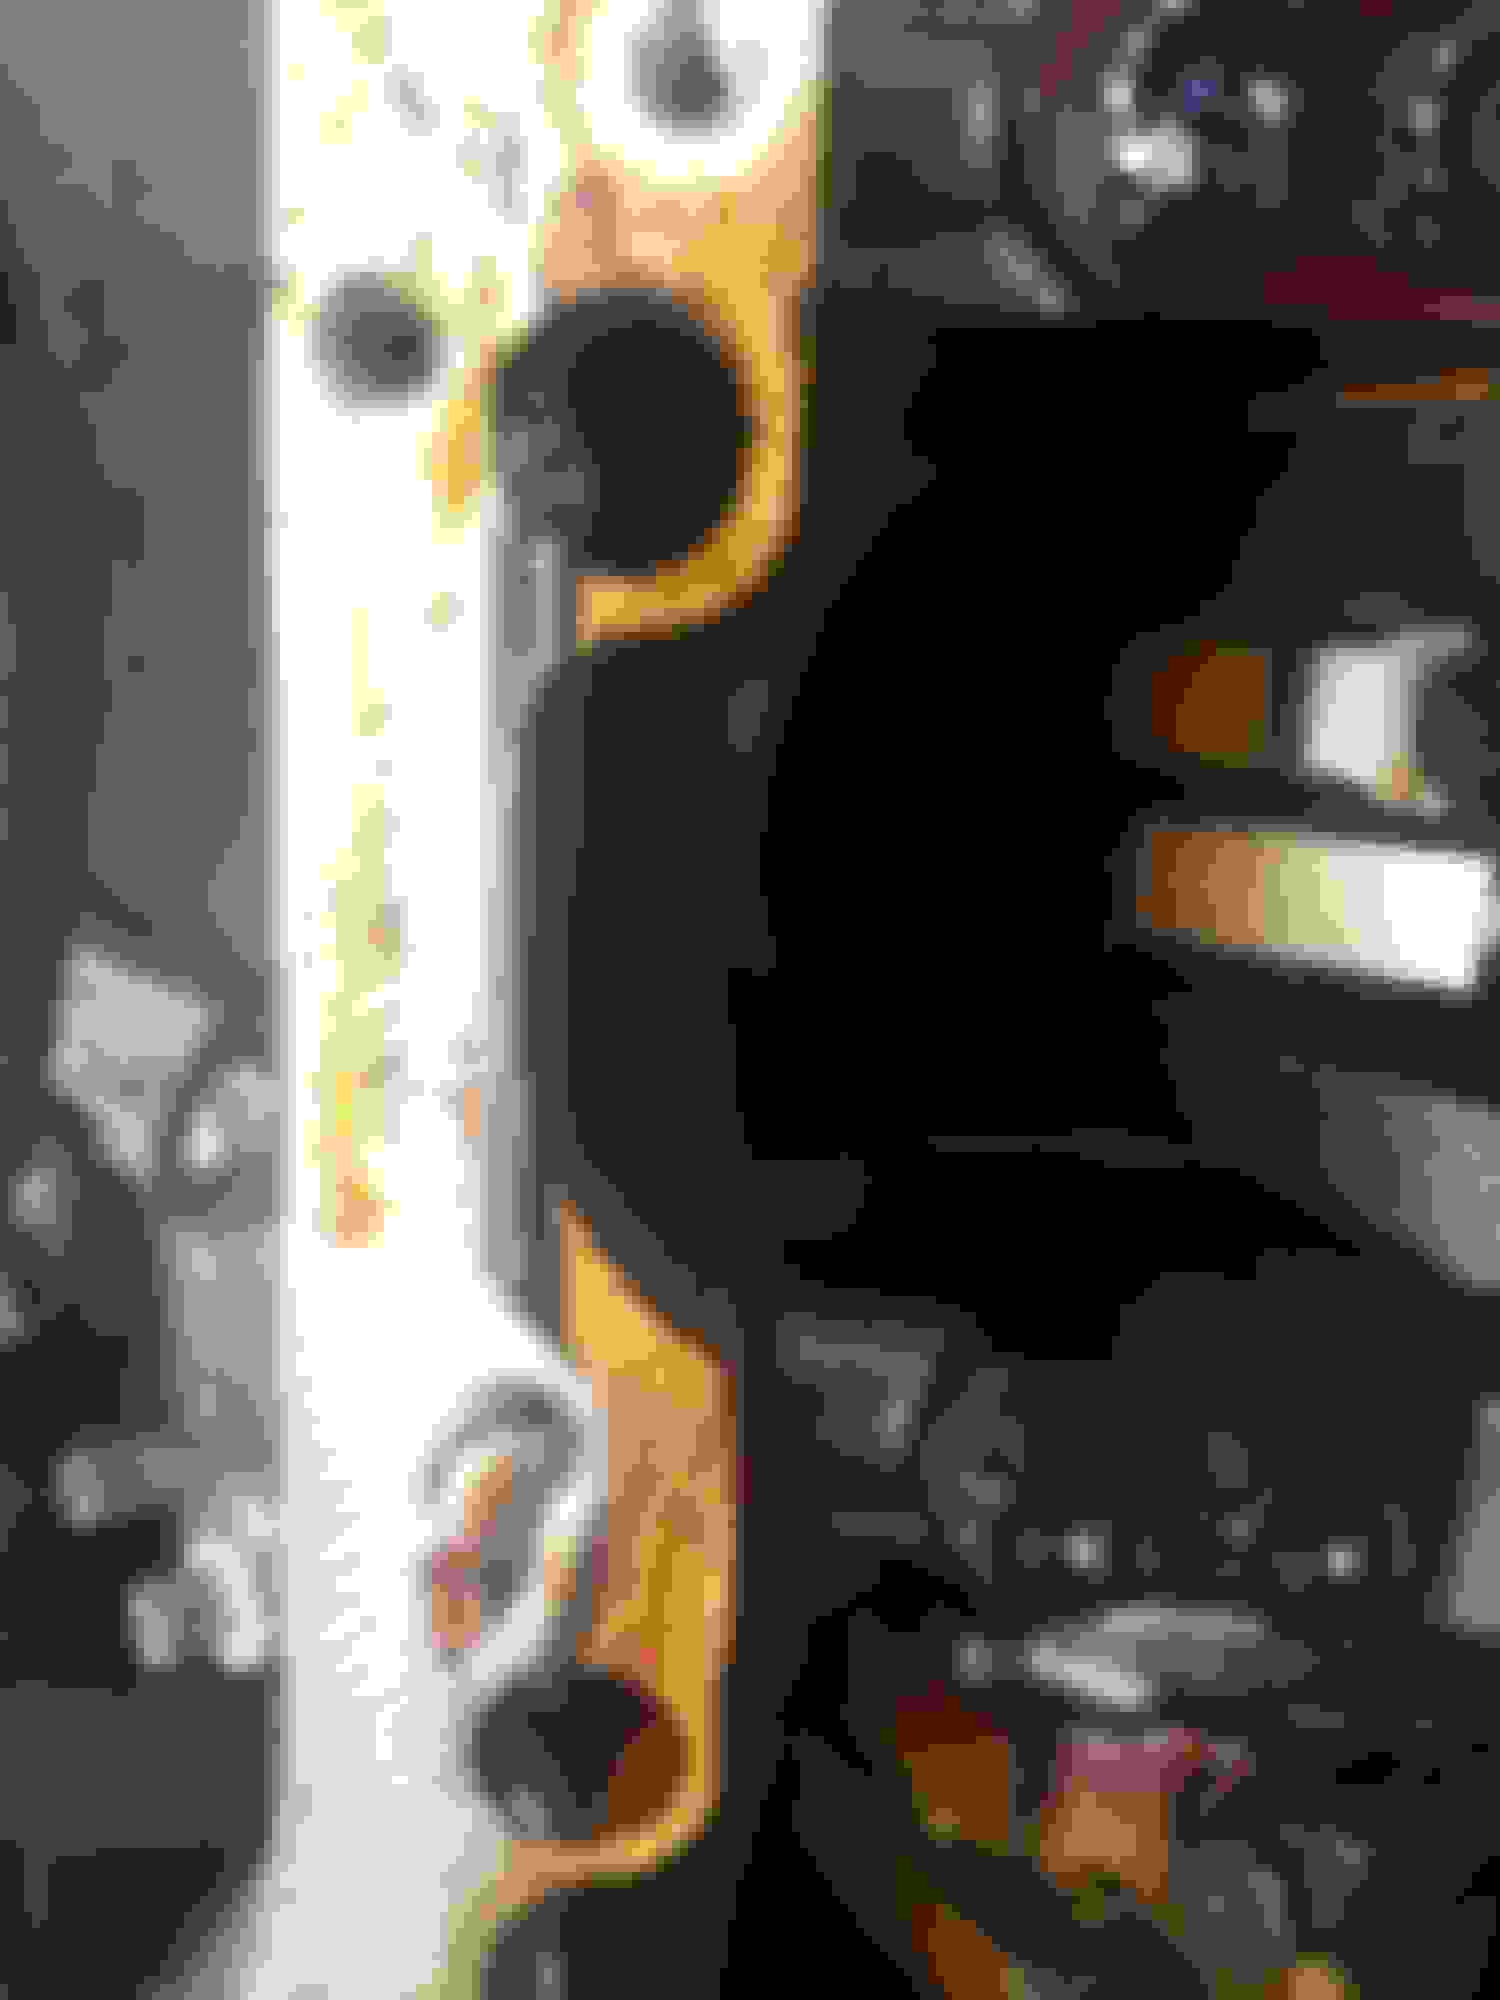
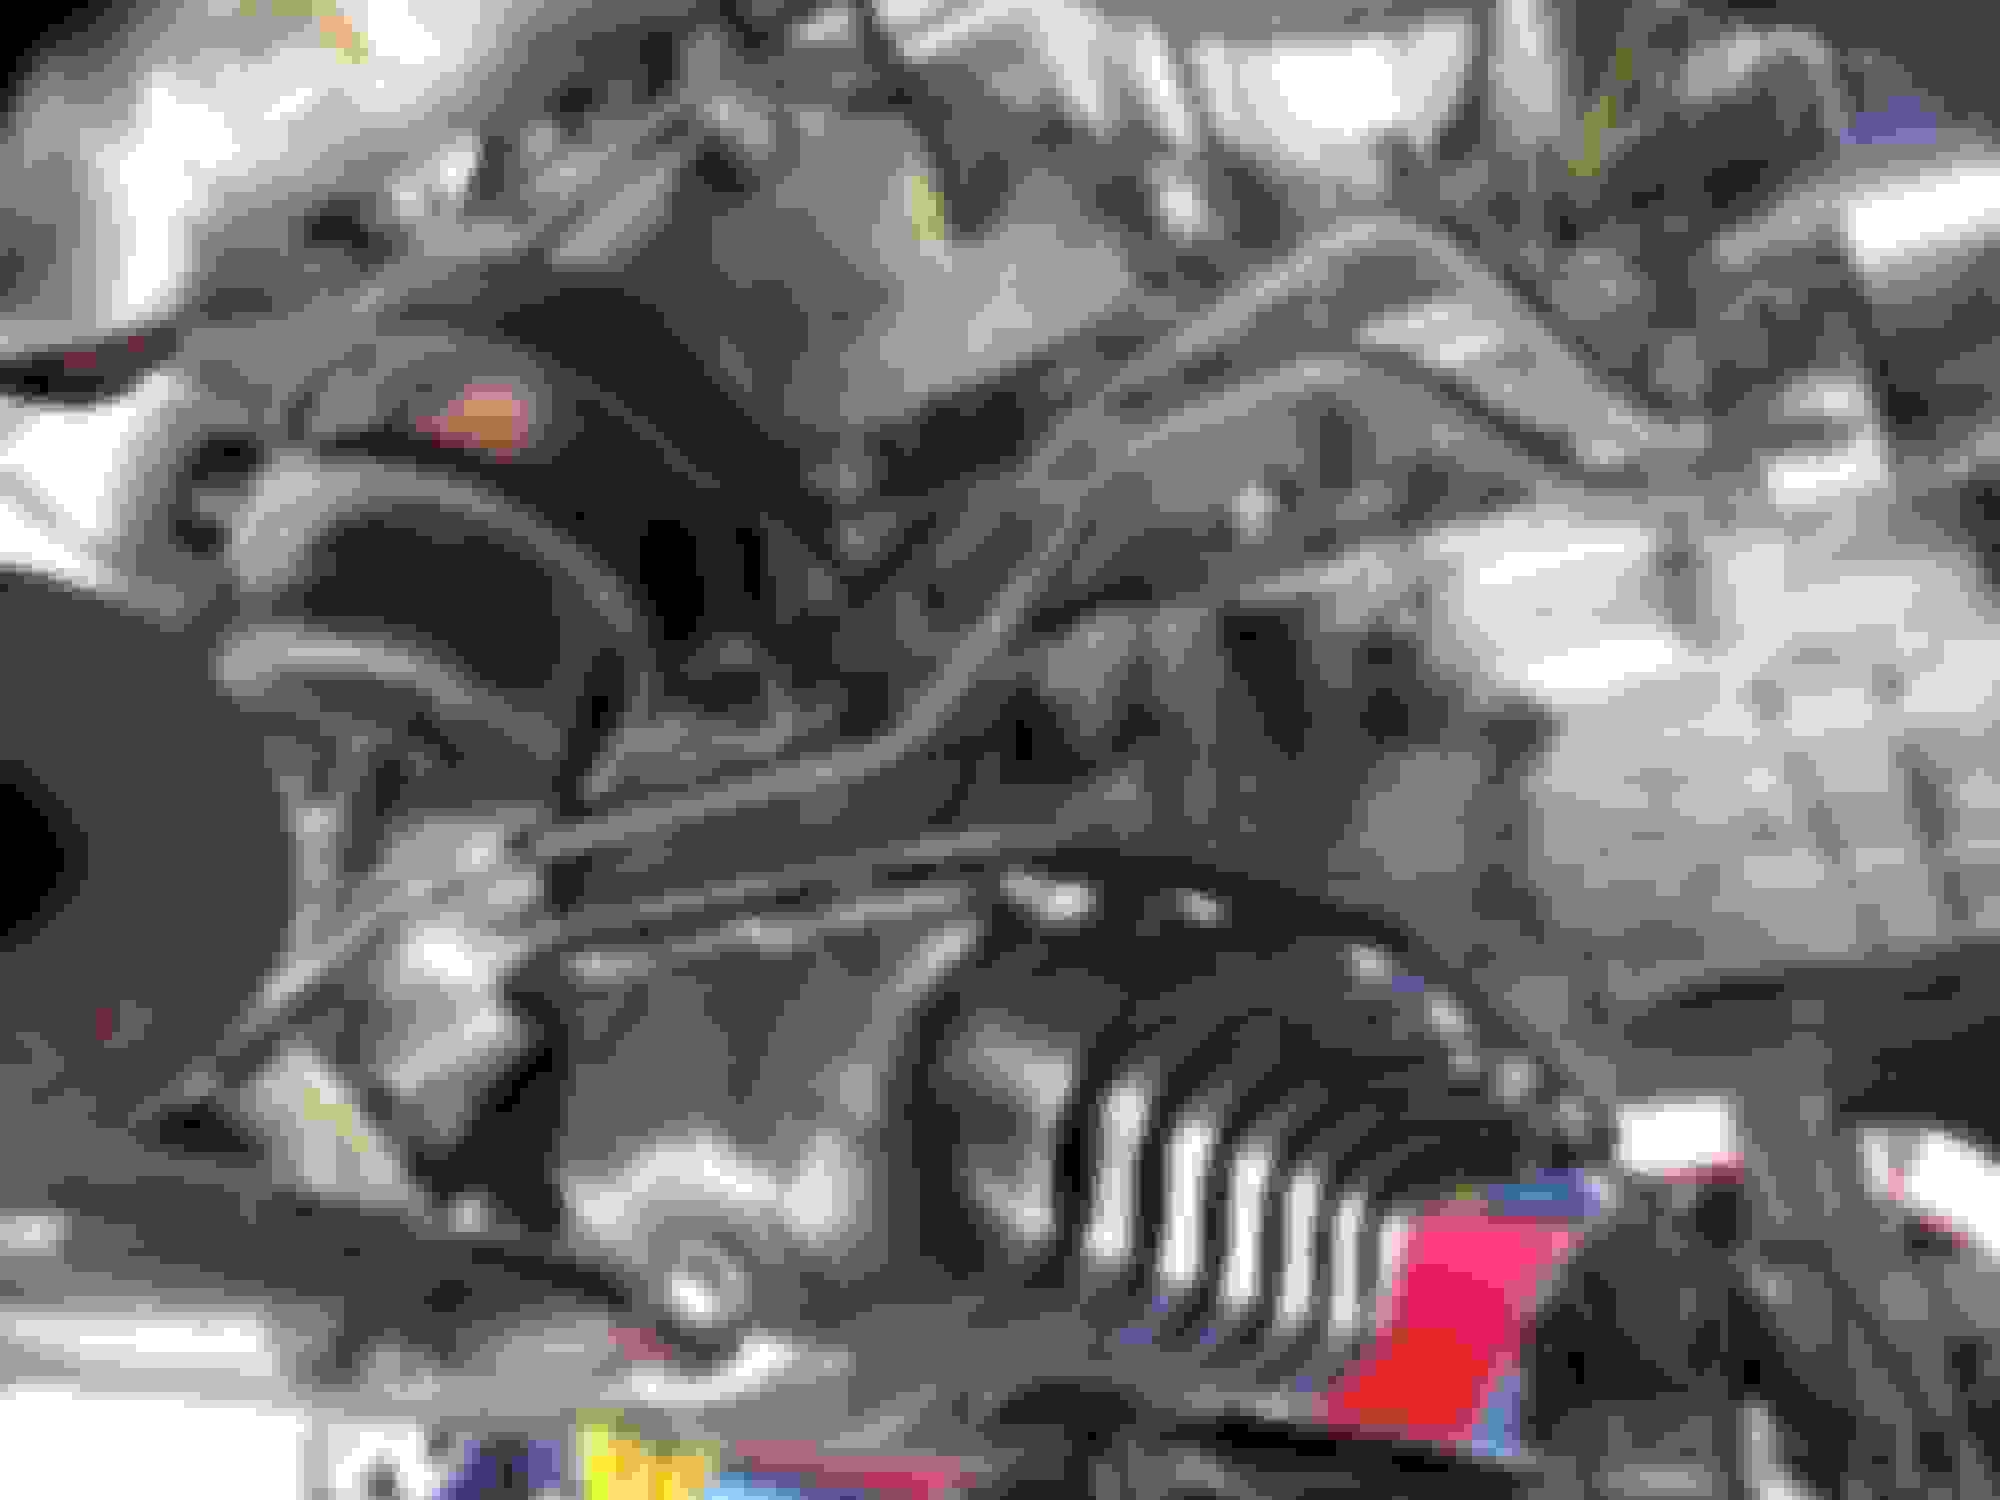
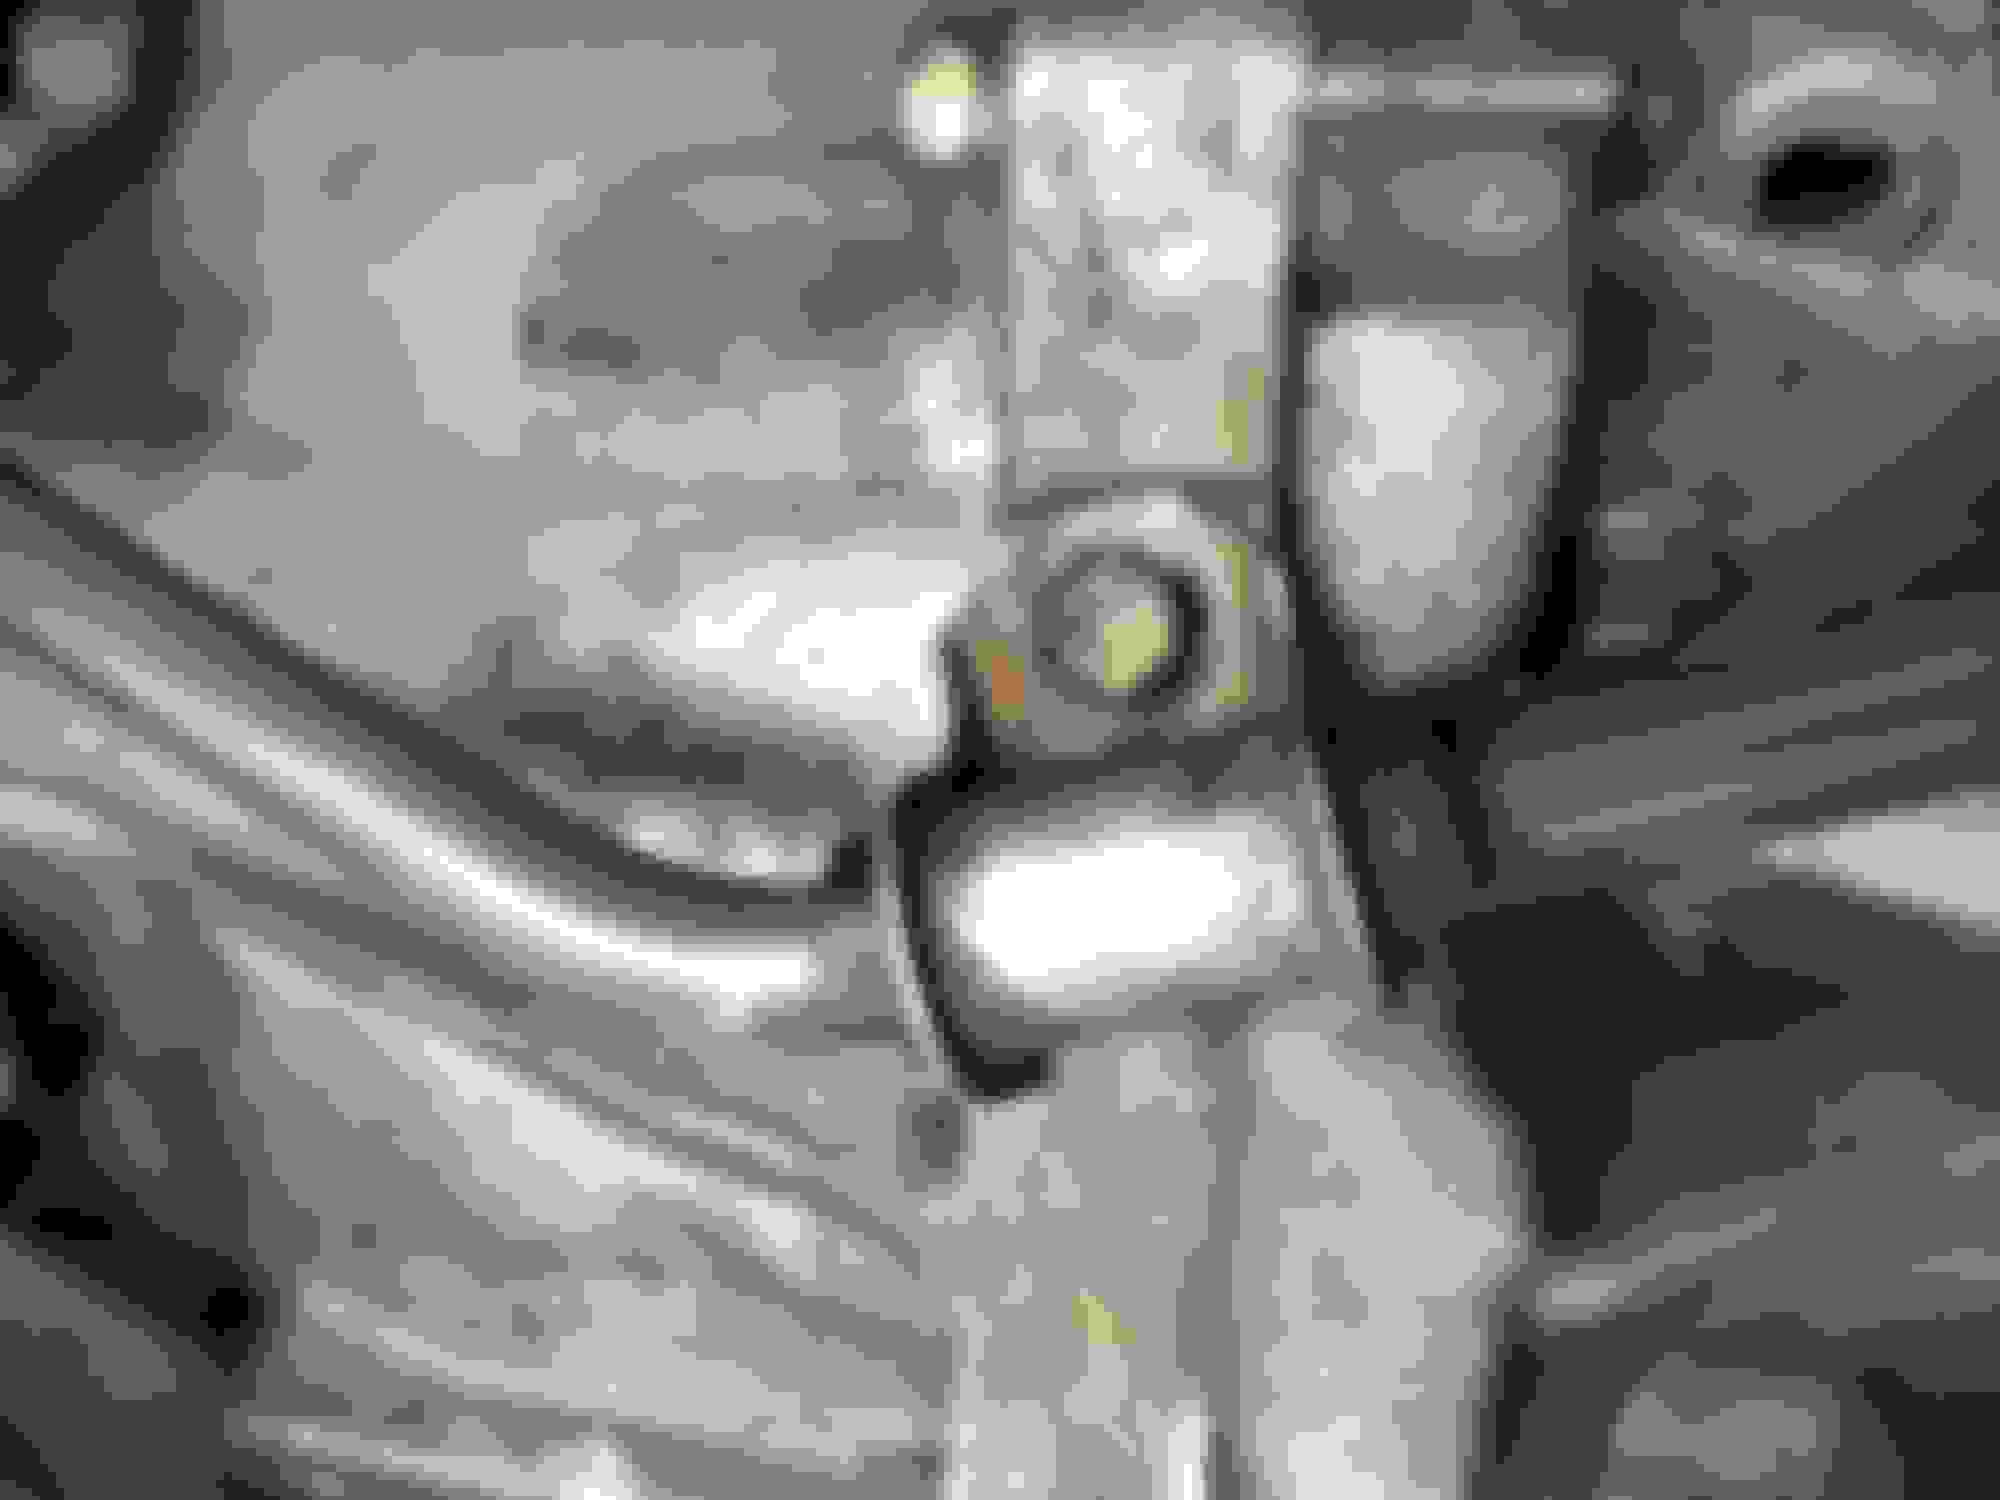
Remove the motor mount nuts, one on each side. They are located deep inside the round holes on the subframe. Remove the two large bolts holding the subframe to the body. It's the one above the control arm in this pic.
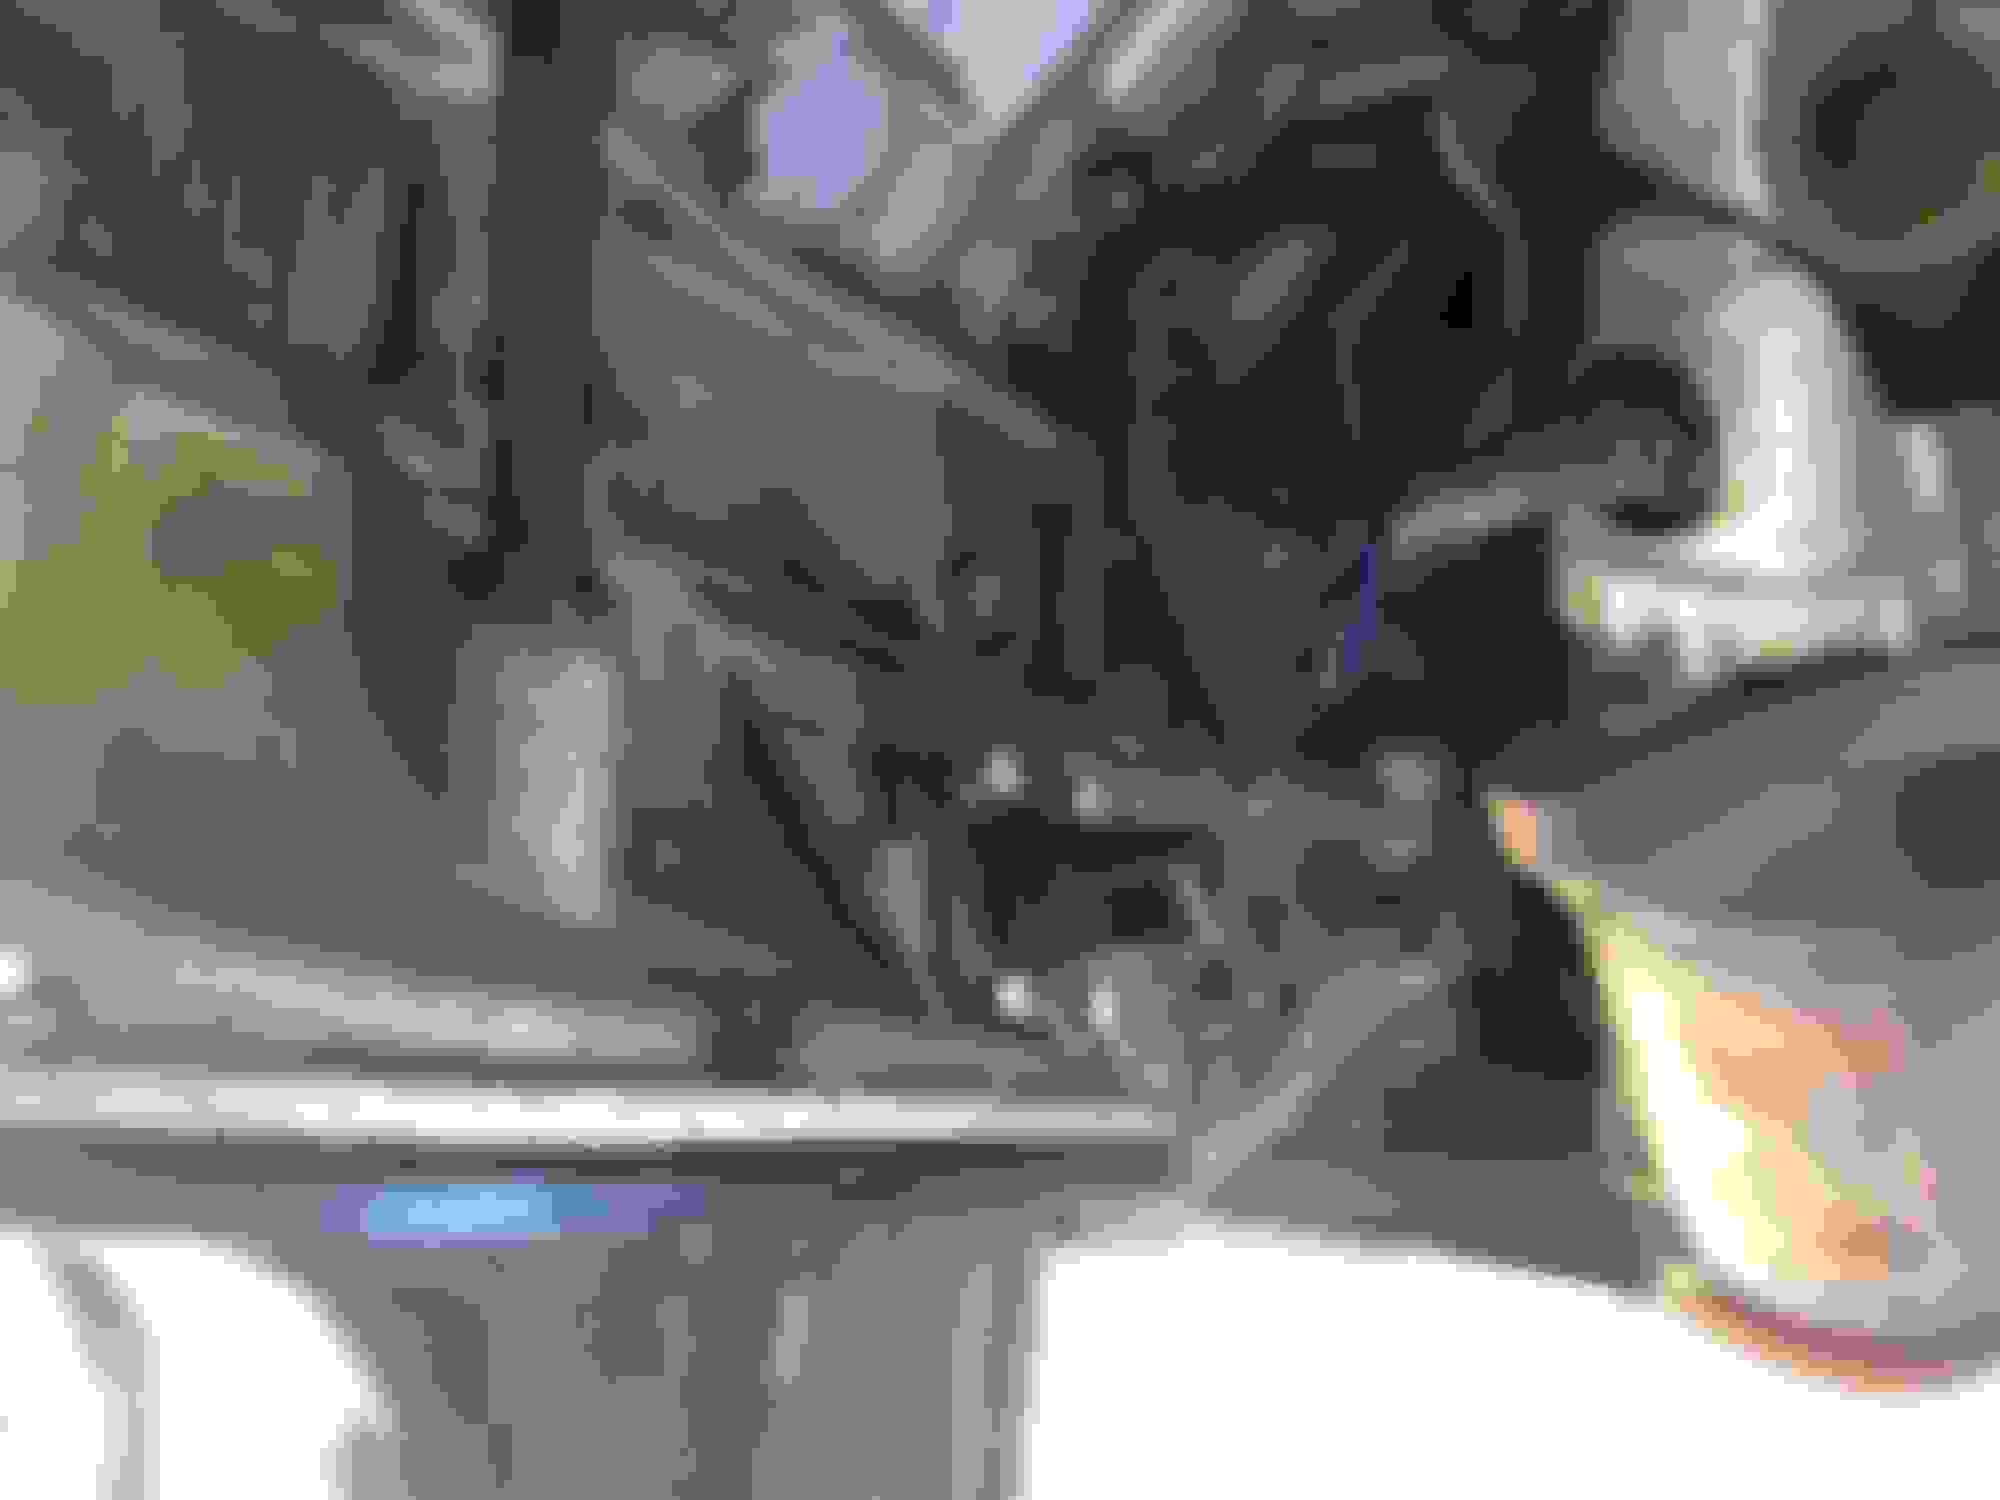
Now you slide the steering rack off of its mounting studs as you lower the front subframe. I had to use a jack under the subframe to support it. You must also maneuver the frame around the control arms. I ended up disconnecting the steering shaft (make sure the wheel is locked) by removing the upper bolt easily accessible through the wheel well. I don't think this is absolutely necessary however. If you leave the rack in place pivot it out of the way once the frame is removed. You will now have plenty of room to drop the oil pans.
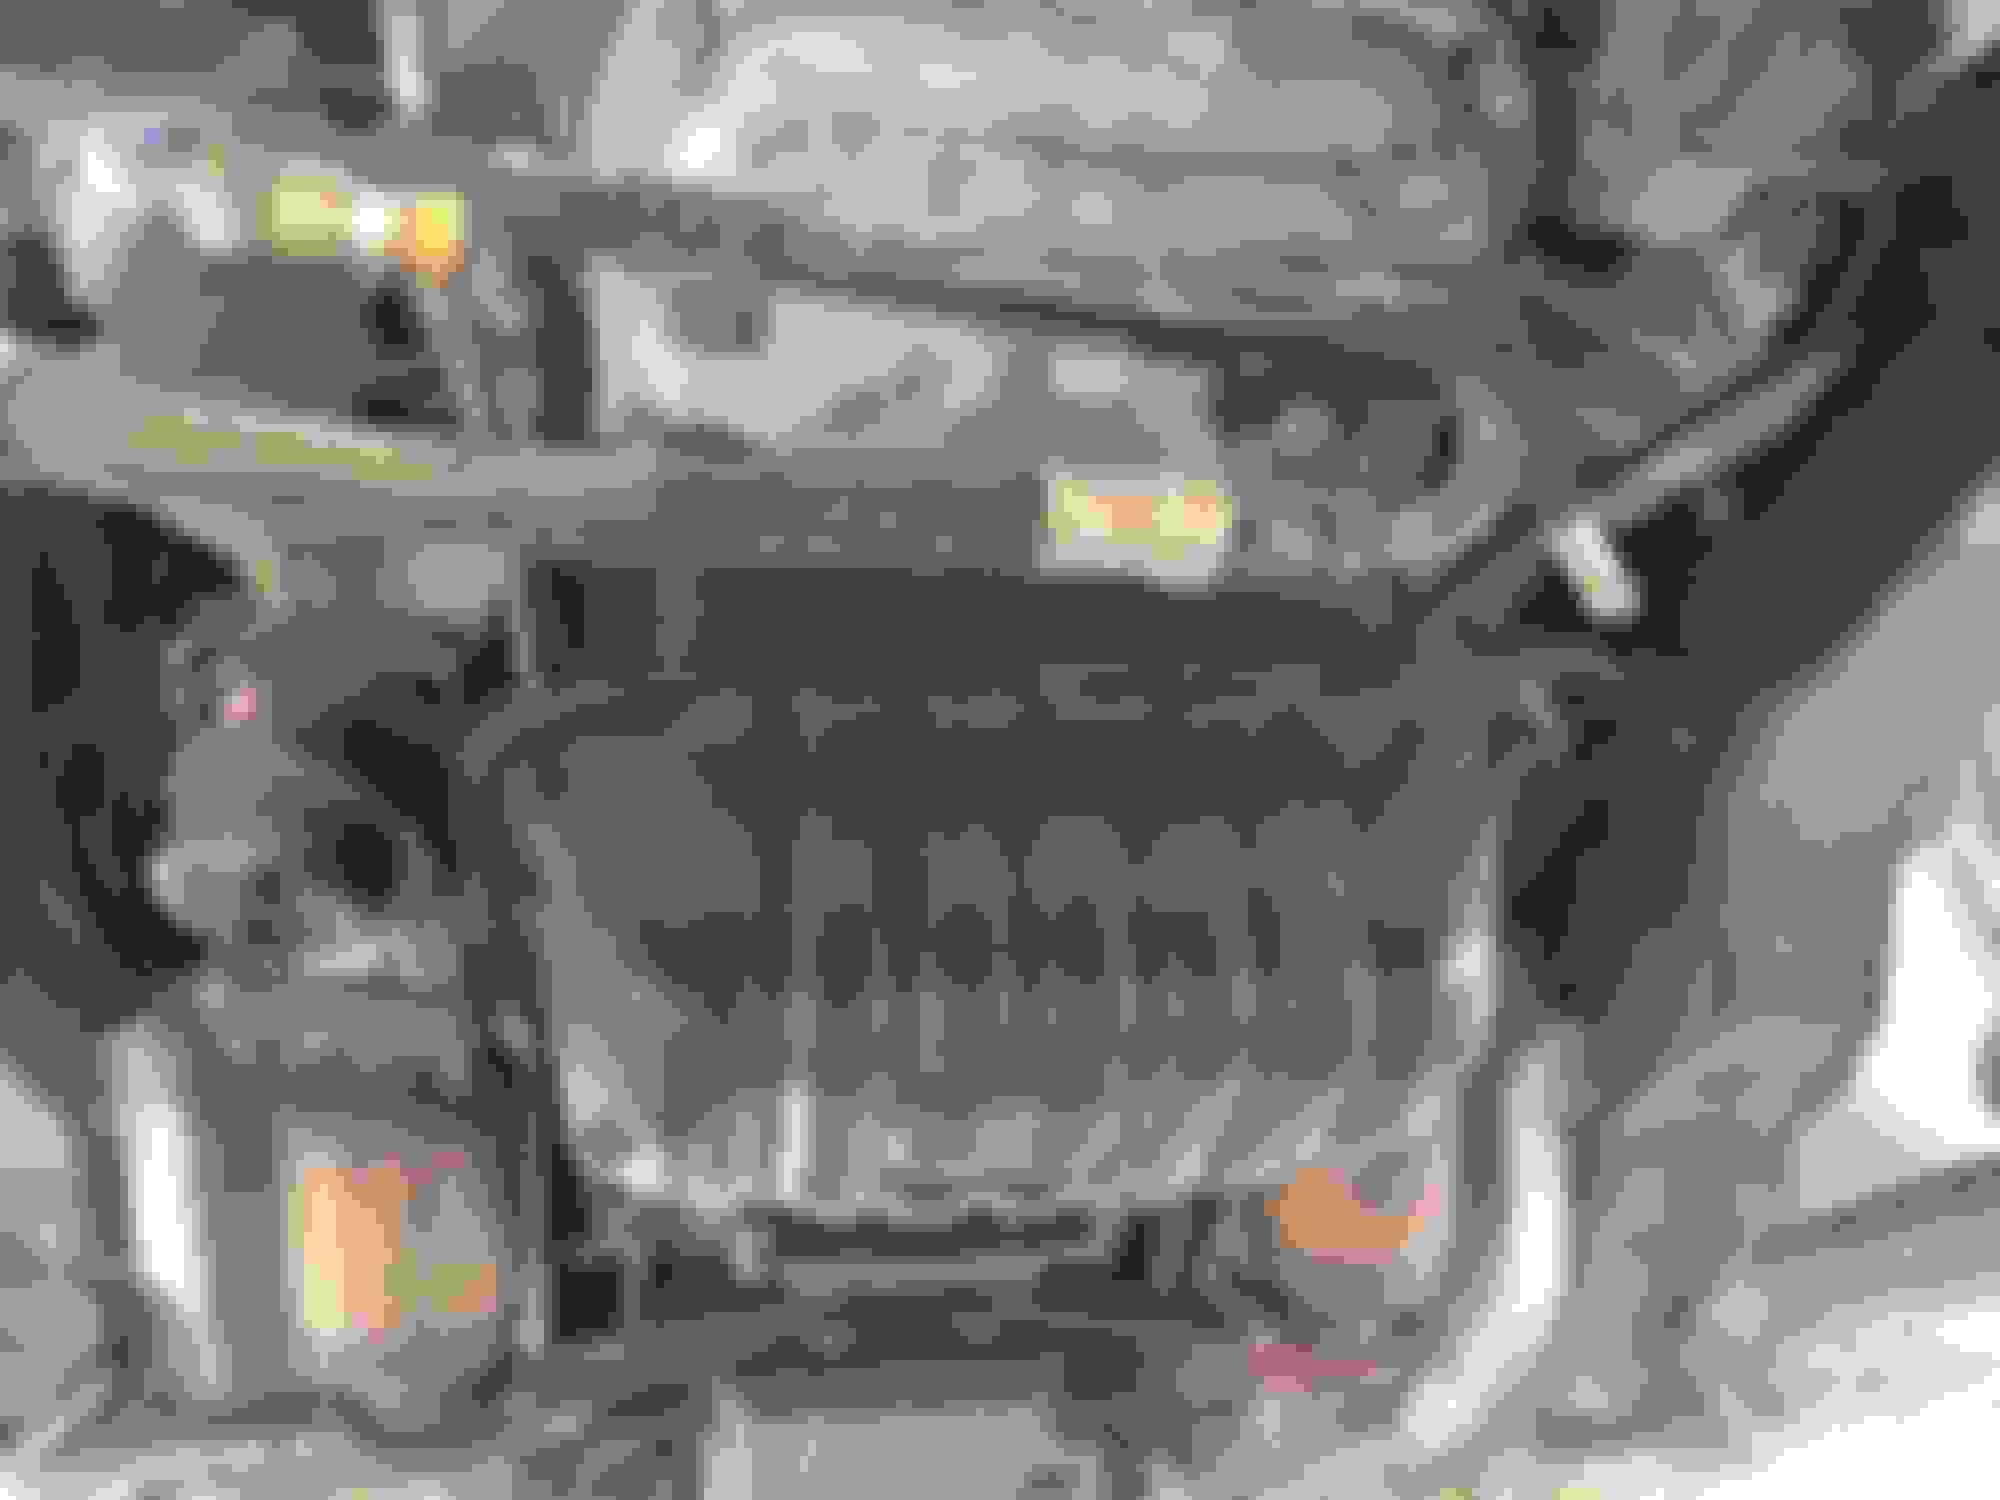
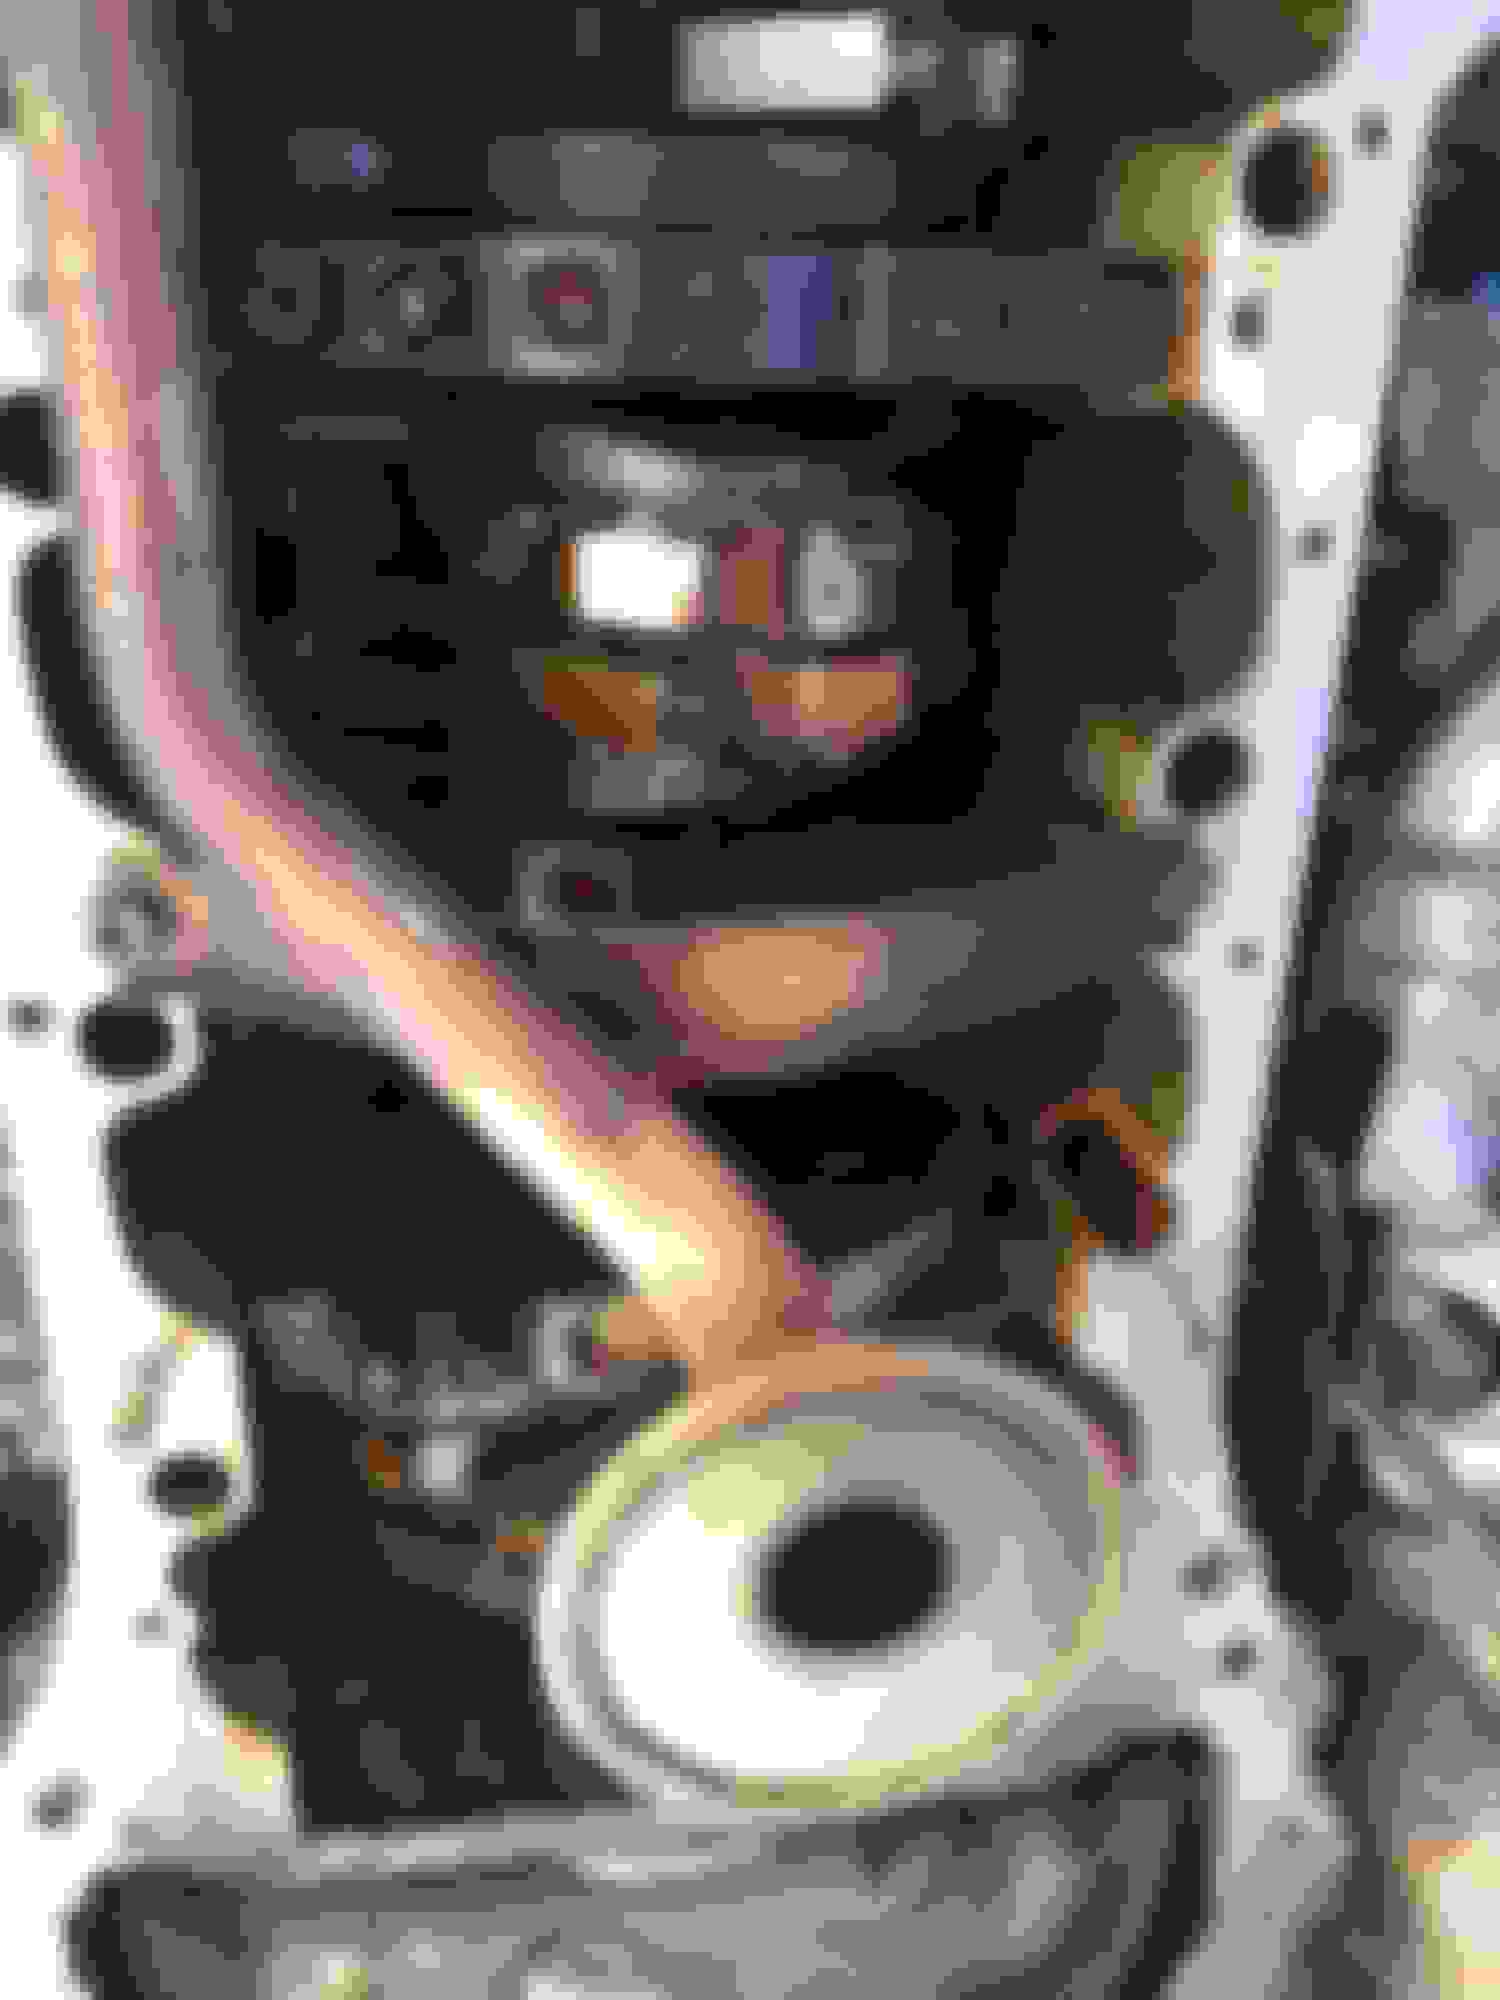
Remove the two 10mm bolts holding the power steering lines to the front of the oil pan. Drain the engine oil. Remove the lower oil pan by removing all of the bolts and two nuts. I used a thin putty knife to break the lower pan free from the upper pan. Remove the bolts/nuts holding the baffle in place. Remove the two bolts holding the torque converter cover. Remove the bolts holding the transmission cooler lines. Remove all the bolts/nuts holding the upper oil pan in place. Keep in mind there are several lengths and sizes. Break the upper pan free using a thin putty knife.
Here's my parts removed including my rack and oil pump. Clean everything with razor blades and brake cleaner until it is spotless, including the engine block. Reassembly to follow.
Worked on the car for a bit today. Here pics of the engine with the oil pump and pans removed.
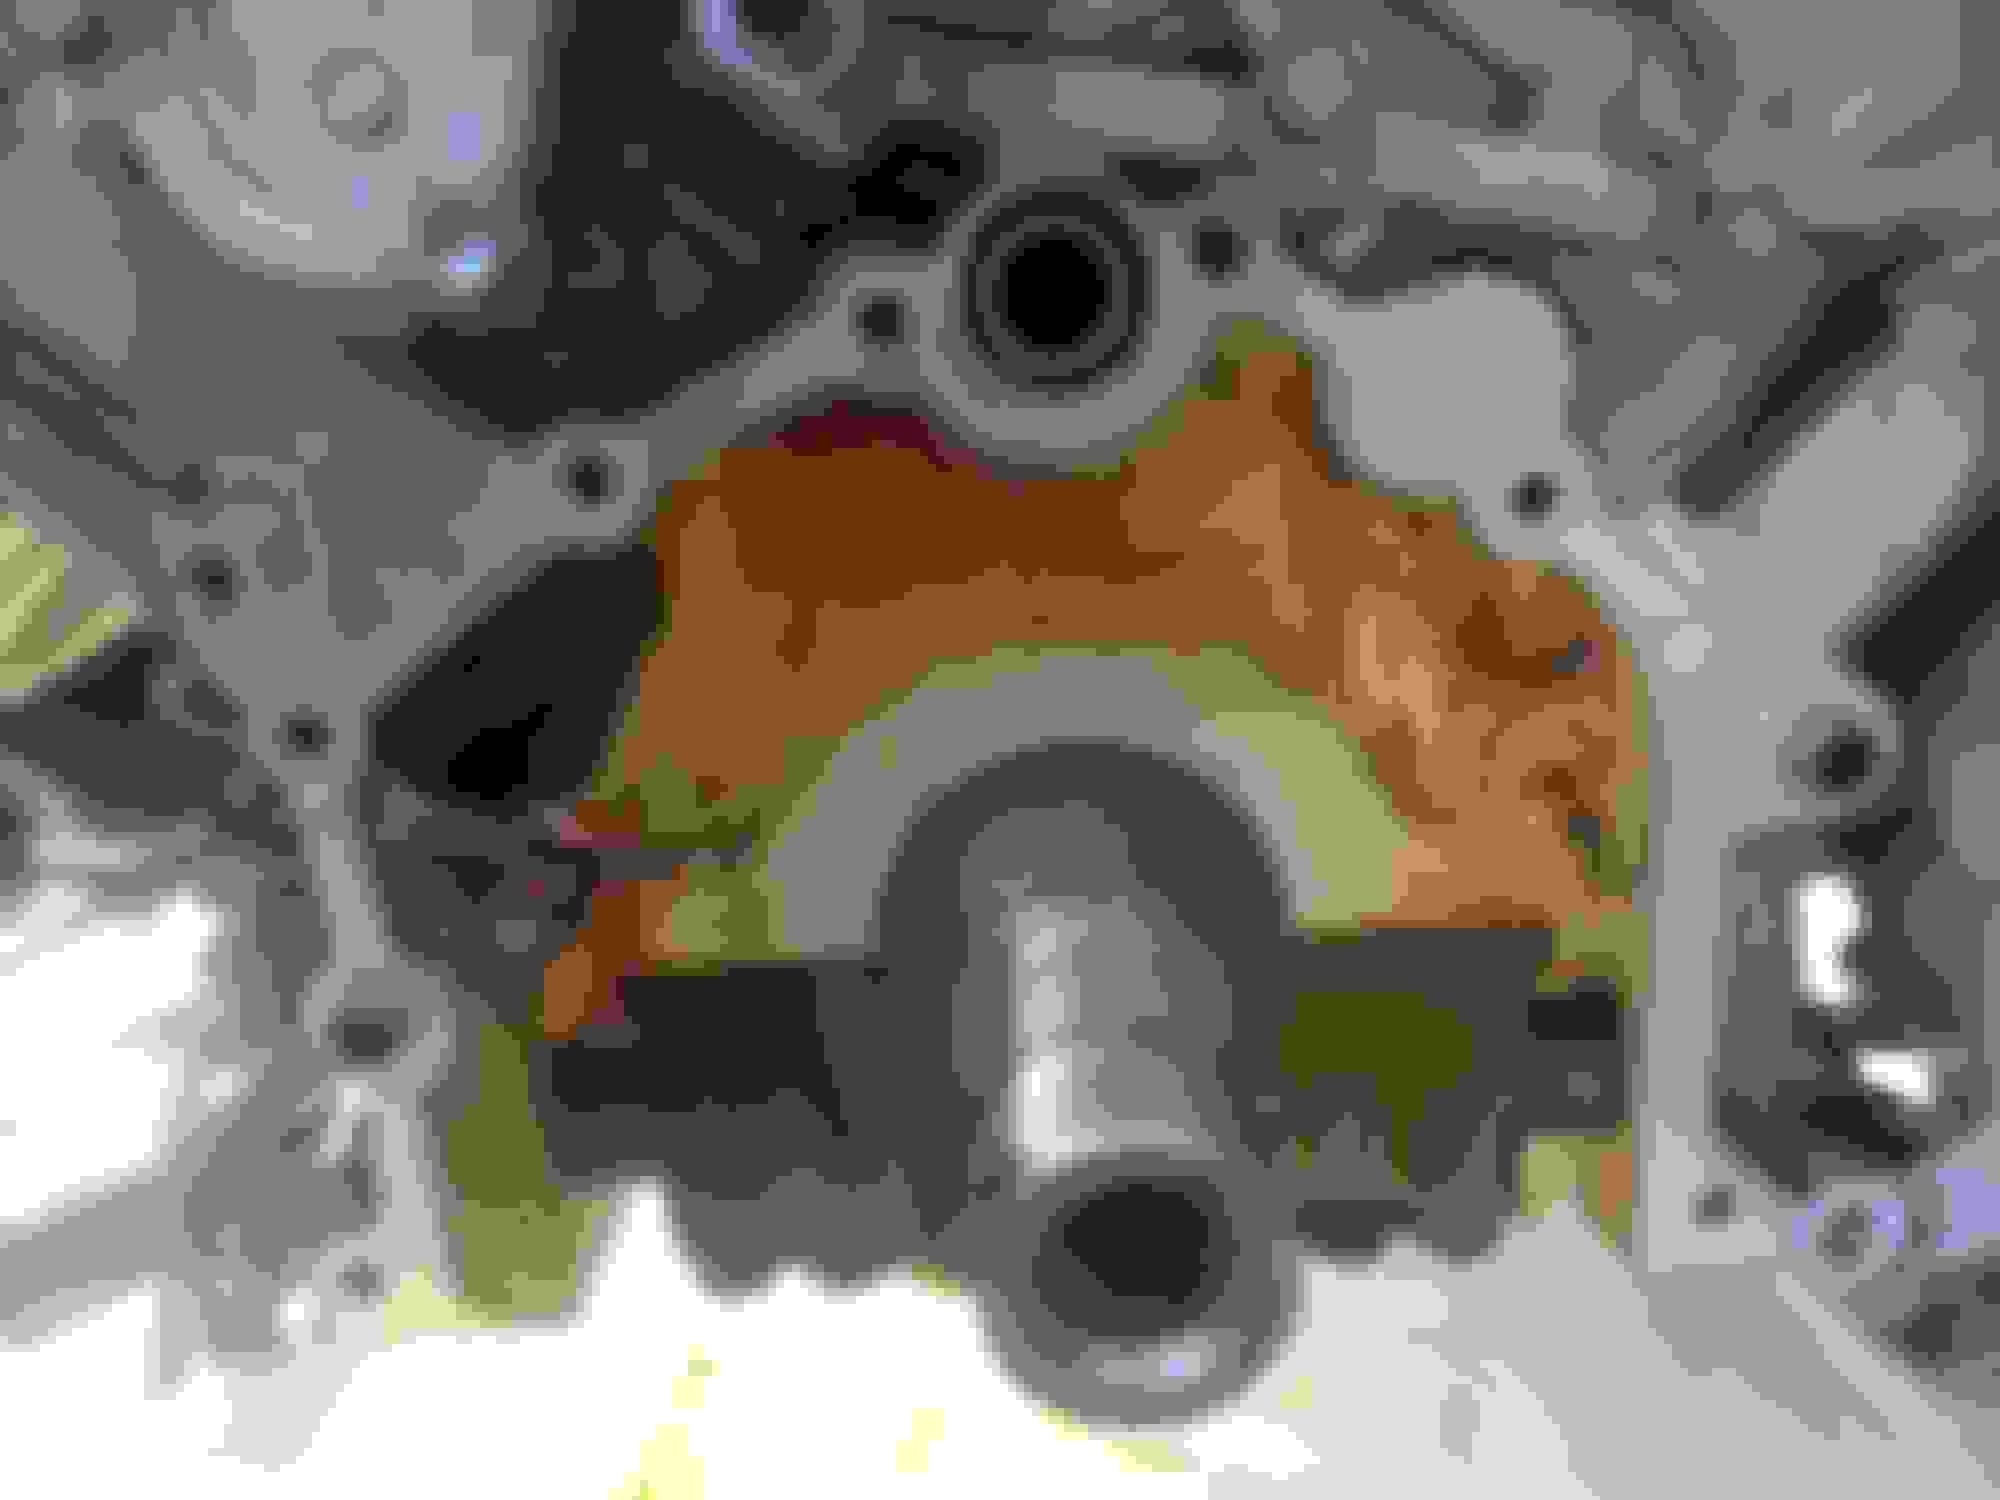
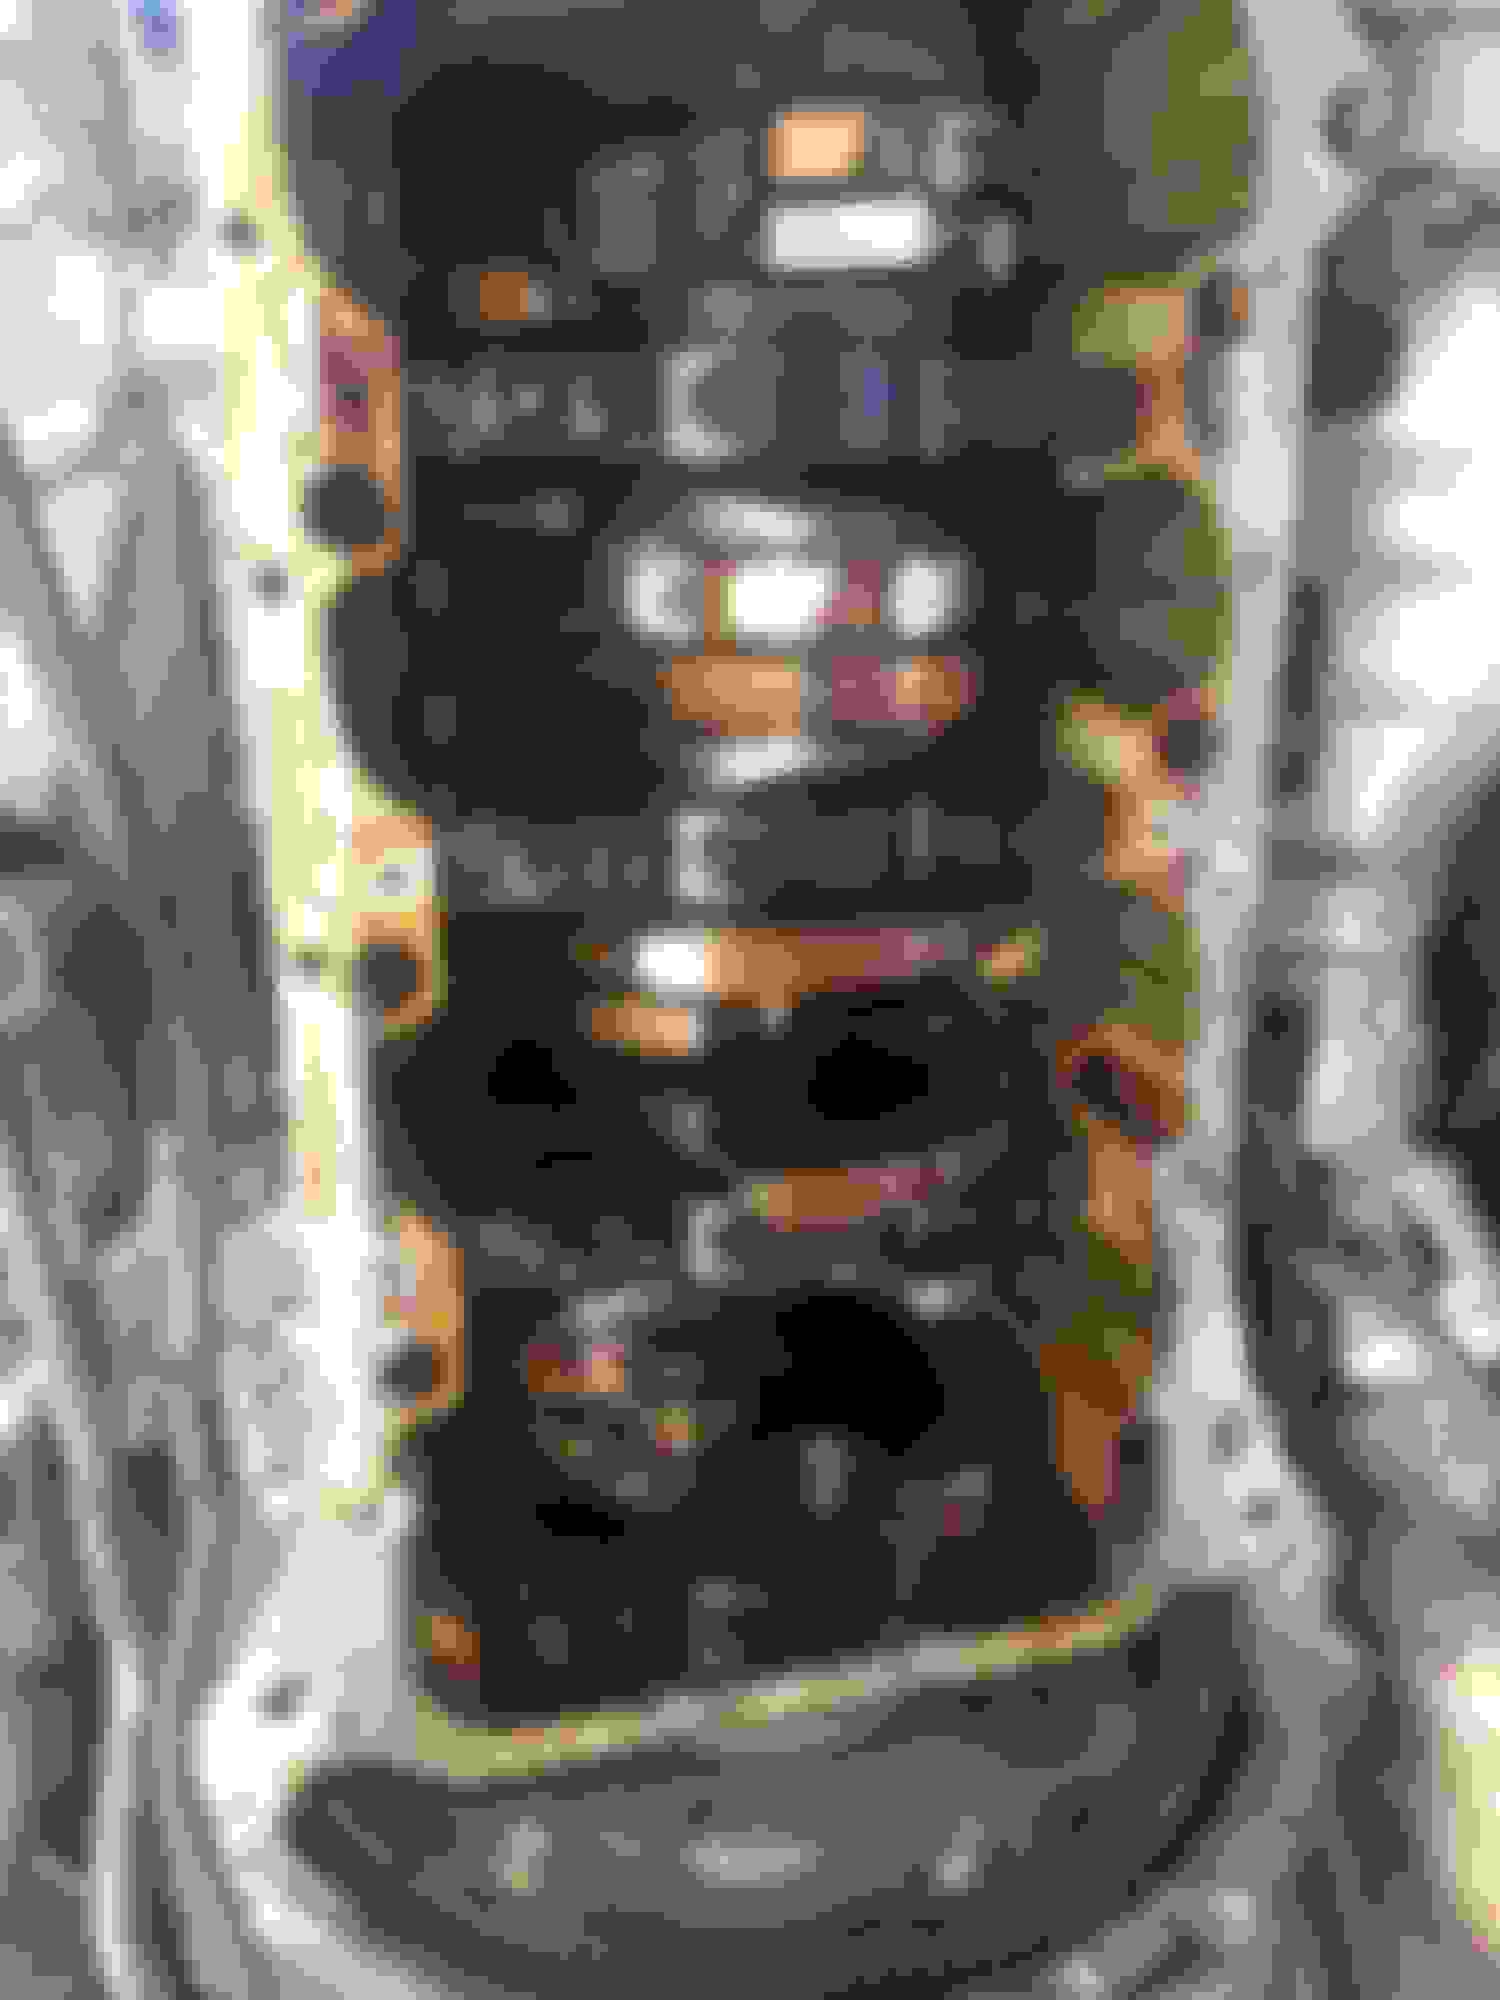
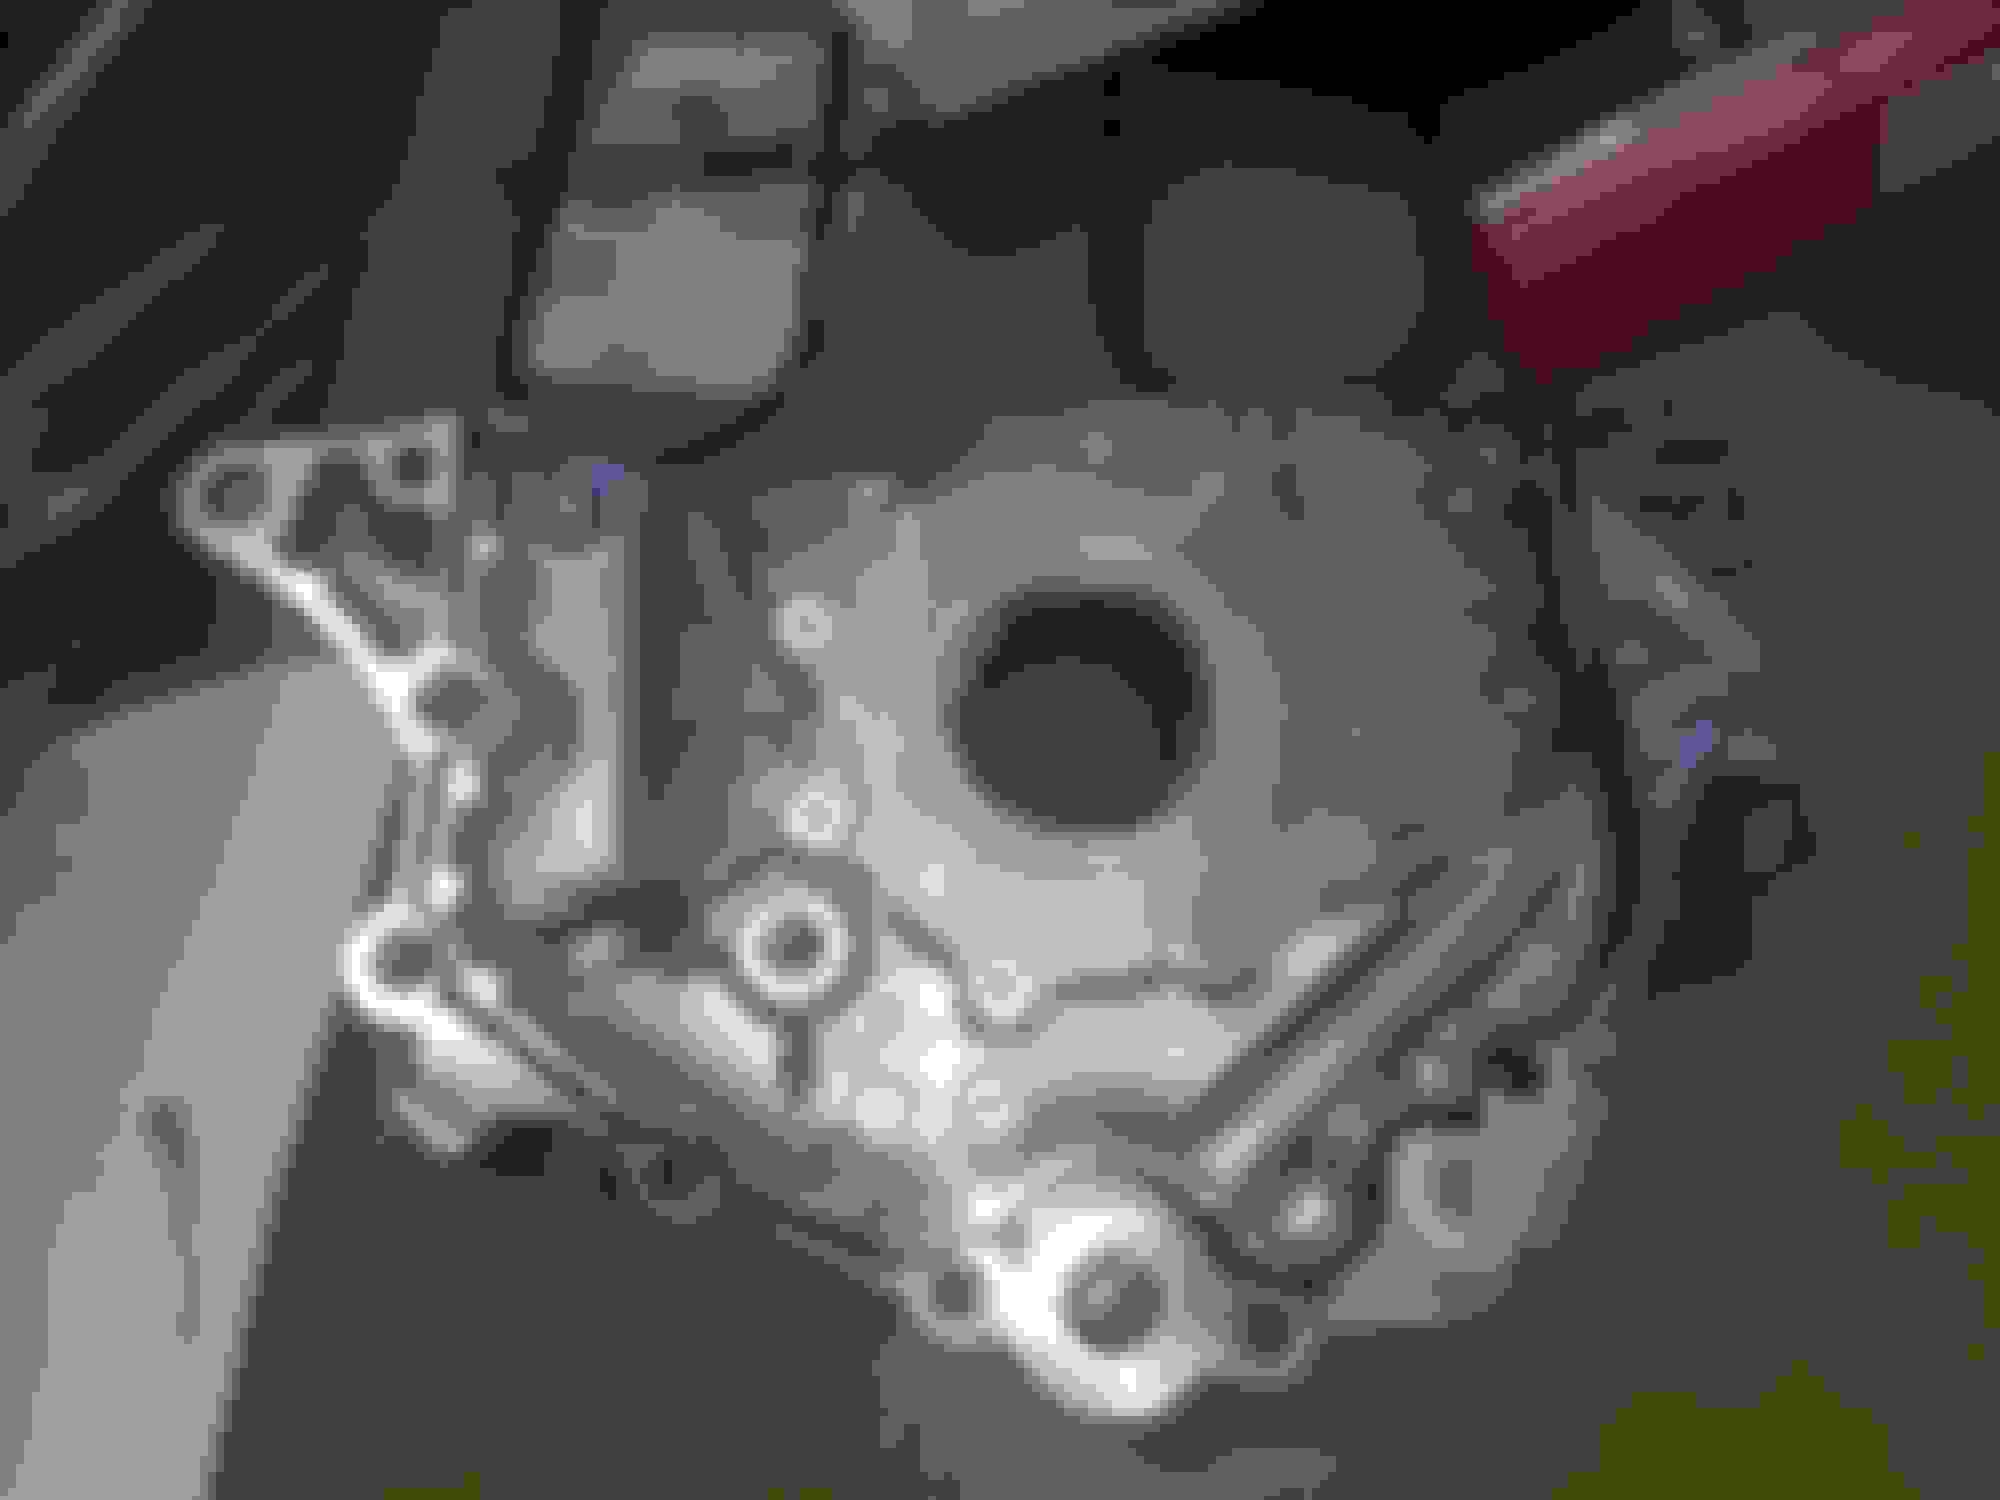
Here you can see how sloppy the factory installed the fipg. The bead actually bridged the oil return holes and was barely touching the block.
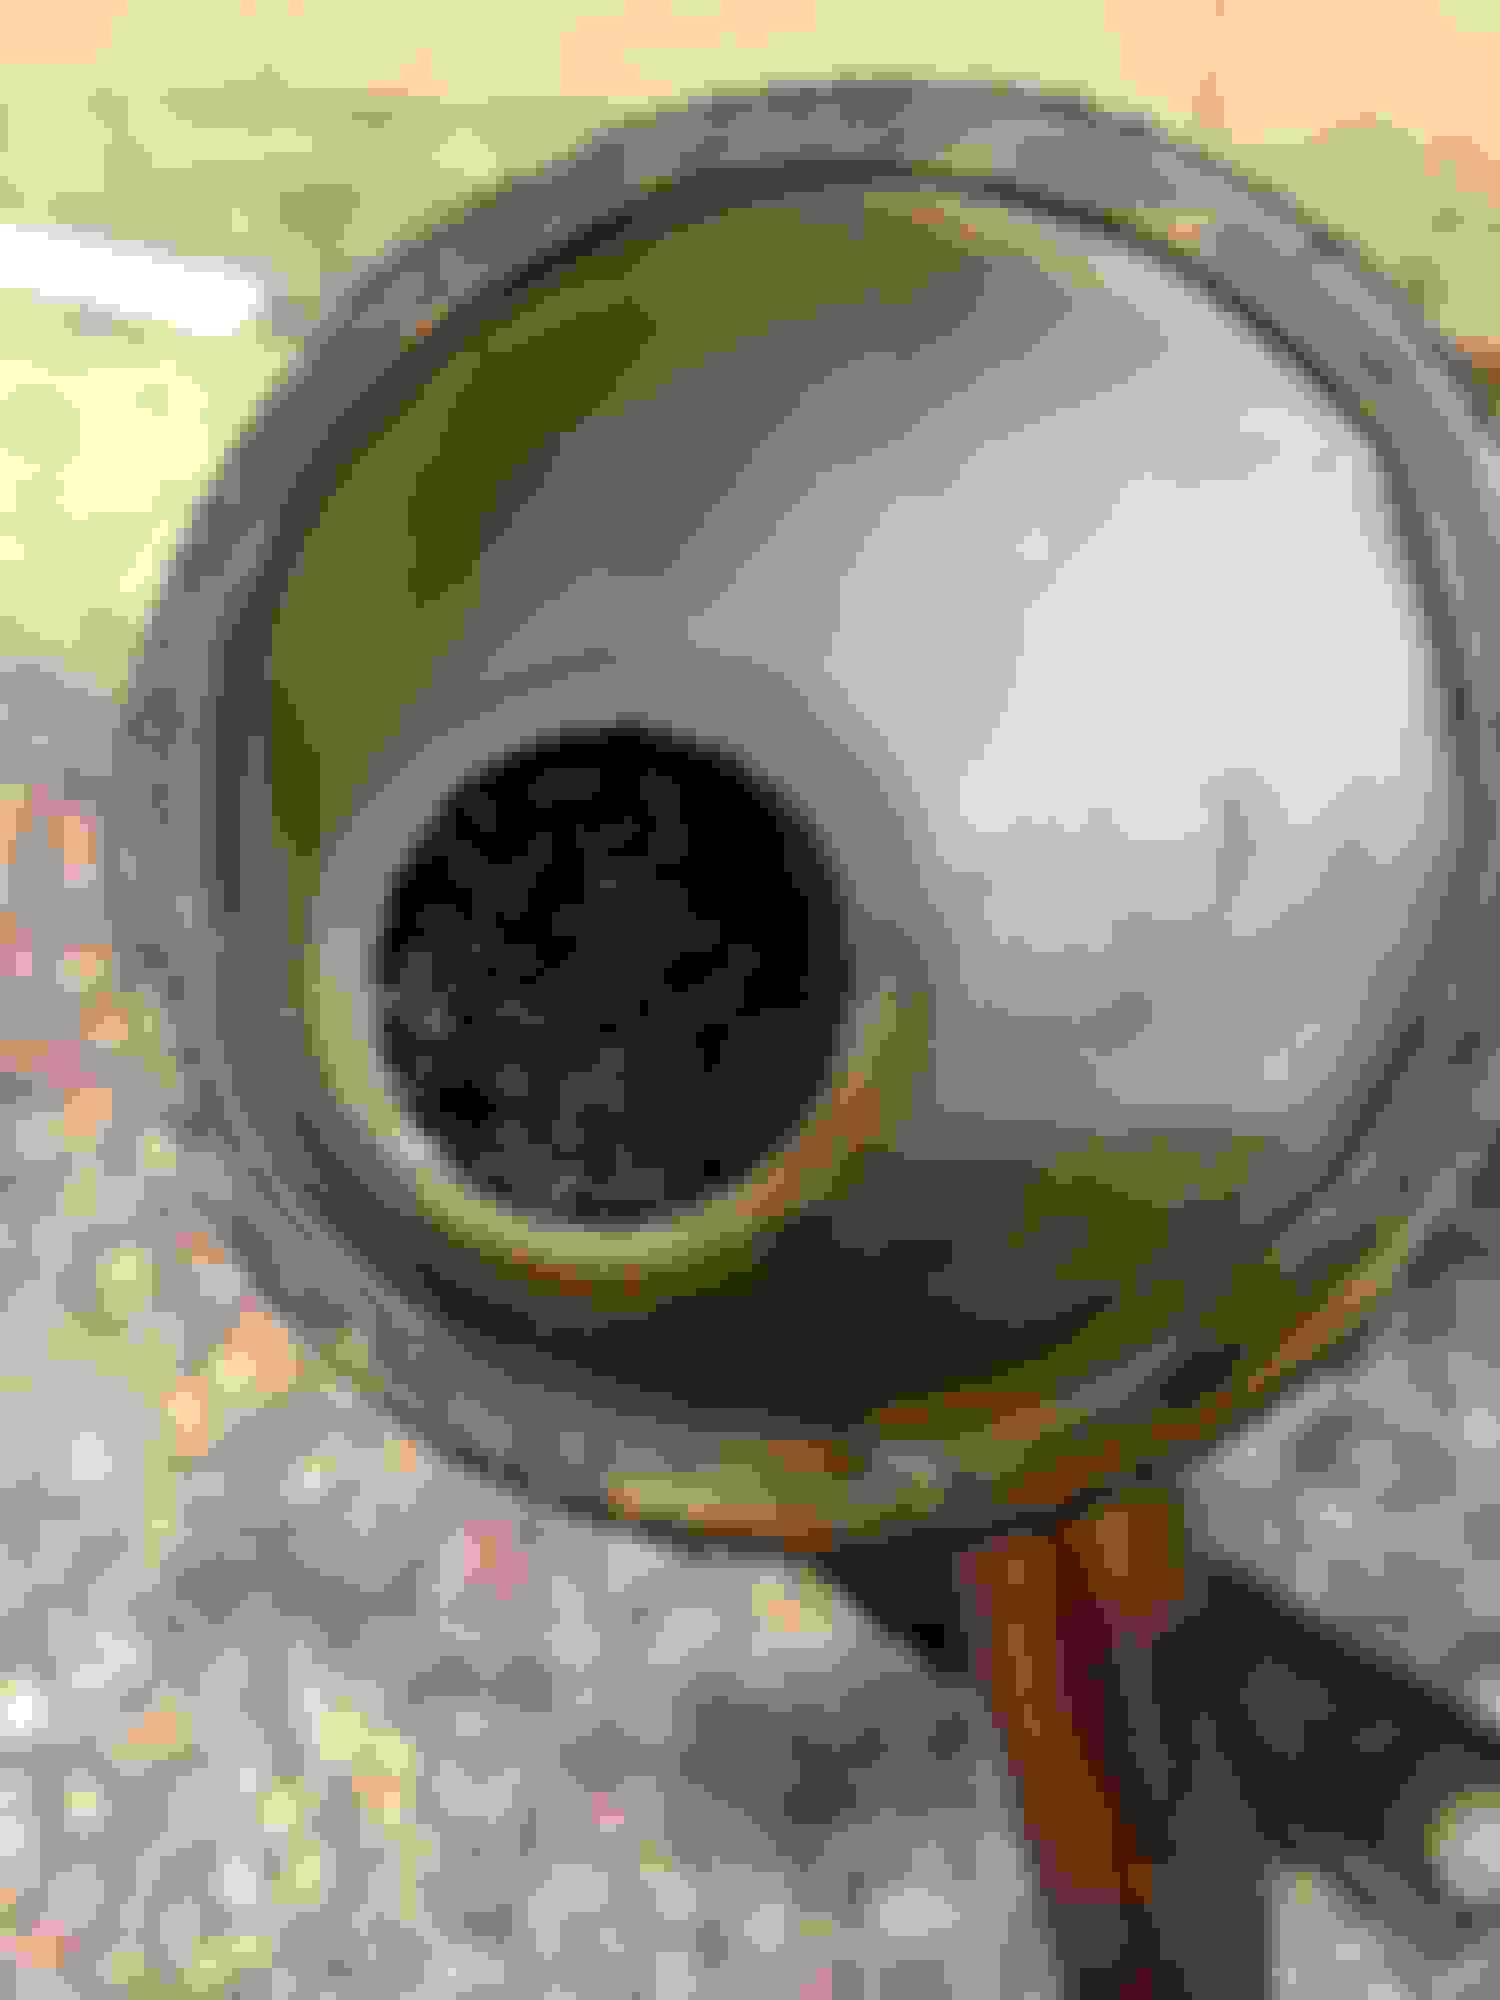
Here's a pic of the drains on the side of the block for changing coolant. There is one on each side.
Here's where the motor mount bolts to the block with 4 bolts. It is not necessary to remove them but my driver's side was in 2 pieces.
Here's the motor mount still installed on the passengers side.
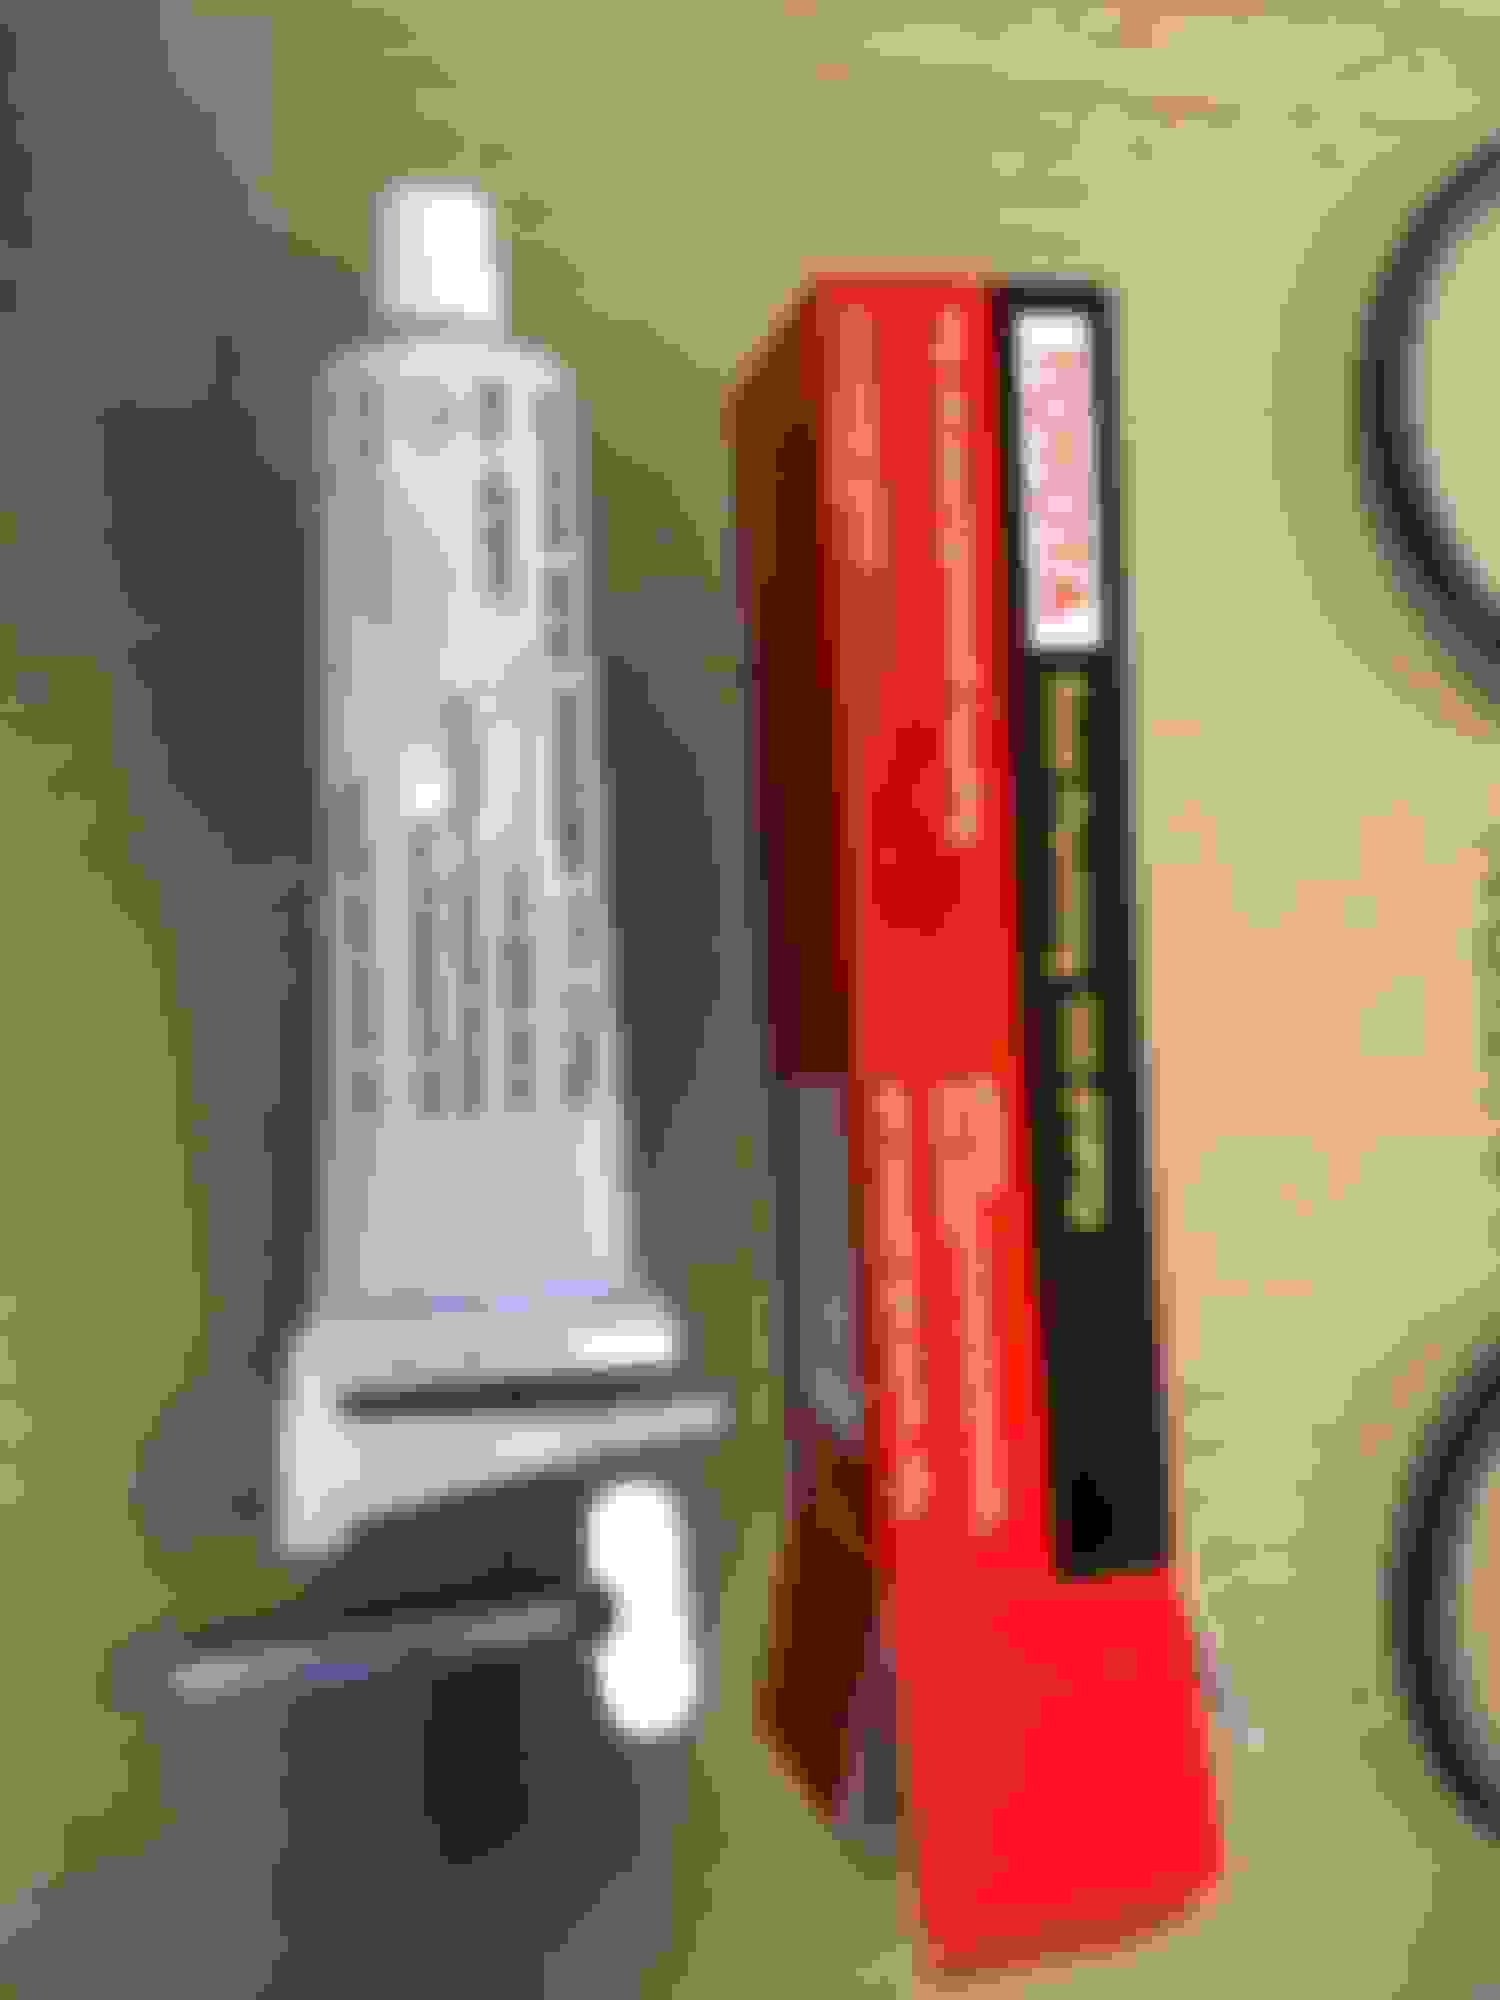
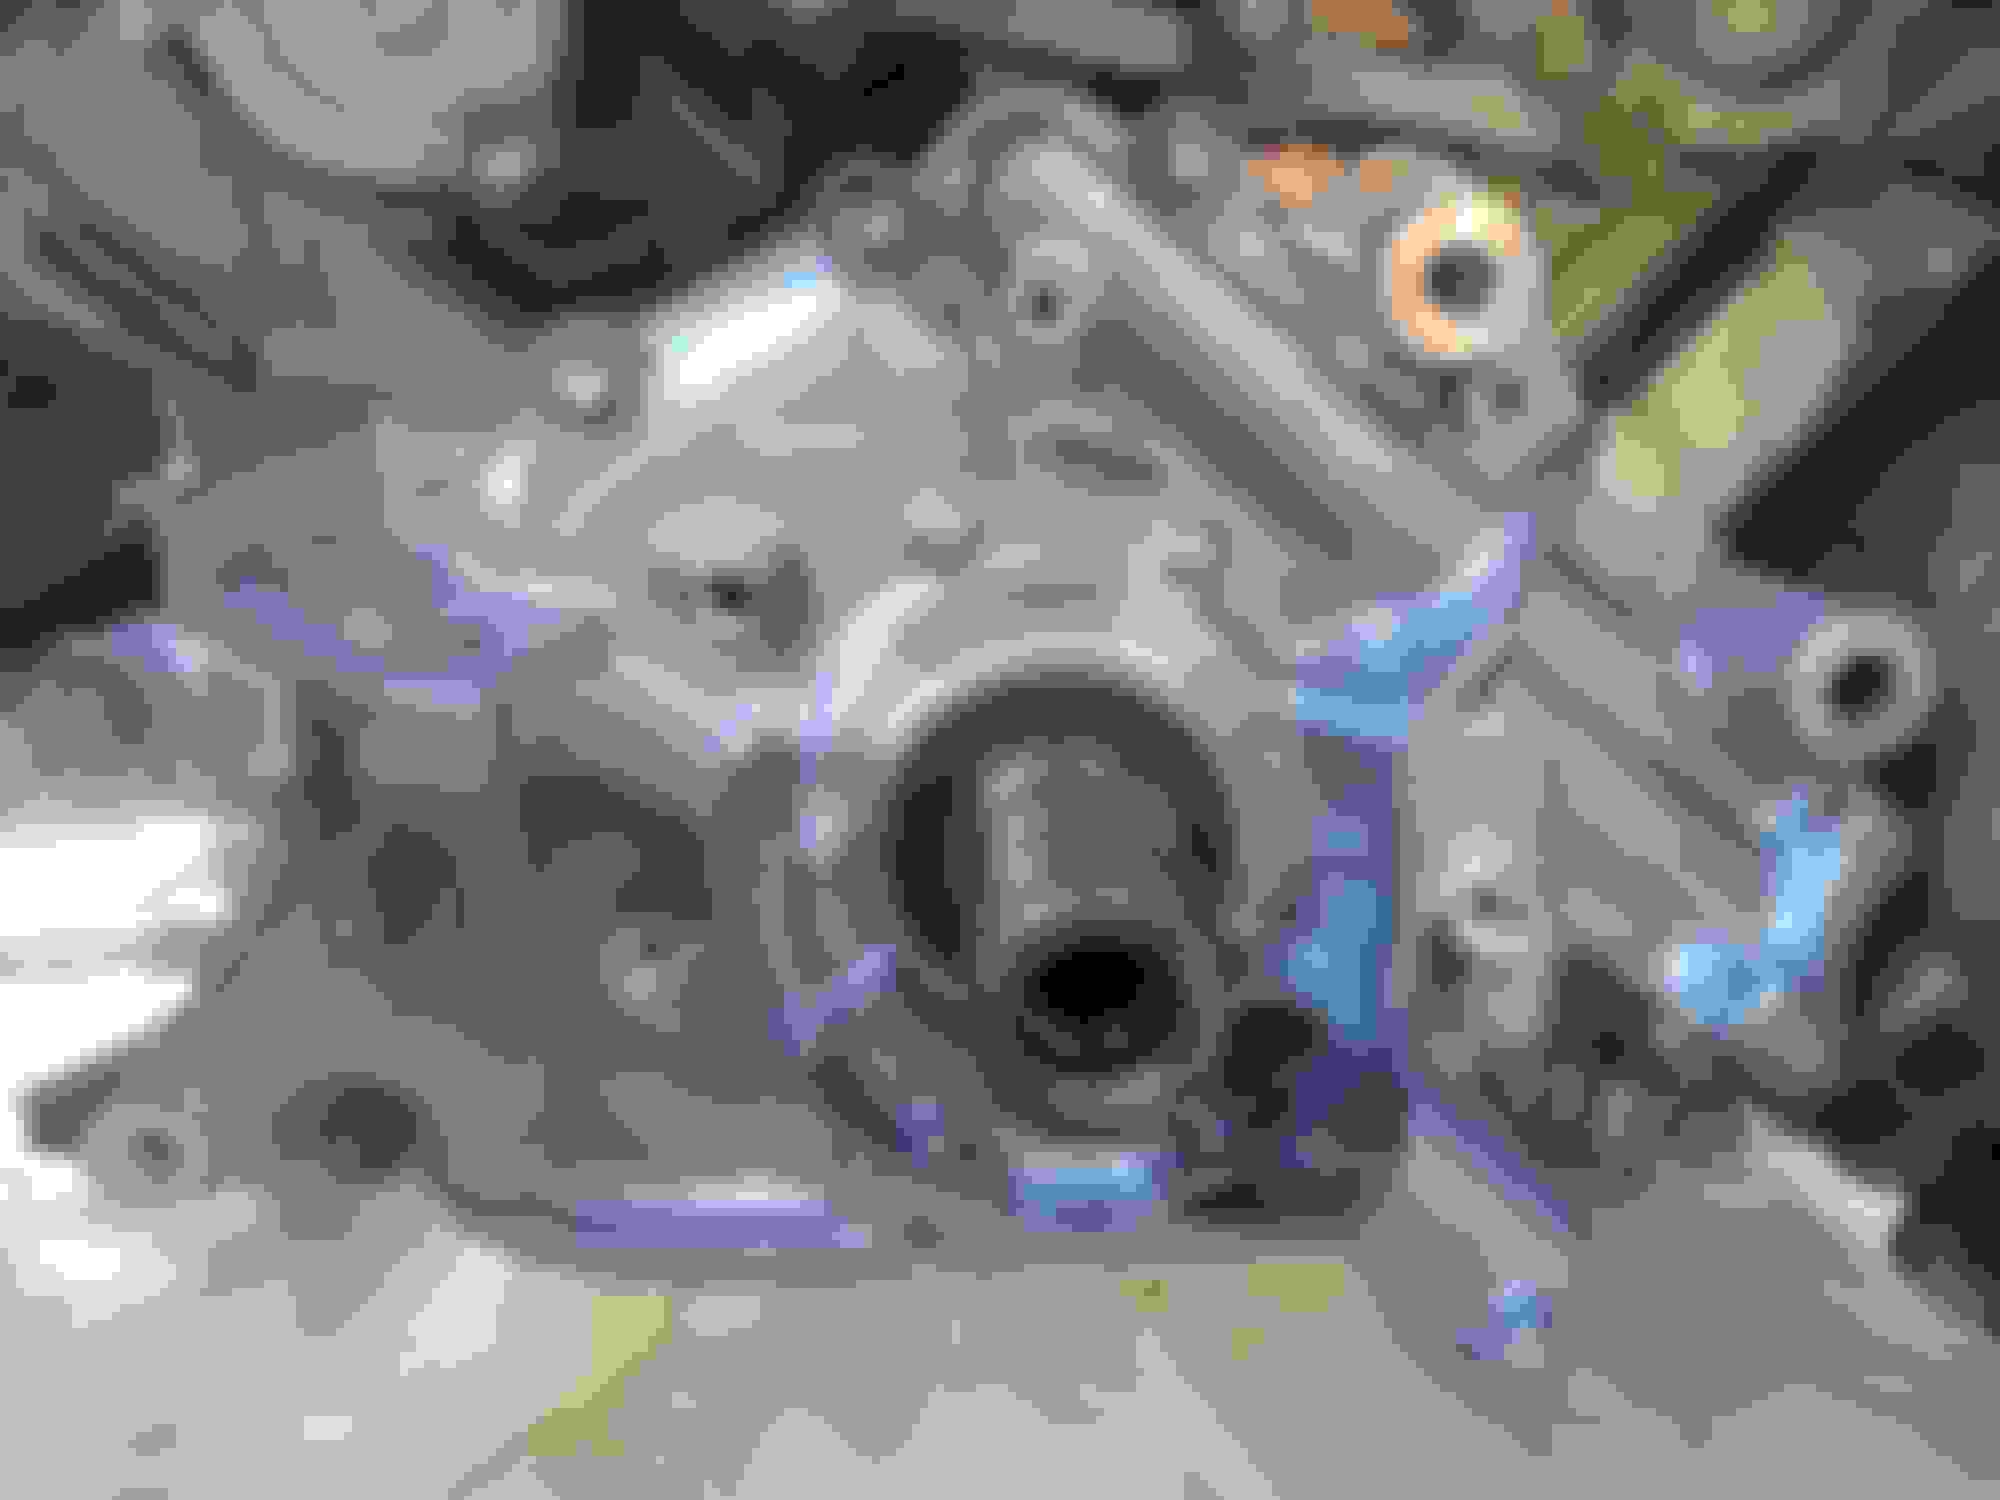
I cleaned all the gasket surfaces with razor blades and brake cleaner. I then began to install the oil pump by putting a new o-ring in the block. I installed a new crank seal and greased the lip. I then applied fipg as called for in the manual. I used the new black stuff that has a 15 minute working time instead of the 5 minute working time of the superceded gray stuff. The rolling key that comes with it is awesome and makes it really easy to apply evenly.
The 8 bolts holding the pump were installed and torqued.
I then cleaned and installed the oil pickup tube with a new gasket.
I cleaned and reinstalled the upper oil pan. There are 18 bolts (4 different sizes) and 2 nuts that hold it in place. I like that Toyota uses a few studs with nuts in an application like this as it makes lining up the pan easier and the nuts are easier to start. I then cleaned and installed the baffle plate with 4 bolts and 2 nuts.
Next I cleaned and installed the lower oil pan with the 13 bolts and 2 nuts. Both oil pans were sealed with the black fipg.
I then reinstalled the oil level sensor on the driver's side with and new gasket and 4 bolts. The dipstick tube was reinstalled as well.
I reinstalled the torque converter cover with 2 bolts. This cover hides the 2 rearmost upper oil pan bolts. I also reinstalled the 4 lower bell housing bolts that bolt to the upper oil pan from the rear. I then installed the driver's side motor mount.
I then reinstalled the transmission cooler line brackets. There are 3 on the passengers side.
Next was reinstalling the frame member and steering rack. I slid the rack onto the studs on the frame and just started the nuts. I then lifted the passengers side of the frame up and slid into on to the front lower control arm bushing. I had to get creative and used a rachet strap to pull the frame on to the arm enough to get the bolt in. I then used a jack to lift the driver's side of the frame up. I pulled the control arm out of the way as I lifted. Once that control arm bolt was started I slowly lifted the frame from the center and lined everything up. There are locating pins on the frame member and the motor mounts. Once everything was lined up I reinstalled the frame bolts and snugged them down. I torqued the front and rear bolts. I then lowered the engine on to the frame and reinstalled the motor mount nuts. Connect the power steering lines and reattach them to the oil pan with the 2 bolts. Reinstall the tie rod ends on to the spindles and reinstall the wheels. I then lifted the front of the car and put ramps under the front tires. Lower it down so the suspension is loaded and then torque the front lower control arm camber bolts. Fill the power steering reservoir. Fill the engine with oil and install the dipstick. Start the engine and look for leaks. I would let the fipg cure for at least a day before I added oil.
I have started disassembling my car to replace the oil pump. To do so the oil pans must be removed and the factory service manual says to drop the engine/trans combo out the bottom, separate them, and then install the engine on a stand to proceed. This isn't necessary as there is a much easier way. The only downside is you'll need an alignment when you are done.
First step is to support the car on jack stands under the front frame rails on each side.
Remove the front wheels and then disconnect the tie rod ends from the spindle. Remove the cotter pin and the nut from each side. Hit the spindle where the stud passes through with a hammer to release the tie rod. If this doesn't work use a tie rod puller for free from AutoZone.
Next score or paint a line on the front camber bolt on the front control arm to aid in reassembly. Remove the camber bolt and nut and the two bolts holding the rear bushing housing in place. Use a pry bar or just pull the control arm out of its mount and let it hang.
Disconnect the feed and return lines on the steering rack. Have a drain pan handy as you will lose some ps fluid. I plugged the ends with foam ear plugs.
Remove the two nuts holding the steering rack to the subframe. Disconnect the wiring for the pressure sensor on the rack. Install an engine support bar or a cherry picker. Remove the engine cover and use the two hooks on the intake manifold.
Remove the motor mount nuts, one on each side. They are located deep inside the round holes on the subframe. Remove the two large bolts holding the subframe to the body. It's the one above the control arm in this pic.
Now you slide the steering rack off of its mounting studs as you lower the front subframe. I had to use a jack under the subframe to support it. You must also maneuver the frame around the control arms. I ended up disconnecting the steering shaft (make sure the wheel is locked) by removing the upper bolt easily accessible through the wheel well. I don't think this is absolutely necessary however. If you leave the rack in place pivot it out of the way once the frame is removed. You will now have plenty of room to drop the oil pans.
Remove the two 10mm bolts holding the power steering lines to the front of the oil pan. Drain the engine oil. Remove the lower oil pan by removing all of the bolts and two nuts. I used a thin putty knife to break the lower pan free from the upper pan. Remove the bolts/nuts holding the baffle in place. Remove the two bolts holding the torque converter cover. Remove the bolts holding the transmission cooler lines. Remove all the bolts/nuts holding the upper oil pan in place. Keep in mind there are several lengths and sizes. Break the upper pan free using a thin putty knife.
Here's my parts removed including my rack and oil pump. Clean everything with razor blades and brake cleaner until it is spotless, including the engine block. Reassembly to follow.
A few questions... Why are you changing oil pump?
Mileage on your LS430?
I like the engine crossbar support brace and bases.
Brand and model #s...and where purchased?
Thanks
Hmm.. That engine support bar would be perfect for an engine mount replacement so you don�t have to jack up the oil pan. That looks like it�s from harbor freight, right?
It's the Harbor Freight support bar. Runs about $65 with a 20% coupon. I was a little concerned about it because it's not quite wide enough to span our fenders perfectly and the engine lift points are offset. Seems to be working. The jack stands are just 3 ton units from Napa.
My car has 140k miles and I'm replacing the oil pump due to a loss of oil pressure on the freeway. I tested the pressure at the filter housing and it dropped pressure to about 8 psi at 2500 rpms and the pump was making wierd buzzing noises. Turns out the oil pickup screen is mostly plugged with some type of debris.
I'm not exactly sure what it is or where it came from but it isn't metal. Feels like bits of plastic. I'm going to replace the pump anyway since I have a new one. I've been scraping off all of the factory fipg and have noticed all of it that was exposed to oil inside the pans was Brown and very brittle like plastic. It's funny to see how sloppy it was applied at the factory. On the upper pan they just ran beads straight down each side very close to the outside of the pan. There was noticable squeeze out on the oil pump as well.
It's the Harbor Freight support bar. Runs about $65 with a 20% coupon. I was a little concerned about it because it's not quite wide enough to span our fenders perfectly and the engine lift points are offset. Seems to be working. The jack stands are just 3 ton units from Napa.
<cut>
I'm not exactly sure what it is or where it came from but it isn't metal. Feels like bits of plastic. I'm going to replace the pump anyway since I have a new one. I've been scraping off all of the factory fipg and have noticed all of it that was exposed to oil inside the pans was Brown and very brittle like plastic. It's funny to see how sloppy it was applied at the factory. On the upper pan they just ran beads straight down each side very close to the outside of the pan. There was noticable squeeze out on the oil pump as well.
I never seen that HF support bar. I do not even know such things exist. I am kinda surprised the fender can hold the weight of the engine. The debris that you found is very strange. From your description it does not sounds like oil/engine sludge. Do you know what is the maintenance history for your car?
There is some minor sludge in the lower pan as well. The car was definitely abused before I bought it. In the 30k miles I've had it the oil has always been relatively clean even at my 5k miles oci.
Question: It looks like you removed a bunch of stuff from the front of the engine, but is this something you were doing already, or is this something that is necessary in order to drop the upper pan? I guess I'm not really following how the upper pan ties into everything.
OP removed the "upper" oil pan. In order to do so requires removal of chassis cross member brace which supports the engine block, hence the over engine support brace (Lexus shop manual advocates hauling the engine, so this method saves time)
In order to remove Aisin's crankshaft mounted oil pump requires removal of upper and lower oil pan, and removal of front engine components (as if performing timing belt/water pump service).
Unsure of life expectancy of this oil pump but makes sense to replace it while engine disassembled.
On a side note am interested to learn how one primes a crank mounted pump.
Question: It looks like you removed a bunch of stuff from the front of the engine, but is this something you were doing already, or is this something that is necessary in order to drop the upper pan? I guess I'm not really following how the upper pan ties into everything.
I was replacing my oil pump so I had to remove the timing belt. If you are just removing the oil pans that is not necessary. I figured I would title this thread as I did to help others in the future. The oil pumps on these cars should never need to be replaced. Mine had debris go through it so I went ahead and replaced it but it still made great pressure, well above specs.
On a side note am interested to learn how one primes a crank mounted pump.
The service manual makes no mention of priming it, just install it dry. I'm going to leave my mechanical pressure gauge hooked up and crank the engine with the fuel pump fuse pulled until it makes pressure.
The debris that plugged up my oil pickup tube came from the oil pans. Every surface (pans, baffle plate, oil level sensor, and pickup tube) that was submerged in oil was covered in some sort of sediment. It wasn't sludge as it flaked off in layers. My only thought at this point is it was some sort of oil additive that the PO had added and it settled out and was deposited on to these surfaces. Maybe all the detergents in the Mobile1 I've been using loosened them. I know the PO just got cheap oil changes done with bulk non synthetic oil at quick lube places.