When you click on links to various merchants on this site and make a purchase, this can result in this site earning a commission. Affiliate programs and affiliations include, but are not limited to, the eBay Partner Network.
Rmoved the rear transmission support for inspection and possible resurface machining where the washer head bolt clamps onto the support.
Toyota used a fastener without a grip (unthreaded) where washer head bolt passes through support...and because the bolt diameter is only 70% of the bolt hole, only underside of the head of bolt provides clamping..and noticeable fretting on bracket surface and in through-hole Bottomside (toadisde) view of transmission brace...am looking at what I can use to fill pockets to reduce NVH.. Lead will not work (it does not bond with the Aluminum) so am contemplating using polyurethane If I knew exactly the bolt hole centers in the chassis, I would bore and press inserts into the through-holes to bring them into center and tolerance of the bolt shank..
Mass production fitment I know, but take issue with this one....but the rest of the body panels sure fit.
Wow, thanks for another informative post, YODAONE. I'm disappointed to find that a part as important as the transmission crossmember was held on to the car in this manner.
I look forward to seeing your solution to this problem.
Just slap on some large flat washers between the bolts and the crossmember. If there is any fretting from here on out, it will do a little self-correcting machining. That looks like chronic bad driveshaft balance or sumpin . . .
Colin
are you sure that wasn't caused by over torquing the bolt to the cross member? Did you buy the car new or used? do you know of the history, if the cross member has been removed in the past by an unqualified mechanic?
are you sure that wasn't caused by over torquing the bolt to the cross member? Did you buy the car new or used? do you know of the history, if the cross member has been removed in the past by an unqualified mechanic?
The transmission brace is aluminum, the bolt is steel (zinc-plated) so when the plating wears off.the underside of the bolt head (mating surface), and water or humidity enters, then dissimilar metal corrosion occurs.
The other issue is the brace is held in place by only clamping force of the bolt (smooth and not serrated underside) and not laterally, so the brace can shift.
Will.investigate whether crossmember through holes are way too large for ease of assembly..
On the rubber transmission mount, you have 10mm (across the flats) nuts clamping the mount to the crossmember....same situation.
This is where having a lathe comes in handy to make custom shoulder type bolts or machining a sleeve to use the stock bolts.
A possible solution that takes into account tolerances of the chassis in relationship to the rear transmission crossmember.
The through-holes in the crossmember for the transmission isolation mount provide guidance.
Two of the four diagonally opposed holes are larger than the remaining two.
These other two diagnally oposed holes; one is almost a glove fit for the transmission isolation mount stud( one of four) , while its counterpart diagonally opposed mounting hole is elongated to accommodate tolerances.
This somewhat allows for better securing the mountt with allowance to accommodate slight variations of the crossmember in relation to the chassis.
I think I will employ a similar hole pattern to the crossmember bolt to chassis through-holes.
In that way I can use shoulder bolts that best secure the crossmember to the chassis.
Each of these through-holes displays thread fretting in the Aluminum crossmember because Toyota elected to use fully threaded bolts, instead of using bolts with a grip on the shank...zero excuse.(neve rmind the disparity between the holes and fastener diameter...almost 6mm)
The through-holes are a hair under 16mm, so will machine ONE hole to use a 16mm diameter shoulder bolt that has been modified with M10-1.25 end threads and will machine the diagonally opposing hole with slight elongation on axis with it's diagonal counterpart.
The other two through-holes will not be machined to accommodate 16 mm shoulder bolts, but will determine available tolerances and will likely go.with 16mm shoulder bolts (head size is slightly larger than the 10mm (thread) OEM washer head bolt head diameter.) and decide what works best.
In any event, will start off with one and see how the ramainder fit...not going to spend considetable time on this.
Upper Right transmission isolation mount through hole is smaller than upper left and lower right holes.The lower left mounting hole is elongated...
This compromise works to stabilize the mount while allowing for tolerances in stud spacing in mount assembly/through-holes and variances in relation to crossmember to chassis mounting. Lots of slop. 16mm shoulder bolt shank diameter has proper sized head, but comes standard with 12mm threads, so will shorten overall length and machine with 10-1.25 threads. (The white goo is 3M 5200 Marine grade Urethane based adhesive used to fill all the mounting brace pockets-the goal is NVH reduction...7 days to fully cure..)
RA40s idea for custom bolts or a sleeve seems to be the smartest solution.
H.R. SLATER Company in Chicago handled machining of shoulder bolts and the Aluminum transmission crossmember.$100 (I provided shoulder bolts)
The crossmember through hole diameter is closer to 15 -16mm so boring is required.
One hole bored to 16mm and the second diagonally opposed hole was bored with a 16mm hole with 1mm elongation on each side of center (2mm) on axis with the opposing hole.
I acquired four standard 16mm diameter X 40mm (shoulder length) Shoulder bolts with 12mm thread.
The OEM transmission mounts bolt threads are M10-1.25.
The 16 mm shoulder bolts were cut slightly longer than OEM bolt length, then the shoulder was machined a hair under profile depth of crossmember and then tappped 10-1.25 threads.
This allowed centering of the first two shoulder bolts in relation to tapped holes in body. Now the remaing two holes need to be addresssed.
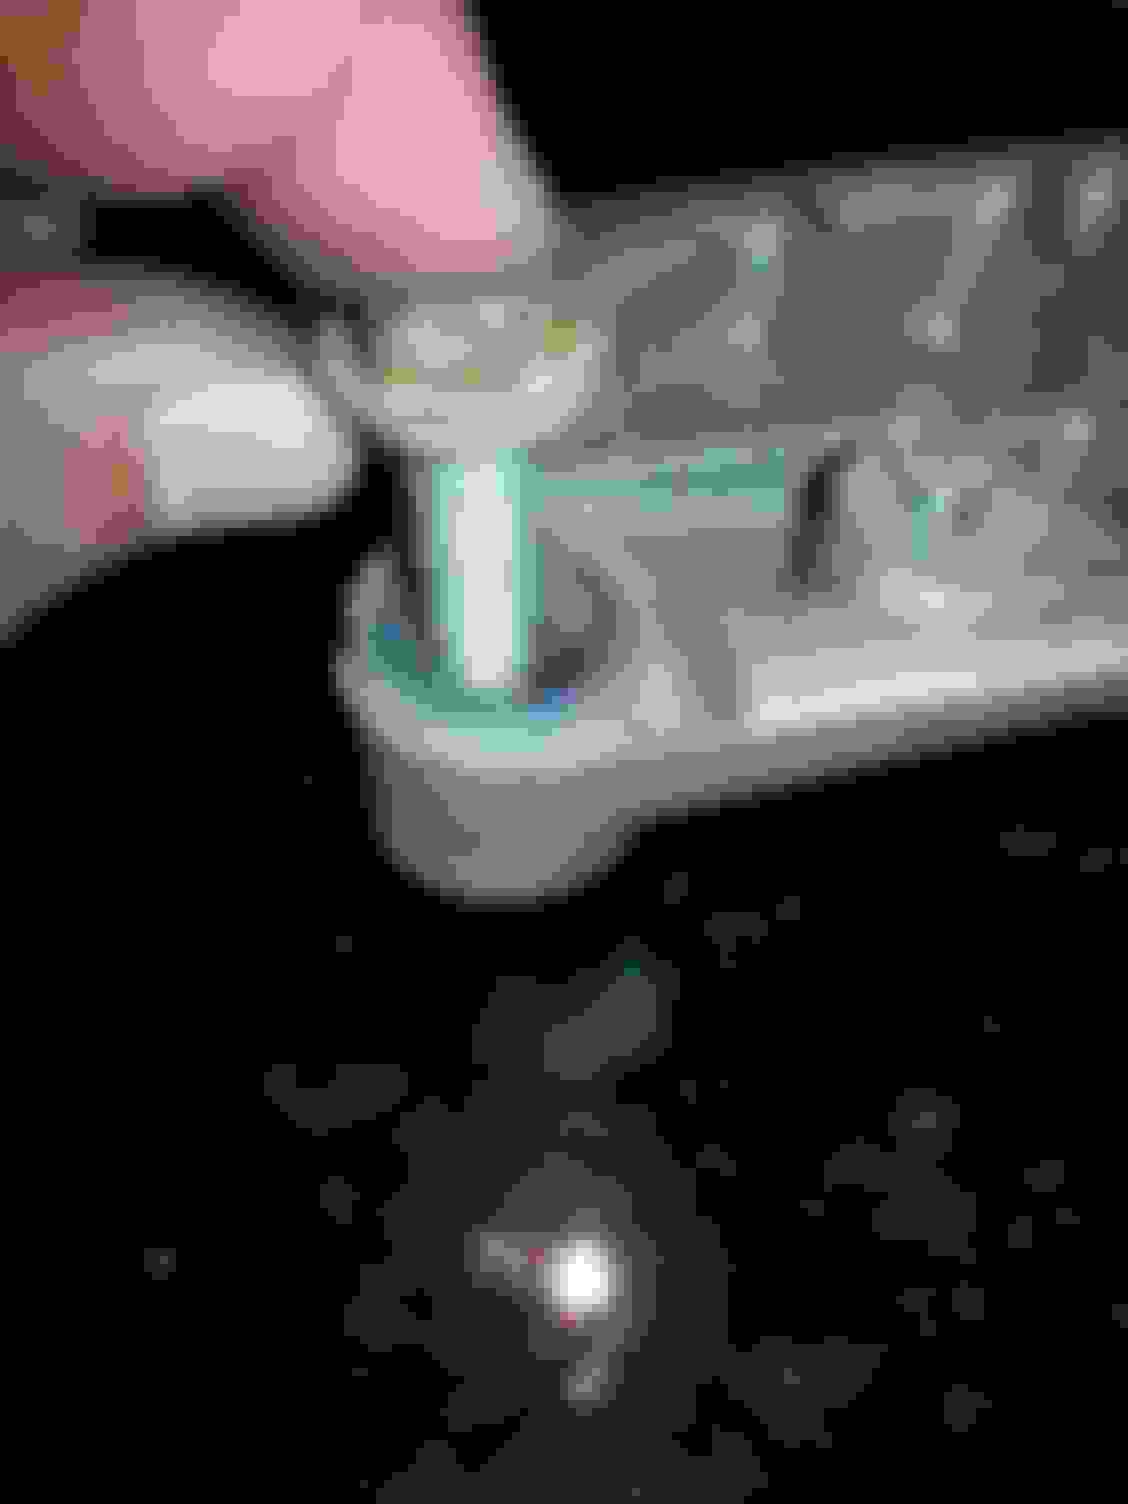
With the crossmember installed, I used a llong standard.10-1.25 threaded bolt to determine how well centered the mounting holes to the two yet unbored crossmember through-holes.
They were fairly centered but not enough to permit tight tolerances....and the oblong hole described will not work for the secondvset of diagnally opposed holes (see image of transmission rubber mount holes).so will bore the other two holes to 15mm and determine whether to increase bore.
Wanted to present a solution that is not vehicle specific.
Please excuse no more images on account they were inadvertently deleted.
Will post images of replacement shoulder bolts.later.
H.R. SLATER Company in Chicago handled machining of shoulder bolts and the Aluminum transmission crossmember.$100 (I provided shoulder bolts)
The crossmember through hole diameter is closer to 15 -16mm so boring is required.
One hole bored to 16mm and the second diagonally opposed hole was bored with a 16mm hole with 1mm elongation on each side of center (2mm) on axis with the opposing hole.
I acquired four standard 16mm diameter X 40mm (shoulder length) Shoulder bolts with 12mm thread.
The OEM transmission mounts bolt threads are M10-1.25.
The 16 mm shoulder bolts were cut slightly longer than OEM bolt length, then the shoulder was machined a hair under profile depth of crossmember and then tappped 10-1.25 threads.
This allowed centering of the first two shoulder bolts in relation to tapped holes in body. Now the remaing two holes need to be addresssed.
With the crossmember installed, I used a llong standard.10-1.25 threaded bolt to determine how well centered the mounting holes to the two yet unbored crossmember through-holes.
They were fairly centered but not enough to permit tight tolerances....and the oblong hole described will not work for the secondvset of diagnally opposed holes (see image of transmission rubber mount holes).so will bore the other two holes to 15mm and determine whether to increase bore.
Wanted to present a solution that is not vehicle specific.
Please excuse no more images on account they were inadvertently deleted.
Will post images of replacement shoulder bolts.later.
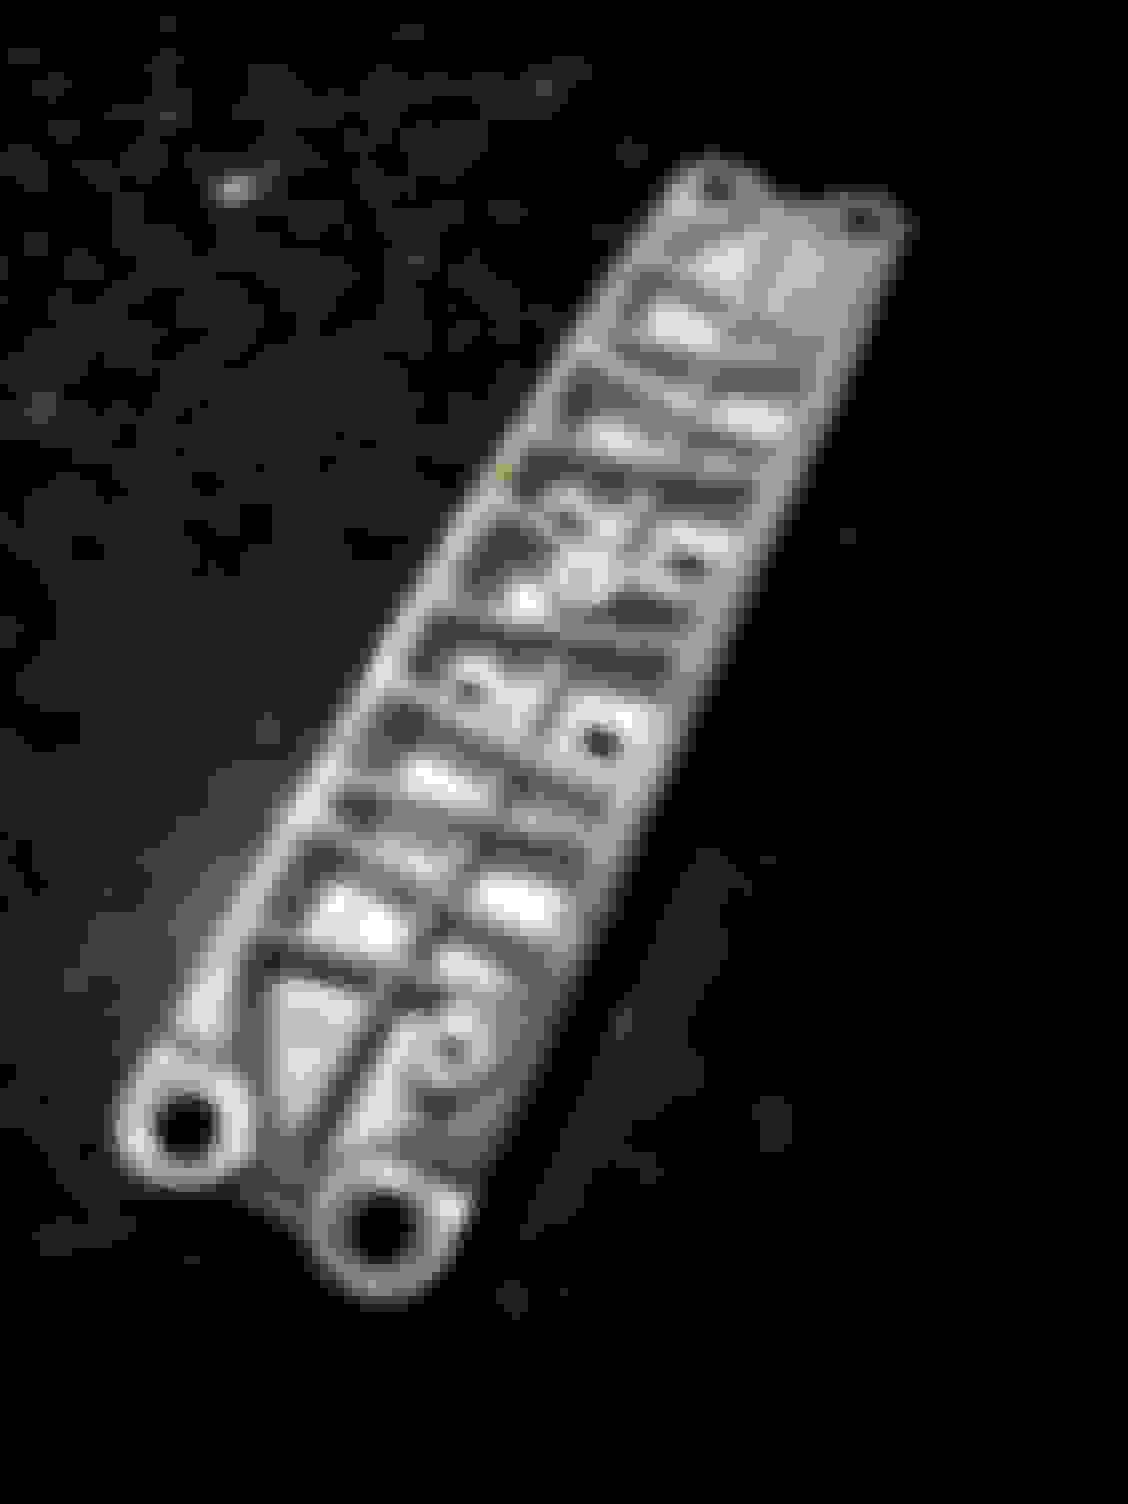
Shoulder bolt inserted into support(reverse side)
The through-hole below is not yet bored..notice fretting (thread marks) as a result of using bolts without a grip, in addition to wrong bolt diameter. The diagonally opposed bolt through-hole, to proceeding image, is elongated on axis by about 1mm from both sides of center to allow centering with chassis tapped holes. Bottom lattice filled with urethane based 3M 5200 for NVH. Crossmember installed with precision shoulder bolts on the two corners...
OEM bolts used for time being,,will bore other holes and determine fitment and report findings Anti-seize compound used between steel shoulder bolt and Aluminum crossmember through-holes.
Discernible reduction in ever -slight vibration in transmission shift lever.
Probably will also improve body rigidity as it is more fully anchored to the chassis.