

View Poll Results: Helpful???


Multiple Choice Poll. Voters: 2. You may not vote on this poll
DIY Sanding light lenses


Thread Starter
Rookie
Joined: Feb 2007
Posts: 62
Likes: 0
From: CA
Fog Light Before

Meguiar's Sratch X

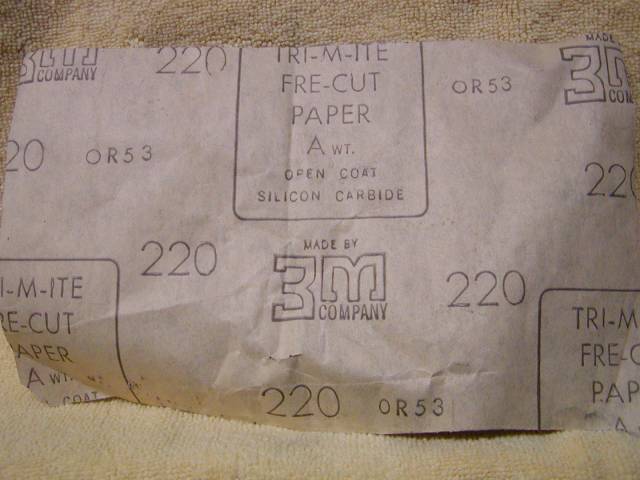
220 Grit Wet/Dry Sand paper

Bottle of water

1500 Grit Sand Paper

Store the sand paper in bucket of water to keep it good and wet

I had to use the 220 Grit first (NOT EVERYONE SHOULD HAVE TO, MINE WAS REALLY BAD) The white/clear film will start to appear. Just keep spraying water on the lense and continue to sand. I thought it would be a fast process but taking your time and being patient really pay of.

Here's the light after I finished. Notice there is still small scratches and pits. I could not find 2000 grit sand paper at the hardware store so 1500 is the best I could find. Use 2000 to finish even nicer.

Any questions PM me!!! Or reply with other suggestions...
Meguiar's Sratch X
220 Grit Wet/Dry Sand paper
Bottle of water
1500 Grit Sand Paper
Store the sand paper in bucket of water to keep it good and wet
I had to use the 220 Grit first (NOT EVERYONE SHOULD HAVE TO, MINE WAS REALLY BAD) The white/clear film will start to appear. Just keep spraying water on the lense and continue to sand. I thought it would be a fast process but taking your time and being patient really pay of.
Here's the light after I finished. Notice there is still small scratches and pits. I could not find 2000 grit sand paper at the hardware store so 1500 is the best I could find. Use 2000 to finish even nicer.
Any questions PM me!!! Or reply with other suggestions...
Last edited by 2OO4IS300; Feb 25, 2007 at 08:24 PM.


Fog Light Before

Meguiar's Sratch X

220 Grit Wet/Dry Sand paper
Bottle of water

1500 Grit Sand Paper

Store the sand paper in bucket of water to keep it good and wet

I had to use the 220 Grit first (NOT EVERYONE SHOULD HAVE TO, MINE WAS REALLY BAD) The white/clear film will start to appear. Just keep spraying water on the lense and continue to sand. I thought it would be a fast process but taking your time and being patient really pay of.

Here's the light after I finished. Notice there is still small scratches and pits. I could not find 2000 grit sand paper at the hardware store so 1500 is the best I could find. Use 2000 to finish even nicer.

Any questions PM me!!! Or reply with other suggestions...
Meguiar's Sratch X
220 Grit Wet/Dry Sand paper
Bottle of water
1500 Grit Sand Paper
Store the sand paper in bucket of water to keep it good and wet
I had to use the 220 Grit first (NOT EVERYONE SHOULD HAVE TO, MINE WAS REALLY BAD) The white/clear film will start to appear. Just keep spraying water on the lense and continue to sand. I thought it would be a fast process but taking your time and being patient really pay of.
Here's the light after I finished. Notice there is still small scratches and pits. I could not find 2000 grit sand paper at the hardware store so 1500 is the best I could find. Use 2000 to finish even nicer.
Any questions PM me!!! Or reply with other suggestions...

Nice, I use a slightly different method and do it with an porter cable orbital polisher. Trust me...it's waaaaay faster
All time figures below with electric polisher.
-Sand with 400grit, move to 600, 800, 1000, 1500, and finally 2000 (2-4mins each)
-Use foam polish pad in junction with turtle wax deep cut rubbing compound until it won't get any smoother (approx 5min with electric polisher).
-Wash off foam pad and use turle wax swirl remover polishing compound (5min)
-Wash off foam pad and use Novus Type 3 heavy scratch plastic polish (5-8mins)
-Use polishing pad and use Novus Type 2 light scratch polish (5-8 mins)
-Spray Novus Type 1 plastic cleaner/protection coating
My process is very very time consuming, but it pretty much makes the headlights look like new
You didn't follow all the steps all the way. Most likely you stopped at 2000grit sandpaper. The headlights will look completely white out after 2000grit sanding. You need to do some serious polishing to get the shine back.
Trending Topics

Guest
Posts: n/a
Fog Light Before
Meguiar's Sratch X
220 Grit Wet/Dry Sand paper
Bottle of water
1500 Grit Sand Paper
Store the sand paper in bucket of water to keep it good and wet
I had to use the 220 Grit first (NOT EVERYONE SHOULD HAVE TO, MINE WAS REALLY BAD) The white/clear film will start to appear. Just keep spraying water on the lense and continue to sand. I thought it would be a fast process but taking your time and being patient really pay of.
Here's the light after I finished. Notice there is still small scratches and pits. I could not find 2000 grit sand paper at the hardware store so 1500 is the best I could find. Use 2000 to finish even nicer.
Any questions PM me!!! Or reply with other suggestions...


Driver
Joined: Oct 2006
Posts: 110
Likes: 0
From: CA
Is this steps apply to all headlamps lenses?
Will the scratches in the lenses could be vanished? so, mm actually, what are those number of the sand papers (400,600,etc) represent to?
(Sorry I ask so many question because I don't know much about automotive T.T but I want to start learning though.)
thanks.
Will the scratches in the lenses could be vanished? so, mm actually, what are those number of the sand papers (400,600,etc) represent to?
(Sorry I ask so many question because I don't know much about automotive T.T but I want to start learning though.)
thanks.
mike.gani, the numbers relate to the coarseness/fineness of the sand paper. For example, you start with low number grit, like 800, and work your way up buffing out fine lines, and scratches until you reach 2000 grit paper, which is the finest grit. Its best to hit every level of grit 800 (2-3mins), 1000 (3-5mins), 1500 (5mins), and finally 2000(5mins)...Remember, the higher the grit, the more time you must spend to get the lens clear again! Sand straight too!