When you click on links to various merchants on this site and make a purchase, this can result in this site earning a commission. Affiliate programs and affiliations include, but are not limited to, the eBay Partner Network.
As you said, haven't had it long but like the look and feel that any protection is good with that low front end. Looks like original. Do wish it lipped up a little more than it does but until something better comes along, happy with it so far.
Just installed mine last night. And dammit I should have come here and searched for this thread first.
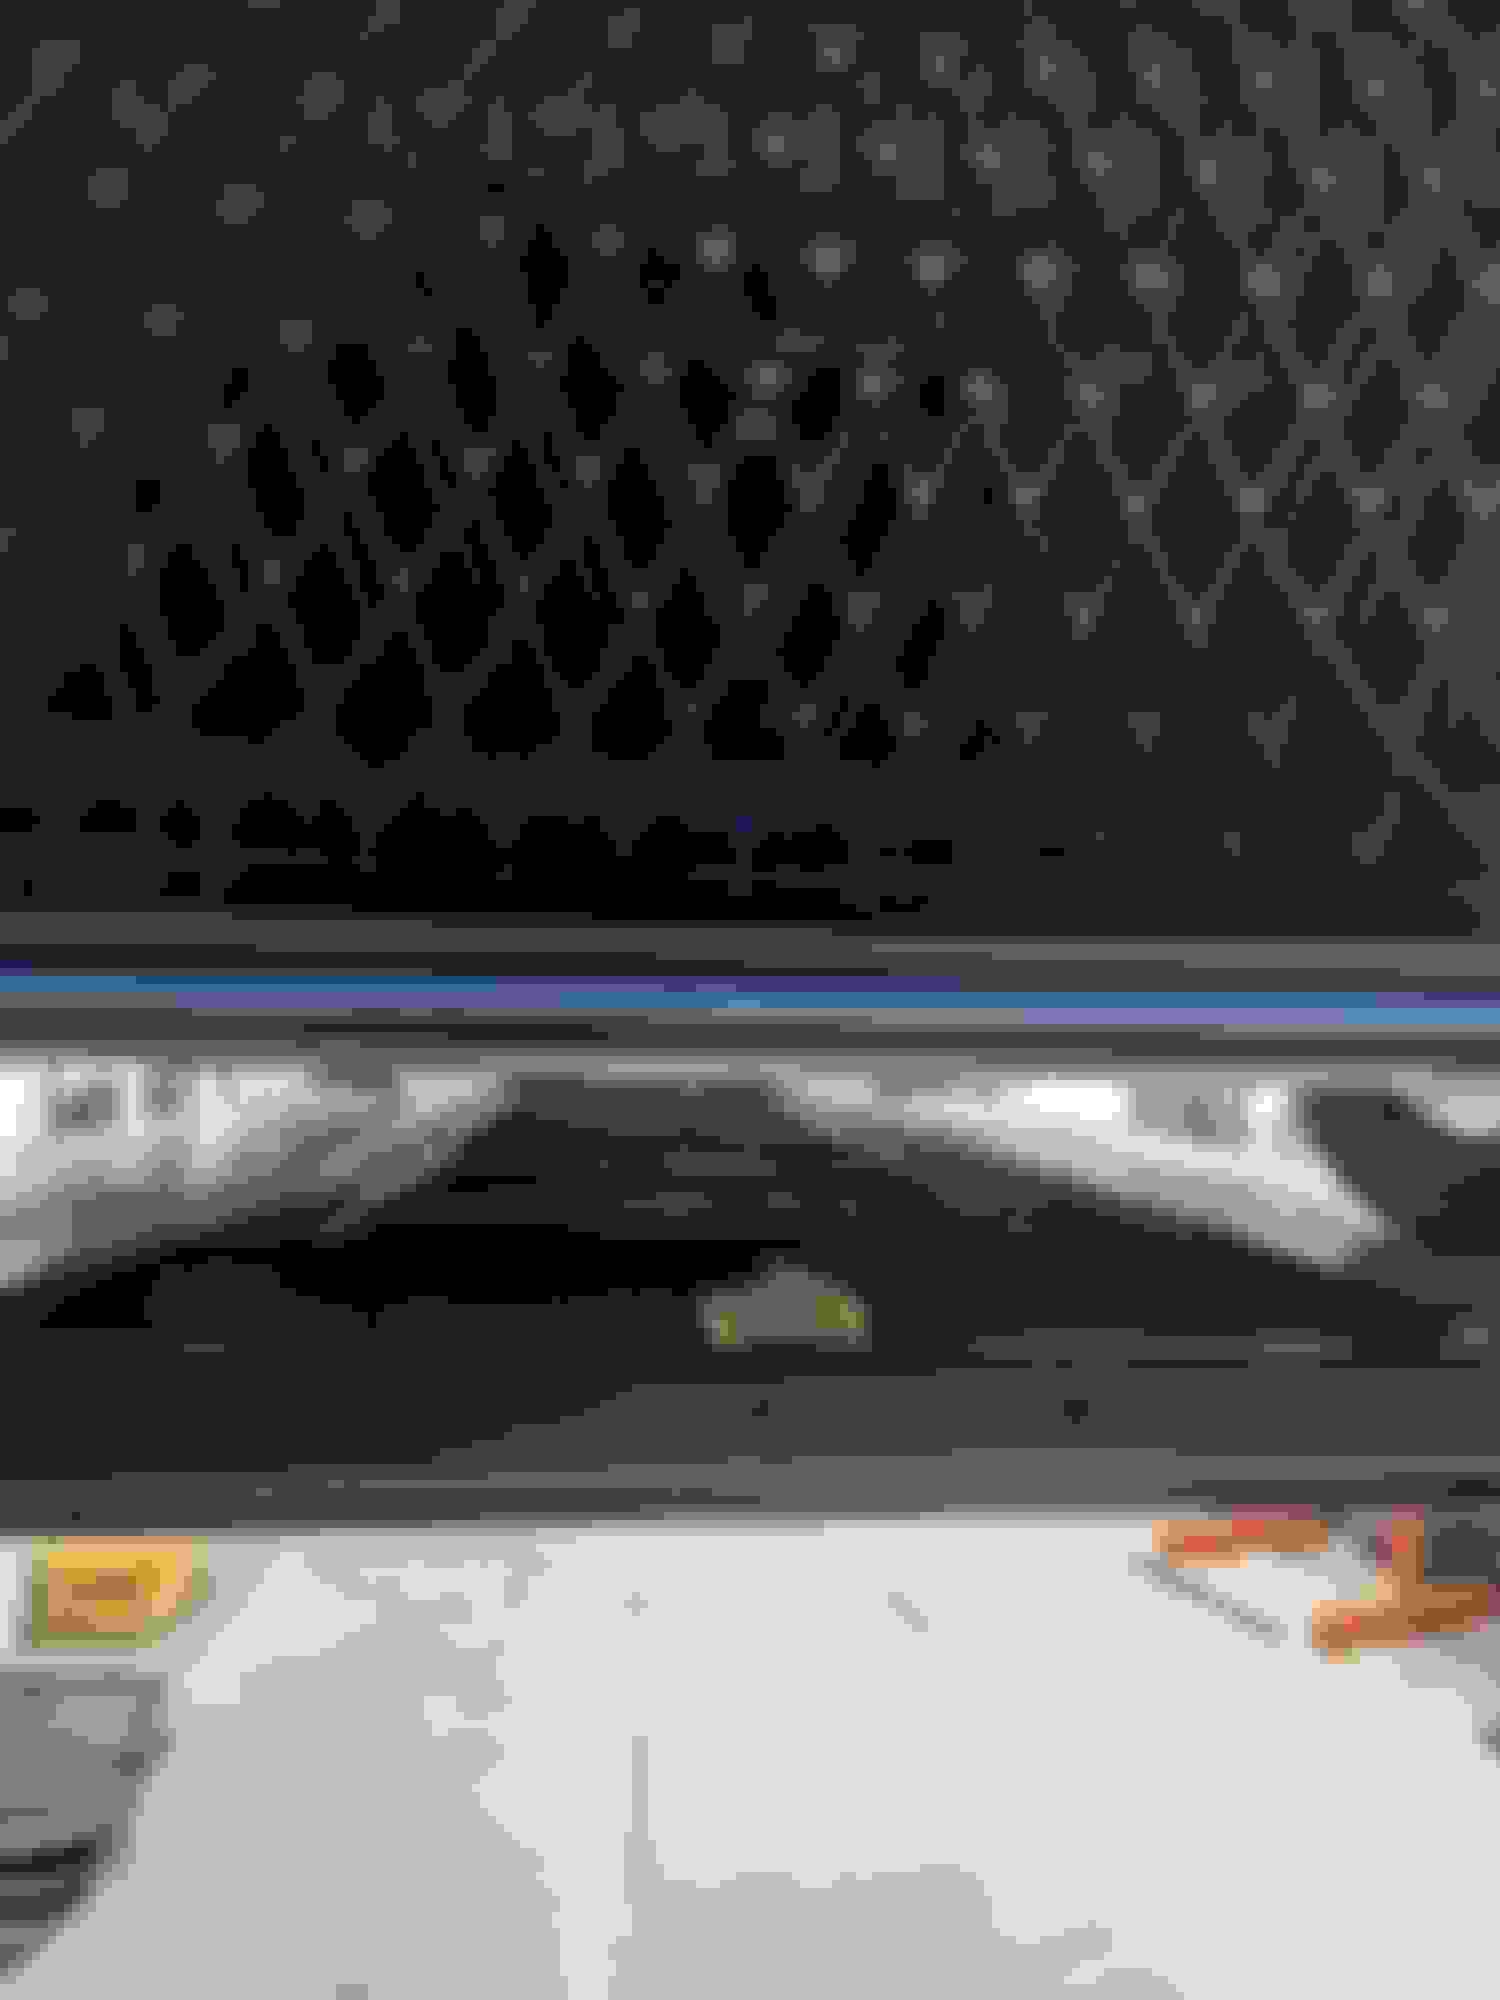
Overall the install went well. I started at 8:30p and took about two hours, but I think about an hour of that was on me. Two major issues I ran into and I SHOULD HAVE stopped before I started:
I didn't have the "key" for rolling the silicon out. It didn't come in my package. I should have ordered one on amazon as getting the silicon out by squeezing isn't as accurate or easy
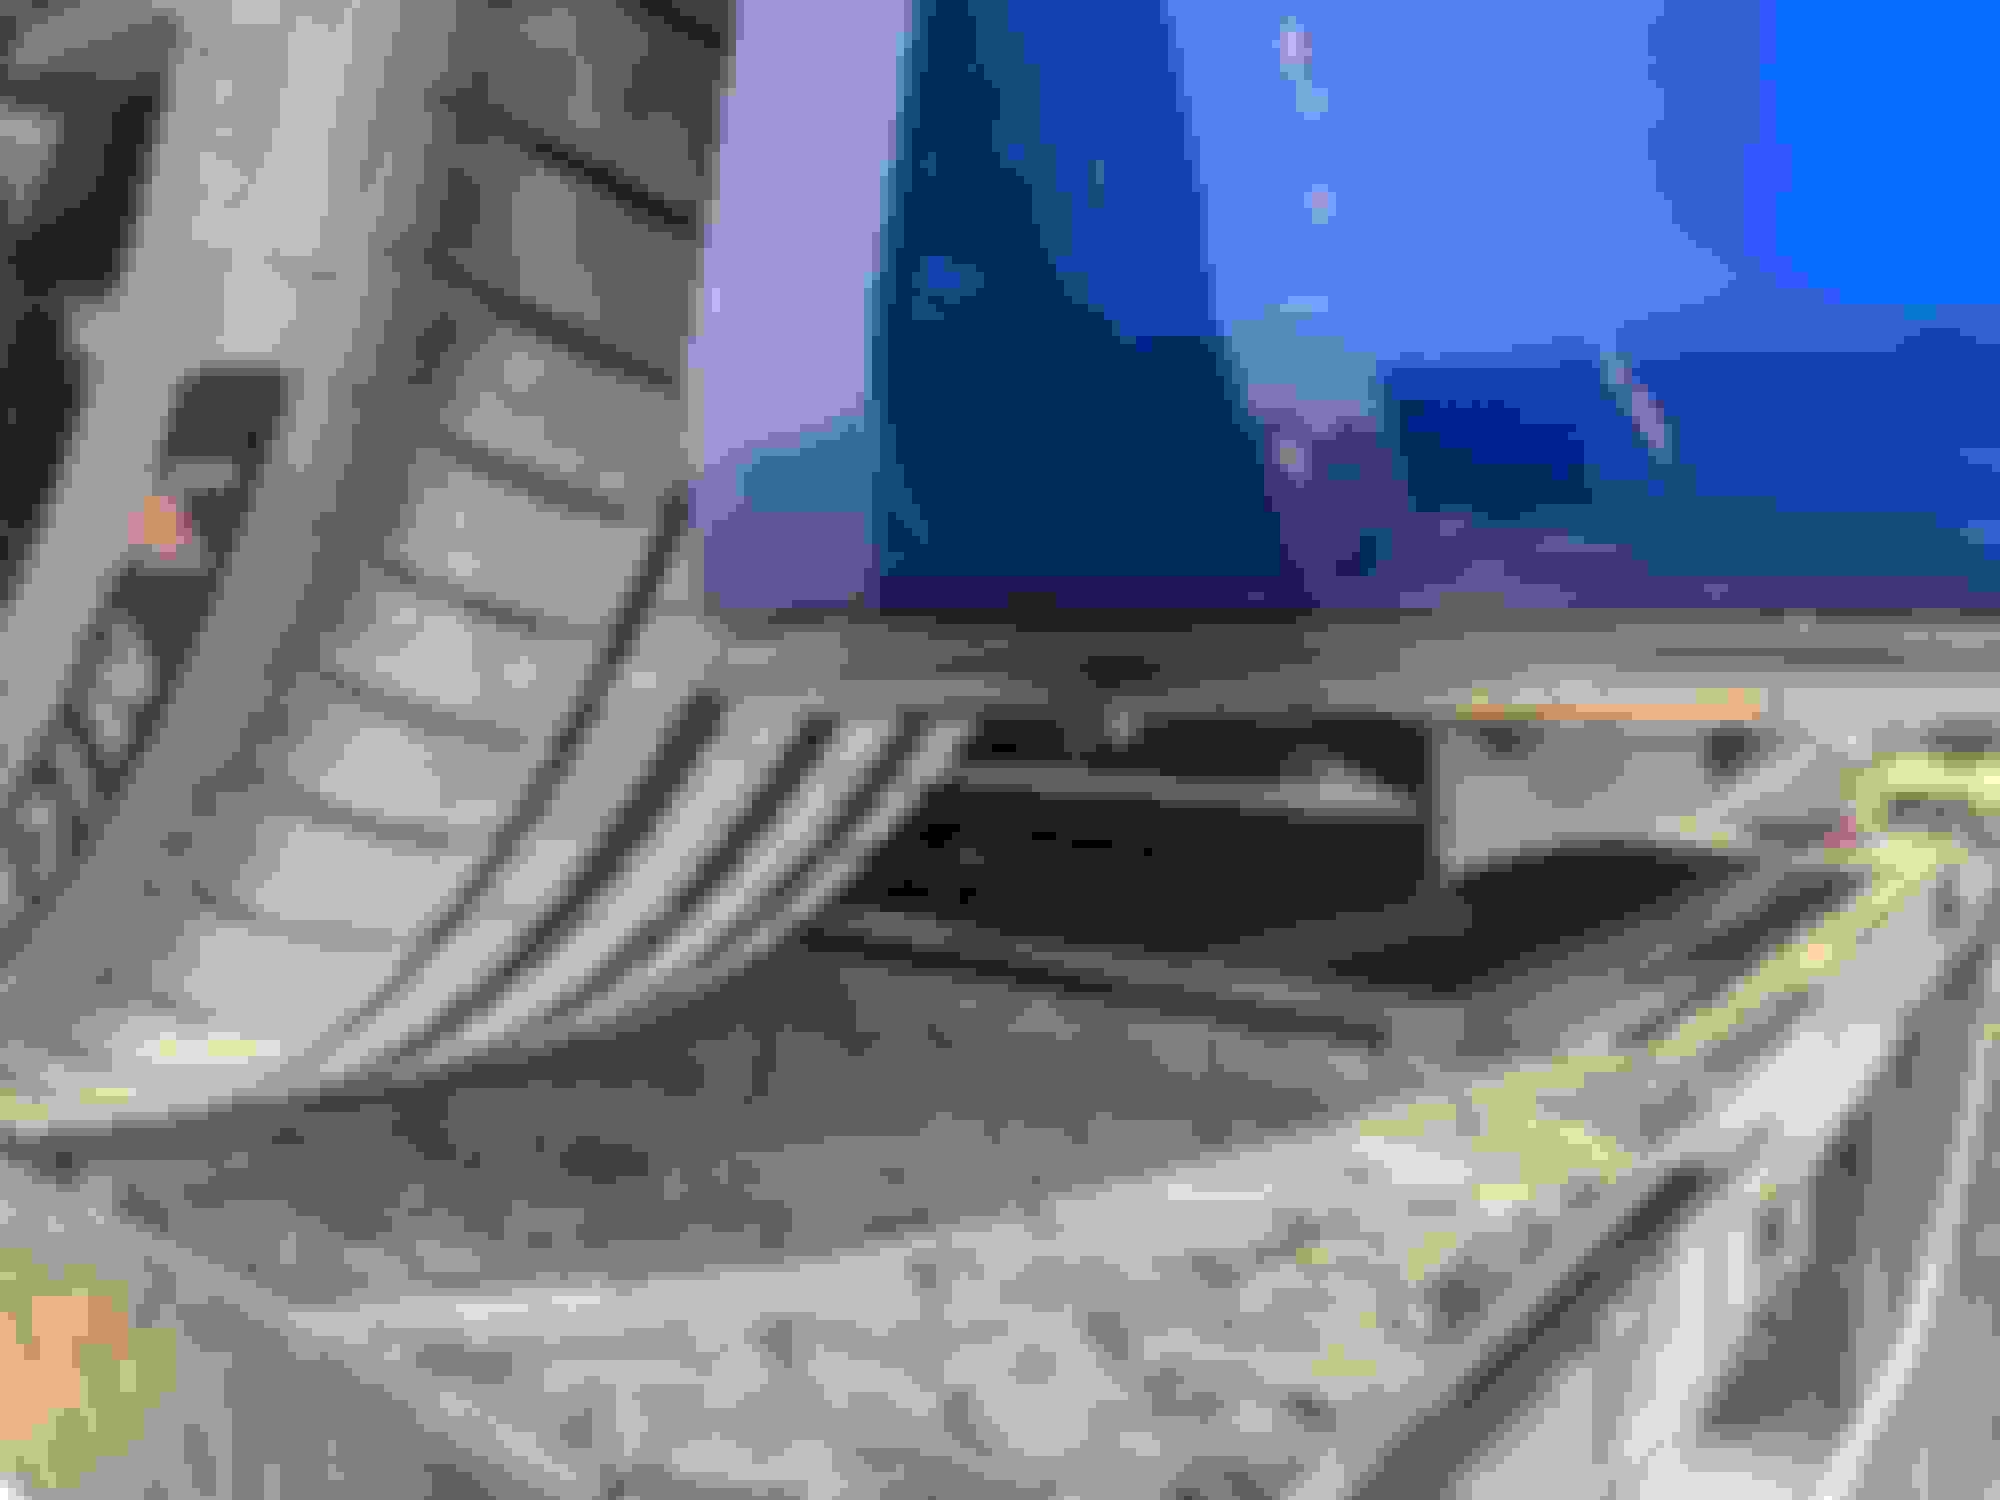
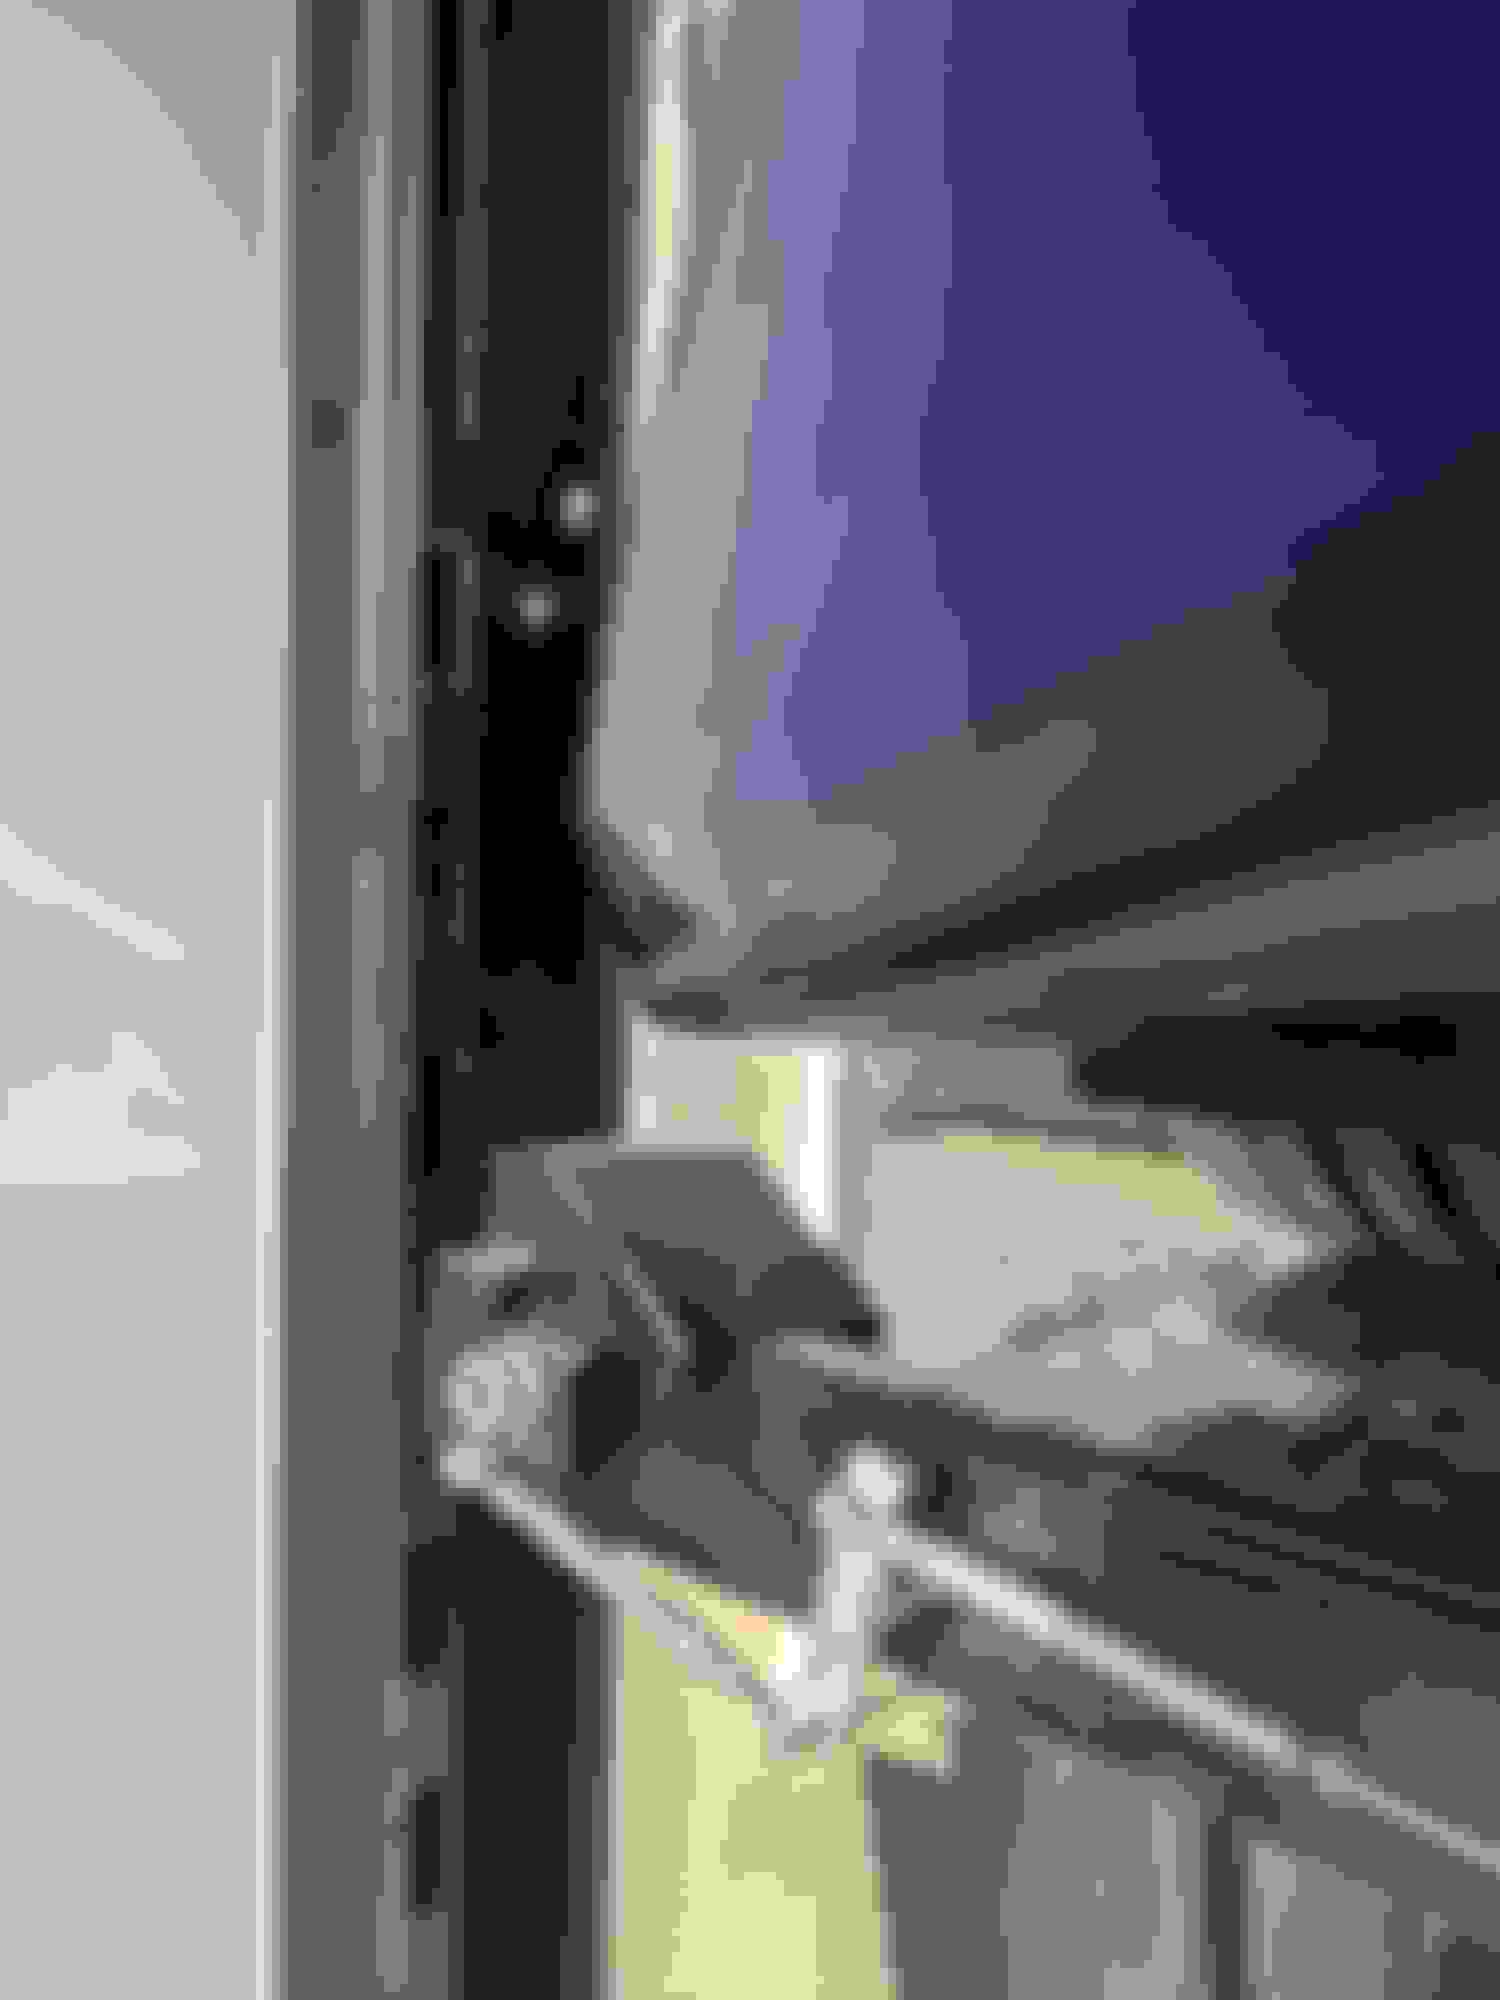
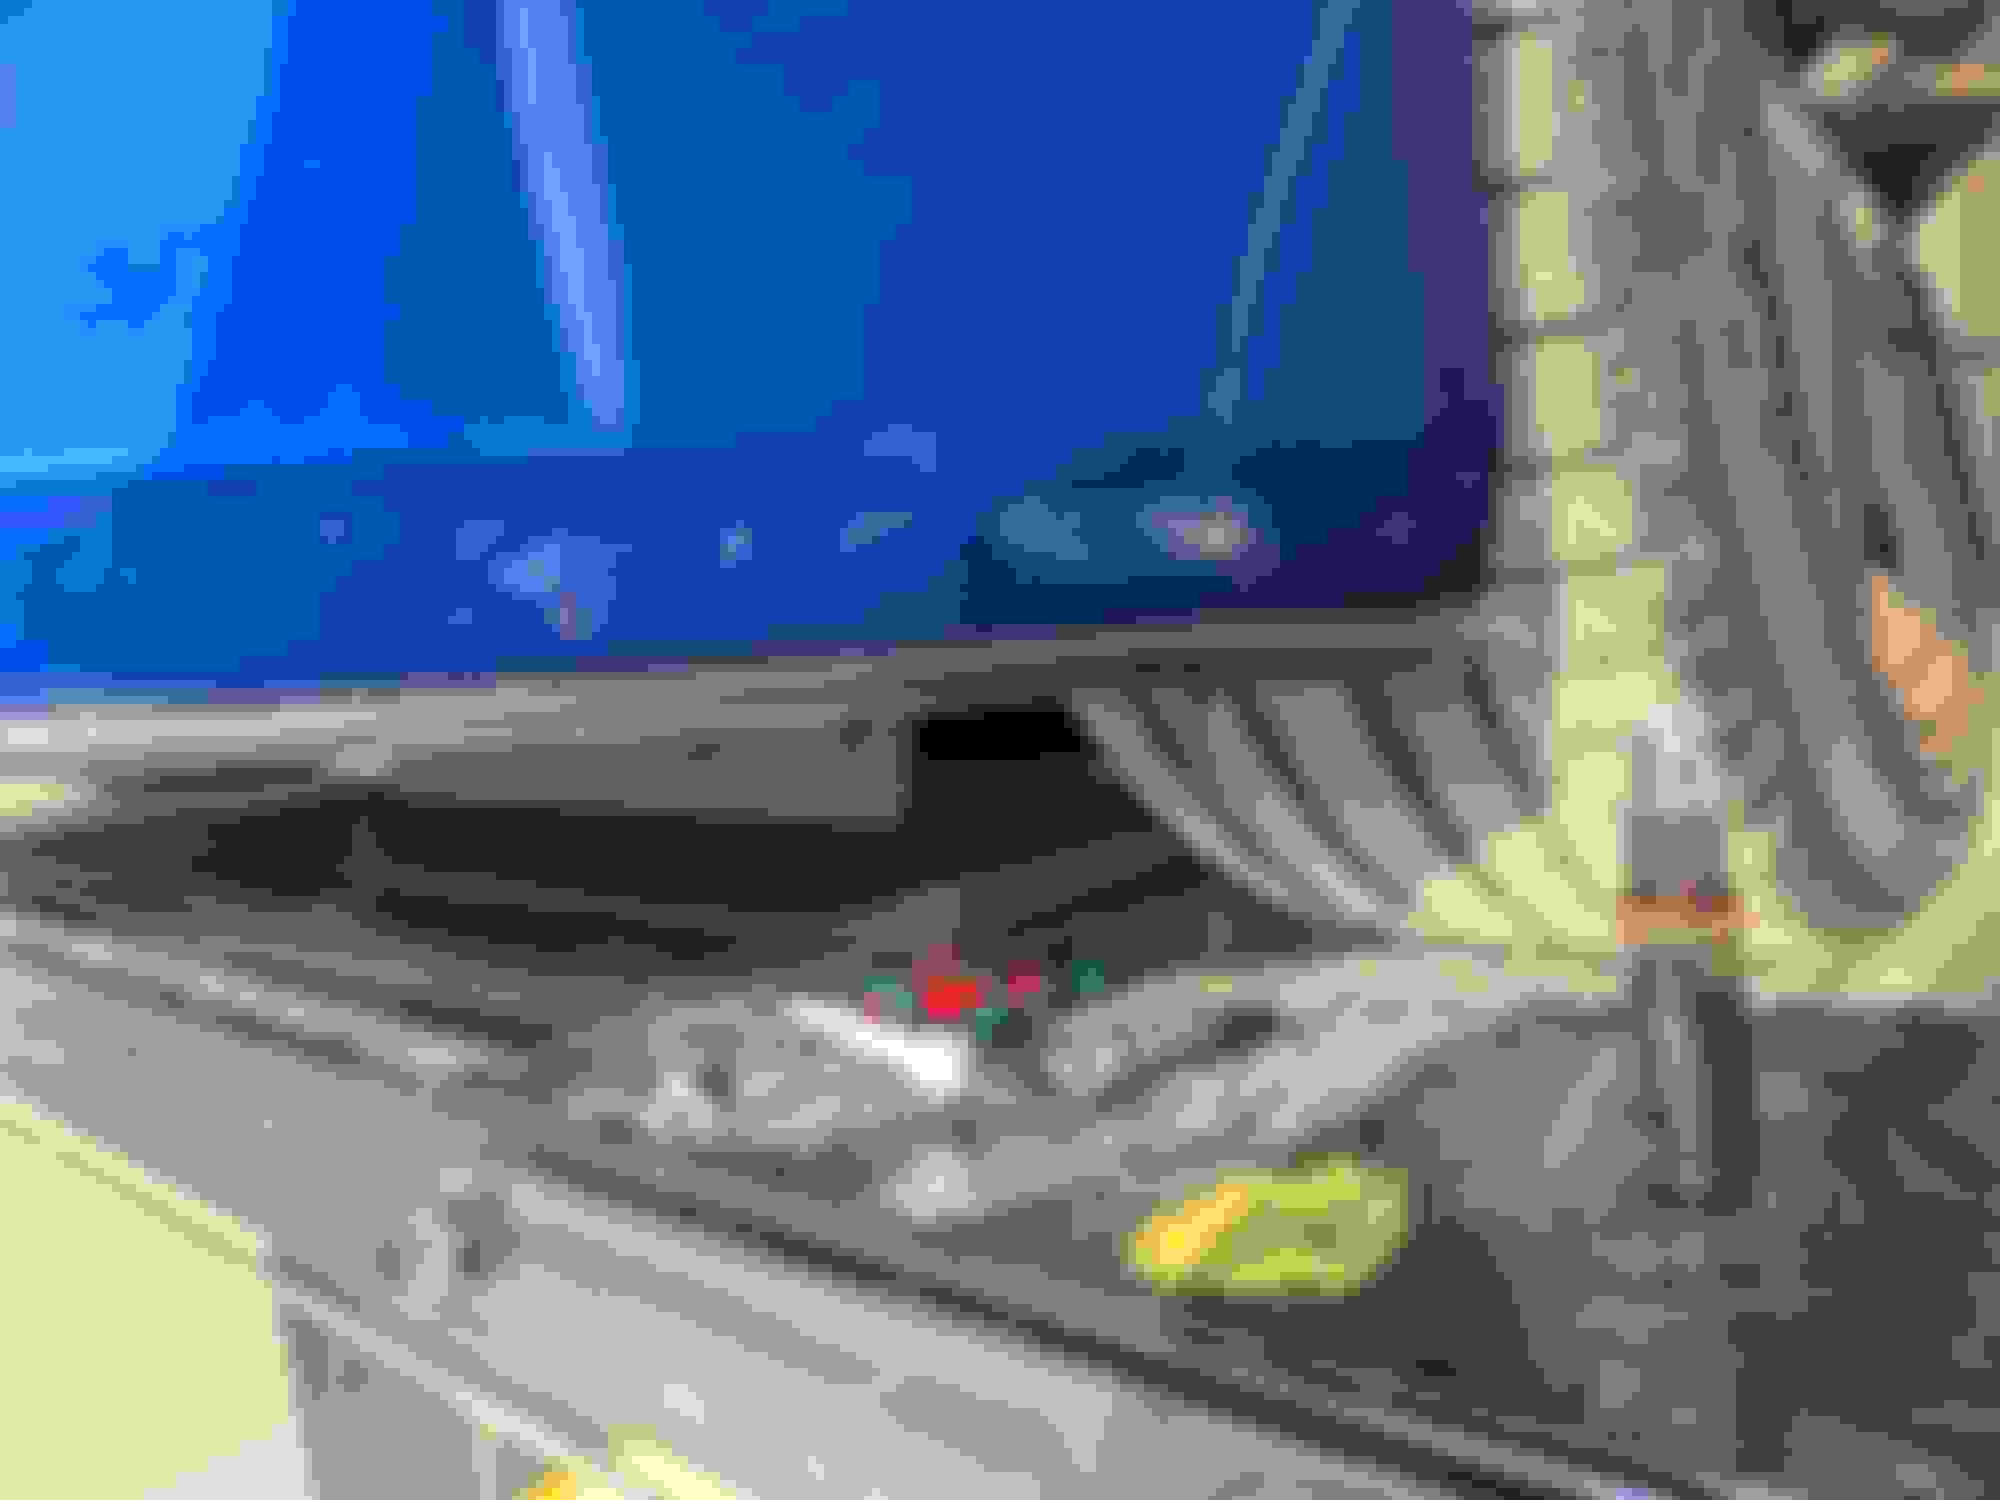
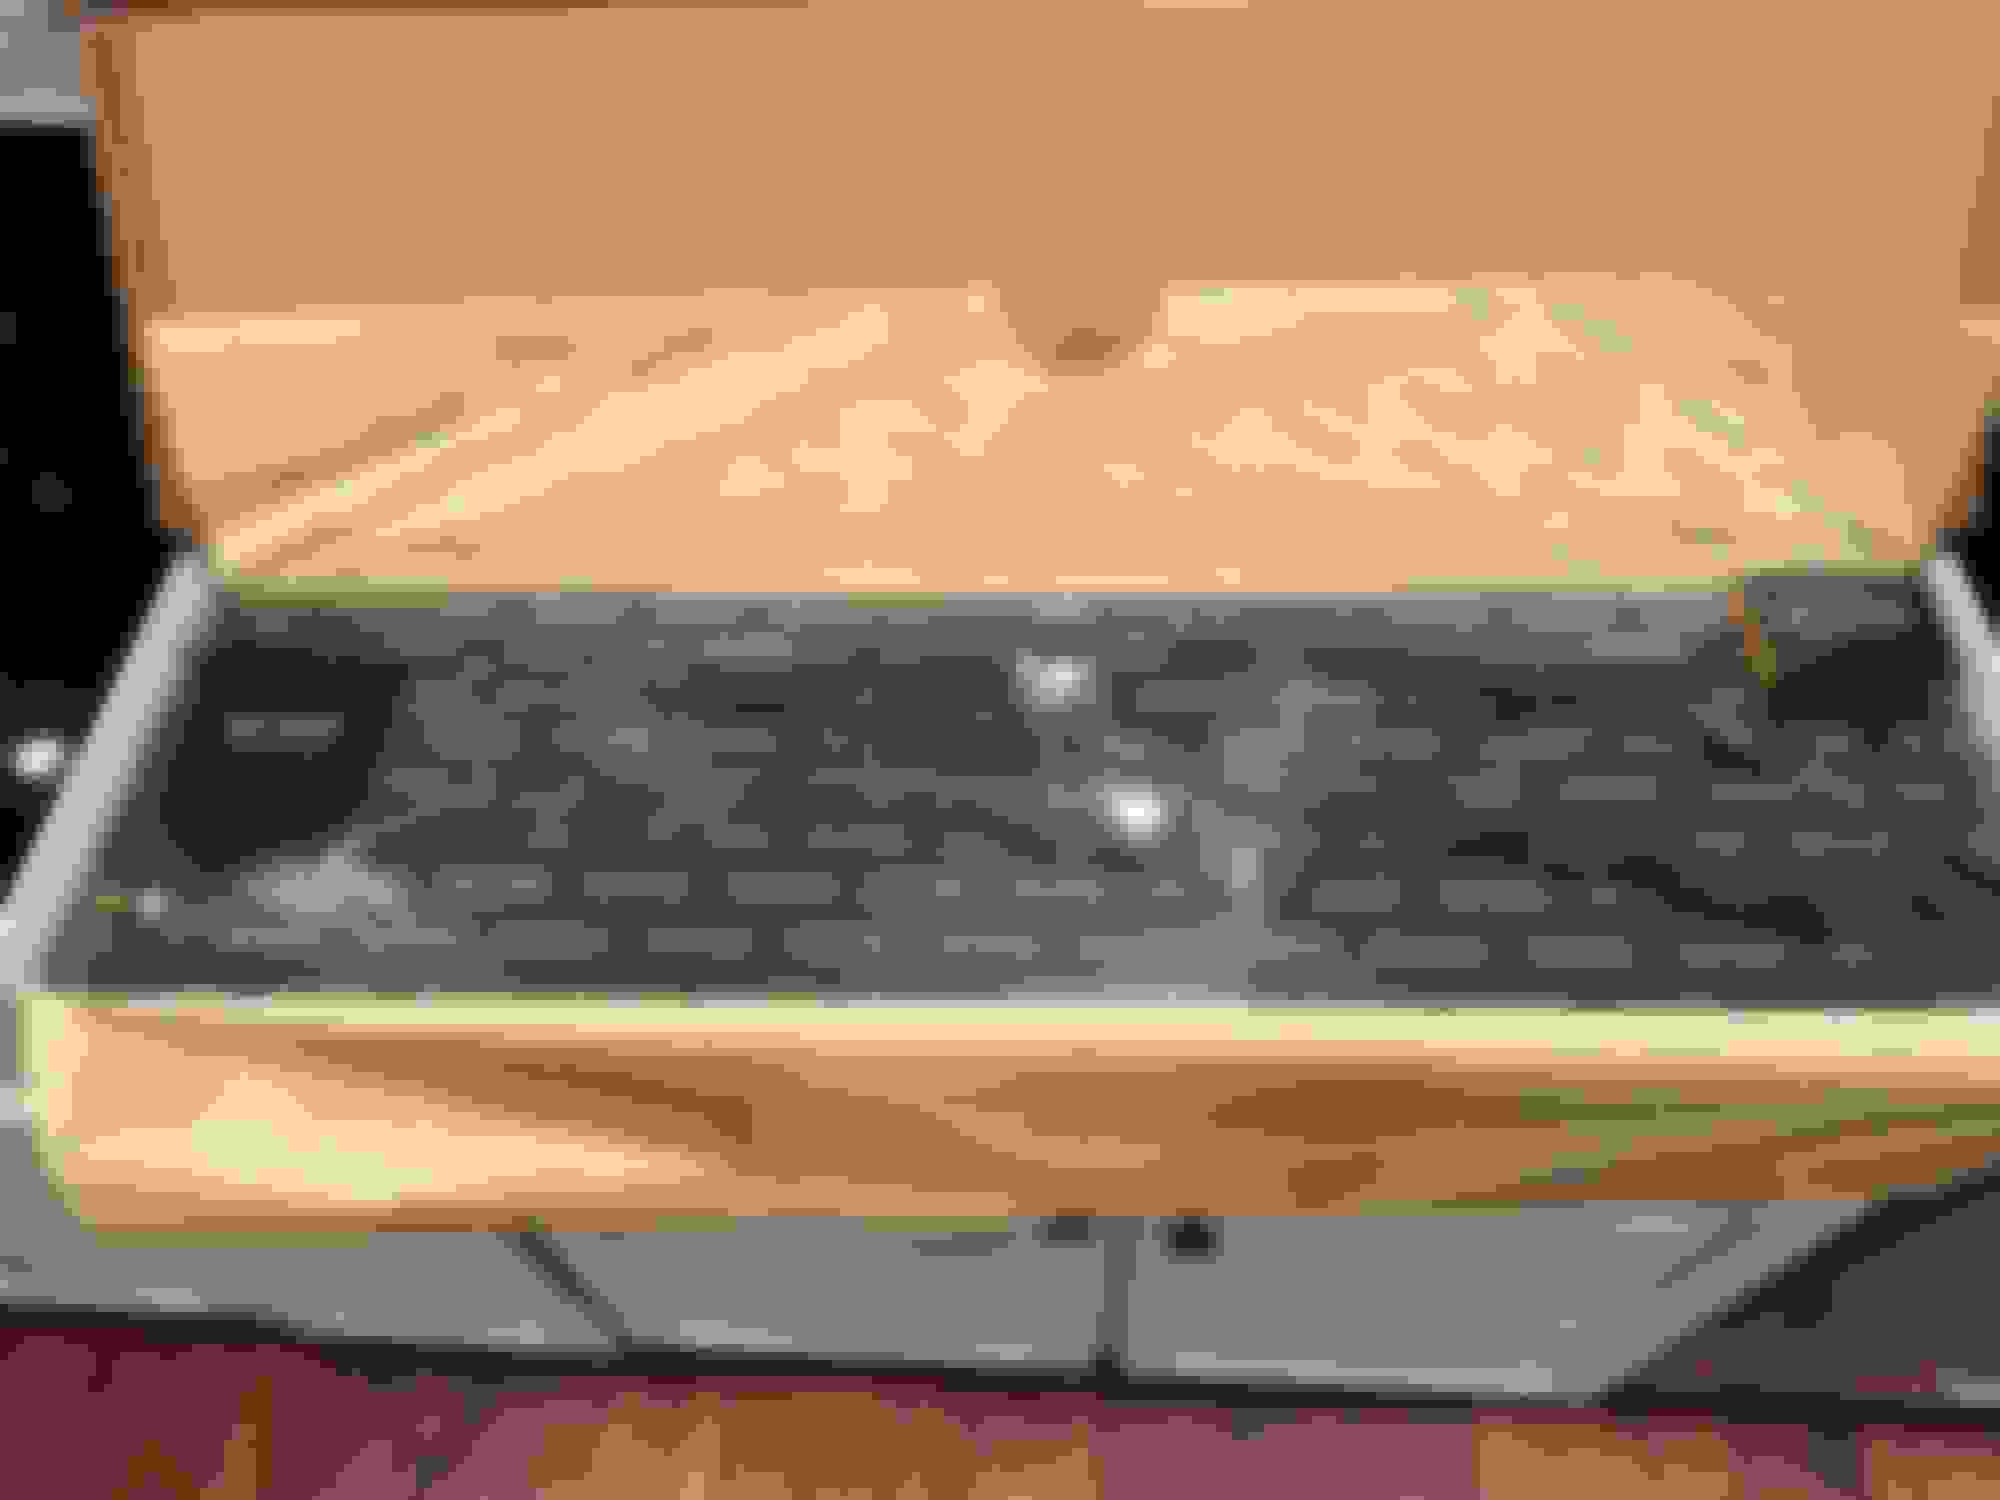
The part on the edge ones you "bolt" in.. I didn't think to TUCK it under. I didn't see that in the instructions (going to go re-read them after I post this), so it's sitting on top and flared. The flare is a good 1/2" but I filled it with silicon and it doesn't look terrible.
And a third actually.. which is the one I thought I was going to regret. However, looking at the pictures above it seems like I did ok. So I mounted the edge ones first, but didn't silicon them in. Then I mounted the centre. And was so proud of myself because it was completely flush with the front end. Then I silicon'd the edges. Messy, but not terrible. Then I went to silicon the front, and realized that had I set everything back just 1/8", I'd have been able to maintain a very thin edge of bumper colour between the bottom of the grill and the lip. Except now, it's all silicon, And the part where the silicon meets the grill and starts "hiding" my bumper looks kind of... gross. But the "professional" job above looks like they went about it the same way.
Pics of WIP and final attached. I think my biggest worry right now is not tucking the scrape amor.... that flare isn't a big deal with silicon in it. But I'm worried the silicon will crack. I think worst case I remove the scrape armor and re silicon it. Foolish me.
Yeah, that silicon made me nervous. I had my bumper replaced and let the shop install the Scrap Armor. PPF bumper and Scrape Armor installed, now I just need to get a bull bar added to the front
There's one part of me that says "You spent this much money on a car, get option that you know will work better and was custom designed for your vehicle"
Then there's the other part of me, that last night decides to install it himself. To that person I say "You spent this much money on a car, pay someone who knows what they're doing to install it right".
Honestly tho, aside from laying mine out better and researching a little more, I wouldn't change a thing with the path I went down.
The Lexus certified body shop that installed mine never heard of this product. I went to a few performance shops that mostly dealt with European cars and they also didn't know anything about it.
I figured the Lexus body shop would be the best choice so I let them take on the responsibility. Installation labor was $250 and it is a clean install. Jeez...$800 total
I am so committed to keeping this car now.
Toyota and Lexus Join Mille Miglia For The First Time
Slideshow: A five-car lineup spanning more than five decades of Toyota performance and engineering will tackle one of Italy's most celebrated automotive routes.