


Interior Lights Installation (Footwell Included)


Thread Starter
Rookie
Joined: Feb 2014
Posts: 97
Likes: 1
From: CA
 Interior Lights Installation (Footwell Included)
Hello, fellow 3IS owners!
This might be a repost, and I've seen many people shared their 3IS with upgraded interior lights, but I don't remember seeing posts specifically on footwell lights. And after looking at different LED interior lights companies, the footwell lights are usually not included in the package. Anyways, if this is a repost, then take it as me sharing my experience
First off, I really have to thank HID PowerHouse. They responded my email within 10 minutes and we were able to get everything done in just couple hours. (I was requesting for LED penal quote and direct fit quote, so lots of back and forth)
I ended up getting the white and blue direct fit because I don't like to hold the panel in place with adhesive… They were able to customize a package for me…I got the following:
2 TR White for front maps
2 TR White for rear maps
2 TR White for vanity mirrors (Bonus another reason I like about them)
2 TR Blue for front footwell
1 TR Blue for front dome and 1 for rear dome
2 TR Blue for courtesy
all bulbs have the same size, only different in color, of course
you can pretty much find the installation guide for all interior light, except I was having trouble with the footwell lights.
It seems like you can remove the bulb from out side after remove the cover, but I wasn't able to, so I took the safe way, plus, there wasn't enough room for me to apply proper strength.
For people who want to play safe, below are pics of instruction of how to gain the excess to the housing.
To remove the cover under glove box, simply use flat head screw driver wrap with paper towels to pop off the clips, the white parts are the clips, they come off easily
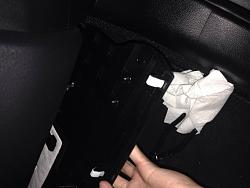
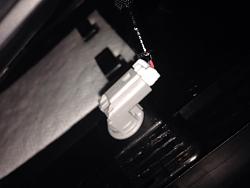
Then you will see the actual housing of the bulb connected to the cover, simply twist the housing and remove
This might be a repost, and I've seen many people shared their 3IS with upgraded interior lights, but I don't remember seeing posts specifically on footwell lights. And after looking at different LED interior lights companies, the footwell lights are usually not included in the package. Anyways, if this is a repost, then take it as me sharing my experience
First off, I really have to thank HID PowerHouse. They responded my email within 10 minutes and we were able to get everything done in just couple hours. (I was requesting for LED penal quote and direct fit quote, so lots of back and forth)
I ended up getting the white and blue direct fit because I don't like to hold the panel in place with adhesive… They were able to customize a package for me…I got the following:
2 TR White for front maps
2 TR White for rear maps
2 TR White for vanity mirrors (Bonus
another reason I like about them)2 TR Blue for front footwell
1 TR Blue for front dome and 1 for rear dome
2 TR Blue for courtesy
all bulbs have the same size, only different in color, of course
you can pretty much find the installation guide for all interior light, except I was having trouble with the footwell lights.
It seems like you can remove the bulb from out side after remove the cover, but I wasn't able to, so I took the safe way, plus, there wasn't enough room for me to apply proper strength.
For people who want to play safe, below are pics of instruction of how to gain the excess to the housing.
To remove the cover under glove box, simply use flat head screw driver wrap with paper towels to pop off the clips, the white parts are the clips, they come off easily

Then you will see the actual housing of the bulb connected to the cover, simply twist the housing and remove

Thread Starter
Rookie
Joined: Feb 2014
Posts: 97
Likes: 1
From: CA
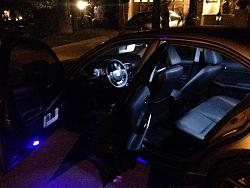
Before installation, all dome/map lights are on
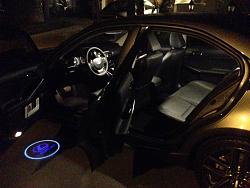
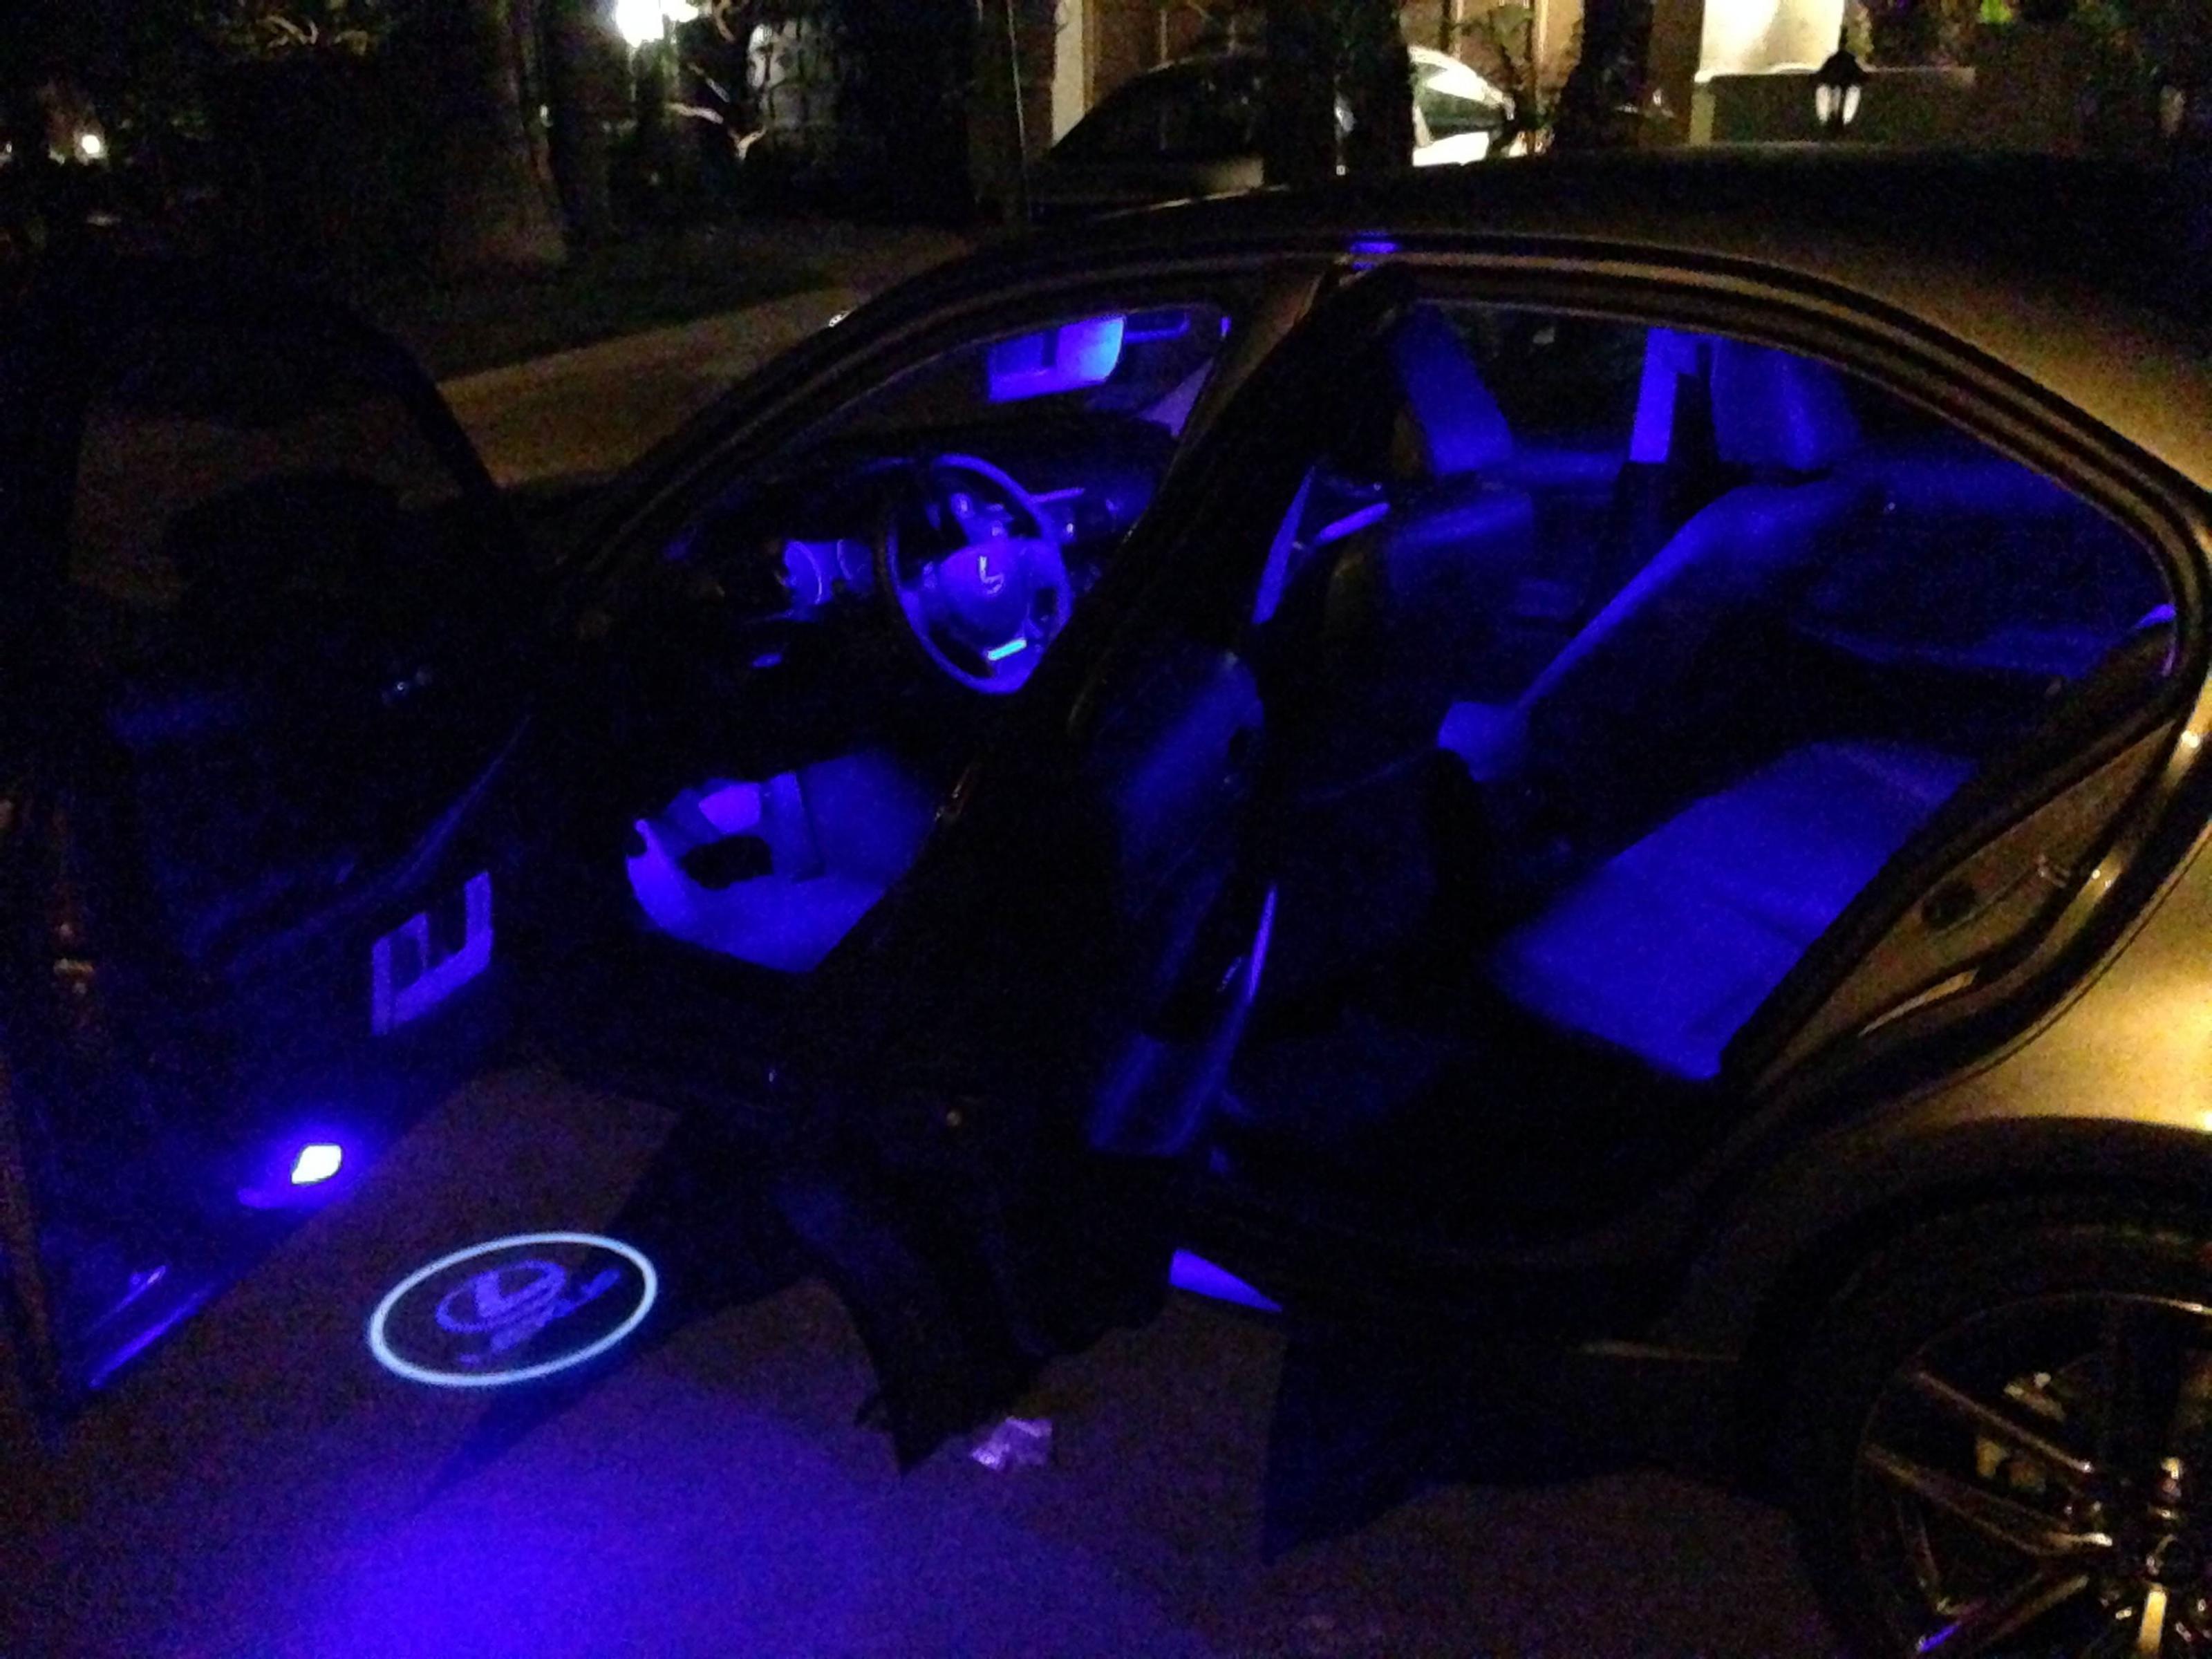
After Installation, only dome lights, footwell, courtesy lights, it actually doesn't look purple at all, just the crappy camera
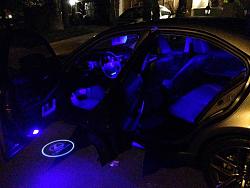
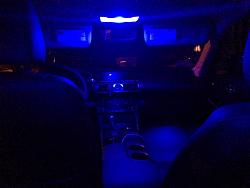
After Installation, only map lights are on
In-Cabin, dome/footwell lights
Hope this is helpful for you guys

After Installation, only dome lights, footwell, courtesy lights, it actually doesn't look purple at all, just the crappy camera
After Installation, only map lights are on

In-Cabin, dome/footwell lights

Hope this is helpful for you guys
Last edited by Jack1995; Feb 24, 2014 at 10:31 PM.

Thread Starter
Rookie
Joined: Feb 2014
Posts: 97
Likes: 1
From: CA


Trending Topics


Pole Position
Joined: Oct 2013
Posts: 231
Likes: 1
From: MD
the bulbs in the footwell are hard to pull out, at least they were for me, not a lot of room to get a good grip on the bulb. Ended up having to use bottle nose pliers until i found out the under panel on the passenger side just pulls right down then snaps right back into place, then just untwist the light out of the socket. Driver side though IDK.
yea they are hard but you can pull them out. First time I took apart the drivers to try to put the bulb in and took me about 20 min, then when I snapped the panel back in the lens popped out exposing the bulb, felt like a tool. Then I went to the passengers side and did it in under a minute.

Driver
Joined: Feb 2014
Posts: 134
Likes: 4
From: Colorado
DUCT TAPE to pull our footwell light
All, I had a hard time pulling out the footwell lights too.... then I went and cut a 6inch piece of duct tape, wrapped the tape around the bulb up in there, and pulled.... pulled right out without any struggle or effort really.

Lexus Test Driver
Joined: Apr 2005
Posts: 1,419
Likes: 10
From: ON, Canada
the bulbs in the footwell are hard to pull out, at least they were for me, not a lot of room to get a good grip on the bulb. Ended up having to use bottle nose pliers until i found out the under panel on the passenger side just pulls right down then snaps right back into place, then just untwist the light out of the socket. Driver side though IDK.
In terms of tightness, the one on on the front passenger side wasn't too bad.
The one on the driver's side, however, certainly needed a pair of pliers to remove it safely. The metal clips holding the bulb for the driver's were very tight. What I did was to use a pair of pliers with soft ends and also use a piece of micro fibre cloth to over the bulb so I wouldn't accidentally mar any surfaces surrounding it.
I recall the footwell light bulbs for the 10' RX were not as tight to remove.
But I think the way the tightness is associated with the intent from Lexus to reduce the chance of rattle or loose bulbs down the road for the IS. However, it may be a bit too tight, still.