When you click on links to various merchants on this site and make a purchase, this can result in this site earning a commission. Affiliate programs and affiliations include, but are not limited to, the eBay Partner Network.
Getting in my car last night after work. I closed the door, and boom the rear view fell off. I got my windshield replaced about 5 years ago. So the only problem I saw. Is that maybe if the tech would of sanded the surface to the metal insert. It would of probably held on longer.
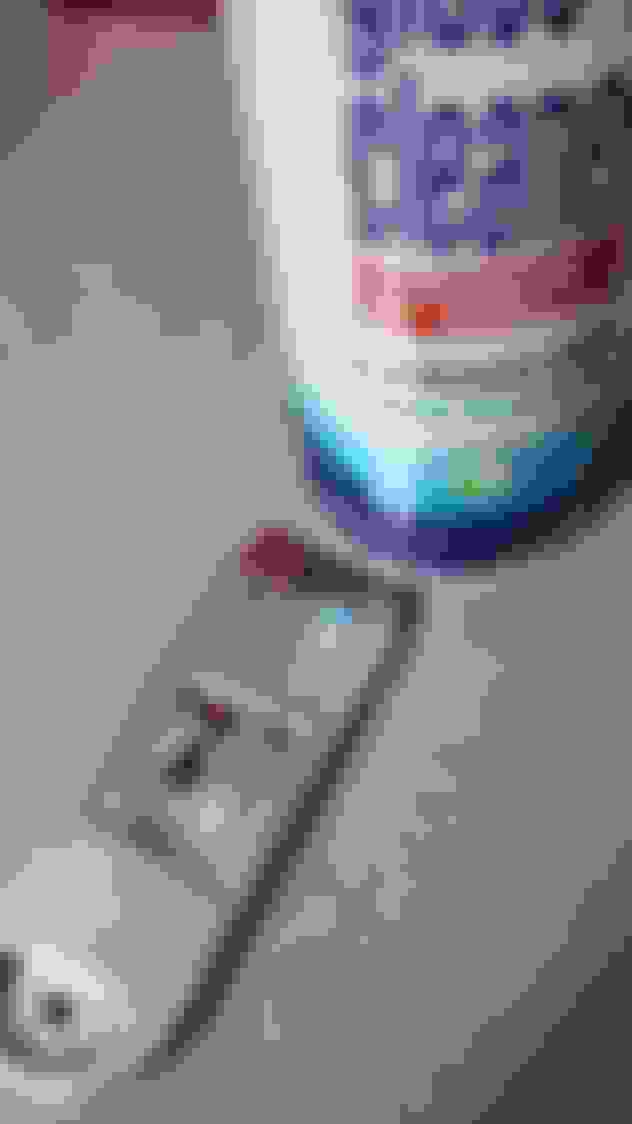
Anyone know what kind of adhesive to use? It seems that it's probably a 2 part adhesive. Searching around probably off the shelf is Permatex. Now to figure out how to remove the existing residue with out scratching the black coating.
The adhesive process begins with a primer on both materials. Then a one time use container applicator, wait a few and stick it correctly where you want it. Look through here for one.
GL getting that stuff off. Maybe try some acetone and a single edge razor blade? Being very careful of course.
The adhesive process begins with a primer on both materials. Then a one time use container applicator, wait a few and stick it correctly where you want it. Look through here for one.
GL getting that stuff off. Maybe try some acetone and a single edge razor blade? Being very careful of course.
Yeah I'm picking up some permatex after work. I'll probably cross hatch the metal button a bit to roughen it up. That way the adhesive has something to grip. Also searching around the forums. I found a post on the 3rd Gen GS section. OP is out in my neck of the woods. He mentioned he's tried several adhesives listed in your link. Some only last a few days, weeks due to high heat here in Houston. I posted a question is to where is it coming apart from the actual windshield, or button smooth surface.
Last edited by MikeFig82; Jul 20, 2021 at 03:14 PM.
The adhesive process begins with a primer on both materials. Then a one time use container applicator, wait a few and stick it correctly where you want it. Look through here for one.
GL getting that stuff off. Maybe try some acetone and a single edge razor blade? Being very careful of course.
You should be able to use fingernail polish remover. You need the real stuff not the "low odor" stuff and just be super careful. I'm about to do the same thing on my truck because the same thing happened. Original windshield and rear view mirror worked perfectly for 11 years. Had my windshield replaced and the mirror fell off a year later.
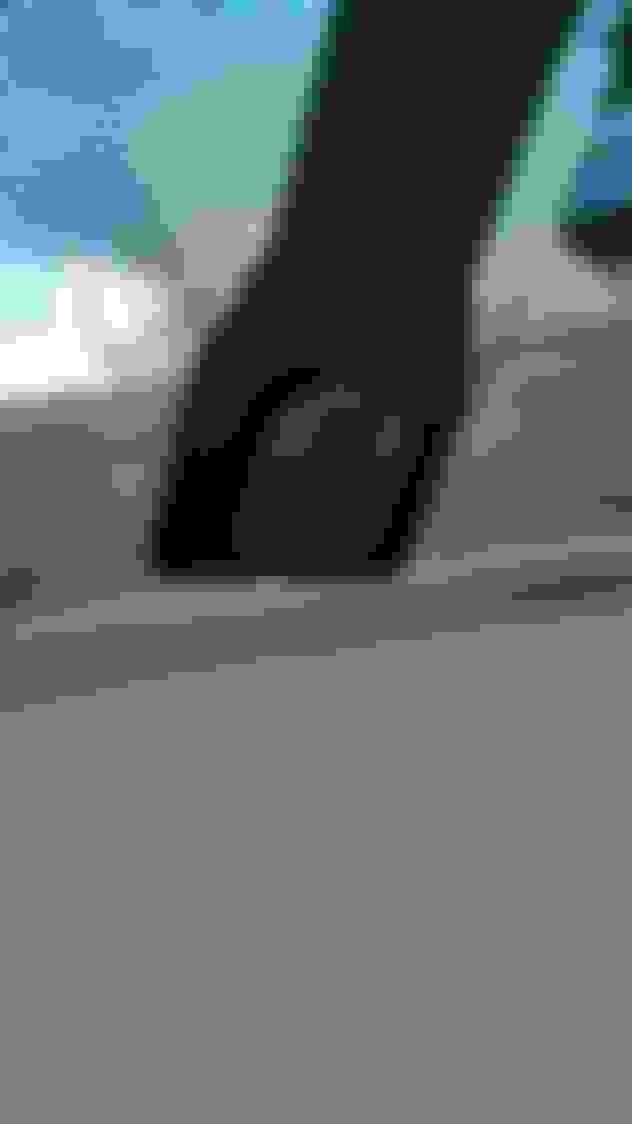
I woke up early today to tackle removing the old epoxy. To my surprise it came of fairly easy. No need to heat it up. I just used some window cleaner spray to help the razor blade glyde along. Gently applying pressure to the spot a little at a time it scraped off. Just focus on the spot at hand, and you should be free of scratching the black coating on the windshield.
There will be some etching of the old glue visible on the coating afterwards. I'll try to tackle the reattachment of the button later on, or tomorrow. There is just too much humidity this moring.
7/26/21
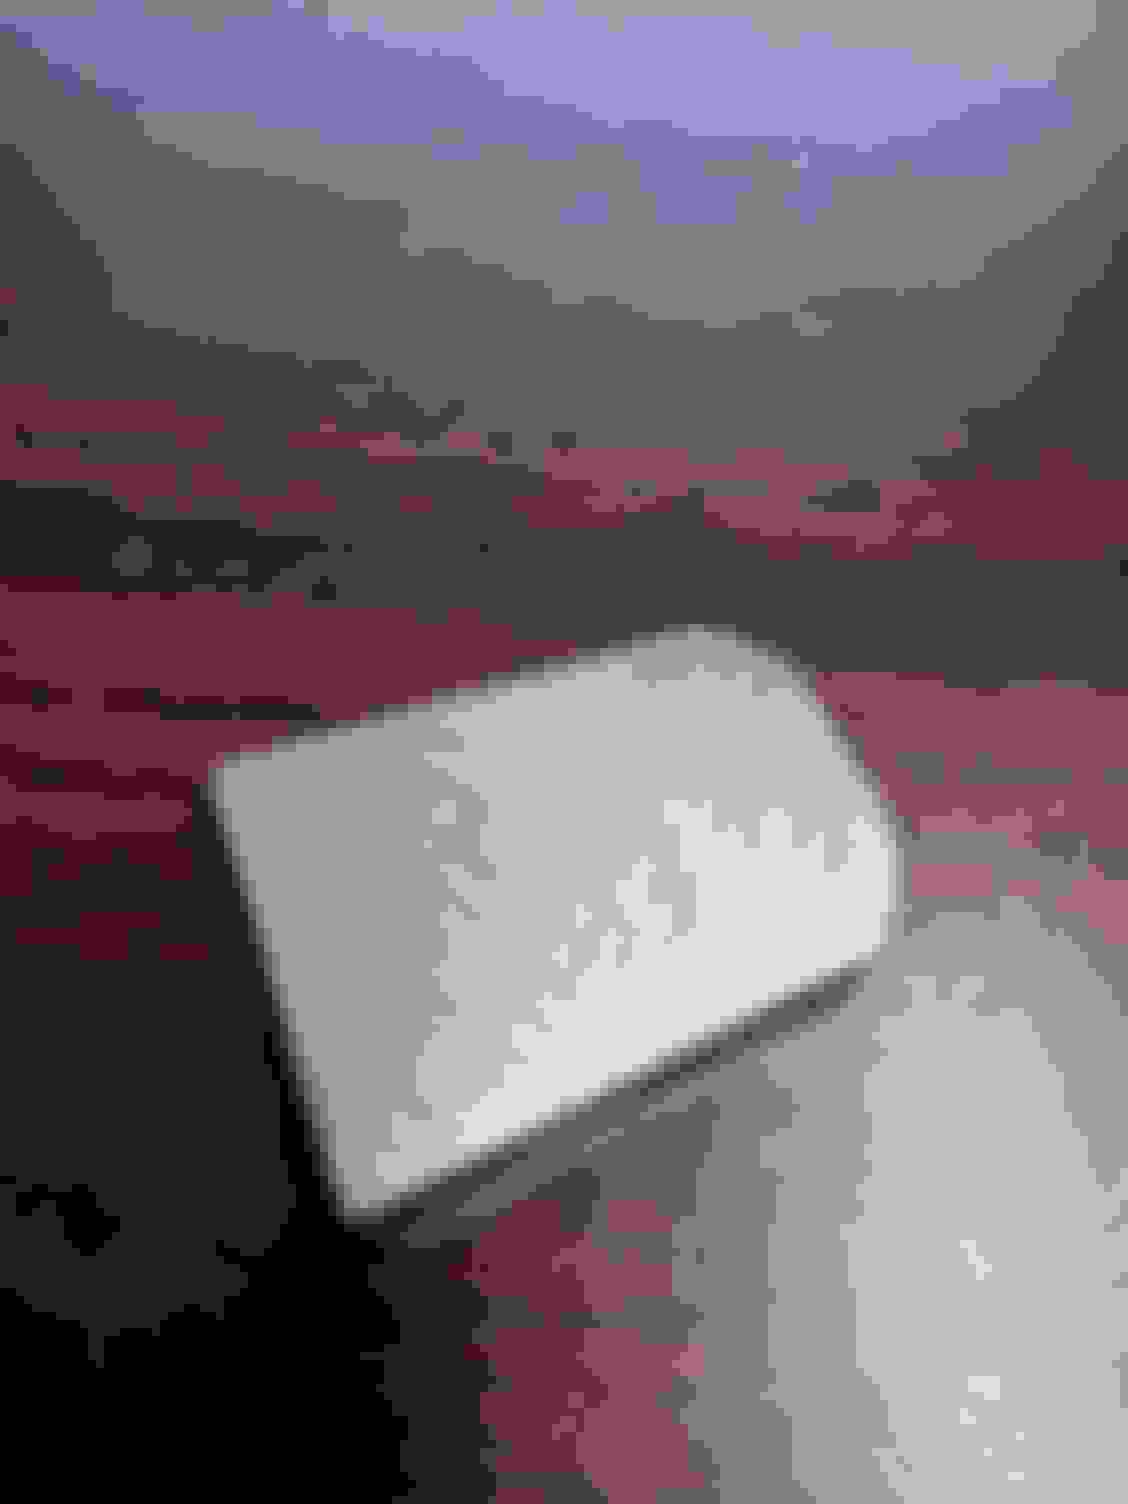
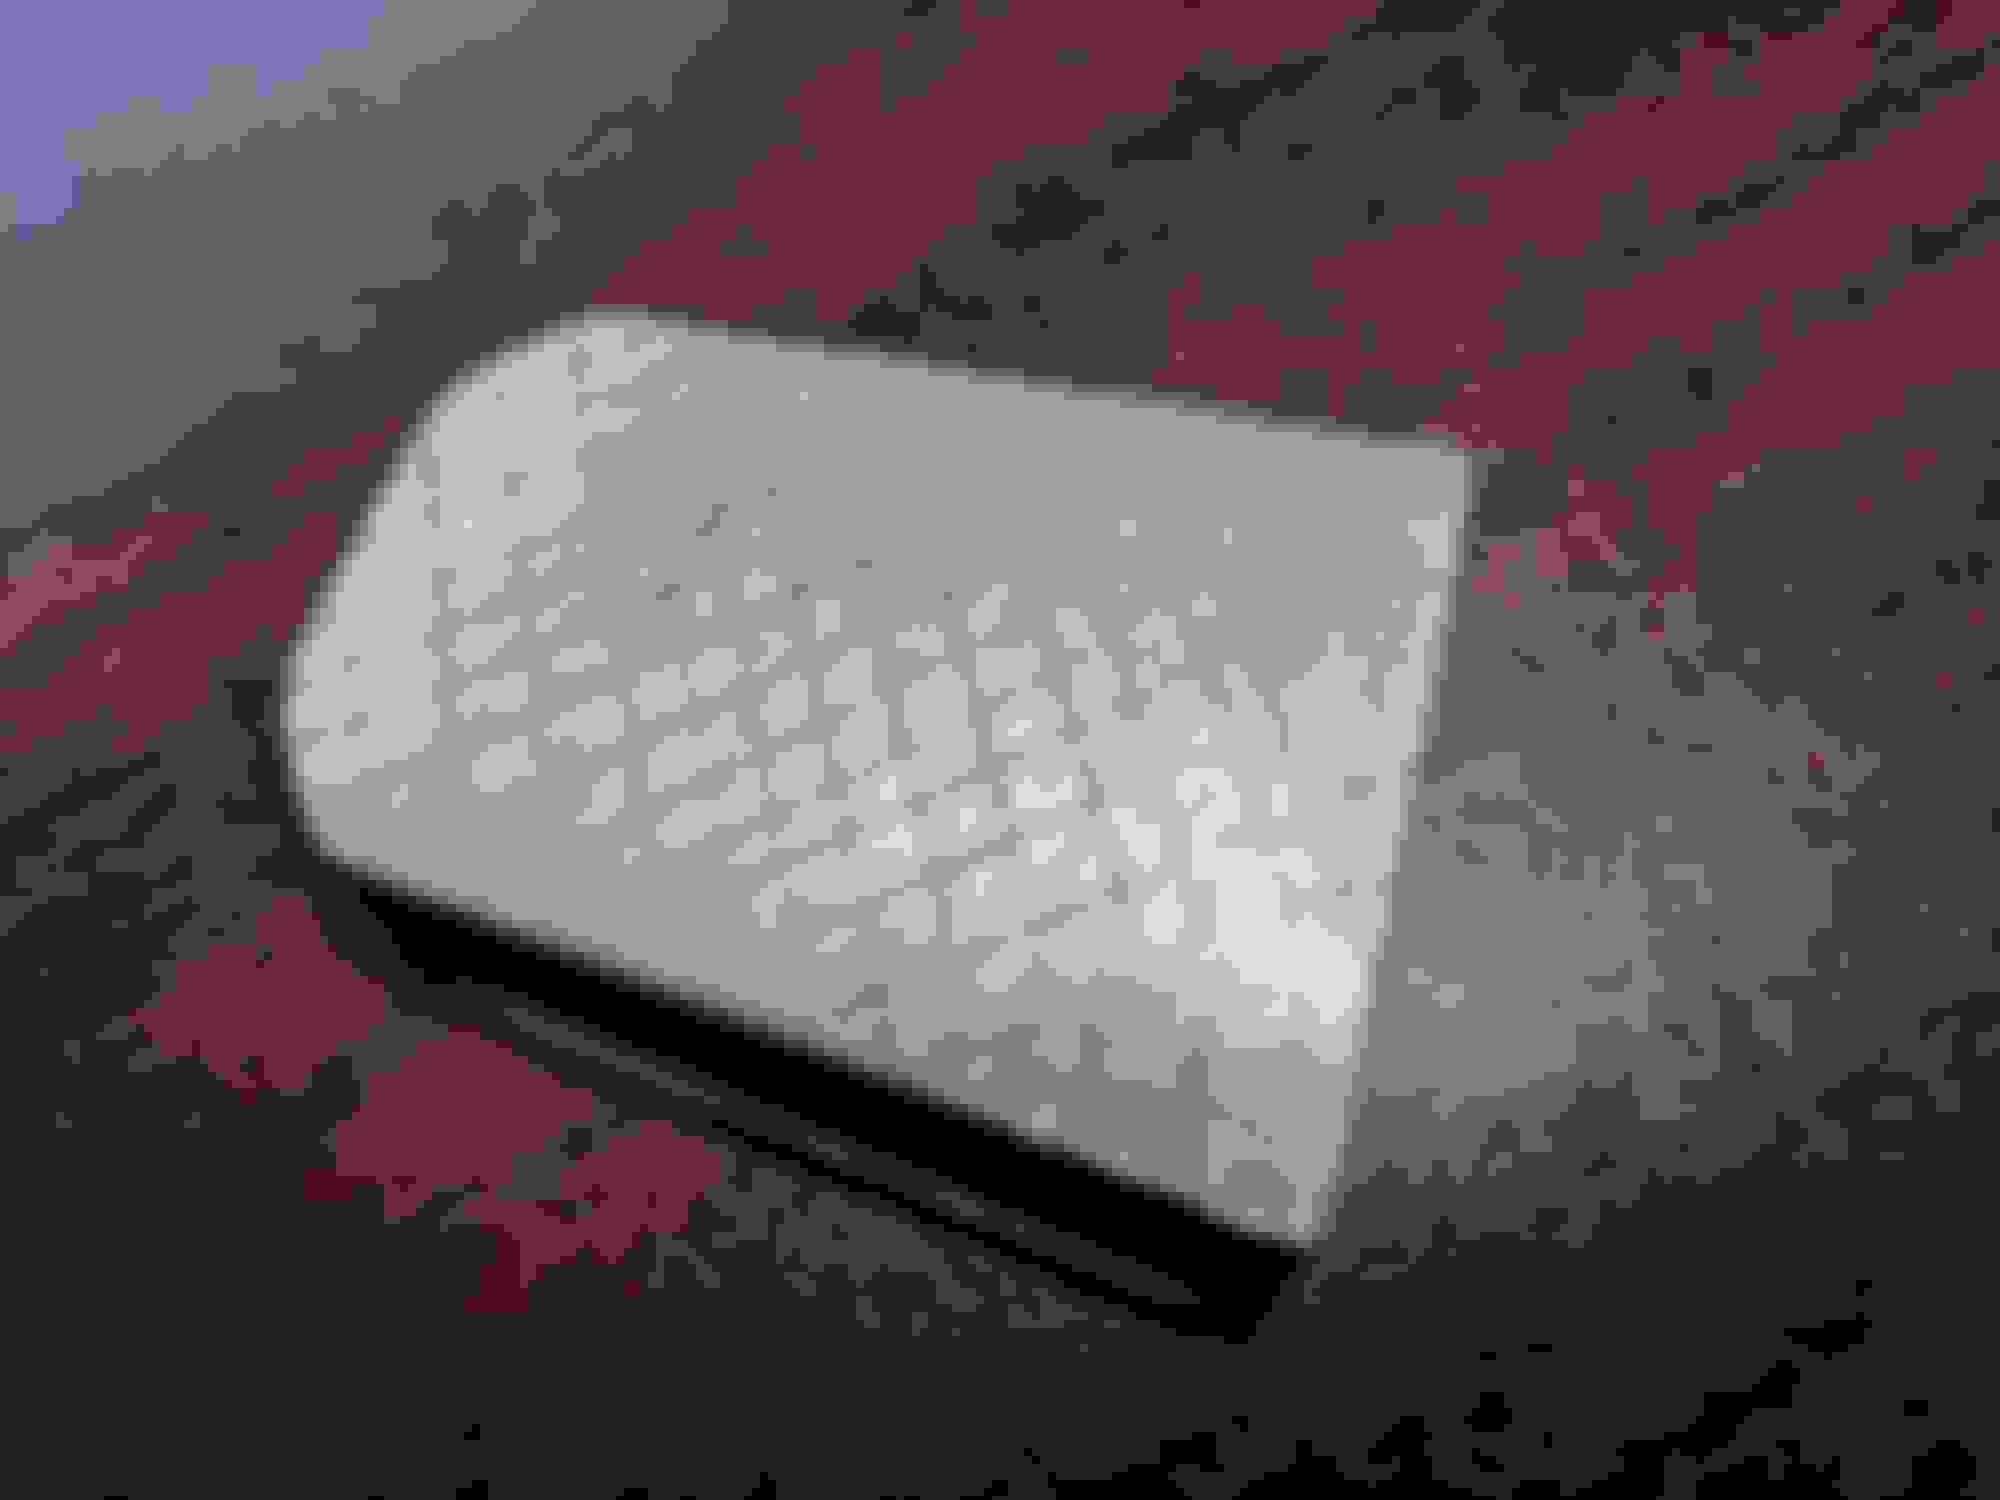
Button is finally installed. Use latex gloves to prevent any grease back on the button. Prep surfaces sand the metal button to reveal shiny surface. This removes old corrosion on surface. Clean area on windshield with alcohol then proceed to do the same for the button. Use a blow dryer to heat the glass and button to remove any moisture.
The glue itself is thick. The instructions say to use one drop. That's probably why a lot of people complain it doesn't work. What I did was use the adhesive promoter on the wind shield. I also put some on the button. At this point use heat on windshield, and button again. Next use the glue on warm button. Try to stay about 1/8th inwards of the button profile. So once you place on windshield it shouldn't run out the sides. Hold in place for 60 seconds.
Once I mount the mirror back on it should be about 24 hrs cure time in summer heat. Hopefully it will hold up well for some time.
7/27/21
After a 24 hr cure time for the glue. I installed the rear view mirror back on. Now documenting on how long it will hold up in Texas summer heat.
Last edited by MikeFig82; Jul 27, 2021 at 05:19 PM.
Well just shy of 9 months last night my rear view mirror fell off again. Texas heat is here again.
This time it got me thinking of something different. I've used the permatex gray in the past. That thing is amazing bonding plastic pieces together. So I got to searching on the inter web if it was possible to use. Website below someone has tried it already.
For now I'm prepping the surface on the rear view mirror again. Cross hatched the surface with 100 grit paper, and knurled it slightly with a metal ruler and X-Acto knife. I just barely pressed into the material. I'm not sure if this will help or not. I need my mirror back up ASAP.
Ok so the button was installed again with Permatex Grey. In the process I managed to lose the OEM torx screw. The replacement size would be 10-24 x 3/8 screw.
Installed today 6/13/22: The button itself has had about 2-3 weeks cure time. For future reference adjust mirror by holding base towards the windshield. Then make adjustments to the rear view mirror. This will minimize it from coming detached.
Last edited by MikeFig82; Jun 13, 2022 at 04:50 PM.