2GR-FSE Engine rebuild (2008 IS350)
#61
Driver
Thread Starter
Sorry I'm not sure what you're asking about the plenum.
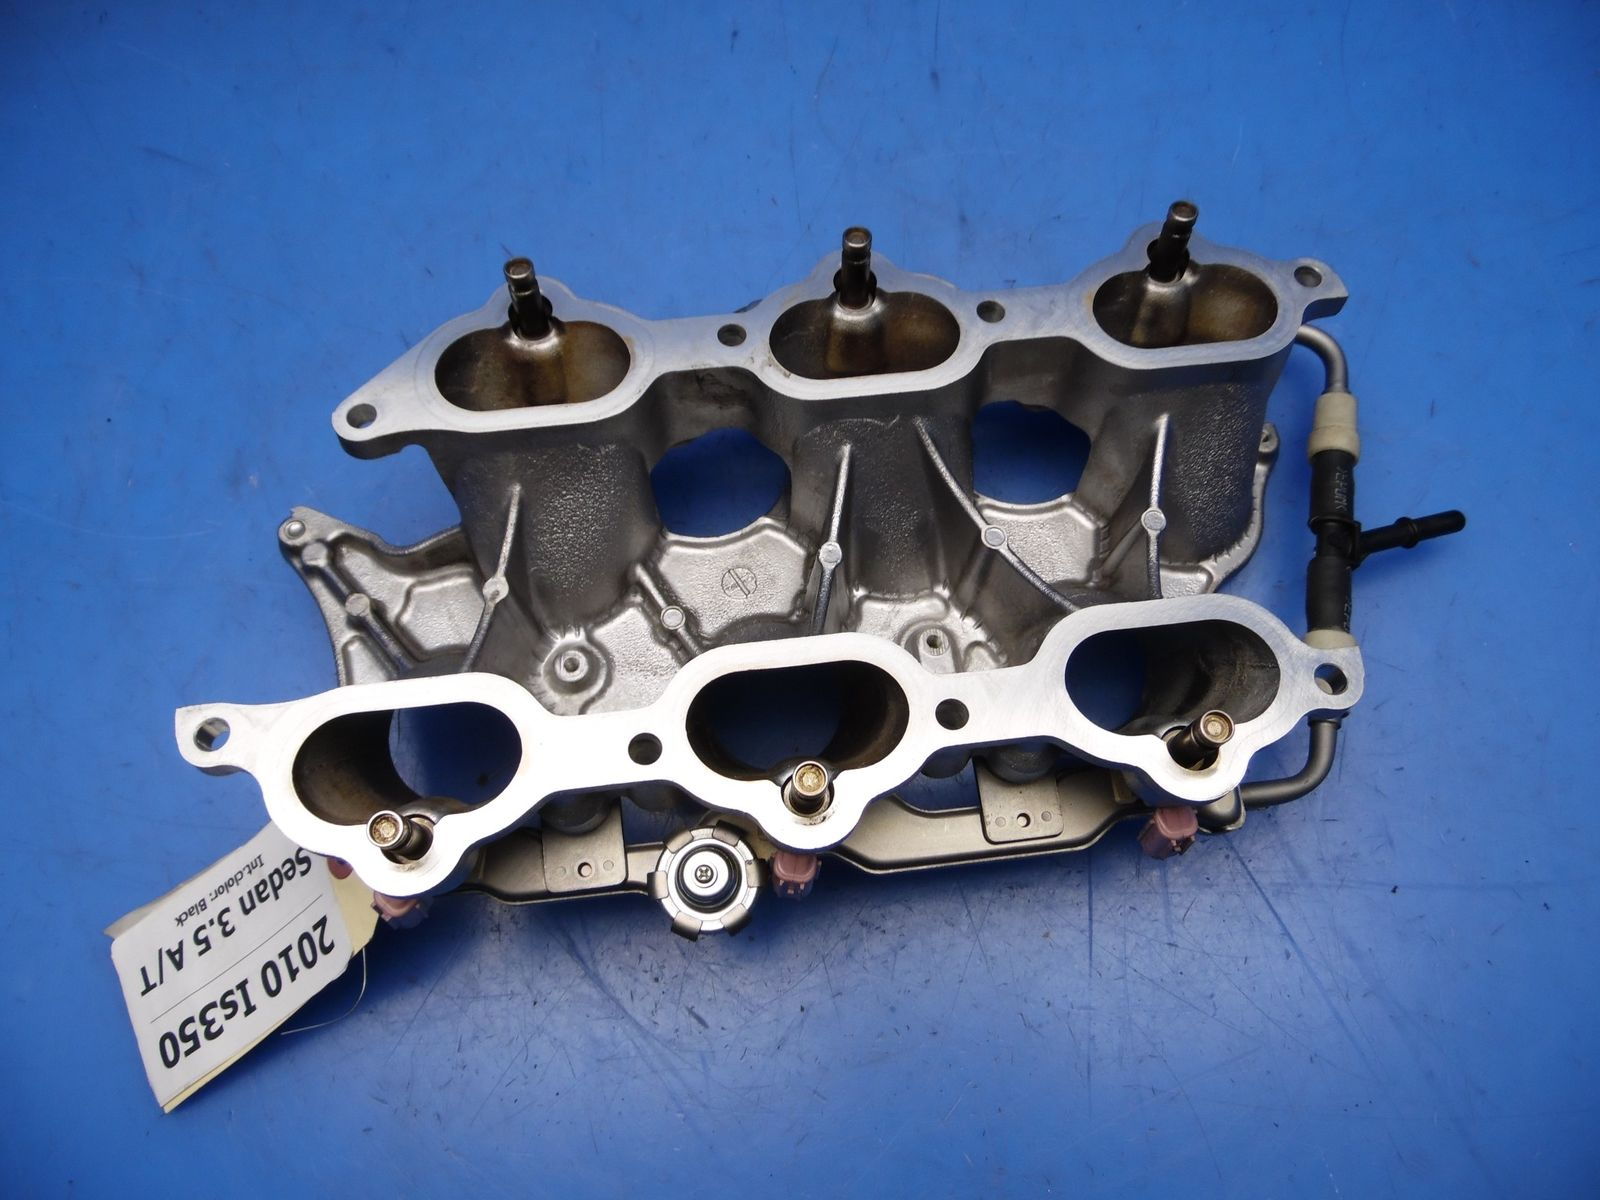
Yeah that intake is identical. The walls are cast so thin on it that I'm not able to take advantage of opening them up. If that's what you're asking. The upper plenum is just that lump of plastic...not sure if I can do anything with it to increase flow. Being that the plenum is a glued plastic assembly and the intake casting so thin, I feel there isn't even a worth of effort to gasket match the intake manifold to head port region. But I may give it a shot after more thought.
I may port the throttlebody...but not sure if it would make any noticeable difference to performance. They say a few hp could be gained but I think that's defendant on what follows after the TB. Would be nice to have a TB on each intake runner tho...lol👍
For the knife edge, I think it may end up being beneficial. As you said it could only help and wouldn't harm it. Even tho I cleaned the carbon up out of the port you can still see how it's so much cleaner around the bullnose of the septum in the photo. For sure it's collecting and washing the aluminum with fuel. (I'll take a pic of the head I haven't done) I'm sure a knife edge would help even if only a small amount. And I'm sure fuel will still collect, only way iit could improve dramatically would be a port inject design for each port individual valve...
All in all I think these little mods will help...even in a small way. Everything is increasing air volume to the cylinder and increasing velocity. The great thing about having both port and direct injection is you really cant fail.
#63
Driver
Thread Starter
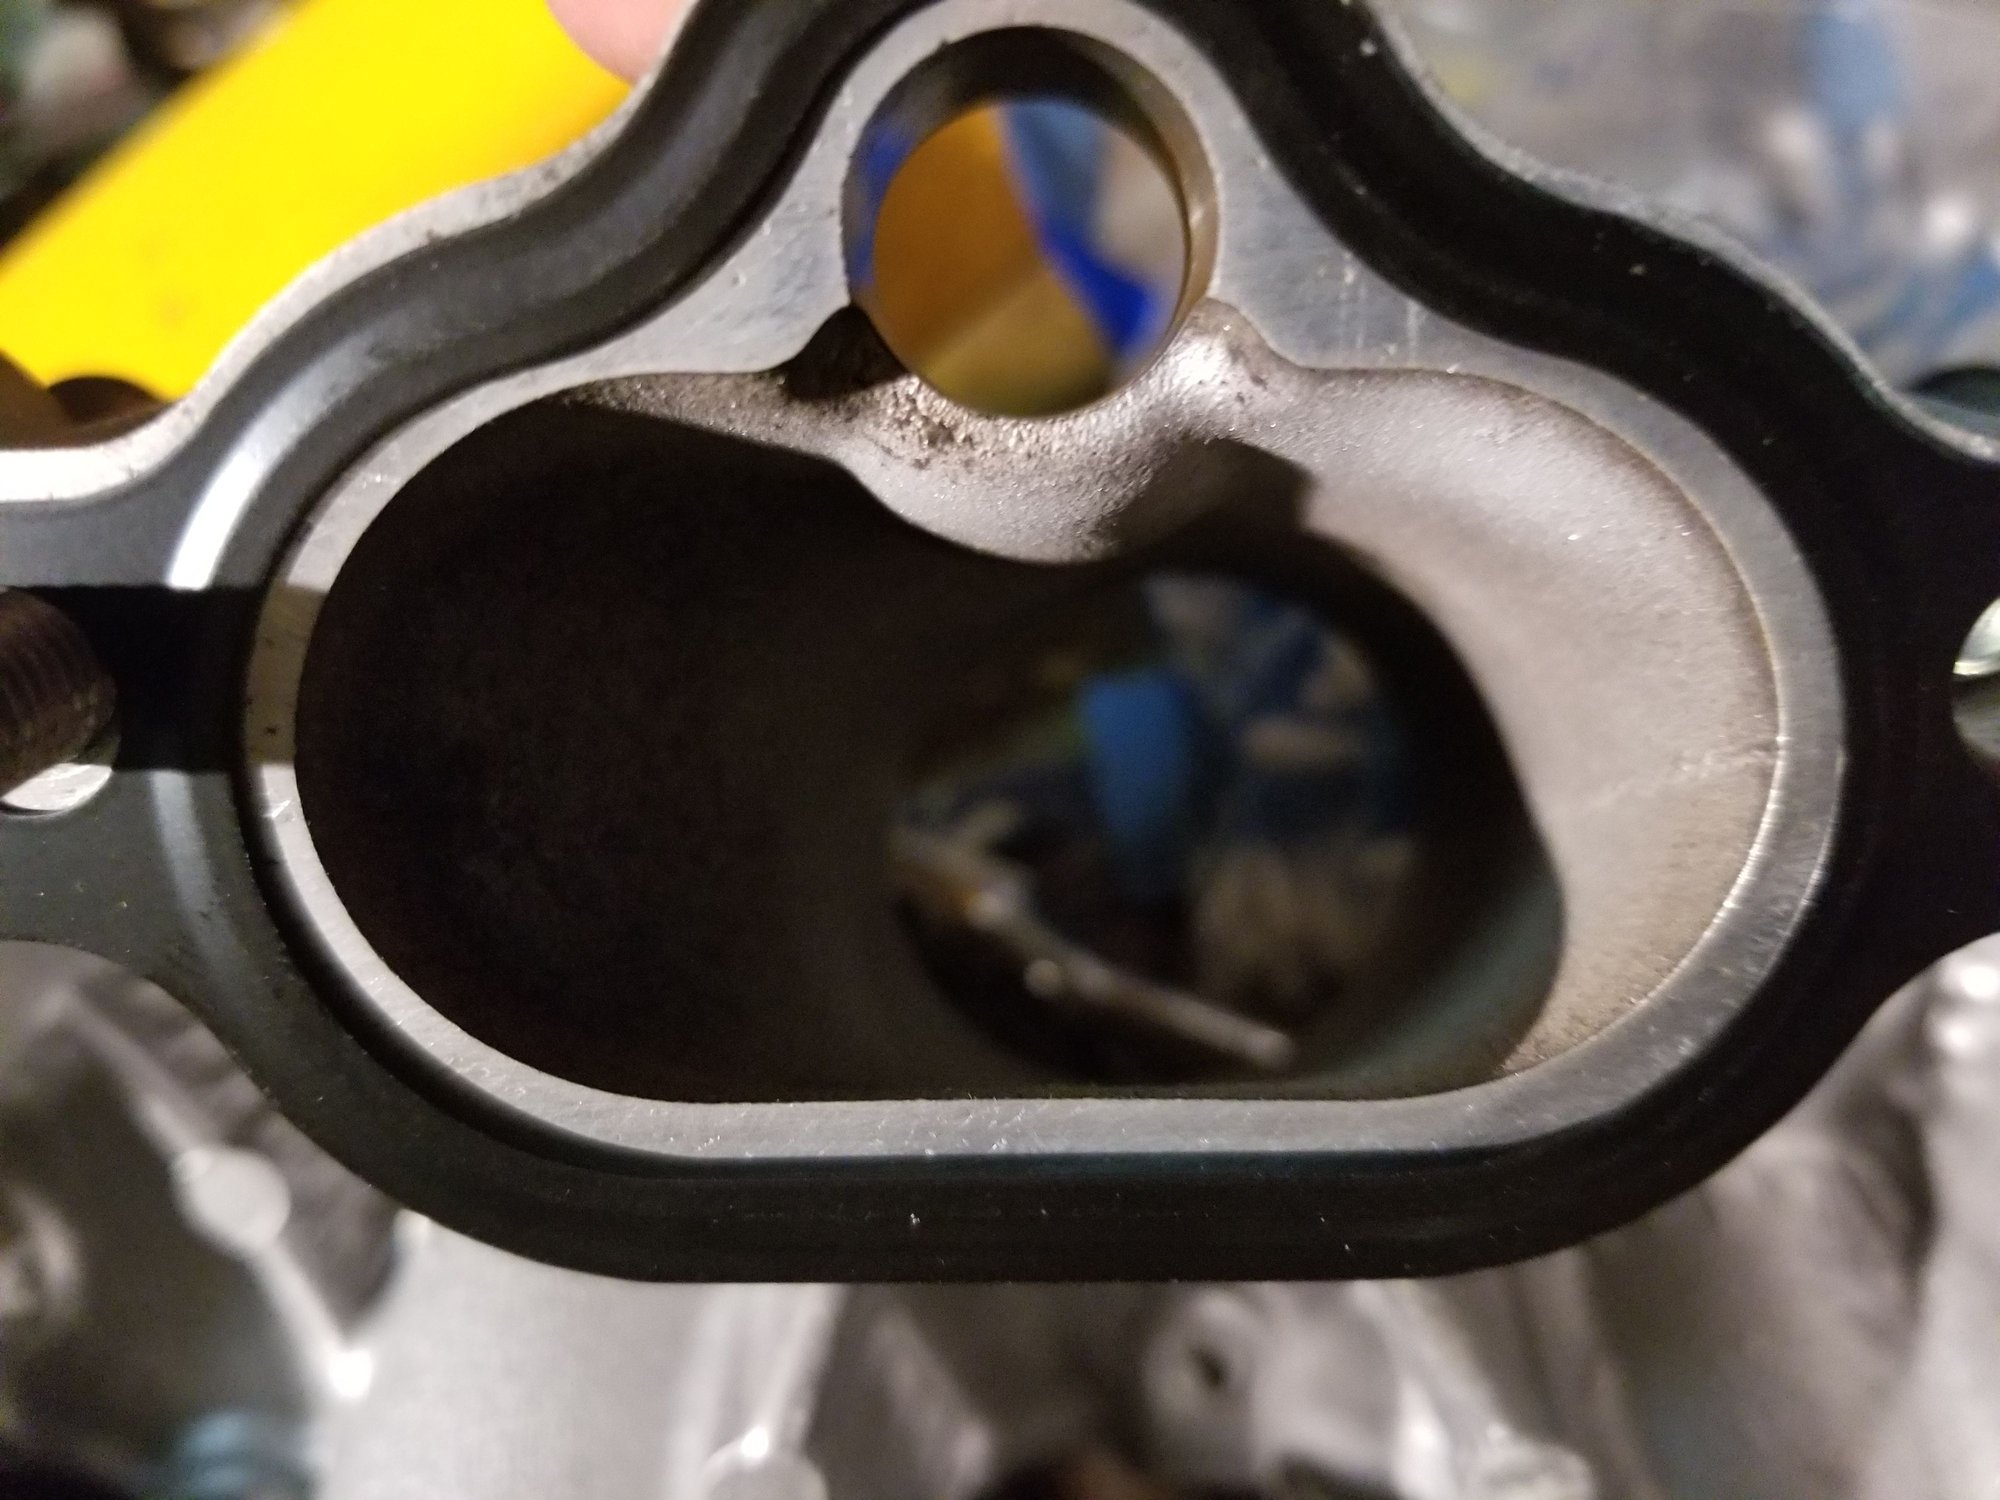
Actually everything seems really good. I measured the plenum ports where they meet with the intake and they're spot on with the corresponding intake inlets. So that end of things looks good. There is a seem that protrudes on one of the plenum runners that I may blend in.
#65
Good work. Been years since I rebuilt motors, used to do every year or so on my early vehicles  70's to 90's......
Hopefully you "size" matched the crank bearings to the NEW crank?
Edit: Apology , read you are a tool and die maker, so you are well versed in sizing good luck
 70's to 90's......
Hopefully you "size" matched the crank bearings to the NEW crank?
Edit: Apology , read you are a tool and die maker, so you are well versed in sizing
 good luck
Last edited by bazzle01; 02-16-19 at 03:57 PM.
The following users liked this post:
KIS350 (02-20-19)
#66
Driver
Thread Starter
Hey 2013FSport! I took a little break through January because work was so busy and the weather has been really cold.
So far the all the "work" has been done on the engine and I've started assembly. New crank and bearings are assembled and cylinders honed. Pistons all reworked, reringed, and reinstalled. So the short block is assembled and completed. I cleaned and reassembled the camshaft assemblies with new secondary timing chains and tensioners. The heads have been ported, combustion chambers polished and valve seats are ground and lapped with the new valves. One head has been fully reassembled and ready to be installed on the block. Currently reassembling the second head.
I'll post some more pics soon...I just have to remember to take some more pics before getting ahead too far.
Thanks for checking in!!!
The following users liked this post:
Bempa (02-19-19)
#67
Driver
Thread Starter
Good work. Been years since I rebuilt motors, used to do every year or so on my early vehicles  70's to 90's......
Hopefully you "size" matched the crank bearings to the NEW crank?
Edit: Apology , read you are a tool and die maker, so you are well versed in sizing good luck
 70's to 90's......
Hopefully you "size" matched the crank bearings to the NEW crank?
Edit: Apology , read you are a tool and die maker, so you are well versed in sizing
 good luck
I did size the new bearings to the new crankshaft, but thank you for the advice, and including that in this thread.
Thanks again!
#68

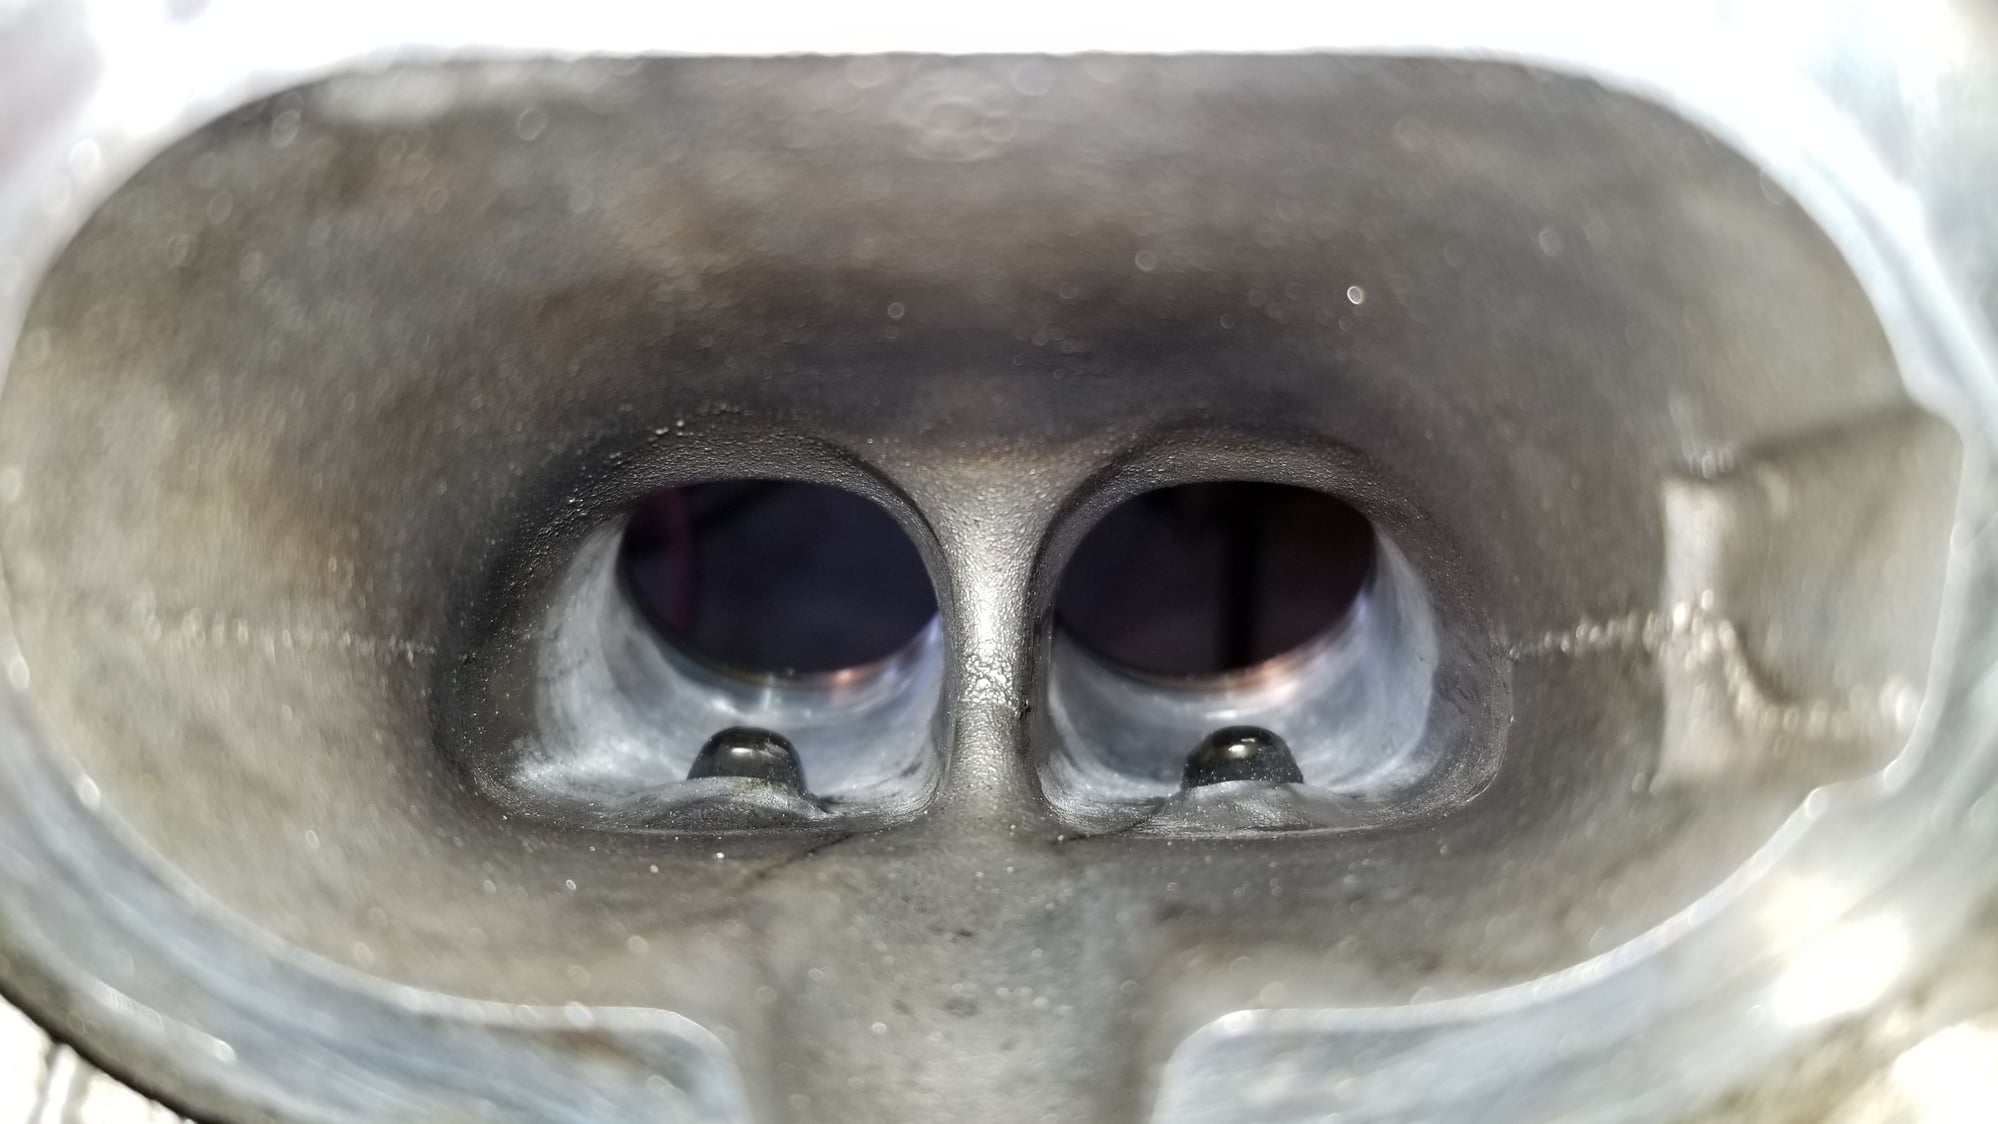
Photo from intake side of ports.
Notice the notch on in the casting on the right side of the port? This exists only on the inside wall of the two furthest out ports on each head. The center port doesn't have this. Not sure why it's there and doesn't continue into the intake casting. Only exists in 4 of the six ports in the head.
Those notches in the cylinder ports seem strange. I bet you could successfully fill them with alumiweld then blend it in. I might get brave and attempt to pull the intake and fill the notches on mine this summer.
#69
Driver
Thread Starter

Hope this helps!
#70
Driver
Thread Starter
Soooooooo....I skipped a lot in this thread. I didn't see the point as the only interest was from fellow 2GR-FSE enthusiasts that knew what they were doing. I appreciate , more than you know, everyone is help and support throughout this build. The outcome was definitely best case scenario.
The engine was assembled fro. The bear block to installed in just 8 days. I had a lot of support fro. The guys in this thread and some external guys with specifications such as part numbers and torque settings. This project from the build point seemed to be a process of spinning bolts, attaching, and torquing until there was nothing left. This week I feel like I still need to be in the garage spinning bolts. The engine was installed in an afternoon followed by reassembly of the front end of the car and hood to complete the project. Some small deficiencies such as missing the attachment of the coolant line to the throttle body and not quite properly connected ignition plugs were troubleshot with ease. First push of the IS350 ignition button lead to a clean smooth startup. I raced to the DMV for my plate sticker, did some overdue brake work, and have been driving it for the last three days. She runs like the day she was born and I couldn't be happier with the outcome of this build. I have scheduled an appointment for a catalytic free dual exhaust, which will complete the overhaul of this car.
Thanks so much to everyone who took the time to read this thread and even more thanks to you guys who took the time to help out with advice and your own knowledge. Everyone's involvement is a credit to the success of this build. Thanks everyone!!!
#73
Driver School Candidate
Soooooooo....I skipped a lot in this thread. I didn't see the point as the only interest was from fellow 2GR-FSE enthusiasts that knew what they were doing. I appreciate , more than you know, everyone is help and support throughout this build. The outcome was definitely best case scenario.
The engine was assembled fro. The bear block to installed in just 8 days. I had a lot of support fro. The guys in this thread and some external guys with specifications such as part numbers and torque settings. This project from the build point seemed to be a process of spinning bolts, attaching, and torquing until there was nothing left. This week I feel like I still need to be in the garage spinning bolts. The engine was installed in an afternoon followed by reassembly of the front end of the car and hood to complete the project. Some small deficiencies such as missing the attachment of the coolant line to the throttle body and not quite properly connected ignition plugs were troubleshot with ease. First push of the IS350 ignition button lead to a clean smooth startup. I raced to the DMV for my plate sticker, did some overdue brake work, and have been driving it for the last three days. She runs like the day she was born and I couldn't be happier with the outcome of this build. I have scheduled an appointment for a catalytic free dual exhaust, which will complete the overhaul of this car.
Thanks so much to everyone who took the time to read this thread and even more thanks to you guys who took the time to help out with advice and your own knowledge. Everyone's involvement is a credit to the success of this build. Thanks everyone!!!
The engine was assembled fro. The bear block to installed in just 8 days. I had a lot of support fro. The guys in this thread and some external guys with specifications such as part numbers and torque settings. This project from the build point seemed to be a process of spinning bolts, attaching, and torquing until there was nothing left. This week I feel like I still need to be in the garage spinning bolts. The engine was installed in an afternoon followed by reassembly of the front end of the car and hood to complete the project. Some small deficiencies such as missing the attachment of the coolant line to the throttle body and not quite properly connected ignition plugs were troubleshot with ease. First push of the IS350 ignition button lead to a clean smooth startup. I raced to the DMV for my plate sticker, did some overdue brake work, and have been driving it for the last three days. She runs like the day she was born and I couldn't be happier with the outcome of this build. I have scheduled an appointment for a catalytic free dual exhaust, which will complete the overhaul of this car.
Thanks so much to everyone who took the time to read this thread and even more thanks to you guys who took the time to help out with advice and your own knowledge. Everyone's involvement is a credit to the success of this build. Thanks everyone!!!
#74
Lexus Test Driver
iTrader: (2)
I just checked your thread and I am impressed you rebuilt the engine instead of sourcing out a used one. I have the same collapsed chain tensioner on the right engine bank and it caused my engine to knock and now full of metal bits everywhere. I didn't take the lower end off though, is it worth the rebuild or should I go ahead and get a used engine ?
It really depends what got damaged and if parts are affordable in your area. If the knock was from piston to valve contact, then you need hard parts and maybe even cylinder head repair.
You need more information.
#75
Driver School Candidate
I'll take the oil Pan off thursday, it just caught my attention your right side chain tensioner failed as well causing further damage. My timing didn't skip though, hopefully no head damage. I am located in Germany and boy they hate Lexus and Toyota, parts are rare here, thus crazy expensive. I buy from the uk though, it takes time to arrive but the prices are fair.


