When you click on links to various merchants on this site and make a purchase, this can result in this site earning a commission. Affiliate programs and affiliations include, but are not limited to, the eBay Partner Network.
I removed my armrest/console trim to add an HDMI and USB extension in place of the 12v in the armrest storage compartment. I was unable to find a DIY on this but did find a thread with vague instructions and a bunch of people saying +1 for a DIY.
Even with the written instructions I had difficulty, so if this is something you need to do here's a few photos to help.
--------------------------------------
Before we begin, I'll just be covering the removal of the single piece. You'll first need to remove the top vents, all trim surrounding the shifter, ashtray assembly, and even the nav and head unit. This is covered in tons of threads on audio installs and bypasses. A quick search will yield results.
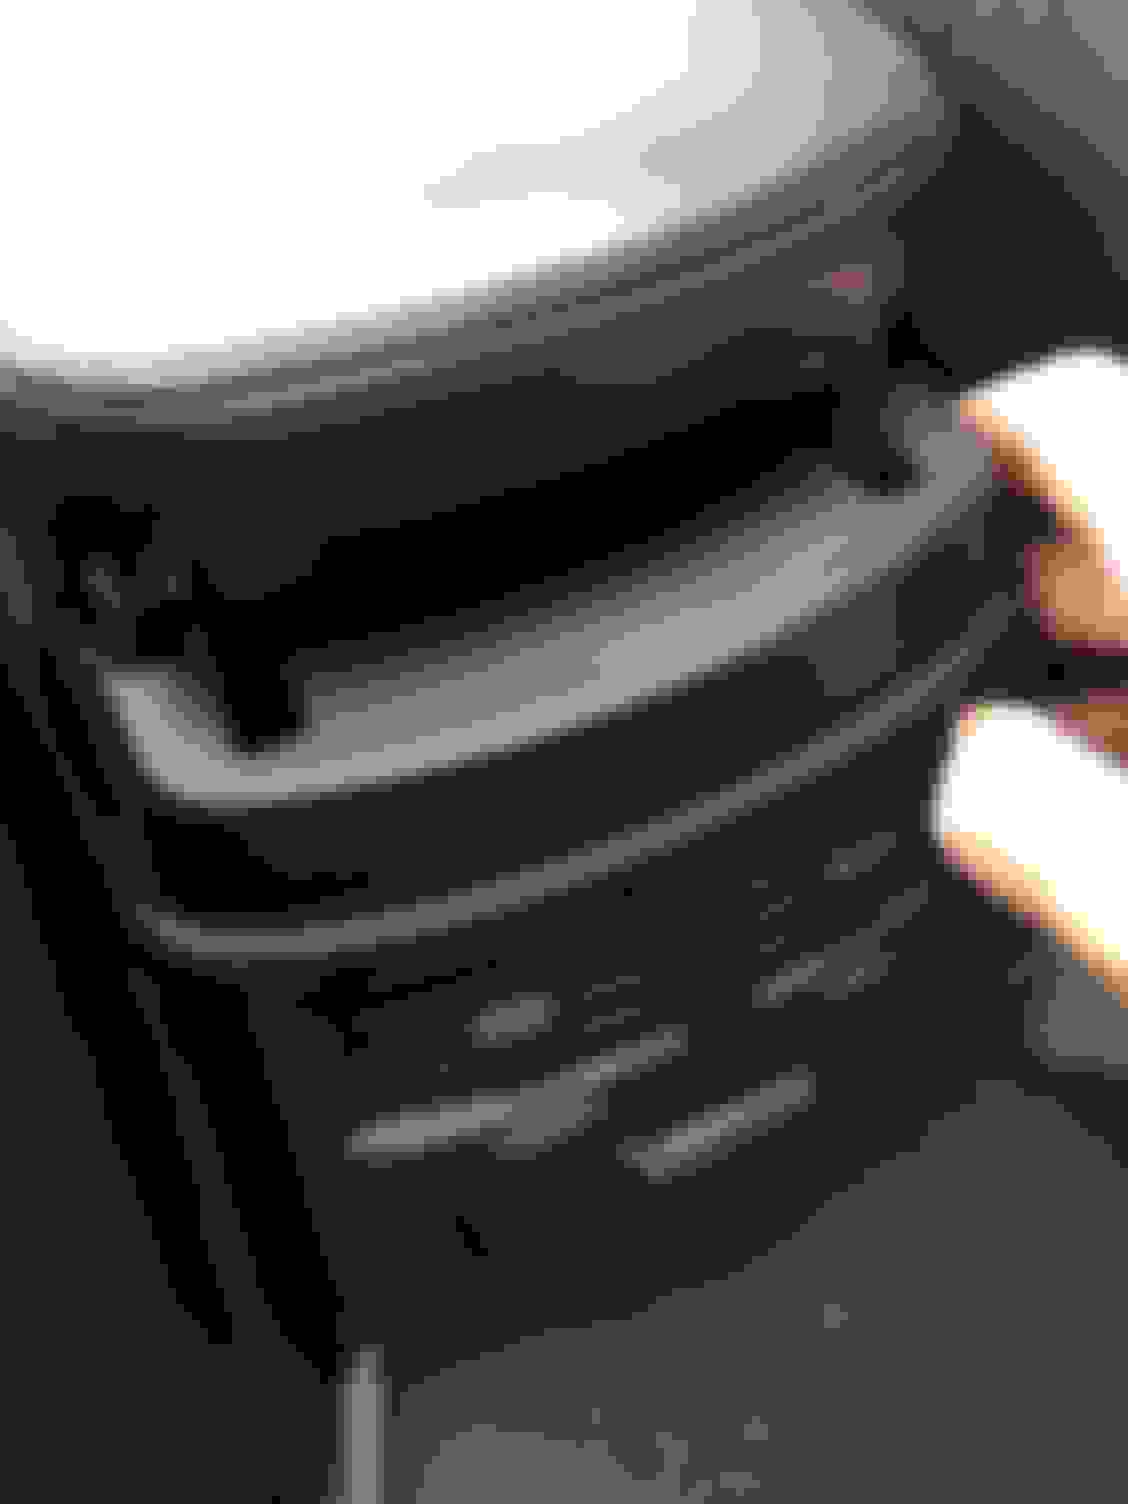
Start by removing the rear vent trim. Slide your seats forward and use a panel removal tool or good grip on both sides to pull the piece directly backward to release the clips.
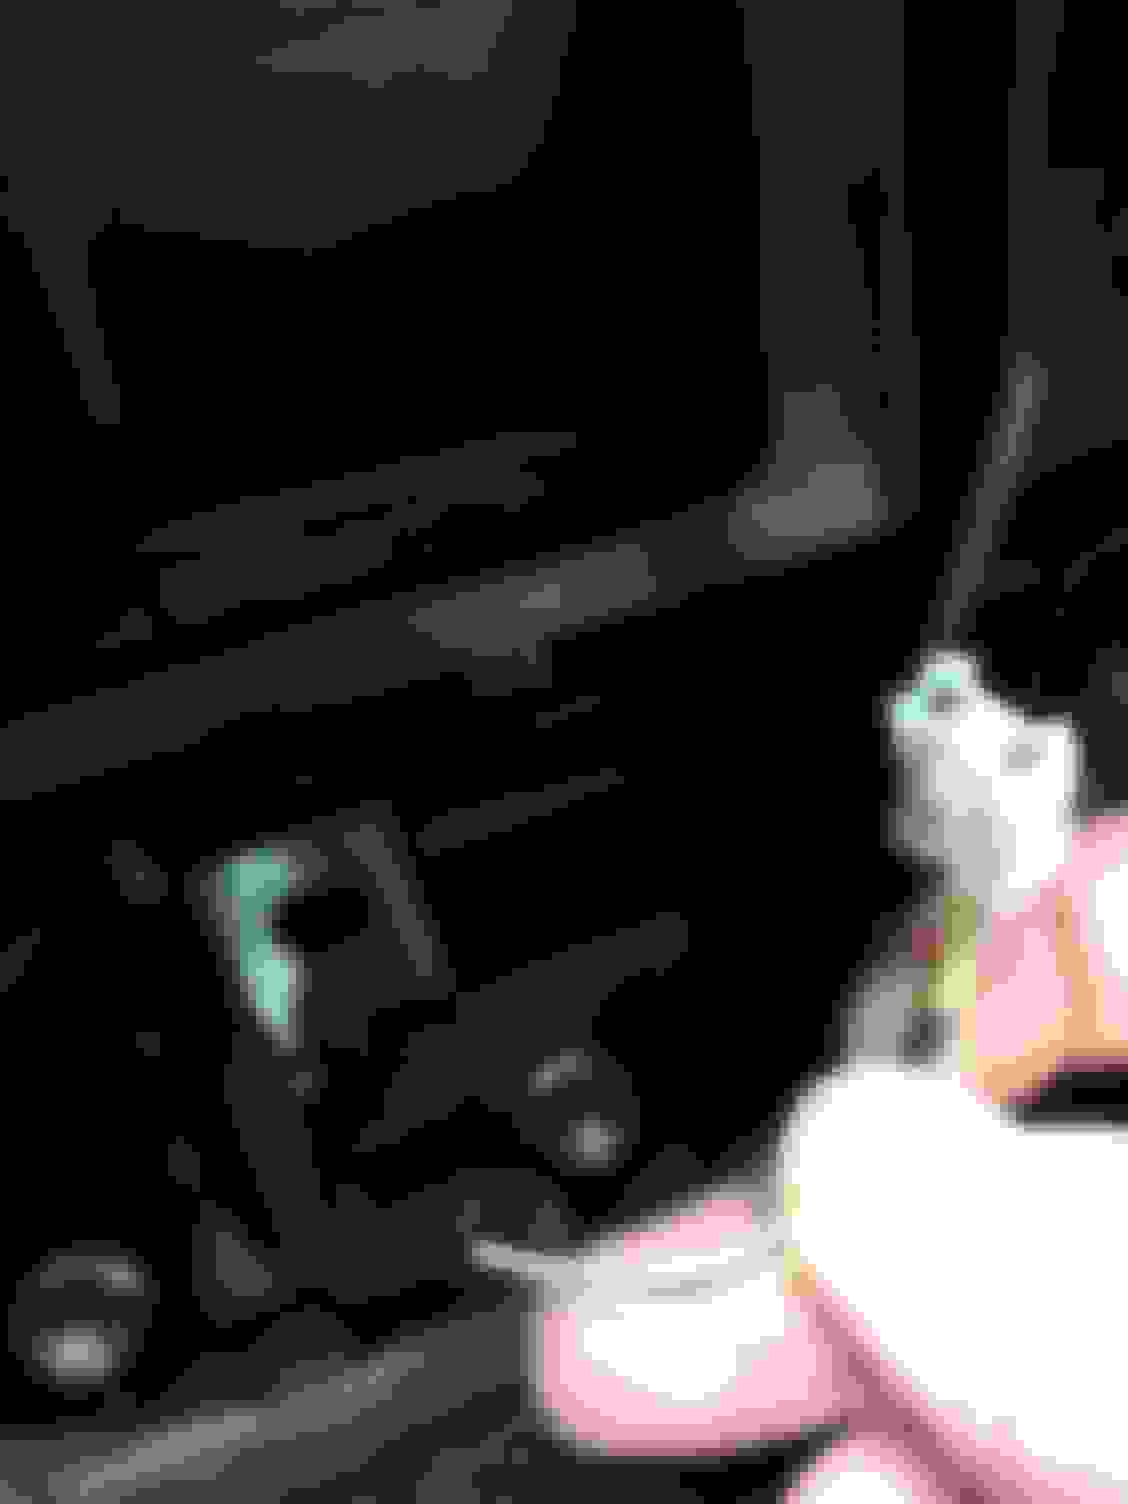
Disconnect the wiring harnesses for the 12v and AUX jack.
There are 2 clips holding the wireloom in place, these need to be removed before sliding the console backward. I was only able to release them using a flathead and plenty of force.
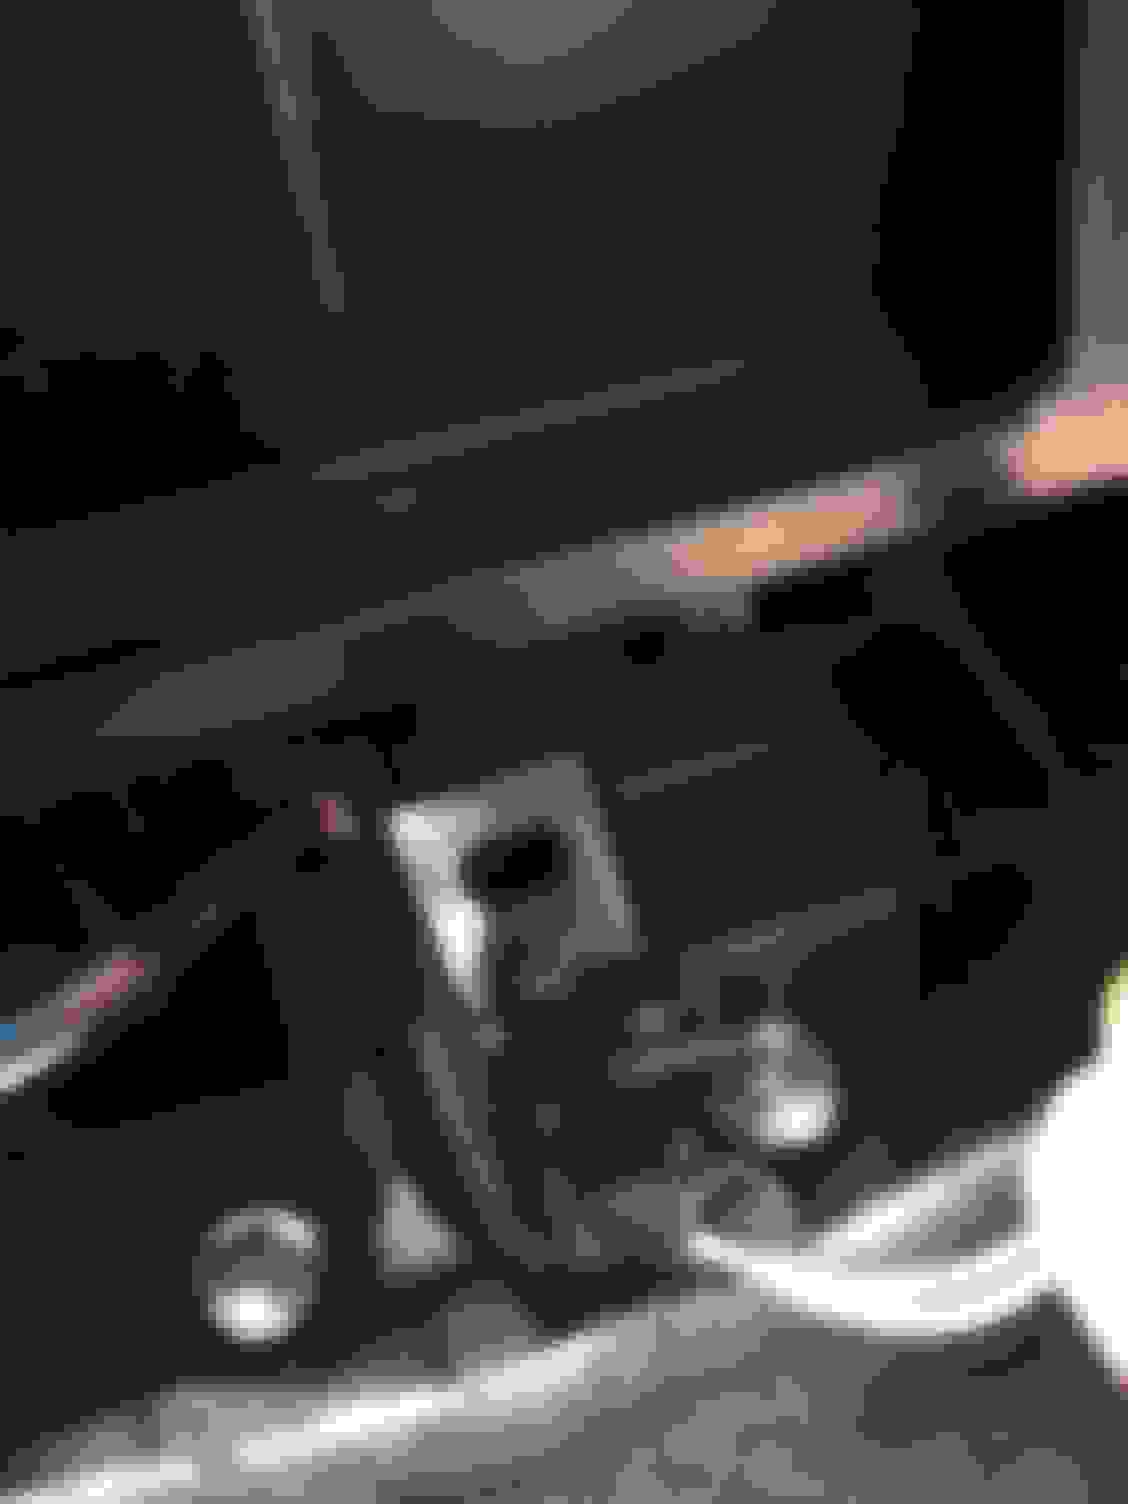
Remove the 2 bolts located on ether side of the wireloom.
There are 2 more bolts located in front of the armrest cushion where the cupholder would be.
The final 2 bolts are up front between the ones which were holding the brackets below the head unit.
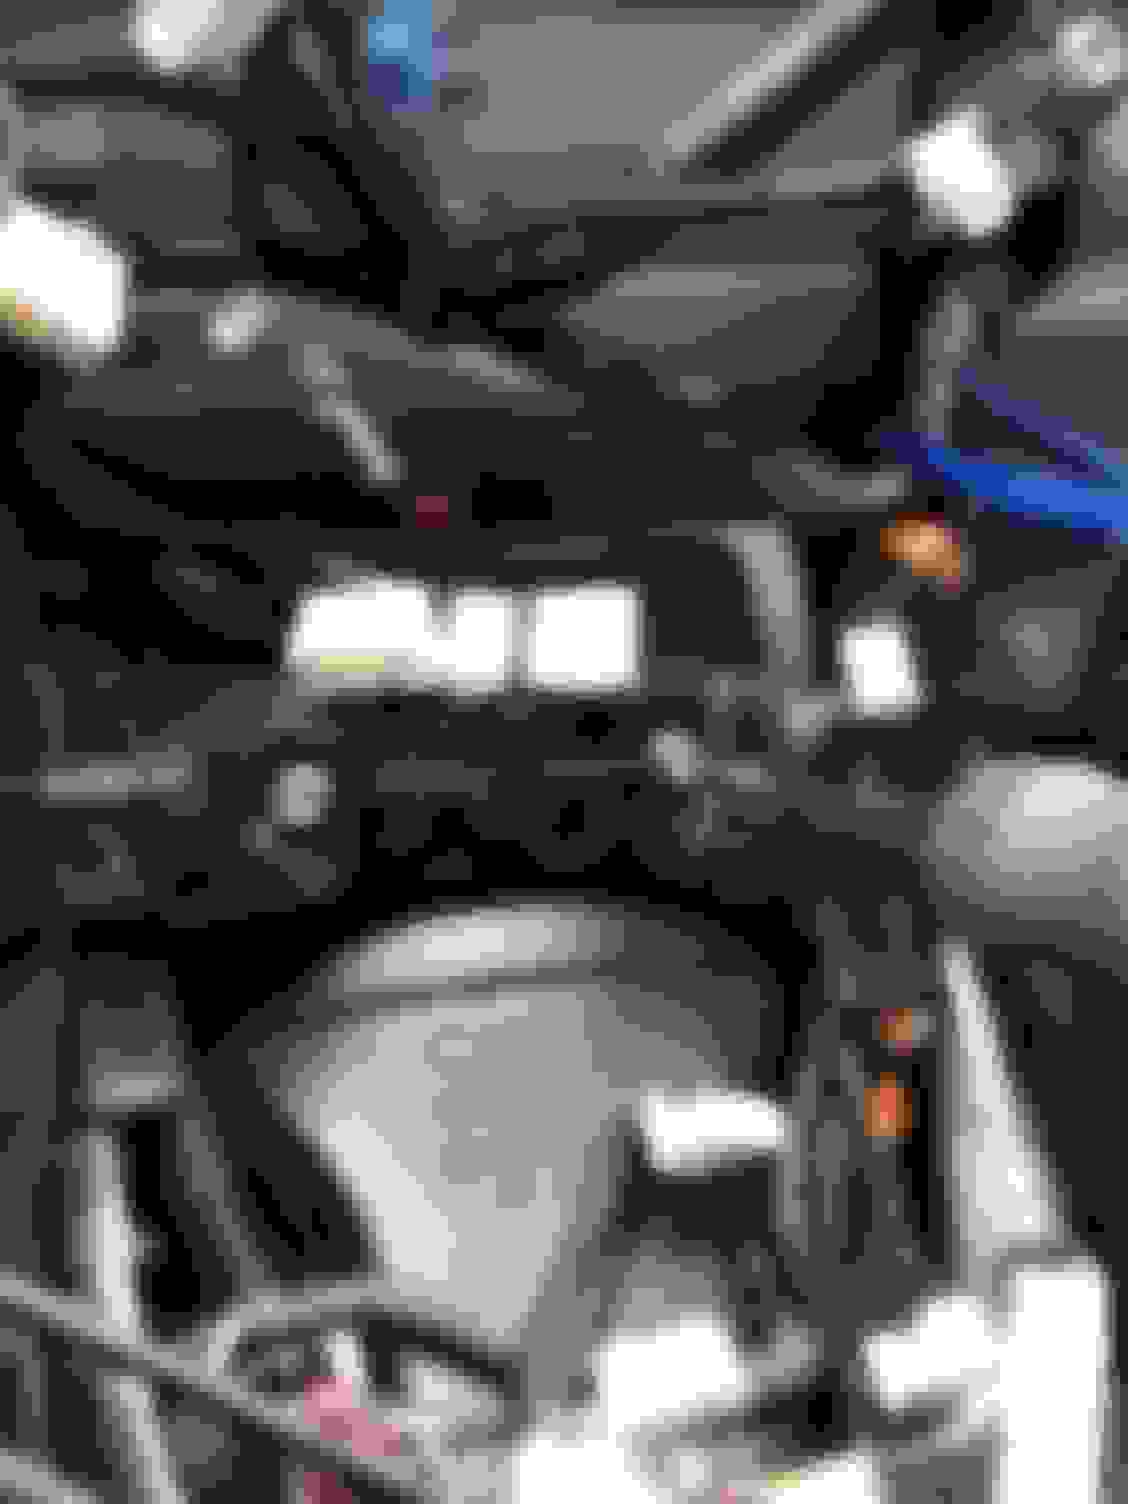
You'll also need to disconnect the light for the armrest compartment. Its a little grey box that you can pop out of its holding bracket with a flathead. Once you have all 6 10mm bolts removed, you can slide the whole console backwards. There are clips up front where the console walls meet the dash trim, you may need to use a fair bit of effort to release the clips and slide the whole piece back.
Lastly, right beside the shifter on the passenger side, there is a small plastic pin which meets a notch on the console wall. Just be sure not to yank too hard with the pin in the notch so as not to break anything. I forgot to snap a pic of the notch and pin but you really can't miss them.
Hopefully this will help a few frustrated souls in the future.
Edit: nvm, see them now; looks good. I tried to take the armrest apart to fit some sensors in there a while back but wasn't able see any obvious way to do it.
Last edited by nosurprise; Oct 19, 2016 at 11:55 PM.



 DIY Armrest Console Removal (Pics)