When you click on links to various merchants on this site and make a purchase, this can result in this site earning a commission. Affiliate programs and affiliations include, but are not limited to, the eBay Partner Network.
The blue plug fits perfectly into the sunshade switch after you cut a little nub off the corner. When you try to stick it in you'll see what is preventing it from going in. I used a pair of wire cutters and it left it flush.
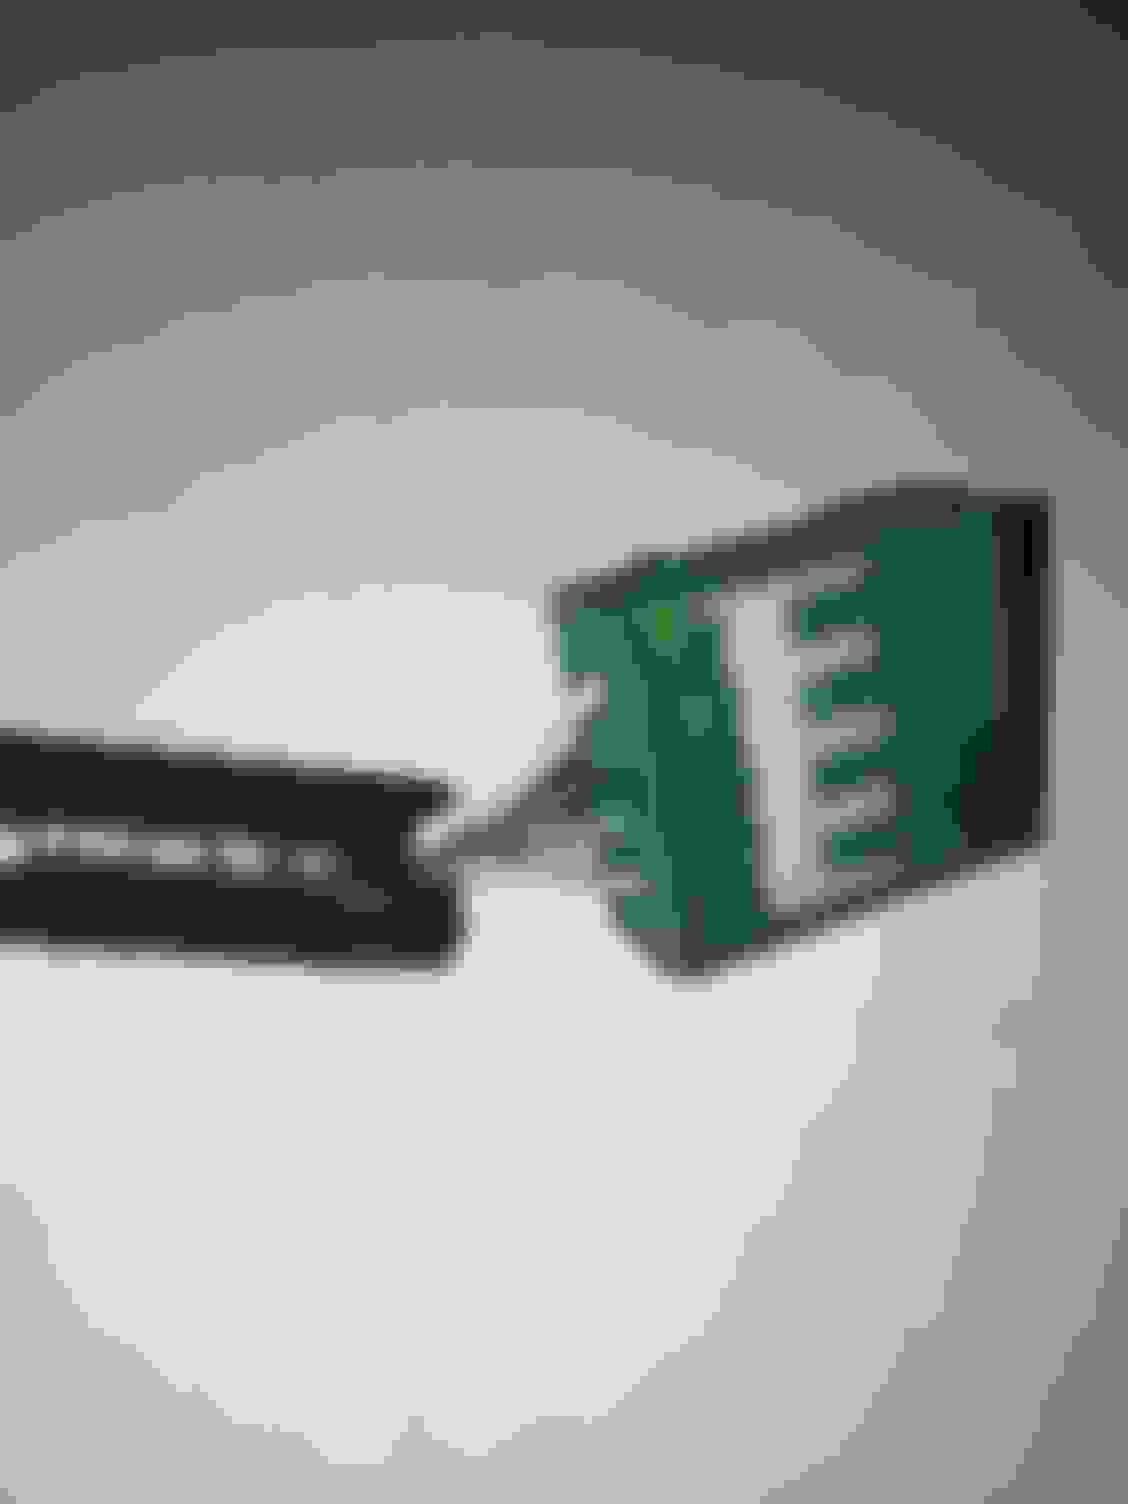
Hey all, just wanted to confirm that with pavelekPL's instructions it works perfectly. I already was using the nut directly behind that section of the dash that surrounds the switches for my USB charger so to ground the sunshade I used a nut all the way on the floor above the thing your left foot rests on. Hope these pictures are some encouragement. Also in the picture of the rear plug... just like in the wiring diagram PavelekPL provided, it is the blue wire.
Hey all, just wanted to confirm that with pavelekPL's instructions it works perfectly. I already was using the nut directly behind that section of the dash that surrounds the switches for my USB charger so to ground the sunshade I used a nut all the way on the floor above the thing your left foot rests on. Hope these pictures are some encouragement. Also in the picture of the rear plug... just like in the wiring diagram PavelekPL provided, it is the blue wire.
Oh wow Very nice!
Also, thats quite the nifty spot for the usb charger
I literally thought about adding the rear sunshade just yesterday and ClubLexus comes "back at it again" with the write up!!
Thanks! Yea I put the USB there so I can charge my phone while using Waze. I like how it has a voltmeter, I think it looks cool. Here's a link for the one I got.
Thanks! Yea I put the USB there so I can charge my phone while using Waze. I like how it has a voltmeter, I think it looks cool. Here's a link for the one I got.
Was able to retrofit the shade into my is even though it wasn�t equipped for this option. Got the harness wires to the dash switch and just hooked them to the junction box under the dash. Didn�t have to run a wire from the shade to the switch and didn�t have to splice the wires behind the rear seat.
You�ll may need to remove the dash pad or it�s possible to access the junction block by removing the glove box.
1 connector part # 90980-11090
19.5� of wire with 3 wires cut to 5.5� ea. and 1 wire to 3�. Preferably in 4 different colors that match those in the photo: white, green, white/black, and light blue.
8 female wire connectors that go at the end of each wire.
Replace the connector that lies behind the rear seat. Don�t have the part number but looks like this.
Each wire goes in the following slots:
1- white (5.5�)
2- green (5.5�)
3- lt blue (3�)
4- wht/blk (5.5�)
The blue wire is routed to the main electrical box in the drivers footwell. Of the 2 large connectors facing you, you�ll have to insert the wire connector into the upper connector on the 5th row from the bottom and 1st slot.
The other 3 wires should be wired to the junction box marked as C. Separate the cover with the C from the rest of the box. It�ll have pins on it. Each layer of the box are held like legos. Just separate the 4th row from the top that is green.
In the 5th slot counting from the left goes the green wire. The white goes in the 6th slot and the wht/blk wire goes into the 9th slot.
After these modifications, your curtain will be wired as if OEM. Will lower itself when placed in reverse


 02-29-16, 06:24 PM
 Very nice!