When you click on links to various merchants on this site and make a purchase, this can result in this site earning a commission. Affiliate programs and affiliations include, but are not limited to, the eBay Partner Network.
Hybrid TechnologyUnique topics related to the LS600h L model hybrid drivetrain and other features/options found only on the LS600h. Please use the main 4LS forum for discussion about shared components with other fourth generation LS models.
I didn't see any info on how to do this, so here's how to clean the blower fan for the high voltage battery (hybrids only). This is detailed in the service bulletin L-SB-0028-20 (attached). You'll need:
10mm socket and ratchet
Torque wrench for the above
JIS screwdriver (or Phillips)
Source of compressed air
Small bottle brush
Trim removal tools and a dull flat-head screwdriver
You may also want:
A handful of part 90467-08186-C0 to replace any that break
One of part 90467-12069 (you can still make it work if it breaks, which I did)
Steps:
1. Remove the 2 net hooks in the front/upper trim, and the 1 hook on the right side. The hooks remove by squeezing them at the base.
Right-side net hook Top-right net hook Top-left net hook Squeeze hooks like this to remove
2. Remove the 4 lower net hooks by lifting the plastic cover and removing the 10mm bolt underneath. Lift the cover from the end with the hinge.
4 lower net hooks Lift bolt cover like this
3. Remove the 12V battery cover by removing its sole clip
Press in at the center to remove
4. Remove the right floor cover by removing its sole clip
Right floor cover
5. Remove the trunk overhead light. The light has hooks on the left side and a catch on the right, so pry on the right side and pull to that side to remove, then unplug
Trunk light Press in on the right, lower, then slide to the right
6. Remove the cover for the rear cabin air filter; there is one clip on each side
Rear cabin air filter cover Clips on filter cover
7. Remove the 5 clips from the front trim
5 clips in front trim
8. Remove the front trim by disengaging the 4 hooks at the top, then pulling from the trunk. I've illustrated the locations of the clips and what they look like
9. Remove the 3 clips in the rear trim, then remove the trim by pulling up sharply at the rear. There are four clips under the trim (sorry, no pic)
Left-side clip in rear trim Middle clip in rear trim Right-side clip in rear trim
10. Remove the right-side trim after removing/disengaging the 3 clips. The top one will remain in the trim; it pulls out of the metal body. The rear-most clip may break around the collar, at least it did for me. It's still usable though; the collar just holds the trim in place until the rear trim and clip are replaced. If it bugs you, this is the part number that I stated you need one of above.
11. Remove the clip securing the rear duct, then remove both felt-covered blower ducts
Clip for the rear duct The two blower ducts
12. Disconnect the electrical connectors on either side of the blower
Right-side plug Left-side plug
13. Remove the 3 nuts securing the blower on its mounts
Blower mount nuts
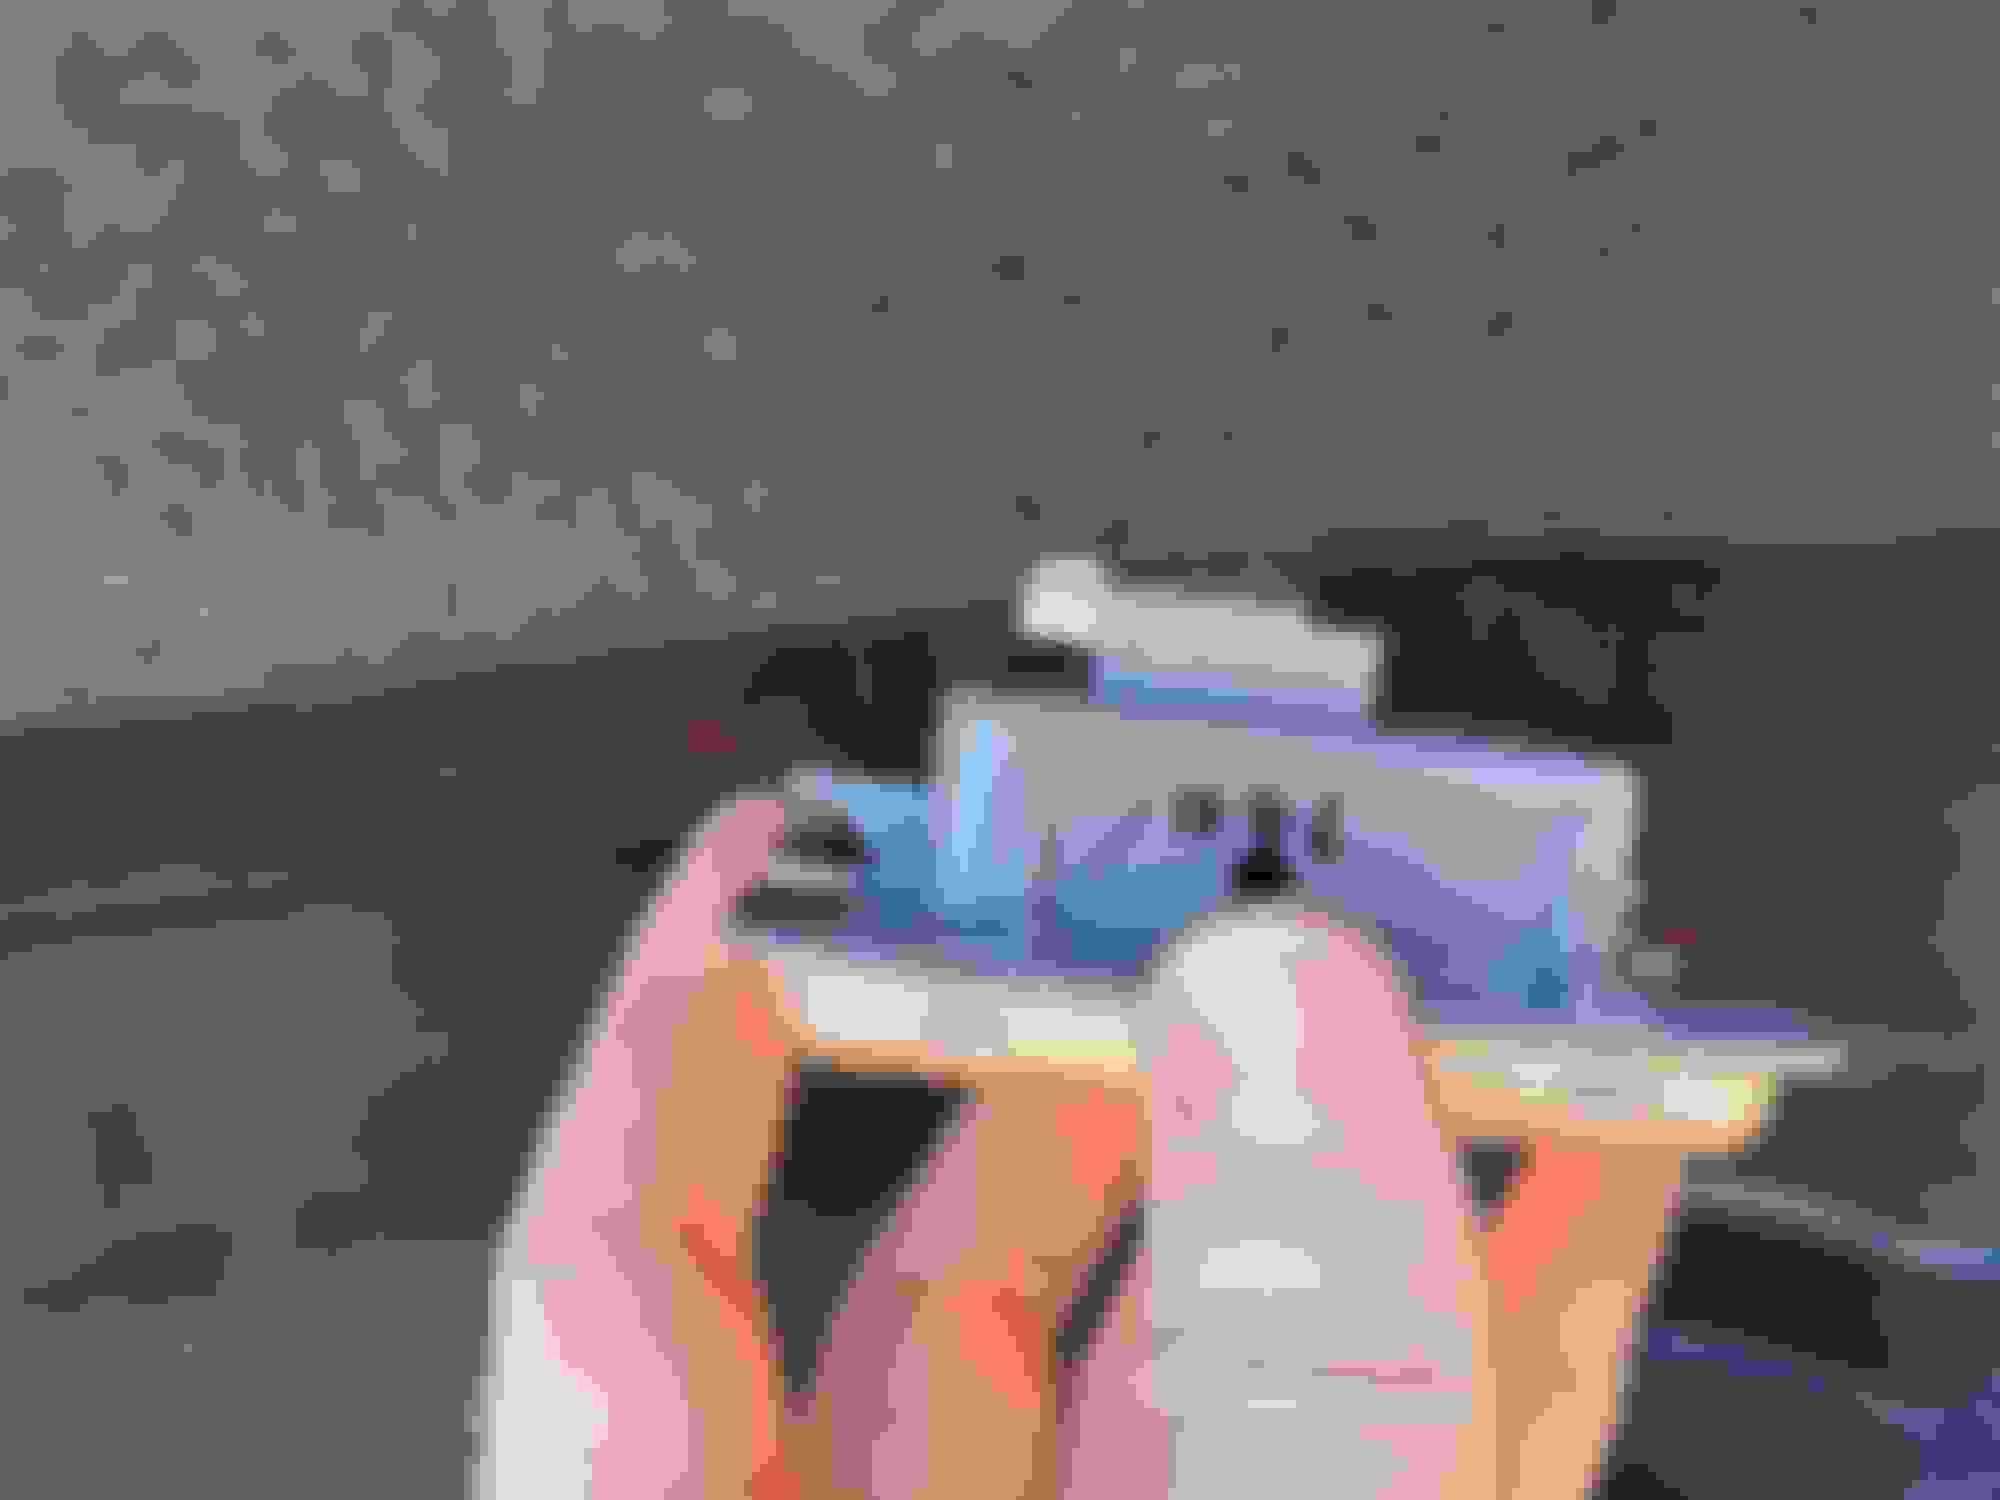
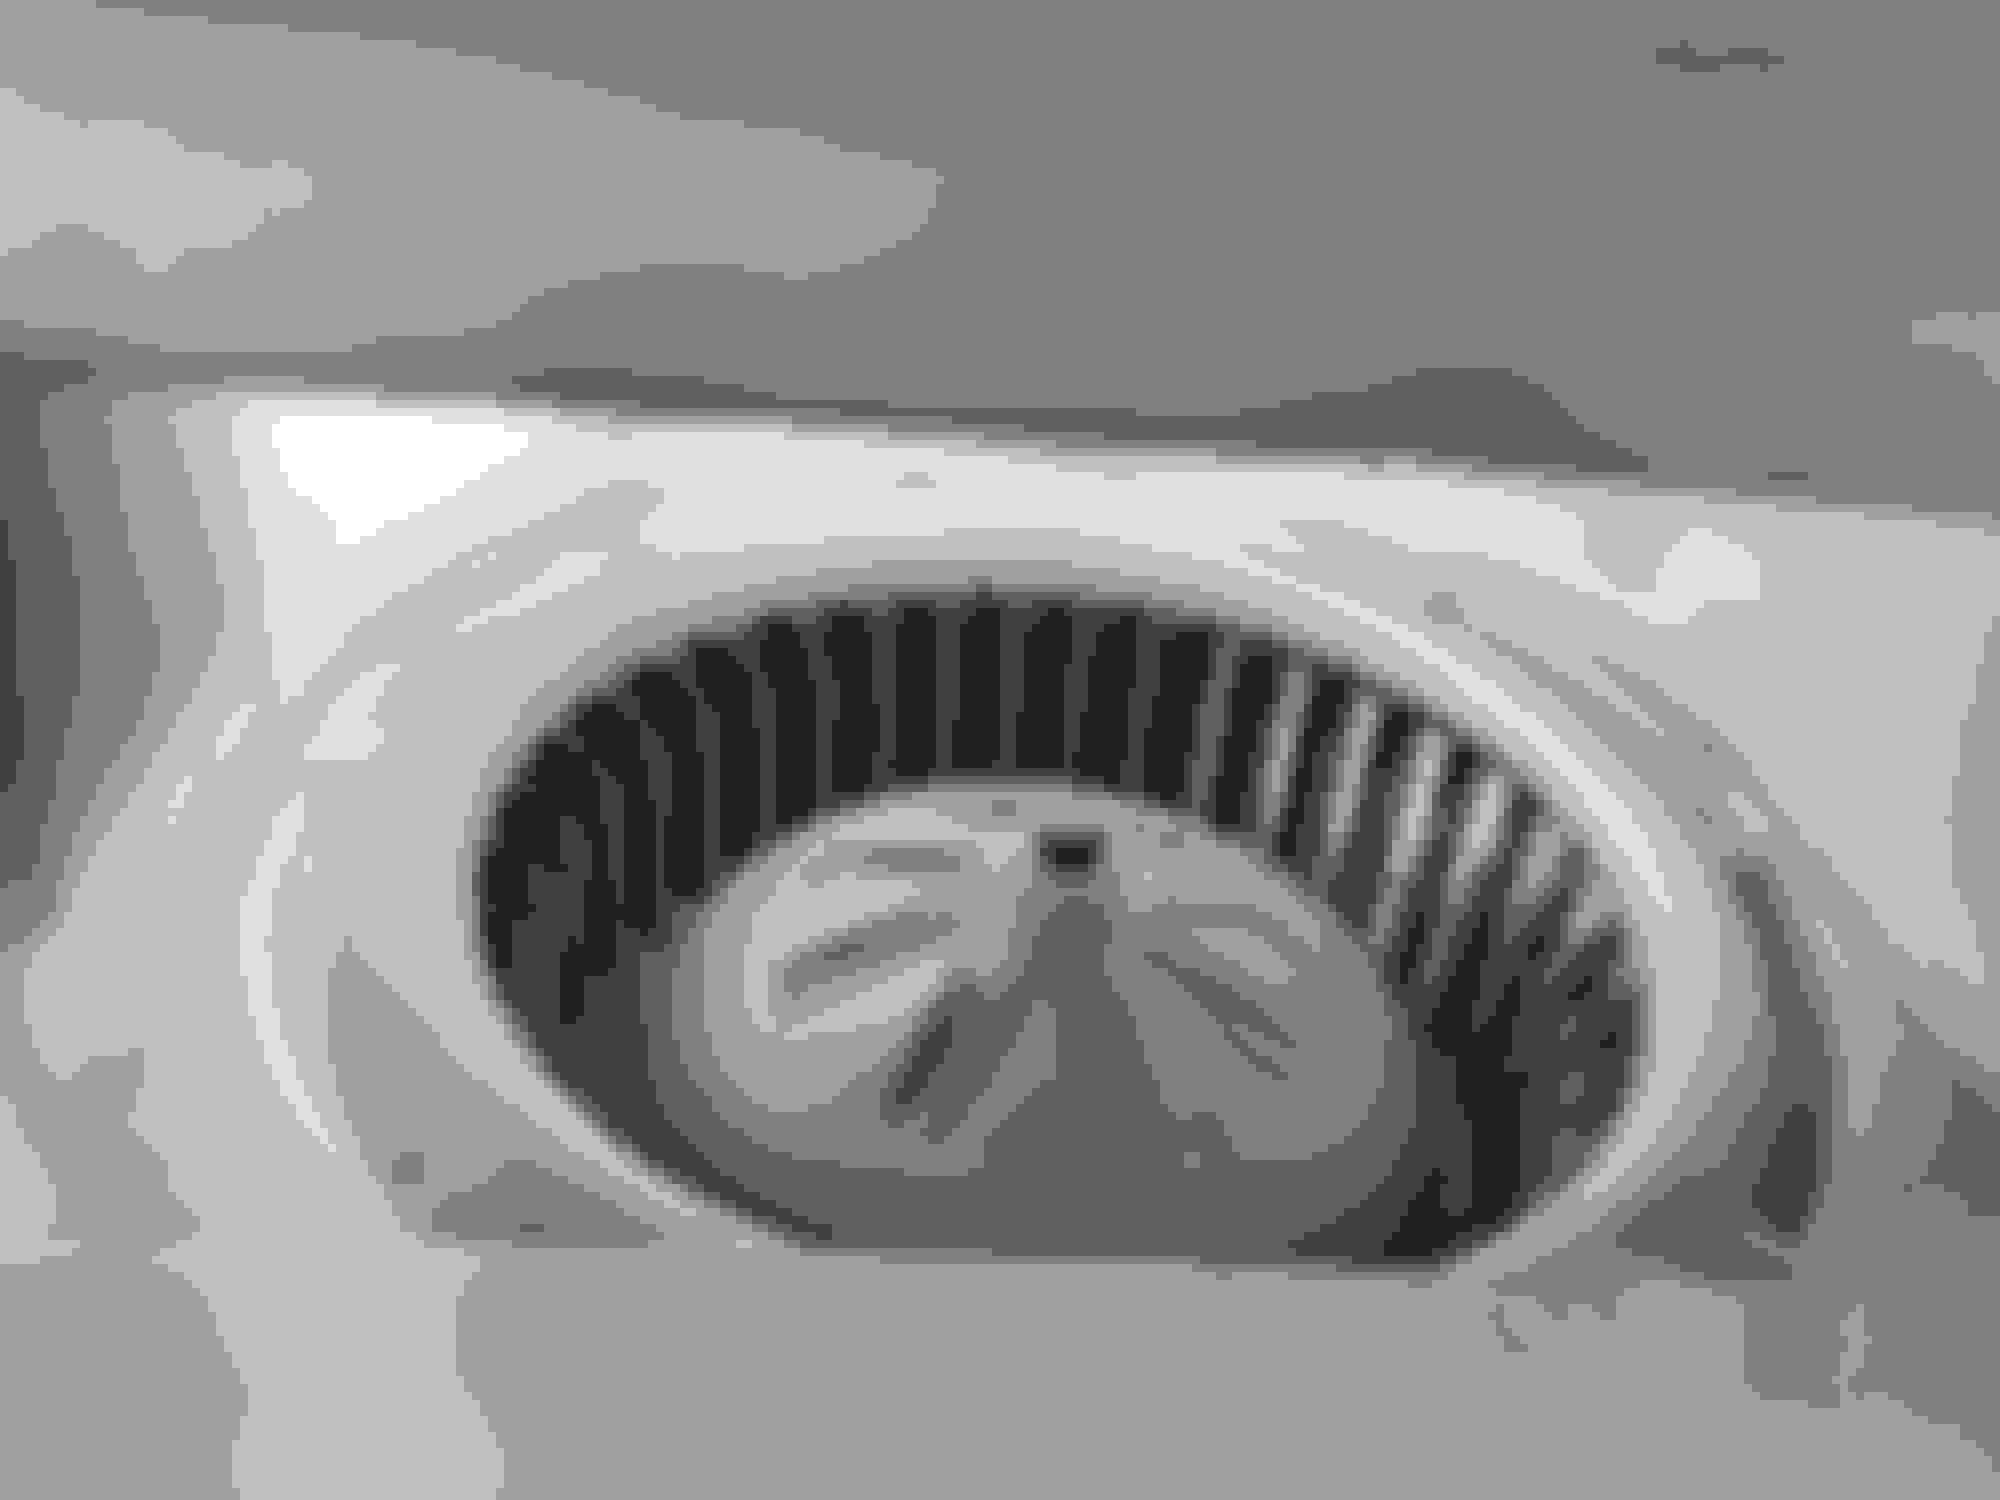
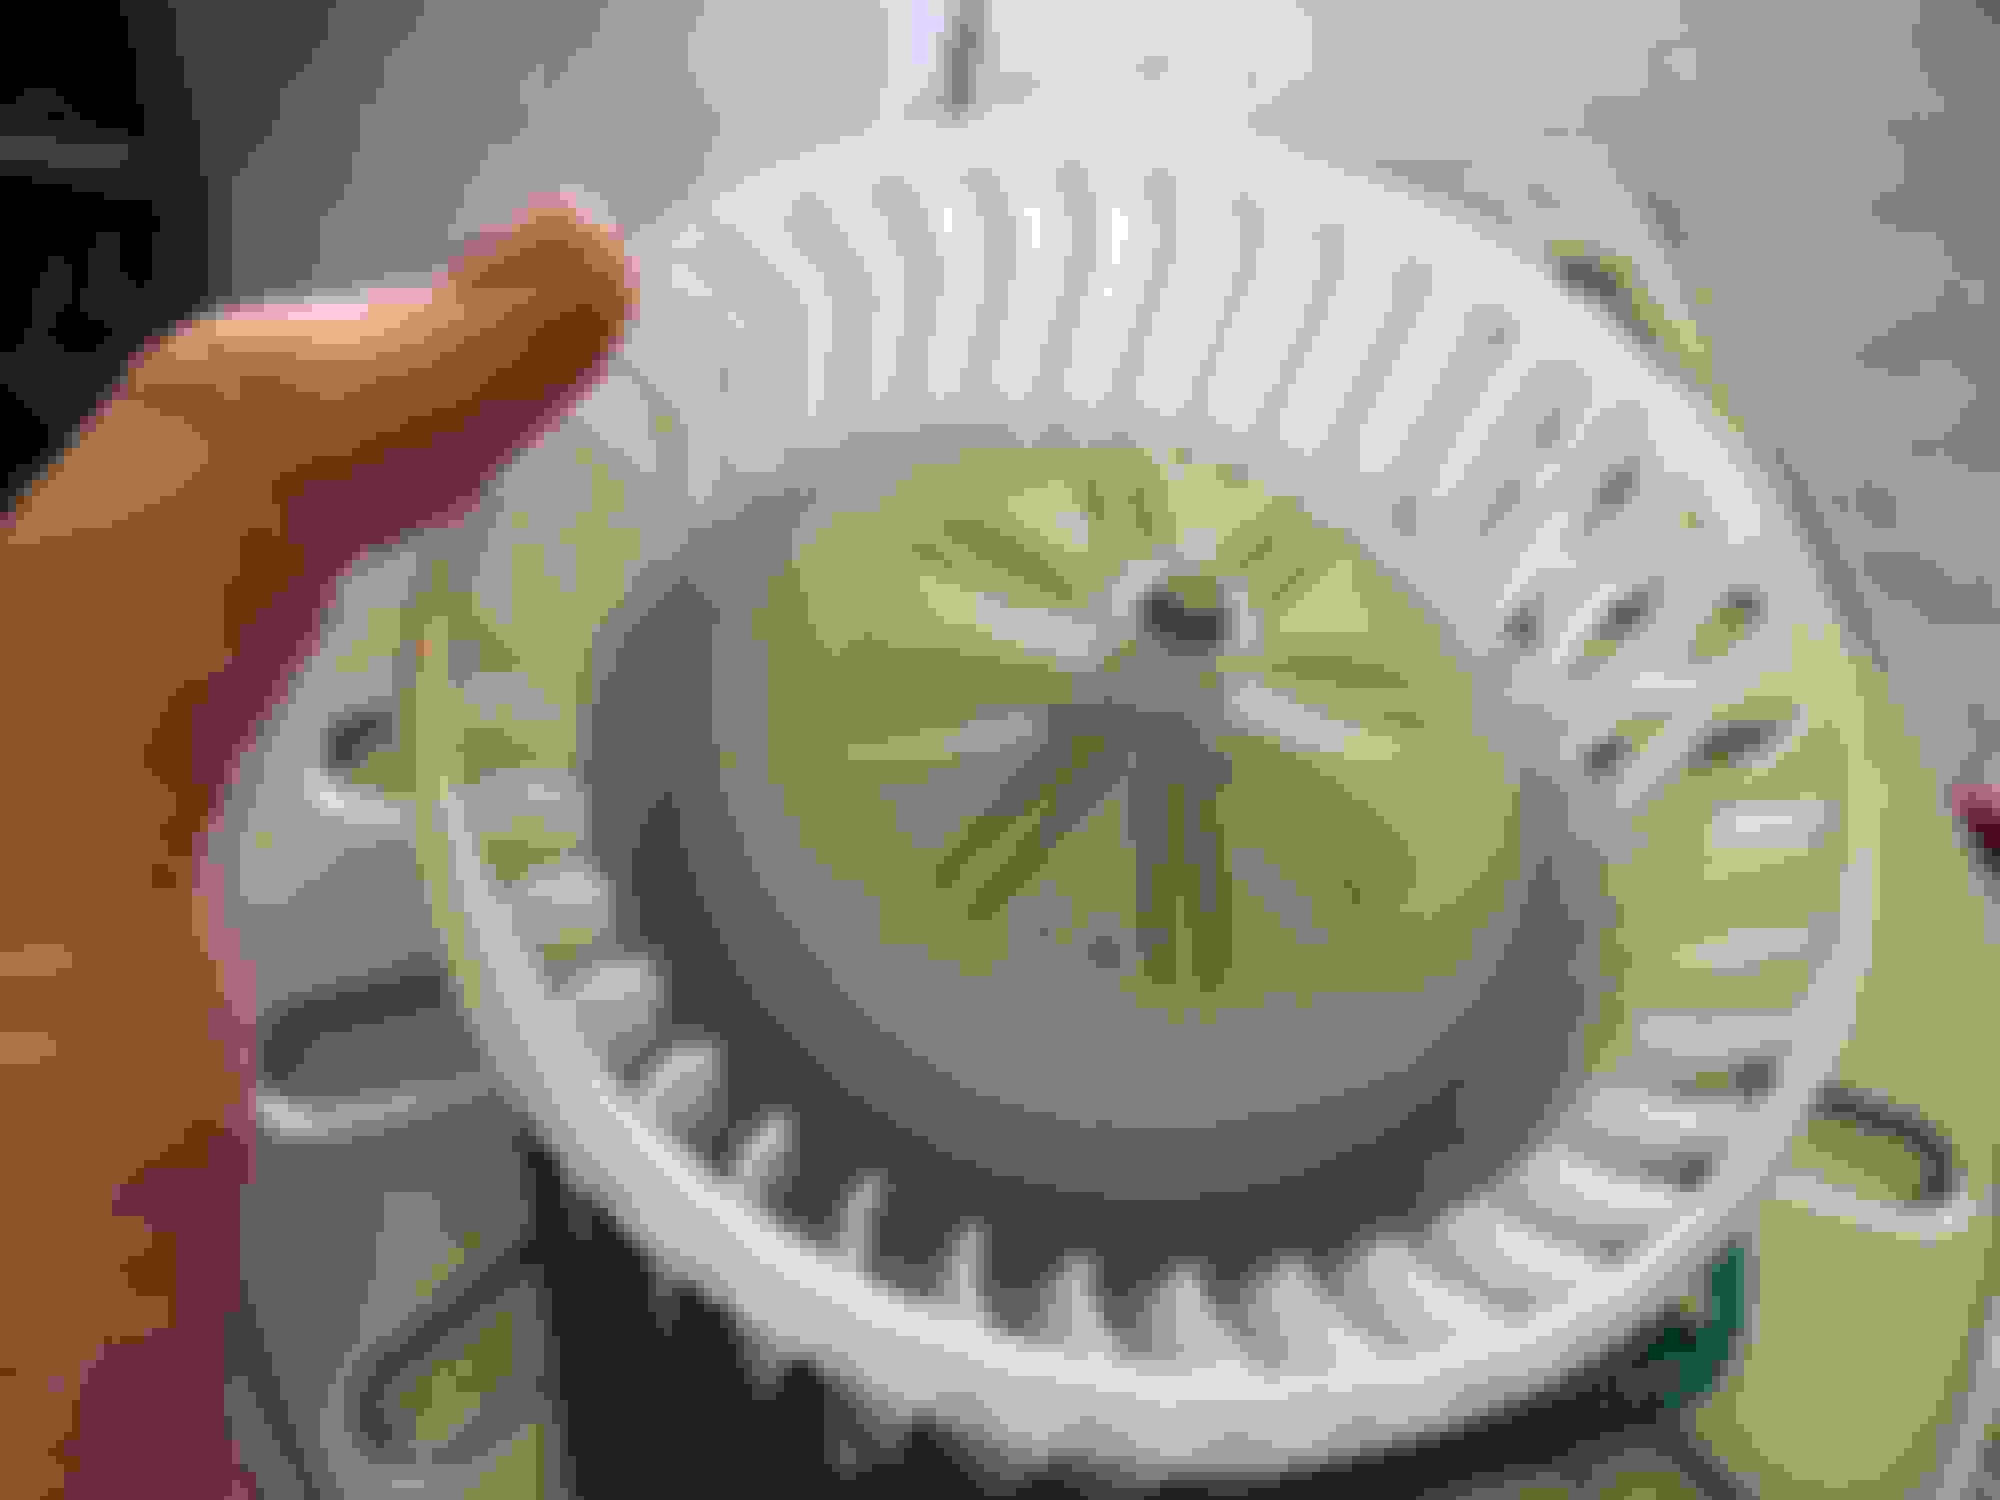
You can now get a look inside the blower unit and decide if you want to proceed. The service bulletin only instructs on removing the blower unit and cleaning it as-is. I don't think it's possible to get much out, unless your fan is really dirty. This is what my 2008 car looks like with 93k miles:
View of dirty blades through the opening
14. Still here? Remove the electrical connector from the housing by pressing the sides of the clip together, then pressing through the mount
Squeeze the clip and press through
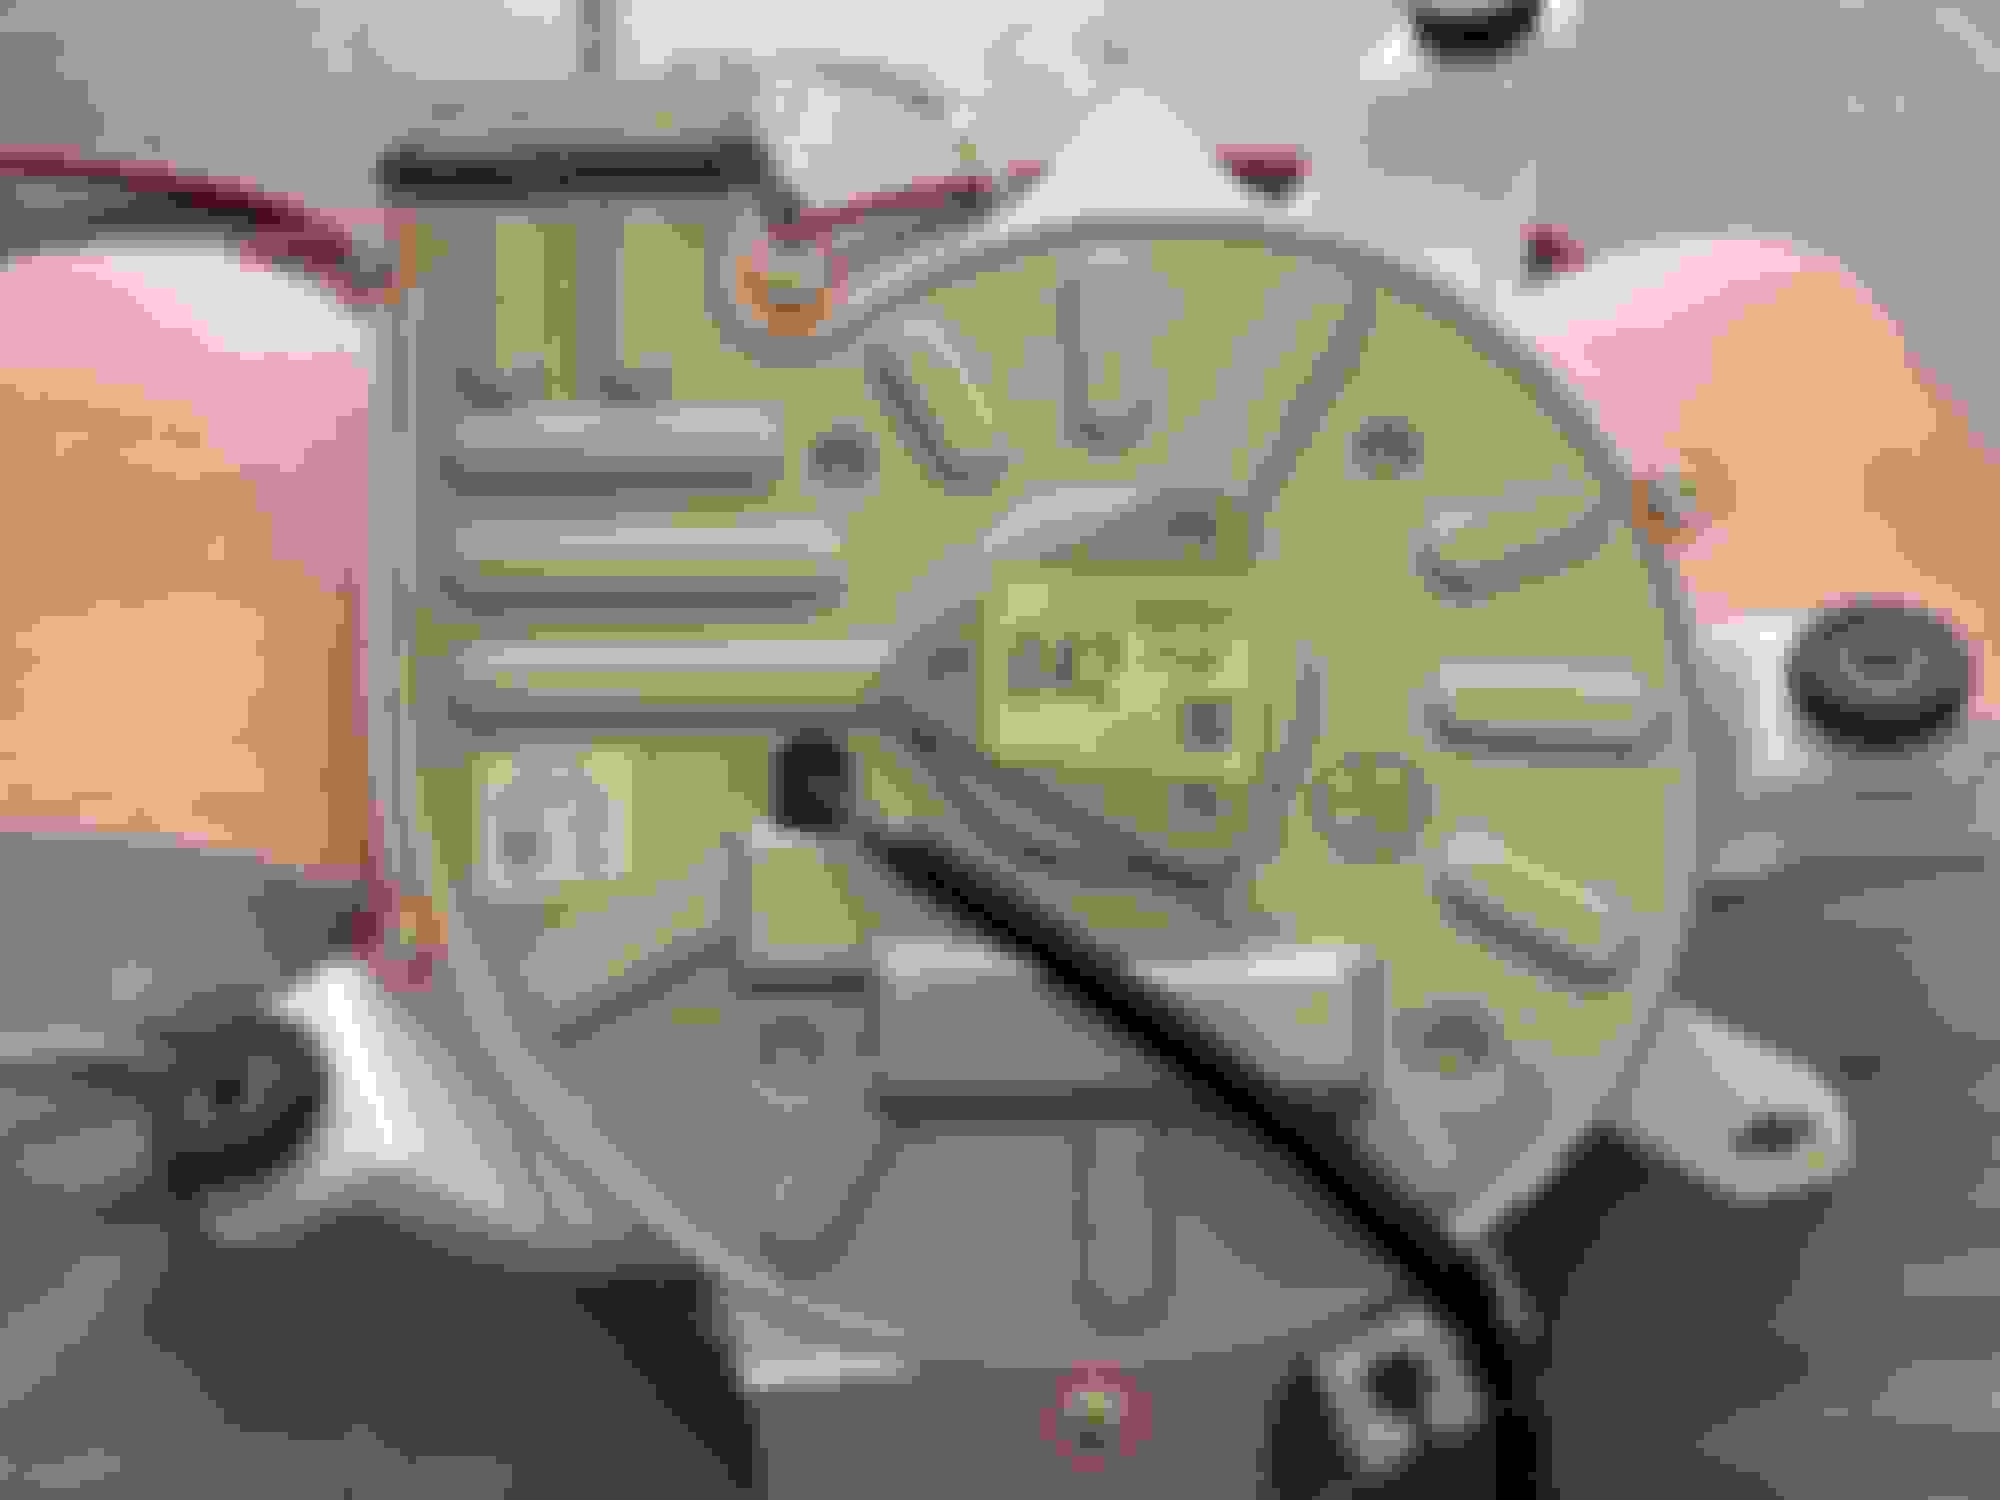
15. Remove the 5 screws securing the motor to the housing. These are genuine JIS screws, but a Phillips driver works just fine
5 motor housing screws
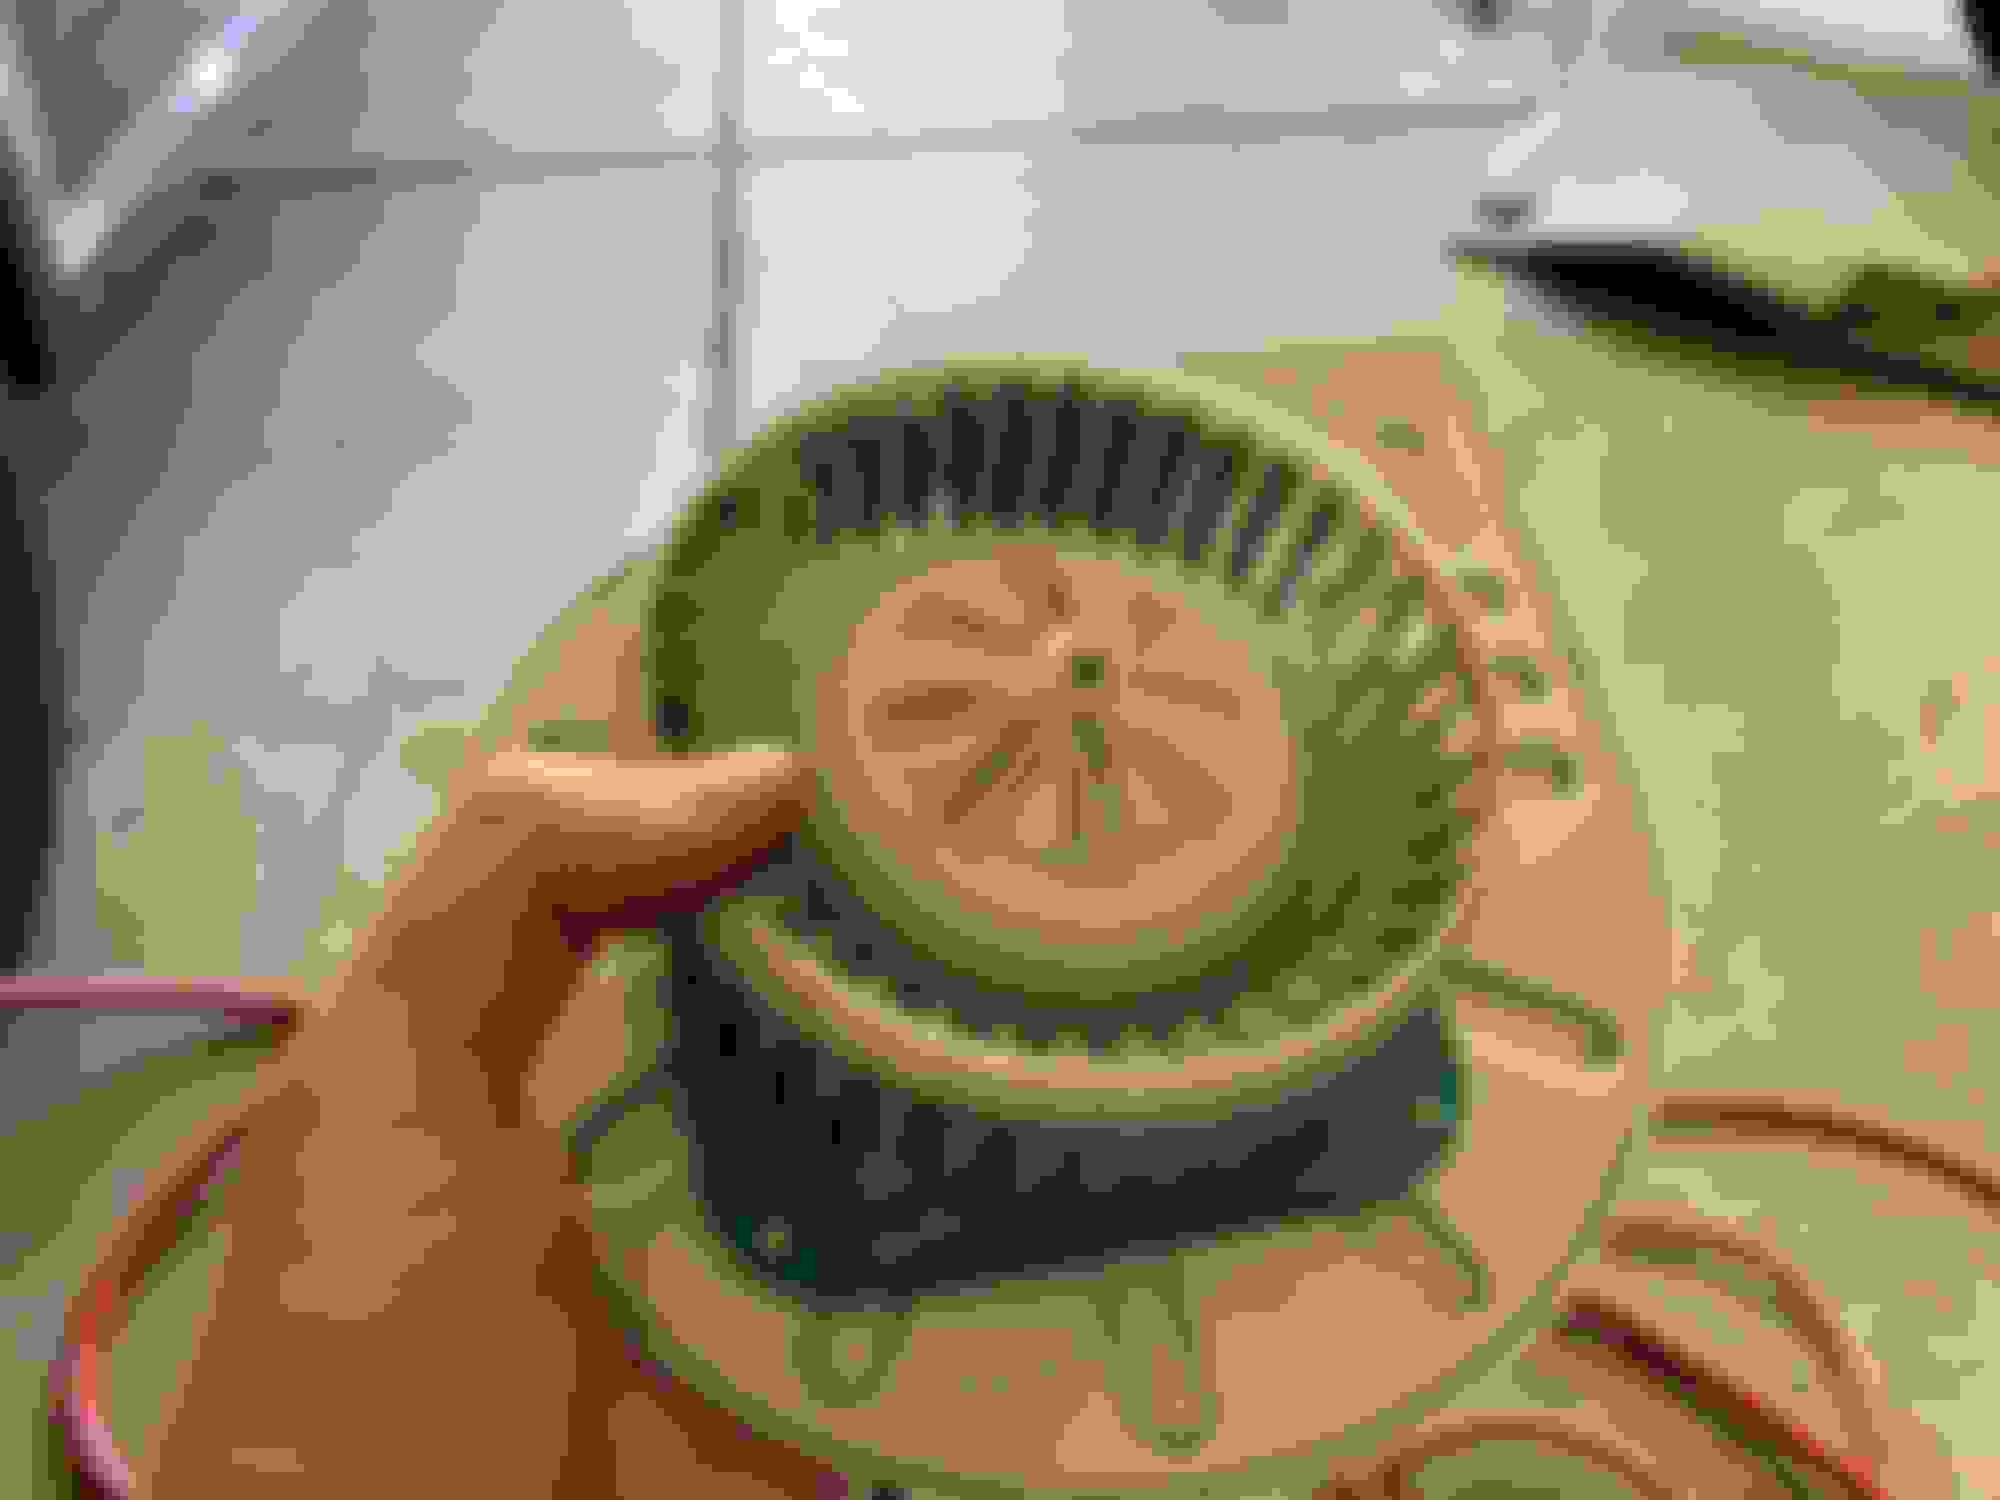
You'll now have the motor in your hand. You don't need to hold the blades completely still, but you definitely don't want to blow air through and let it spin freely at high speed. I suggest holding it with one hand like this:
Before cleaning
16. Clean the blades as best you can. I found that a small bottle brush, like the smaller ones inside the handles of brushes for baby bottles, worked well. You could also use Q-tips or paper towels, but you need some mechanical action to loosen up the dust. Compressed air alone won't remove it.
17. Blow all the dust and debris off the blades with compressed air.
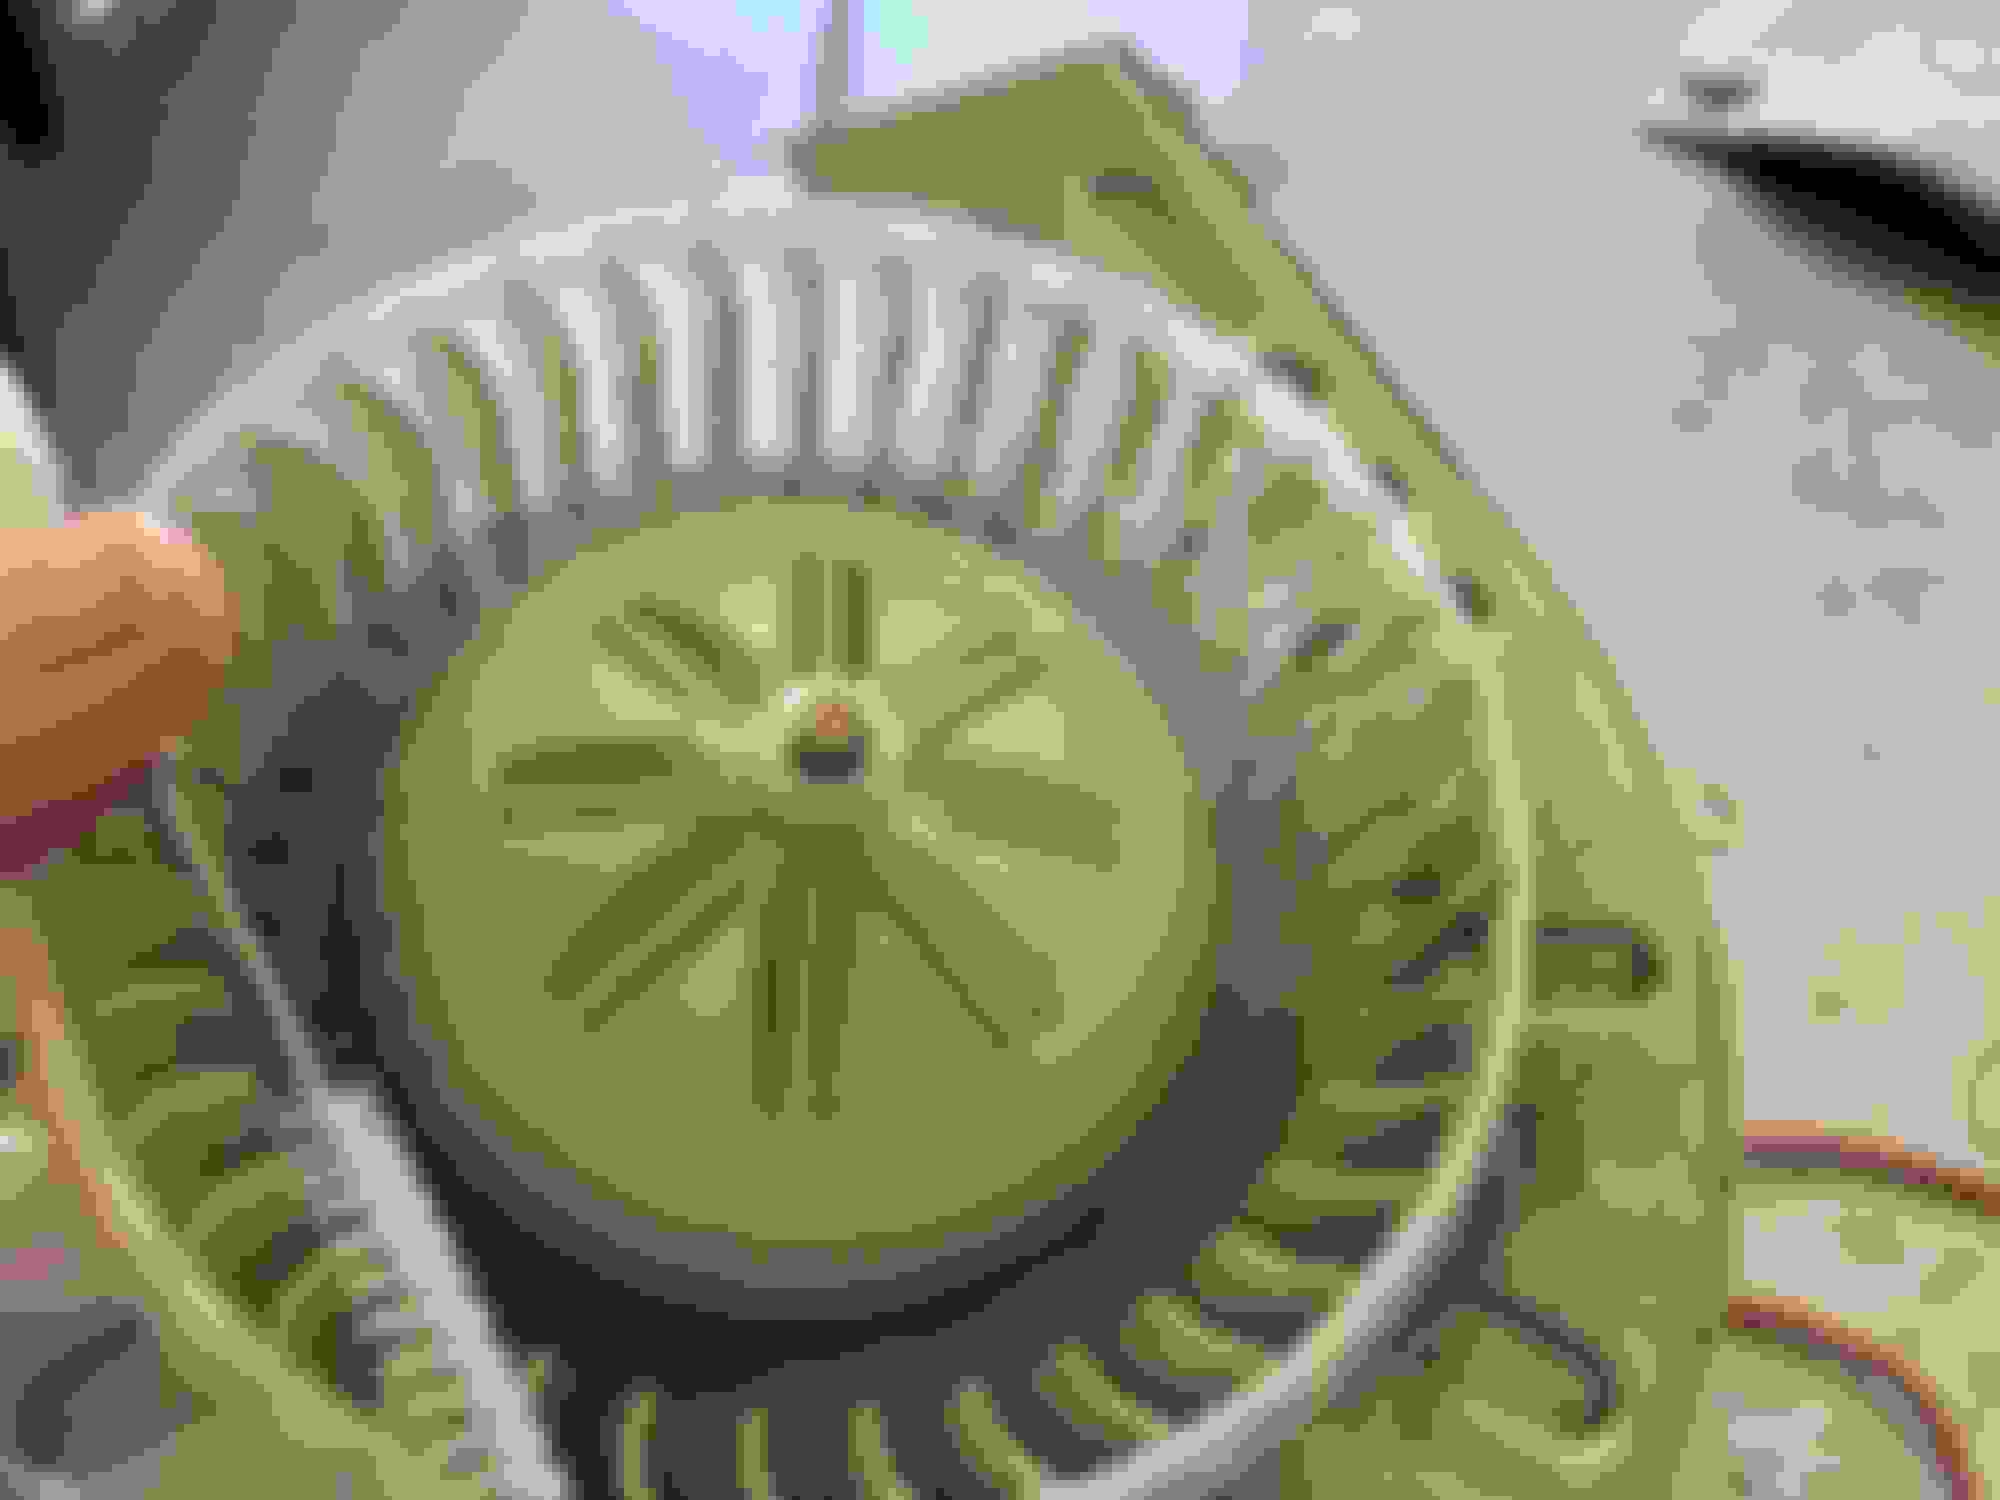
So fresh and so clean!
18. Perform any additional cleaning and dusting as you see fit
19. Re-assemble in the reverse order
Torque values:
Blower unit mount nuts: 8 Nm
Lower net hooks: whatever you feel like (none given in the service manual)
From the service bulletin, the suggestion is to perform this every 20k miles. All things considered, I don't think mine looked that bad, but it's definitely easier and cheaper to clean it regularly, than to replace the HV battery. Especially once you get the steps down, this is probably a 1 1/2 hour job tops.
Says it's for the battery. I know the LS600's have the rear AC system too so there's probably a additional blower motor for the rear vents. Looks like this blower takes air from the rear deck and feeds it into the battery. I want a 2013+ LS600h so bad! One day.
Yes, the rear air system is actually pretty complex:
All LS600h's have an A/C unit in the rear
The rear A/C is actually just an evaporator unit; it's fed by the same electric compressor as the front HVAC and there are refrigerant lines running under the body
The HV battery cooler draws in cabin air from the vents behind the rear passengers, on the "package shelf", and exhausts into the trunk
When equipped with rear A/C (I don't think I've seen a 600 without it), an additional blower and air flow servos are fitted
The rear HVAC blower draws from the same vents and feeds the 4 roof outlets above and to the sides of the rear passengers
When the air purifier is activated, air is drawn from the left rear vent and exhausted from the rear right vent immediately after filtration
I guess the concern is that the battery cooling blower can clog up with dust and either fail or operate at low efficiency; there's a thread here about it being a common cause of failure. Lexus issued the service bulletin above to prevent the issue, but I have no idea how many dealers actually perform this at the recommended intervals.
Wow! just the info we were missing for a long time. Thank you very much for posting this and especially taking the effort of making all the steps. This should be a sticky! I wonder how much difference it's going to make after cleaning, the fans where not that dirty.
I have a 2011 LS 600h and it has a different Hybrid battery setup and therefore I presume also distinct locations for the fans. Any info in a 2010-2012 setup? Thanks!
From what I know the main difference is that the battery pack has double-stacked cells in the 2010+ in order to slightly reduce footprint. The parts diagram does indicate different and multiple fans though.
I'd be surprised if Toyota made the fans difficult to access; I'd imagine the way forward is relatively apparent if you remove the trunk trim.
Wow! just the info we were missing for a long time. Thank you very much for posting this and especially taking the effort of making all the steps. This should be a sticky! I wonder how much difference it's going to make after cleaning, the fans where not that dirty.
I have a 2011 LS 600h and it has a different Hybrid battery setup and therefore I presume also distinct locations for the fans. Any info in a 2010-2012 setup? Thanks!
There is a photo in the DIY using Prius Cells thread of my trunk with the liner out. We have the same year and model.
If you decide to do this on yours, please update here.
Thanks!
Thank you. I will check it out. Just having second thoughts about cleaning the fans. When you have a very clean interior and keep i clean I would thnk there isn't much to win. My car has about 83k on it and in very good condition. I realize to be certain I need to take it apart. And it looks doable.
If you're having second thoughts about doing it yourself, that's understandable. The cleaning should be done. Just like changing engine coolant and brake fluid, timely maintenance helps avoid issues that could have been avoided.
If you're having second thoughts about doing it yourself, that's understandable. The cleaning should be done. Just like changing engine coolant and brake fluid, timely maintenance helps avoid issues that could have been avoided.
And they are(hidden). In order to clean the blower fans the HV battery needs to be removed completely.
Below view is from the front of the car, so maybe they can be accessed by taking the rear seat out. But that's a huge job.
So my conclusion is for the 2010-2012 model years this is a non maintenance item from a regular user perspective! I just need to stay lucky and knowing I have a clean interior it should hopefully be OK.
Last edited by bobusa; Aug 13, 2023 at 12:25 PM.
Reason: Typos