When you click on links to various merchants on this site and make a purchase, this can result in this site earning a commission. Affiliate programs and affiliations include, but are not limited to, the eBay Partner Network.
Best thing to do is call your local Lexus Dealer and give them your VIN Number. Many parts in the HS are VIN Specific, also there could be a superseded part number that Lexus now uses that may not be listed in your IPL.
It appears that OEM may be the only source. Unless you measure them and order by hole size and length from Lift Support Depot, which may be a lot cheaper.
As stated in the posts above and slightly edited for clarity:
Now, to update you all with some timely and realistic information, my trunk strut parts finally arrived - it was not a straightforward process to get them!
The vendor that came through for me is Fish Brothers aka "Lexus Parts Direct" and the part numbers are indeed Toyota 64540-75051 (Left) and 64530-75051 (Right), exactly as summarized above by Clutchless. The price I paid was £43 plus a low shipping cost. Amayama had quoted me quite a bit higher price. These struts are made by KYB and bear the mfr codes ID01-TPW6 (Left) and IA24-TPW5 (Right) stamped on the cylinders, although these might be meaningless because a Google search comes up with nothing for any of those codes.
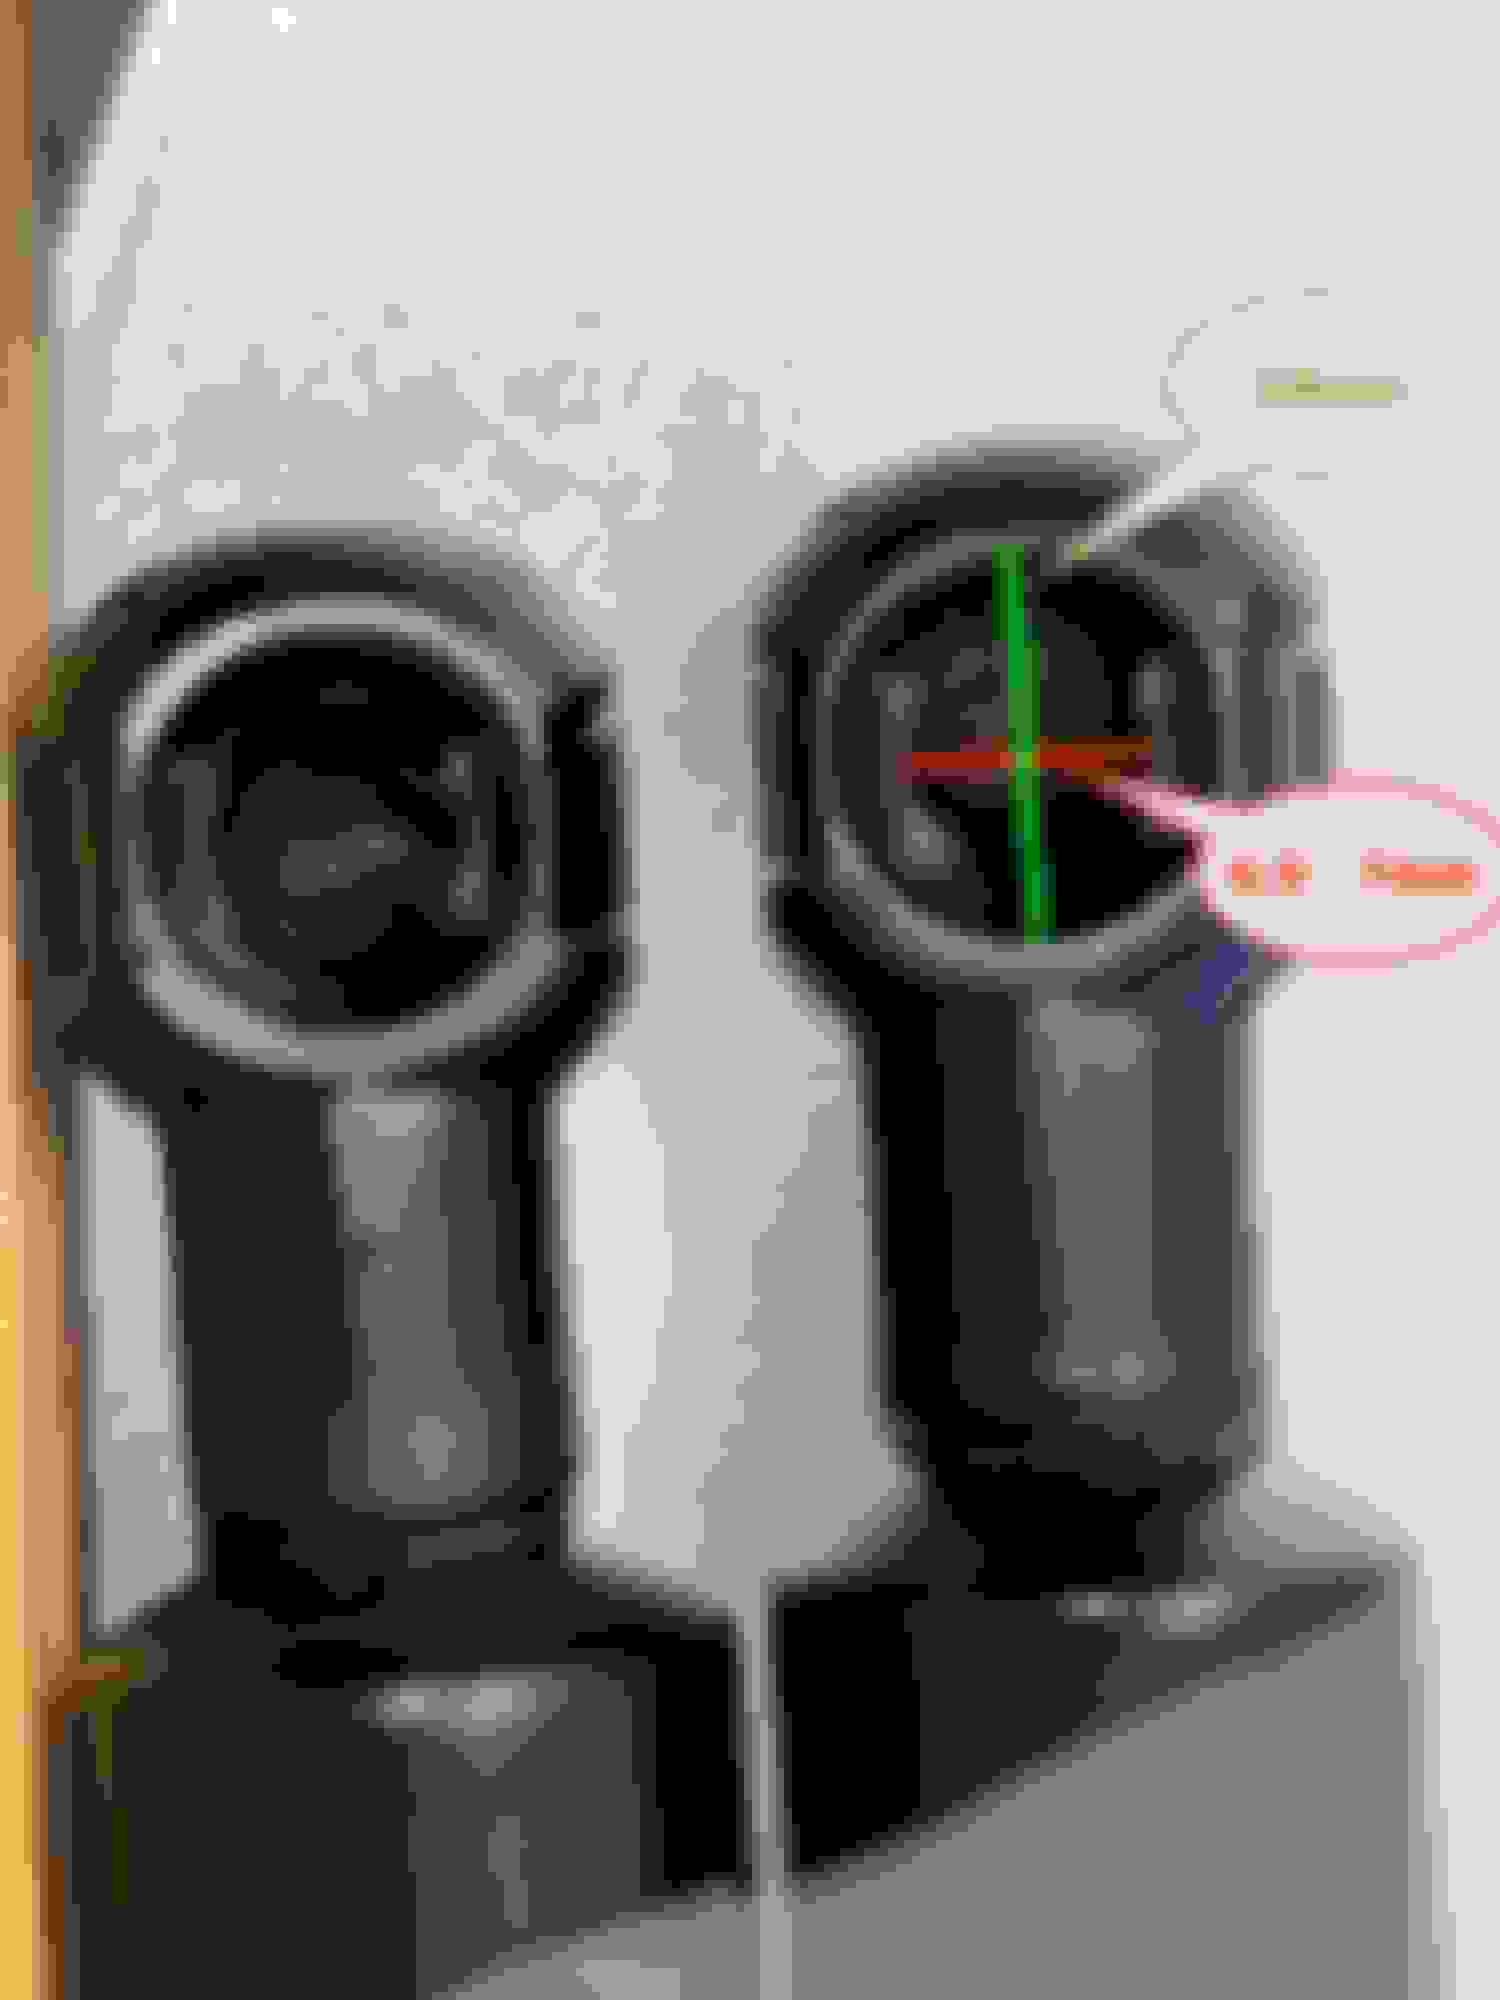
Now looking on Lift Supports Depot we can shop for generic parts by their measurements. Judging by the polished part of the strut, we can guess at the minimum/maximum lengths. The end caps visually look the same as what Lift Supports Depot calls "Ball Socket Claw (Steel) Type" and the space between the little steel spring jaws - which are movable - is about 7mm while the diameter of the entire circular opening is exactly 10mm. For both Left and Right parts, the hole openings face the same way. I am completely unable to see any difference between the L and R parts.
Be careful handling these, because the eye-holes have little dollops of grease in them from the manufacturer, and the Toyota shop manual says to be careful not to touch the polished parts when installing.
The external larger diameter is 18mm and the polished smaller rod is diameter 8mm. The length when fully extended, hole-center-to-hole-center, is about 522 or 523 mm and the total assembly length, 540mm. The polished part of the exposed pushrod is 210mm long, so that's a potential stroke length of 8" maybe?
Based on these parameters, the following three generic struts might possibly function as replacements: https://www.liftsupportsdepot.com/compare/898/3782/1779 But... I think the prices ranging from US$27 ro $64 look to be in the same range as what I paid for the OEM parts. And the other important parameter, the gas force of these parts, I don't have any means to measure safely. I pushed the strut down onto the bathroom scale until it registered about 15kg without compressing even a little bit.
Now I'd also like to address the little round trunk lid bumpers on each side. In the absence of any documentation about the parts, I went ahead and ordered a pair each of "810", "81+" and "81-". The price was only £2 each. When I do the struts later today I will investigate the properties of my existing parts and compare to the new parts.
The bumpers already installed in my car were part 810 but with age they had compressed about 1mm.
As for the new parts, the rubber bumpers are all the same EPDM material, but different lengths.
810 is about 39.5mm
81- is about 38mm
81+ is about 41mm
They also seem to be designed to screw partially, in order to achieve an exact height. What I did was, with the new struts installed I slammed the trunk with each bumper pair screwed all the way down. I didn't hear a huge difference from outside the car, but I did test with a pair of rags and noted that the 81-minus sizes did not actually contact the trunk lid when it was closed and latched. That's a recipe for vibrations, so I won't be using the short ones. I will continue fiddling and see if I can find a setting that minimizes the slamming noise. A round number once installed, can be screwed back and forth to change its height slightly.
This is the 81-minus part. 39mm long This is the 810 part. They differed slightly, but between 39.5 and 40mm. This is the 81+ part. 41mm.
I finished my trunk strut replacement. The job was exactly as 850R described in his video. I took some additional close-up videos where I could to extend the available information a little bit.
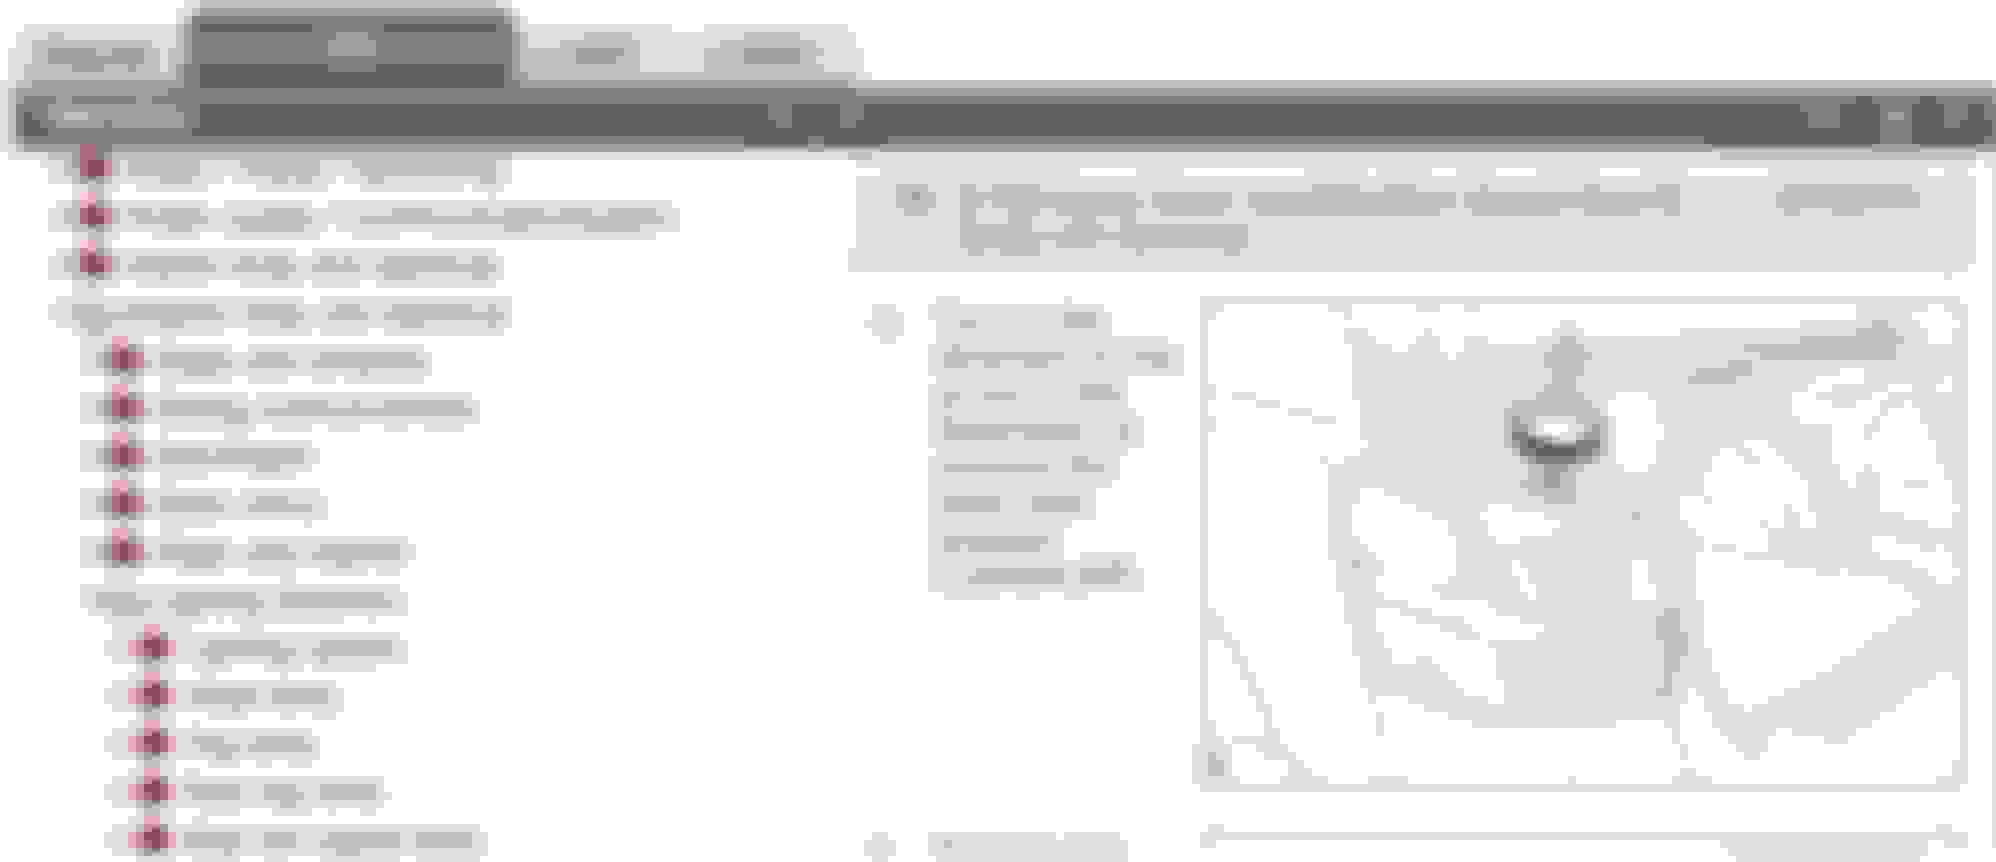
I bought a Japanese repair manual for this car, which I can translate somewhat with Google Translate. I've attached the relevant parts of the manual which explain the work sequence, and include diagrams and operation of retaining clips that you can't see.
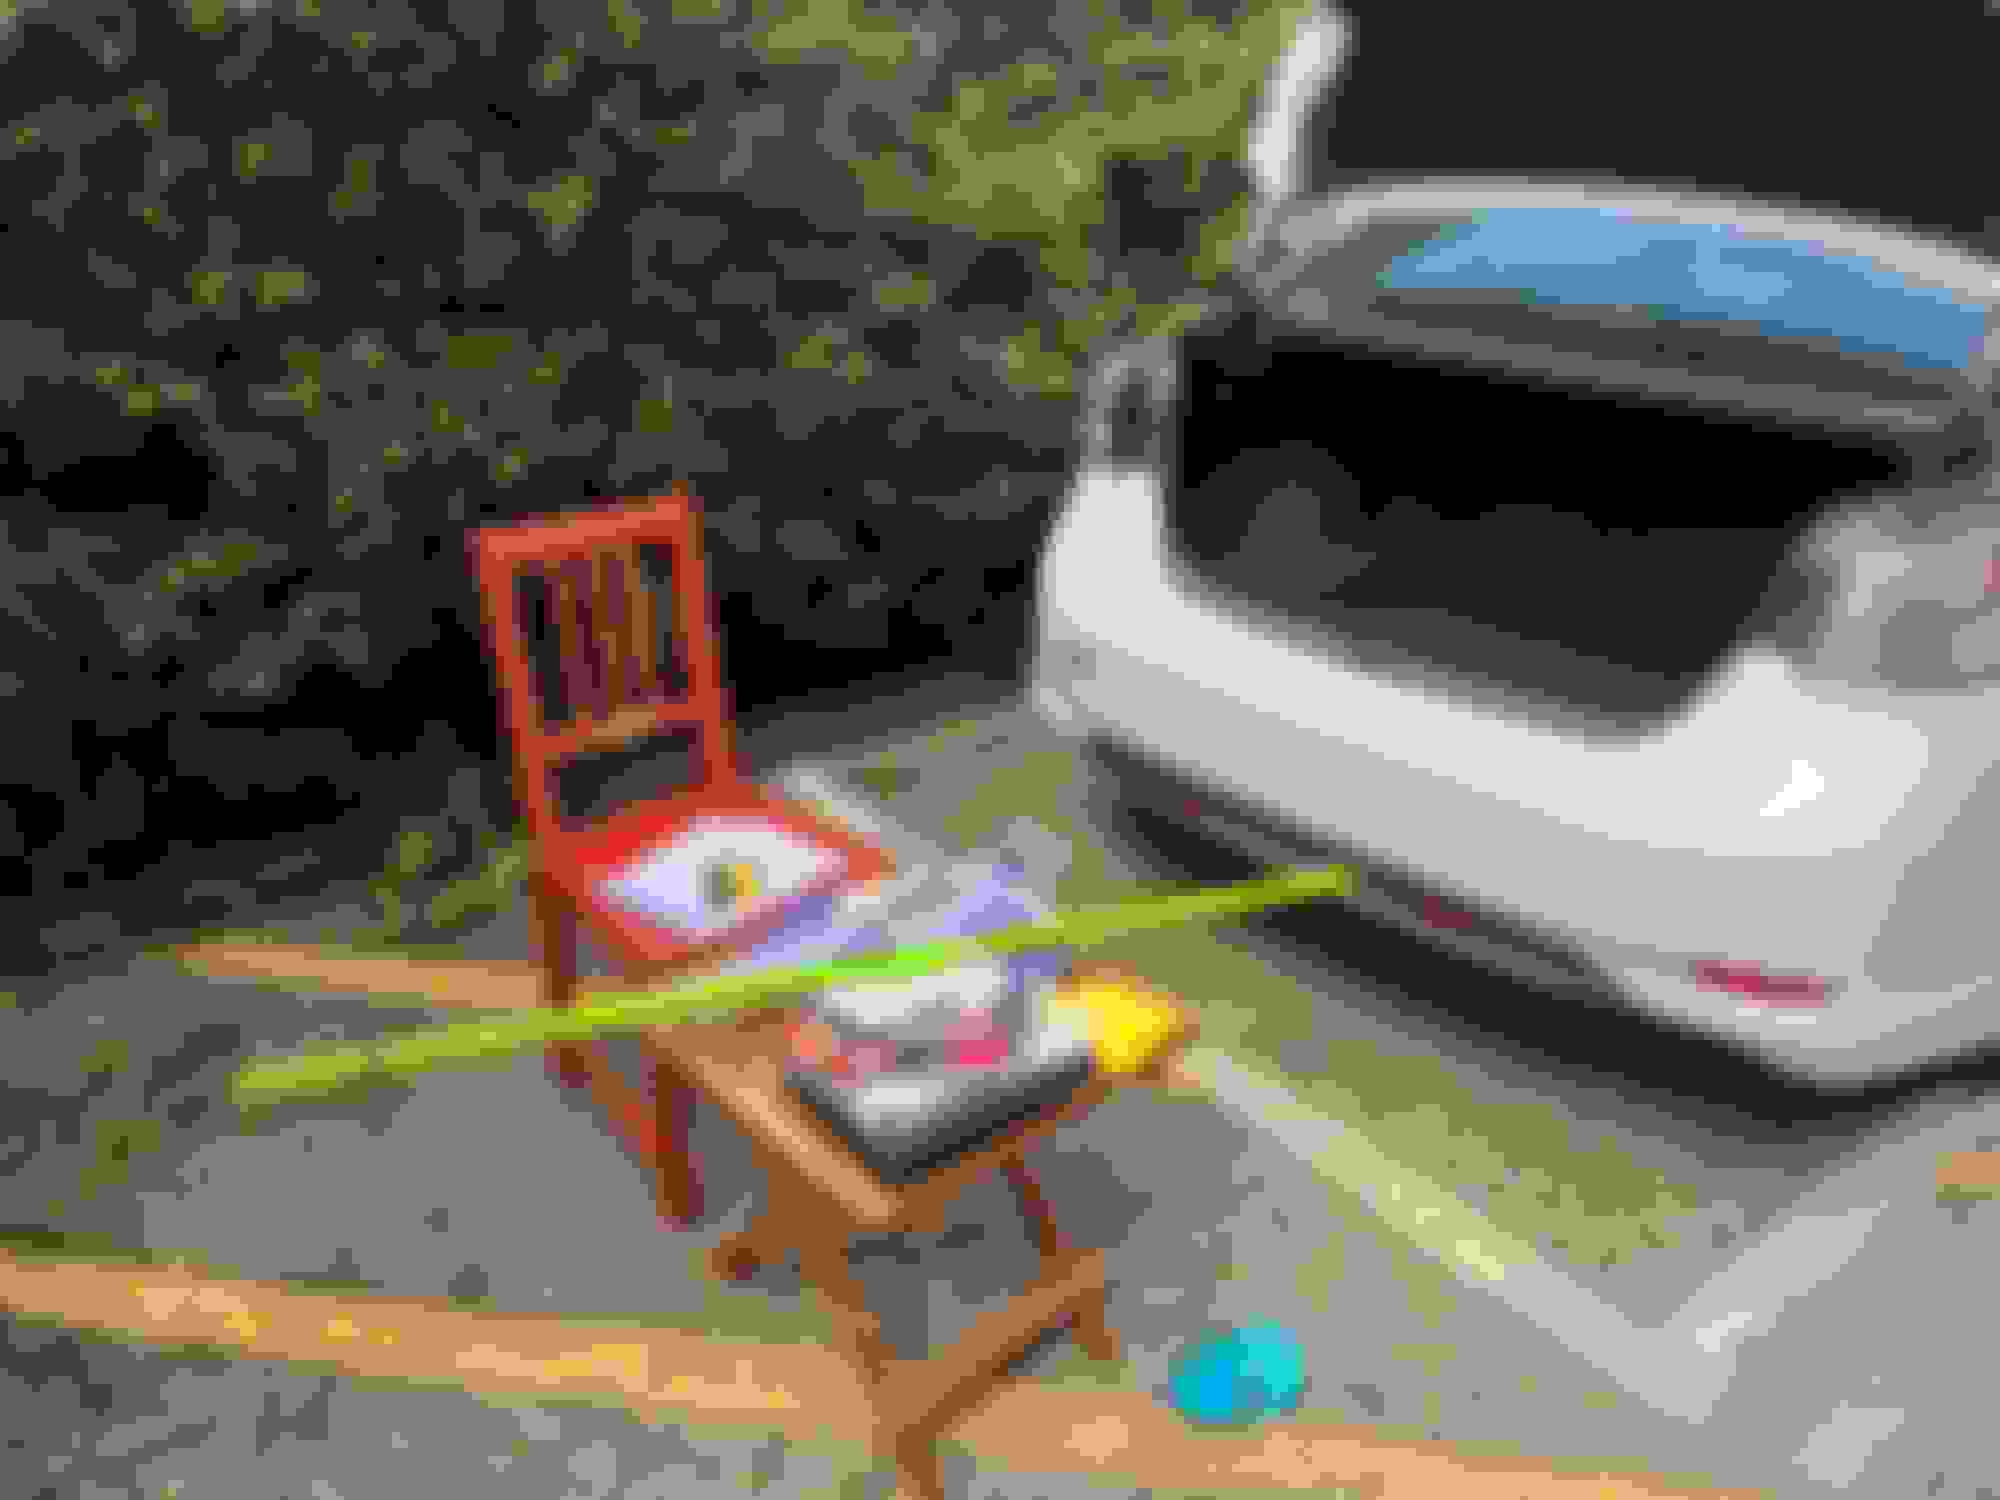
My work setup before starting. It includes the printed out manual pages. Thankfully I have an adjustable-length pole from a tree trimmer.
As for the bumper cushions, they are documented in the Repair Manual section about the rear tail lamp assemblies. It took me forever to find that. There's no documentation about how to adjust them, but I imagine that might be found in the Body Repair manual, something I do not have.
I did most of the work INSIDE the trunk compartment. So, I put down a blanket to protect myself a little.
Here are the four white clips, which slide horizontally. Pulling them down could break them off, as happened to one of mine apparently.
I'm lucky enough to have an adjustable length pole, perfect for this job.
I noted there are four velcro mounting points behind the big felt trim, but only two of them are actually in use with this design. The other two don't have any anchoring point on the rear side of the felt trim.
Here is the before and after summary:
As far as self-opening, it's gone from no raising at all, to self-raising from about 133cm.
It's increased from 115cm to 98cm above the ground, at which point it closes itself.
As the clips are a mixture of portrait and landscape orientation, it took a little more effort to put it together into a complete video. I don't believe I'm going to mix up portrait and landscape again.
Last edited by dougaliscious; Jun 8, 2024 at 03:42 PM.
i bought a 10yrs HS250, the boot is rather heavy to lift up, regardless of using the bottom on the boot or the button under the dashboard. will this the worn sign? it doesnt bounce up as soon as button pressed. Thank you.