When you click on links to various merchants on this site and make a purchase, this can result in this site earning a commission. Affiliate programs and affiliations include, but are not limited to, the eBay Partner Network.
If I had to do it again I would probably order one size smaller, this one fit, but it is overkill and required a bit more work to make fit into that spot. The OEM cooler has about 6 rows of fins/plates, this one has 22... I do tow a decent sized enclosed trailer and race car though so I'm OK with overkill. With the transmission thermostat we have there is no way you can over cool your transmission fluid.
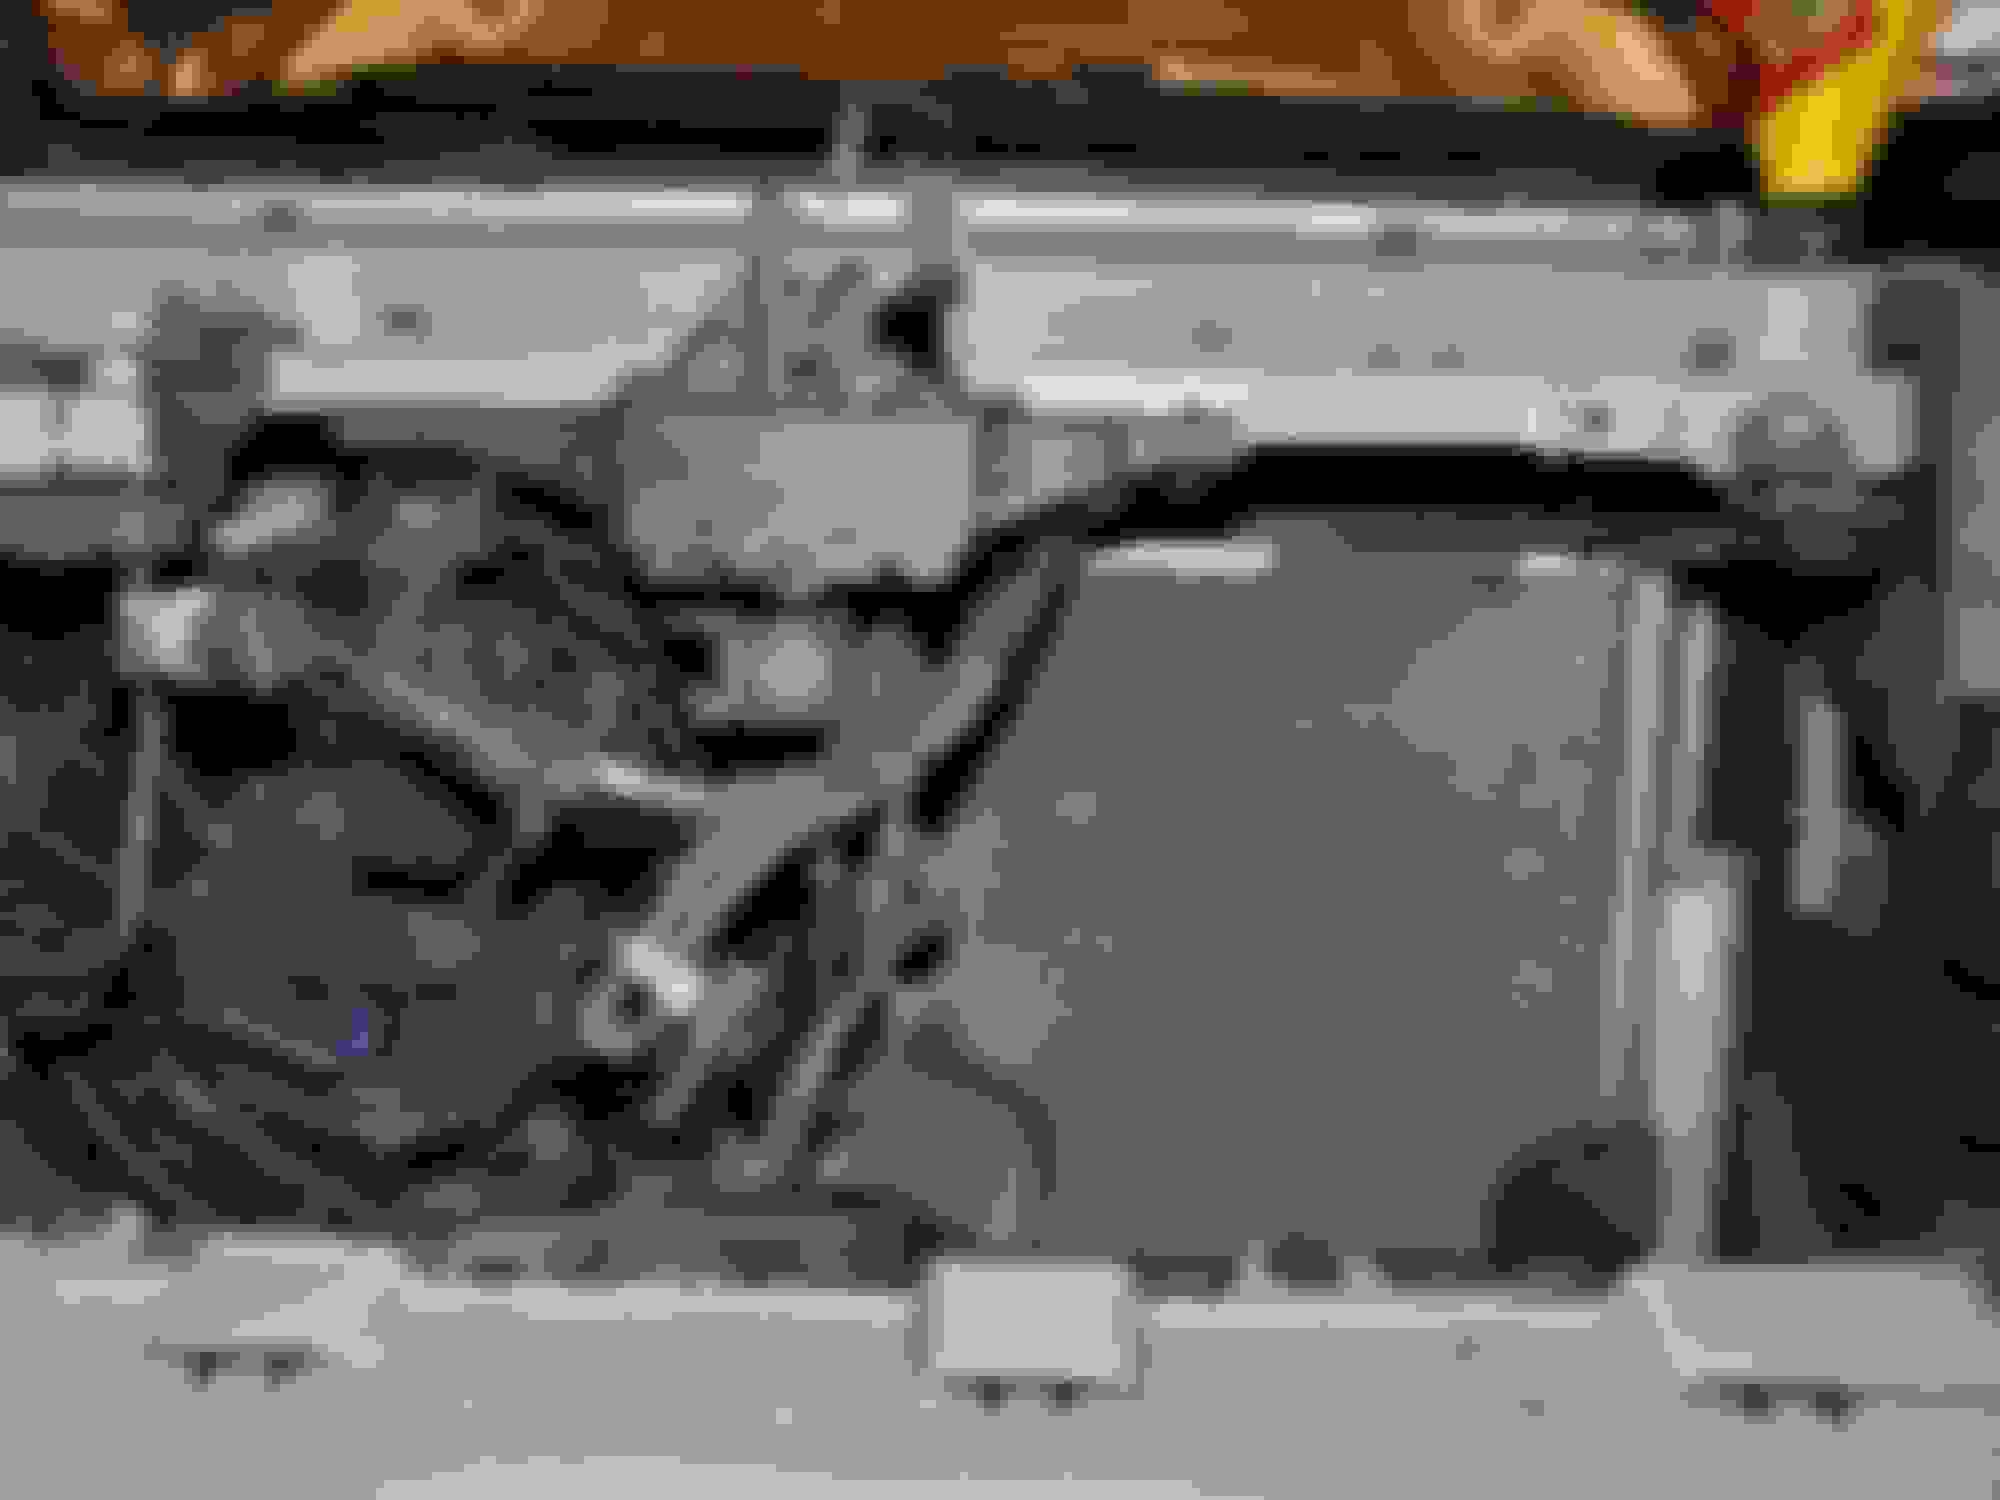
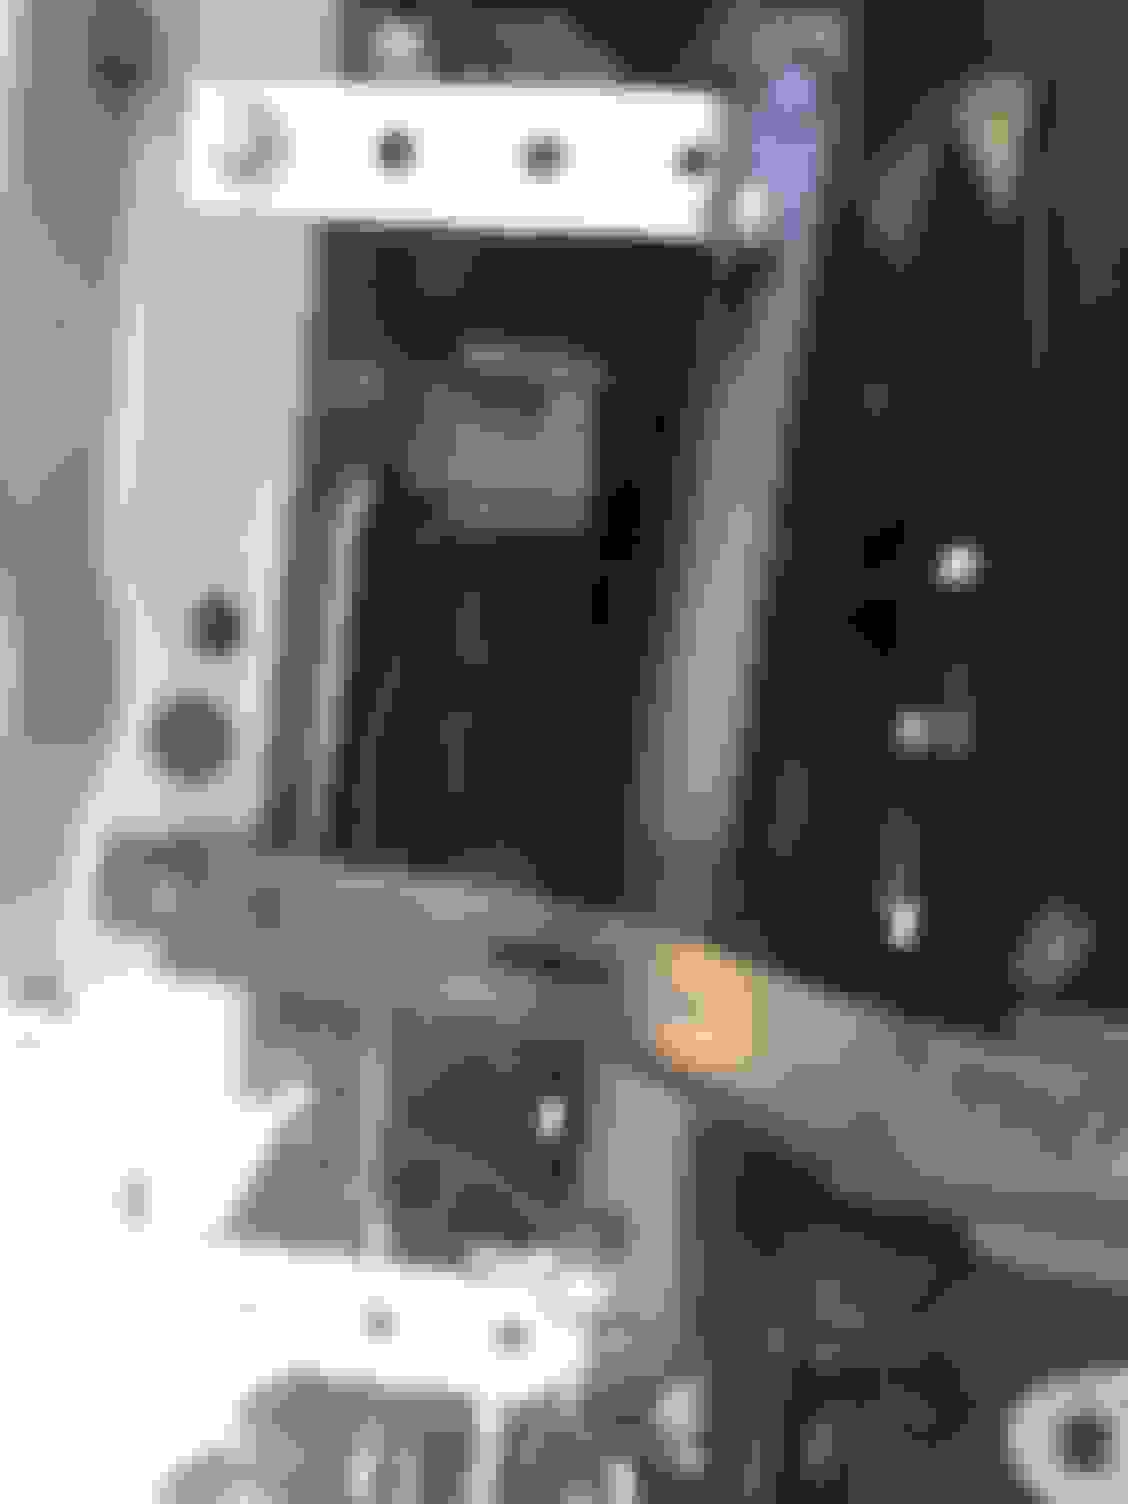
Once i had the grill off I relocated the wiring loom to the other side of the center support bar. You will need to do this to make room for the new cooler, and also ensure it isn't contacting any electrical connectors or wires. I simply unplugged everything, moved it over, reconnected everything and then zip tied it out of the way. You will need to extend one of the OEM horn connections if you want to put them back in the OEM place. I was able to make one of the connectors reach, and the horn sounds just fine with one of them plugged in so I left it at that. I may come back and extend the other connector later.
What it looks like before you move the loom:
New cooler installed, and loom moved over and out of the way:
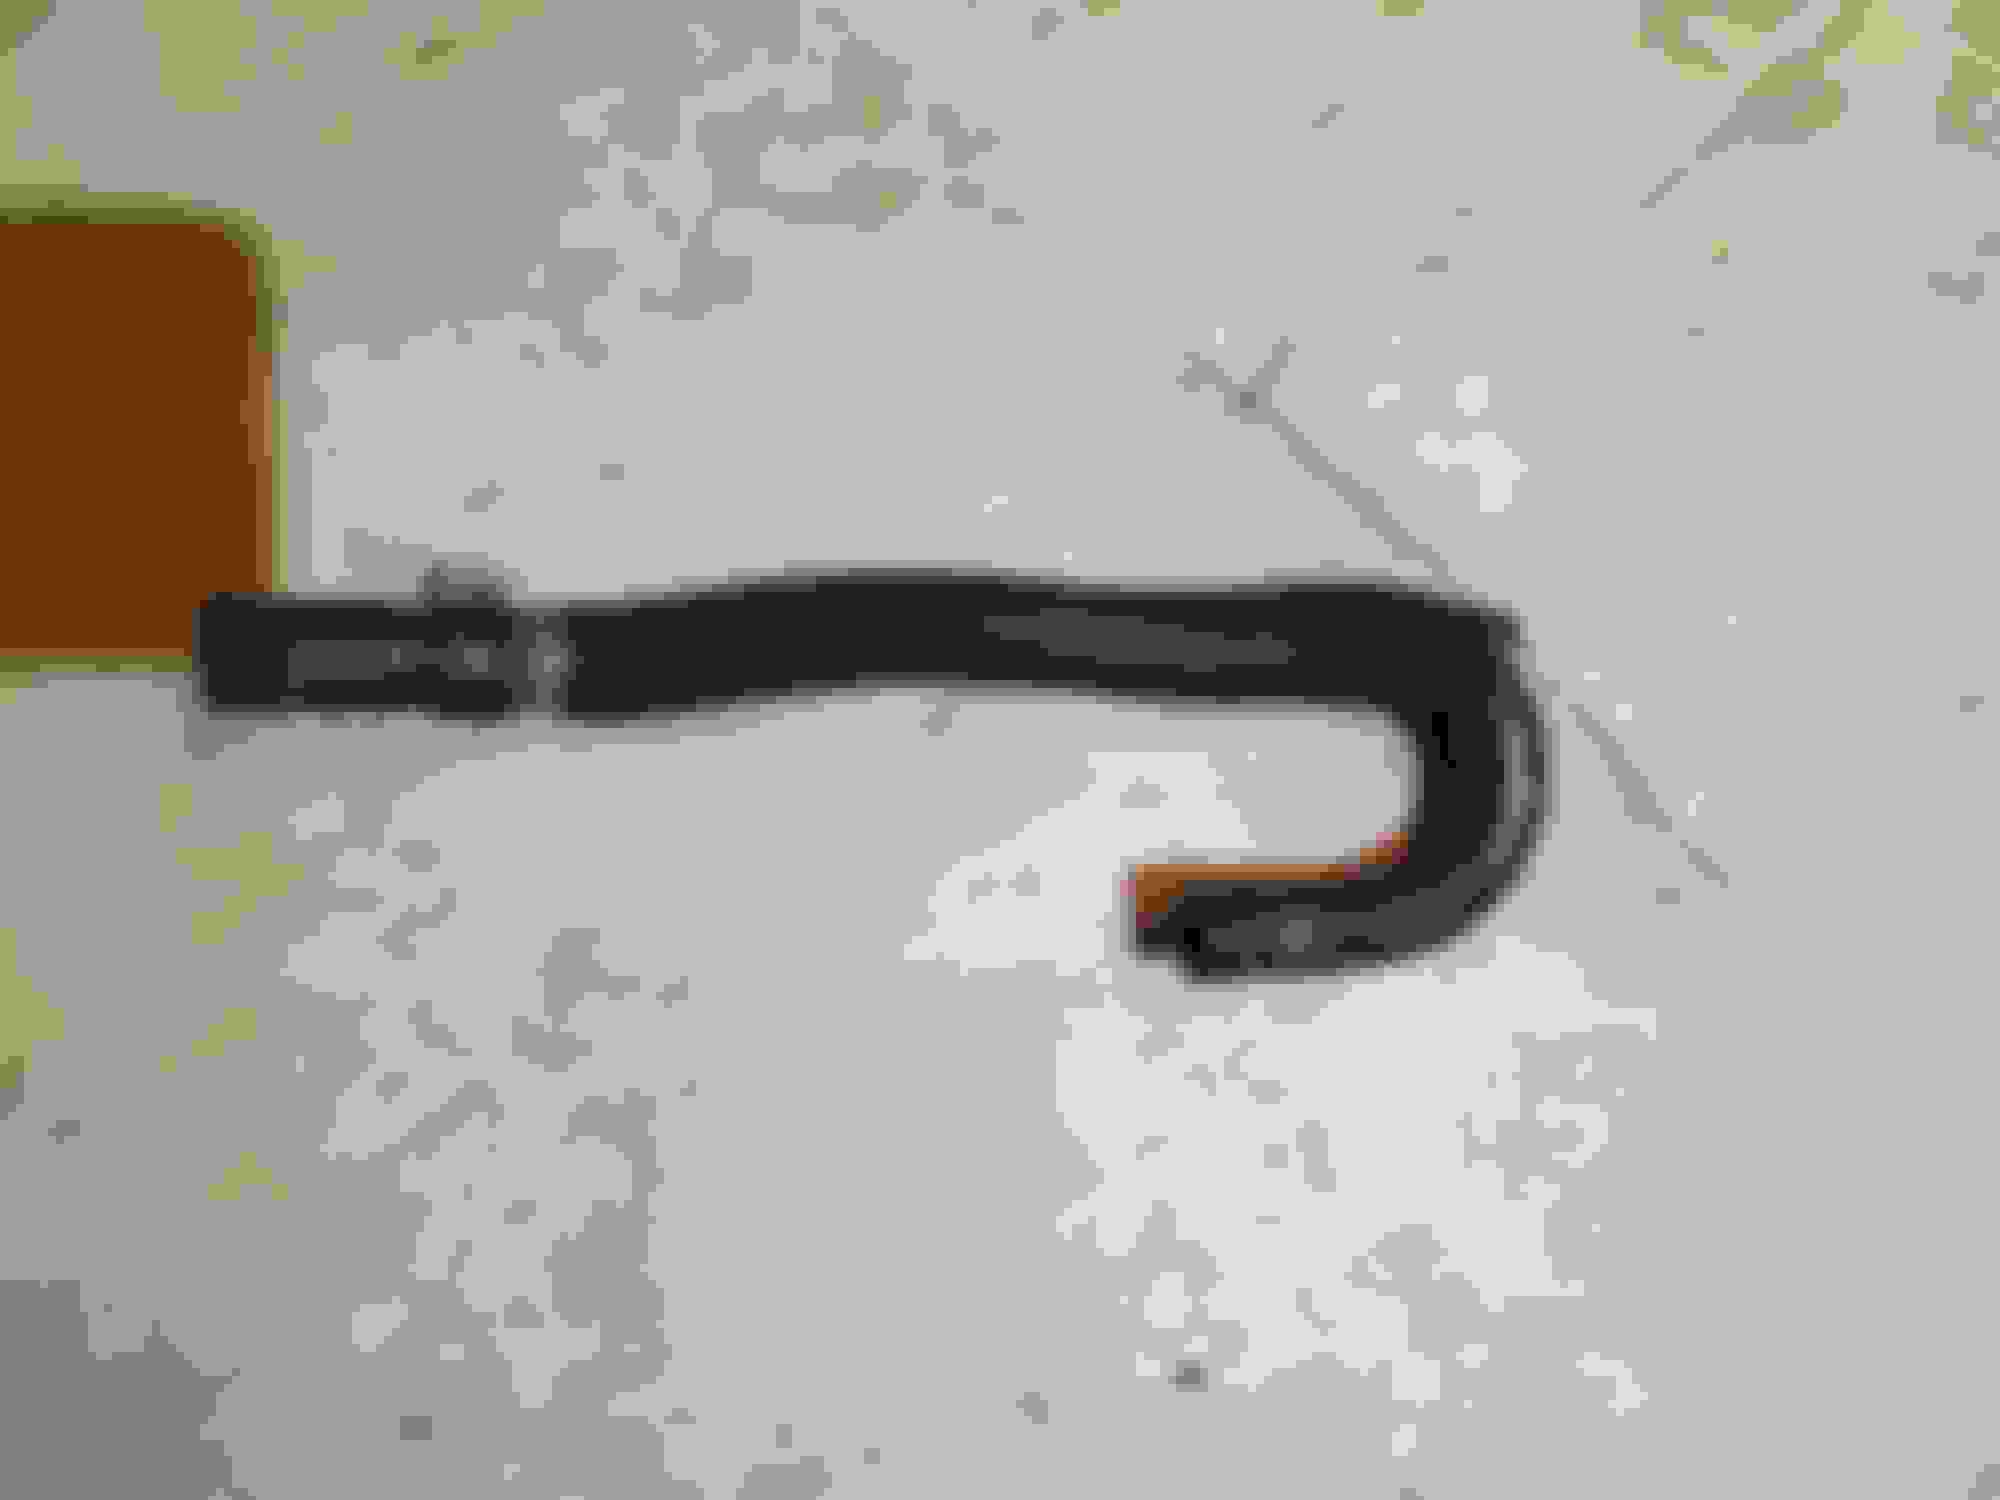
The radiator output that normally goes back to the transmission is the bottom of the 2 connections on the radiator. This was a total PITA to get off, I ended up taking the battery out and that made the difference in being able to pull the hose clamp off. Once you have that connection off follow the short tube down you just took off to where it connects to another hard line. Remove this connection too, and you will need to cut a little rubber piece that connects the two lines together to take out this piece of oem tubing. I saved this short piece of tubing and used it to wrap the new tubing in places where it may contact pieces of the body to protect from abrasion.
The hose you are looking to remove:
Do yourself a favor and take the battery out to gain access:
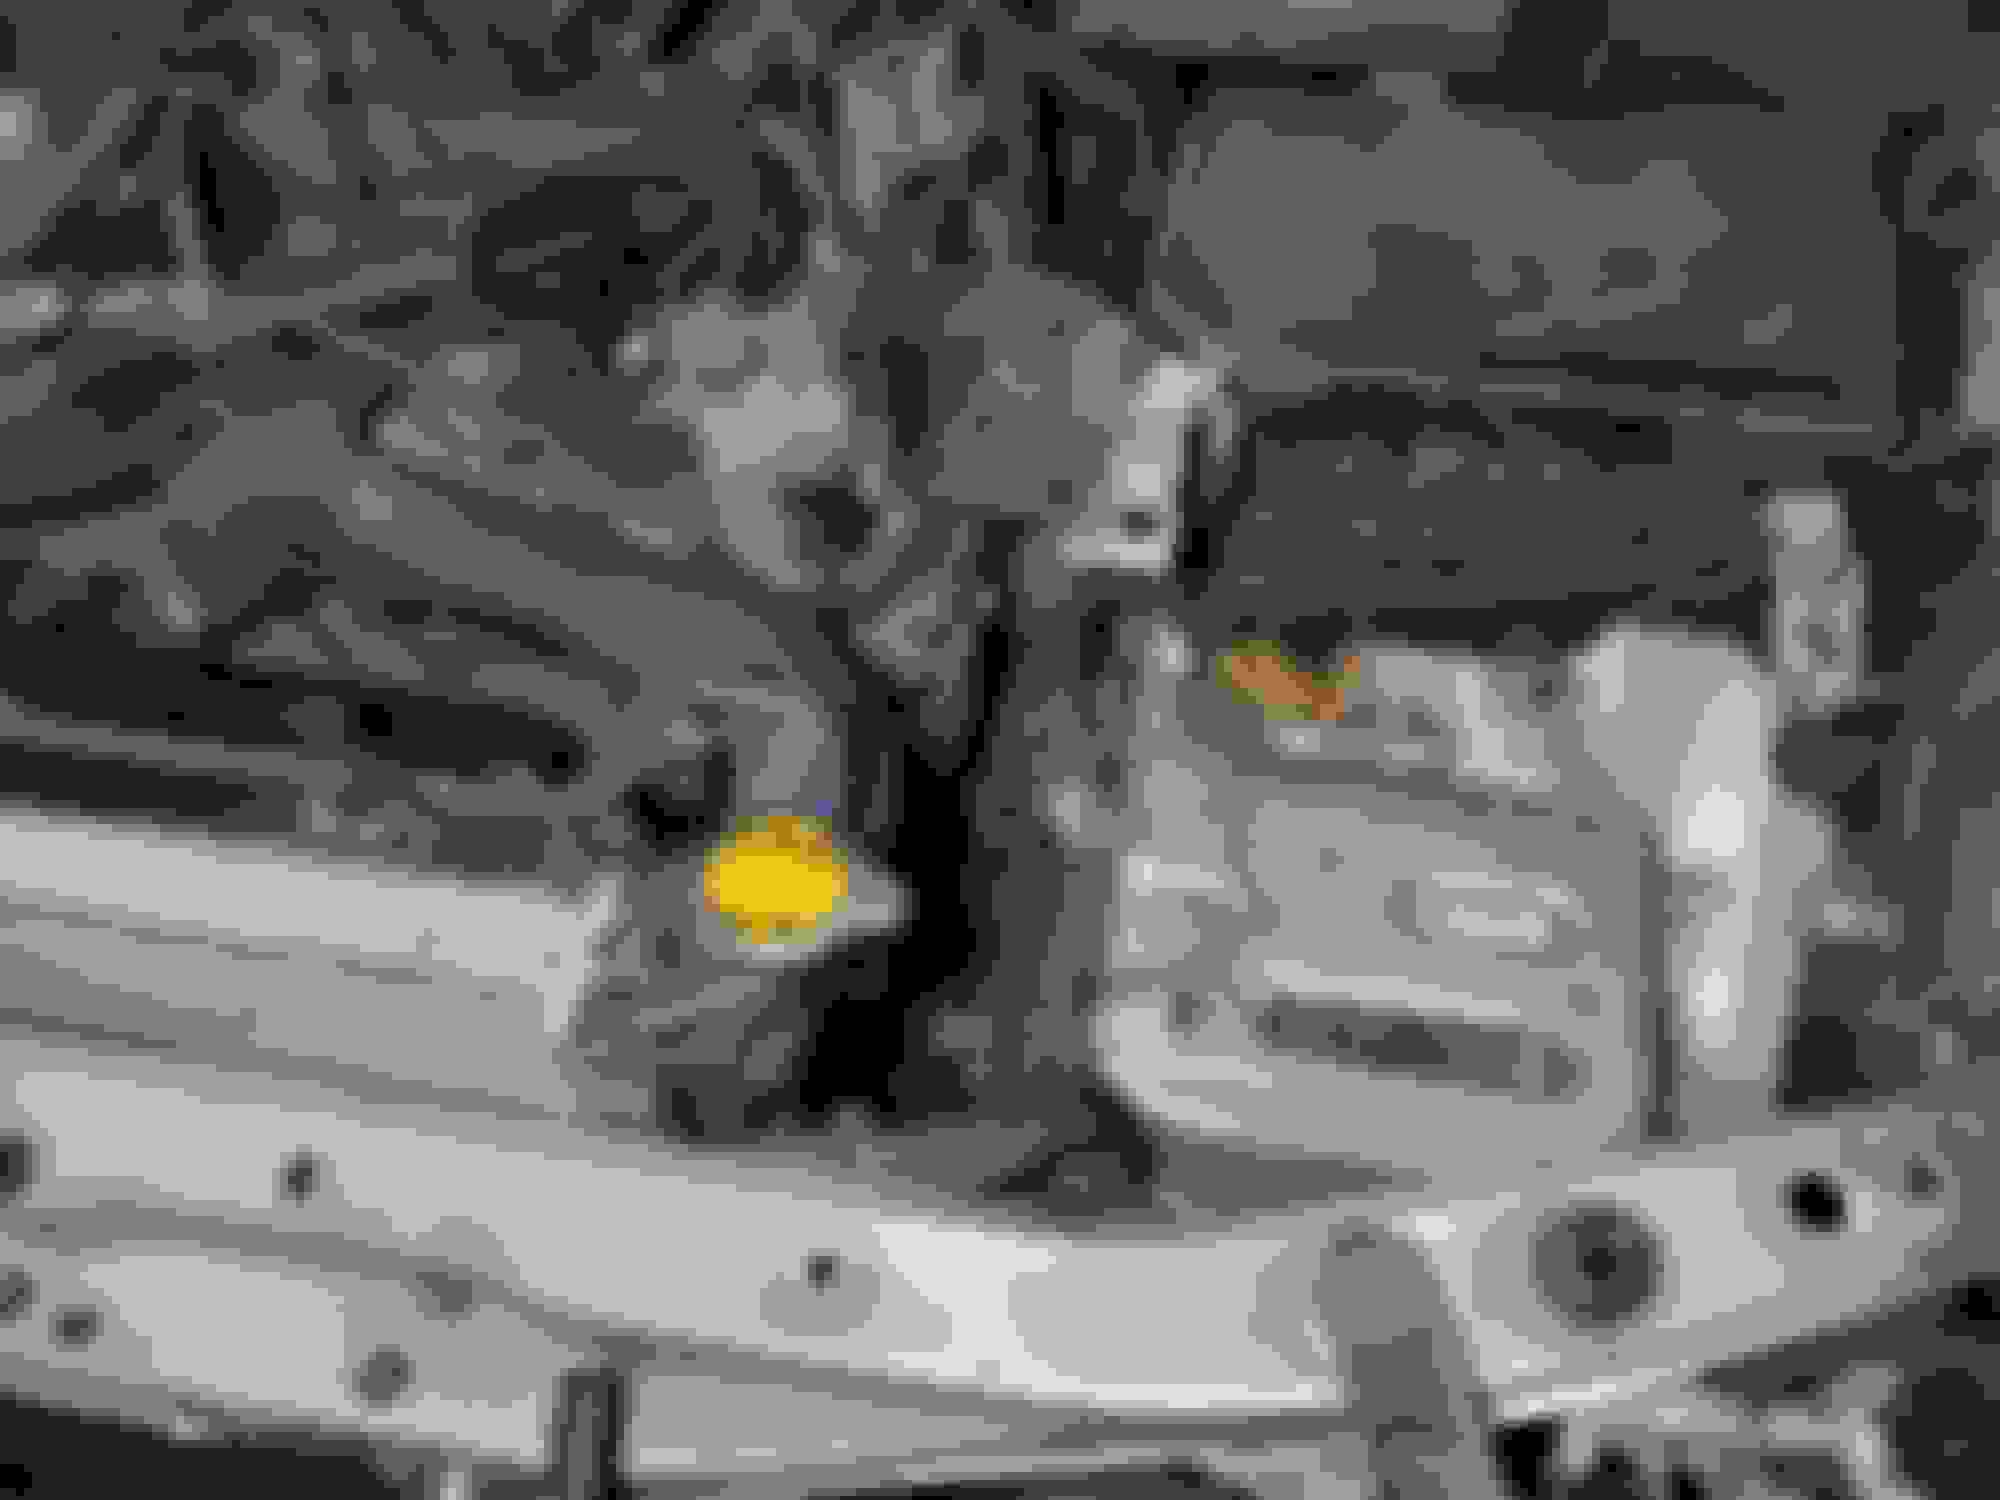
From the radiator output I routed a hose to the top connection on the new cooler, then from the bottom out connection of the new cooler I routed this to the hardline connection that goes back to the transmission near the bottom of the radiator. The hose that came with the cooler fits onto these hardline connections very very tightly. I did use my heat gun to make the hose a little more malleable and easier to push onto the oem connection points.
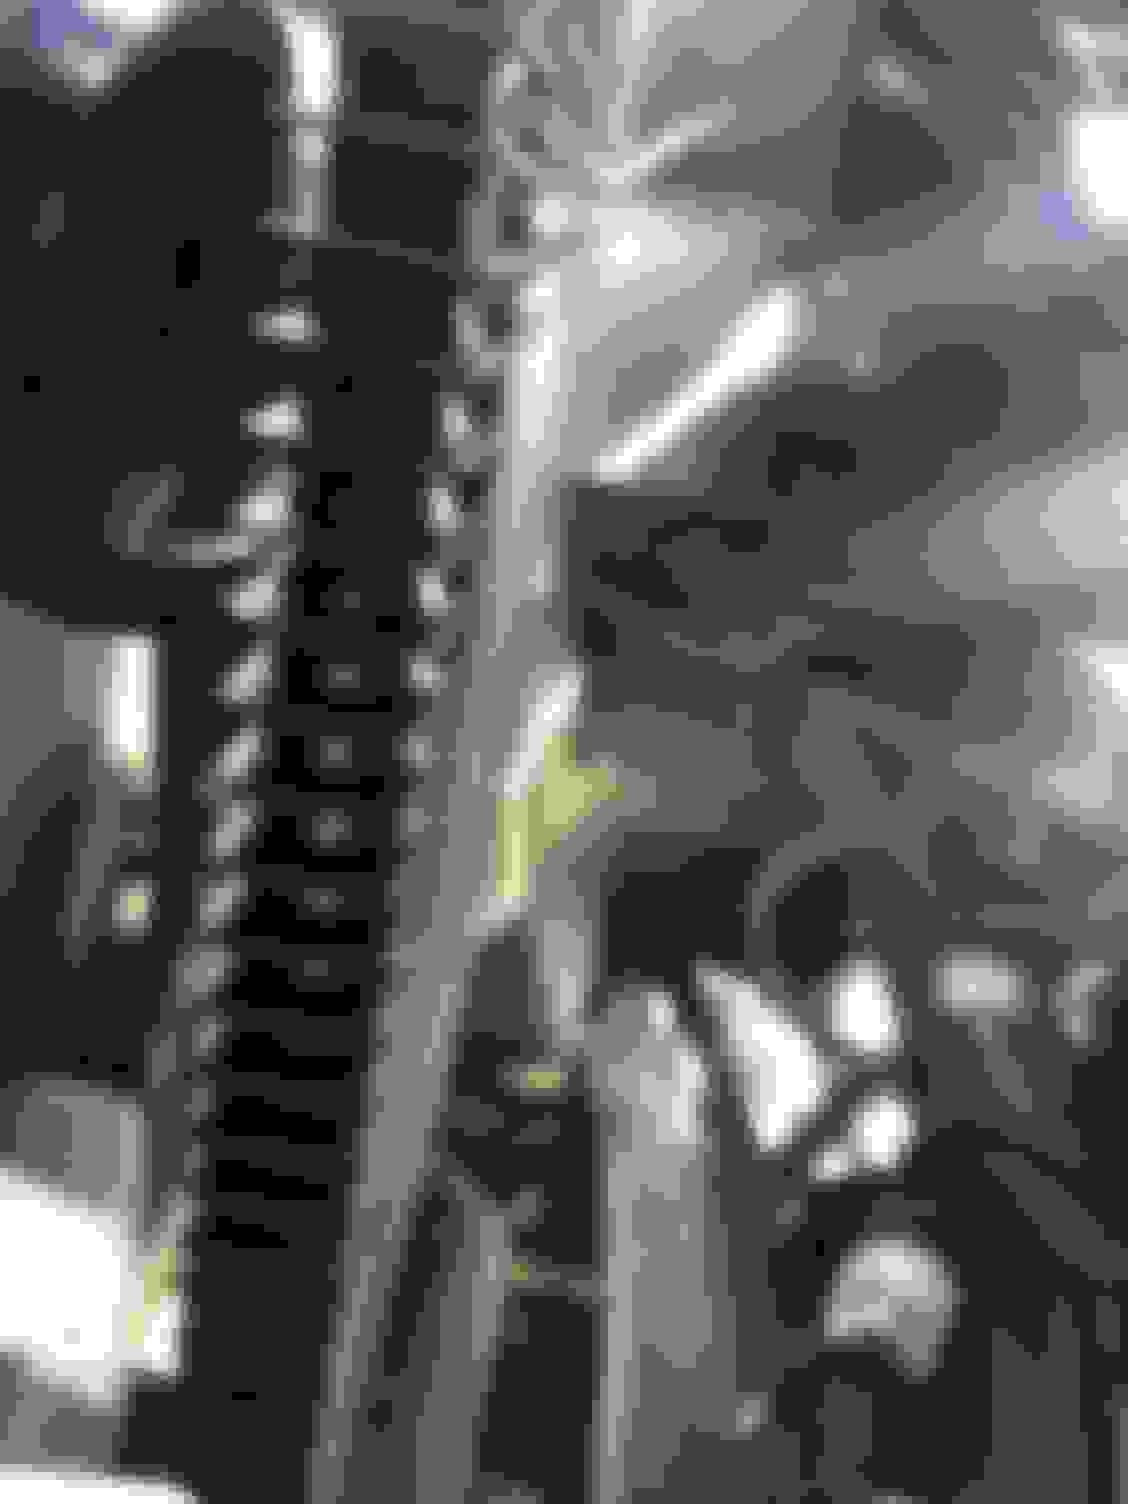
The red line is the new hose coming from the rad output to the cooler, the blue line is the hose returning the cooled fluid down the oem hardline and back to the transmission:
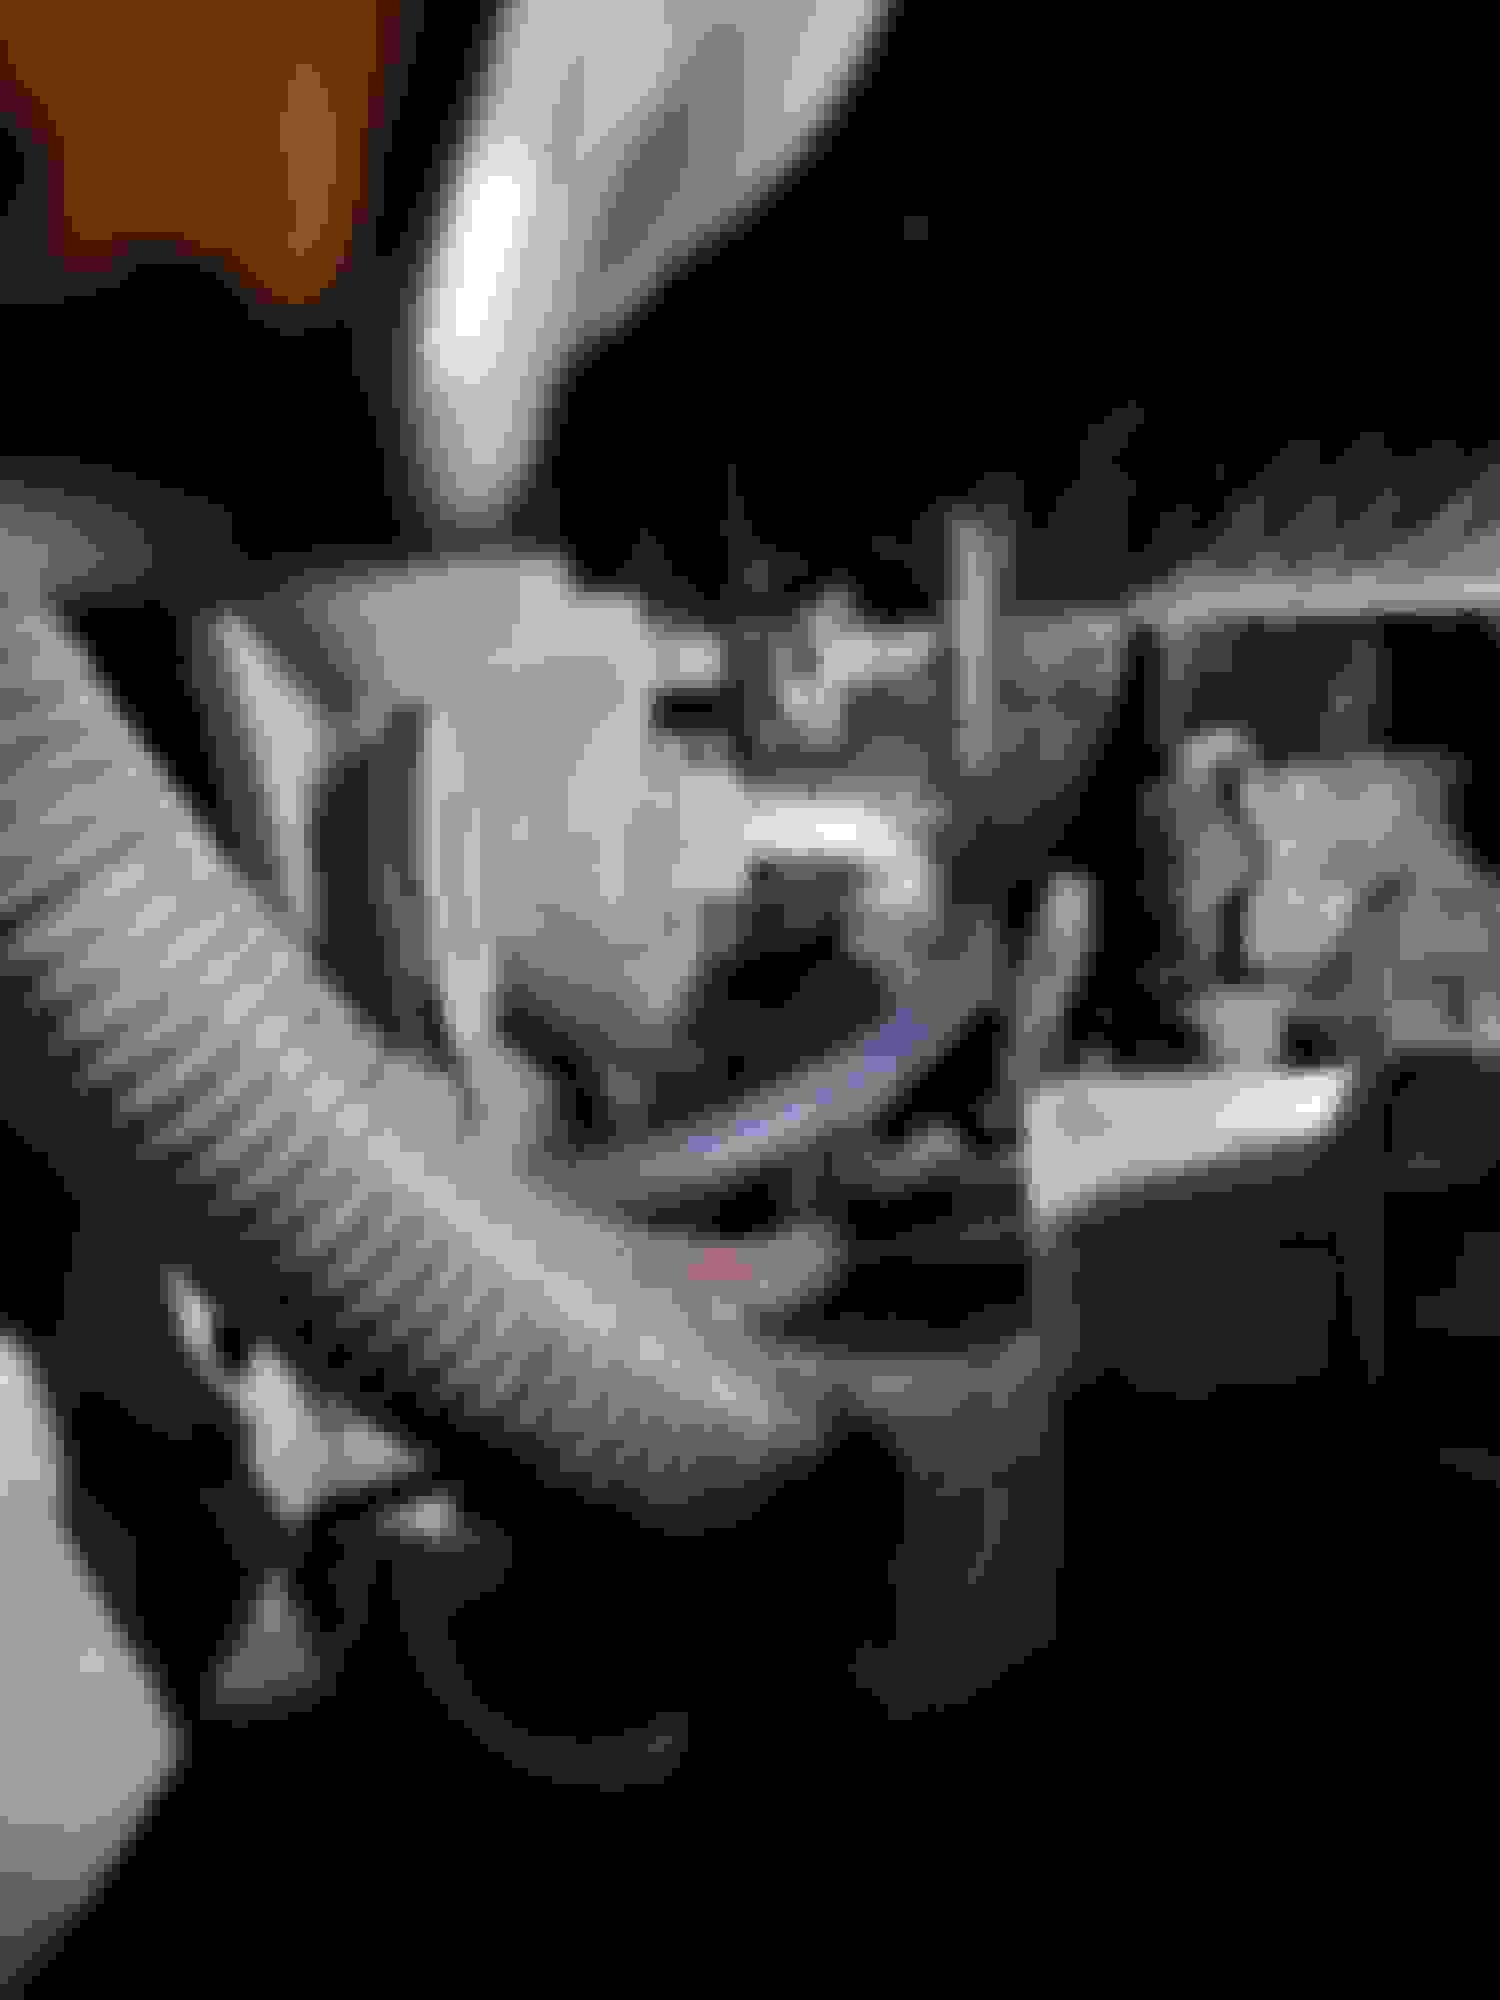
New cooler output to hardline back to transmission near the bottom of the ratiator, the new hose has a non oem hose clamp on it:
I used a razor knife and slit these foam pads to pass through the new lines:
When I mounted the cooler I attached it to the center radiator support and added a couple zip ties as a backup.
Once this was all completed I started the car, checked for leaks after it had fully warmed up, then followed the correct procedure to fill the transmission and check its fluid level.
Our GX's already have a thermostat that heats the transmission fluid to the correct temperature. The bypass feature certainly wouldn't hurt but it would be redundant.
Won't hurt to spay or wipe some fluid film on those transmission hard lines... they look pretty rough and if they corrode thru or become brittle and leak you're gonna be replacing your transmission... fluid film is cheap, trannies are not, which is why you've done the smart thing and installed the cooler.
I'm also curious about this. Do you think it increases the flow? Can you be more specific about why you leave it pinned open?
It's a wax activated poppet valve according to this write-up description... which means by pinning it open one is redirecting flow away from the warmer (which happens shortly after driving anyway)... it doesn't necessarily keep the fluid cooler once at operating temperature (since all the flow would be going to the integrated radiator air cooler anyway)... the question I'm asking is what happens to the wax by permanently pinning it open when it's not expanded properly? When it's not pinned and it's cold out, will it operate properly? tough call to make i think and likely irrelevant if you live in a climate that rarely or never freezes. having it pinned open but adding a cooler with a LPD bypass would mitigate a possible loflow condition to the transmission in freezing temps until it warms up...
I'll need to find post or data but I think that valve doesn't open until over 200�F or greater.
I'll have to go back through my thread and see if I ever posted any graphs of cooler temps with and without pinned thermostatic switch after cooler was installed.
OBD AT temp monitoring is an easy way to tell what difference it makes.
knowing the poppet valve setpoint would be nice to know... also the engine coolant system setpoints....
It's an interesting change in heat transfer operation by pinning it open... Right after starting the vehicle at idle the ATF would see heating twice (once in ATF warmer and once by the OEM integral radiator routing).
There are of course losses to ambient in routing the fluid in hoses between each location... However, once the vehicle starts moving (regardless of ambient air temp) I would almost guarantee, although I haven't run the numbers, the air cooling greatly outweighs the this/these warming effect (which always occur)... Assuming you start driving shortly after starting the vehicle with very little idling, the ATF remains lower int he long run, which in turn also establishes a lower equilibrium temperature for the coolant and ATF since the ATF also works to cool that Coolant (like the coolant works to warm the ATF)...