

 Dec 12, 2014, 04:02 PM
Last edit by: IB Advertising
See related guides and technical advice from our community experts:
Browse all: Steering and Suspension
- IS ES GS: How to Install Airbag Suspension
Step by step instructions for do-it-yourself repairs
Browse all: Steering and Suspension

air ride install is done!!!!
Thread Starter
Pole Position
Joined: Feb 2007
Posts: 375
Likes: 0
From: n.c.
got the kit from U.A.S. took about a week to get it done buts that also just me working on it a few hours a nite.
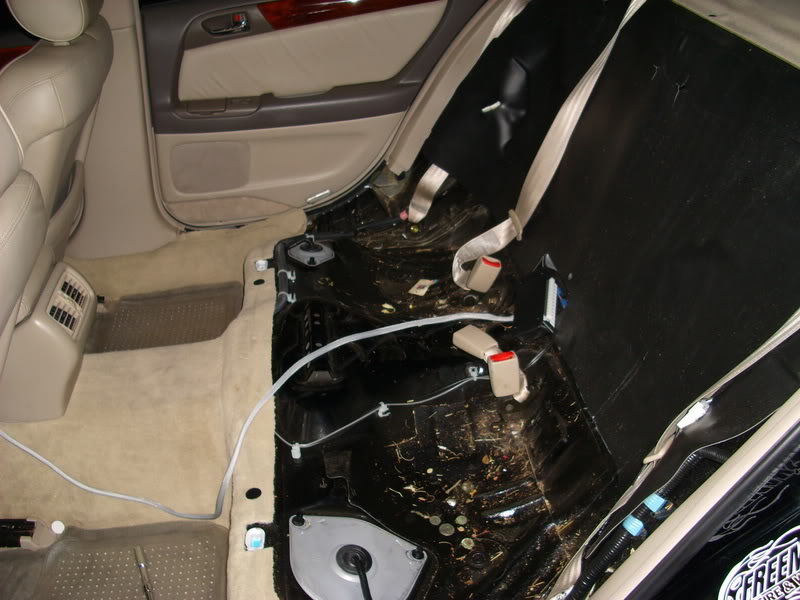
remove the rear seat and the trunk lining
the kit farely easy to install i think if you can install a radio and change your own brakes you can do this!!!
next remove the struts. there is a cap on the strut you can remove it i just ground it down untill the bag fit over it easly.
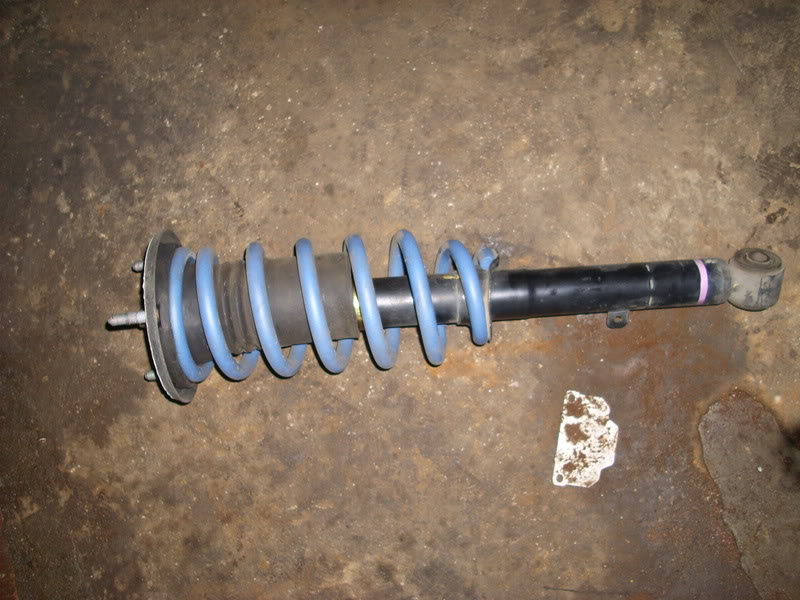
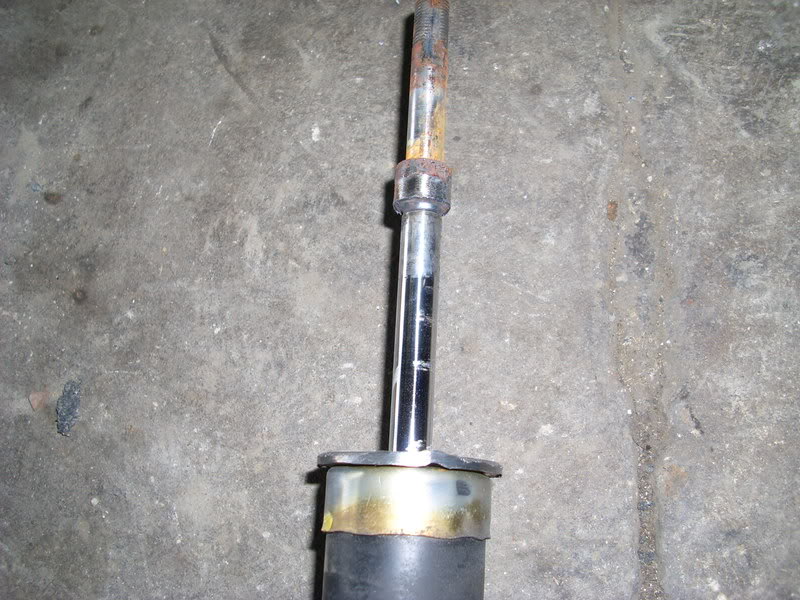
the bag has a top and bottom plate thats held on with 2 bolts plate with big hole on the bottom, small bolt on the top.
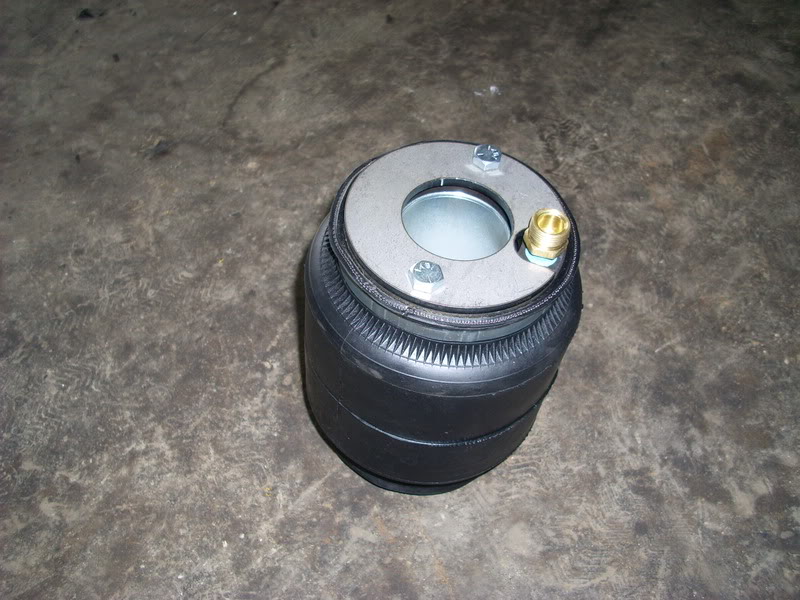
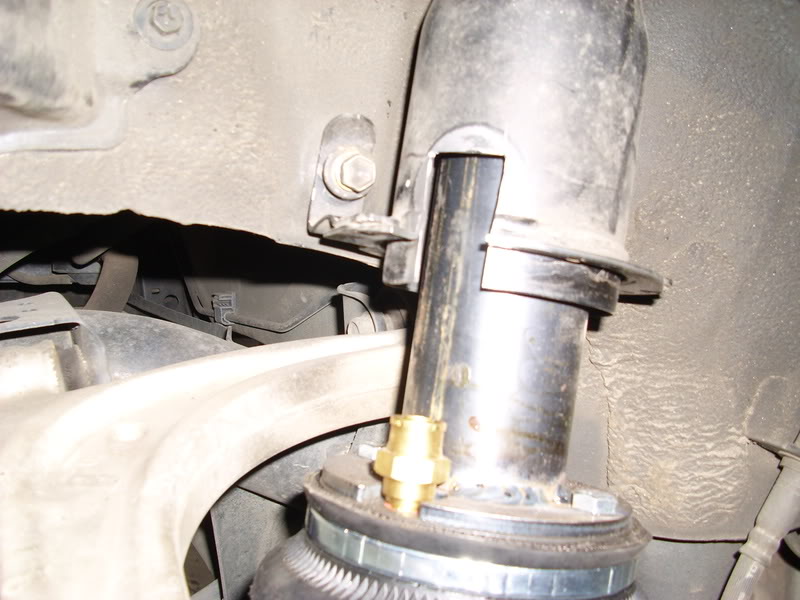
slide the bag over the strut bolt the top plate back on. on the front the make sure the air inlet is on the bottom. you will have to cut a notch out of the lower spring seat to make room for the inlet. heres the front bag after the install.
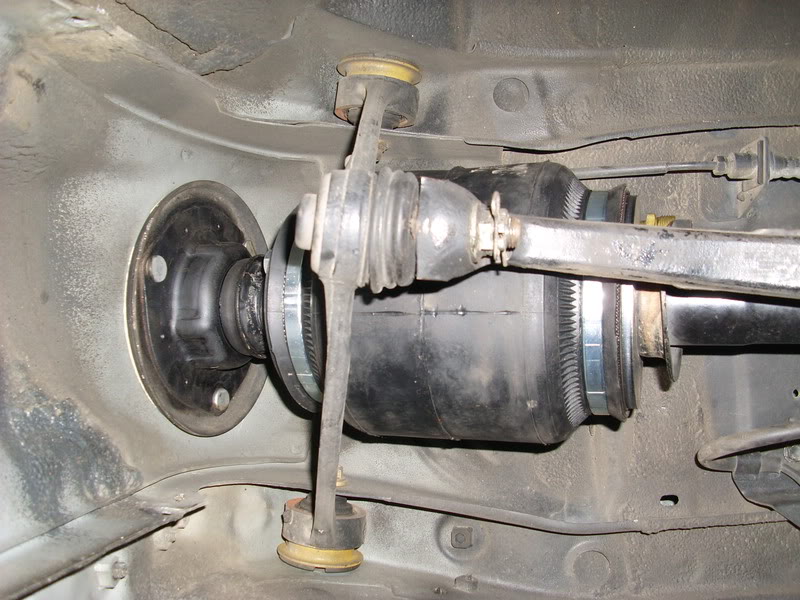
the rear tis much the same as above. you do have to notch the rear to but the inlet is on the top side.
as far as the air lines i ran them under the carpet up to the front. drilled a hole in the box framing under the bottom door seal its hollow and leads up into the finderwell, drilled a hole in the lower part of the finder. (sorry no pic) this is the only one i got

for the rear i just found a good spot to put a hole on each side put some rubber garmets in all the holes and run the lines threw. leave you self a little slack in the lines if you need it for later. kit comes 50 foot i had about 12 foot left over.
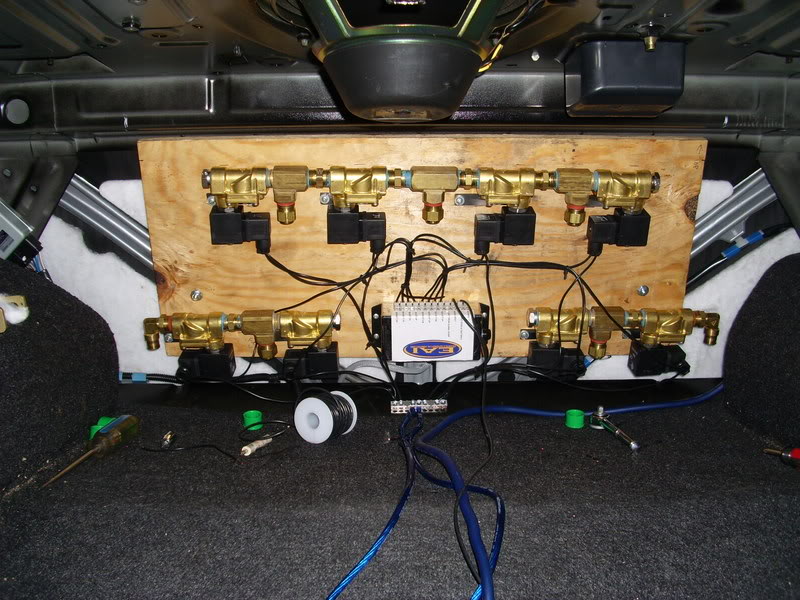
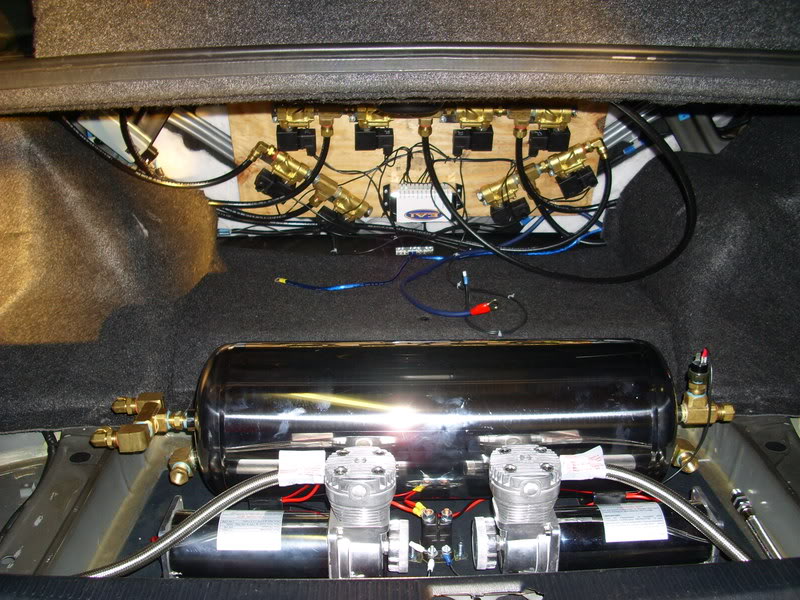
the valves are easy to put together and wire up, you only have to attach a power and ground 18 ga wire is what i used, theres arrows on the valves to let you know witch way the air flows. now you can do this any way you want this is just how i did it. i mounted all the valves on a board and mounted it to the back seat. the long line on the top is rear and the 2 on the sides are the fronts. the box in the middle is the switch box you wire the valves to it, the box is labeled what wires go where. then all you do is ground them.
remove the rear seat and the trunk lining
the kit farely easy to install i think if you can install a radio and change your own brakes you can do this!!!
next remove the struts. there is a cap on the strut you can remove it i just ground it down untill the bag fit over it easly.
the bag has a top and bottom plate thats held on with 2 bolts plate with big hole on the bottom, small bolt on the top.
slide the bag over the strut bolt the top plate back on. on the front the make sure the air inlet is on the bottom. you will have to cut a notch out of the lower spring seat to make room for the inlet. heres the front bag after the install.
the rear tis much the same as above. you do have to notch the rear to but the inlet is on the top side.
as far as the air lines i ran them under the carpet up to the front. drilled a hole in the box framing under the bottom door seal its hollow and leads up into the finderwell, drilled a hole in the lower part of the finder. (sorry no pic) this is the only one i got
for the rear i just found a good spot to put a hole on each side put some rubber garmets in all the holes and run the lines threw. leave you self a little slack in the lines if you need it for later. kit comes 50 foot i had about 12 foot left over.
the valves are easy to put together and wire up, you only have to attach a power and ground 18 ga wire is what i used, theres arrows on the valves to let you know witch way the air flows. now you can do this any way you want this is just how i did it. i mounted all the valves on a board and mounted it to the back seat. the long line on the top is rear and the 2 on the sides are the fronts. the box in the middle is the switch box you wire the valves to it, the box is labeled what wires go where. then all you do is ground them.
Last edited by toeb; May 8, 2008 at 08:18 PM.
Thread Starter
Pole Position
Joined: Feb 2007
Posts: 375
Likes: 0
From: n.c.
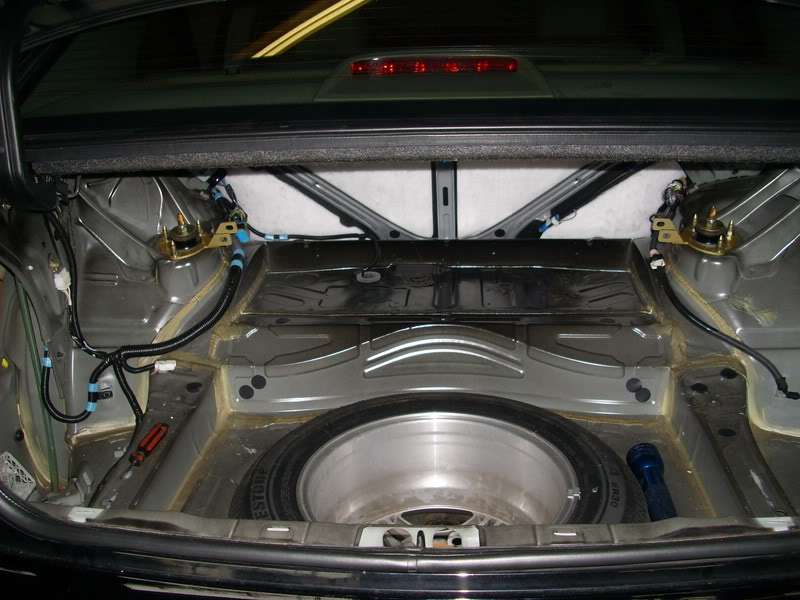
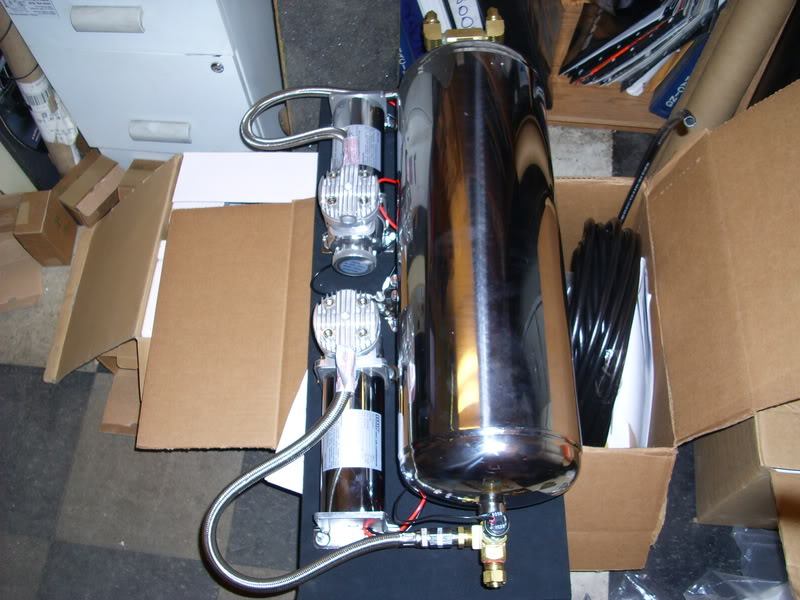
i wanted to put the tank and compressors in between the rear wheel wells in the trunk. so this is how i done it.
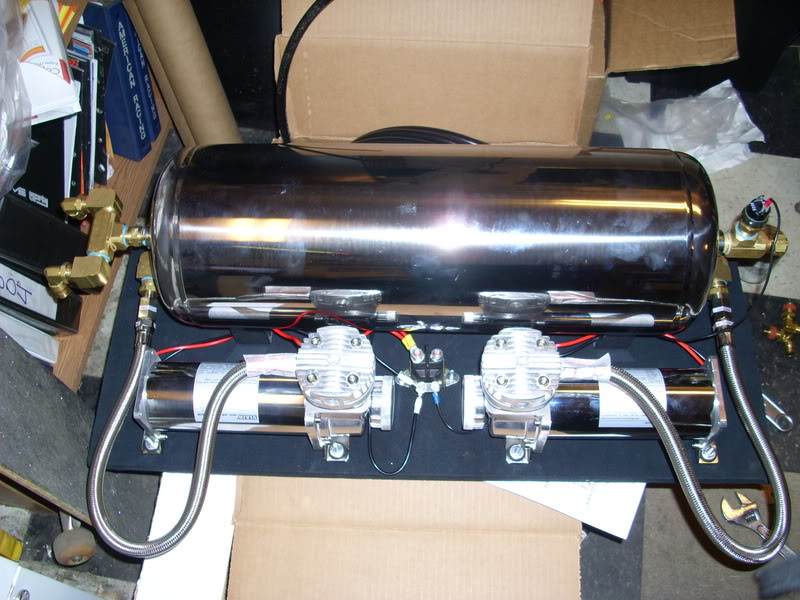
i also put the silanoid switch on there to and run 4 ga wire to the trunk for power. run a 18 ga wire to the front for the acc on the ignition this will power the switch box and the pressure sen. this will make where the system only has power when the key is switched on.
this is a easy kit to install if you follow the instructions and ask fellow cl members what they did you will make it threw it. heres a few pic's thats left i didnt get to take all the pic's i wanted to. but if you guys got any questions feel free to ask im sure theres alot of stuff i left out. just wanted to get it posted up for my peeps.
Last edited by toeb; May 8, 2008 at 08:40 PM.


Thread Starter
Pole Position
Joined: Feb 2007
Posts: 375
Likes: 0
From: n.c.
i also now have a barley used set of tanabe nf210's and rear strut bar for sell. i wont be needing them anymore!!!!!
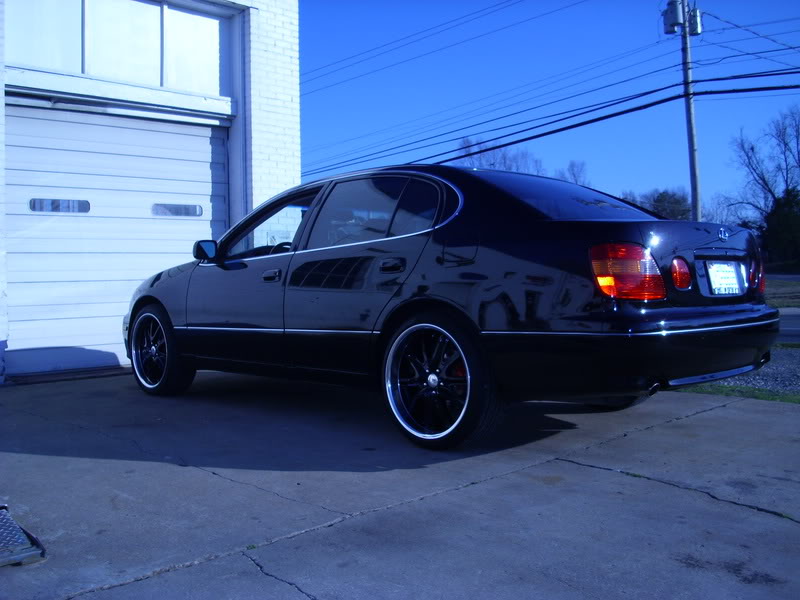
im gonna take more pics when i get it detailed plan to that this weekend so be on the look out
THANKS TO ALL OF THE CL MEMBERS SUPPORT!!!!!
. i wont be needing them anymore!!!!!im gonna take more pics when i get it detailed plan to that this weekend so be on the look out
THANKS TO ALL OF THE CL MEMBERS SUPPORT!!!!!
Last edited by toeb; May 8, 2008 at 08:48 PM.
Trending Topics
Thread Starter
Pole Position
Joined: Feb 2007
Posts: 375
Likes: 0
From: n.c.
the strut bar is a TC sportline i got it and the springs at the same time they probley been drove on about 4000 miles ive only had my gs alittle over a year only drove it about 9000 all year. ill take a pic of tht bar tomarrow for ya!!!
Thread Starter
Pole Position
Joined: Feb 2007
Posts: 375
Likes: 0
From: n.c.

i dont know much about air, but seems like your DIY is quite detailed and well informed. 
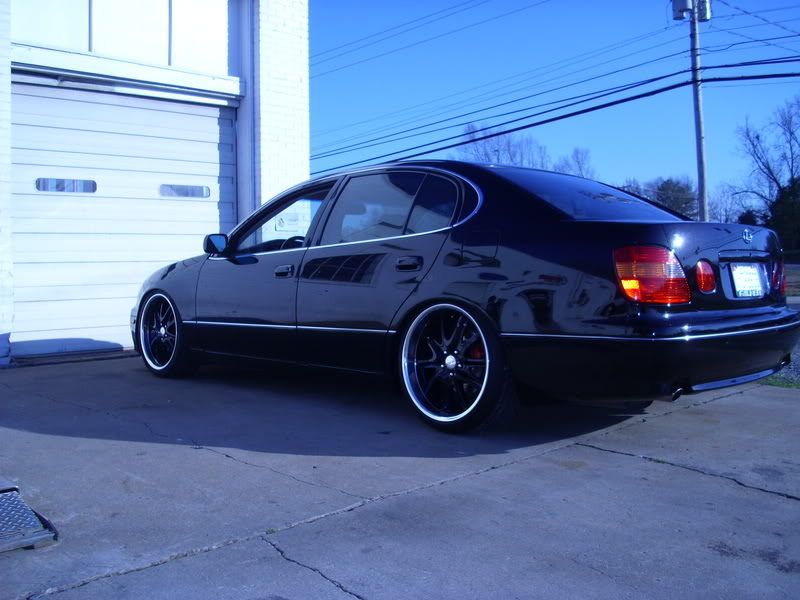
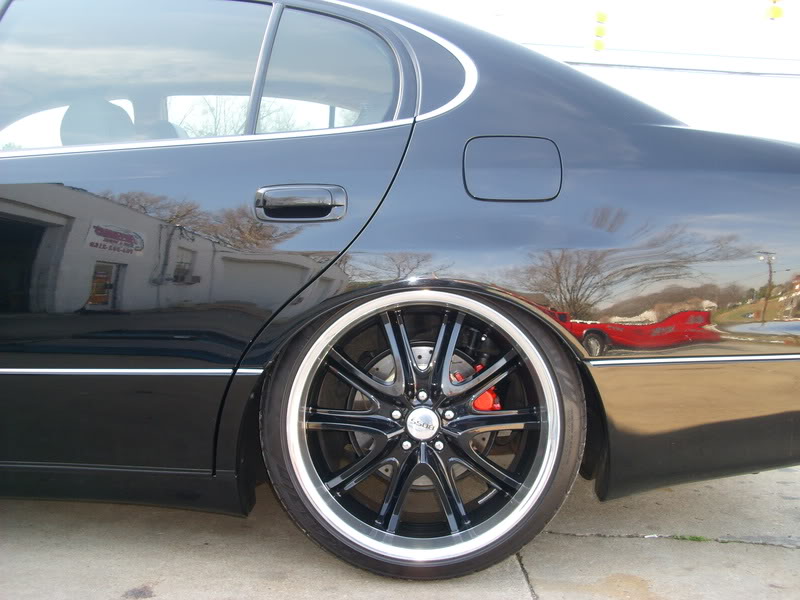
can you go lower than what you are at in the 2nd to last picture?
any plans for a full kit?
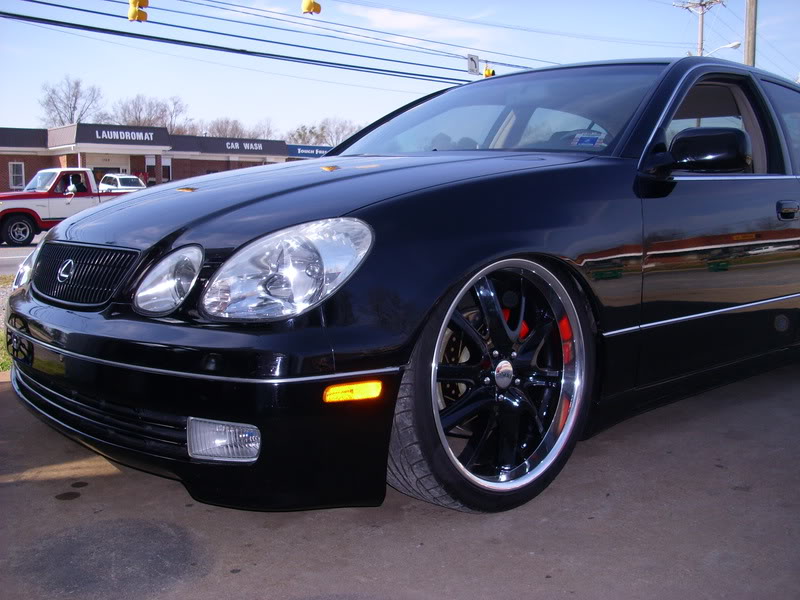
any plans for wheels with more aggressive offsets to compliment the UAS?
can you go lower than what you are at in the 2nd to last picture?
any plans for a full kit?
any plans for wheels with more aggressive offsets to compliment the UAS?