Lexus IS: How to Install Airbag Suspension
Airbag suspension allows you to adjust the height and stiffness of your Lexus. Here is how to do it yourself.
This article applies Lexus IS (2005-2013).
Installing airbag suspensions on your Lexus gives you the freedom to adjust the height of your car freely. You can lower your car on the freeway and raise it when there is a bump. Here is how to do it yourself and save a lot of money on labor.

Tools and Materials Needed
- Floor jack and jack stands
- Metric sockets and wrenches
- Wire stripper/crimper
- Specialty tools such as a pry bar and spring compressor may be needed. You can usually rent these from auto parts stores.
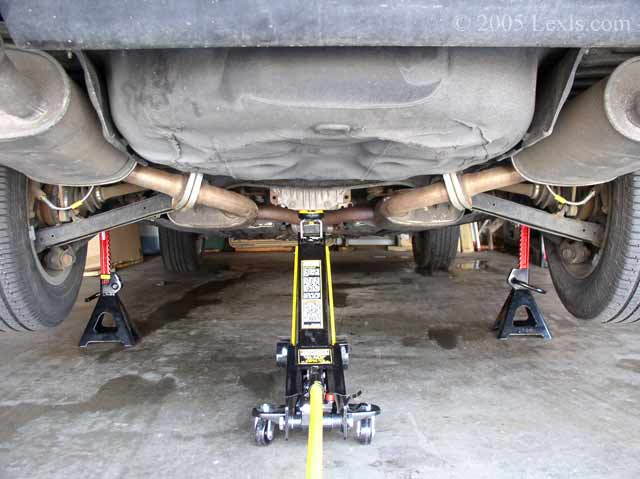
Step 1 - Raise the vehicle and support the frame on jack stands
Loosen the lug nuts, then place the jack at the location recommended in your owner's manual. You can raise the entire vehicle or just work on one section at a time. You can also jack up your vehicle from the TA frame.
Step 2 - Remove the front and rear wheels
Remove the wheels, loosening the lug nuts by turning them to the left.

Pro Tip
Break the lug nuts loose before elevating the vehicle in order to avoid leveraging the car off the jack stands. Place the wheels under the frame as a safety stop for the vehicle to fall on.
Step 3 - Remove the rear strut assembly
Support the A frame with a jack and remove both the strut bolt and the control arm bolt. Then remove the two side bolts on the rear strut.
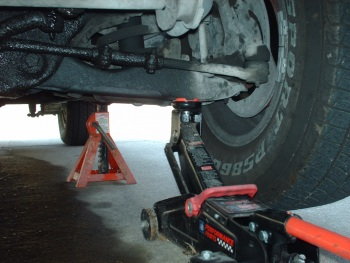
Figure 3. Support the A-frame. 
Figure 4. Remove the lower strut bolt 
Figure 5. Remove the control arm bolts.
Pro Tip
It will be much easier to remove the strut bolt by positioning the jack so as to take the spring pressure off the A arm.
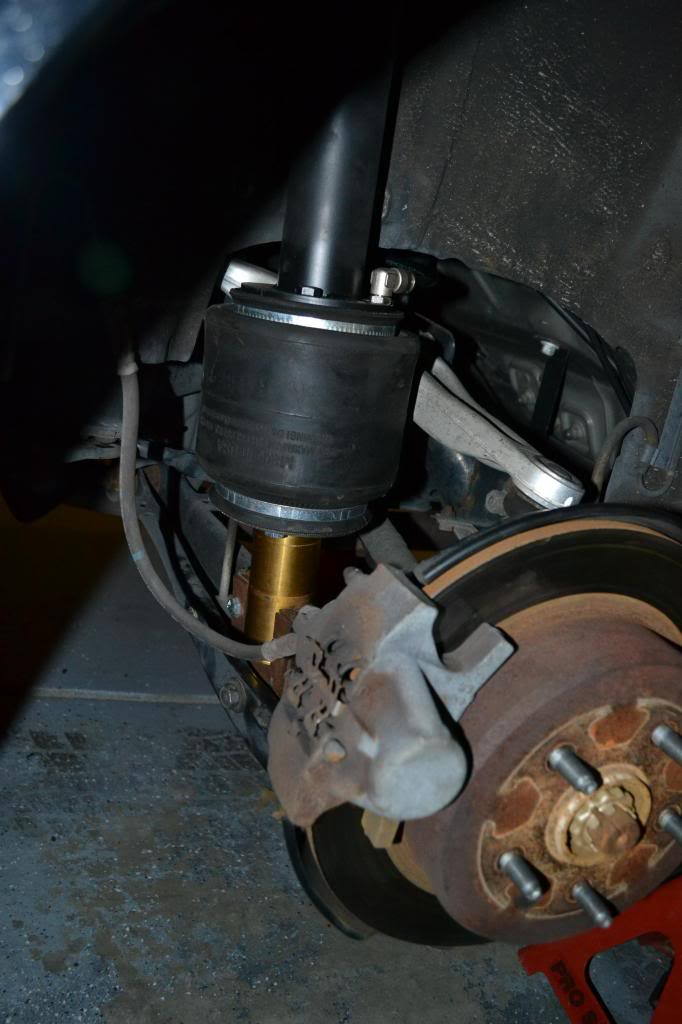
Step 4 - Install the rear air shock
Reverse the removal process. Place the new air shock in place, then bolt it down. You can now lower the jack from the A-frame.
Step 5 - Remove the front strut assembly
Support the A frame with a jack and remove the bottom bolt on the front shock. The, remove the top 3 bolts located under the hood that hold the top of the front shock.

Figure 7. Remove the lower strut bolt. 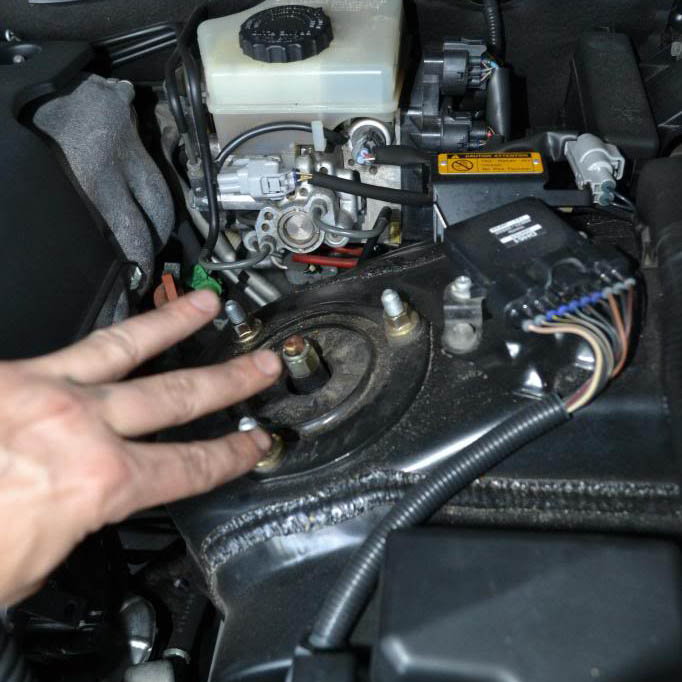
Figure 8. Remove the 3 upper bolts.
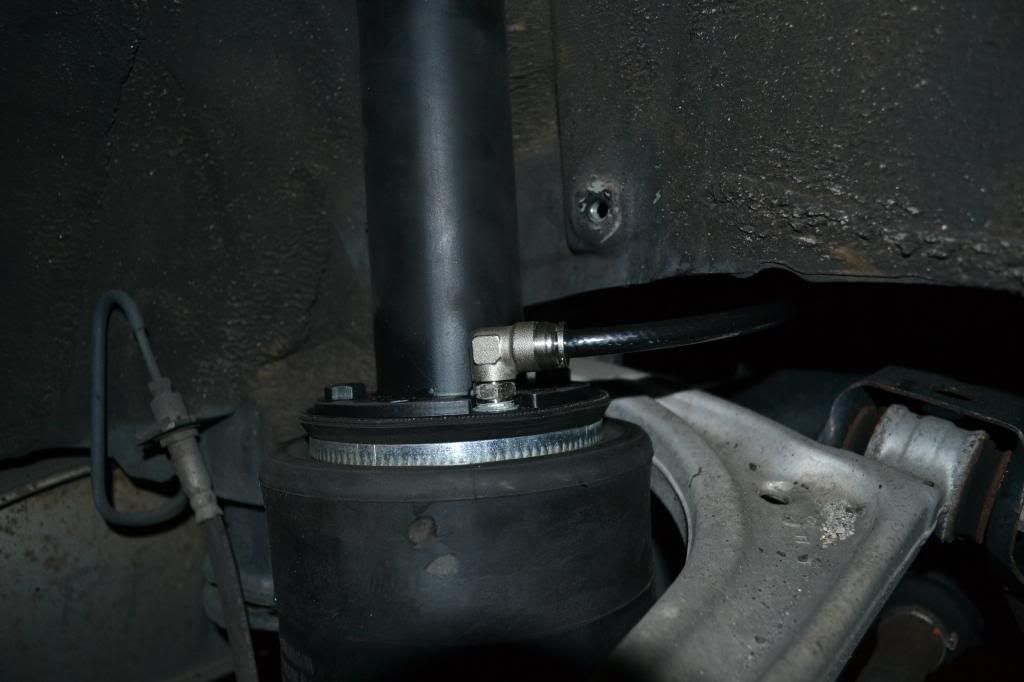
Step 6 - Install the front air bag in place of the strut
Installation is the opposite of the removal. Place the new air bag shock in place, screw the top 3 bolts, then tighten the bottom one.
Pro Tip
Position the air fitting so the hose can be routed easily and in a manner that won't allow the suspension to cause it to rub on the body.
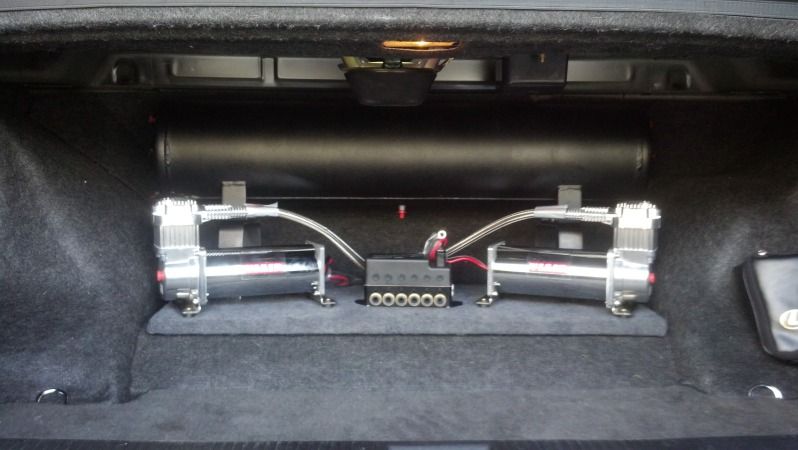
Step 7 - Mount the air tanks and compressor
Find a suitable location for the air tanks and compressor and mount them. Most people choose to mount them in the trunk of the car.
Pro Tip
Realize that compressors have cooling fins and must be located in a place that is cool and allows air flow.
Step 8 - Run the wires, hoses, and controller
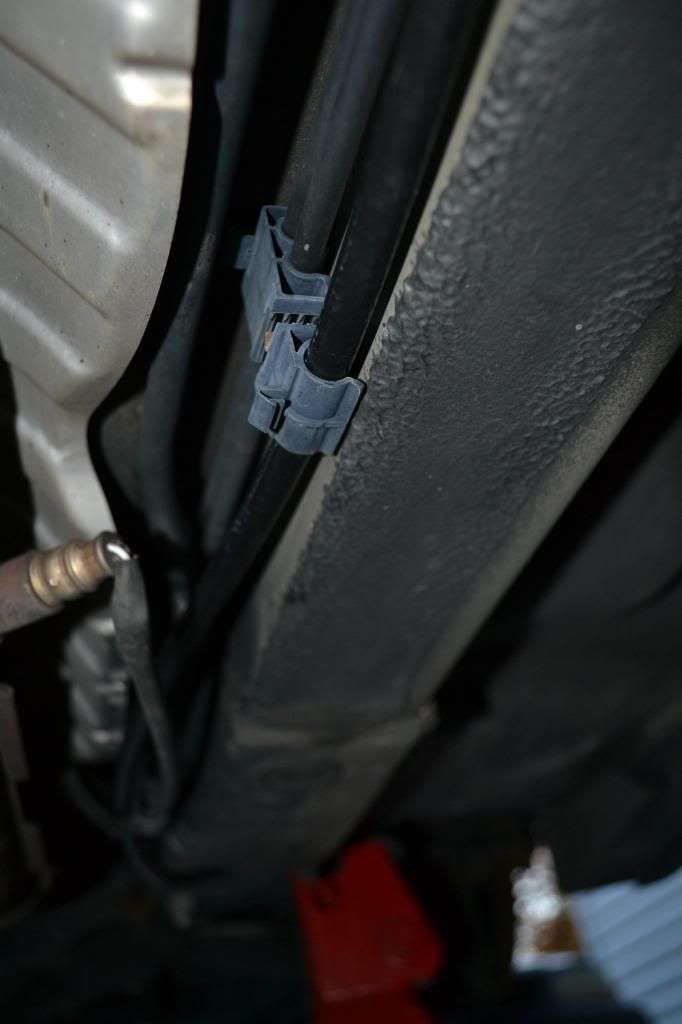
Run the wires and hoses and mount the controller in a suitable location where it can be viewed and adjusted from the driver's seat. Connect the wires and fittings, and you are done. You can ask your auto part store for the clamps that tie the air bag hoses to the frame.
Featured Video: How to Install Airbag Suspension
Related Discussion
-
Airbag suspension DIY - Clublexus.com