When you click on links to various merchants on this site and make a purchase, this can result in this site earning a commission. Affiliate programs and affiliations include, but are not limited to, the eBay Partner Network.
This is my first post on CL but I wanted to share another DIY subwoofer install on my 2013 Lexus GS with ML. There are a few threads that I went through that have good information but I wanted to make a detailed write-up incase anybody else is tackling the project from scratch.
I�ve previously installed two 8 inch subs (infinity reference 860w) and a fosgate P300-1 amp in a Scion FRS a few years ago, and that�s my only experience with subwoofers. I am into audio and live sound and I feel my background there helped make this process easier.
Sub Setup:
JL 126V3 x2
JL XD600/1V2 (I know, severely under-powered..lol. I'll upgrade soon)
Audio Control LC2i
NVX 4GA wiring kit (This kit is awesome at it's price because wires are true 4 gauge and 100% ofc)
HD-RLC remote bass control
The spare tire under the liner. The factory amp is on the right side under the tools.
Picture after removing the tools on top of the factory amp.
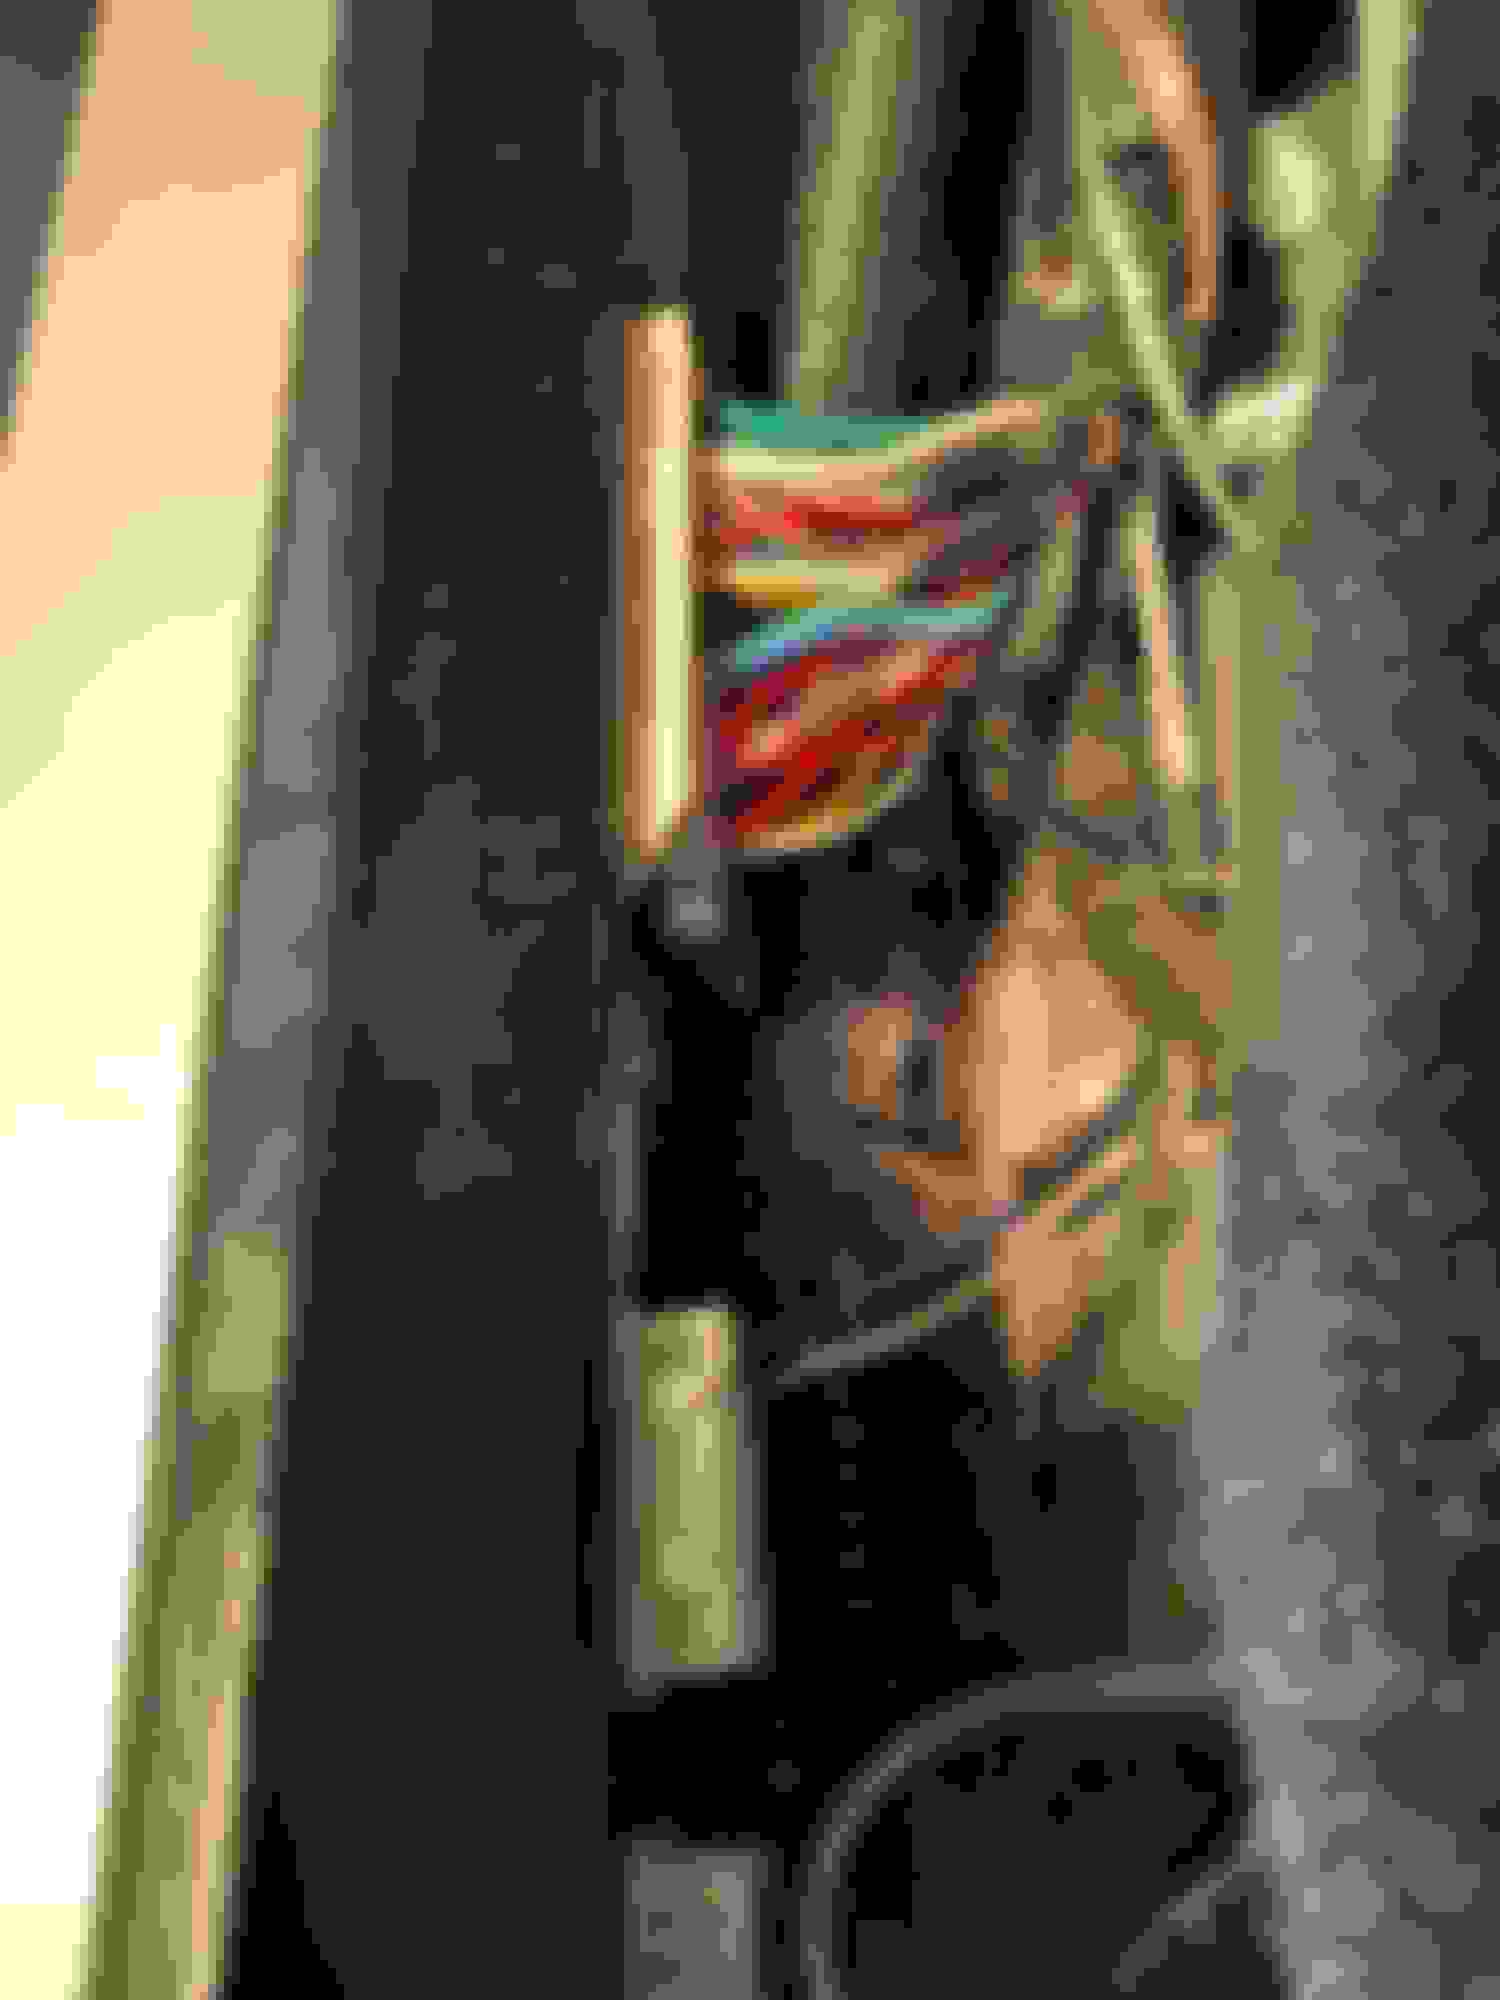
These are the plugs on the Mark Levinson amp. The two plugs are the T49 (plug with remote wire) and T40 (plug with all the speaker out cables)
In order to pull the T40 plug I needed to use a flat head to push under the black tab to release it.
Black tab released!
Here is the T40 plug.
I tapped into the Number 6 (red) sub out cable. I ended up soldering and then wrapping with electric tape for the most secure connection.
Soldering the number 21 (white) sub cable.
A final picture of which two cables I tapped into. You can see the thick electric tape wrapped around them (red and white cable on top of one another). The numbering, I believe, goes right to left on the top row then shifts down and reads left to right. That's the only way the red cable is number 6 and the white is number 21. Just another way to double check yourself.
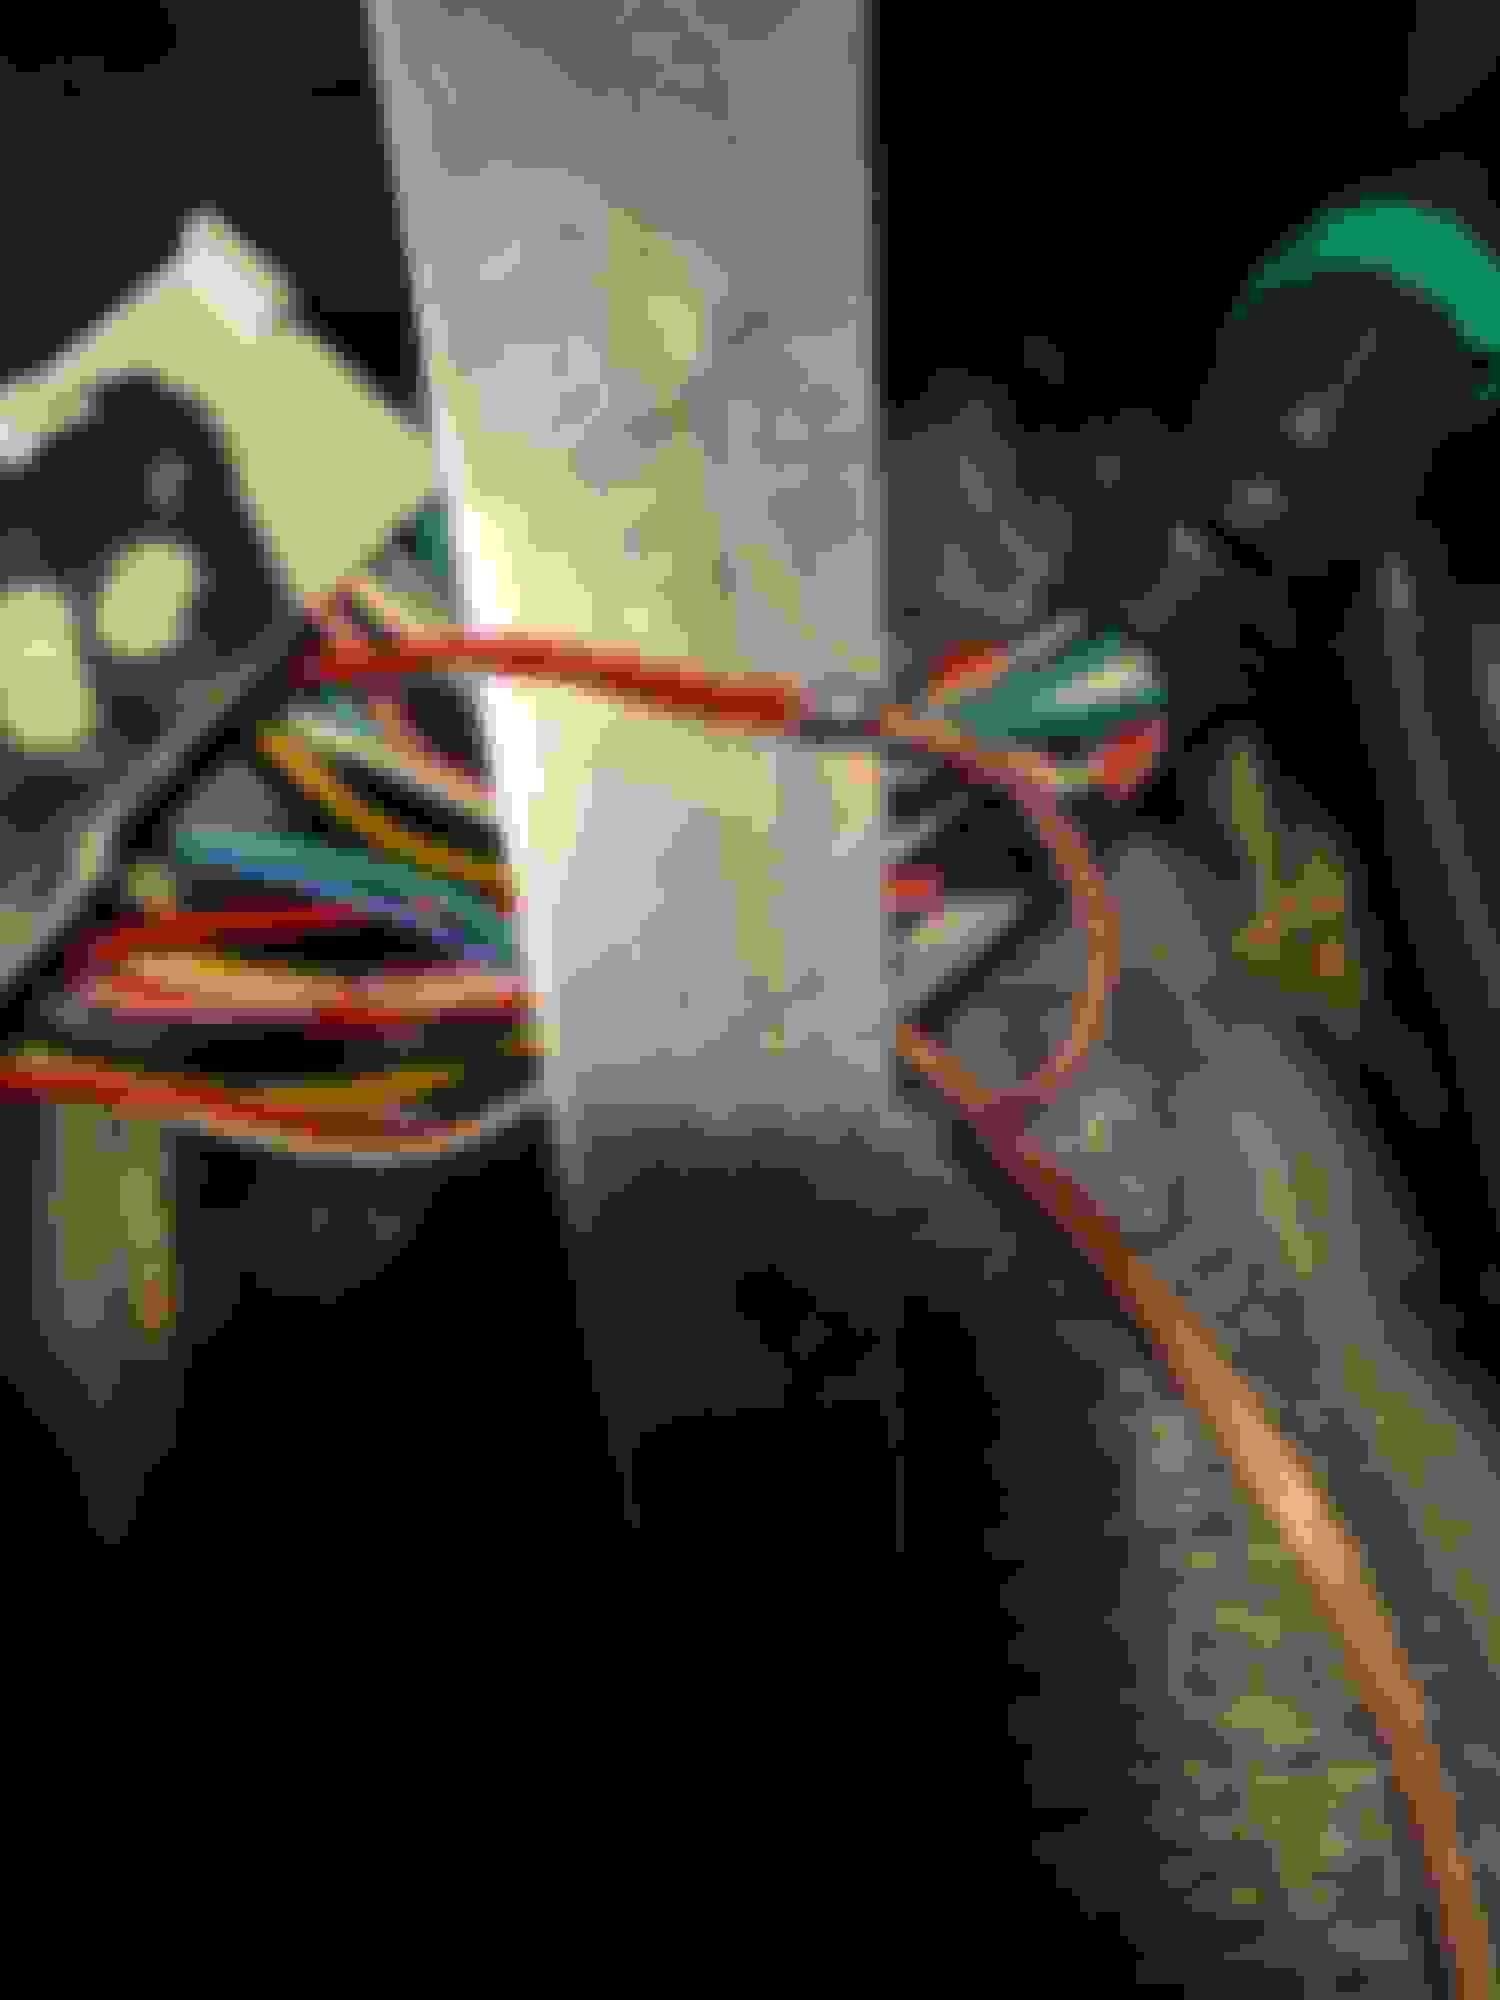
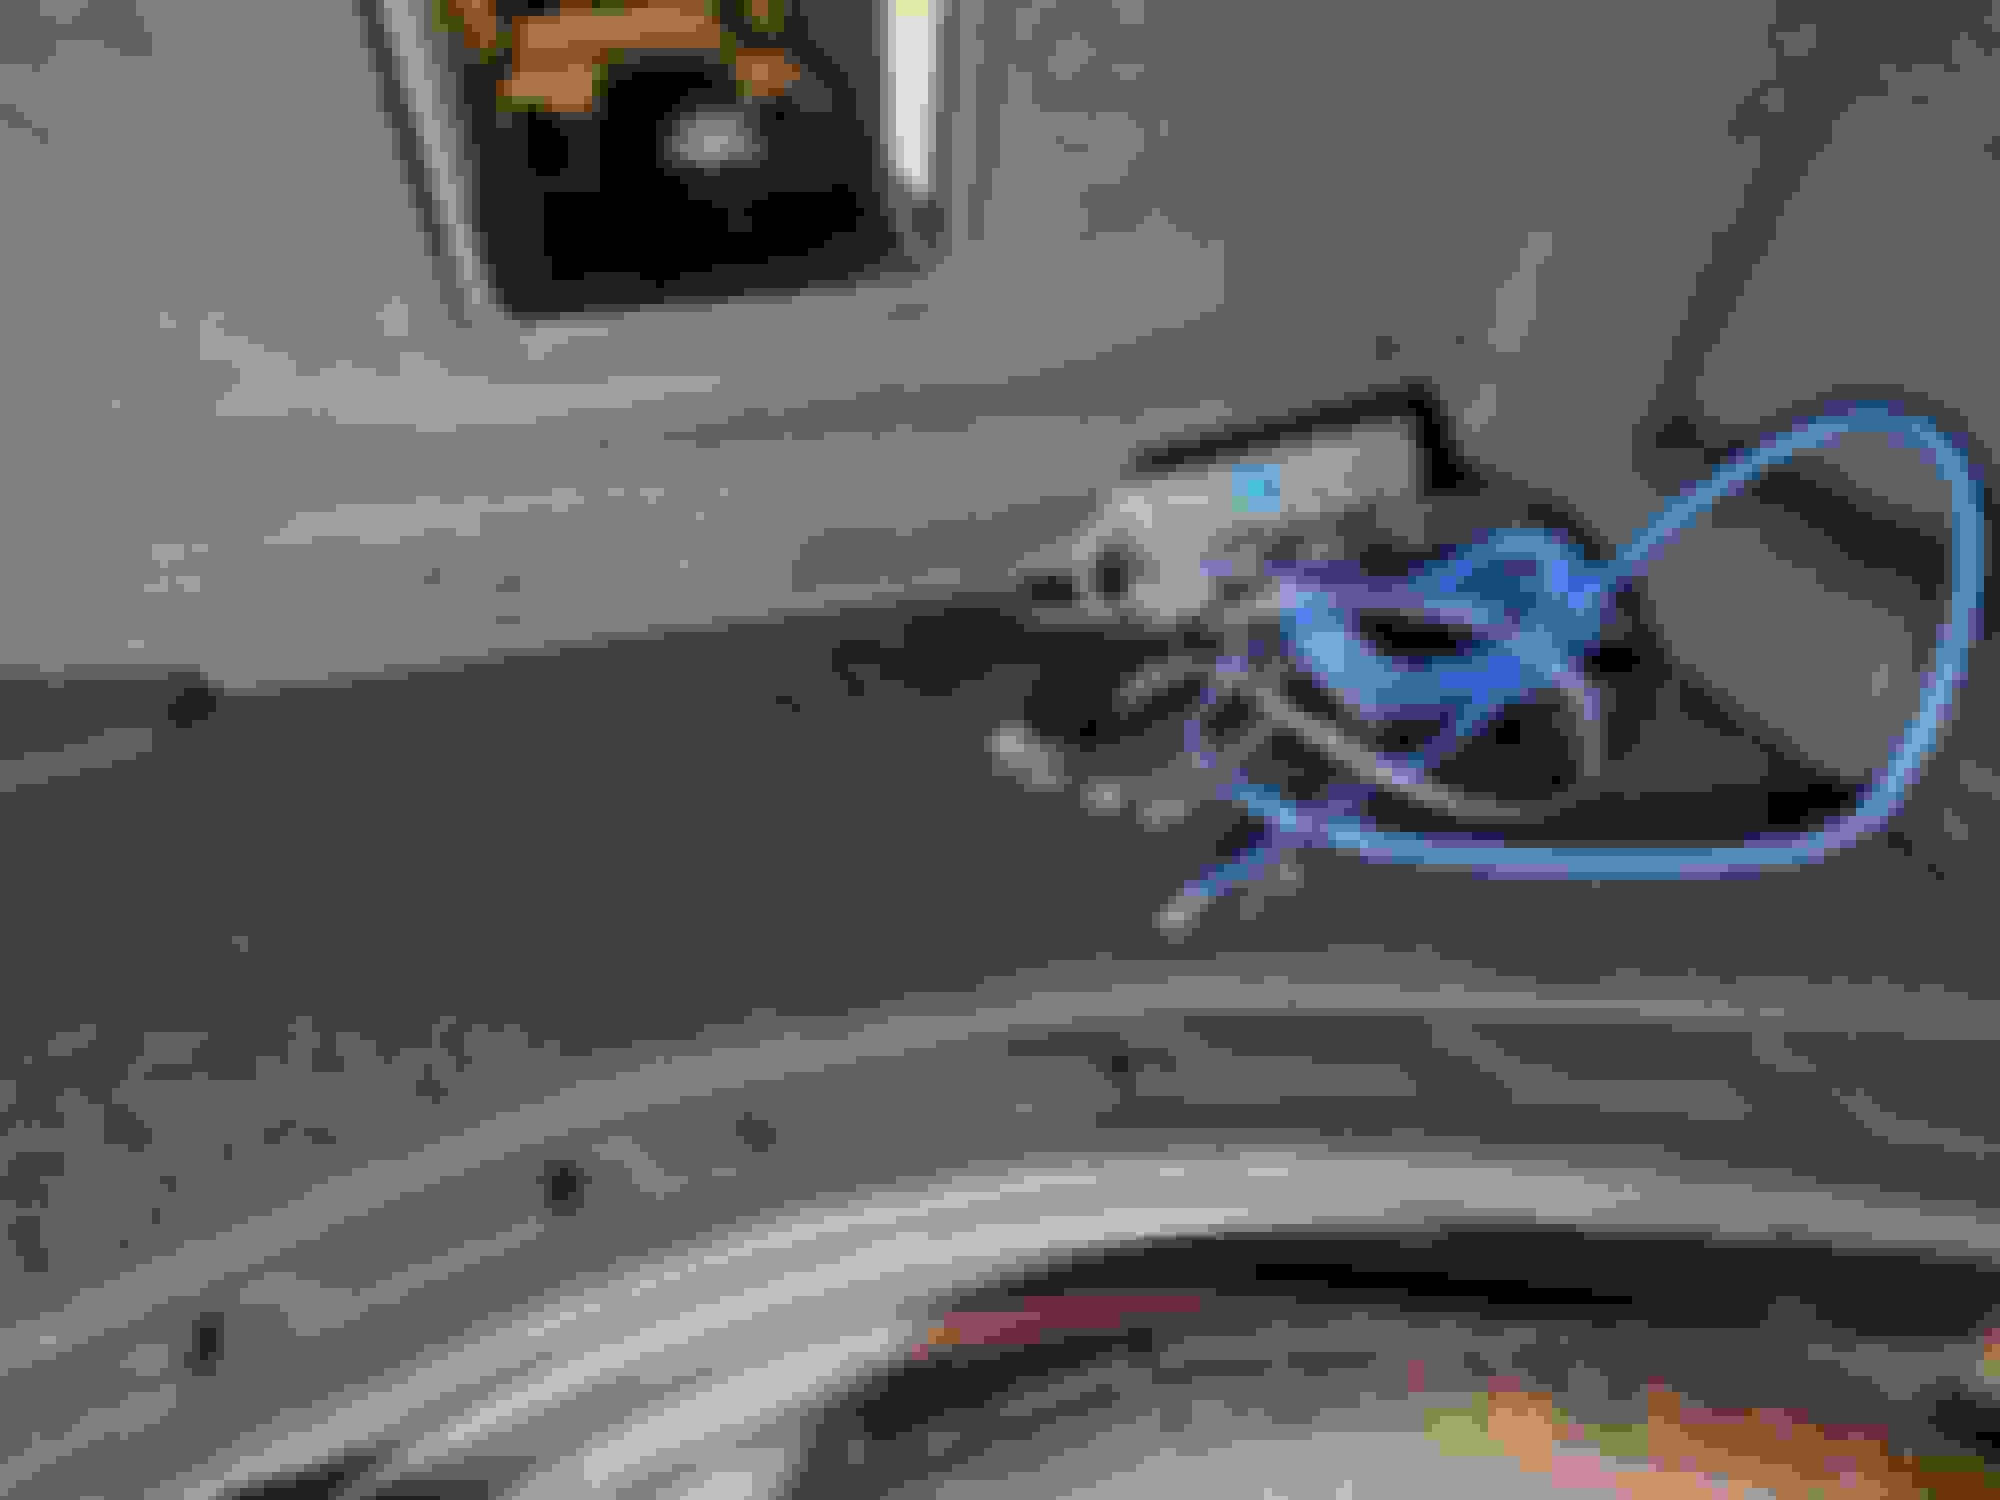
Routing the power cable in the engine bay. The cable was ziptied along other cables. The fuse is behind the black fuse box. This NVX 4 gauge cable is nylon braided on the battery terminal side (which is why I bought it).
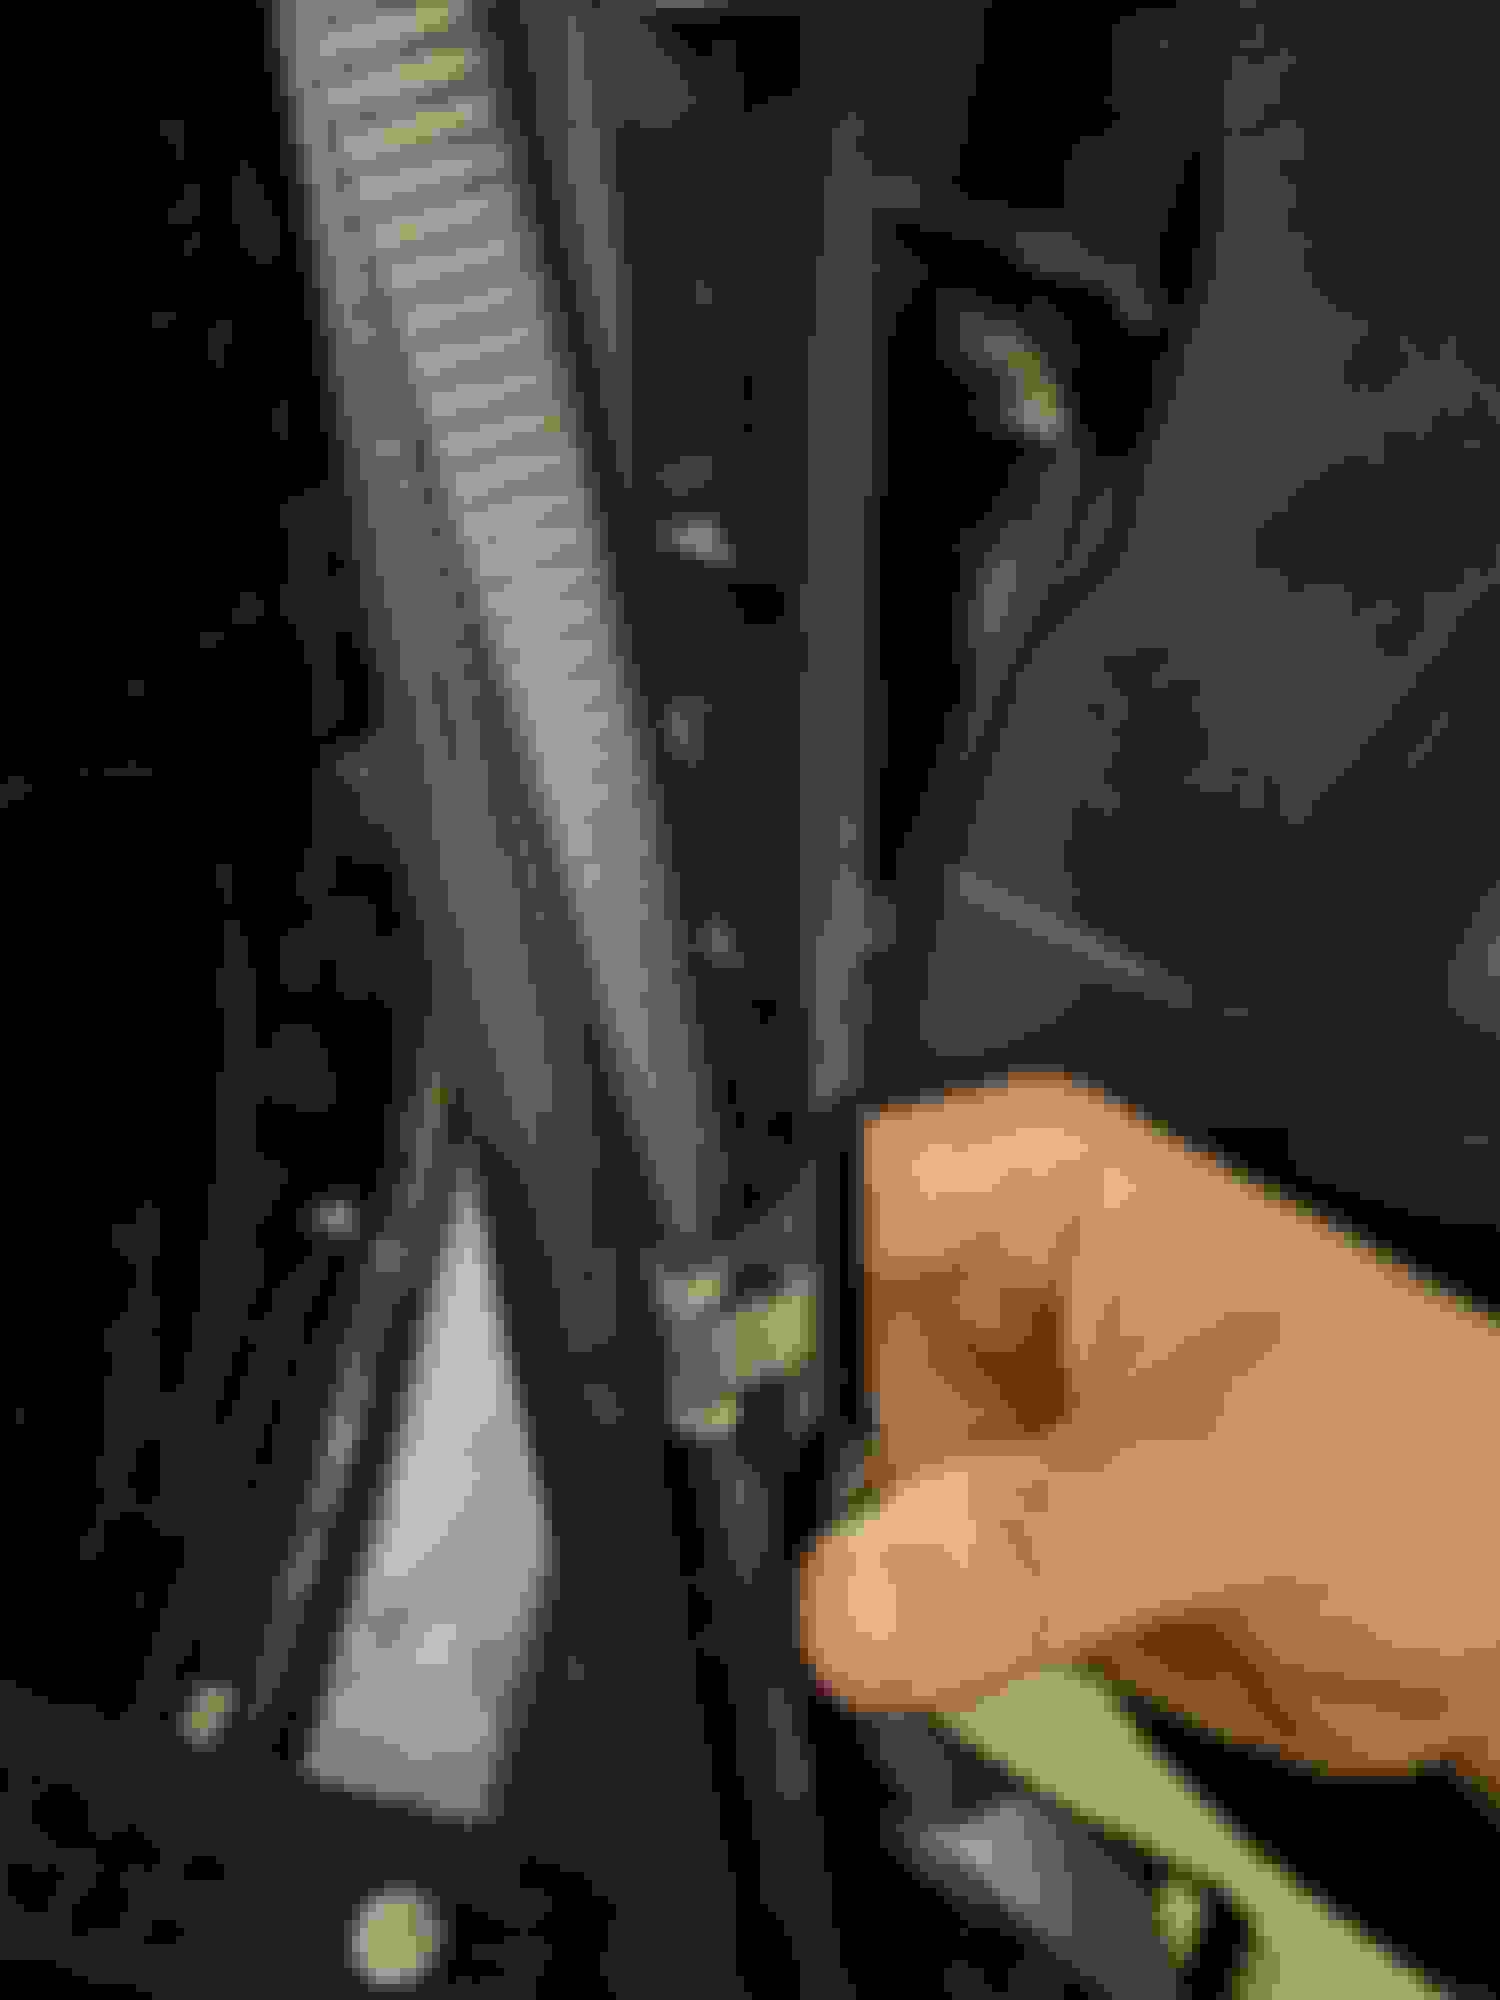
In order to route the power cable I had to remove a few panels and some parts of the rubber seal for the doors. If you end up doing the same, here is a picture for reference on how the rubber seal (left) is hooked onto the plastic trim panel (right). They are held together by the metal hook in the middle.
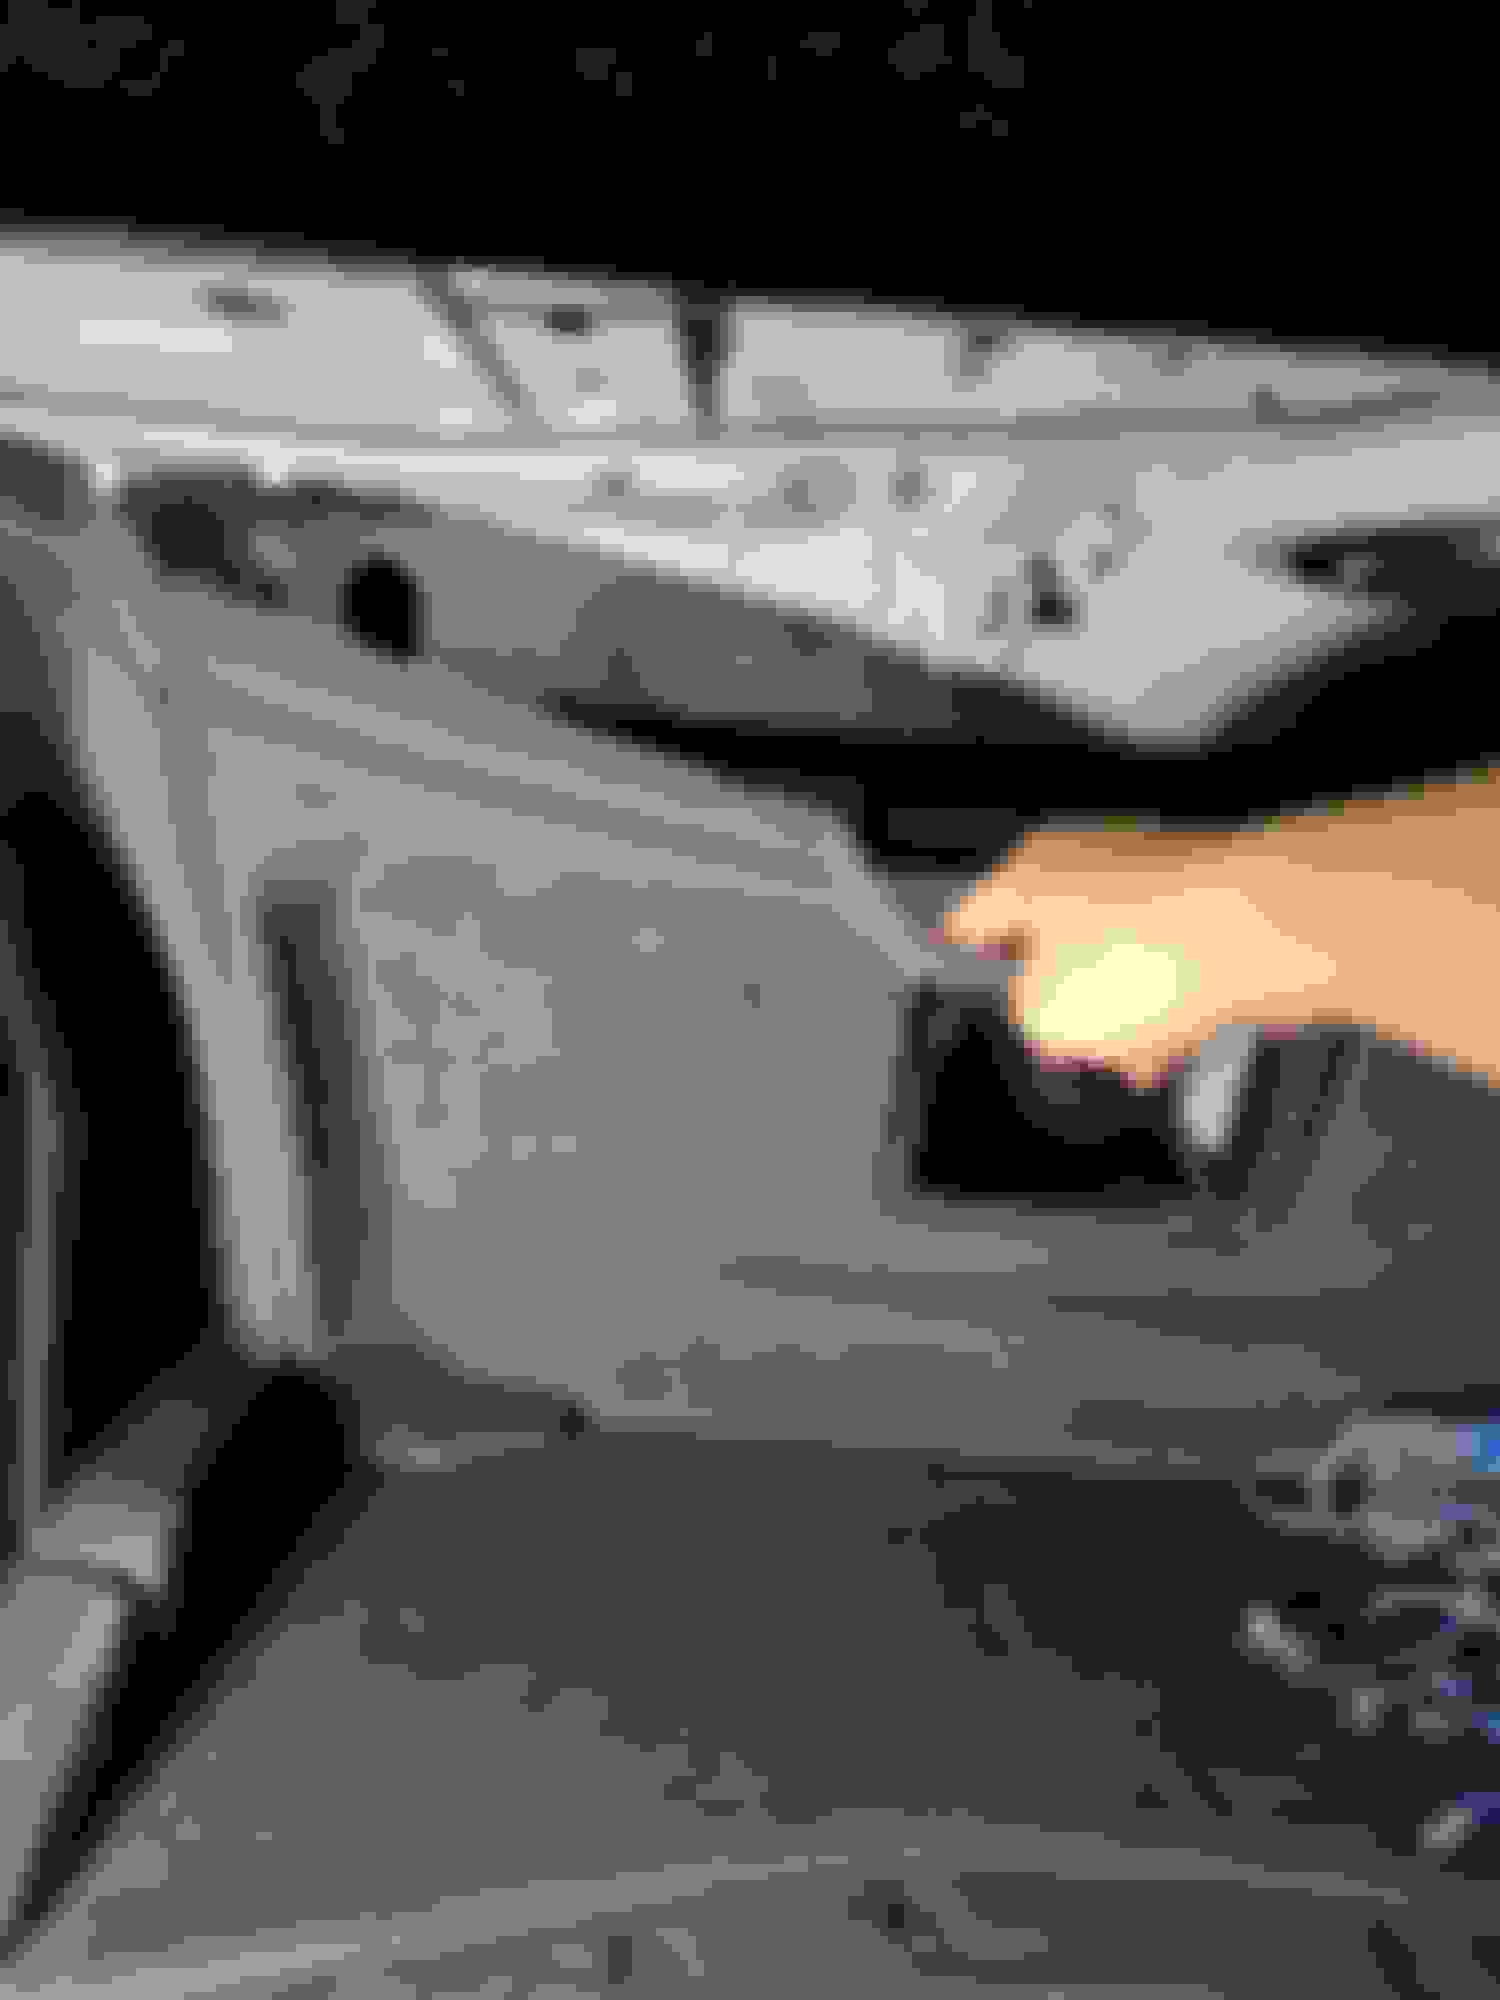
Routing a 4 guage power cable through the grommet was actually more difficult than I originally thought. After a lot of time pushing and wiggling it through I finally got it. I had to remove some of the carpet in order to have more space to access the cable.
This is the power cable coming from the rubber grommet. The cable is the dark line through the center of the screen if you can't tell. On a side note: lighting is extremely important for an easy install.
I placed the power cables into the bracket along the stock cable line running down the passenger side. The power cable was routed down the passenger side and up the rear passenger side panel through the firewall pass through into the trunk. No need to pull off the seats since you can access the trunk through the side panels.
Back to the trunk, I found the easiest way to pull these pins off was to use a crowbar or the back side of a hammer. This works perfectly.
However, if you don't have a hammer handy or crow bar, these pins pull up pretty easy with two flat heads as well as shown above. This only gets tricky if the pins are deeper and harder to get leverage on.
Tip: It made it easy to keep track of all my pins and screws by keeping them in a small container. At the end when placing things back together, you'll make sure you have every spot accounted for.
Before removing the trunk liner around the ski hole, I had to unscrew these two screws up at the top. Second screw.
Removing the trunk liner was easiest when starting from the bottom and pulling out.
Then pull from the top.
Again, adequate lighting is essential for the smoothest installation.
I placed my ground cable under this anchor screw point. Scratched off the paint on the metal first and then screwed it down.
All the wires pulled into the trunk cabin. I forgot to snap pictures of the remote bass control wire but I routed it through the driver side pass through and the driver side panels. This wire is running parallel on the driver side to the power cable.
All the wires are set now! Just had to be careful placing the wires through the trunk liner when putting the liner back into the car.
Final setup with the subs in a dual sealed enclosure. The amp and loc are wired behind it.
All in all this took me about a day to do. Maybe 4-5 hours of actual work time. On a side note: I didn't use the LC2i's signal sensing feature. The LC2i wouldn't even turn on so I had to tap the remote wire to my amplifier into the LC2i to turn it on. I would recommend using a dedicated remoter wire rather than any signal sensing feature offered by the LOC or amp because it is more reliable.
If you have any questions or want any more pictures I'm more than willing to go back and open up some panels to show you more of my process. If you have questions on the wiring I can help with that too. I'll be posting my opinion on the subs and how they compliment the sound system soon once I have the tuning dialed in to the best of my ability.
Thanks! It's not completely every step but most of the other steps are pretty easy. Trying to find ways to be creative with the limited tools at home is the real challenge Lol.
The subs do slide a little if you accelerate hard. So I've been very careful to avoid such acceleration. I'm going to probably put heavy duty velcro along the bottom to keep it from moving so much. They don't move much side to side since the fitment is pretty even for the width.
The plugs for the factory mark levinson? The ML plugs are located on the side of the mark levinson amp facing towards the outside of the car. If you lift up the tool kit you'll see the connectors right there. There are diagrams of the ML amp that are useful as well in other 4GS sub installations.
The plugs for the factory mark levinson? The ML plugs are located on the side of the mark levinson amp facing towards the outside of the car. If you lift up the tool kit you'll see the connectors right there. There are diagrams of the ML amp that are useful as well in other 4GS sub installations.
I actually added some Noico vibration dampener (same as dynamat but half the cost). I layered lots of it over the gas lid since that rattled the most. I also covered about 50-60% on the trunk lid and put one layer along the bottom of the trunk. I have another 20 square feet to put on but haven't had time yet. Before the dampener the trunk rattled a lot at even quieter levels. Afterwards it doesn't rattle as much unless you really push the spl. Additionally the bass sounded noticeably better and louder coming into the cabin after the dampener. I plan on adding it all over the trunk eventually and to double or triple layer certain parts. Things that rattle the most: gas lid, license plate, and the the black trim right by the backup camera.
I actually added some Noico vibration dampener (same as dynamat but half the cost). I layered lots of it over the gas lid since that rattled the most. I also covered about 50-60% on the trunk lid and put one layer along the bottom of the trunk. I have another 20 square feet to put on but haven't had time yet. Before the dampener the trunk rattled a lot at even quieter levels. Afterwards it doesn't rattle as much unless you really push the spl. Additionally the bass sounded noticeably better and louder coming into the cabin after the dampener. I plan on adding it all over the trunk eventually and to double or triple layer certain parts. Things that rattle the most: gas lid, license plate, and the the black trim right by the backup camera.
Yes! I took care of my gas lid, trunk and license plate. But the black trim by the back up cam with the lights for the license plate still rattled, that is until I changed from my ported box a JL Audio HO12W6 to the custom 4th order bandpass that now fires directly into the cabin from the ski hole pass. Absolutely no rattle now anywhere
Yes! I took care of my gas lid, trunk and license plate. But the black trim by the back up cam with the lights for the license plate still rattled, that is until I changed from my ported box a JL Audio HO12W6 to the custom 4th order bandpass that now fires directly into the cabin from the ski hole pass. Absolutely no rattle now anywhere
That's a very nice setup! How does the bandpass sound compare to the HO box? I've been thinking about running an infinite baffle. I just feel like the sound doesn't integrate well enough with the rest of the system, I want cleaner bass and a more blended signature. That's not to say they sound bad, it's just my itch for improvement.