


Weekend Project - Painted Calipers with Lexus Logo


 Weekend Project - Painted Calipers with Lexus Logo
Had to get the calipers spruced up a bit as there isn't a reason why they need to look plan jane.
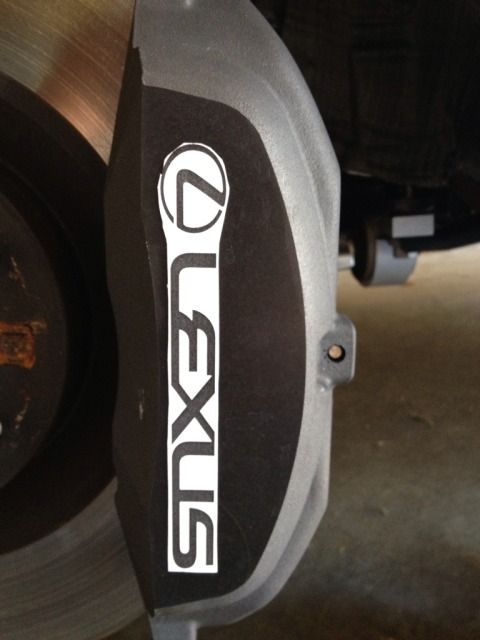
In order to get the right sized decal dialed in, I contacted Matt from MotoGFX. Here is a pic of the test fit.
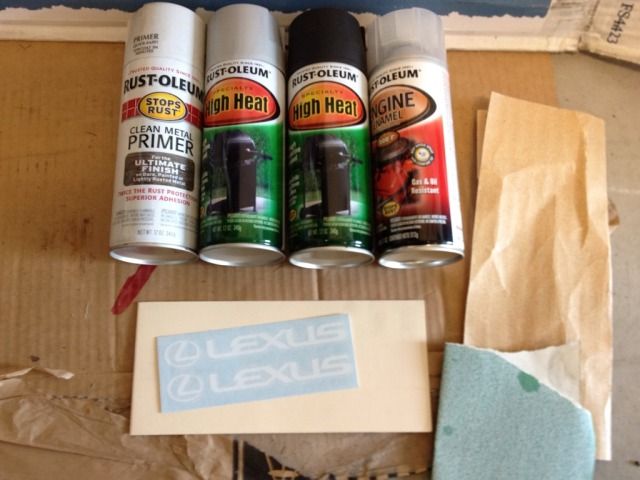
After I received the decals, it was time to get dirty. Here is a pic of all the materials I needed. Sandpaper, primer, silver, black, clear coat, and the decals of course.
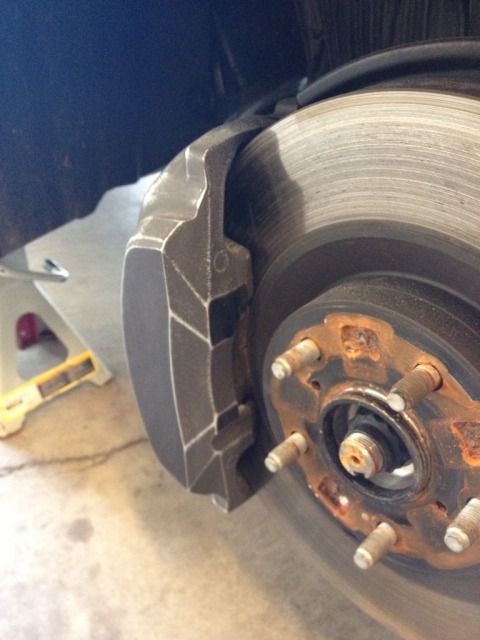
After a good scrubbing and clean the calipers and ready for the primer coat.
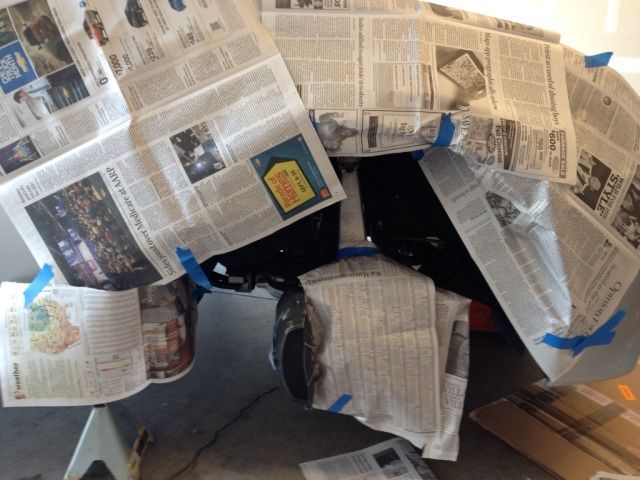
Time to tape up the car, don't want any spray going where it shouldn't be!
Primer layer going on, nice and easy strokes. 2 coats worked for me.
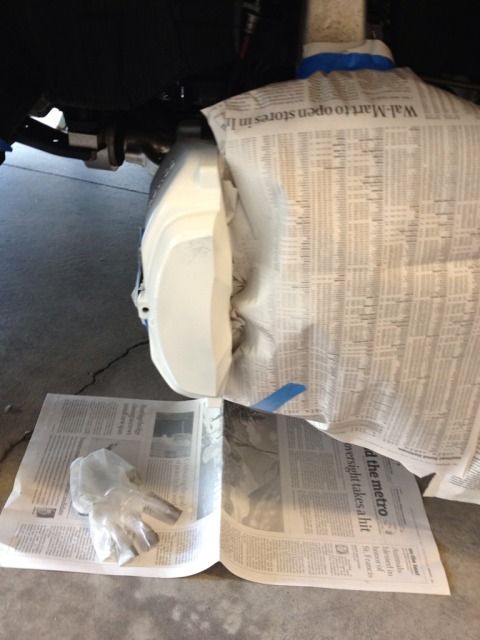
After the primer coat was workable I added the silver coats. After it dried up I went ahead and applied the decals. Some folks at the point would go ahead and apply the clear coat afterwards. I did not, read on.
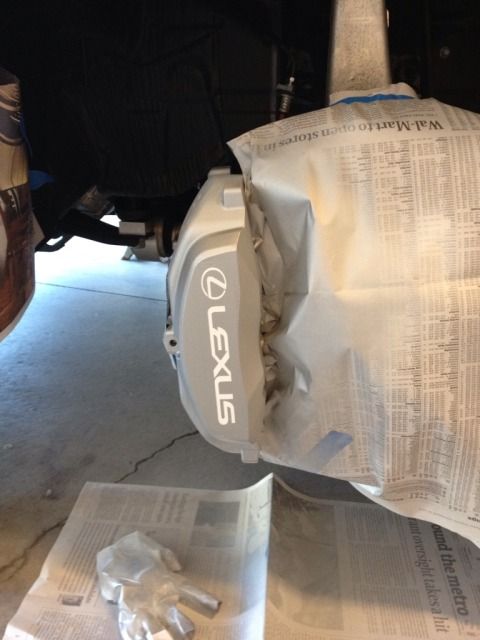
I then painted the caliper the final color, black. As you see here, the decal is also being painted over. I went 3 coats here until you could barely see the decal.
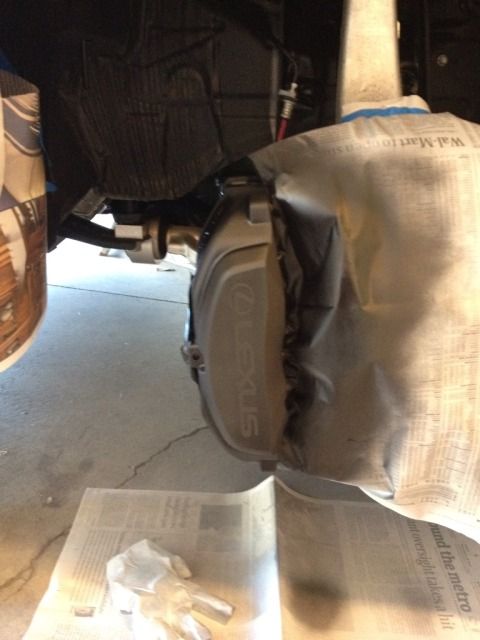
Now you're asking, how did you remove the decal? Very carefully. I used a pin to remove the decals, You need to be very delicate here in order to not ruin the work you already did.
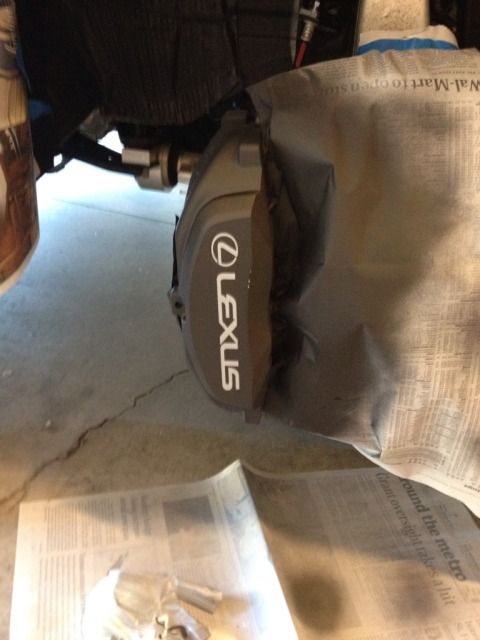
Now the clear coat, another 3 coats was used here. For some reason the silver looks more white, could be just the lighting, cell phone combo.
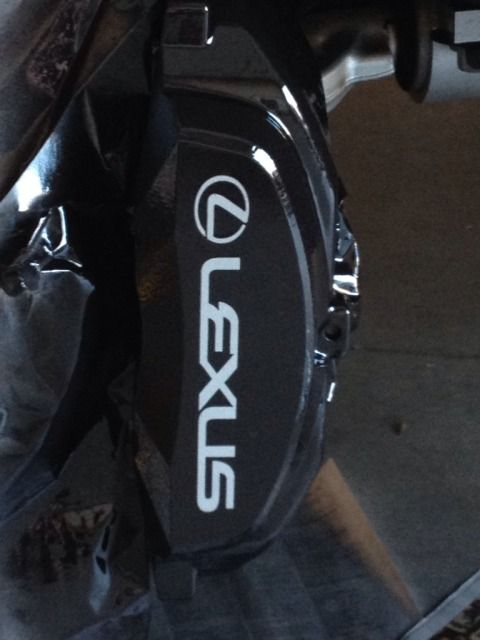
Another finished pic
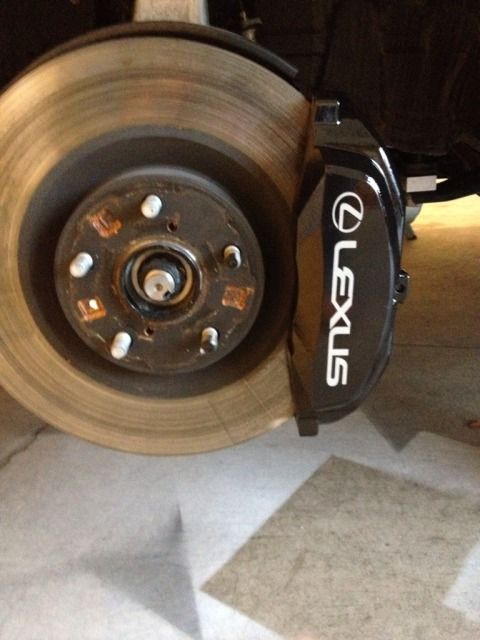
And a final pic with the wheel back on:
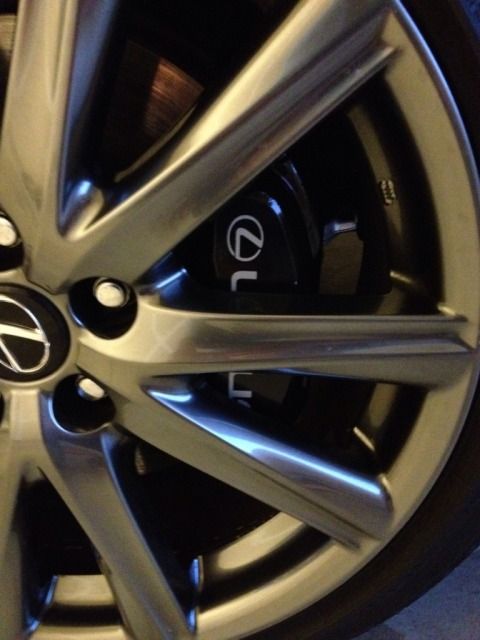
So now the fronts look better - what do you guys think?
In order to get the right sized decal dialed in, I contacted Matt from MotoGFX. Here is a pic of the test fit.
After I received the decals, it was time to get dirty. Here is a pic of all the materials I needed. Sandpaper, primer, silver, black, clear coat, and the decals of course.
After a good scrubbing and clean the calipers and ready for the primer coat.
Time to tape up the car, don't want any spray going where it shouldn't be!
Primer layer going on, nice and easy strokes. 2 coats worked for me.
After the primer coat was workable I added the silver coats. After it dried up I went ahead and applied the decals. Some folks at the point would go ahead and apply the clear coat afterwards. I did not, read on.
I then painted the caliper the final color, black. As you see here, the decal is also being painted over. I went 3 coats here until you could barely see the decal.
Now you're asking, how did you remove the decal? Very carefully. I used a pin to remove the decals, You need to be very delicate here in order to not ruin the work you already did.
Now the clear coat, another 3 coats was used here. For some reason the silver looks more white, could be just the lighting, cell phone combo.
Another finished pic
And a final pic with the wheel back on:
So now the fronts look better - what do you guys think?
Last edited by Allb18c; Sep 23, 2012 at 03:58 PM.


You put the driver side decal wrong, the way u did it with the decal where its not a decal but painted different color is the same exact way i wanted to do mine. Sadly i didnt i just put it there and clear coated.


Trending Topics


I started at 2, done with the last coat at 6 - so 4 hours total. Most of the time was waiting for the paint to semi-dry.
