When you click on links to various merchants on this site and make a purchase, this can result in this site earning a commission. Affiliate programs and affiliations include, but are not limited to, the eBay Partner Network.
3rd gen GS450H transmission oil change (ATF WS sealed transmission)
Transmission fluid change following the method explained in most of the videos for the non-hybrid models
The hybrid difference is the use of the hard line pipes instead of a WS marked fill hole, not sure if I used the prescribed hard line to refill, but it seemed to work.
I think I probably drained between 3 - 4L, pumped in 4L, ran up to temperature, drained about 600ML using the fill hole.
Hand pump pipe attached to transmission hard line
Better view of hard line
Drain and level bolts both removed and view of hard line with hand pump pipe
Old fluid 3-4L
Quite black
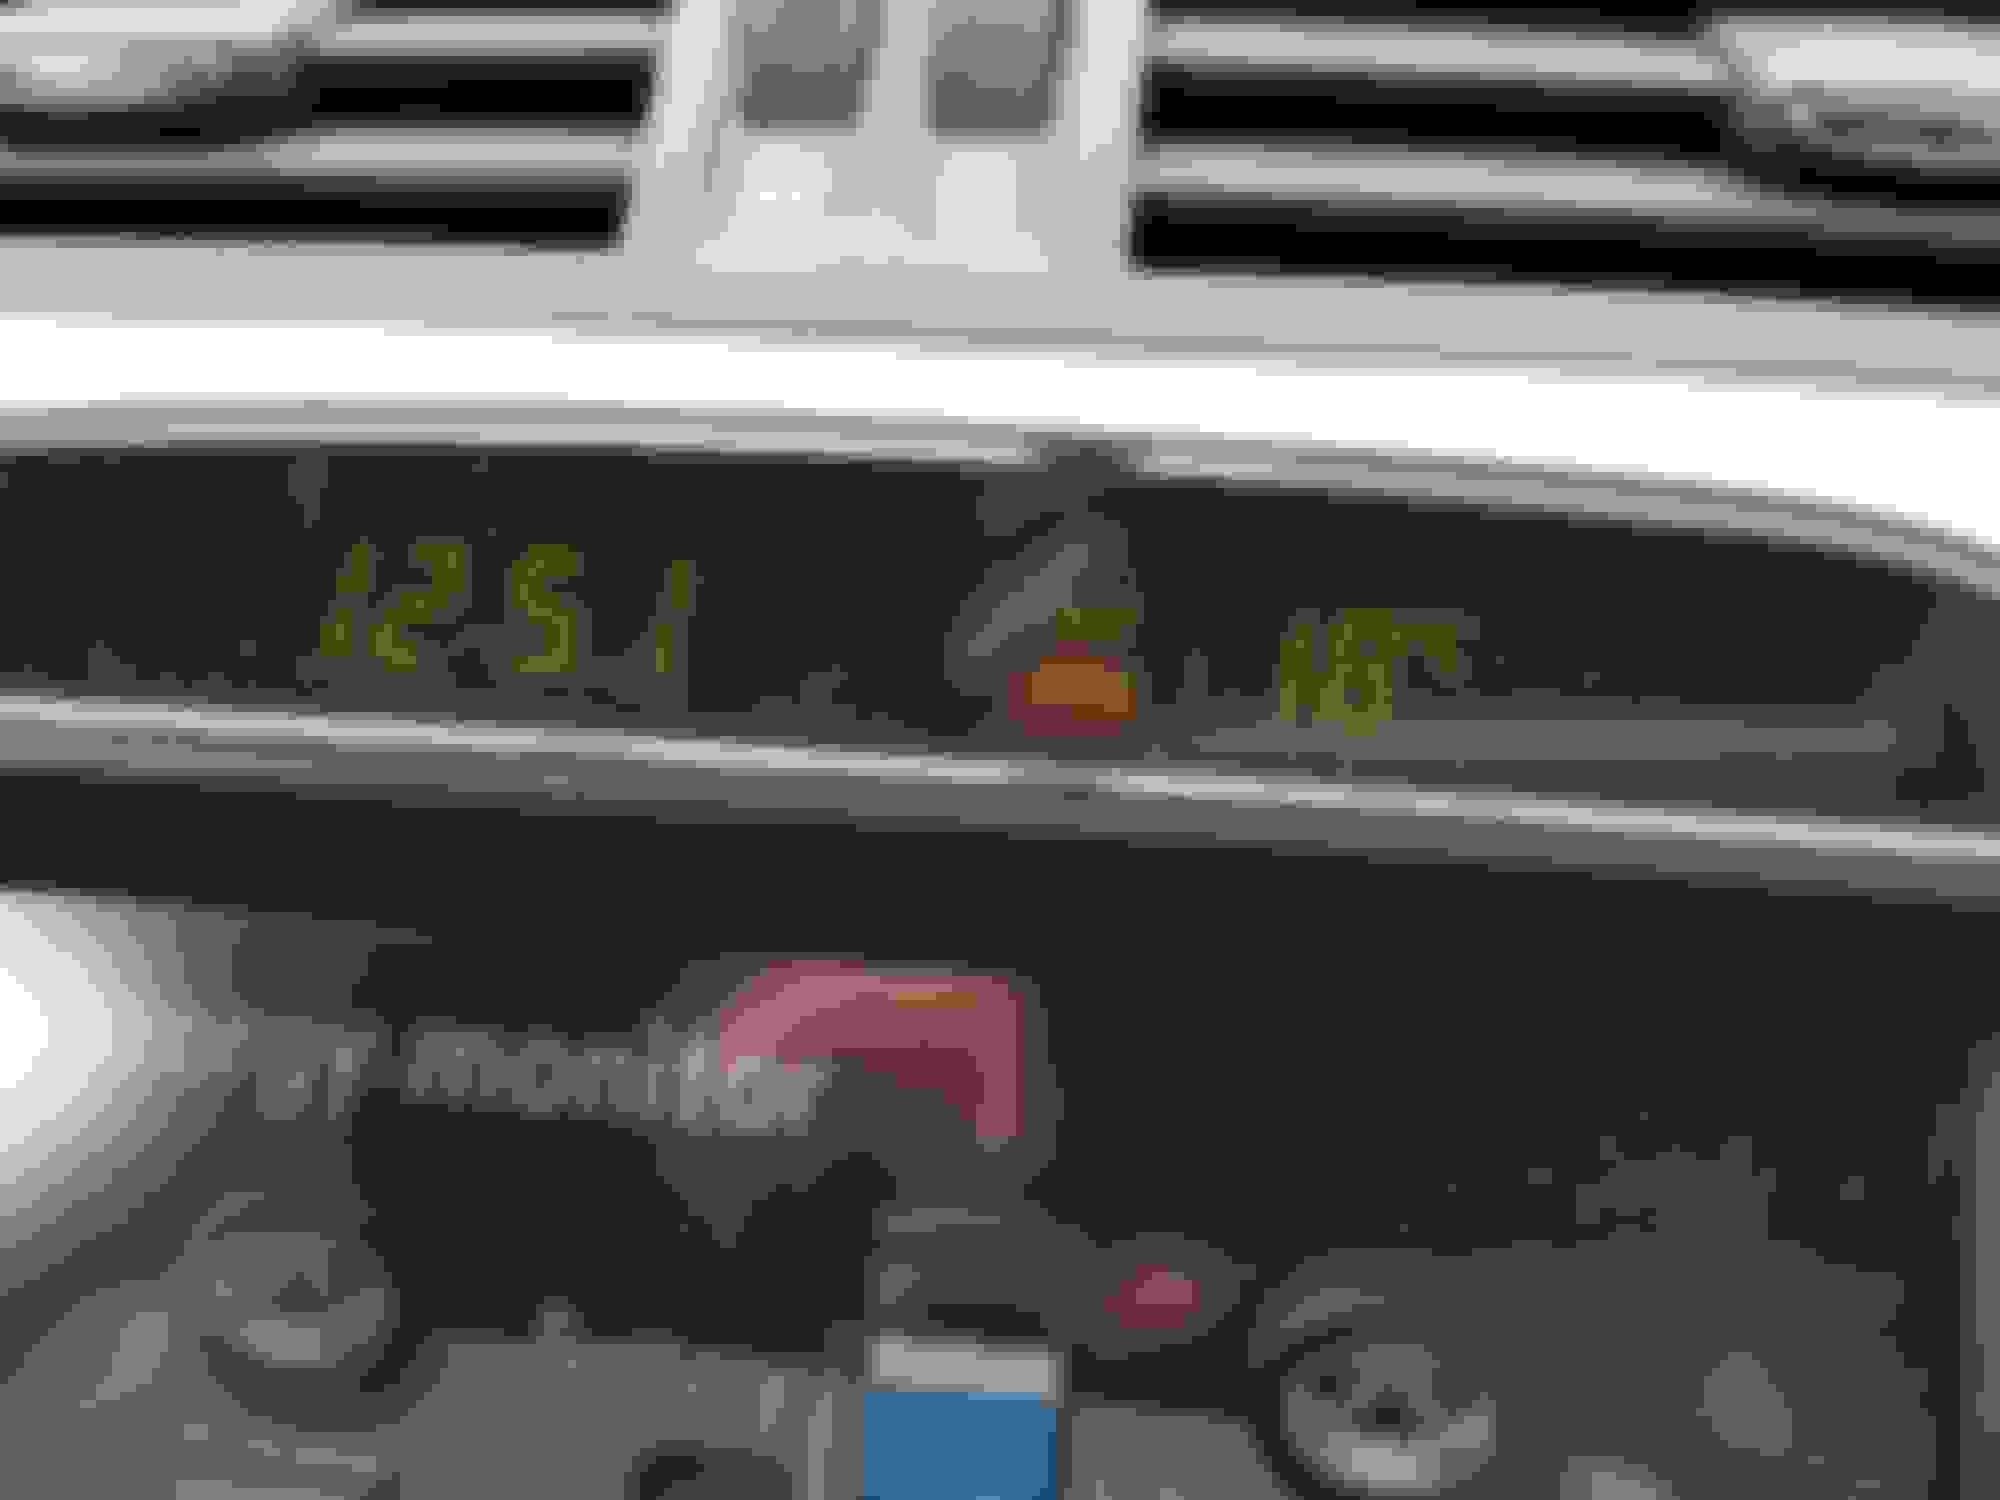
Fluid temperature after 10 miles driving home after the ATF change (note the climate is 16C)
My understanding of the correct Procedure for GS450H mk3 transmission fluid drain, refill and level check is below. I can't find this information readily available on any website so I bought the manual, I'm sharing it now in case it helps someone.
-------------------------------------------------------
Raise the vehicle as level as possible and remove the transmission undertray.
Remove both the drain bolt and the check level bolt.
Once fluid stops draining from drain bolt, refit the drain bolt only (new crush washer is ideal).
Loosen the clamp on the hose and remove, pump fresh ATF-WS into transmission from the cooler line until it begins to flow from the check level hole.
Refit the check level bolt (use existing washer at this point).
Pump a further ~1.1L of fresh ATF-WS and refit the hose with clamp.
Start the vehicle, connect Techstream. Go to Powertrain > Hybrid Control > Data List and find "T/M Oil Temperature" and "Line Pressure". Cycle the gears using shift selector.
Observe that Line Pressure is OFF. Once the T/M Oil Temperature reaches 30C (86F), remove the check level bolt and allow excess fluid to drain to a slow trickle and refit the bolt (new crush washer this time).
Refit undertray and finish.
After adjusting the fluid amount, start the vehicle and make sure that Line Pressure remains OFF.
Notes:
If the Line Pressure stays ON, the transmission is probably underfilled for this procedure. Either start over, or add enough fluid until it turns OFF.
The fluid temperature must be between 30C and 40C for checking the level.
The fluid temperature should be less than 40C before starting the engine.
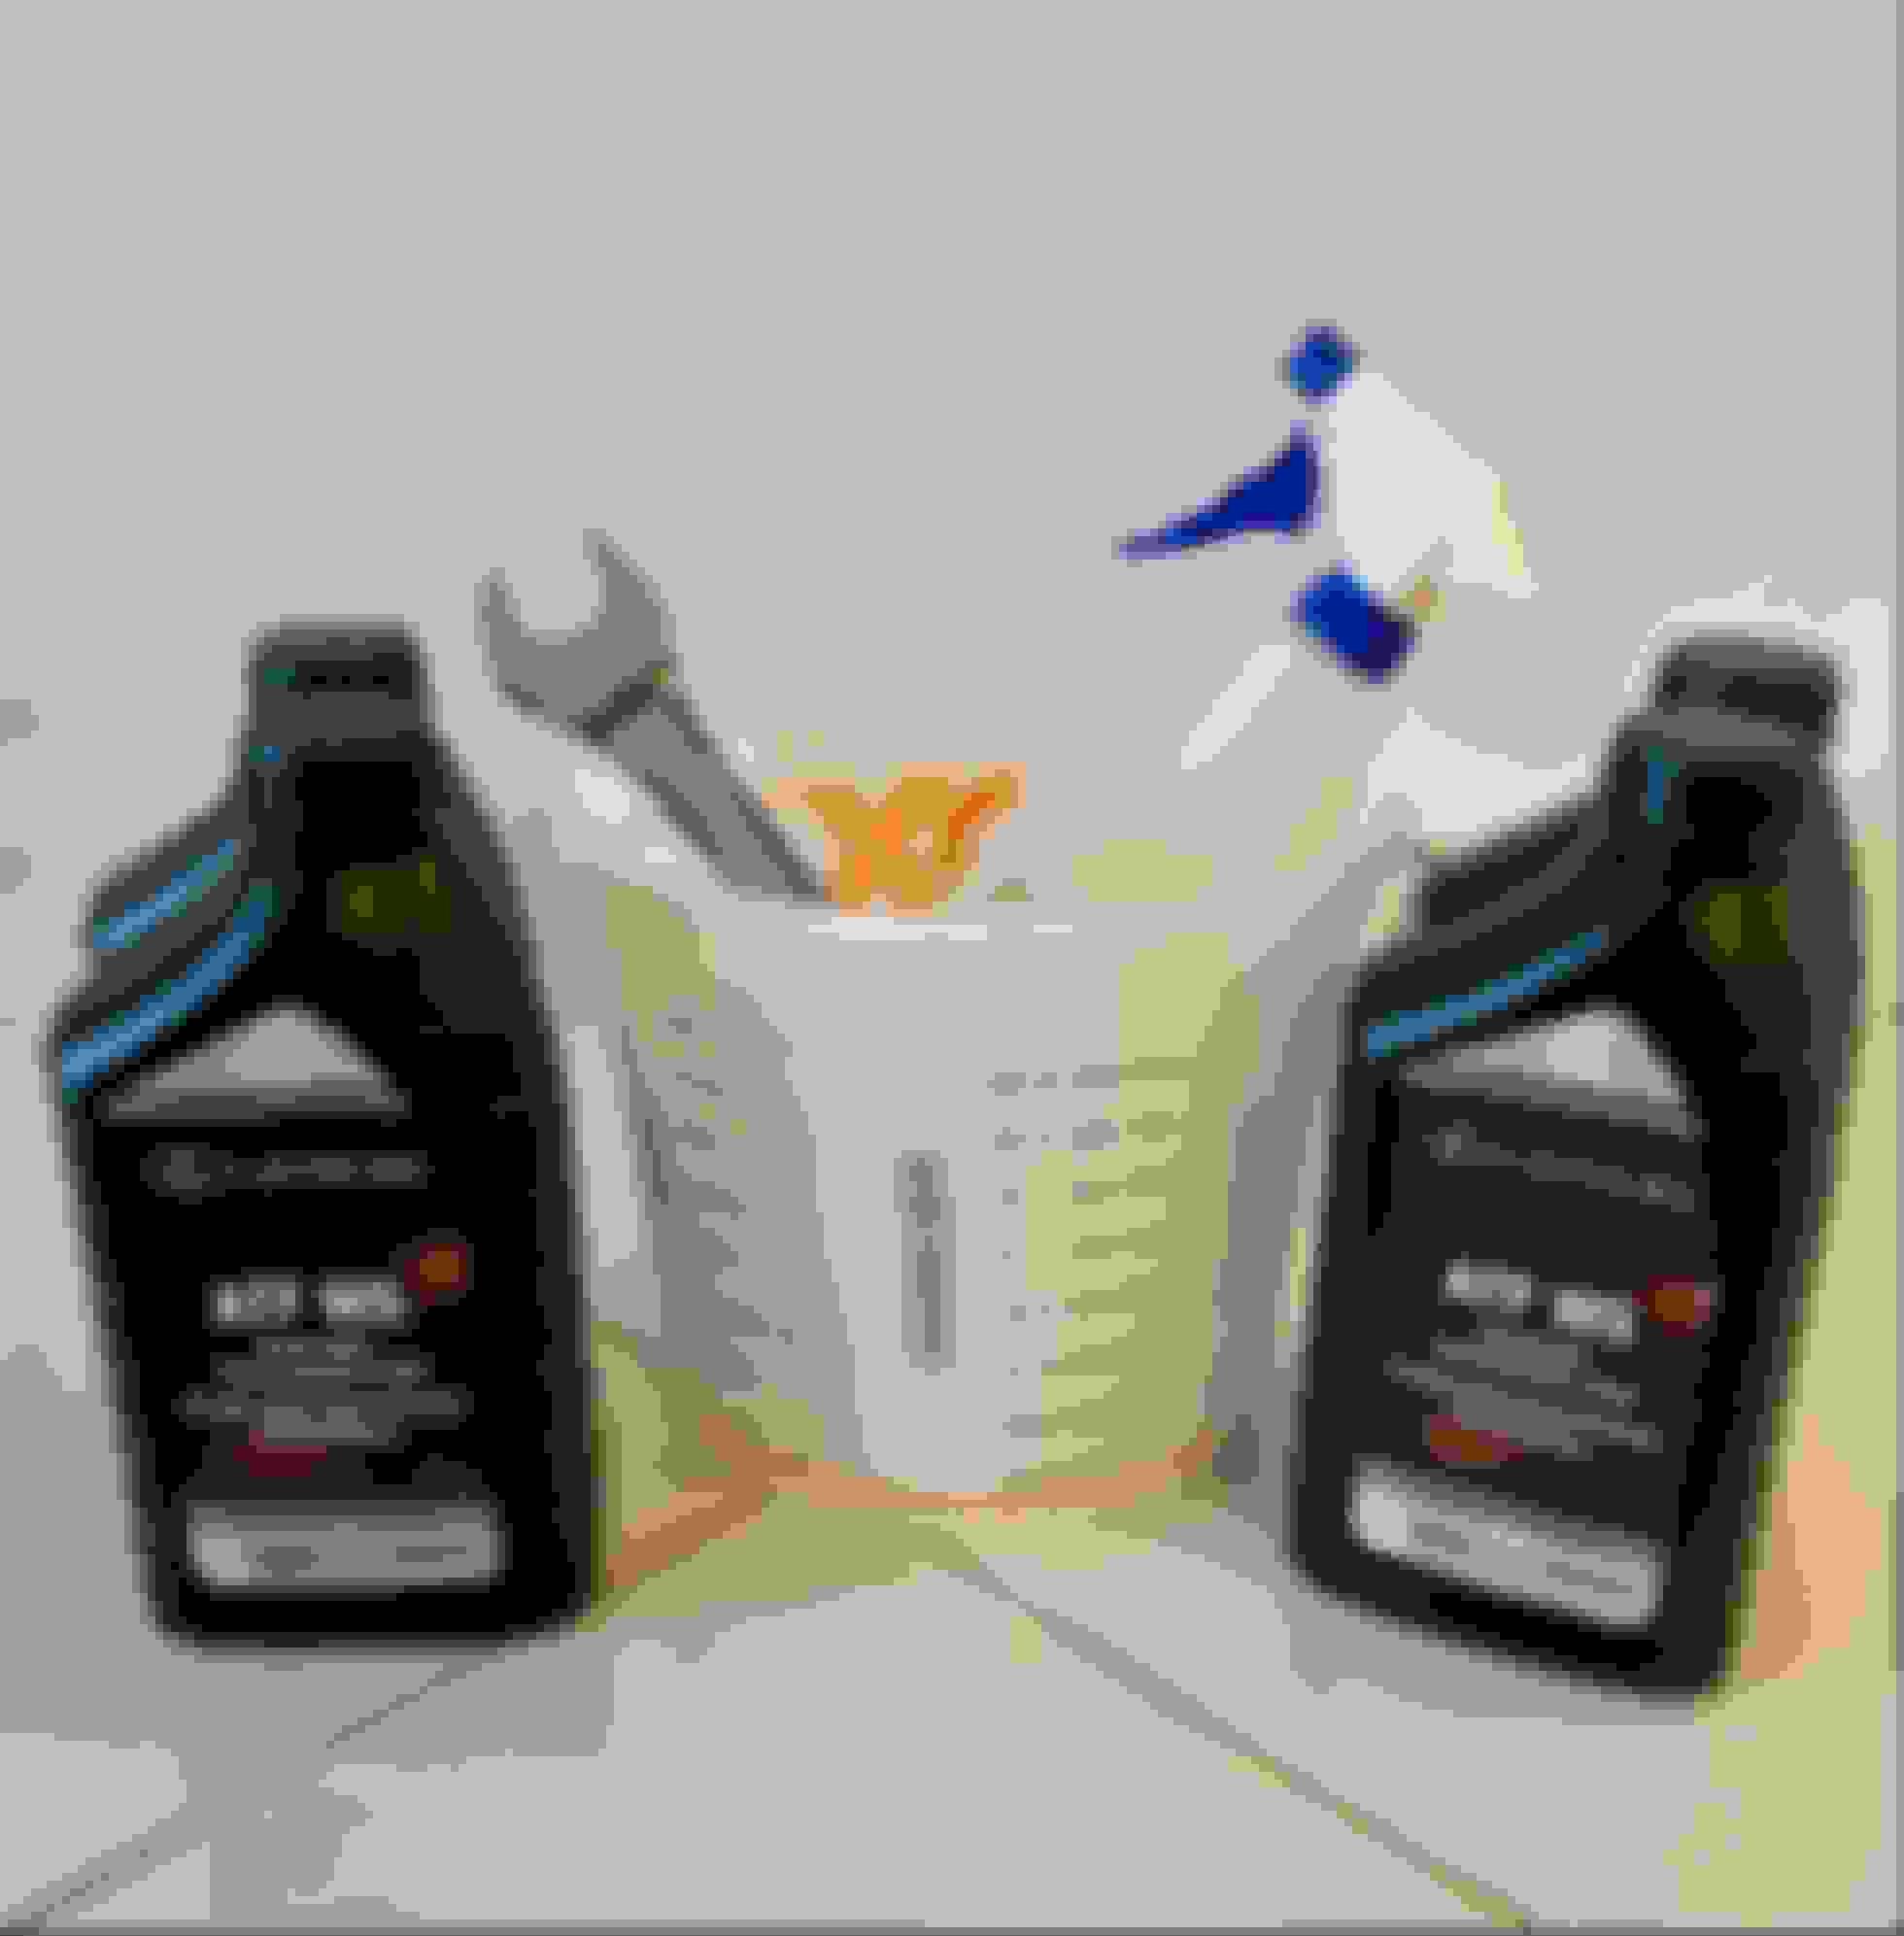
A fluid hand pump is sufficient for this procedure, but pressure bottle is also suitable.
In the manual, they highlight the other hose for refilling rather than the one I showed in the photos, not sure if it makes a difference, but worth mentioning.
To do this without Techstream, as explained in the other non-hybrid guides on this forum and on YouTube does indeed work. Using the jumper wire and cycling the shifter will cause the P and D lamps to illuminate at the correct temperature, however, you won't be able to observe the Line Pressure ON/OFF.
It would be worth doing some checks before starting this whole thing, notably, check what the normal temperature of your transmission is in your driving conditions, and also check that your Line Pressure is OFF, and if there are any situations where it should be on. I wish I checked these before I started.
Edit: I think the Allen bolt was actually 5mm, my mistake, but check you have the right tool first in case I am mistaken.
Last edited by jumbodrive; 05-24-22 at 06:10 AM.
Reason: type-o on the allen bolt size.
Update since doing this, the car definitely feels different. I haven't done enough miles to notice a fuel economy difference. Others have noted an improvement in fuel economy. From my perspective, the car is much more eager to "kick down" and doesn't labour when you lean into the pedal slowly. Other than that, my car had no driveability issues, so I wasn't expecting any change at all to be honest.
I will repeat this process next year, or when I have some free time, only next time I will also drop the sump to clean the magnets and replace the filter.
I'm taking this approach because the draining process doesn't remove all of the fluid, its necessary to repeat it a few times to get the entire capacity changed. Of course, you could go for a quick drive and then drain it again straight away, but it takes so long for the transmission to cool down to the correct temperature for setting the level that the whole process could take an entire weekend. For that reason, I will drive the car with a partial fluid change, and then at the next engine oil service, I will combine this task to make things more convenient. There is no need to try to flush it all out in one attempt, in my opinion.
Good write up and very useful. For those that don't have techstream and need to do it manually... the method stated on page 32 of this slideshow worked for me: https://slideplayer.com/slide/144329...ium=ForumLinksIt turns out that for the GS450h and LS600h, 3 terminals need to be jumped; 12, 13, and 4. Turn on car, shift to neutral, then shift between N and D constantly for about 1 second on each position for a total of at least 6 seconds, at which point you'll notice D's light on the dash staying on for 2 full seconds before disappearing. You are now in ATF temp check mode. Shift it to P, and pull out the jumps from the OBD. After a short while in addition to P being lit up, D will also light up - and that's your cue that the ATF is now at the correct temperature for you to open the overflow check plug and release the excess.
My understanding of the correct Procedure for GS450H mk3 transmission fluid drain, refill and level check is below. I can't find this information readily available on any website so I bought the manual, I'm sharing it now in case it helps someone.
-------------------------------------------------------
Raise the vehicle as level as possible and remove the transmission undertray.
Remove both the drain bolt and the check level bolt.
Once fluid stops draining from drain bolt, refit the drain bolt only (new crush washer is ideal).
Loosen the clamp on the hose and remove, pump fresh ATF-WS into transmission from the cooler line until it begins to flow from the check level hole.
Refit the check level bolt (use existing washer at this point).
Pump a further ~1.1L of fresh ATF-WS and refit the hose with clamp.
Start the vehicle, connect Techstream. Go to Powertrain > Hybrid Control > Data List and find "T/M Oil Temperature" and "Line Pressure". Cycle the gears using shift selector.
Observe that Line Pressure is OFF. Once the T/M Oil Temperature reaches 30C (86F), remove the check level bolt and allow excess fluid to drain to a slow trickle and refit the bolt (new crush washer this time).
Refit undertray and finish.
After adjusting the fluid amount, start the vehicle and make sure that Line Pressure remains OFF.
Notes:
If the Line Pressure stays ON, the transmission is probably underfilled for this procedure. Either start over, or add enough fluid until it turns OFF.
The fluid temperature must be between 30C and 40C for checking the level.
The fluid temperature should be less than 40C before starting the engine.
A fluid hand pump is sufficient for this procedure, but pressure bottle is also suitable.
In the manual, they highlight the other hose for refilling rather than the one I showed in the photos, not sure if it makes a difference, but worth mentioning.
To do this without Techstream, as explained in the other non-hybrid guides on this forum and on YouTube does indeed work. Using the jumper wire and cycling the shifter will cause the P and D lamps to illuminate at the correct temperature, however, you won't be able to observe the Line Pressure ON/OFF.
It would be worth doing some checks before starting this whole thing, notably, check what the normal temperature of your transmission is in your driving conditions, and also check that your Line Pressure is OFF, and if there are any situations where it should be on. I wish I checked these before I started.
Edit: I think the Allen bolt was actually 5mm, my mistake, but check you have the right tool first in case I am mistaken.
where are you located please as I need this done on my car!
Update since doing this, the car definitely feels different. I haven't done enough miles to notice a fuel economy difference. Others have noted an improvement in fuel economy. From my perspective, the car is much more eager to "kick down" and doesn't labour when you lean into the pedal slowly. Other than that, my car had no driveability issues, so I wasn't expecting any change at all to be honest.
I will repeat this process next year, or when I have some free time, only next time I will also drop the sump to clean the magnets and replace the filter.
I'm taking this approach because the draining process doesn't remove all of the fluid, its necessary to repeat it a few times to get the entire capacity changed. Of course, you could go for a quick drive and then drain it again straight away, but it takes so long for the transmission to cool down to the correct temperature for setting the level that the whole process could take an entire weekend. For that reason, I will drive the car with a partial fluid change, and then at the next engine oil service, I will combine this task to make things more convenient. There is no need to try to flush it all out in one attempt, in my opinion.
Hi Jumbodrive, excellent drive up and very helpful. Thank you. Did you have to reset transmission values and learn new T/M oil up and down pressure values via specific drive pattern ?
I have a GS460 which has more ATF im assuming, but here is the procedure I did:
I put it on ramps when the engine is cold. I also recommend using new plugs or at least washers. Note the size of the wrenches. Remember to always open the fill plug first.
Open and drain into a measuring bucket. Just under 4 quarts come out. (Out of about 11).
Pump 4 quarts of OEM fluid in.
You want to account for spillage.
Drive around a few weeks / months and repeat. After 4 times, You get over 90% fresh fluid. Take the old fluid to an auto parts store to recycle.
 05-21-22, 05:42 AM