When you click on links to various merchants on this site and make a purchase, this can result in this site earning a commission. Affiliate programs and affiliations include, but are not limited to, the eBay Partner Network.
2006 GS430 Magic Drift ING Front Lip Install Questions??
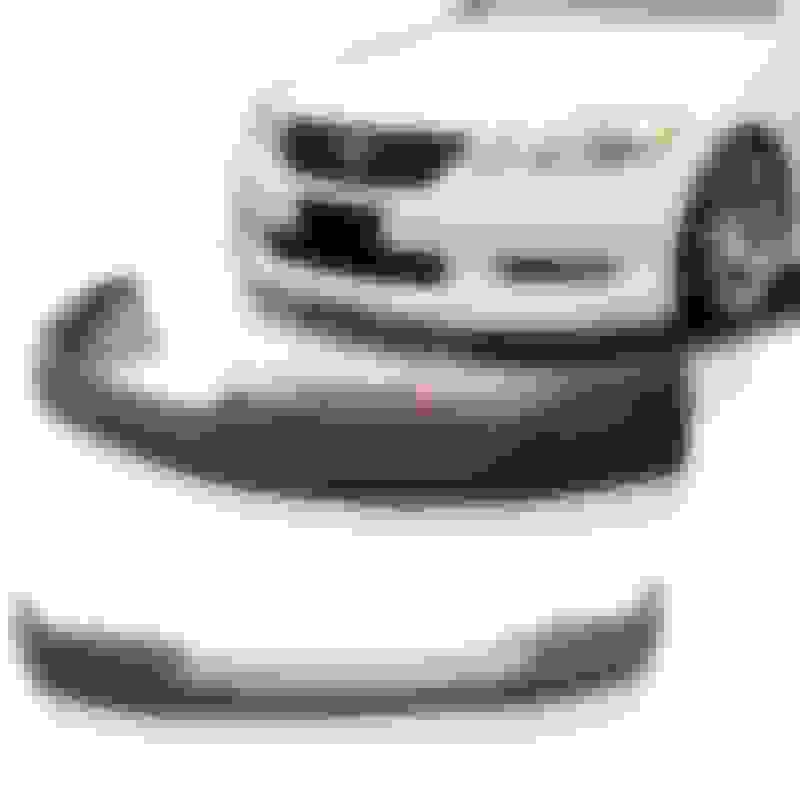
Hello everybody, has anyone installed the Magic Drift ING Front lip spoiler on their GS? If so, I need some advice on how to properly install this lip. I'm having some fitment issues, it seems like the fitment is off and the lip is not lining up with the front bumper. Sections of the lip is going against the foglights (do i need to remove both foglights?). The middle section of the lip is going against the lower black grill. What modifications need to be done to make this lip fit. Thanks!
Ok, thanks for the responses everybody. My GS is a 2006. So, it turned out they sent me the wrong front lip. They sent me a front lip for an IS not a GS . I'm waiting on the shipment to arrive, I will keep you all posted.
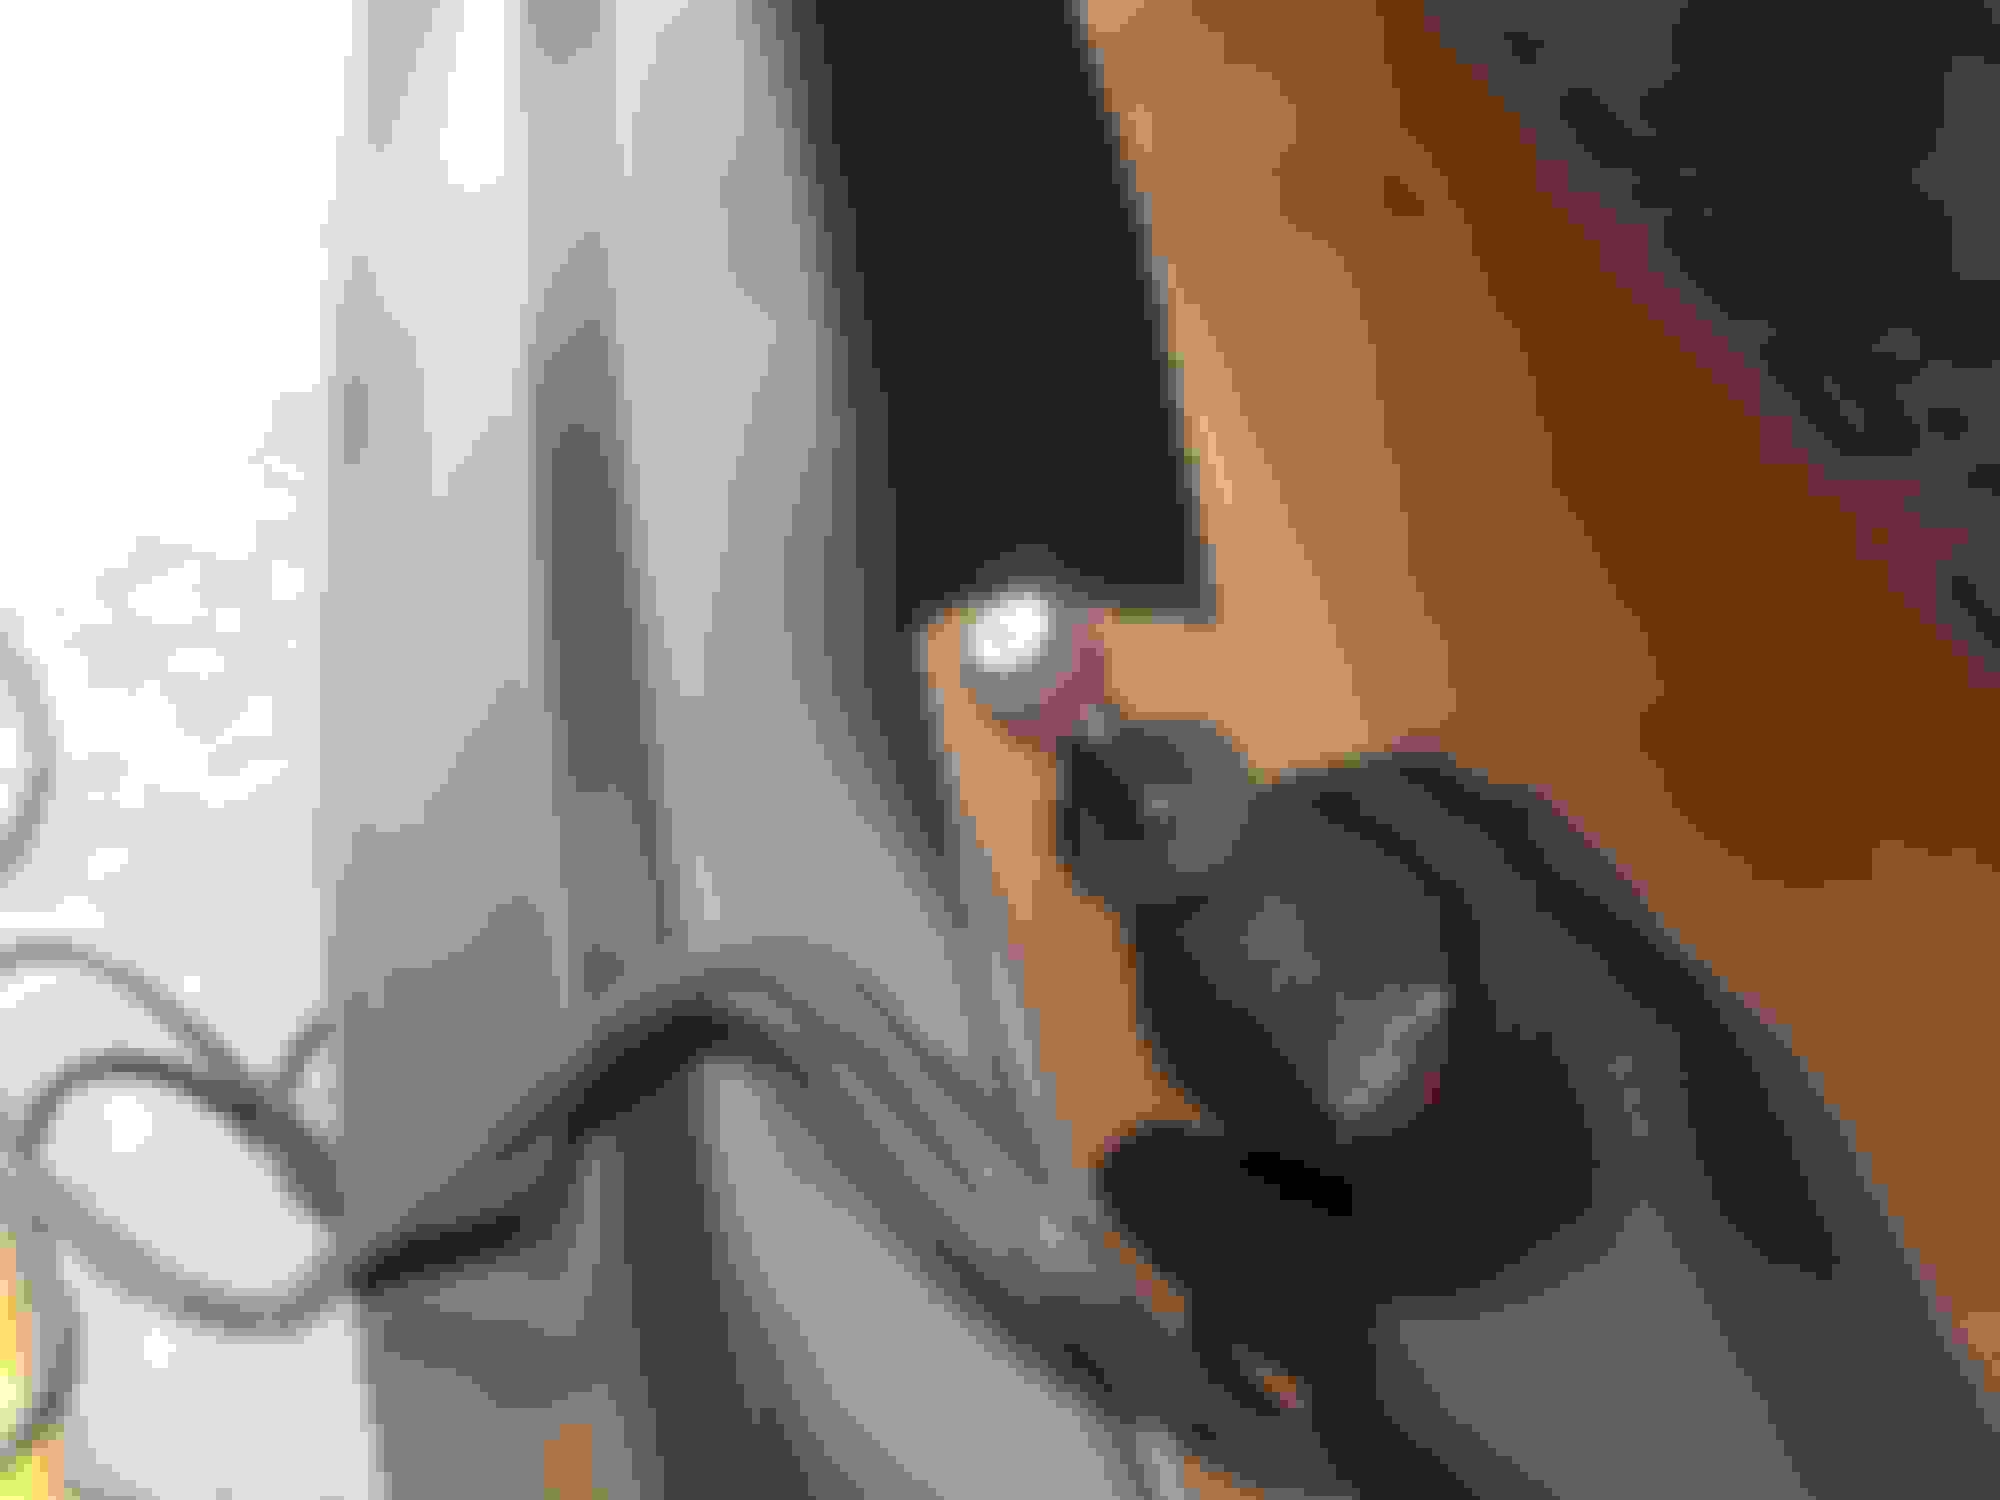
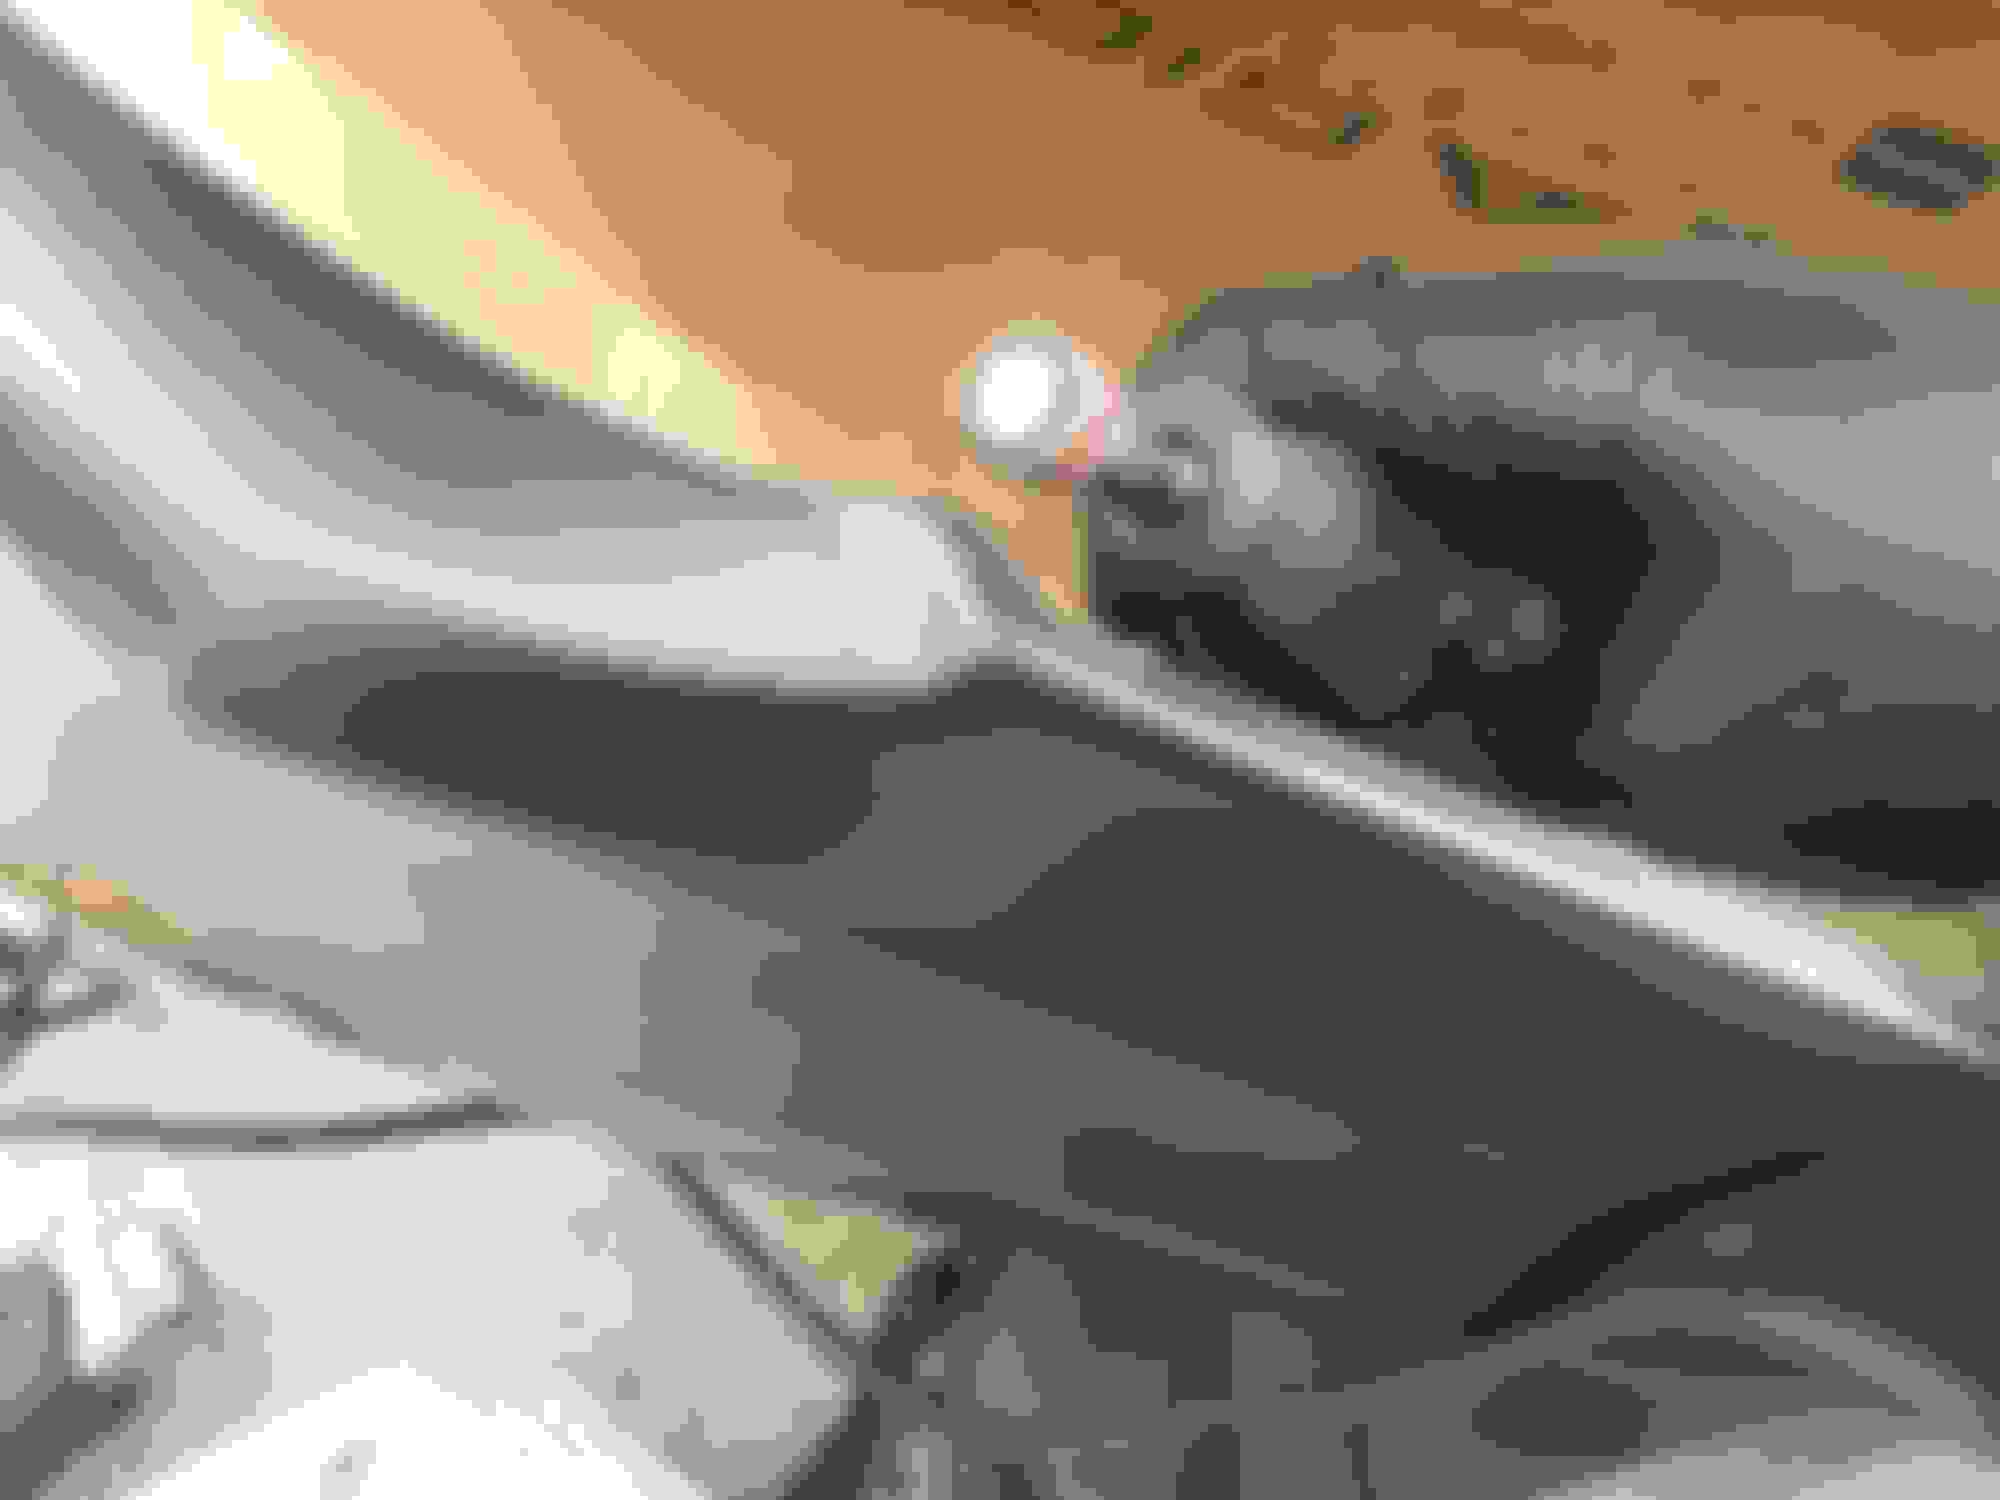
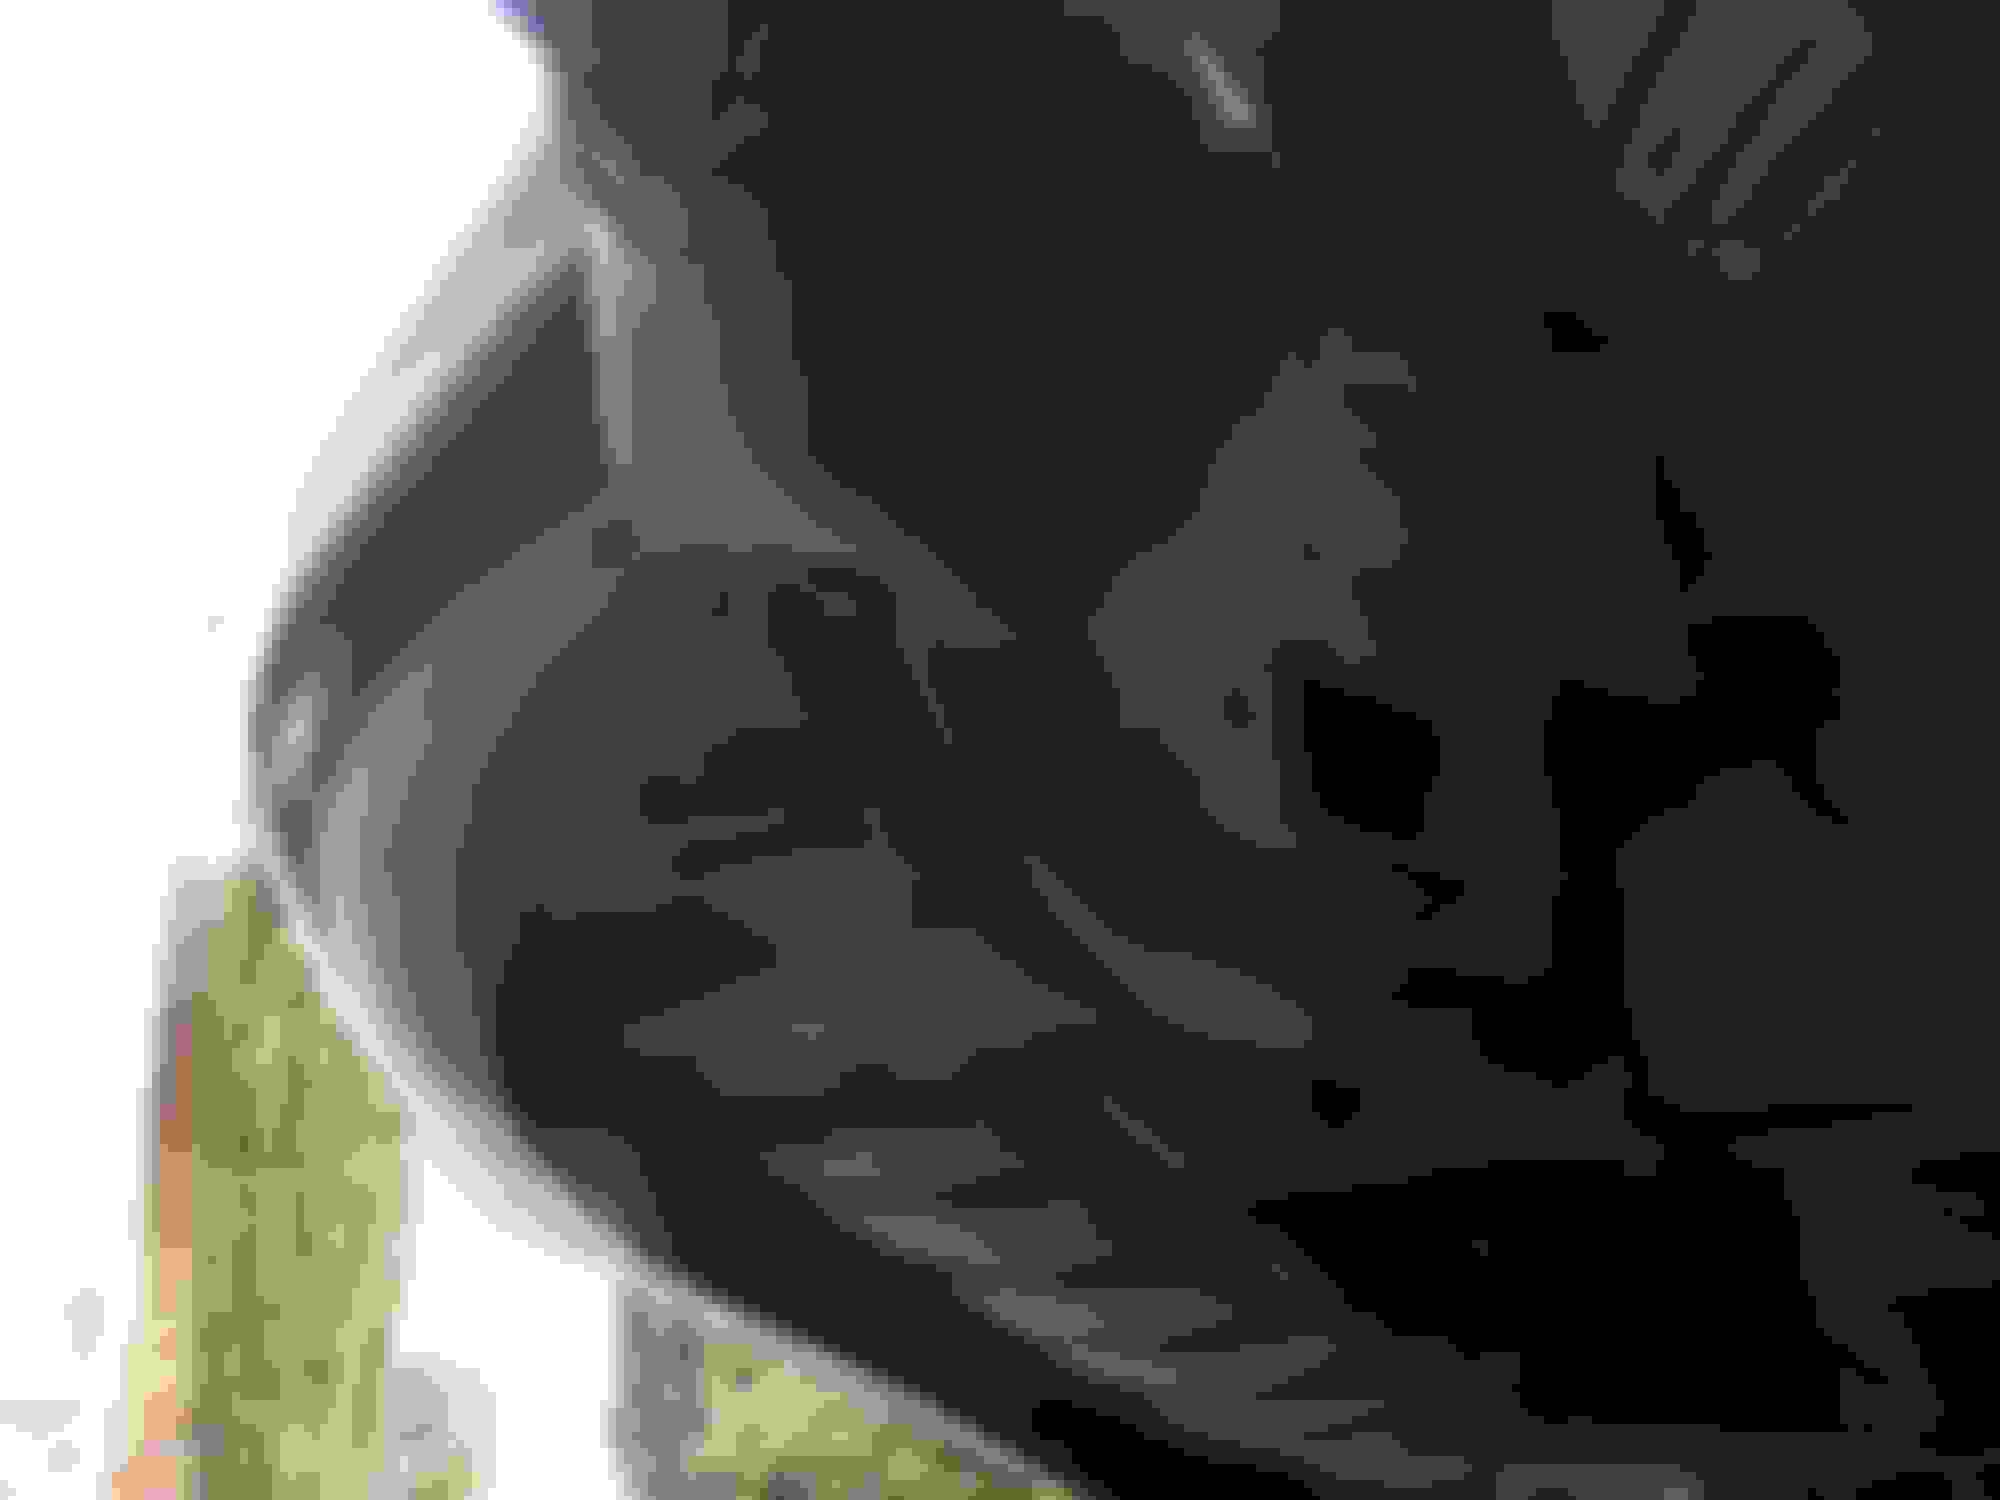
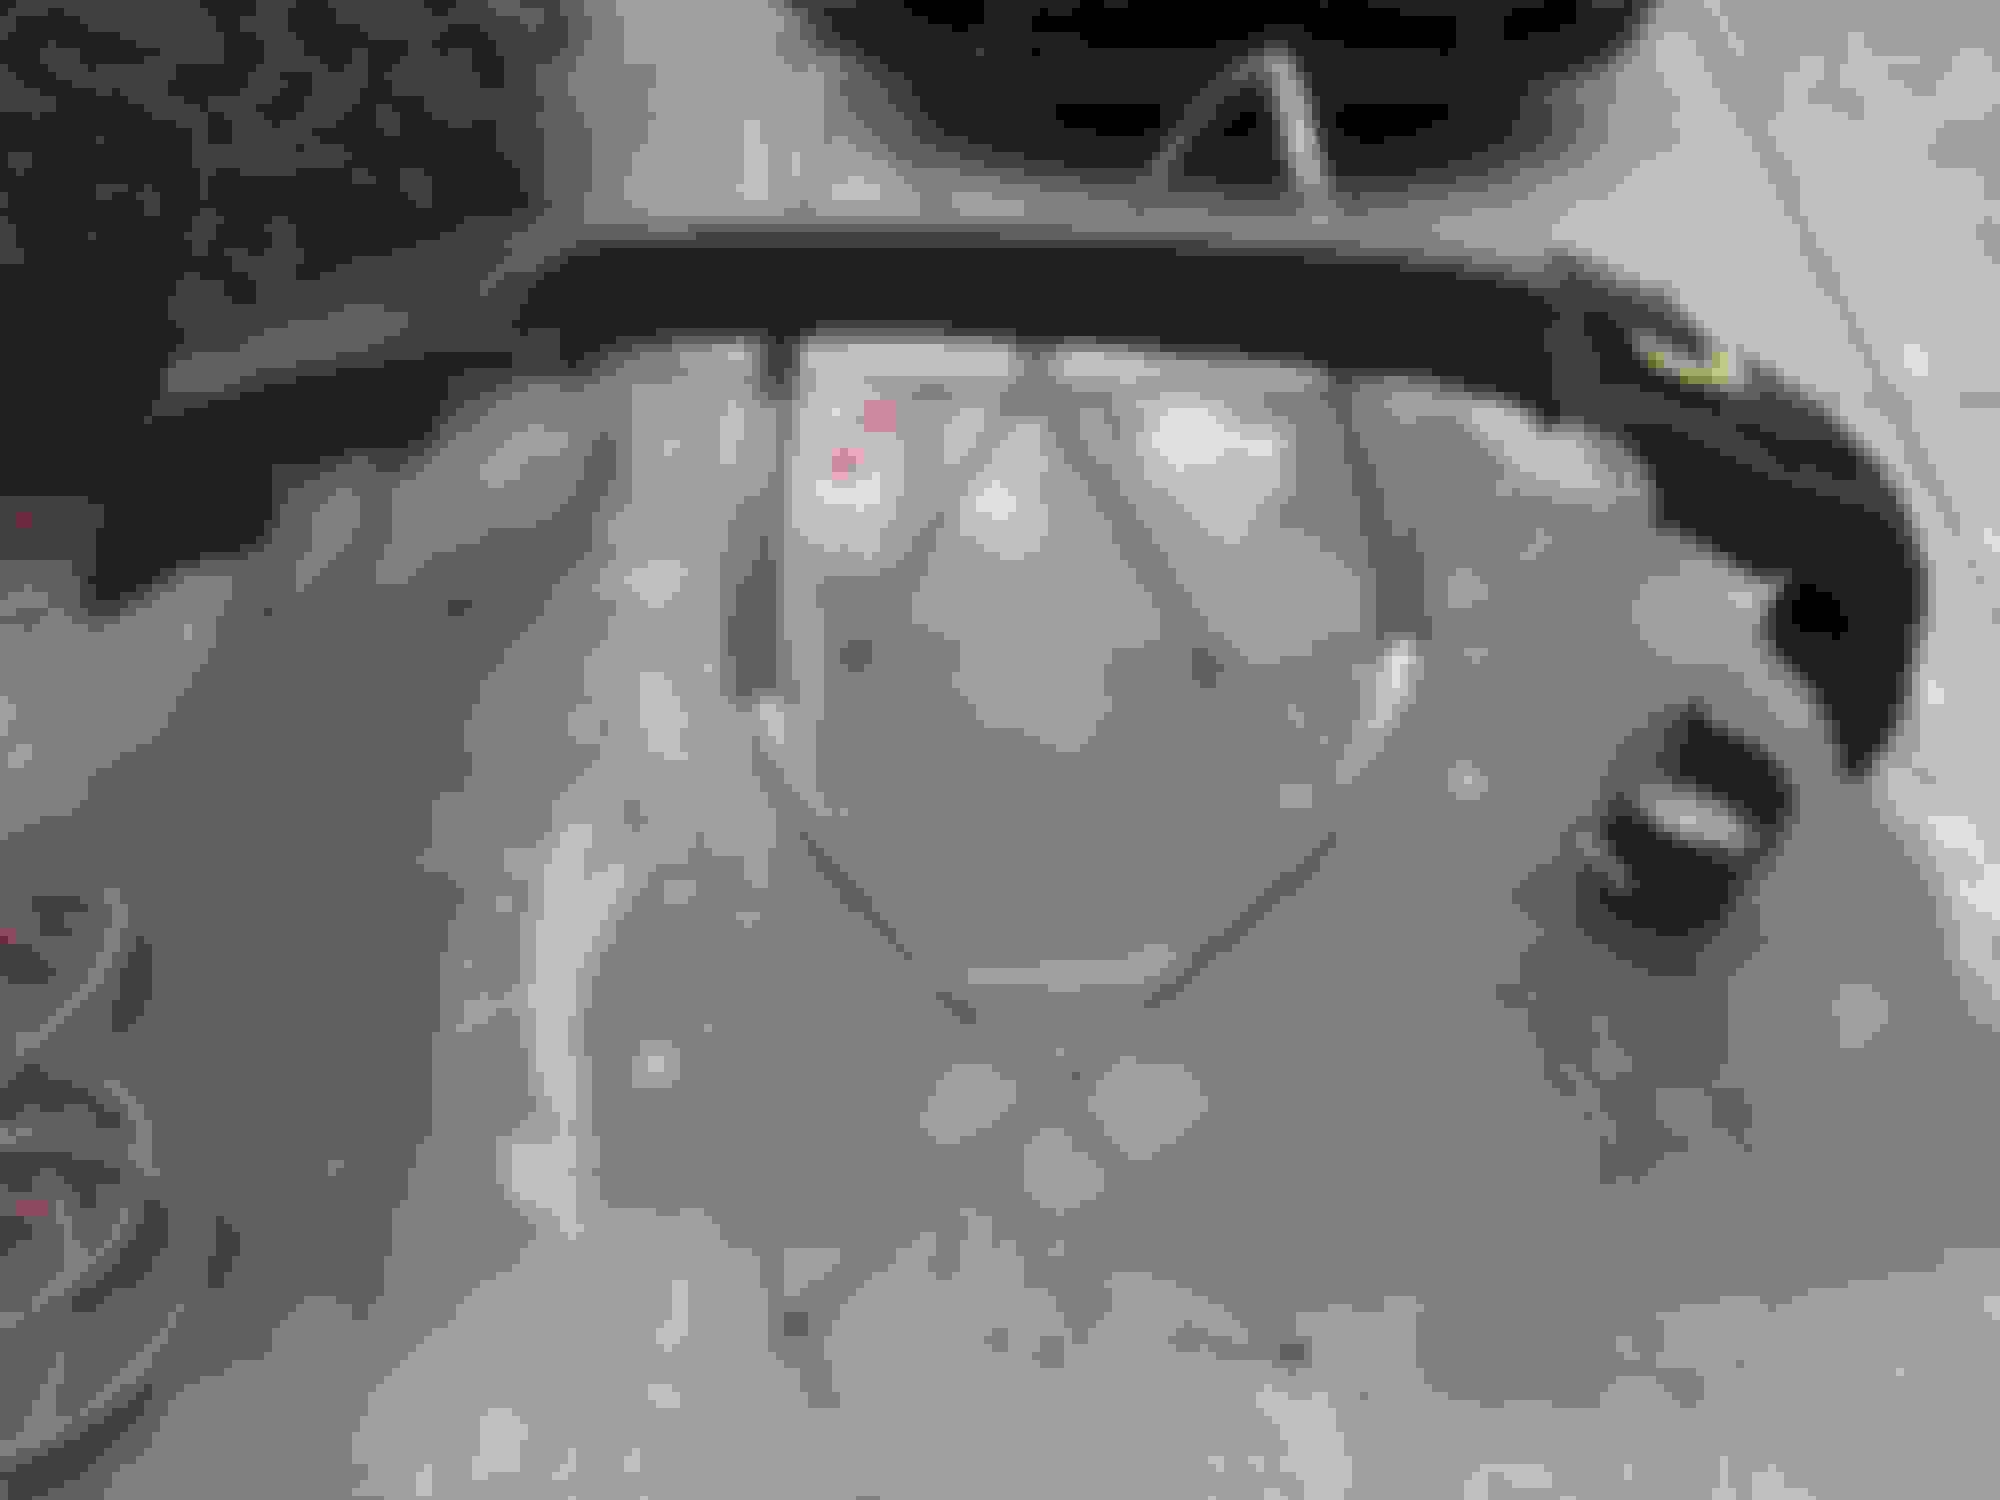
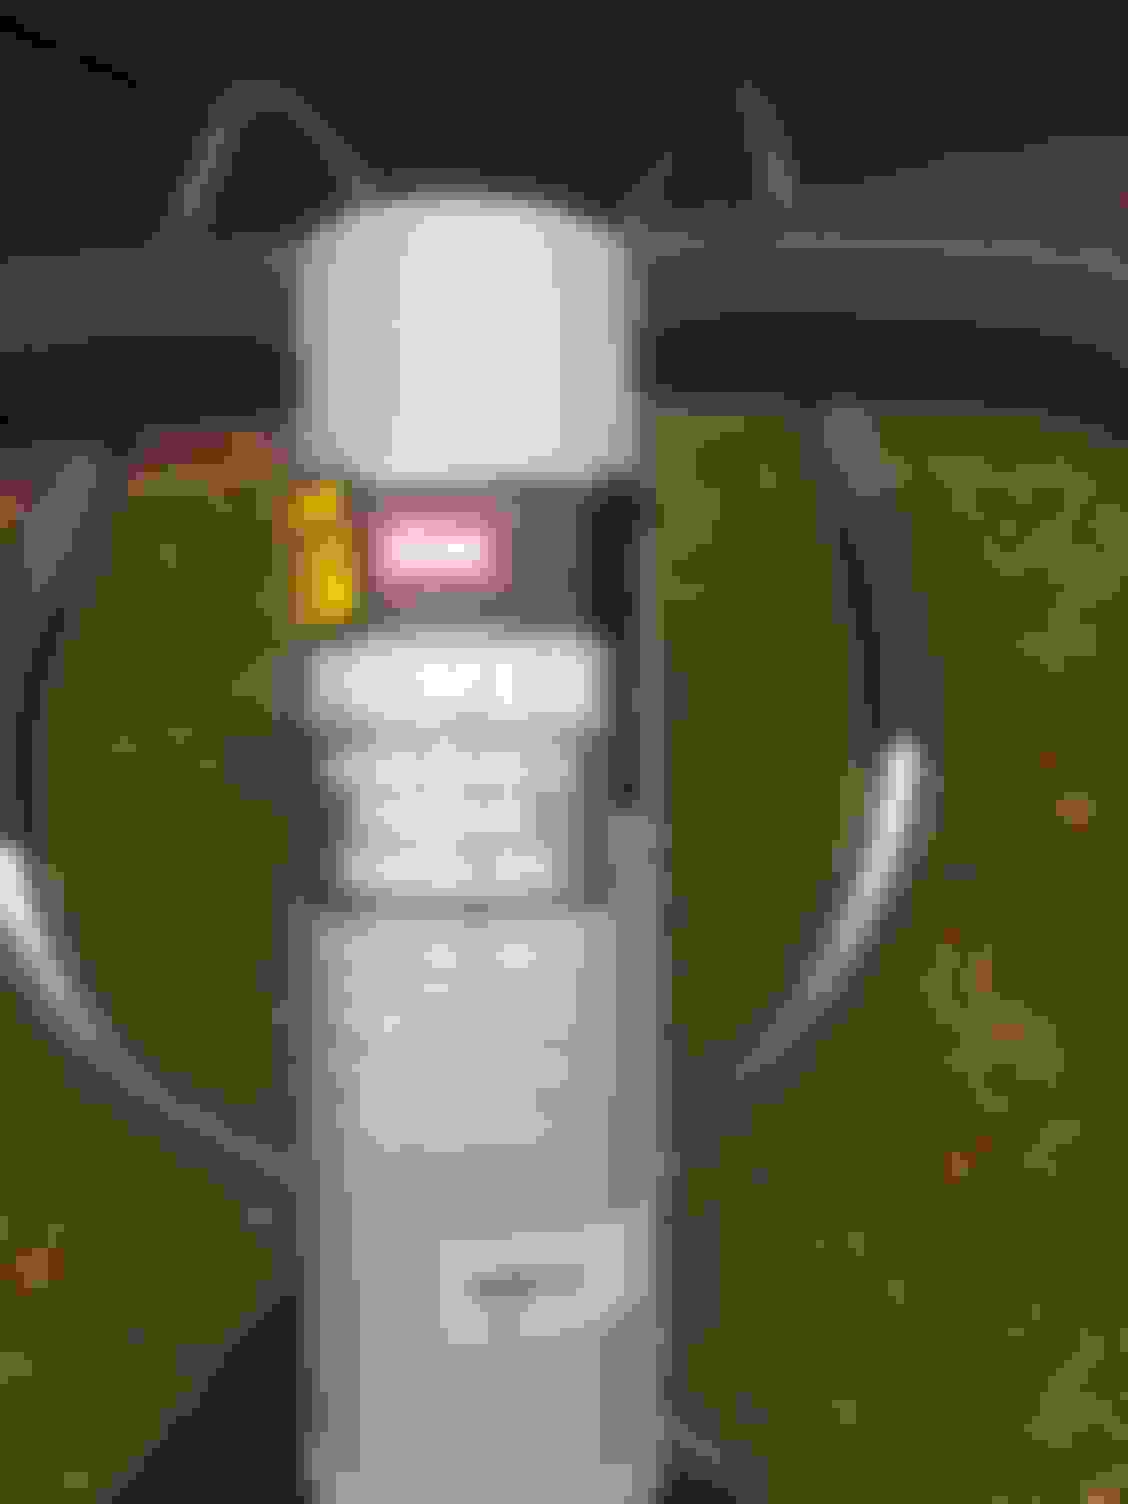
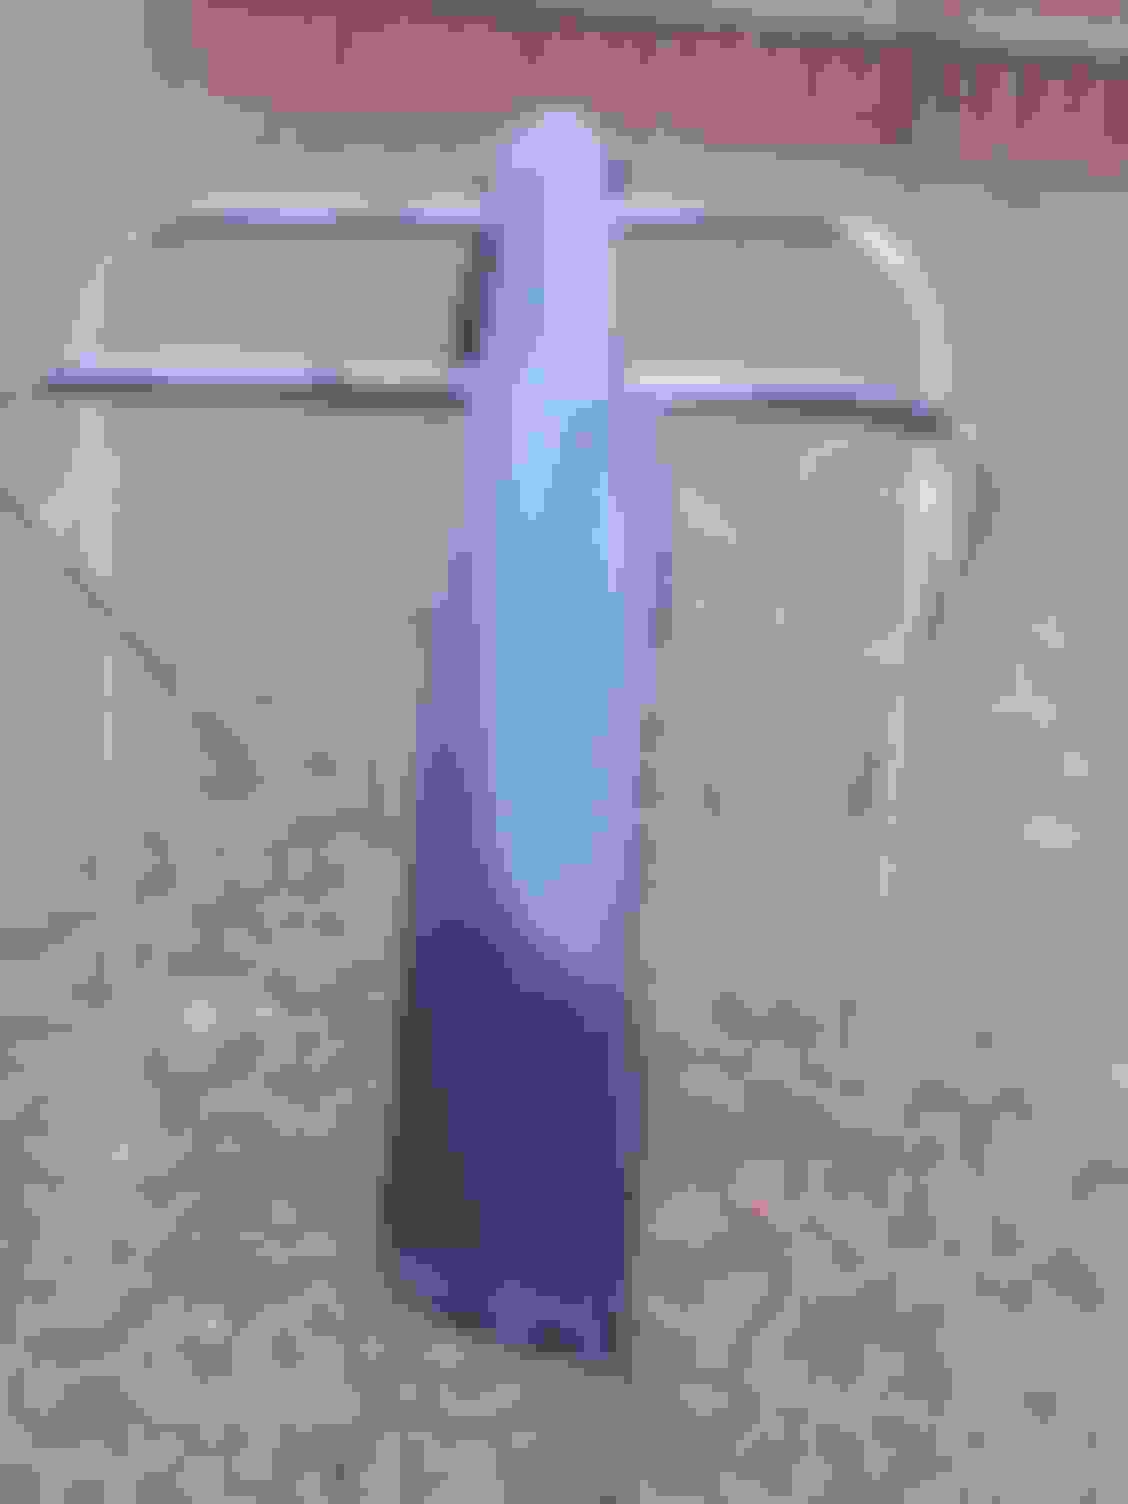
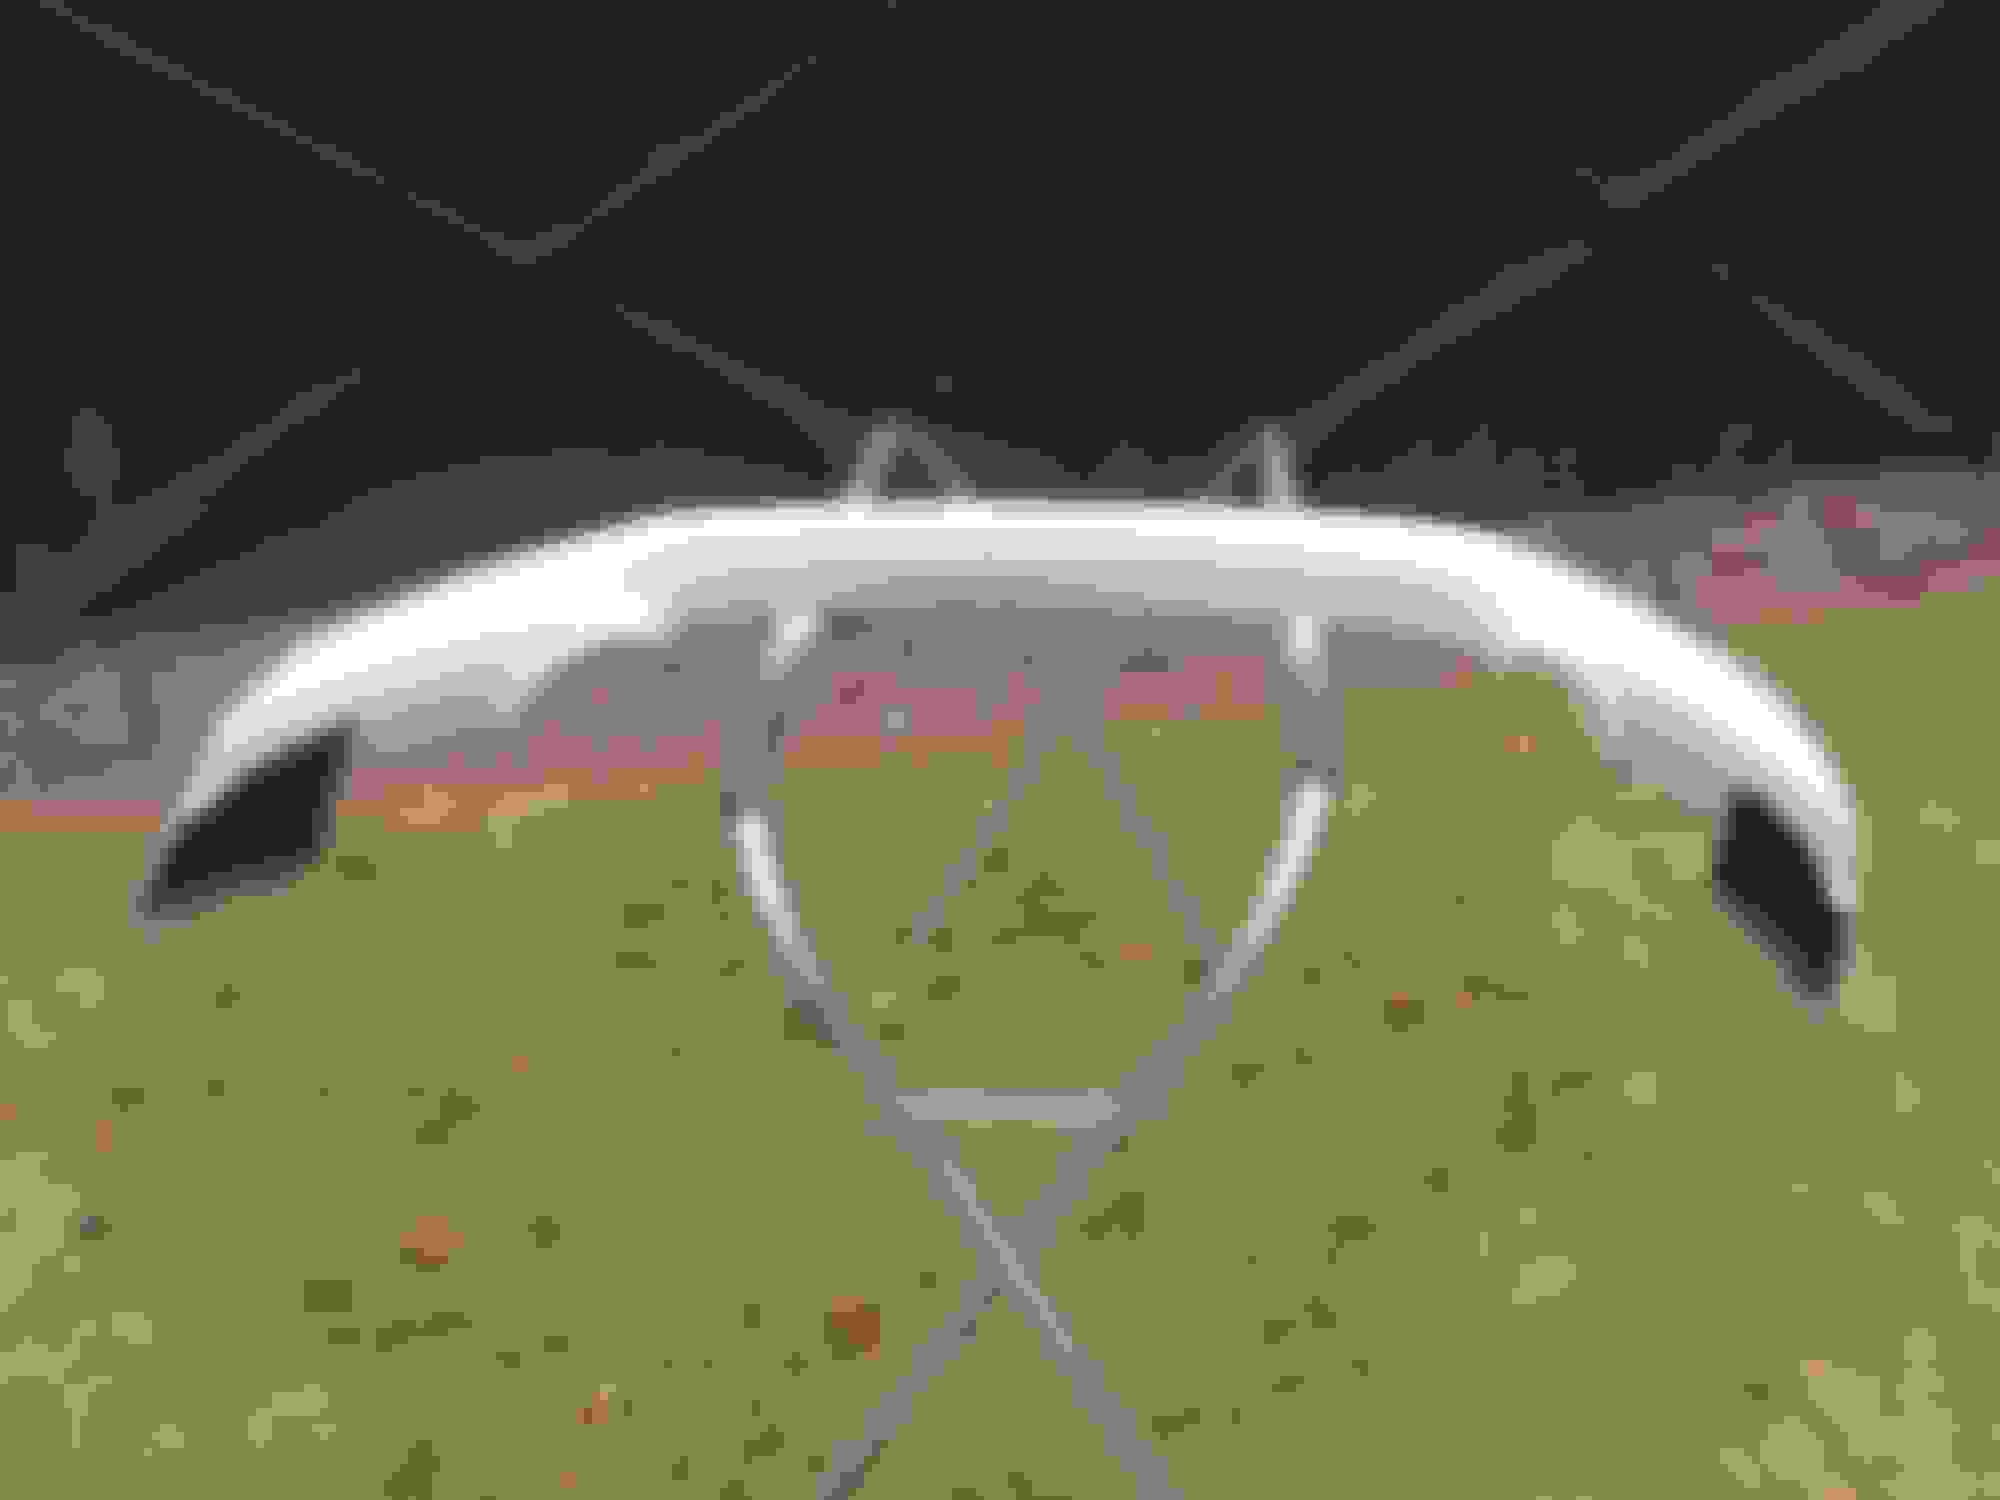
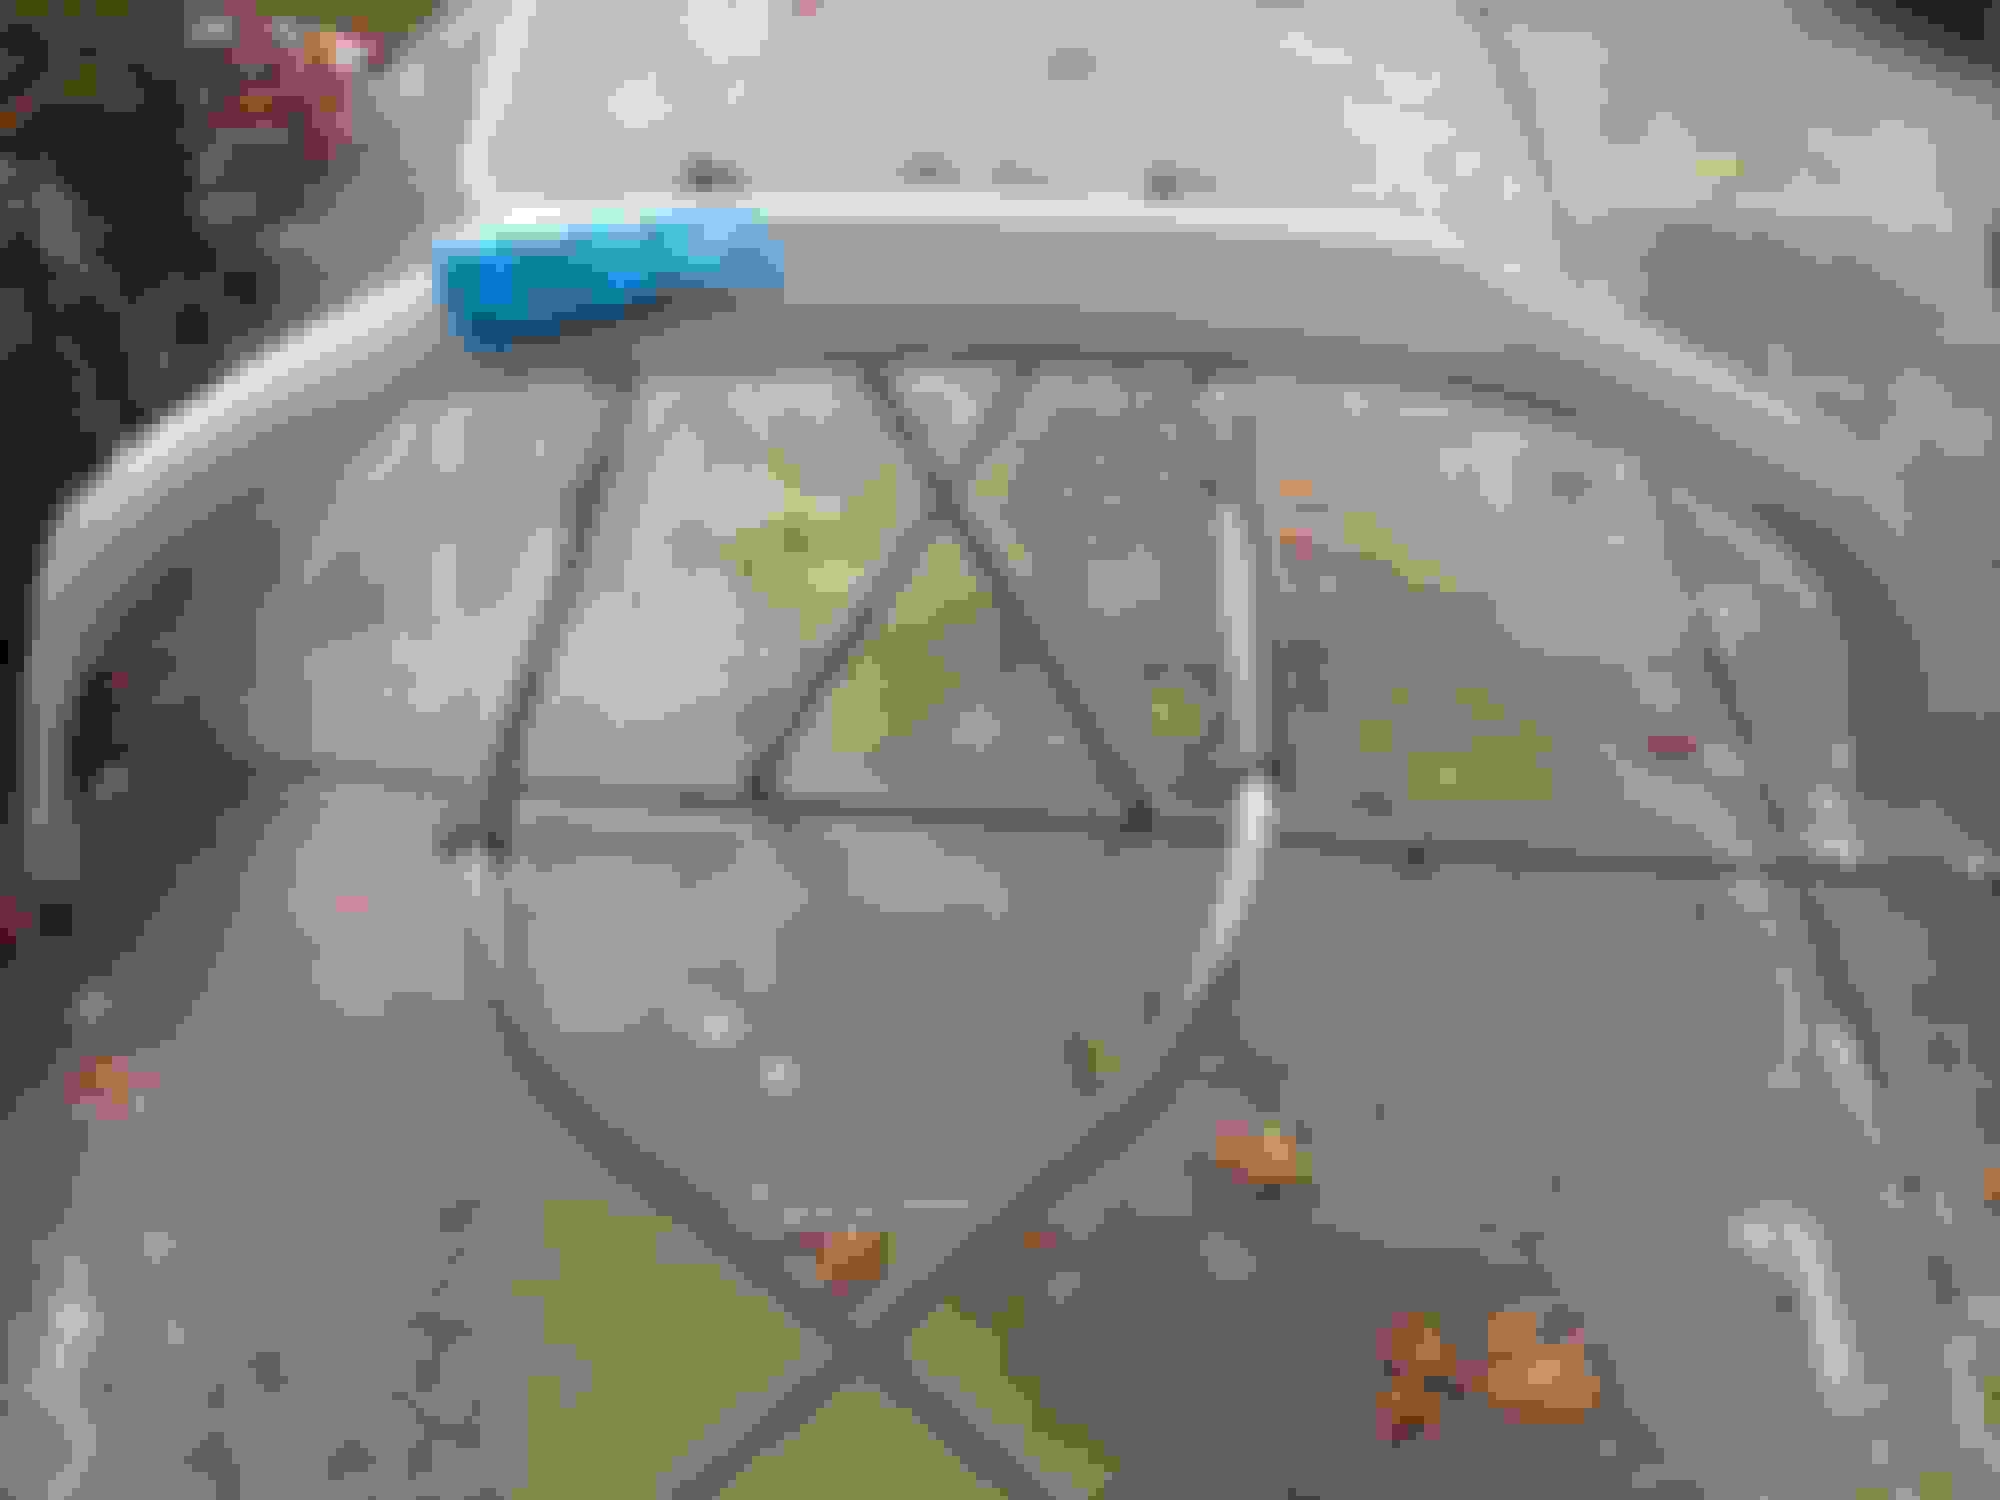
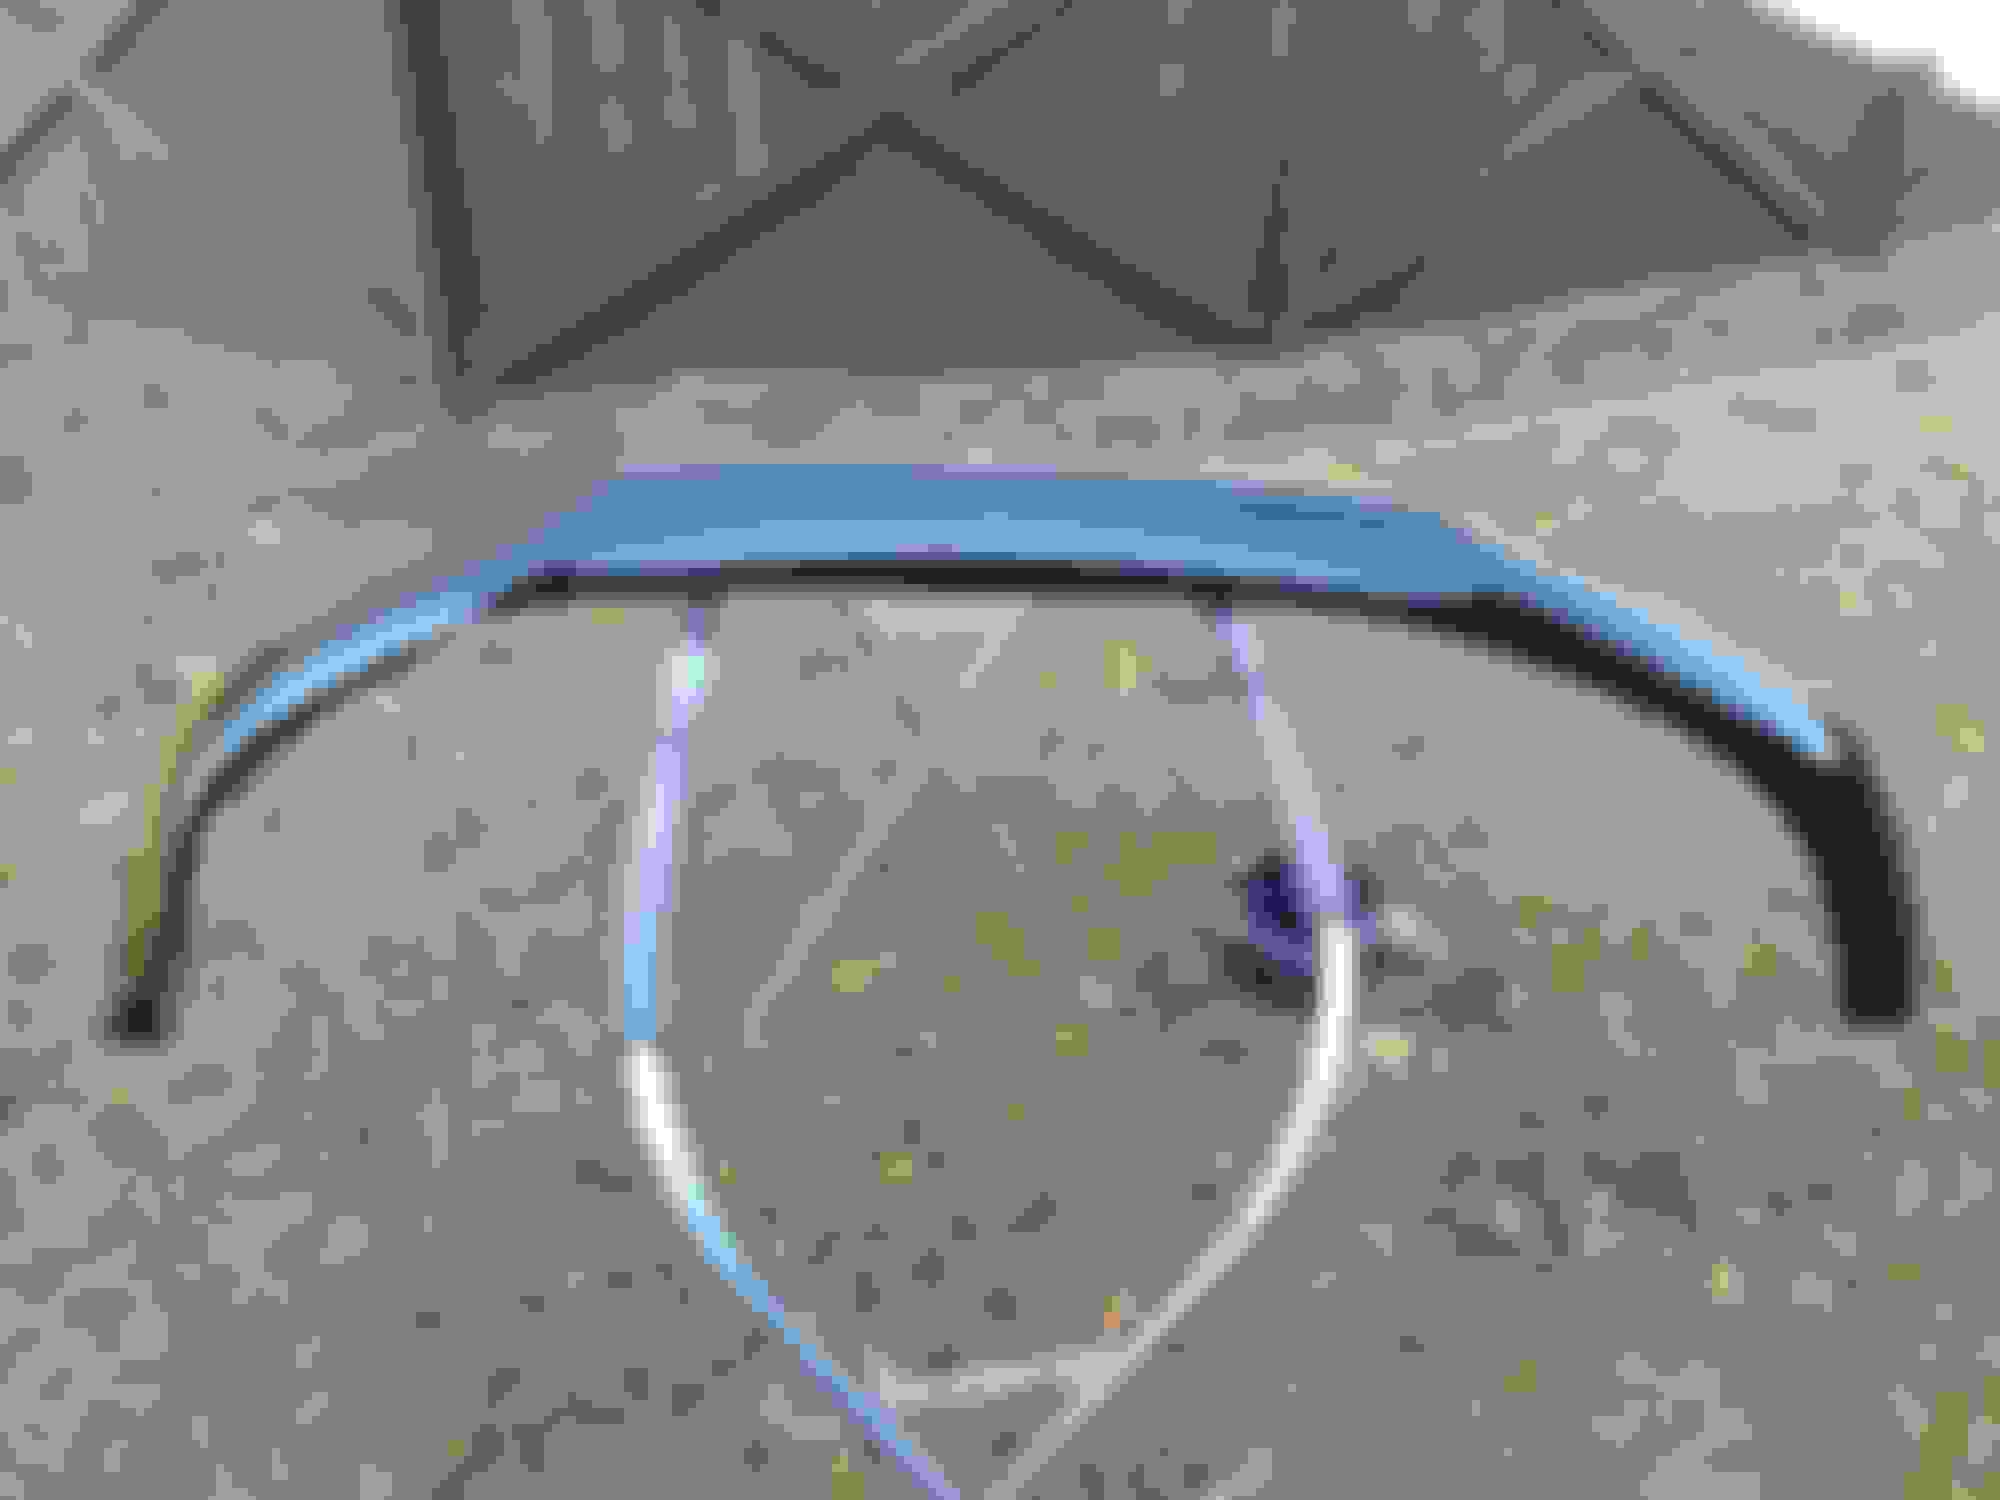
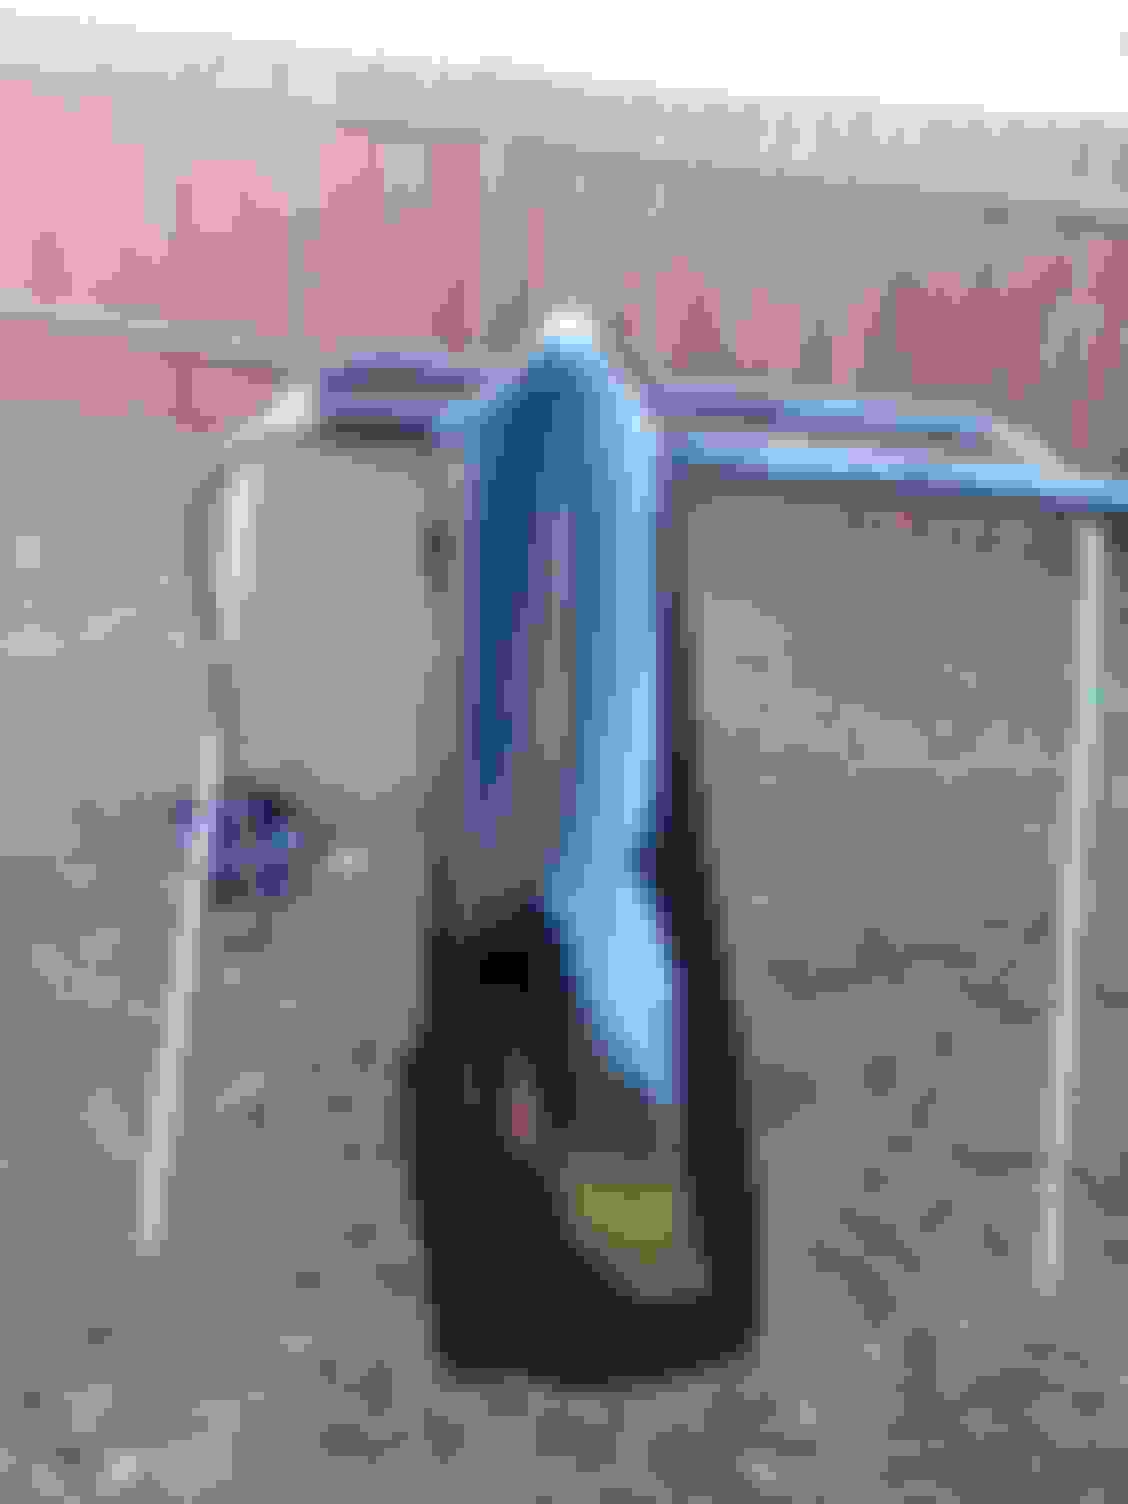
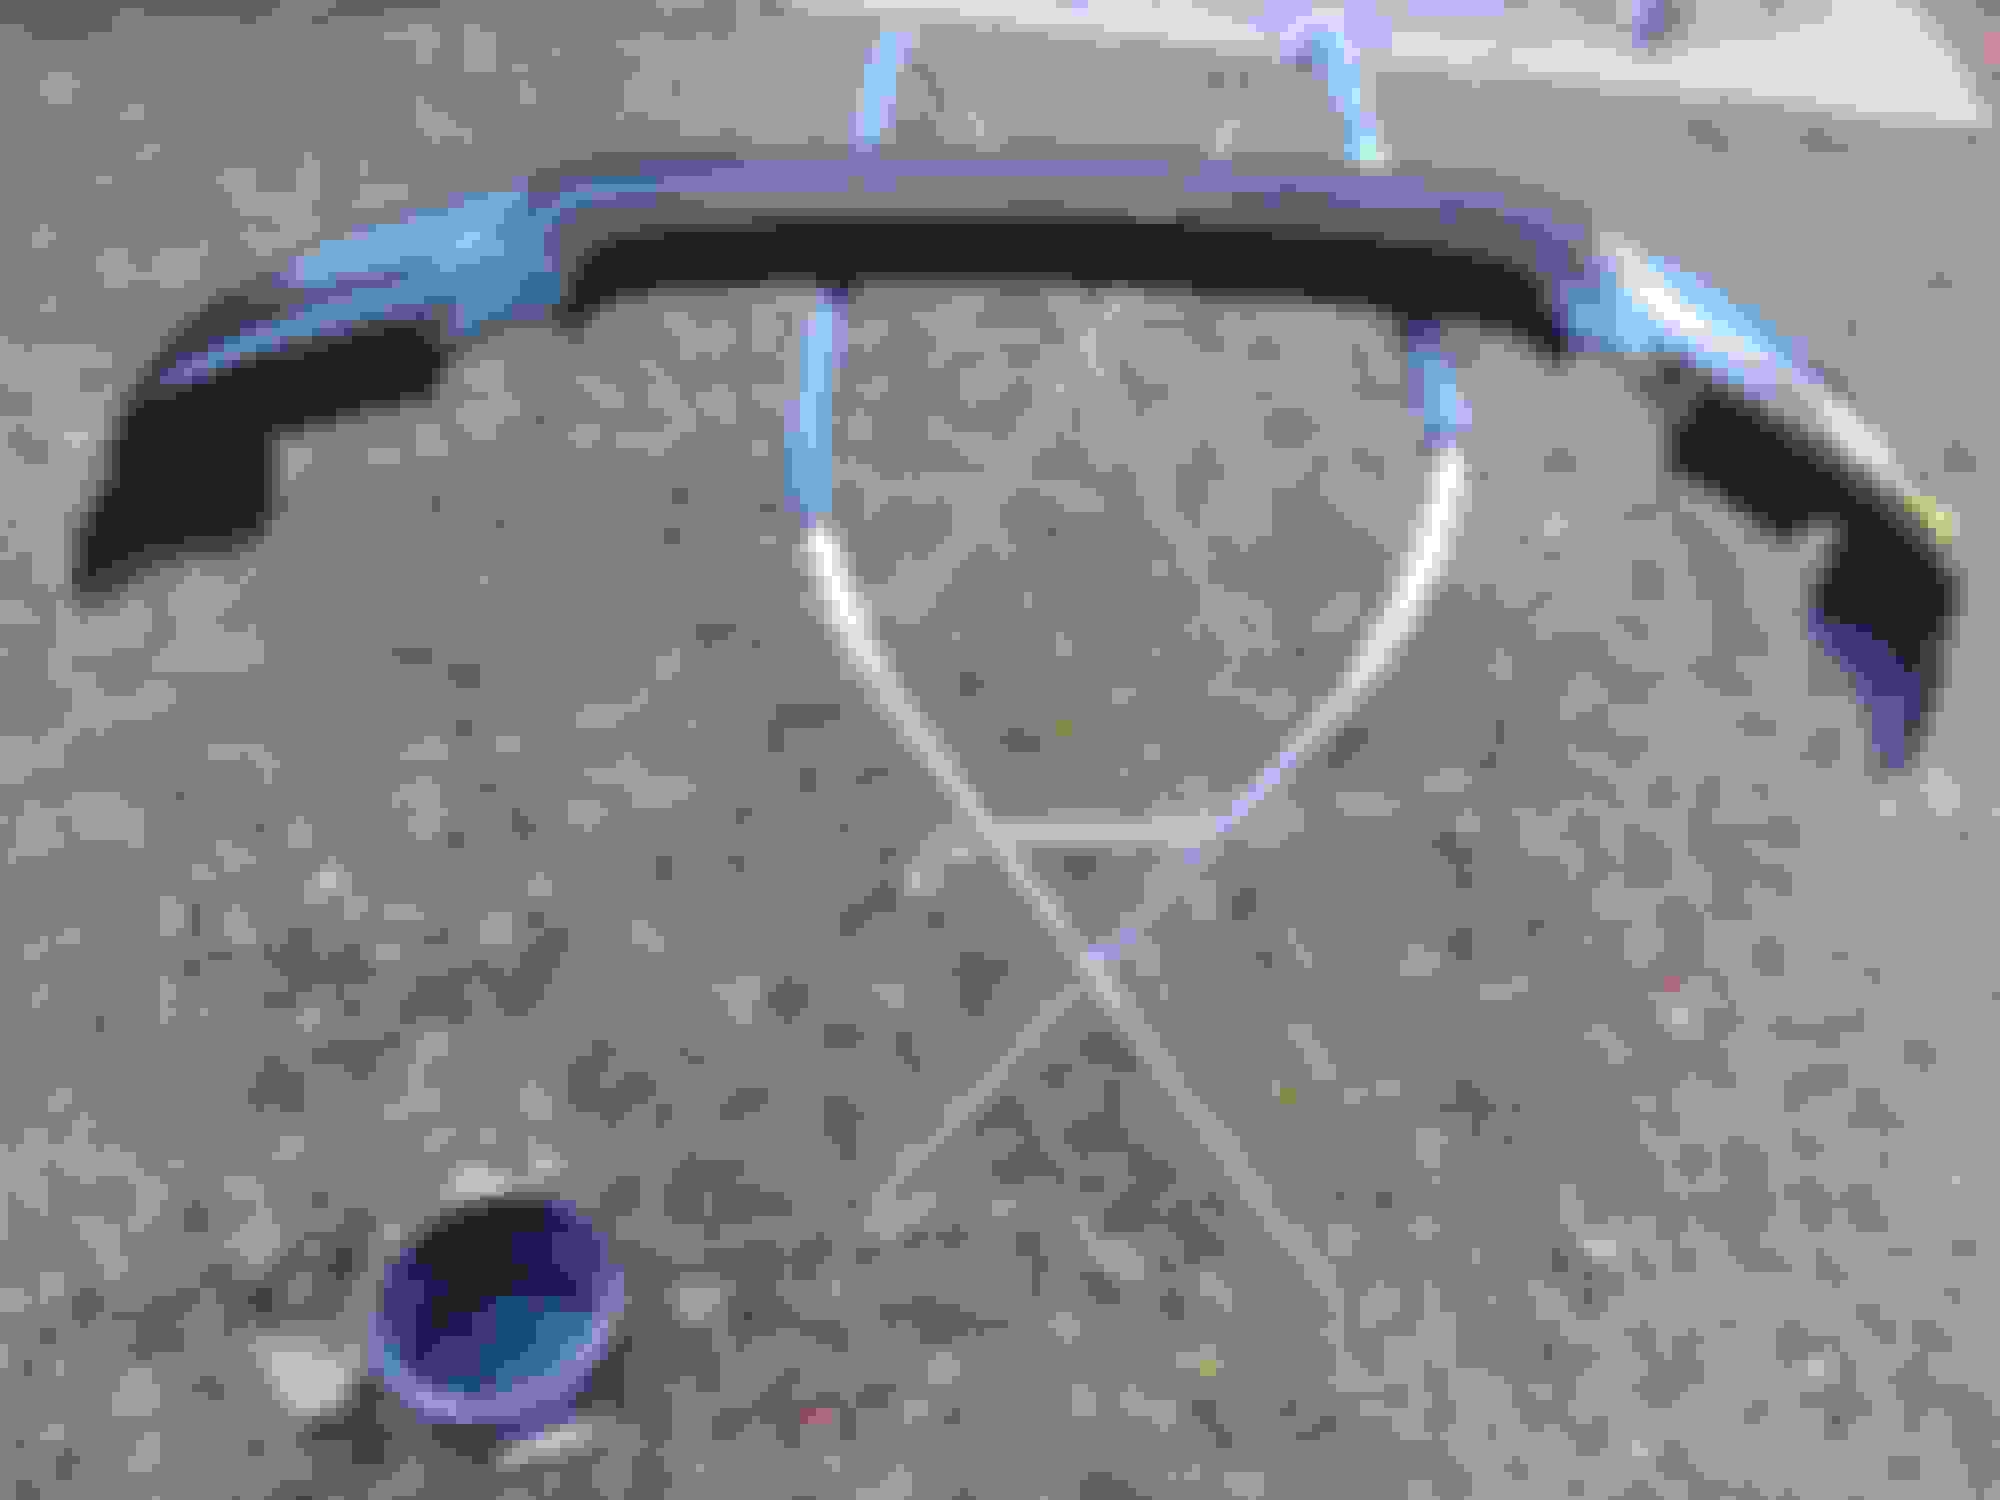
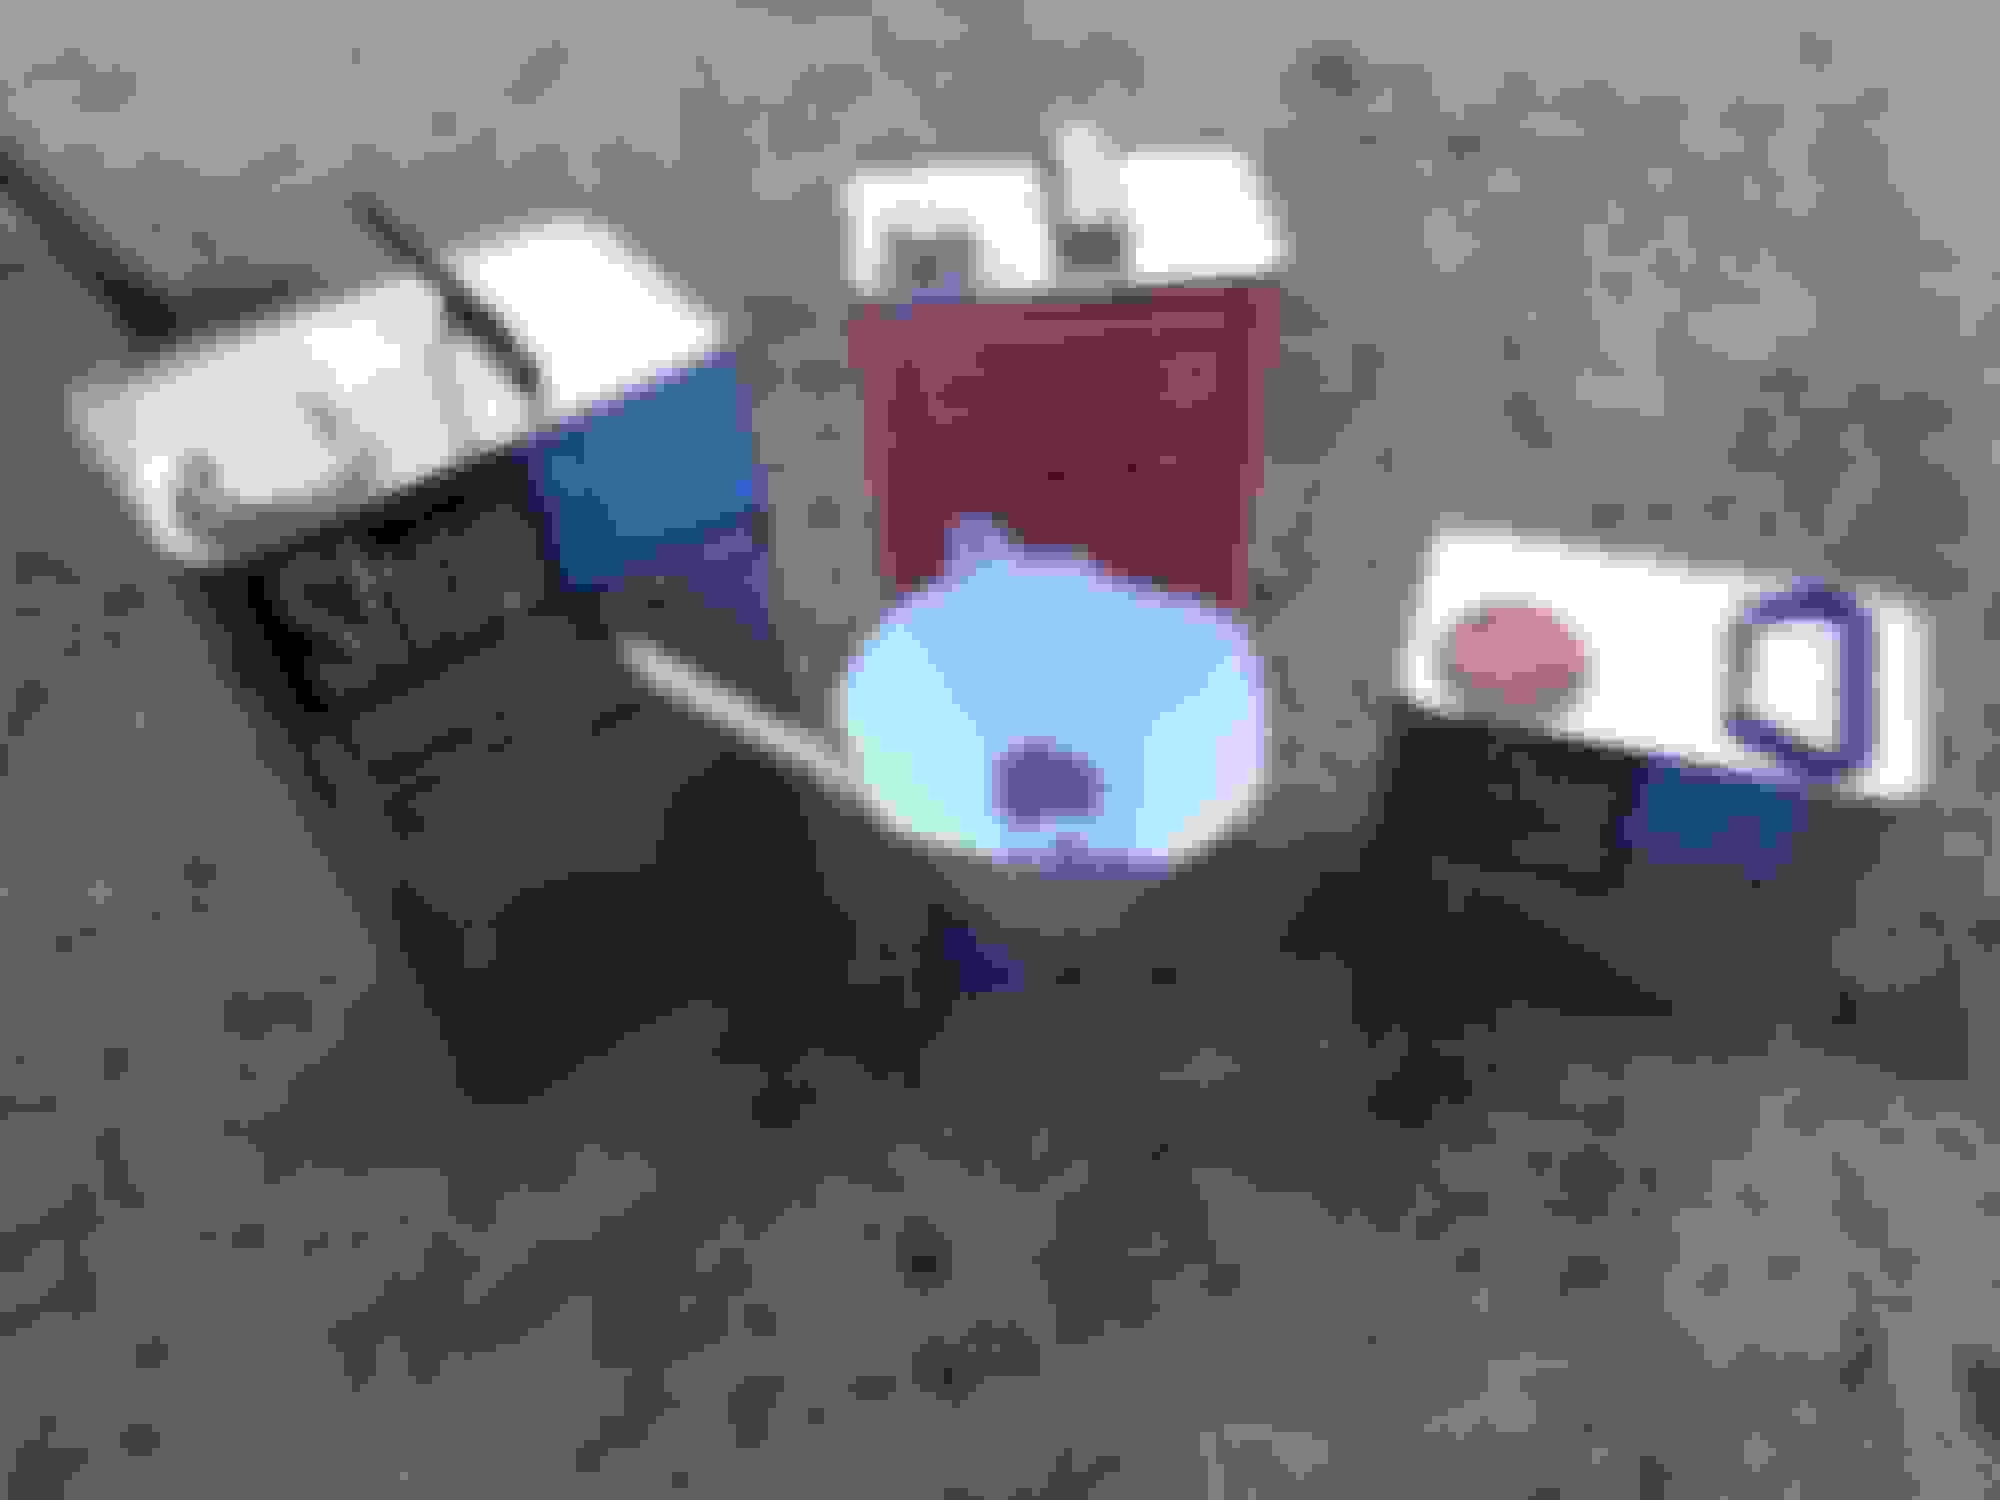
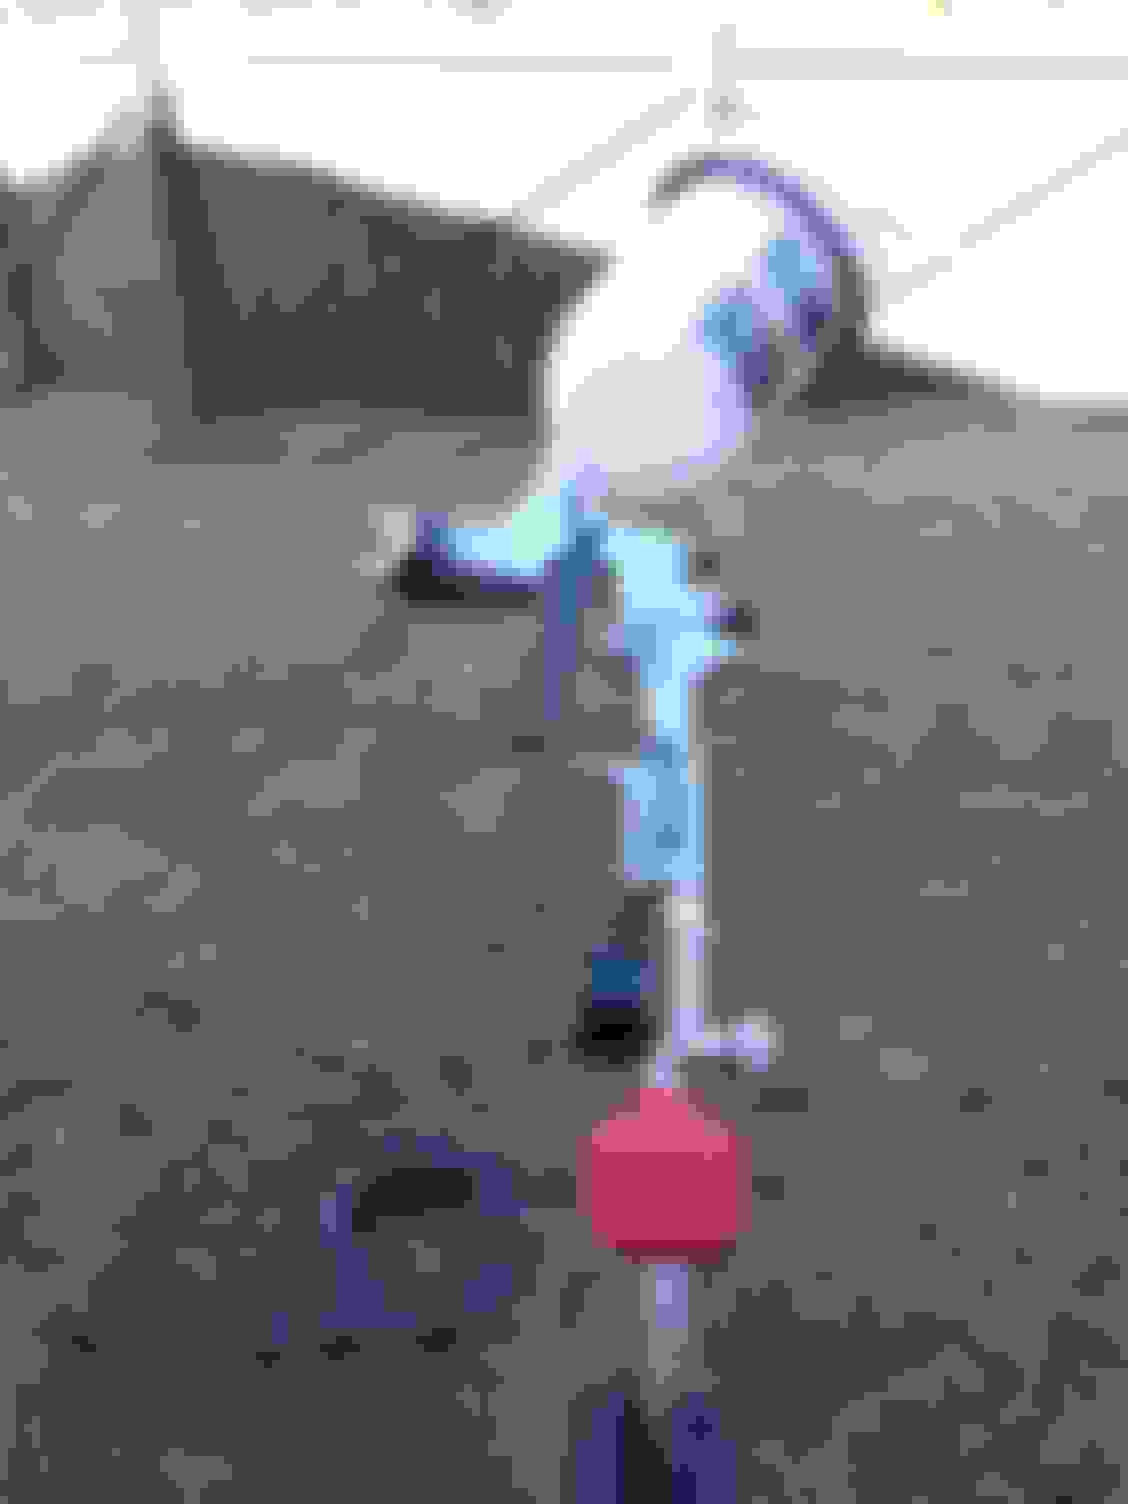
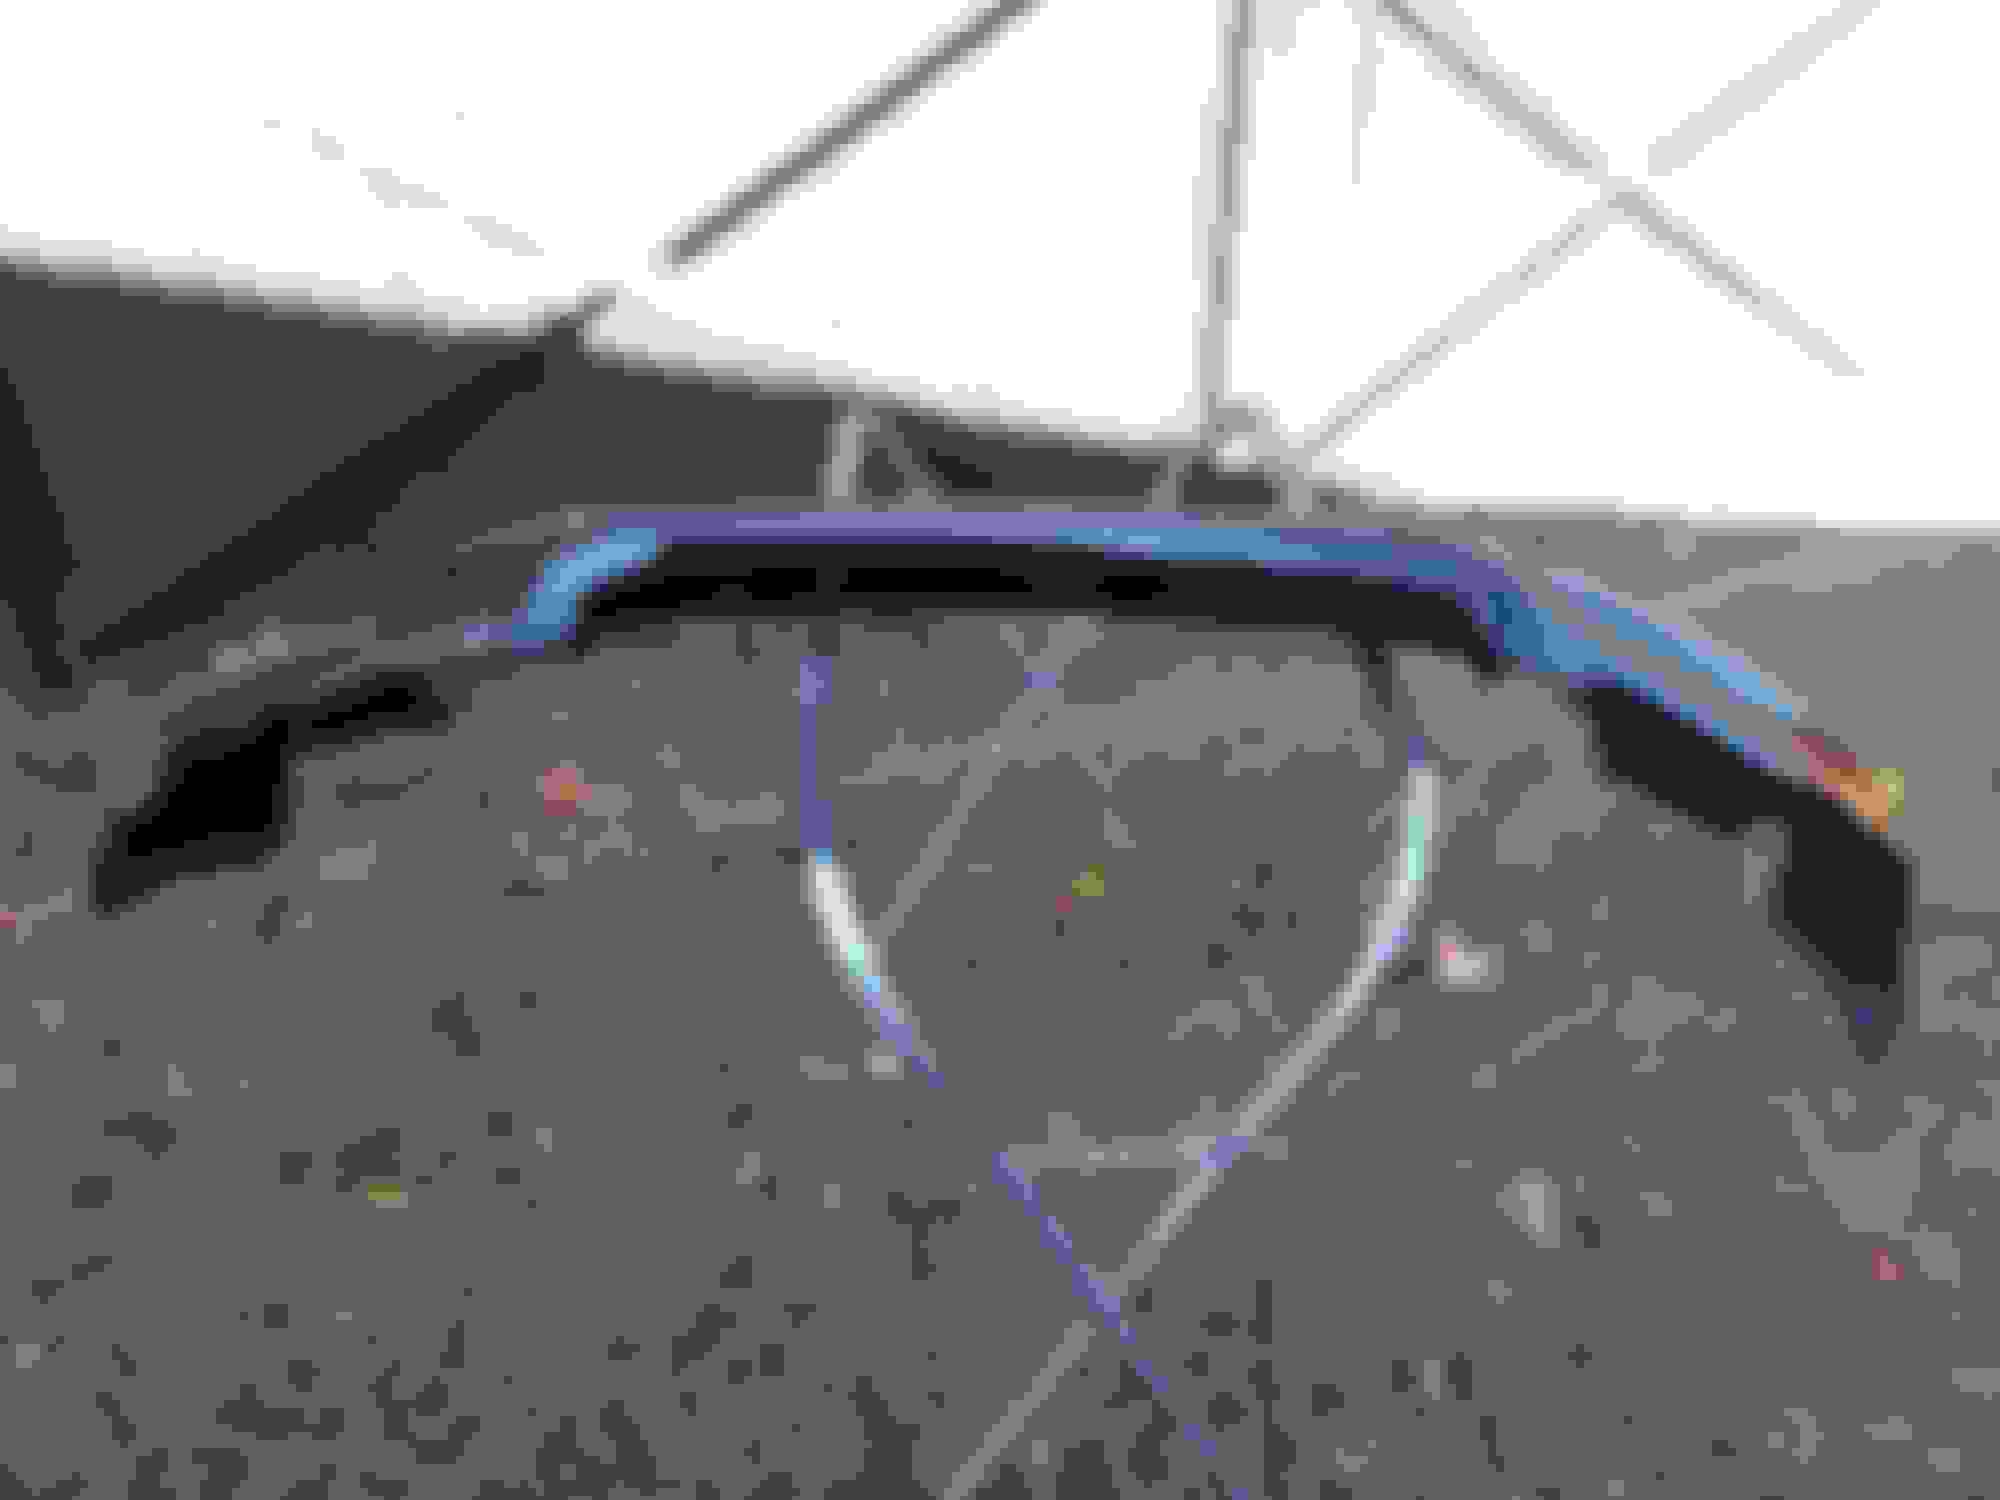
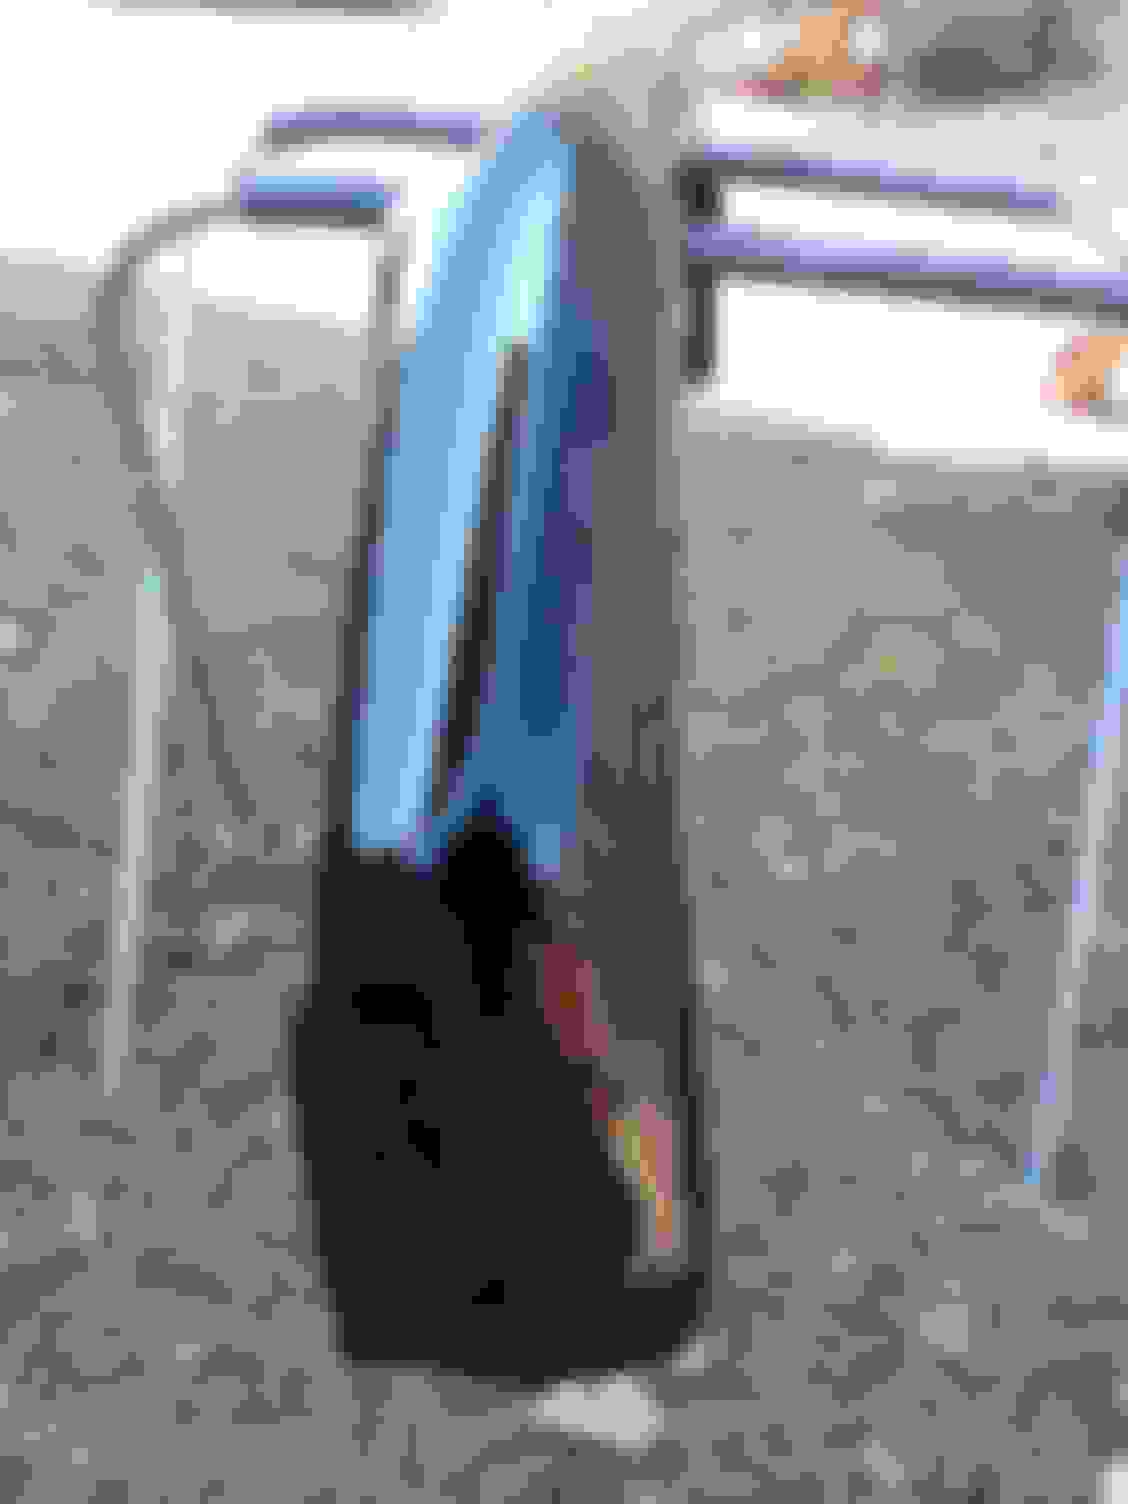
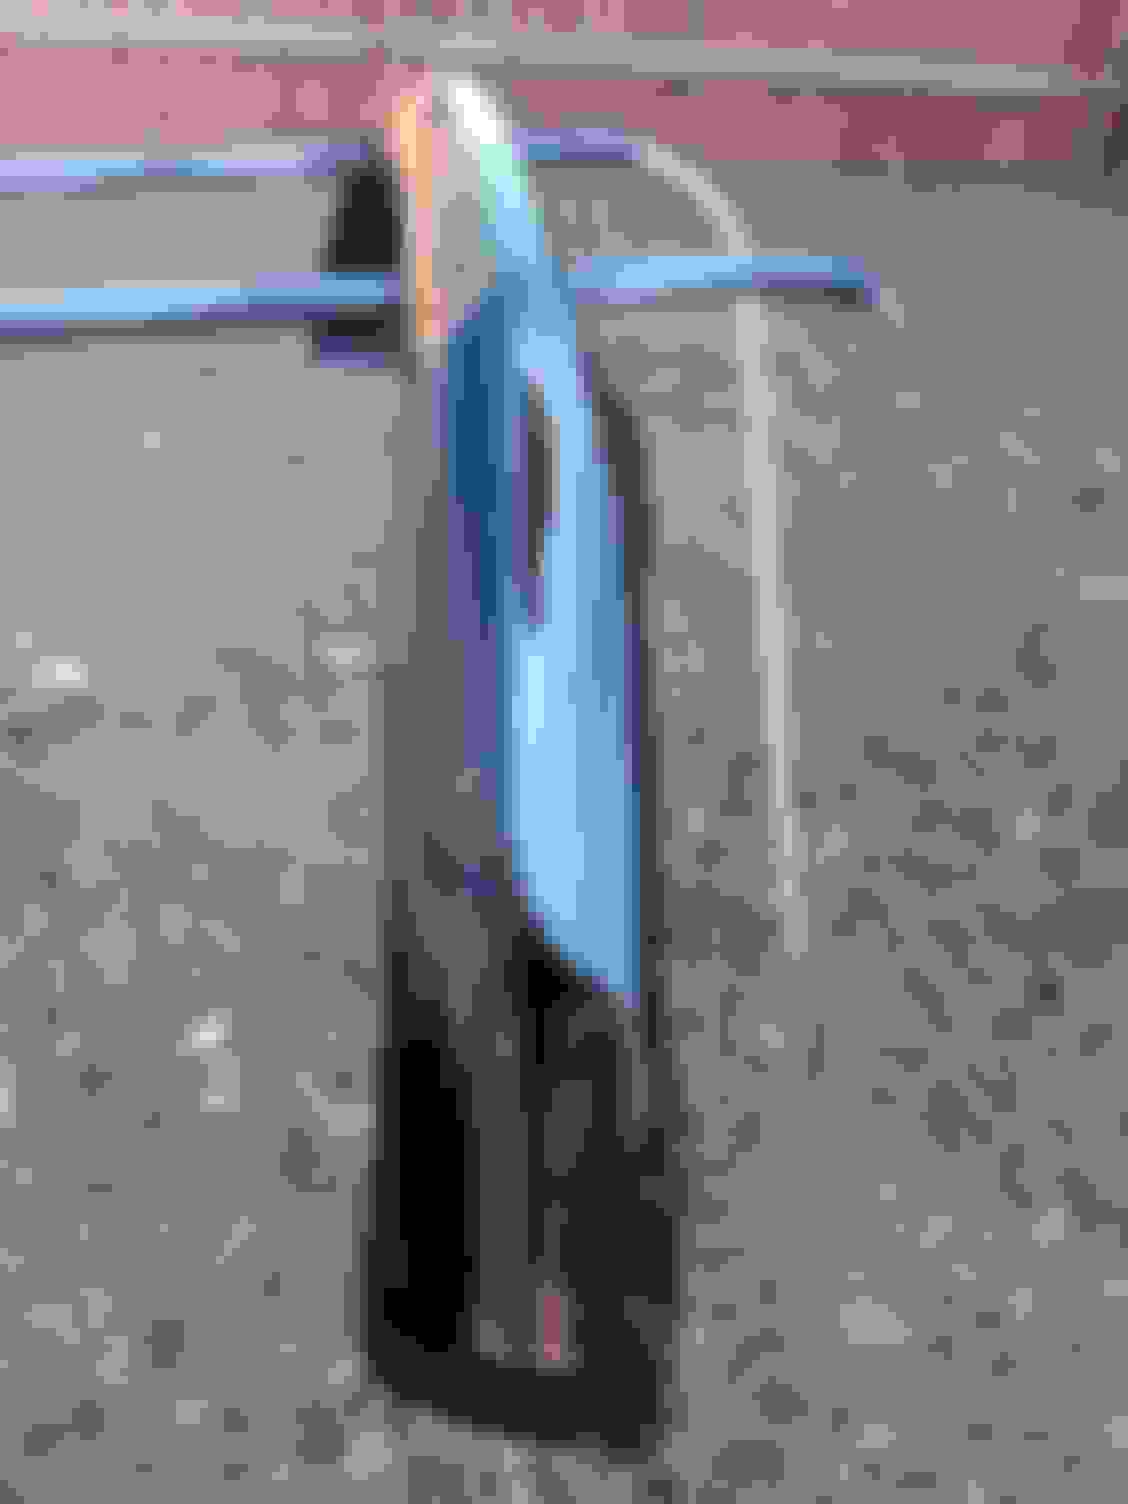
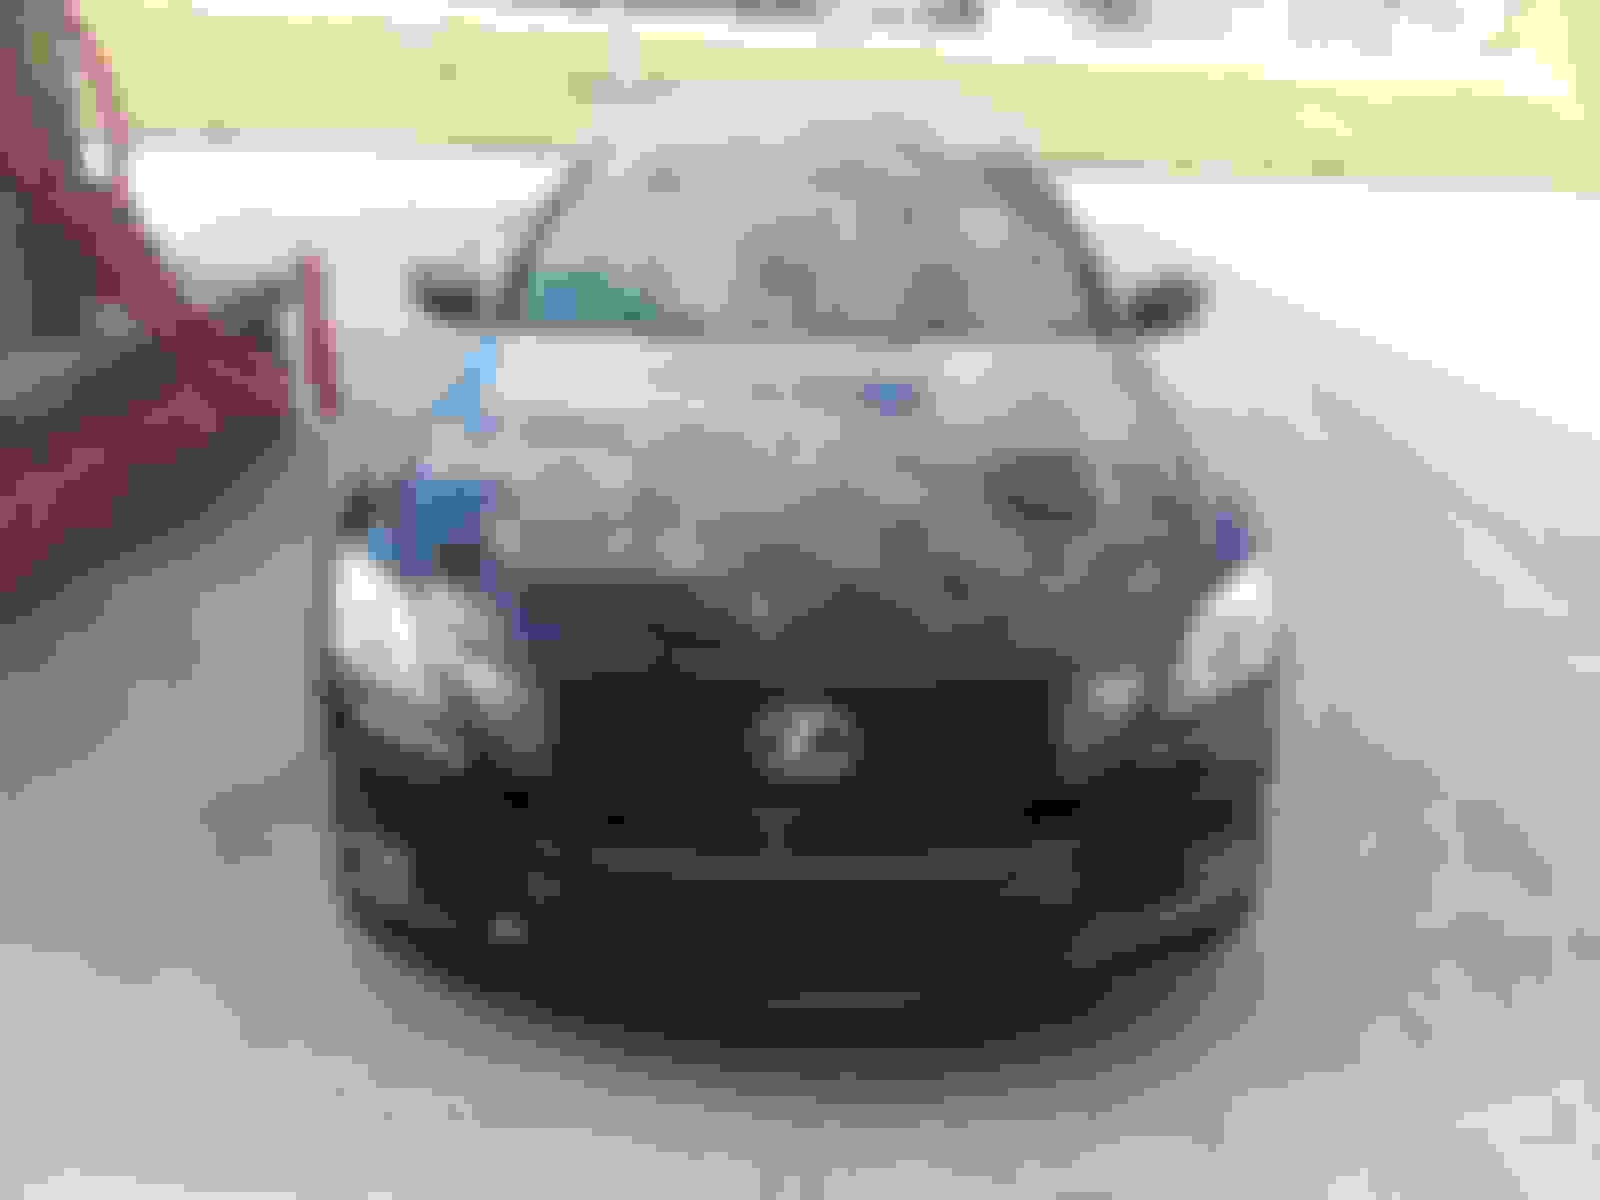
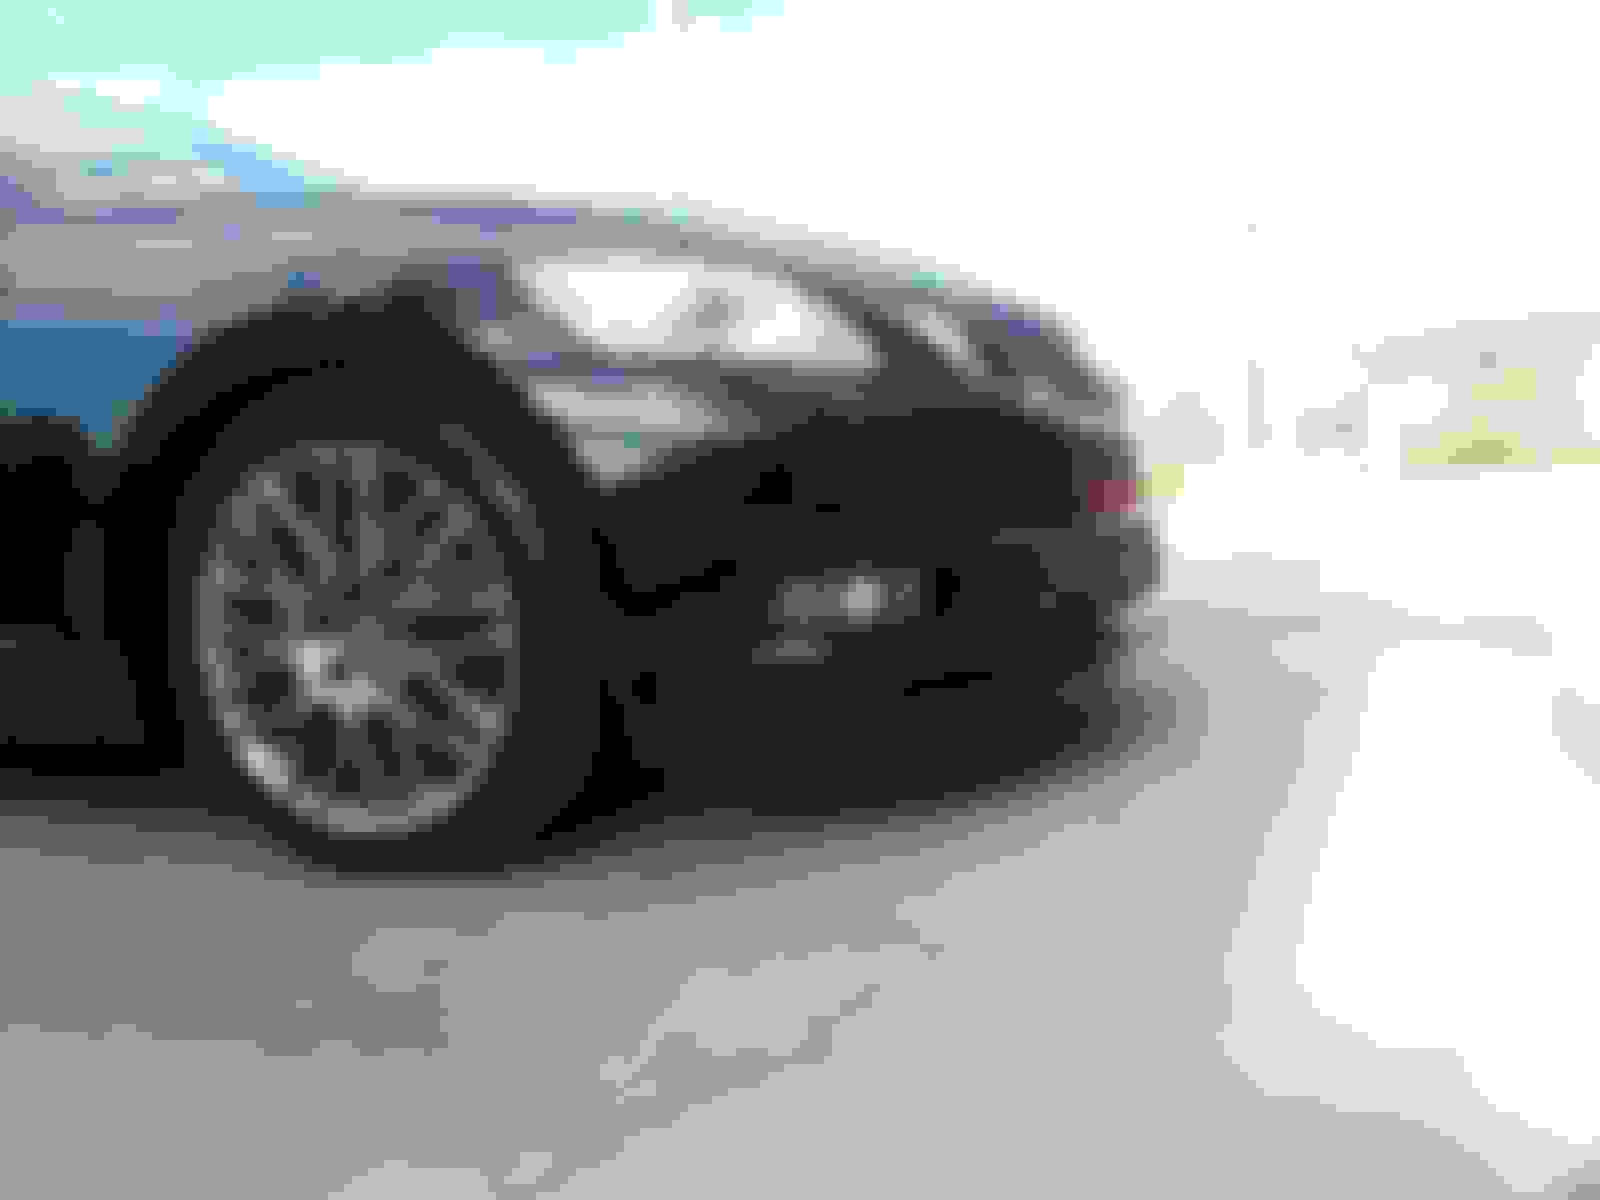
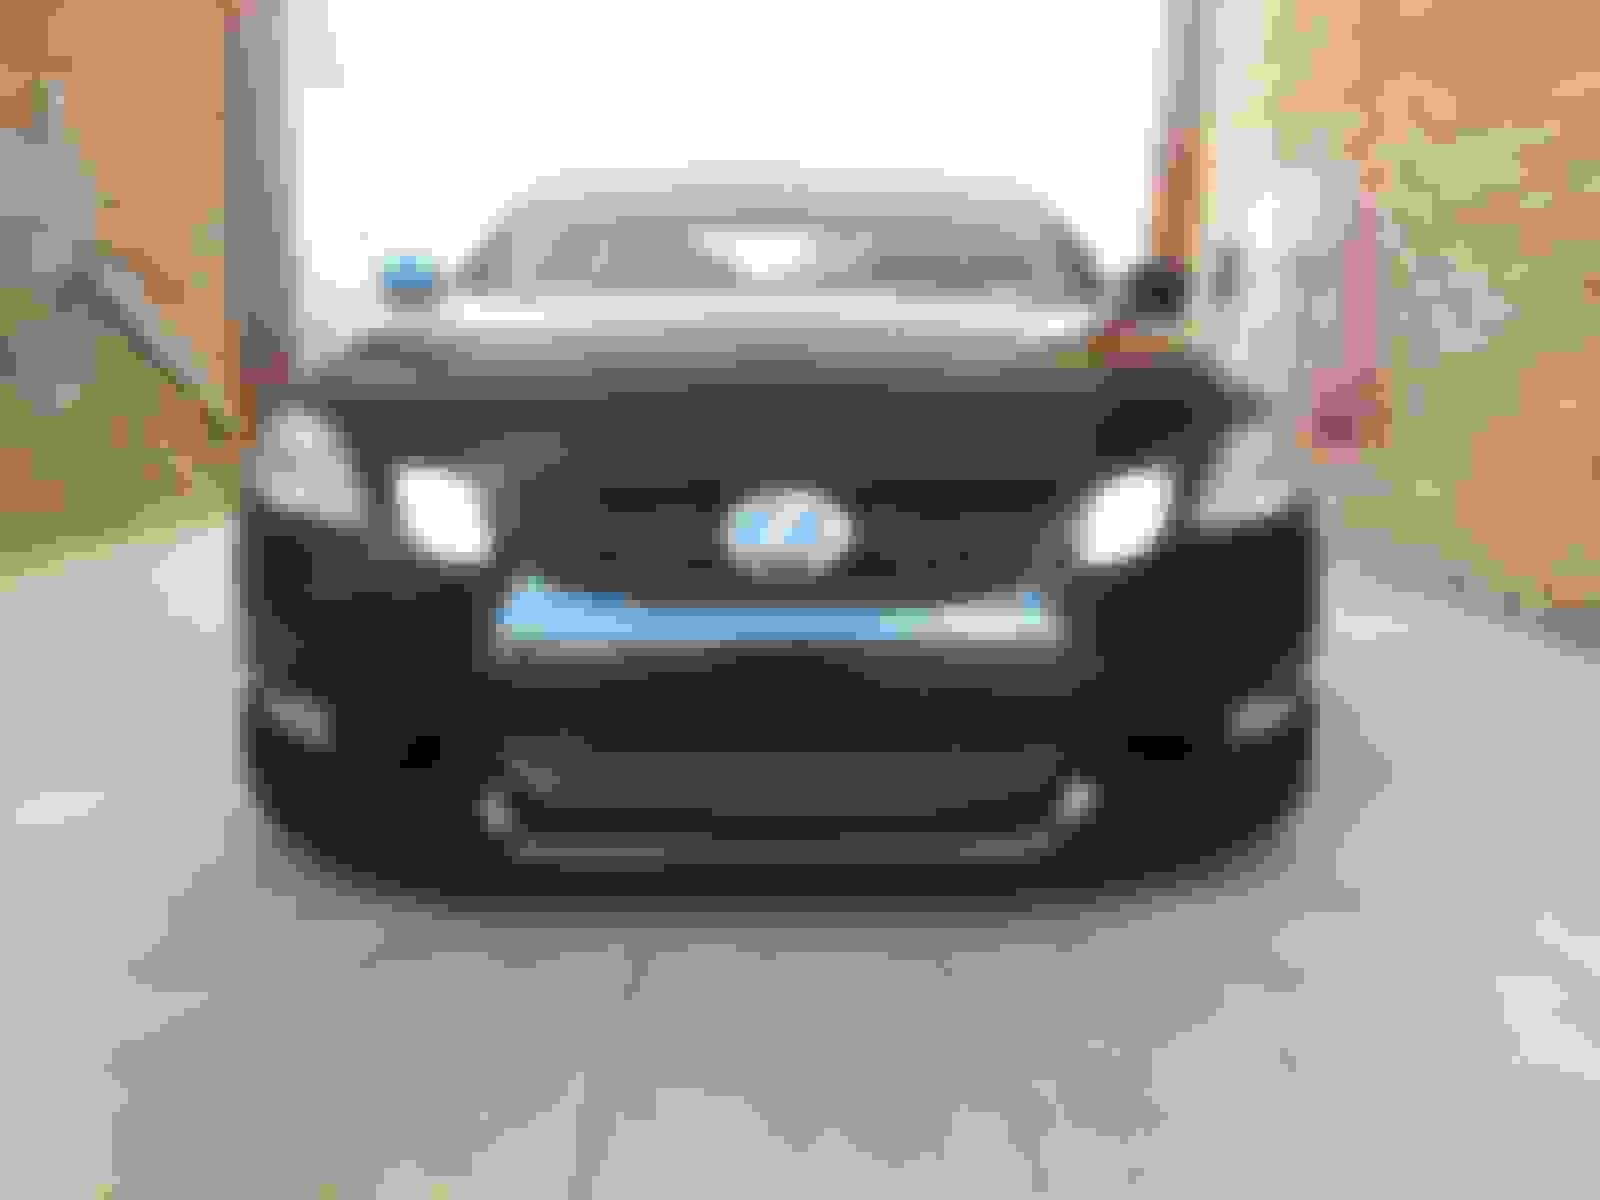
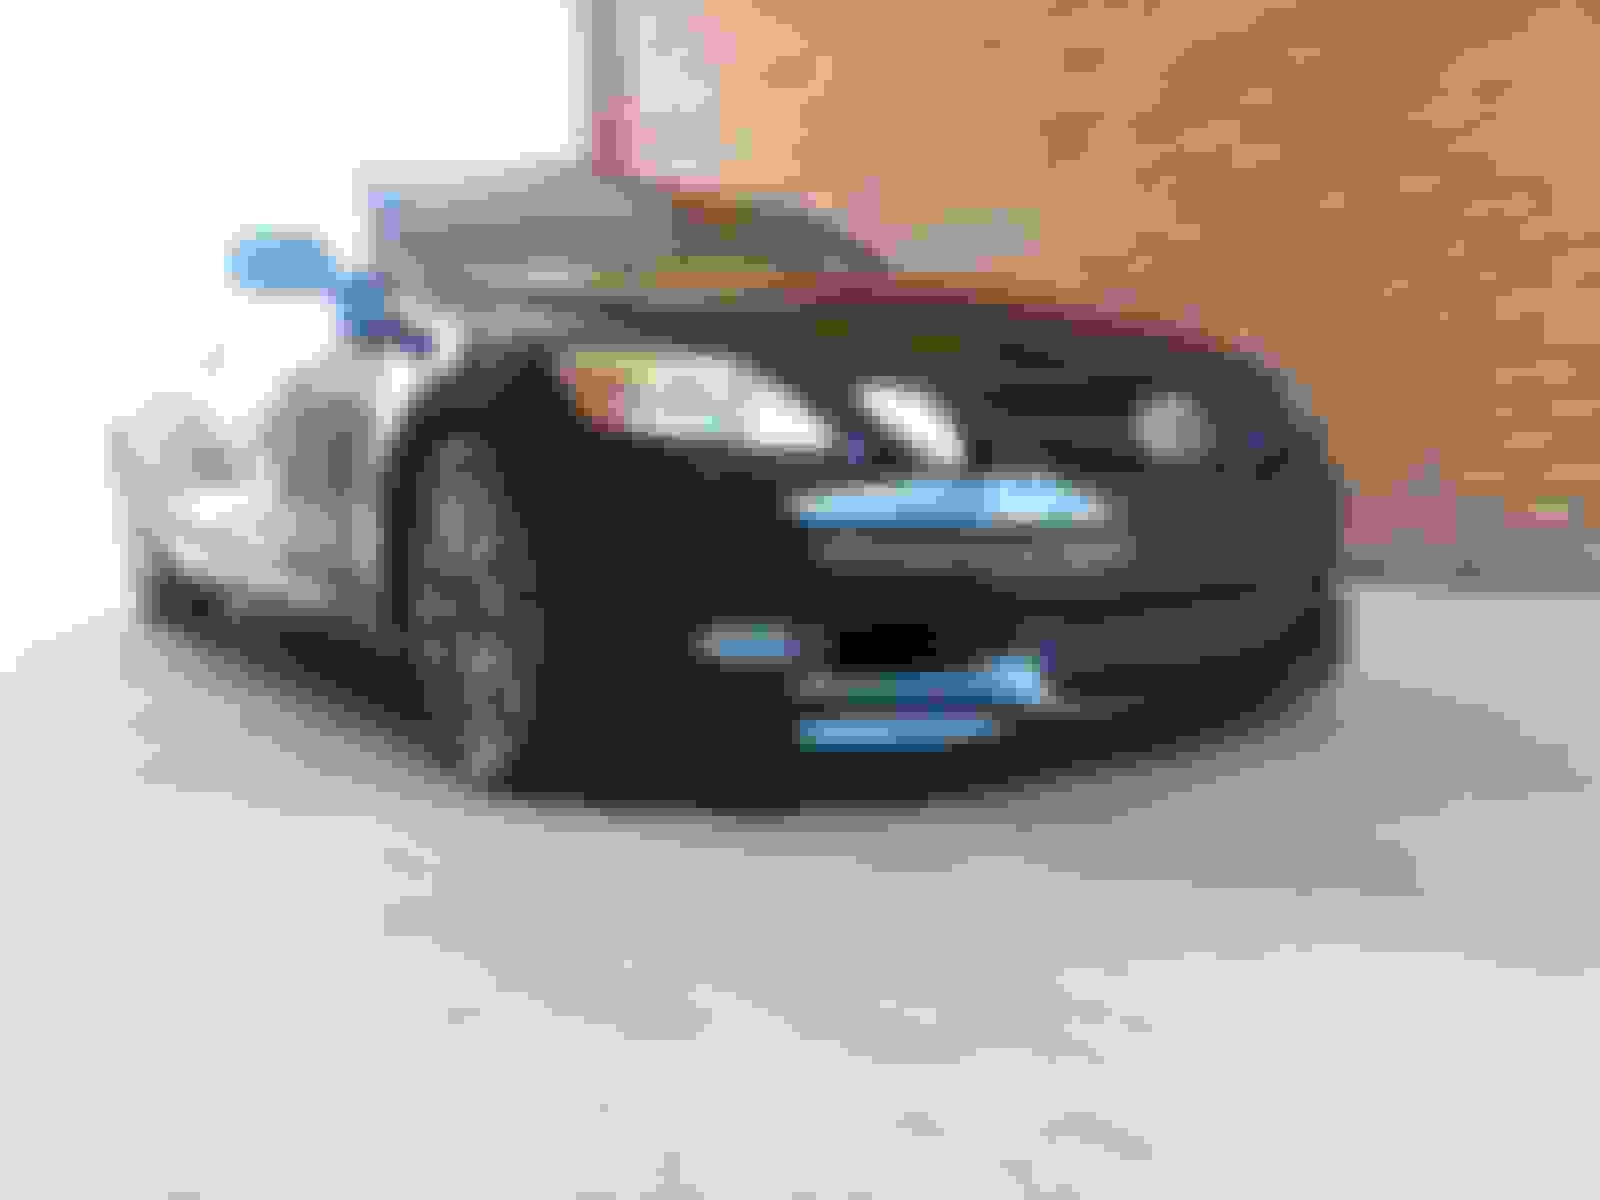
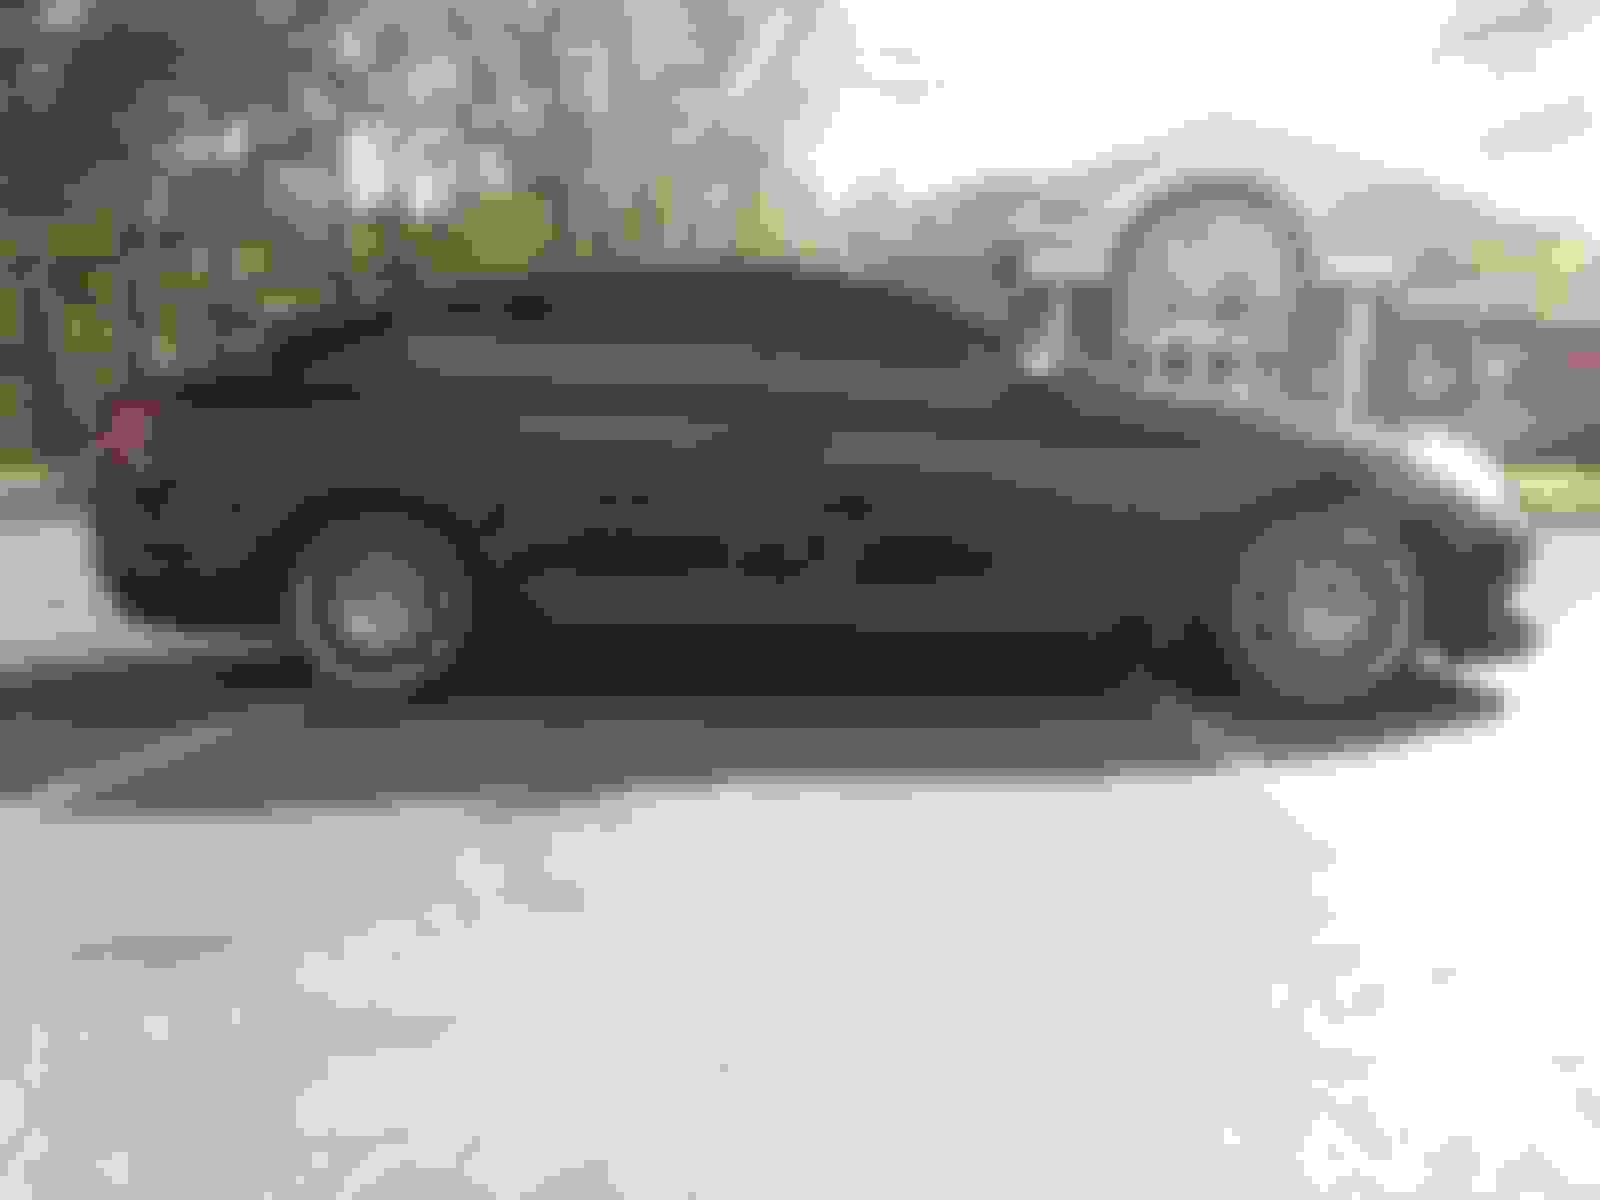
I finally got the the Magic Drift ING front lip installed. It did need a little modification to make it fit. A heat gun and dremel were my best friend in getting the front lip to fit correctly. I did all the prep work and painted it myself in my backyard. Overall, I'm happy with the results. Here are some pics that I took while doing this project:
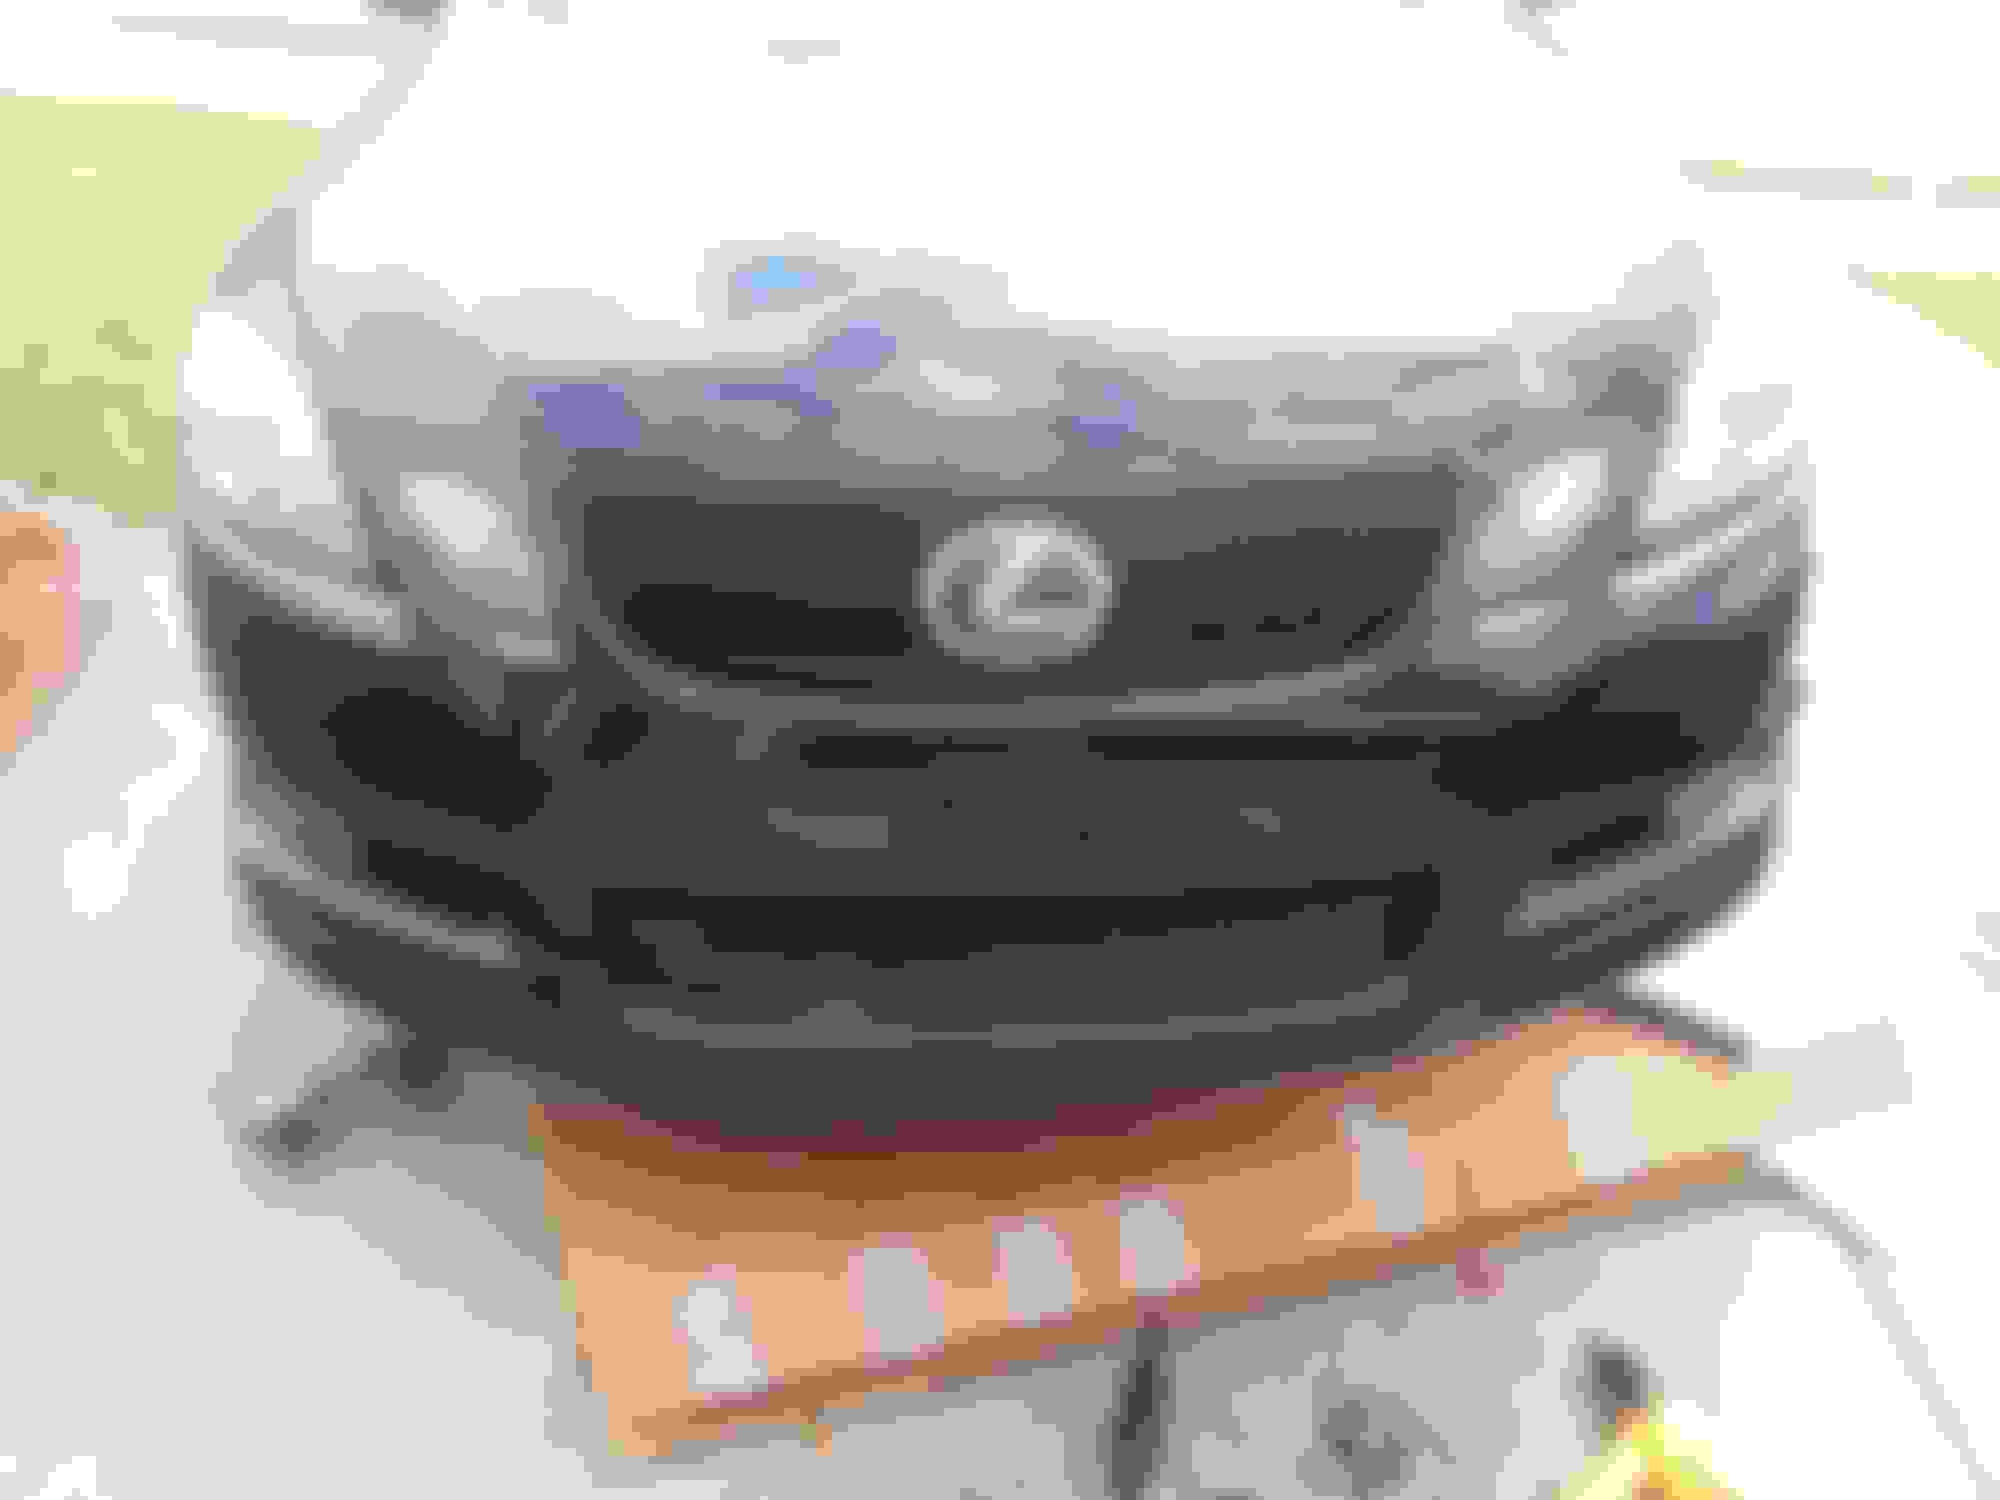
Used heat gun to adjust lip. Had to use a dremel to even out this area. Had to use a dremel to even out this area. I removed this part from under the car because it was in the way. Test Fit Complete Wet sand all areas really well with 220-320 Grit. *Important* *Preparation is key!!! After Wet sanding and when dried this is how it should look After applying Primer Wet sand bumper with 400-600 Grit sandpaper so basecoat paint can stick. *Important* *Preparation is key!!! Factory Black Toyota/Lexus Paint from SEM 4-5 Coats of base coat. Base coat is complete. 4-5 Coats of base coat. Base coat is complete. 4-5 Coats of base coat. Base coat is complete. Had some PPG Shopline Euro clear coat left over from when I painted another one of my cars. The clear coat kit alone costs $400. This is some high quality clear coat! I used my spray gun to shoot the clear coat The final product! No wet sanding or buffing! Look at that finish! That clear coat laid flat! You barely see any orange peel! The final product! No wet sanding or buffing! Look at that finish! That clear coat laid flat! You barely see any orange peel! The final product! No wet sanding or buffing! Look at that finish! That clear coat laid flat! You barely see any orange peel! Installed on the car, very satisfied with the overall look and finish! Installed on the car, very satisfied with the overall look and finish! Installed on the car, very satisfied with the overall look and finish! Installed on the car, very satisfied with the overall look and finish! Installed on the car, very satisfied with the overall look and finish!
Last edited by rxmpvibes; Nov 26, 2017 at 06:38 AM.
Good job on a DIY project! Next project, side skirts and rear lip.
Thanks I appreciate it! I was thinking about doing the side skirts and rear lip but, I can't find who sells the ING rear lip. I did find the side skirts on eBay here:https://www.ebay.com/itm/Ing-Side-Sk...xZ8Z~X&vxp=mtr
Do you know where I else I might be able to find them?
Thanks I appreciate it! I was thinking about doing the side skirts and rear lip but, I can't find who sells the ING rear lip. I did find the side skirts on eBay here:https://www.ebay.com/itm/Ing-Side-Sk...xZ8Z~X&vxp=mtr
Do you know where I else I might be able to find them?
I would have to check, as I don't know if the companies I used to deal with are around anymore. But for sure keep looking, I'm sure you'll find it. Good luck!


 . I'm waiting on the shipment to arrive, I will keep you all posted.